Home>Garden Essentials>How To Sow Cilantro Seeds
Garden Essentials
How To Sow Cilantro Seeds
Modified: March 24, 2024
Learn how to sow cilantro seeds in your garden and enjoy fresh herbs all season long. Discover expert tips and techniques for successful cilantro cultivation.
(Many of the links in this article redirect to a specific reviewed product. Your purchase of these products through affiliate links helps to generate commission for Storables.com, at no extra cost. Learn more)
Introduction
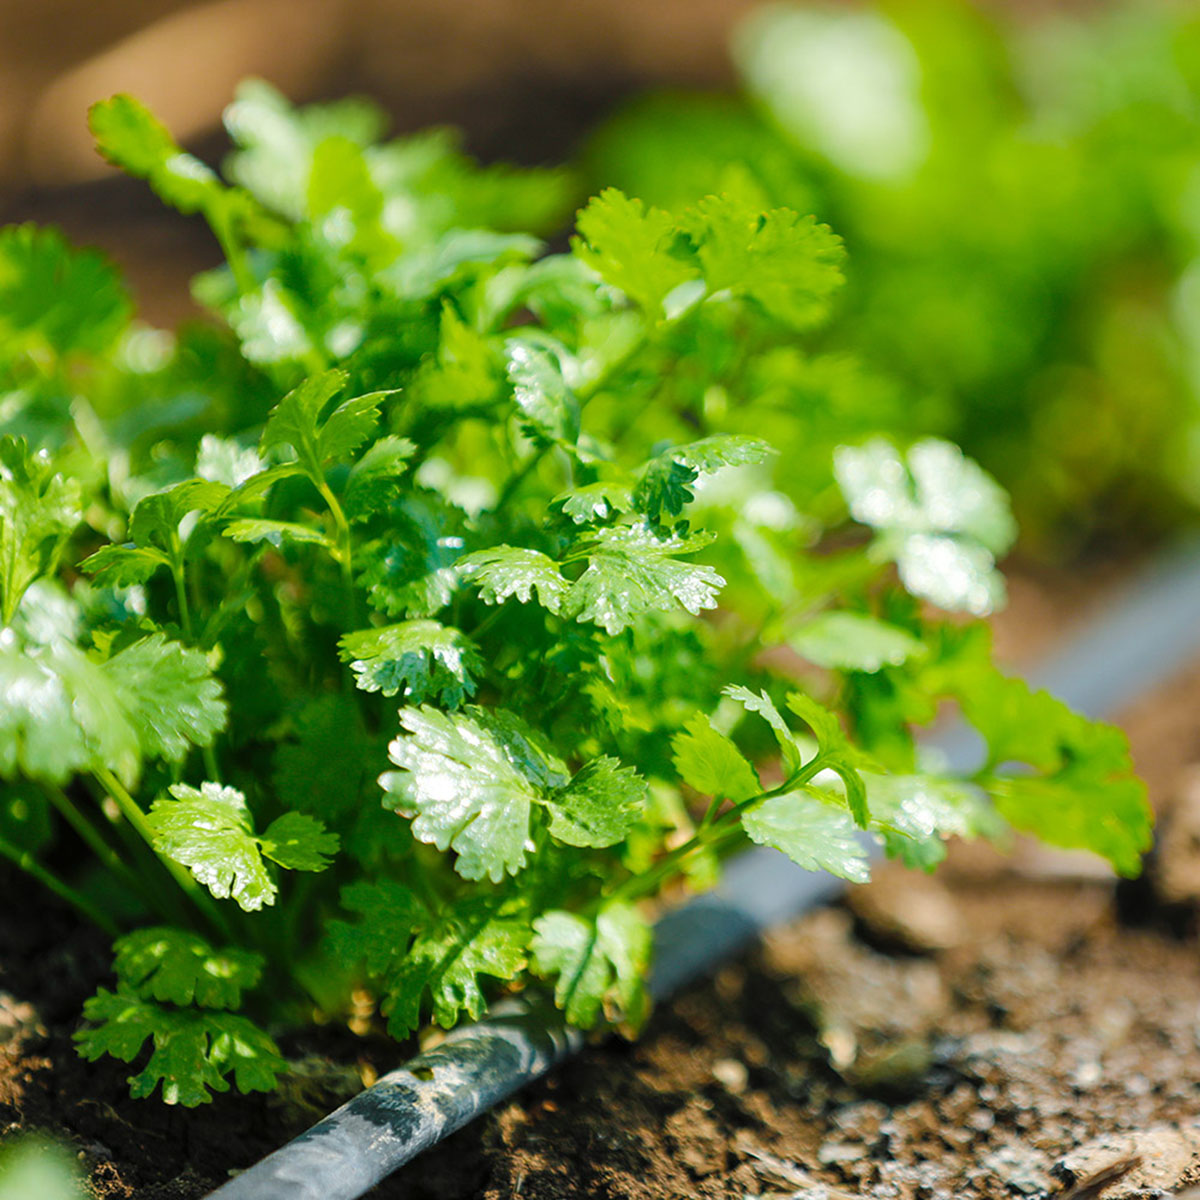
Welcome to the world of gardening, where you can embark on a delightful journey of nurturing and growing your own plants. If you have a passion for fresh and flavorful herbs, then cilantro is a must-have in your garden. Known for its vibrant green leaves and distinctive aroma, cilantro adds a refreshing touch to a wide range of dishes.
Sowing cilantro seeds is an excellent way to ensure a constant supply of this versatile herb right at your fingertips. Whether you prefer using it in salsas, soups, or as a garnish, growing your own cilantro allows you to enjoy its flavors in its purest and most nutritious form.
In this article, we will guide you through the process of sowing cilantro seeds, from choosing the right seeds to harvesting the leaves. By following these steps, you’ll be on your way to cultivating a bountiful cilantro crop that will elevate your culinary endeavors.
So, let’s get started on this aromatic journey and learn how to sow cilantro seeds.
Key Takeaways:
- Sowing cilantro seeds requires choosing the right variety for your climate, preparing well-draining soil, and spacing seeds 6 inches apart for optimal growth. Enjoy fresh cilantro in your culinary creations!
- Harvest cilantro leaves selectively to ensure a continuous supply, and consider saving seeds for future plantings. Embrace the joy of gardening and savor the delights of homegrown cilantro.
Read more: When Cilantro Goes To Seed
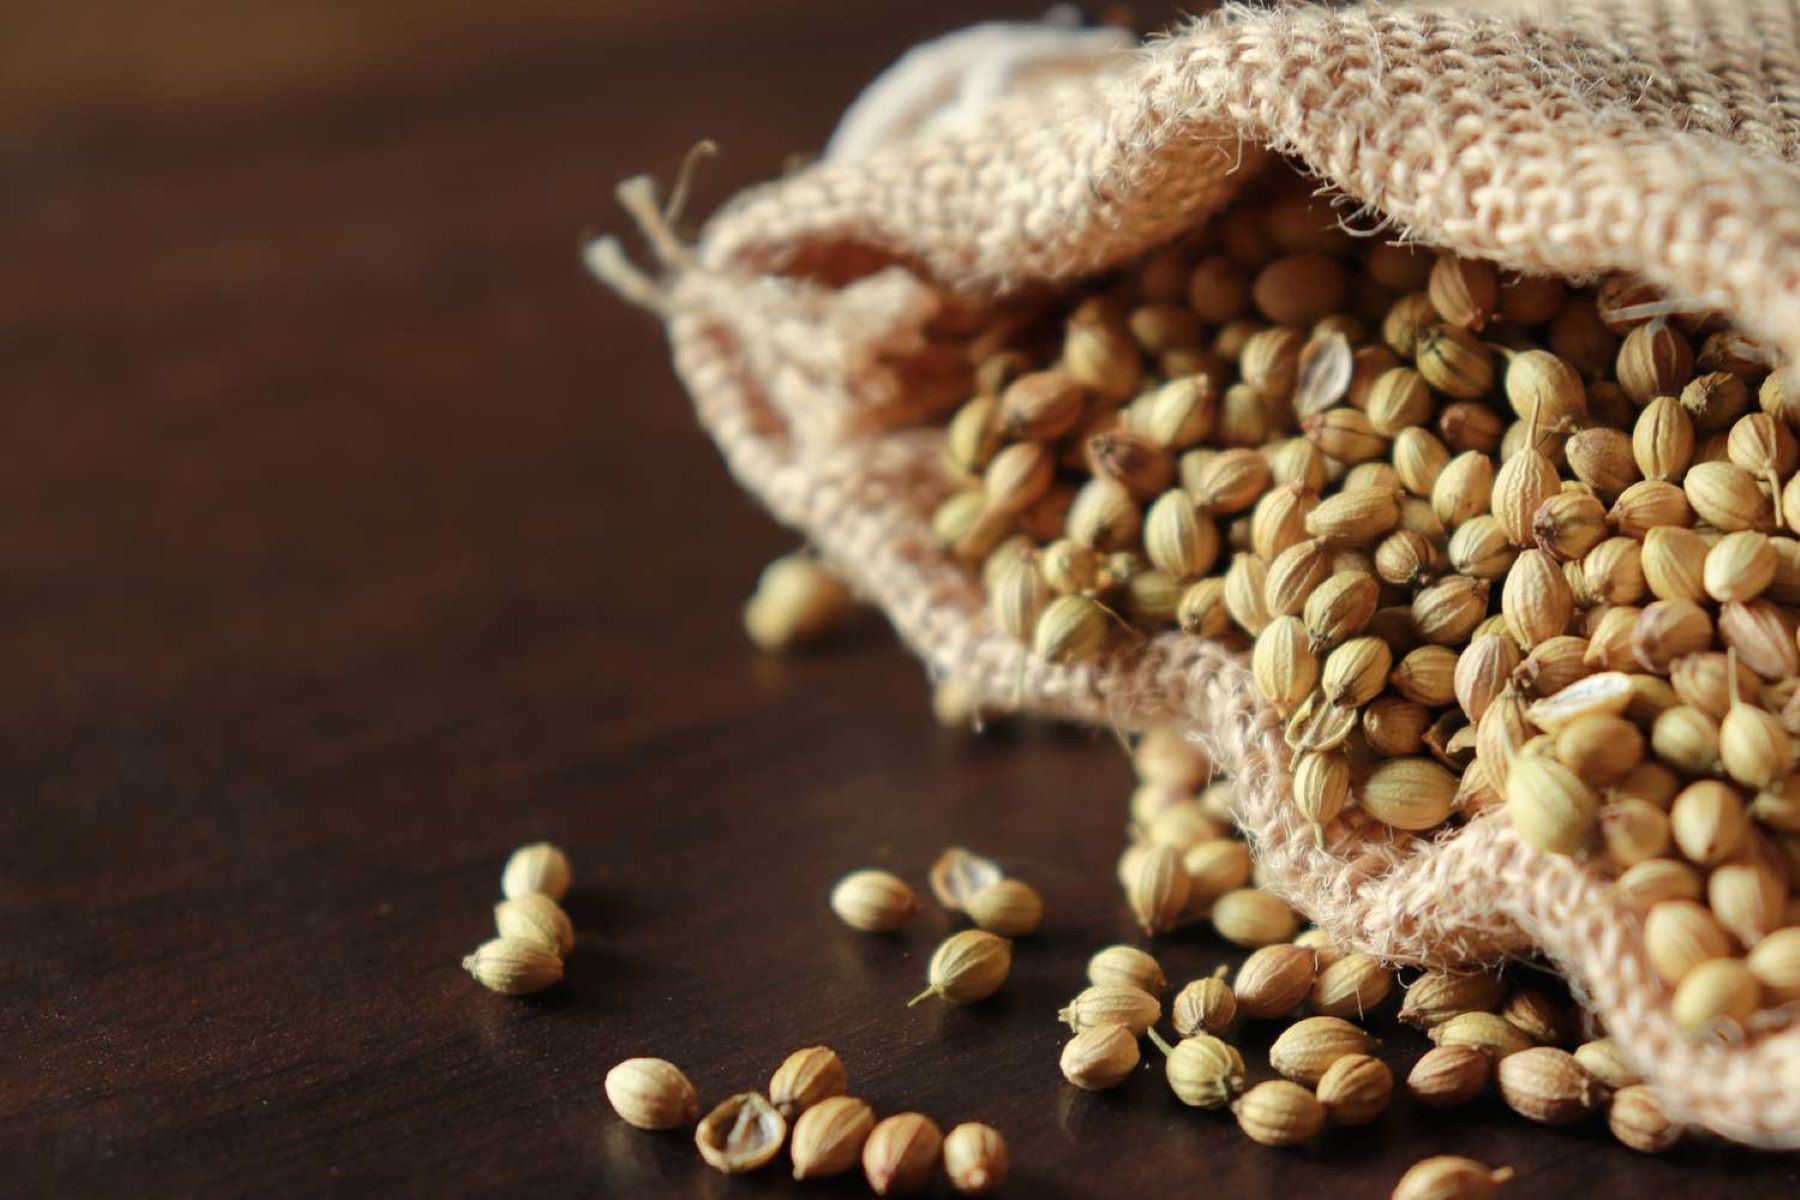
Step 1: Choosing the Right Seeds
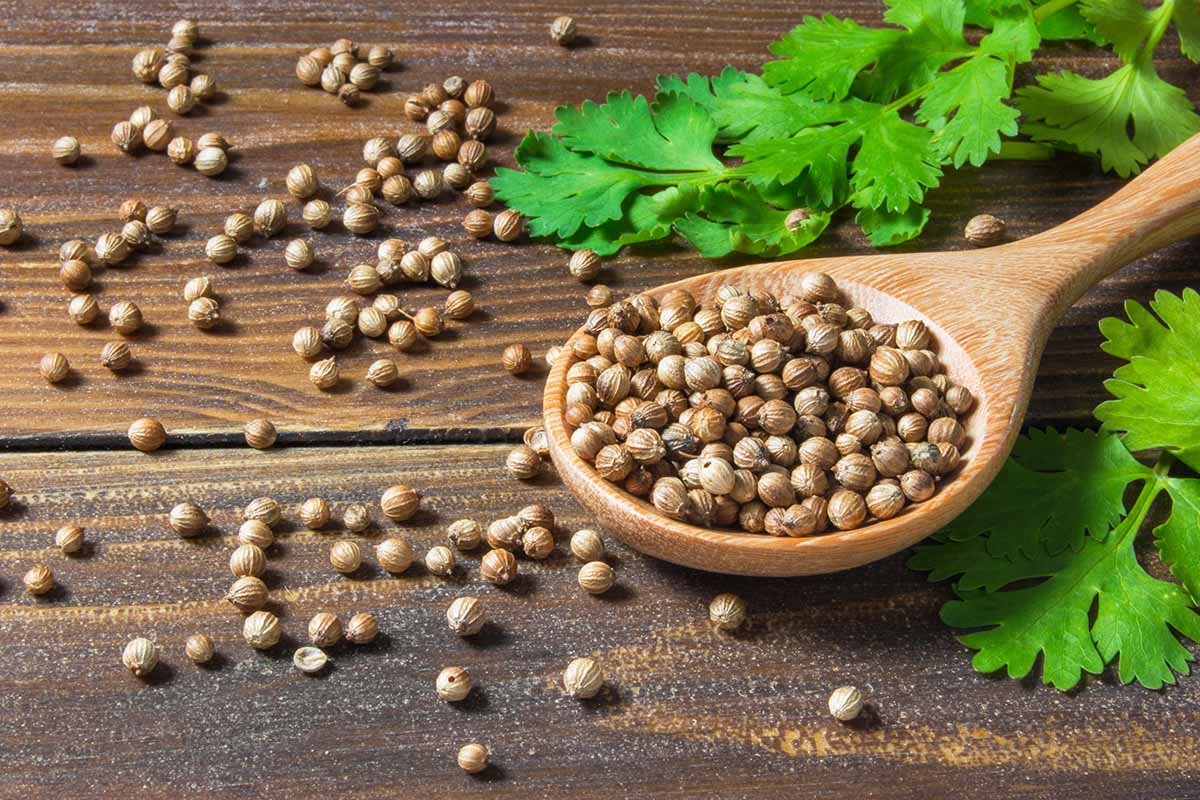
The first step in sowing cilantro seeds is to select the right seeds for your garden. When it comes to choosing cilantro seeds, there are a few factors to consider to ensure success in your gardening venture.
1. Freshness: Opt for fresh cilantro seeds to maximize germination rates. Fresh seeds have a higher chance of sprouting and growing into healthy plants. You can check the packaging or ask the supplier for the seed’s freshness date to ensure you get the best quality seeds.
2. Organic and Non-GMO: If you prefer chemical-free gardening, look for organic and non-GMO cilantro seeds. These seeds are not genetically modified and have been produced without the use of synthetic pesticides or fertilizers. Using organic seeds promotes sustainable and environmentally-friendly gardening practices.
3. Variety: Cilantro comes in different varieties, each with its own unique characteristics and flavors. Some popular varieties include ‘Santo,’ ‘Slow Bolt,’ and ‘Calypso.’ Consider the growth habits, taste preferences, and climate suitability of each variety to choose the one that best suits your needs.
4. Climate Adaptability: Cilantro prefers cooler temperatures and can be sensitive to heat. If you live in a region with hot summers, choose a cilantro variety that is heat-tolerant or opt for planting cilantro during the cooler months of spring or fall. This will ensure optimal growth and prevent the cilantro from bolting, which is when the plant flowers and sets seeds prematurely.
Once you have selected the ideal cilantro seeds for your garden, you are ready to move on to the next step: preparing the soil.
Step 2: Preparing the Soil
Before sowing cilantro seeds, it’s crucial to prepare the soil to provide a favorable environment for seed germination and plant growth. Follow these steps to ensure your cilantro plants thrive:
1. Location: Choose a sunny spot in your garden that receives at least six hours of sunlight per day. Cilantro can tolerate some shade, but it grows best in full sun.
2. Soil Composition: Cilantro prefers well-draining soil with a pH range of 6.2 to 6.8. Test your soil’s pH using a soil testing kit available at gardening centers. If the pH is too acidic, you can amend the soil by adding lime. If it is too alkaline, you can add organic matter such as compost to improve the soil’s acidity. This will create a nutrient-rich environment for your cilantro plants.
3. Soil Preparation: Start by removing any weeds or debris from the planting area. Loosen the soil using a garden fork or tiller to a depth of about 6 inches. This will help promote root development and allow the soil to retain moisture while preventing waterlogged conditions.
4. Organic Matter: Incorporate organic matter into the soil, such as compost or well-rotted manure. This will enhance soil fertility, improve drainage, and provide essential nutrients for the cilantro plants.
5. Mulching: Consider adding a layer of organic mulch around the newly sown cilantro seeds. Mulching helps in retaining soil moisture, suppressing weed growth, and maintaining a consistent soil temperature. Use materials like straw, shredded leaves, or bark chips as mulch.
By preparing the soil properly, you create a favorable foundation for your cilantro plants to grow and thrive. Now, it’s time to move on to the exciting part – sowing the cilantro seeds!
Step 3: Planting the Seeds
Now that you have prepared the soil, it’s time to sow the cilantro seeds. Follow these steps to ensure successful seed germination and healthy plant growth:
1. Timing: Cilantro is a cool-season herb and prefers cooler temperatures for optimal growth. It’s best to sow cilantro seeds in early spring or in the fall, depending on your climate. If you live in an area with hot summers, consider planting cilantro in the fall to avoid the scorching heat.
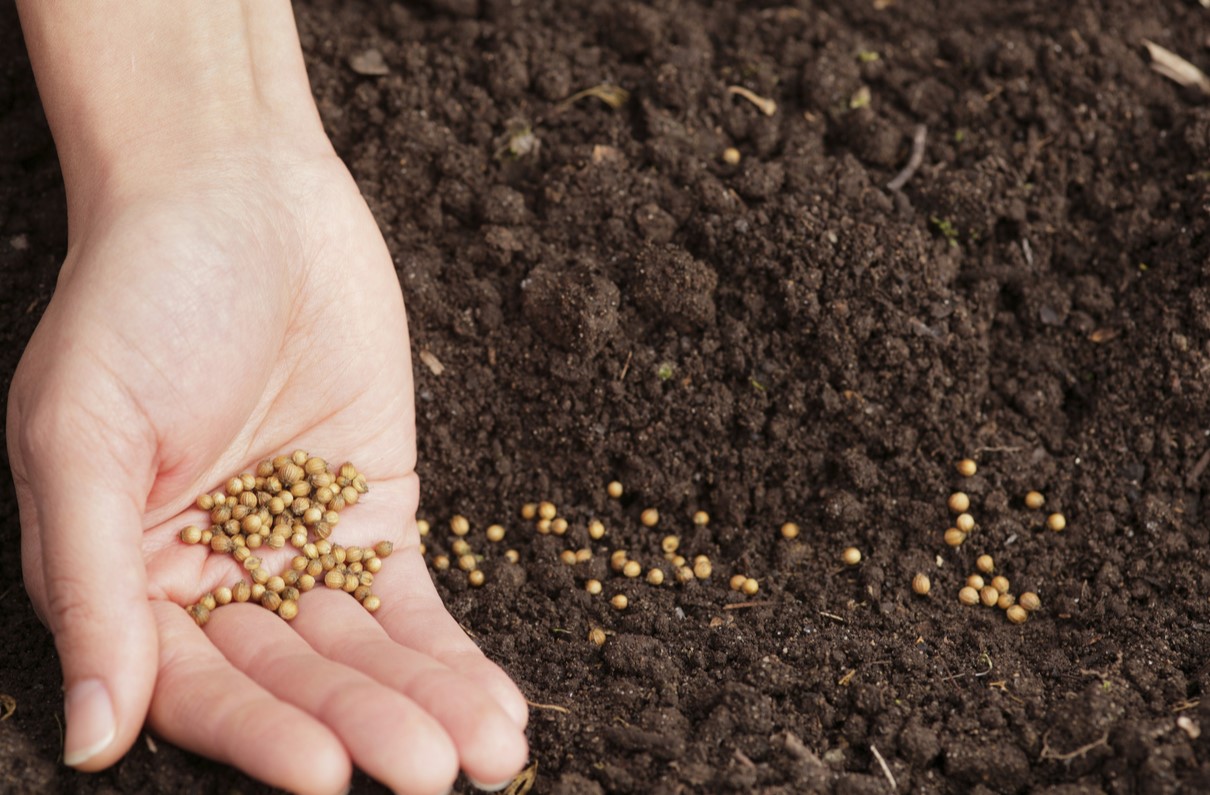
2. Spacing: When sowing cilantro seeds, leave about 6 inches of space between each seed to allow the plants to grow without overcrowding. This spacing will give the plants enough room to spread and prevent competition for sunlight, air, and nutrients.
3. Sowing Depth: Plant the cilantro seeds about 0.25 to 0.5 inches deep in the soil. Gently press the soil over the seeds to ensure they make good contact with the soil for proper germination. Avoid burying the seeds too deep, as this may inhibit their ability to sprout.
4. Watering: After sowing the seeds, water the area gently to moisten the soil. Be careful not to overwater, as this can lead to waterlogging and affect seed germination. Keep the soil consistently moist but not waterlogged during the germination period.
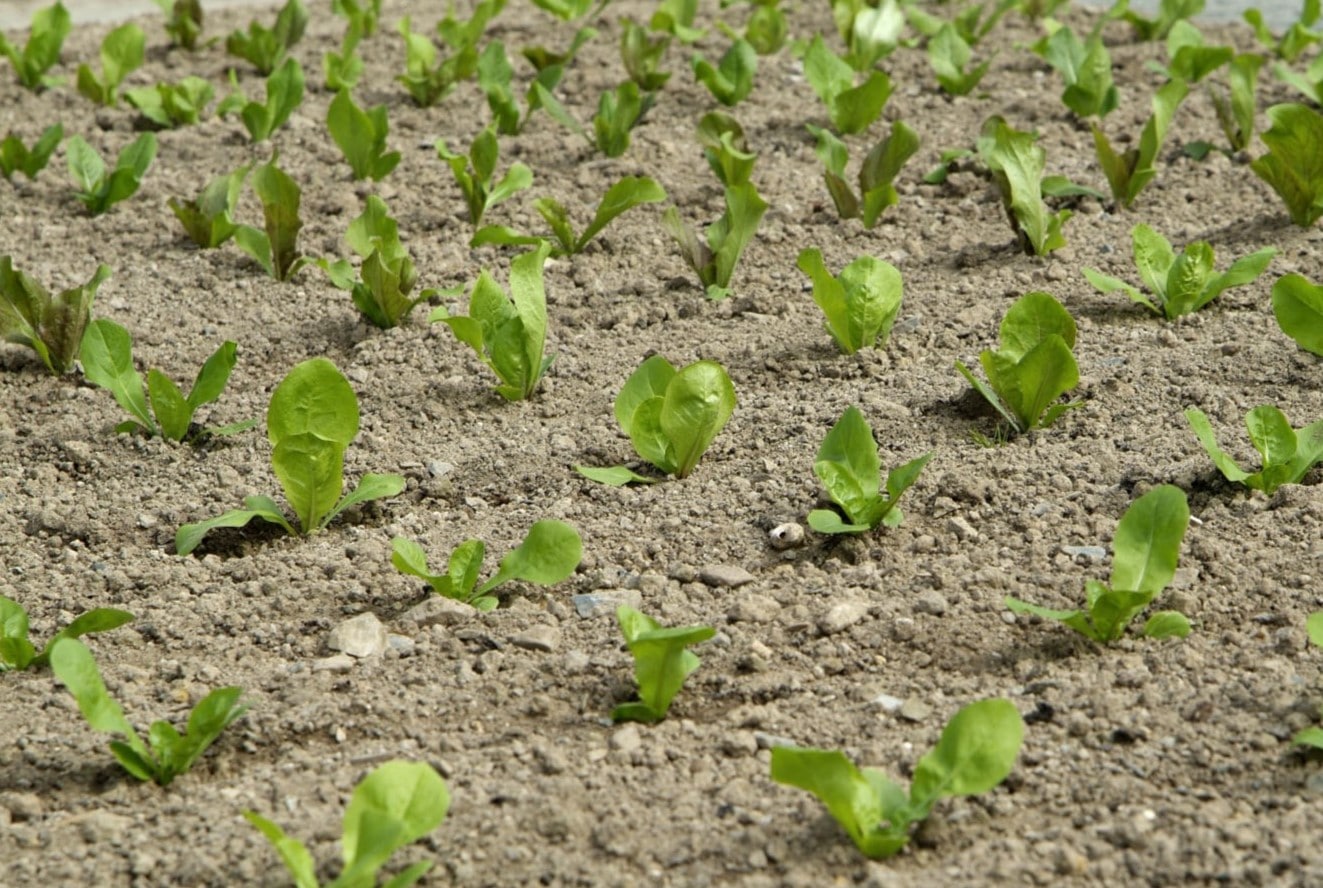
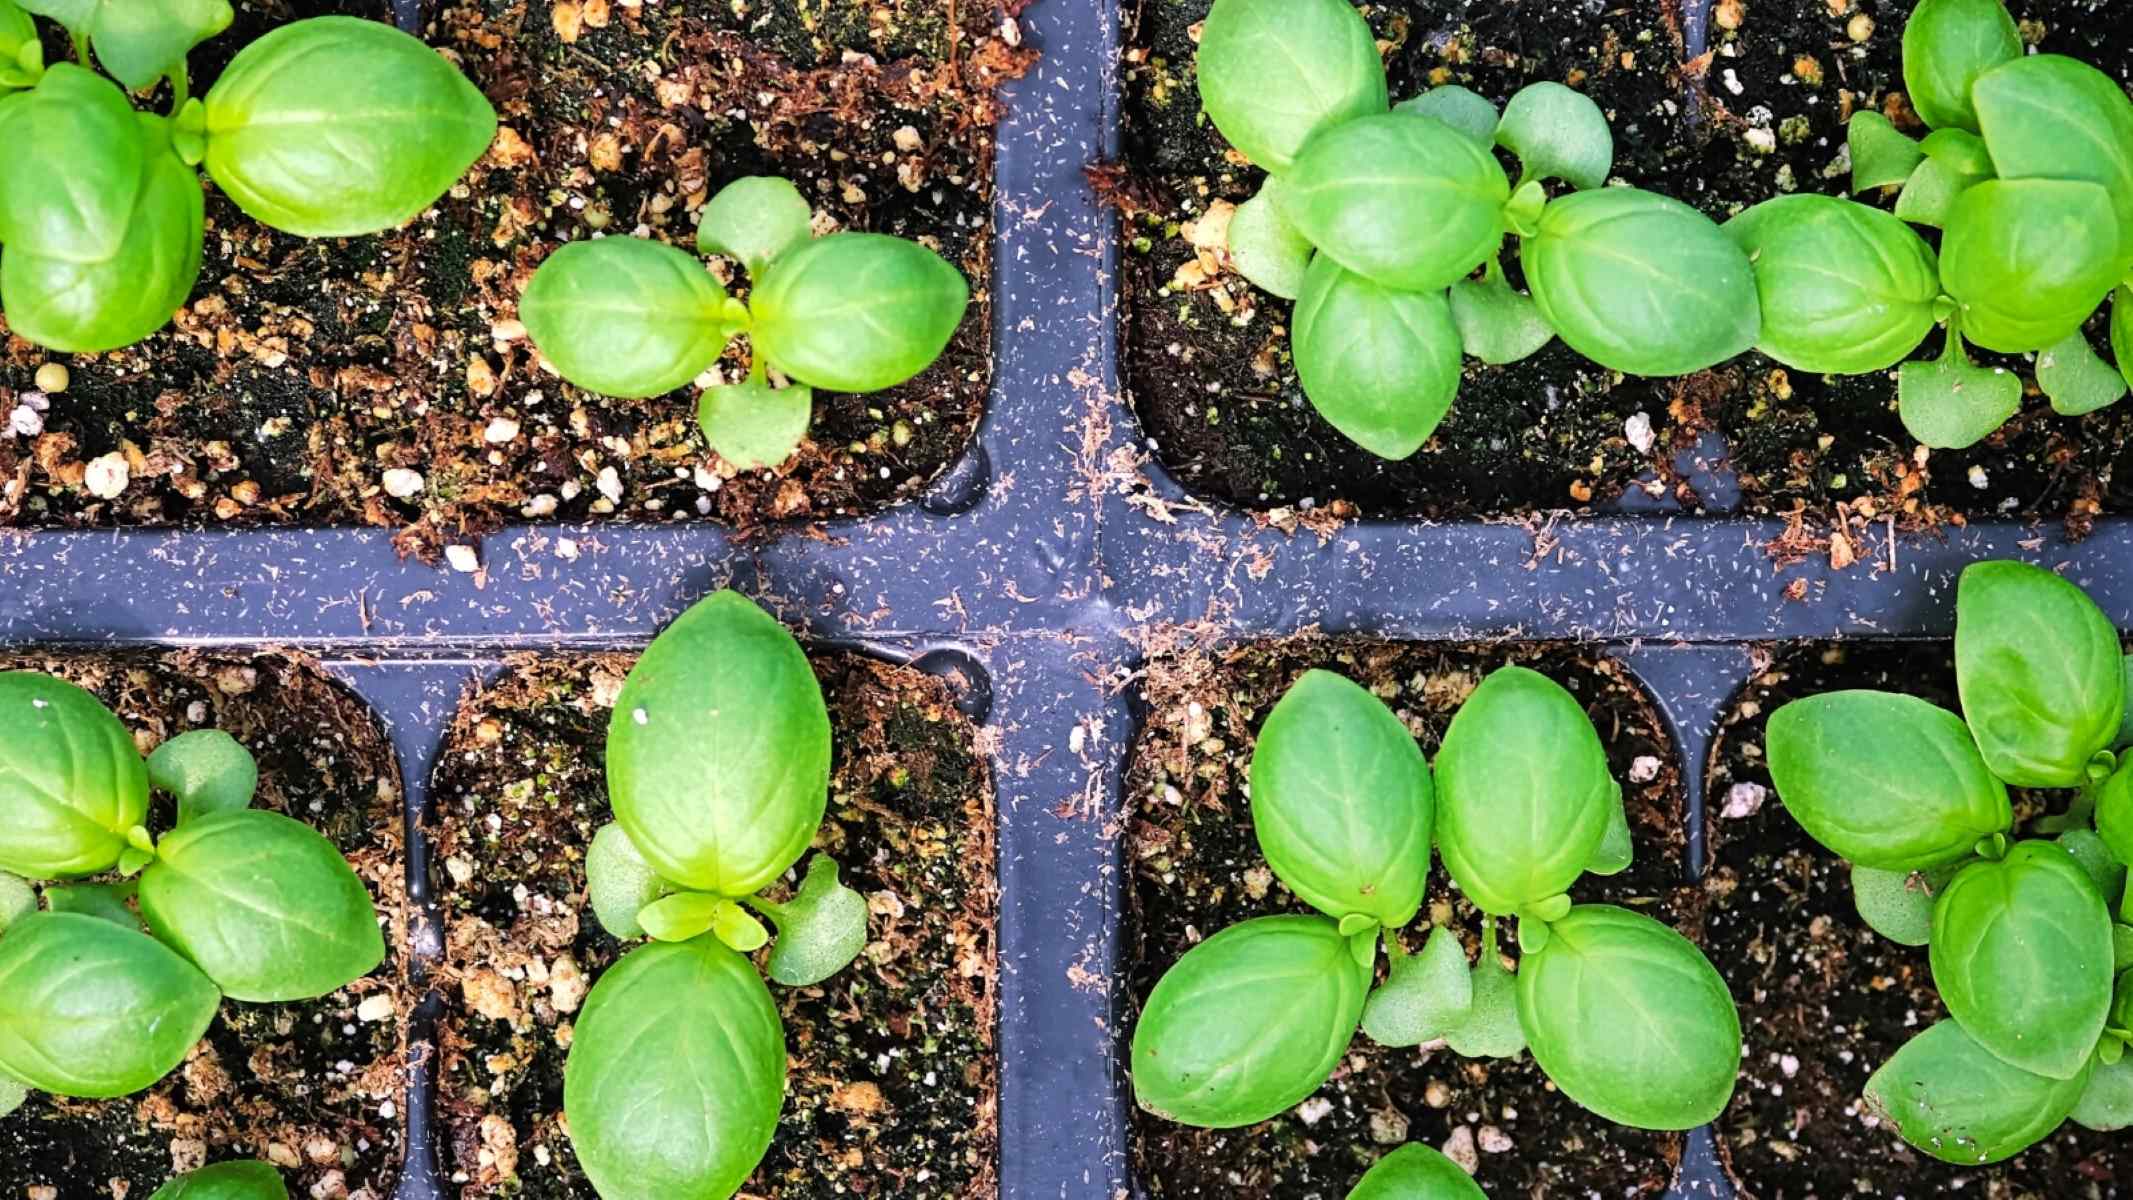
5. Germination: Cilantro seeds typically germinate within 7 to 14 days, depending on the environmental conditions. Once the seedlings emerge, thin them out if they are too close together, leaving only the strongest and healthiest plants.
By following these steps, you’ve successfully sown cilantro seeds in your garden. Now, it’s time to move on to the next step: caring for the seedlings.
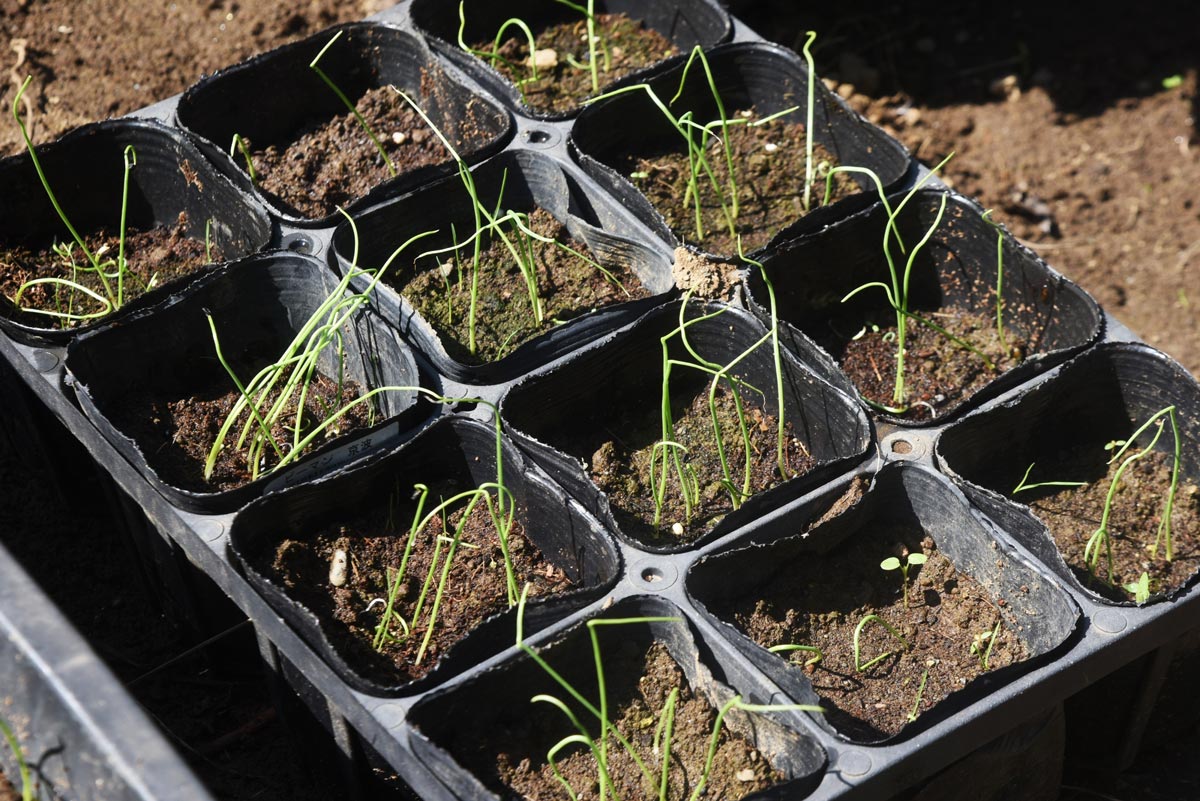
Sow cilantro seeds in well-draining soil, about 1/4 inch deep and 6 inches apart. Keep the soil consistently moist and place in a sunny spot for best results.
Step 4: Watering and Caring for the Seedlings
Now that your cilantro seedlings have emerged, it’s important to provide them with proper care and attention to ensure healthy growth and development. Follow these steps to water and care for your cilantro seedlings:
1. Watering: Cilantro plants require regular watering to keep the soil consistently moist. Water the plants deeply, ensuring the water reaches the root zone. Avoid overwatering, as this can lead to root rot and other issues. Aim to water the plants once or twice a week, depending on the weather conditions and moisture requirements of the soil.
2. Mulching: Apply a layer of organic mulch around the base of the cilantro plants. Mulching helps to conserve soil moisture, suppress weed growth, and regulate soil temperature. Avoid placing mulch directly against the plant stems to prevent rotting or fungal issues.
3. Fertilization: Cilantro plants benefit from occasional fertilization to promote healthy growth. Use a balanced organic fertilizer, following the instructions on the package. Apply the fertilizer sparingly and avoid excessive use, as this can lead to an imbalance in nutrients and negatively affect the flavor and quality of the cilantro leaves.
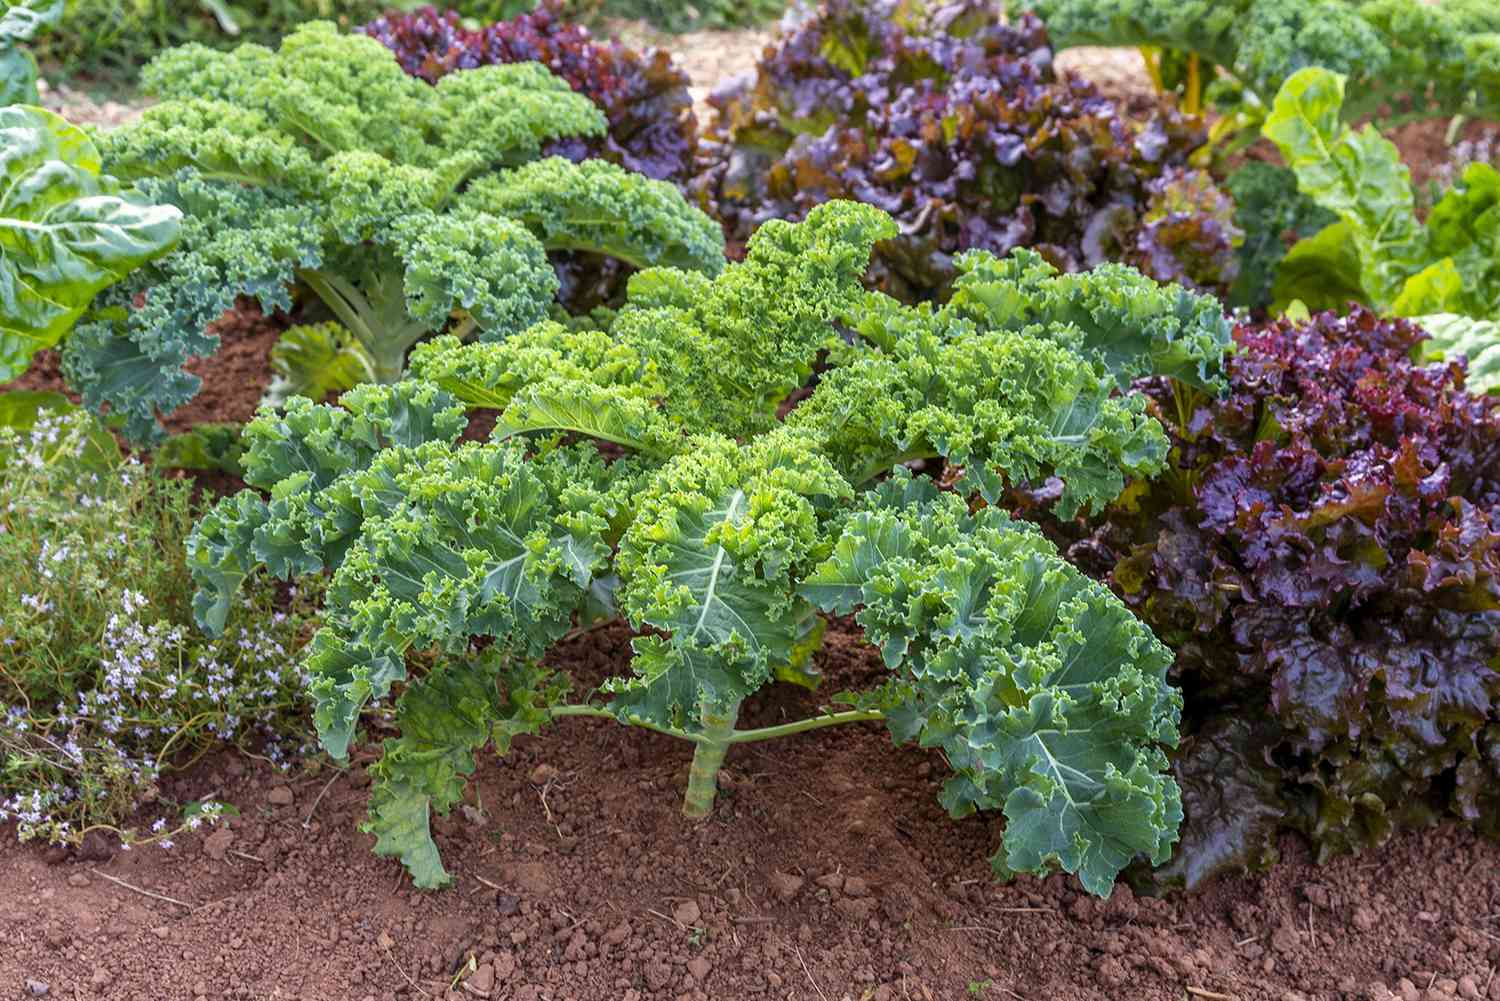
4. Thin the Plants: If the cilantro seedlings are too close together, thin them out to provide adequate space for each plant to grow. This step is important to prevent overcrowding, improve air circulation, and reduce the risk of diseases. Use scissors or garden shears to carefully remove the weaker seedlings, leaving only the strongest ones.
5. Protection from Pests: Keep an eye out for common pests that may attack cilantro plants, such as aphids, slugs, or snails. Regularly inspect your plants and take appropriate measures to control pests if necessary, such as using organic insecticides or creating physical barriers.
By providing proper watering, mulching, fertilization, thinning, and pest control measures, you can ensure that your cilantro seedlings are well taken care of. With time and care, your cilantro plants will flourish and be ready for a bountiful harvest.
Read more: How To Sow Snapdragon Seeds
Step 5: Harvesting Cilantro Leaves
Congratulations! Your cilantro plants have grown and it’s time to harvest the flavorful leaves. Here are the steps to follow when harvesting cilantro:
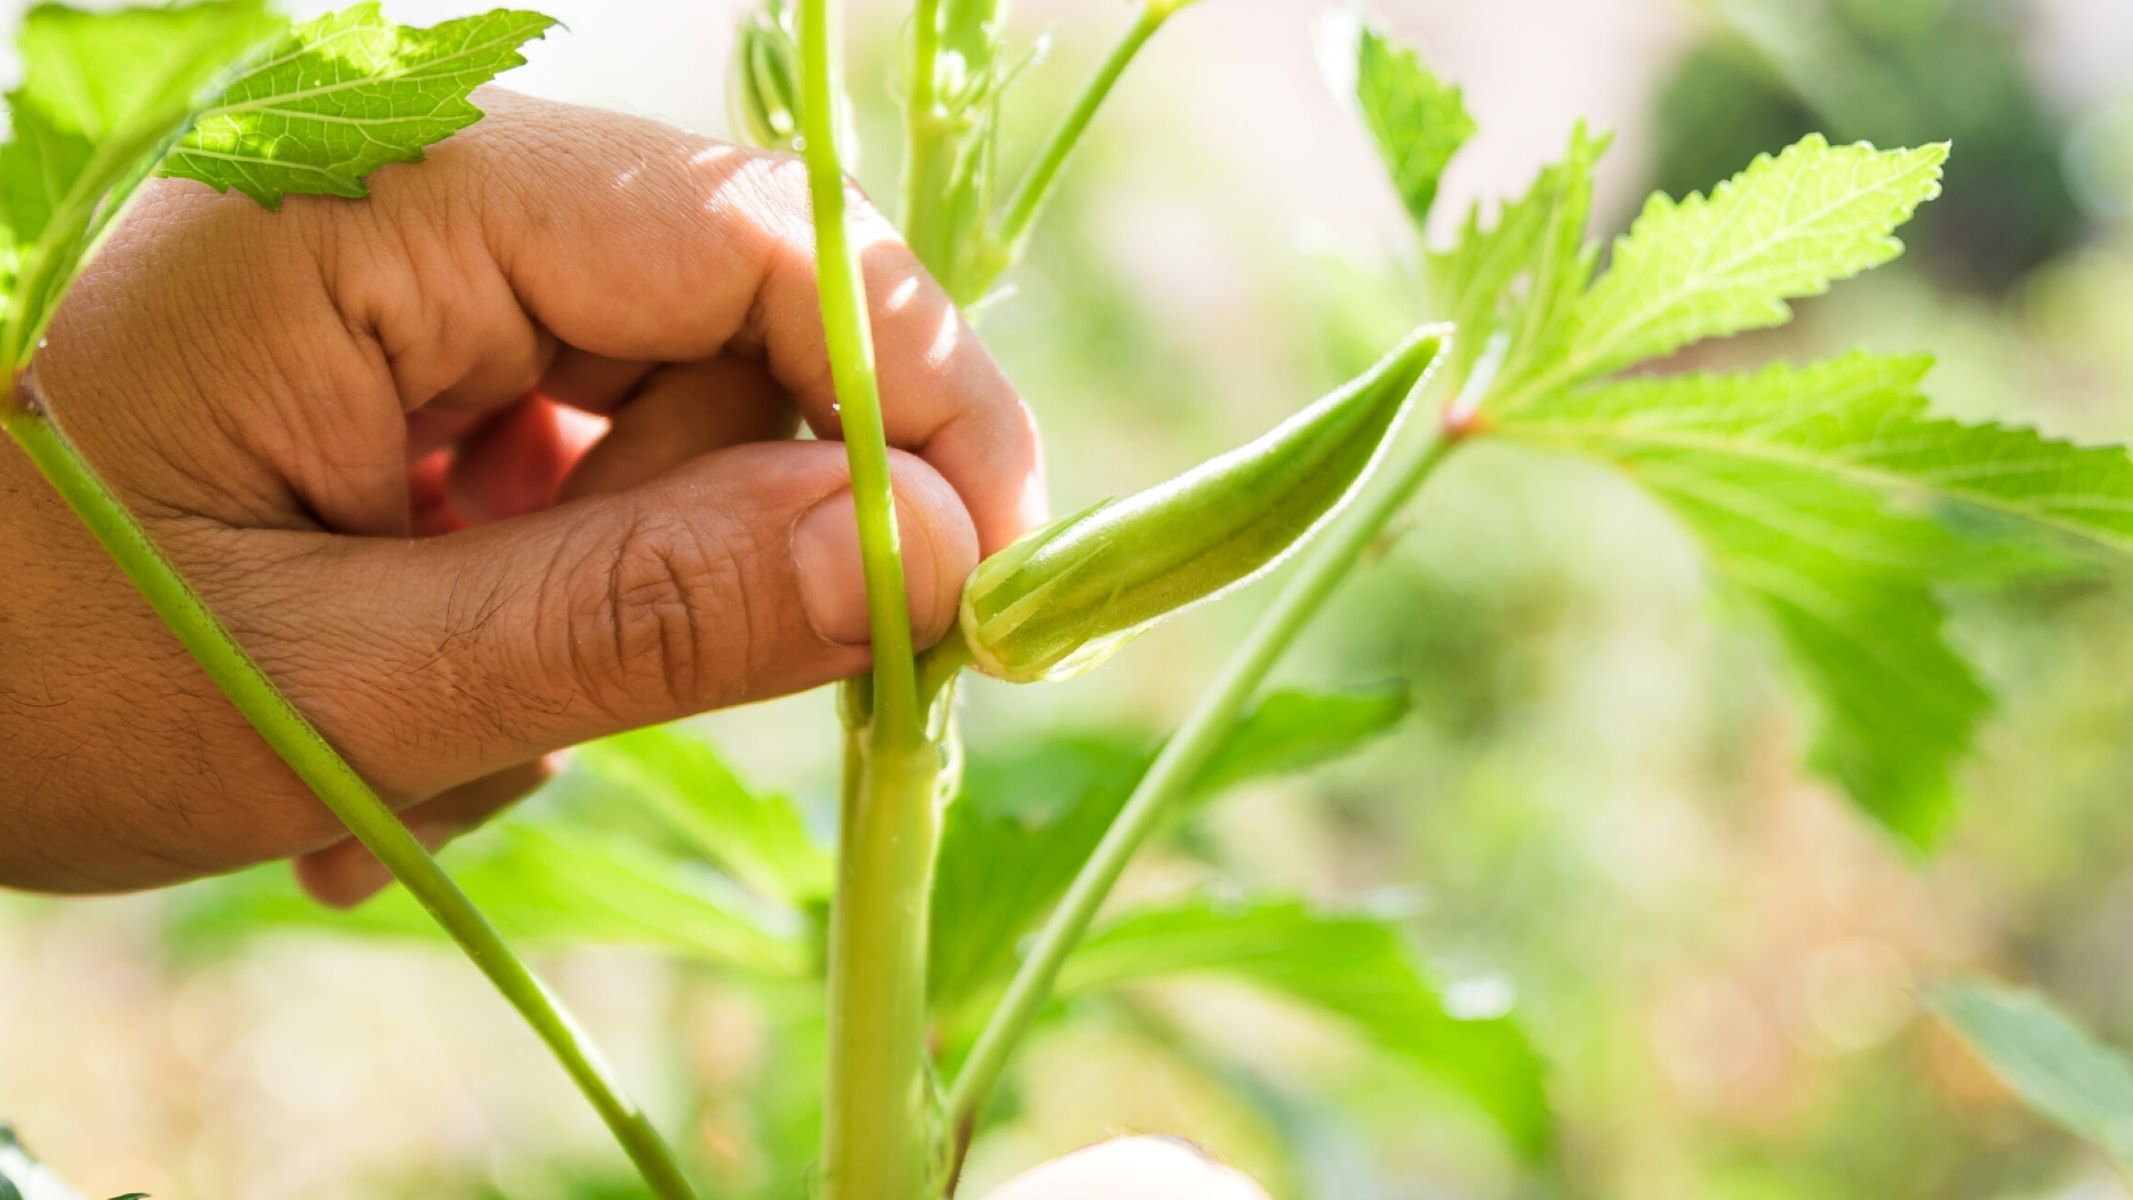
1. Timing: Cilantro leaves are most flavorful when harvested before the plant starts to bolt and produce flowers. Harvest the leaves when they are at their peak, typically around 6 to 8 weeks after planting. Keep an eye on the plants and look for signs of flowering, such as the appearance of small buds.
2. Selective Harvesting: Rather than harvesting the entire plant at once, selectively harvest the outer leaves and stems. This allows the inner leaves to continue growing and ensures a steady supply of fresh cilantro. Using sharp garden scissors or shears, snip the leaves and stems close to the base of the plant.
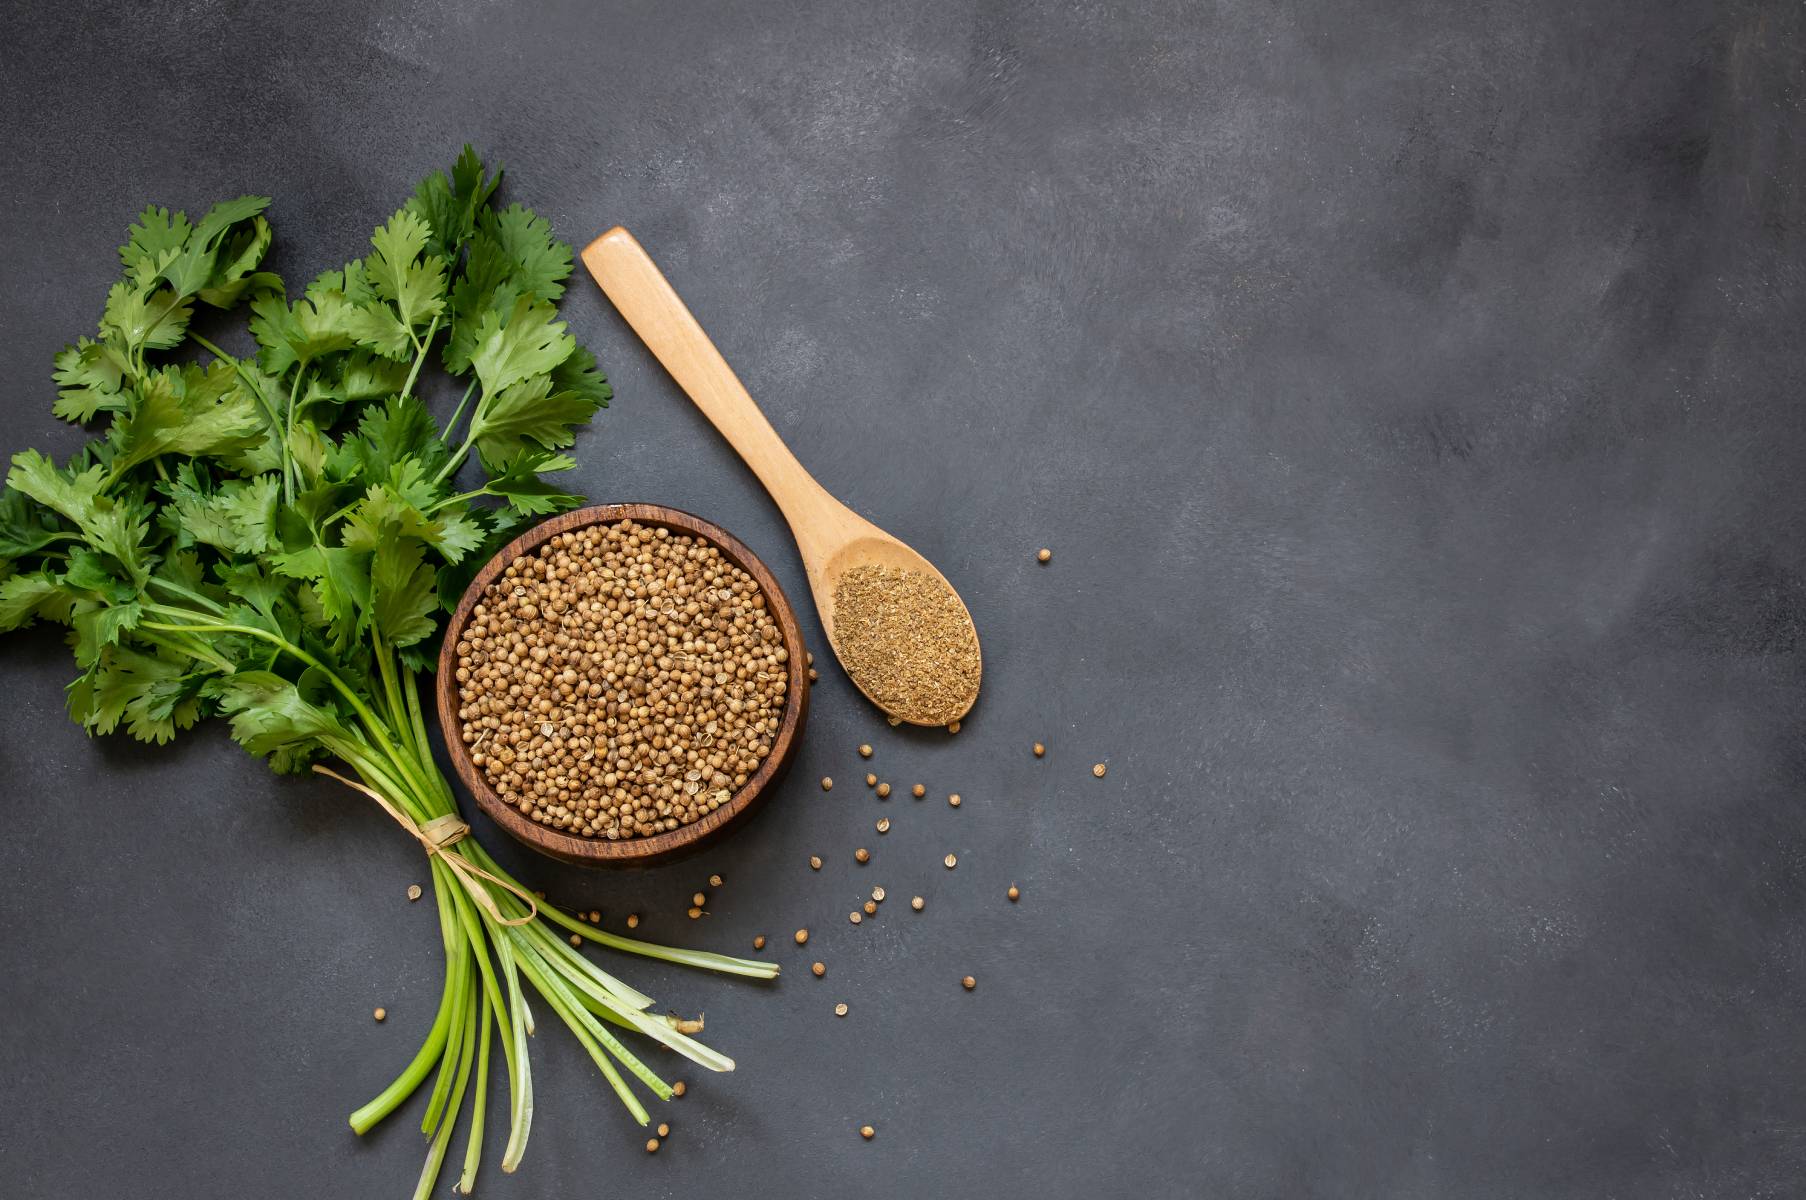
3. Leaf Usage: Cilantro leaves are versatile and can be used fresh or dried. Use them immediately in your culinary creations for the best flavor. If you have excess leaves, you can preserve them by drying or freezing. To dry cilantro leaves, tie them in small bunches and hang them upside down in a cool, well-ventilated area until they are crispy. Crush the dried leaves and store them in airtight containers for future use.
4. Continuous Harvest: Cilantro plants have a short lifespan and tend to bolt quickly, especially in warm weather. To ensure a continuous harvest, practice succession planting by sowing new seeds every few weeks. This way, you’ll always have a fresh supply of cilantro leaves throughout the growing season.
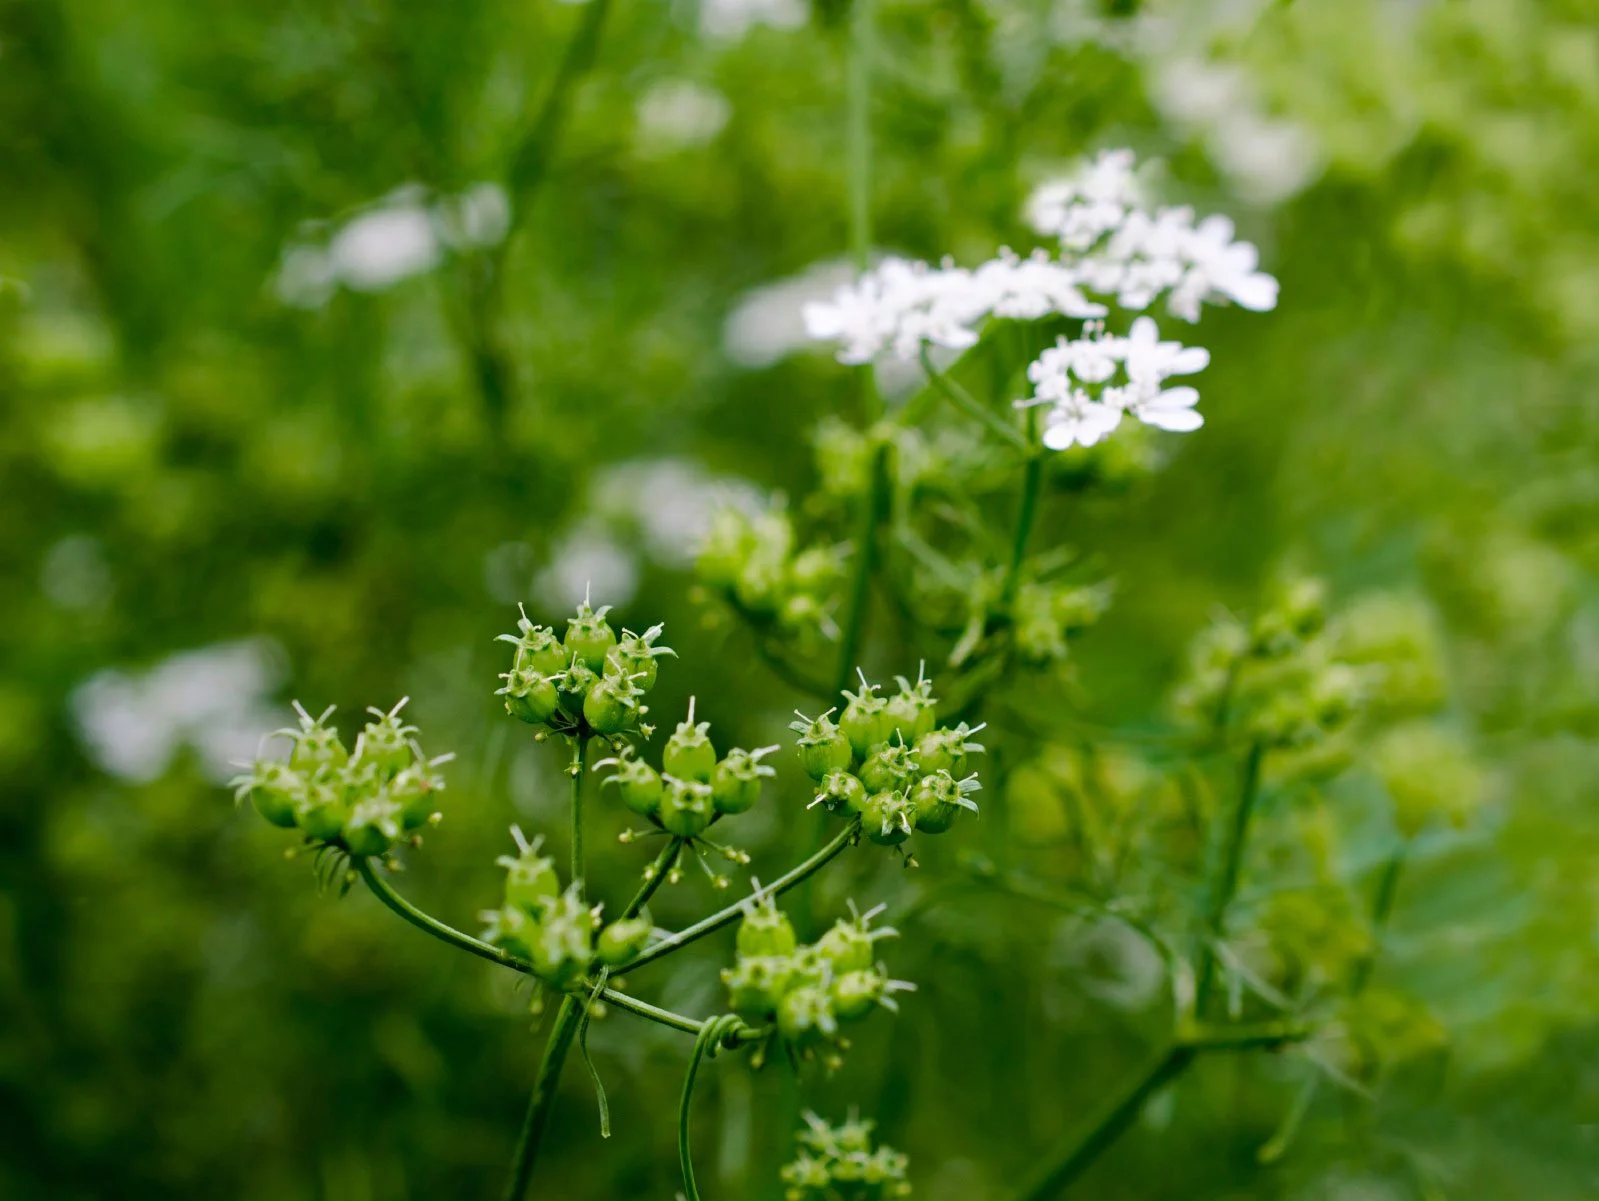
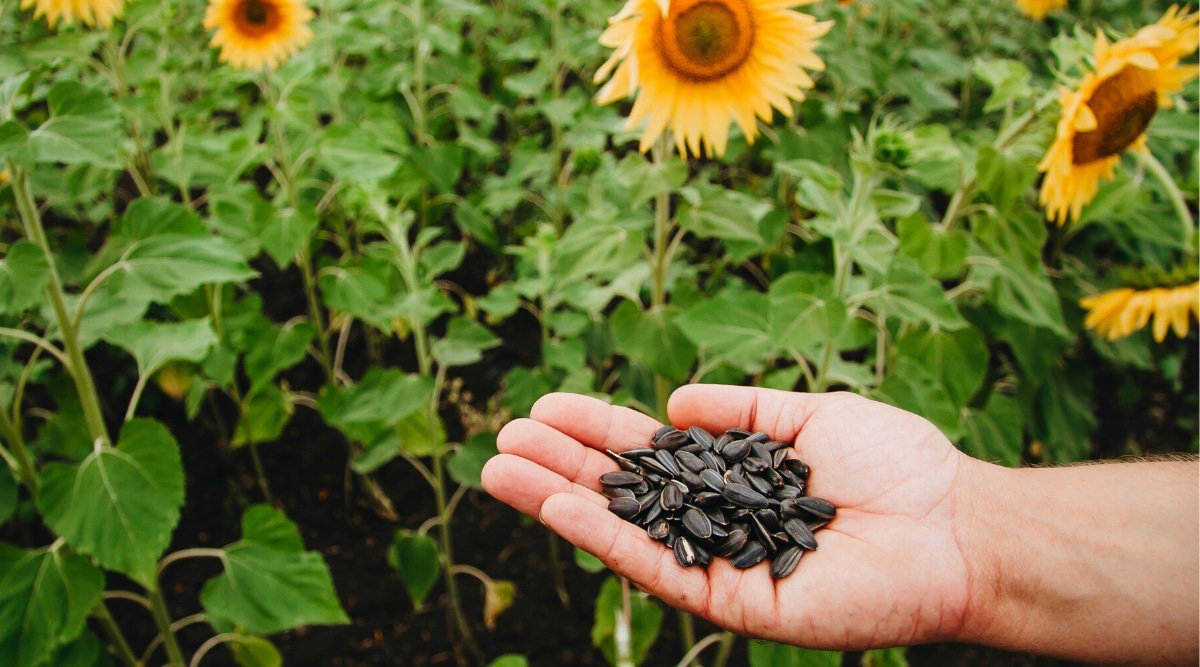
5. Seed Saving: If you wish to save cilantro seeds for future plantings, allow a few plants to bolt and produce flowers. Once the flowers dry and turn brown, collect the seeds. Store them in a cool, dry place in labeled envelopes or small containers for next year’s planting.
Remember, cilantro leaves are best enjoyed when fresh, so harvest them just before you need them to maximize their flavor and nutritional value. With regular harvesting, your cilantro plants will continue to produce abundant foliage for your culinary delights.
Conclusion
Congratulations on successfully learning how to sow cilantro seeds and nurture them into thriving plants. By following the steps outlined in this guide, you have gained the knowledge and skills to cultivate your own fresh and flavorful cilantro right in your garden.
From choosing the right seeds to preparing the soil, sowing the seeds, caring for the seedlings, and harvesting the cilantro leaves, every step in the process contributes to the success of your cilantro crop.
Remember to select fresh, organic seeds, prepare the soil adequately, and provide proper watering and care for your cilantro plants. Regular thinning, pest control measures, and timely harvesting will ensure healthy plants and a bountiful supply of aromatic cilantro leaves for your culinary adventures.
Whether you use cilantro in salsas, soups, sauces, salads, or as a garnish, growing your own cilantro allows you to enjoy its vibrant flavors and freshness straight from your garden. The satisfaction and joy of harvesting your own herbs is a rewarding experience that connects you with nature and promotes sustainable living.
So, what are you waiting for? Get out there, grab some cilantro seeds, and start sowing. Embrace the beauty of gardening and savour the delights of your homegrown cilantro crop. Happy growing!
Frequently Asked Questions about How To Sow Cilantro Seeds
Was this page helpful?
At Storables.com, we guarantee accurate and reliable information. Our content, validated by Expert Board Contributors, is crafted following stringent Editorial Policies. We're committed to providing you with well-researched, expert-backed insights for all your informational needs.


0 thoughts on “How To Sow Cilantro Seeds”