Home>Garden Essentials>When To Sow Echinacea Seeds
Garden Essentials
When To Sow Echinacea Seeds
Modified: March 16, 2024
Discover the perfect time to sow garden echinacea seeds for a thriving garden. Find expert tips and tricks for successful cultivation and vibrant blooms.
(Many of the links in this article redirect to a specific reviewed product. Your purchase of these products through affiliate links helps to generate commission for Storables.com, at no extra cost. Learn more)
Introduction
Welcome to the world of gardening! If you’re a garden enthusiast looking to add a stunning and beneficial plant to your collection, then growing Echinacea from seeds is a fantastic choice. Echinacea, also known as coneflower, is a beautiful perennial that not only adds vibrant colors to your garden but also offers numerous health benefits. Whether you’re a beginner gardener or have years of experience, growing Echinacea from seeds is a fulfilling and rewarding endeavor.
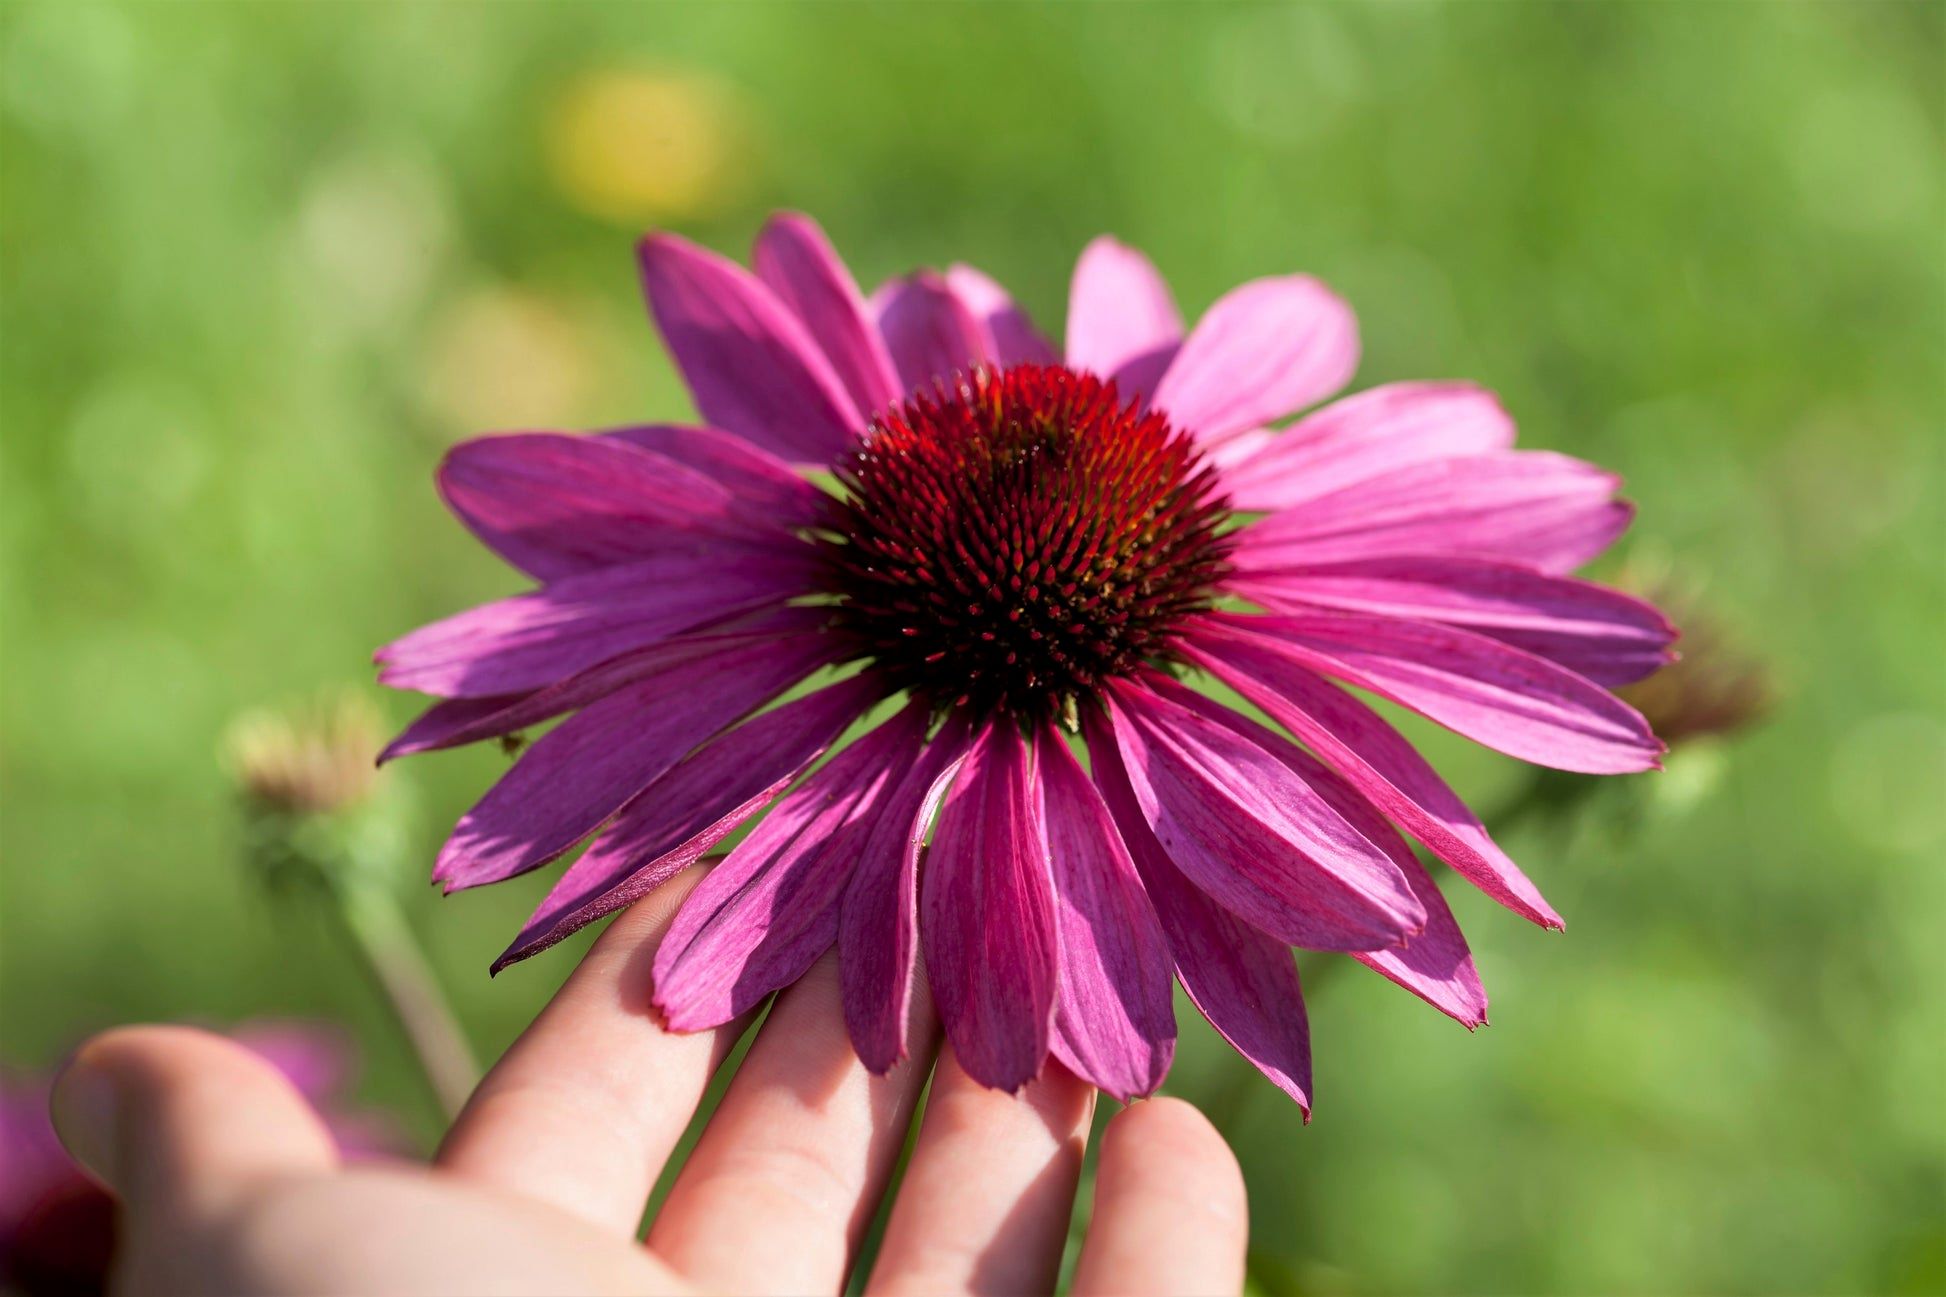
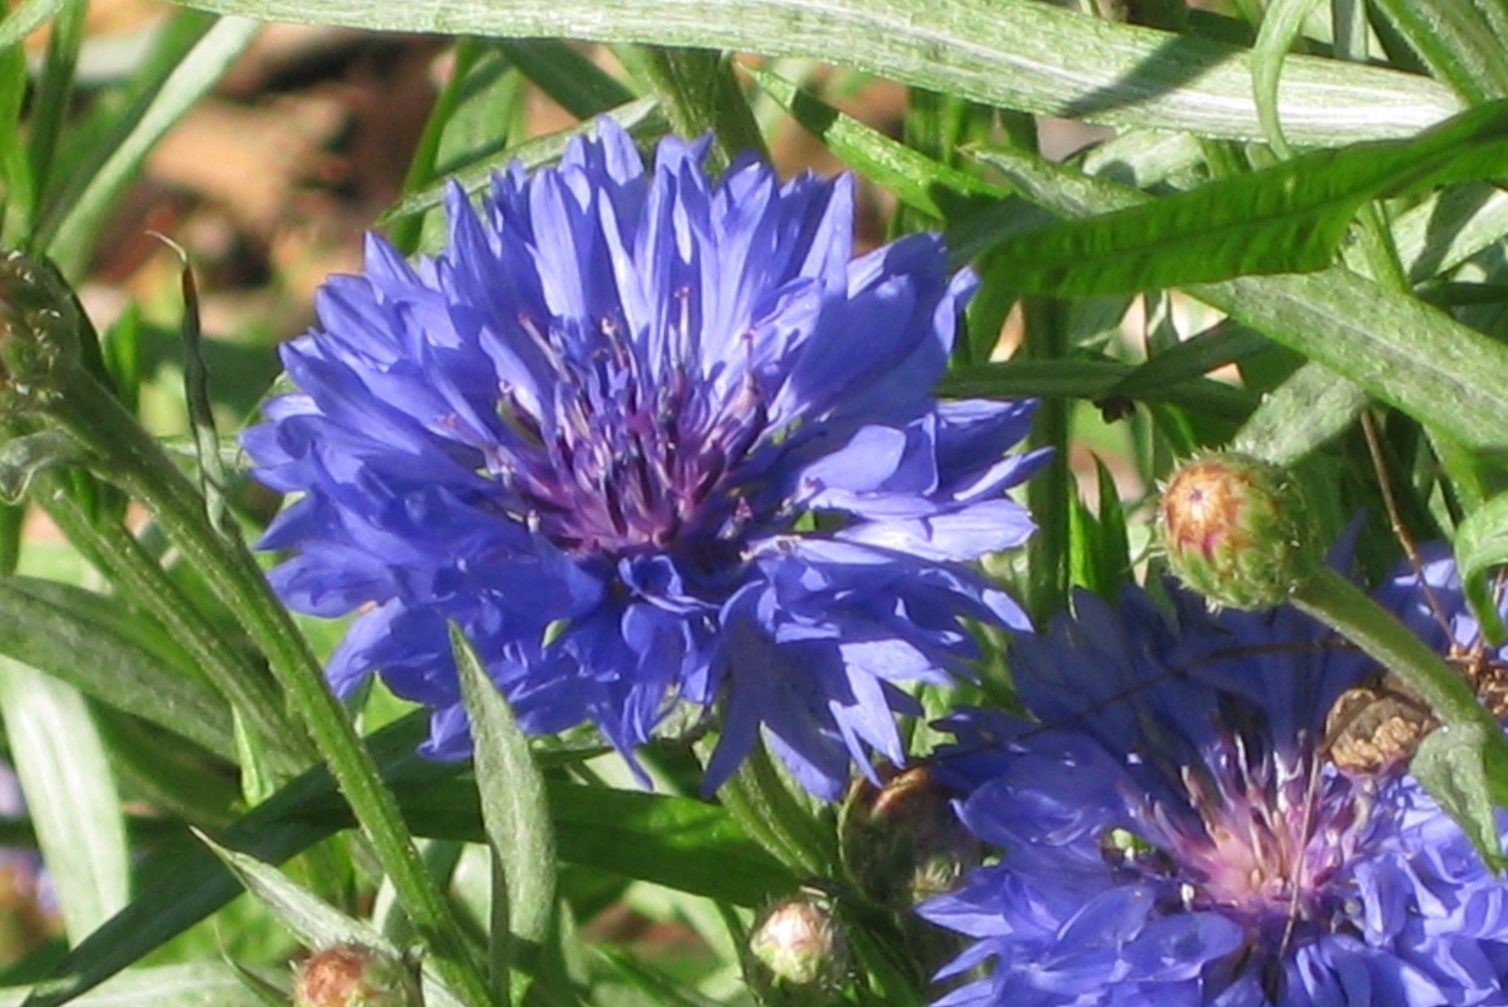
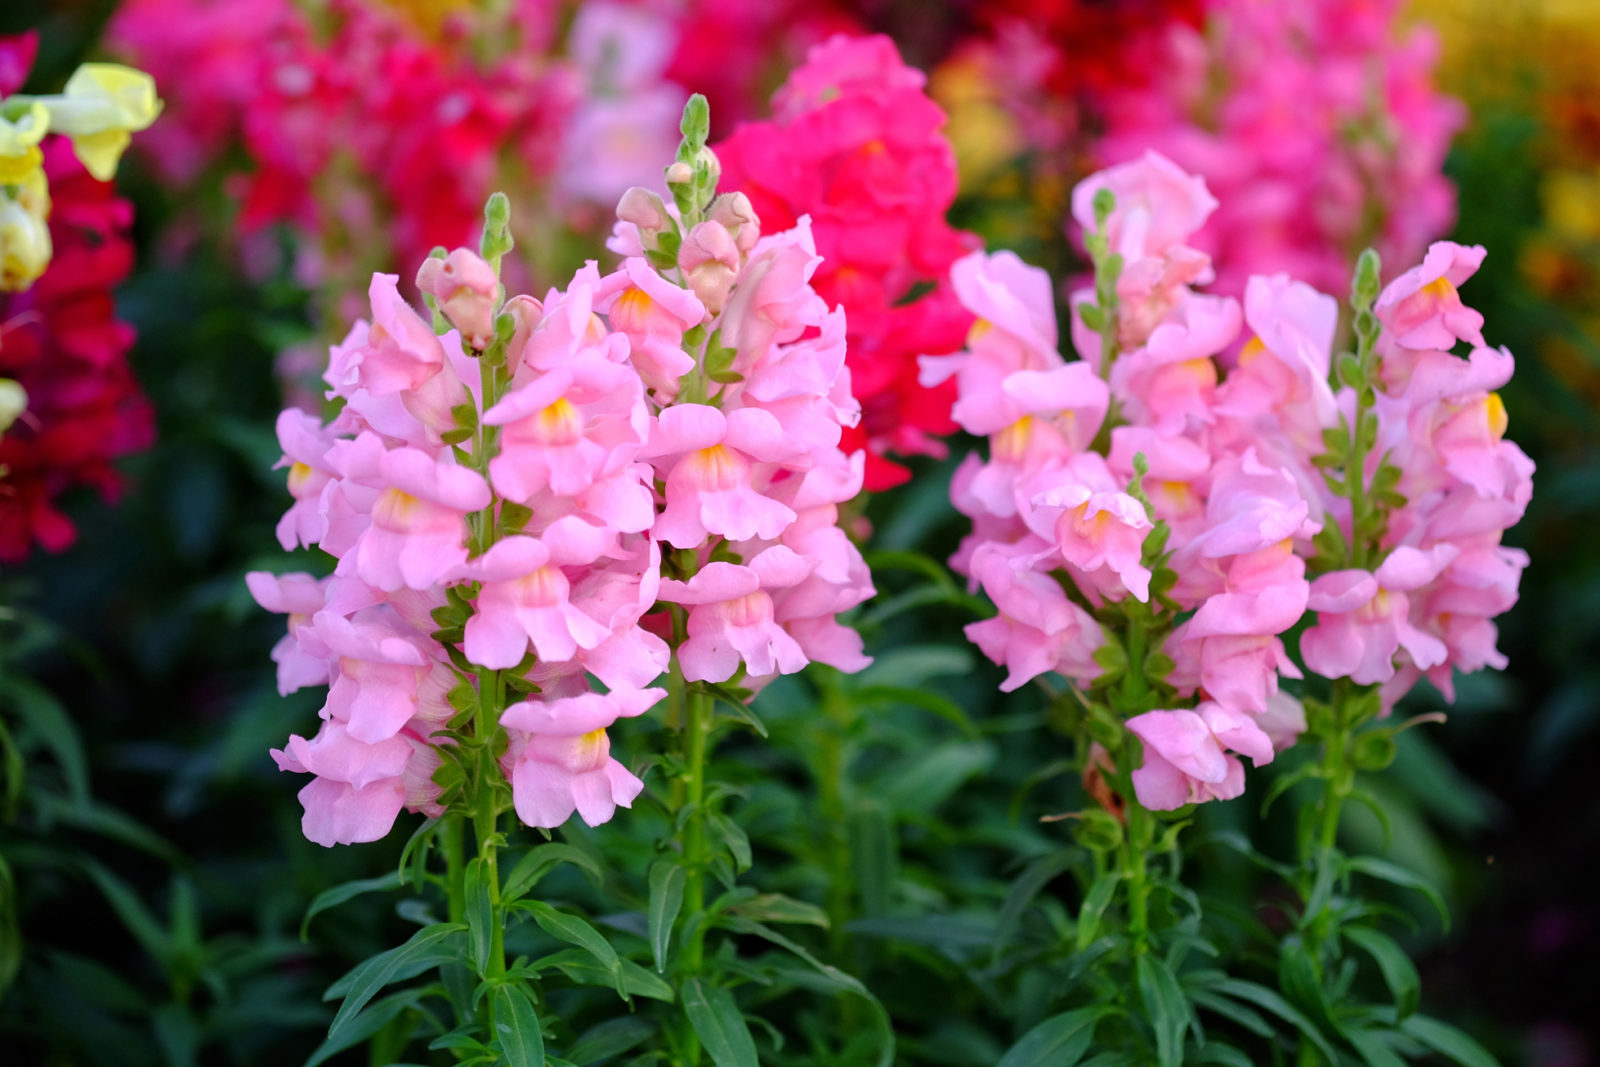
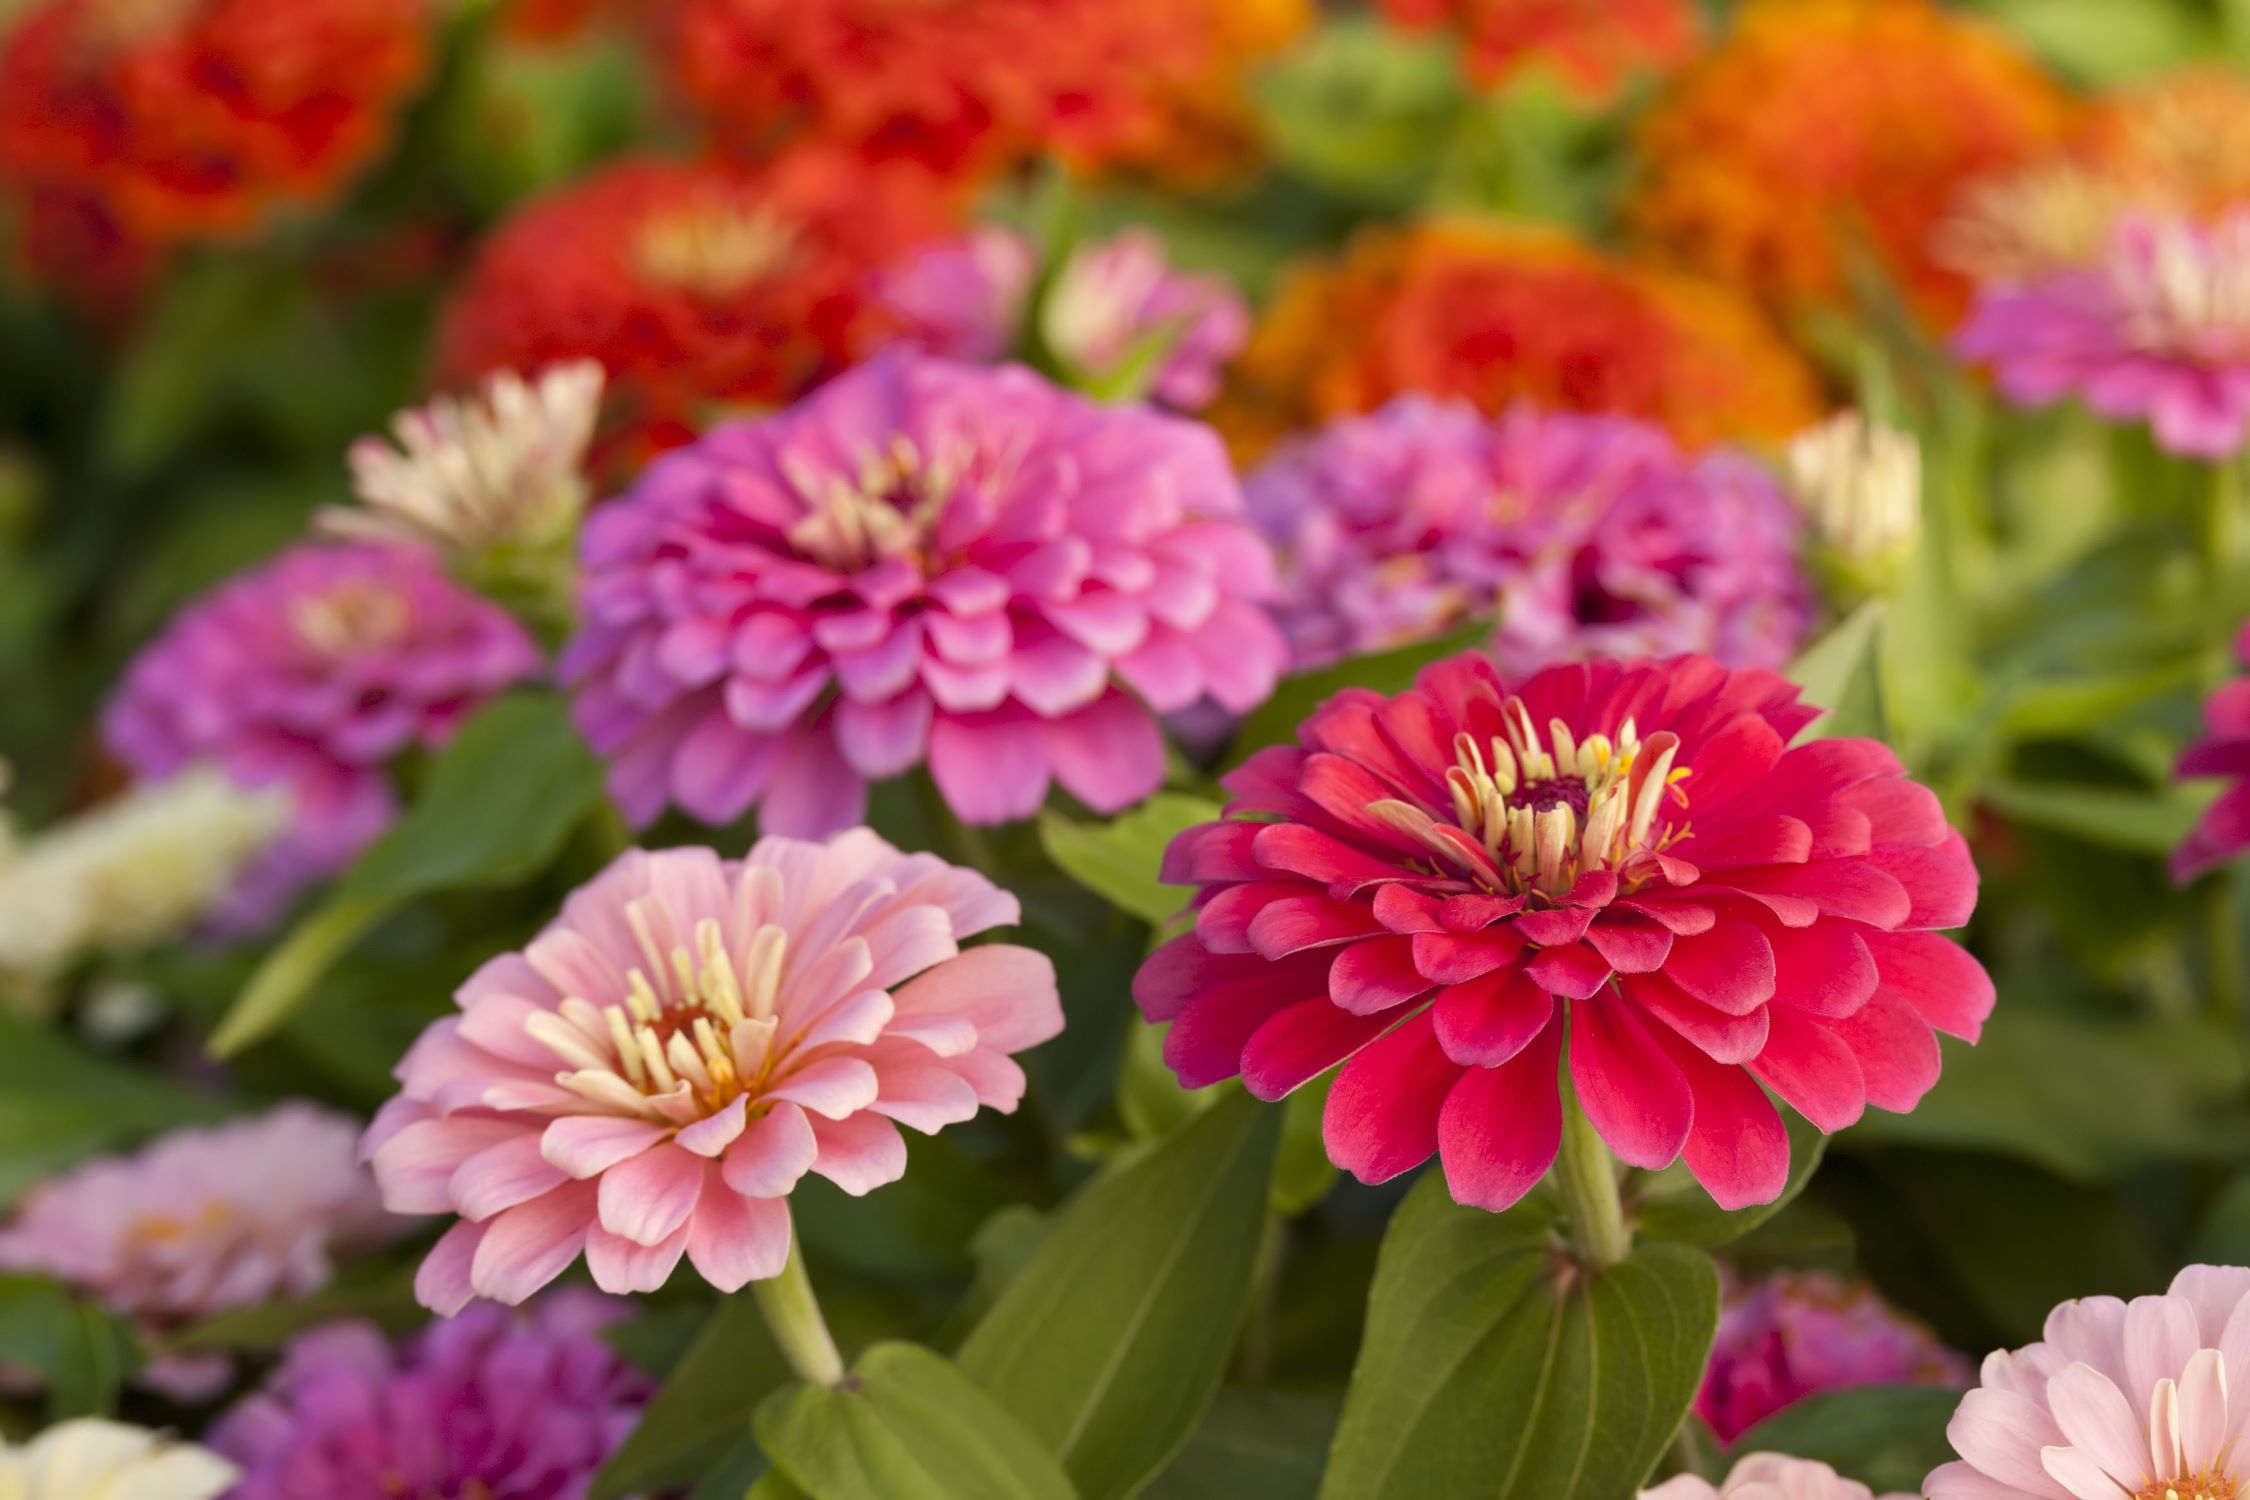
Echinacea plants are known for their striking and daisy-like flowers that come in various shades of purple, pink, and white. These colorful blooms not only attract bees, butterflies, and birds to your garden but also make for lovely cut flowers to brighten up your home. However, the beauty of Echinacea goes beyond its aesthetics. It is highly valued for its medicinal properties, particularly for its immune-boosting and anti-inflammatory qualities.
By growing Echinacea from seeds, you have the opportunity to cultivate a garden filled with these magnificent plants and reap the benefits they offer. Whether you’re planning to use Echinacea for its medicinal properties or simply enjoy its beauty, starting from seeds allows you to be part of the entire lifecycle of the plant. From sowing the seeds to nurturing the seedlings and watching them grow into mature plants, the journey of growing Echinacea is an enchanting and educational experience.
Before diving into the process of sowing Echinacea seeds, it’s important to understand the ideal time for planting. Echinacea seeds require specific conditions to germinate and grow successfully. By choosing the right time, you can ensure that your seeds have the optimum environment to flourish into healthy plants. In the next section, we will explore the ideal timing for sowing Echinacea seeds and the factors to consider when planning your planting schedule.
Key Takeaways:
- Timing is crucial when sowing Echinacea seeds. Late fall or early winter is ideal for germination, but early spring works too, with longer germination time.
- Growing Echinacea from seeds offers cost savings, variety, and a rewarding experience. It’s an educational journey from seed to vibrant plant.
Read more: When To Sow Lupine Seeds
Benefits of growing Echinacea from seeds
Growing Echinacea from seeds offers numerous benefits that make it an appealing choice for gardeners. Let’s explore some of the advantages you can enjoy by starting your Echinacea journey from seeds.
1. Cost-effective: Buying Echinacea plants from a nursery can be expensive, especially if you’re looking to grow a large number of them. Starting from seeds is a budget-friendly option, allowing you to grow multiple plants at a fraction of the cost.
2. Wide variety of cultivars: When purchasing Echinacea seeds, you have access to a vast array of cultivars and varieties that may not be readily available as nursery plants. This opens up a world of possibilities, allowing you to choose from a wide range of colors, sizes, and even unique traits.
3. Full control over the growing process: By starting Echinacea from seeds, you have complete control over the entire growing process. From choosing the soil mix and fertilizer to providing the ideal growing conditions, you can ensure that your plants receive the best care right from the start.
4. Educational experience: Growing Echinacea from seeds offers an educational experience, especially for gardening enthusiasts and children. It provides an opportunity to learn about plant life cycles, germination, and the importance of nurturing plants from seedlings to maturity.
5. Stronger plants: Starting from seeds allows for stronger and healthier plants. By growing them from scratch, the plants develop robust root systems, making them more resilient and better adapted to their environment. This increases their chances of thriving and surviving, even in challenging growing conditions.
6. Greater satisfaction: Witnessing the entire life cycle of Echinacea, from seed germination to blooming flowers, provides a sense of accomplishment and satisfaction. You can take pride in knowing that you played a crucial role in nurturing these beautiful plants from their very beginning.
7. Seed saving: When growing Echinacea from seeds, you can save the seeds from mature plants for future use. This allows you to create a sustainable garden as you continue to expand your collection of Echinacea plants without the need to purchase new seeds every year.
By growing Echinacea from seeds, you not only have the opportunity to create a stunning garden filled with these magnificent plants but also experience the joy of gardening from start to finish. From cost savings to a wider variety of cultivars and a deeper understanding of plant growth, the benefits of starting Echinacea from seeds are truly rewarding.
Choosing the right time to sow Echinacea seeds
Timing is crucial when it comes to sowing Echinacea seeds. These seeds require specific conditions to germinate and grow successfully. By choosing the right time to sow your Echinacea seeds, you can ensure their optimal growth and maximize your chances of success.
Echinacea seeds have a natural dormancy period, which means they require a period of cold stratification to break their dormancy and stimulate germination. This mimics the natural conditions they would experience in the wild. Therefore, it’s important to plan your sowing time considering this requirement.
The ideal time to sow Echinacea seeds is during the late fall or early winter, typically around November or December. This allows the seeds to undergo the necessary cold stratification period during the winter months. Exposure to cold temperatures for a few weeks to a couple of months helps to break the seed’s dormancy and initiates the germination process.
If you missed the ideal sowing time during the late fall or early winter, don’t worry. You can still sow Echinacea seeds in early spring, before the last frost date in your area. However, keep in mind that seed germination may take longer compared to fall-sown seeds, as they will naturally undergo a longer stratification period.
It’s important to consider your specific climate and growing zone when determining the best time to sow Echinacea seeds. Different regions have different climatic characteristics, so adjust the sowing time accordingly to ensure the seeds have the proper temperature and environmental conditions for successful germination.
Research your specific USDA Hardiness Zone to determine the average last frost date in your area. This information will help you plan your sowing time accordingly. Echinacea seeds should be sown several weeks before the last frost date to give the seedlings enough time to develop before being transplanted outdoors.
Additionally, keep in mind that Echinacea seeds have a relatively long germination period of 10 to 30 days. Hence, patience is essential when waiting for the seeds to sprout. Provide consistent moisture and maintain a temperature between 70-75°F (21-24°C) during the germination period to facilitate successful seedling development.
By choosing the right time to sow your Echinacea seeds and providing the necessary conditions for their successful germination, you set the stage for healthy seedlings and robust plants in your garden.
Preparing the soil for sowing Echinacea seeds
Before sowing Echinacea seeds, it’s important to prepare the soil to provide the best growing conditions for the seeds and seedlings. Proper soil preparation ensures that your Echinacea plants have a strong foundation for healthy growth and development. Here are some steps to follow when preparing the soil:
1. Choose a sunny location: Echinacea thrives in full sun, so choose a spot in your garden that receives at least 6-8 hours of direct sunlight per day. Sunlight is essential for the plants to produce vibrant flowers and maintain overall health.
2. Clear the area: Remove any existing weeds, rocks, or debris from the planting area. Weeds can compete with the Echinacea seedlings for nutrients, water, and sunlight, hindering their growth. Clearing the area also helps prevent potential diseases or pests from affecting your plants.
3. Test the soil: Conduct a soil test to determine the soil’s pH and nutrient levels. Echinacea prefers a slightly acidic to neutral pH range of 6.0-7.0. If necessary, make amendments to adjust the pH accordingly. Additionally, ensure that the soil is well-draining to prevent waterlogging, as Echinacea prefers moist but not waterlogged conditions.
4. Add organic matter: Improve the soil’s fertility and structure by incorporating organic matter, such as compost or well-rotted manure. Organic matter enhances the soil’s ability to retain moisture and nutrients, creating a favorable environment for the Echinacea seeds and promoting healthy root development.
5. Loosen the soil: Echinacea seeds require good soil contact for successful germination. Loosen the soil to a depth of at least 6-8 inches (15-20 cm) using a garden fork or tiller. This loosening allows the roots to penetrate easily, ensuring proper nutrient uptake and anchorage.
6. Remove large clumps and stones: Break up any large clumps of soil and remove stones or debris that may inhibit root growth or impede germination. The soil should have a fine and crumbly texture, providing an ideal growing environment for the Echinacea seeds and young plants.
7. Rake the soil surface: After preparing the soil, use a garden rake to level the surface. This helps create a smooth and even bed for sowing the Echinacea seeds.
It is important to note that Echinacea is a resilient plant and can tolerate a variety of soil conditions. However, by preparing the soil according to these guidelines, you can optimize the growing conditions for your Echinacea seeds and ensure the best possible start for your plants.
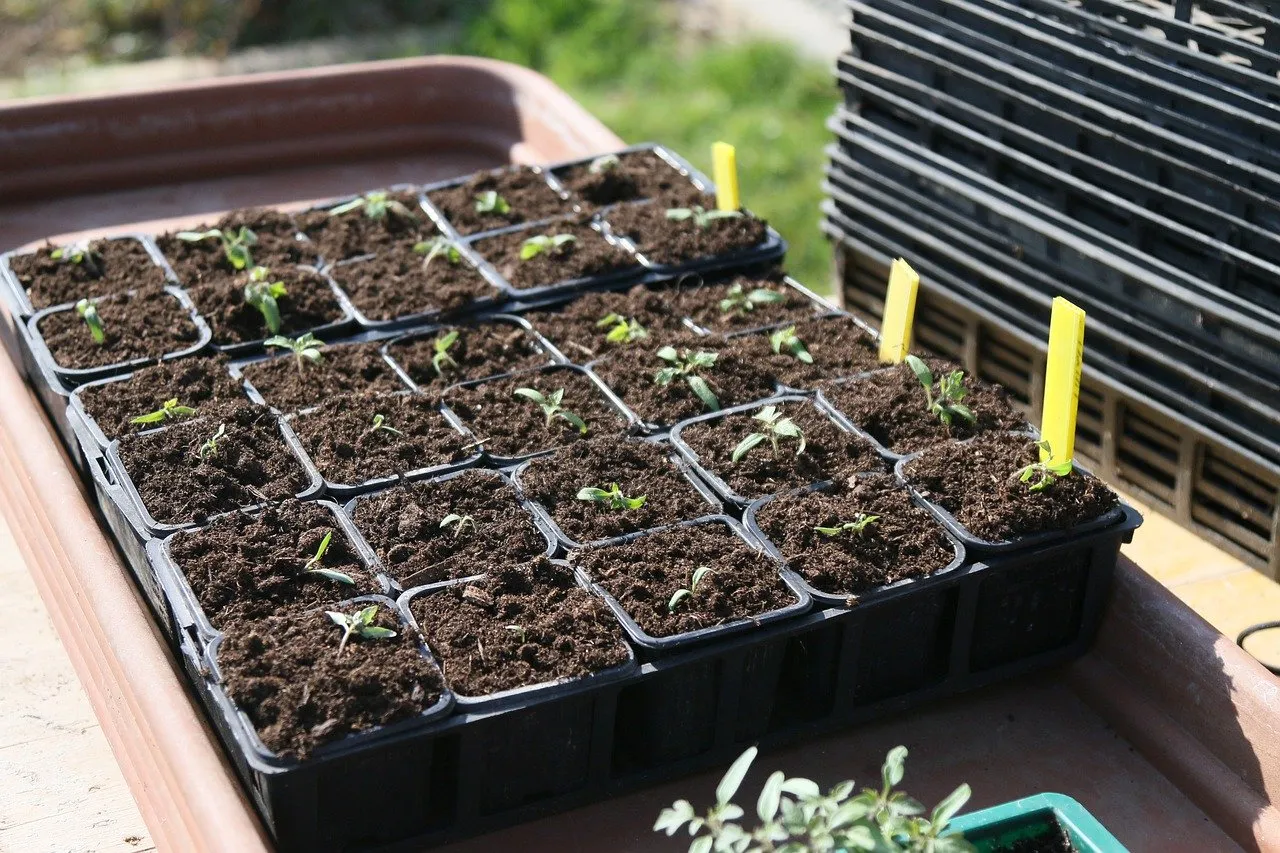
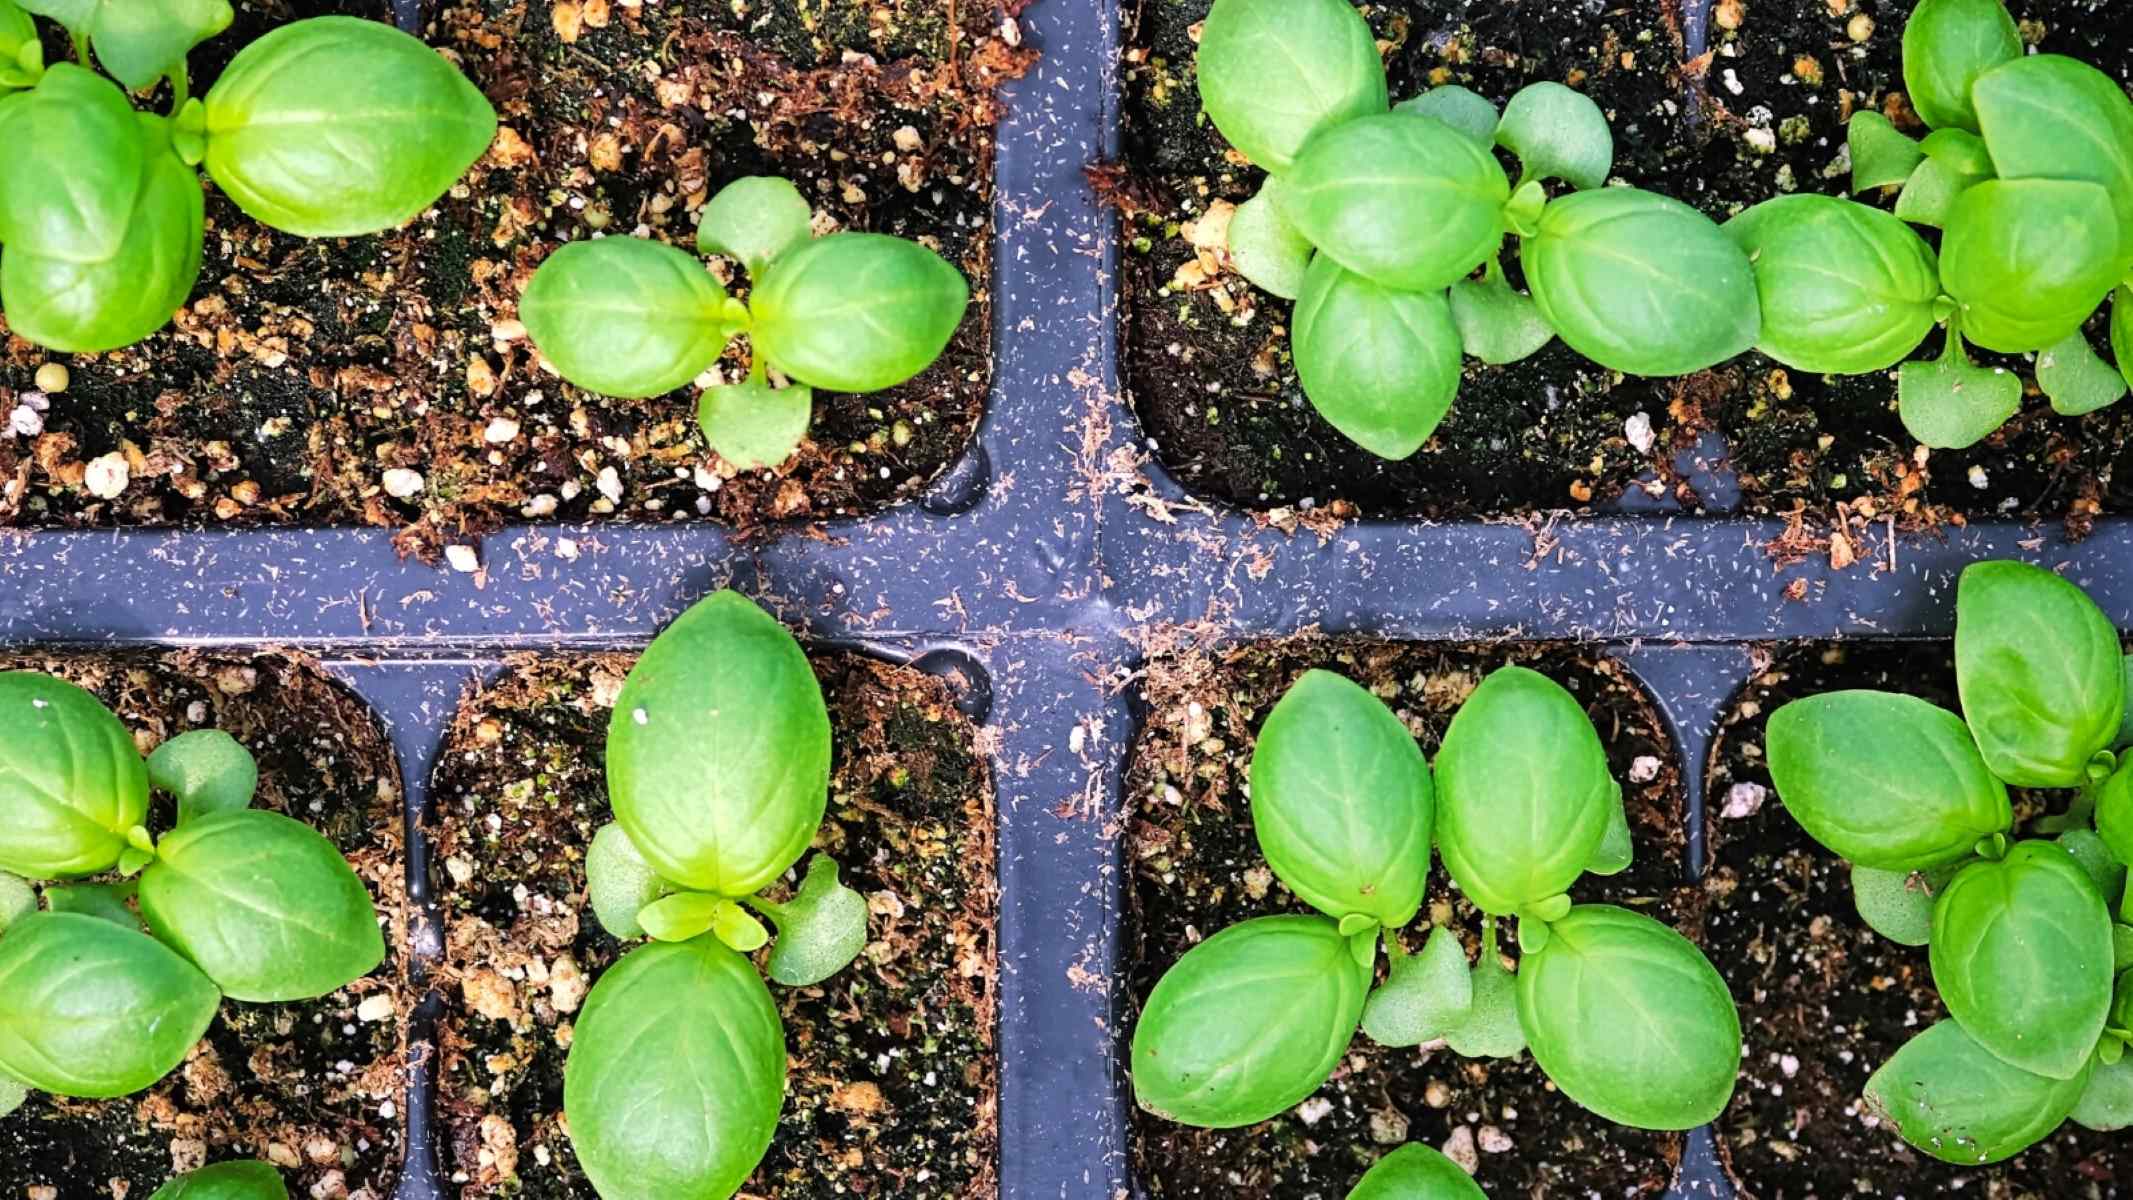
Sowing Echinacea seeds indoors
Sowing Echinacea seeds indoors is a great way to get a head start on the growing season and ensure a higher success rate with germination. Here is a step-by-step guide on how to sow Echinacea seeds indoors:
1. Choose the right containers: Select containers with drainage holes to prevent waterlogging. Use seed trays, peat pots, or individual cell packs to sow the seeds. These containers provide enough space for the seeds to germinate and the seedlings to develop.
2. Prepare a well-draining seed starting mix: Fill the containers with a sterile seed starting mix. Avoid using garden soil, as it may contain weed seeds or diseases that can hinder germination and affect the seedlings’ health. The seed starting mix should be light, well-draining, and enriched with organic matter.
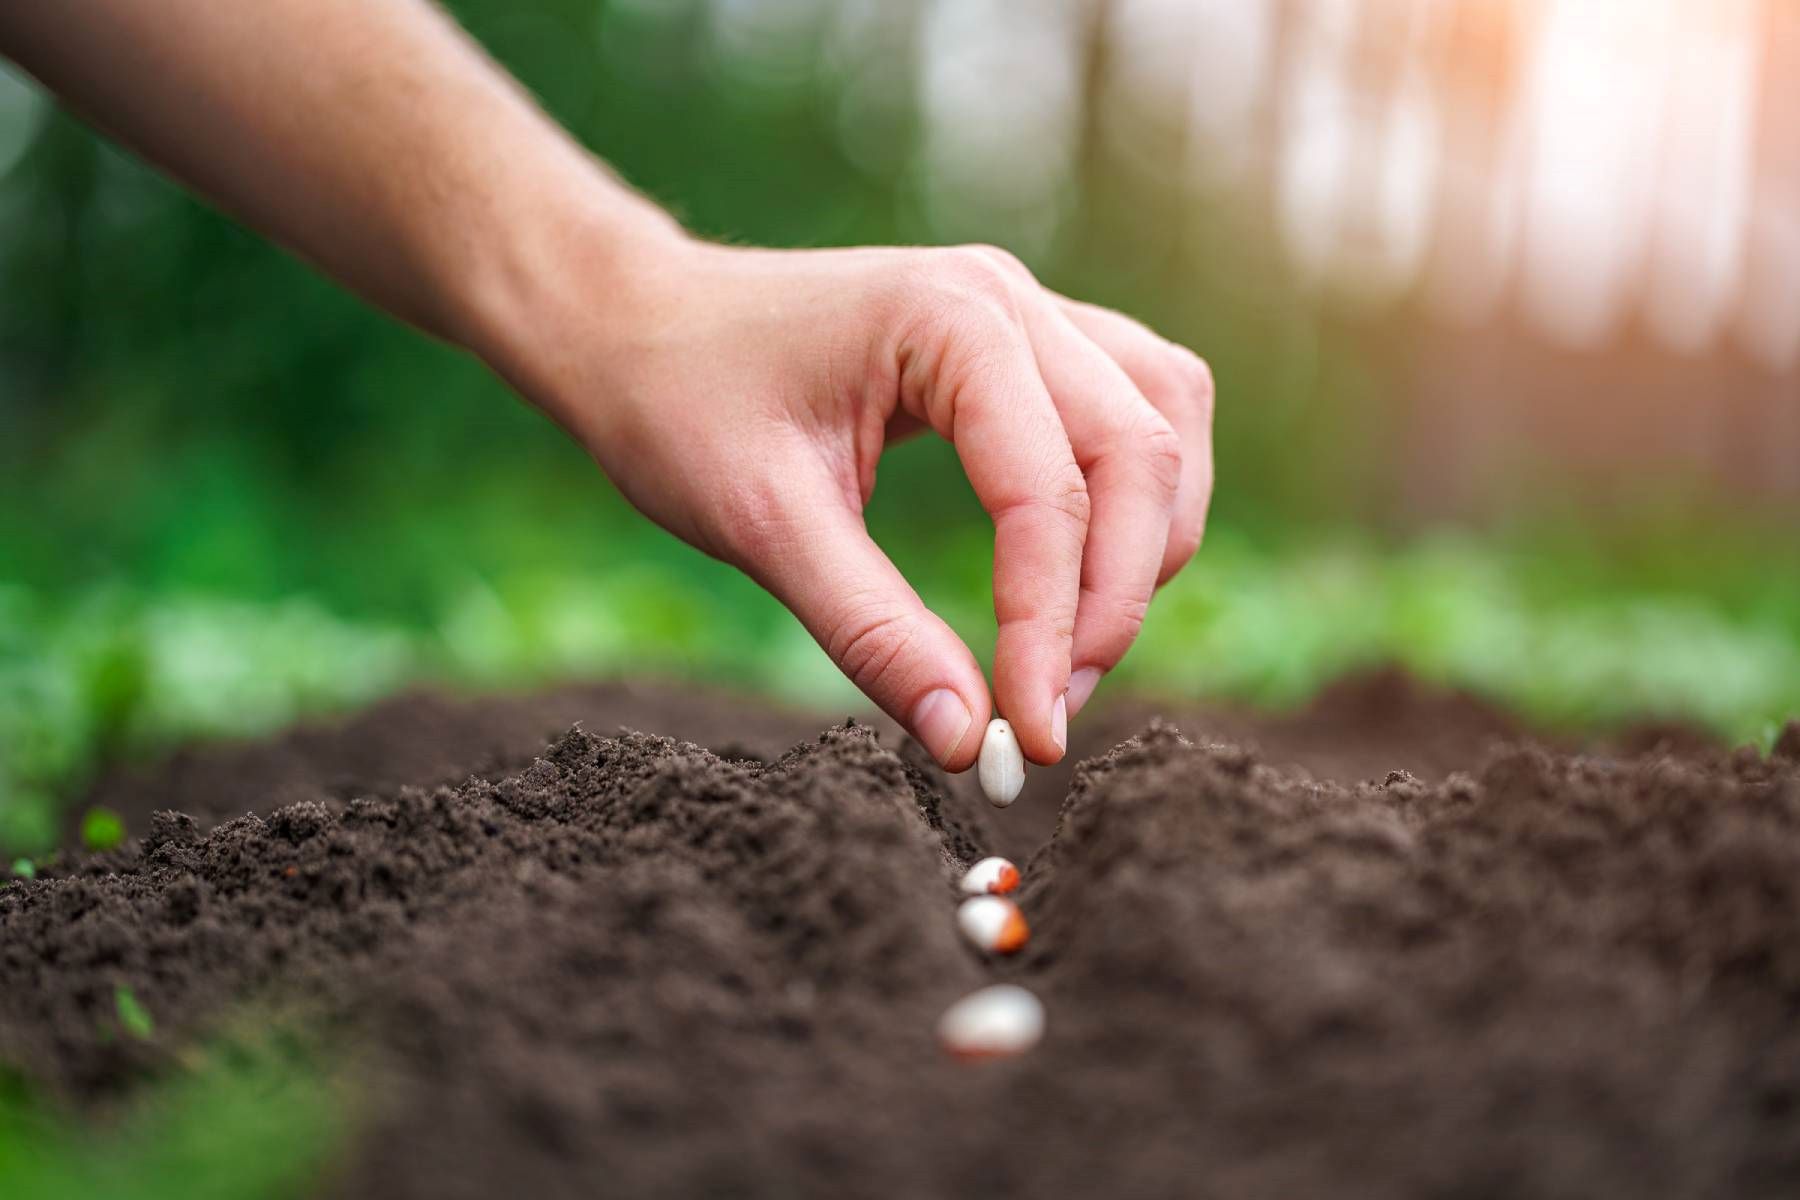
3. Sow the seeds: Place 2-3 Echinacea seeds on top of the seed starting mix in each container. Lightly press the seeds into the mix, ensuring good soil contact. Sow the seeds at a depth of approximately ⅛ inch (3-5 mm). Avoid burying them too deep, as this may inhibit germination.
4. Moisten the soil: After sowing the seeds, mist the soil surface with water or use a spray bottle to ensure even moisture. Avoid overwatering, as excess moisture can lead to fungal diseases. Maintain moist but not waterlogged conditions throughout the germination process.
5. Provide warmth and light: Echinacea seeds germinate best in a warm environment. Place the containers in a location where the temperature remains around 70-75°F (21-24°C). Additionally, provide bright light or use grow lights to ensure proper seedling development. Consider using a heating mat under the trays to maintain consistent soil temperature.
6. Cover the containers: Use a clear plastic dome or cover the containers with a plastic wrap to create a greenhouse-like environment. This helps retain moisture and create a humid environment for faster and more successful germination. Once the seeds have sprouted, remove the cover to prevent excess moisture buildup.
7. Monitor and care for the seedlings: Check the containers regularly to ensure that the soil remains moist. Water gently from the bottom or use a misting spray bottle to avoid disturbing the fragile seedlings. As the seedlings grow, thin them out, keeping only the strongest and healthiest plants in each container.
8. Harden off the seedlings: Before transplanting the seedlings outdoors, it’s essential to gradually acclimate them to outdoor conditions. This process, known as hardening off, involves gradually exposing the seedlings to outdoor temperatures, sunlight, and wind over a period of 7-10 days.
Sowing Echinacea seeds indoors gives you control over the germination process and ensures a higher rate of success. With proper care and attention, you will soon have healthy Echinacea seedlings ready for transplanting into your garden or containers.
Sow Echinacea seeds in the spring, after the last frost has passed. This will give the seeds the best chance to germinate and grow successfully.
Read more: When To Sow Kale Seeds
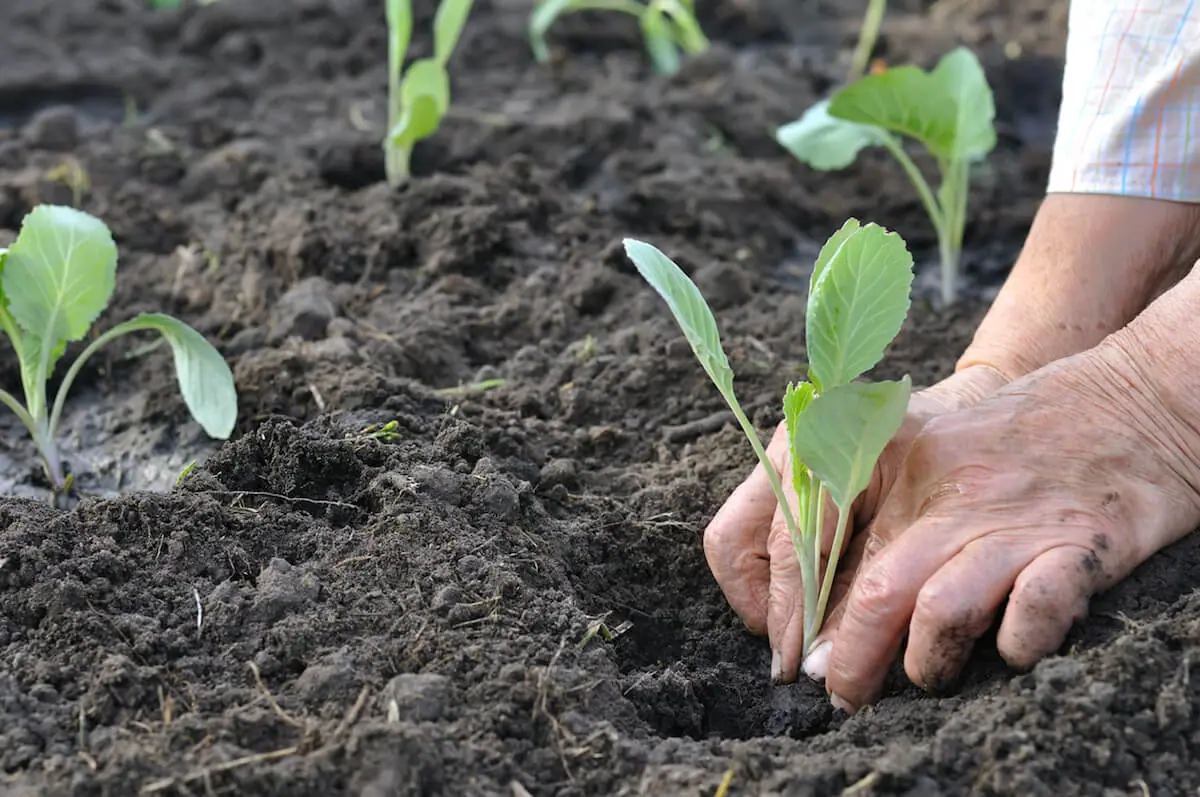
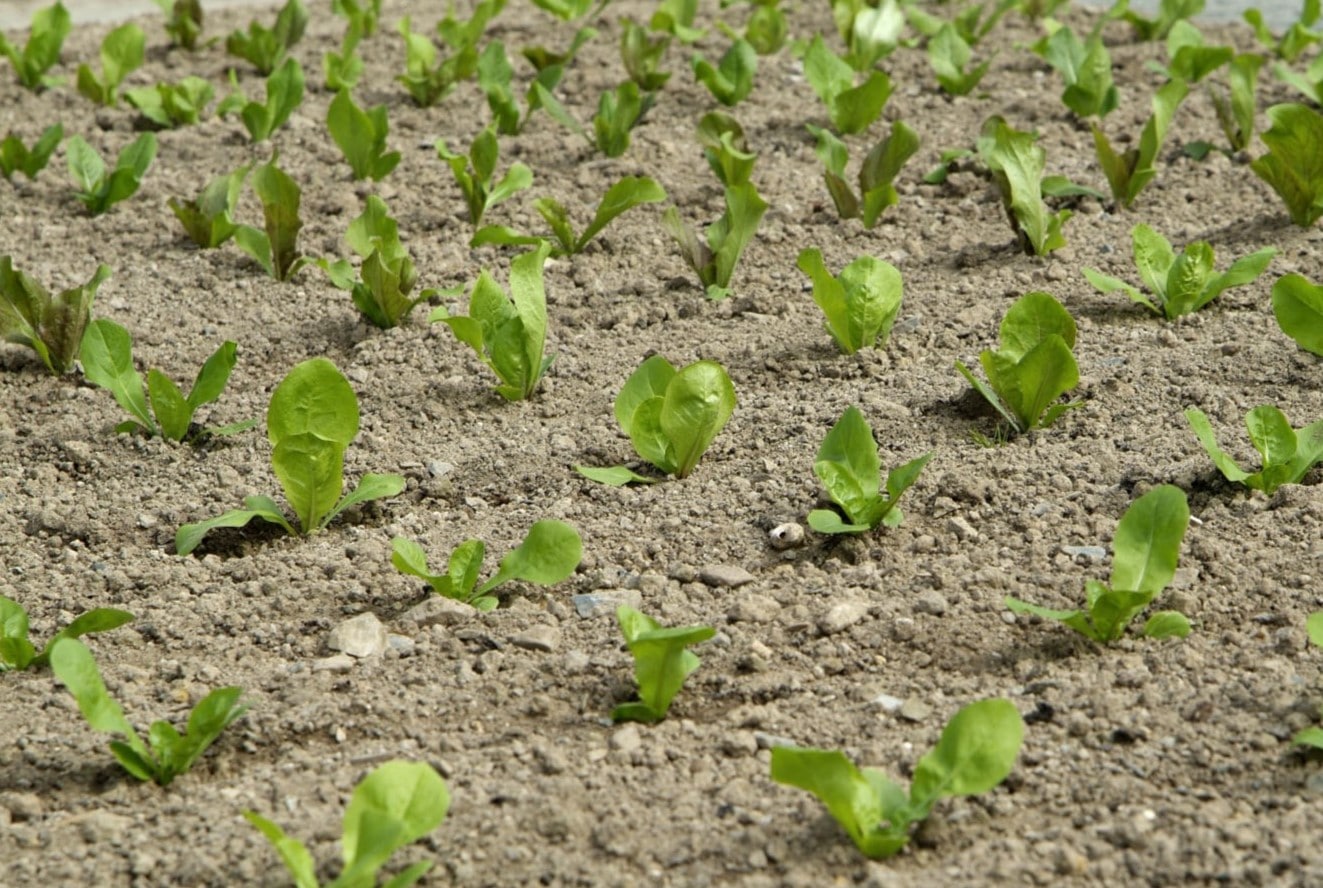
Transplanting Echinacea seedlings outdoors
Transplanting Echinacea seedlings from indoors to the outdoors is an exciting step in their journey towards becoming established plants in your garden. Before moving them outside, it’s important to ensure that the seedlings are strong and well-prepared for the transition. Here’s a step-by-step guide on how to transplant Echinacea seedlings:
1. Timing: Wait until the danger of frost has passed and the soil has warmed up before transplanting Echinacea seedlings outdoors. This is typically after the last frost date in your area. Transplanting them too early can stunt their growth or damage the tender seedlings.
2. Choose the right location: Select a sunny spot in your garden with well-draining soil. Echinacea thrives in full sun, receiving at least 6-8 hours of direct sunlight per day. Ensure that the soil is fertile and enriched with organic matter to support healthy growth.
3. Prepare the planting holes: Dig holes that are slightly larger than the rootball of each Echinacea seedling. Space the holes at least 12-18 inches (30-45 cm) apart to provide enough room for the mature plants to grow and spread. Work in some compost or well-rotted manure into the planting holes to further enhance the soil fertility.
4. Water the seedlings: Before removing the seedlings from their containers, thoroughly water them to ensure that the rootballs are moist. This helps minimize any shock that the plants may experience during the transplanting process.
5. Gently remove the seedlings from the containers: Carefully loosen the soil around the seedlings and gently lift them out of their containers. Handle the seedlings by the leaves or rootball to avoid damaging the fragile stems.
6. Place the seedlings in the planting holes: Insert the Echinacea seedlings into the prepared planting holes, ensuring that the rootballs are level with or slightly above the soil surface. Backfill the holes with soil, gently firming it around the base of the plants to eliminate any air pockets.
7. Water and mulch: After transplanting, water the seedlings thoroughly to help settle the soil around their roots. Apply a layer of organic mulch, such as wood chips or straw, around the base of the plants. Mulching helps retain moisture, suppress weeds, and regulate soil temperature, providing an optimal growing environment for the Echinacea plants.
8. Provide support if necessary: If you are growing taller Echinacea varieties, consider providing support, such as stakes or plant cages, to prevent the plants from toppling over in strong winds or heavy rain. This will help ensure that the plants grow upright and maintain their aesthetic appeal in the garden.
9. Watering and maintenance: Keep the soil moist but not waterlogged as the seedlings establish themselves in their new surroundings. Regularly check for any signs of stress, such as wilting or yellowing leaves, and provide additional water if needed. Once established, Echinacea plants are relatively drought-tolerant and require less frequent watering.
Transplanting Echinacea seedlings from indoors to the outdoors can be a thrilling step in the gardening process. With proper care and attention, these young plants will grow into robust and vibrant additions to your garden, attracting pollinators and adding beauty to your outdoor space.
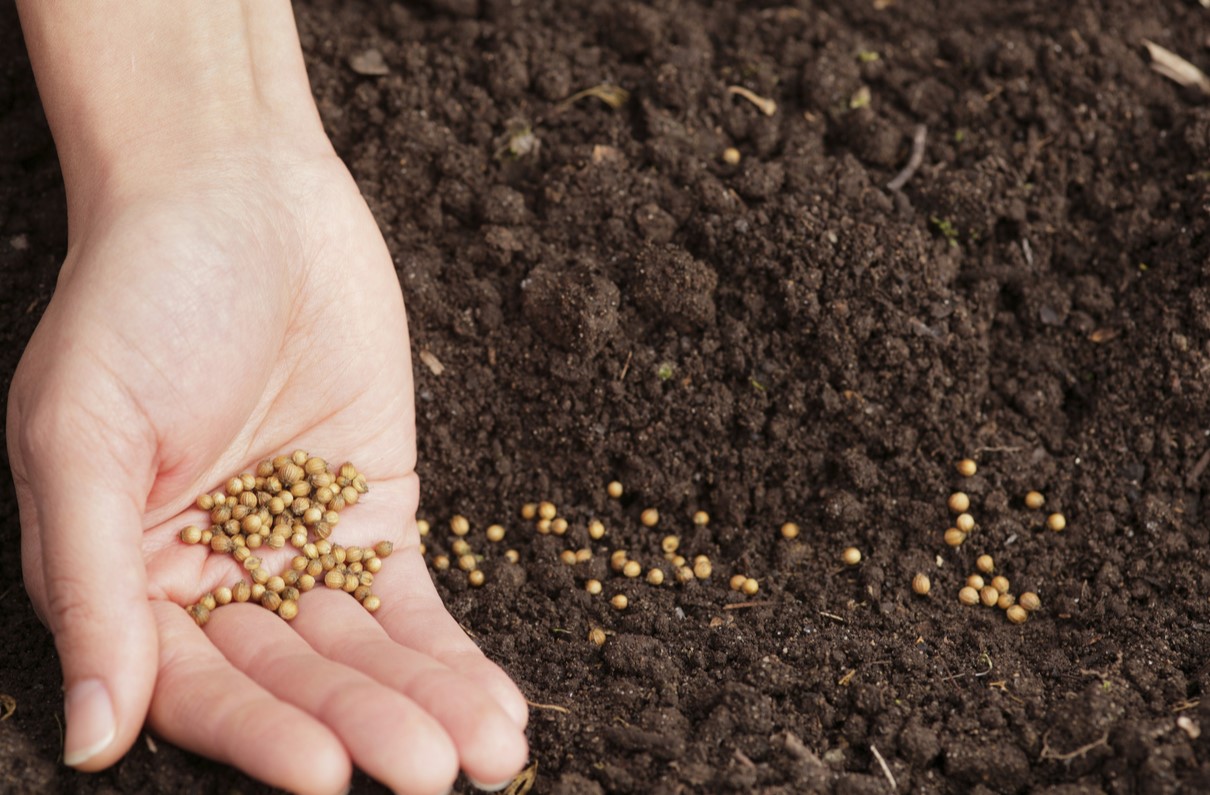
Direct sowing Echinacea seeds in the garden
Direct sowing Echinacea seeds in the garden is a simple and rewarding method of growing these beautiful plants. By sowing the seeds directly in the soil, you skip the indoor seed starting process and allow the seeds to germinate and grow in their intended environment right from the start. Here’s a step-by-step guide on how to direct sow Echinacea seeds in your garden:
1. Timing: Choose the right time to direct sow Echinacea seeds in your garden. As mentioned earlier, the ideal time is during late fall or early winter, around November or December. However, if you missed the fall window, you can also direct sow the seeds in early spring, before the last frost date in your area.
2. Select a sunny spot: Choose a location in your garden that receives full sun for at least 6-8 hours per day. Echinacea thrives in bright sunlight and will produce more vibrant flowers in sunny conditions.
3. Prepare the soil: Clear the area of any weeds, rocks, or debris. Loosen the soil to a depth of 6-8 inches (15-20 cm) using a garden fork or tiller. Add organic matter, such as compost or well-rotted manure, to improve soil fertility and drainage.
4. Sow the seeds: Create small furrows in the prepared soil, about ¼ inch (6 mm) deep. Space the furrows about 12-18 inches (30-45 cm) apart. Place the Echinacea seeds in the furrows, spacing them out according to the recommended seed packet instructions. Cover the seeds lightly with soil and gently firm the soil over the seeds.
5. Water the seeds: After sowing the seeds, water the area thoroughly to ensure that the soil is evenly moist. Continue to provide consistent moisture throughout the germination and establishment period. Avoid overwatering, as excessive moisture can lead to damping off or other fungal diseases.
6. Maintain the seedbed: Keep the seedbed free of weeds, as they can compete with the Echinacea seedlings for nutrients, water, and sunlight. Regularly inspect the area and gently remove any weeds that emerge. A layer of mulch can help suppress weed growth and conserve soil moisture.
7. Germination and care: Echinacea seeds typically germinate in 10 to 30 days, depending on temperature and growing conditions. Be patient and provide proper care during this time. As the seedlings grow, thin them out, leaving the strongest and healthiest ones spaced according to the recommended guidelines. This will prevent overcrowding and ensure sufficient resources for each plant.
8. Ongoing care: Once the seedlings are established, Echinacea plants are relatively low-maintenance. Water them as needed, particularly during dry spells, to maintain consistent soil moisture. Apply organic mulch around the plants to help retain moisture and suppress weeds.
By directly sowing Echinacea seeds in your garden, you can witness the natural cycle of seed germination and growth right in your own backyard. With proper care and attention, these resilient plants will flourish and reward you with their vibrant colors and beneficial properties.
Caring for Echinacea seedlings
Proper care is crucial for the healthy growth and development of Echinacea seedlings. These young plants require attention and specific care to ensure they establish themselves well in your garden. Here are some essential tips for caring for Echinacea seedlings:
1. Watering: Keep the soil consistently moist but not waterlogged during the seedling stage. Water the seedlings regularly, particularly during dry periods, to prevent the soil from drying out. Avoid overwatering, as excessive moisture can lead to root rot or other fungal diseases. Aim to water at the base of the plants rather than overhead to minimize the risk of leaf diseases.
2. Mulching: Apply a layer of organic mulch, such as wood chips or straw, around the base of the Echinacea seedlings. Mulching helps conserve soil moisture, suppress weeds, and regulate soil temperature. Keep the mulch away from the stems to prevent moisture buildup and potential rotting.
3. Fertilization: Echinacea seedlings generally do not require heavy fertilization. However, you can apply a slow-release balanced fertilizer or a compost tea diluted with water to provide some additional nutrients. Follow the recommended instructions on the fertilizer package or refer to organic gardening practices for proper application methods.
4. Thinning: If you have sown multiple seeds in one container or if the seedlings are overcrowded, thin them out once they have a few true leaves. Remove the weakest or smaller seedlings, leaving only the strongest and healthiest ones. This allows the remaining seedlings to have sufficient space, nutrients, and room to grow.
5. Pest and disease control: Monitor the seedlings for any signs of pests or diseases. Common pests that may affect Echinacea include aphids, slugs, and snails. Use natural pest control methods or targeted organic insecticides if necessary. Similarly, be on the lookout for fungal infections or bacterial diseases, and promptly address them by using appropriate organic treatments.
6. Support for taller varieties: If you are growing taller Echinacea varieties, provide support, such as stakes or plant cages, to prevent them from toppling over in strong winds or heavy rain. This will help ensure that the plants grow upright and maintain their aesthetics in the garden.
7. Regular monitoring: Regularly inspect the seedlings for any signs of stress, such as wilting, yellowing leaves, or any unusual growth. Catching and addressing issues early can help prevent further damage and ensure the healthy growth of the seedlings.
8. Transitioning to the outdoors: If you have started the Echinacea seedlings indoors, gradually acclimate them to outdoor conditions before transplanting them into the garden. This process, known as hardening off, involves exposing the seedlings to outdoor temperatures, sunlight, and wind gradually over a period of 7-10 days.
By providing proper care and attention to your Echinacea seedlings, you are setting the foundation for strong and thriving plants in your garden. With time and nurturing, these seedlings will grow into mature Echinacea plants, bringing beauty, color, and beneficial properties to your outdoor space.
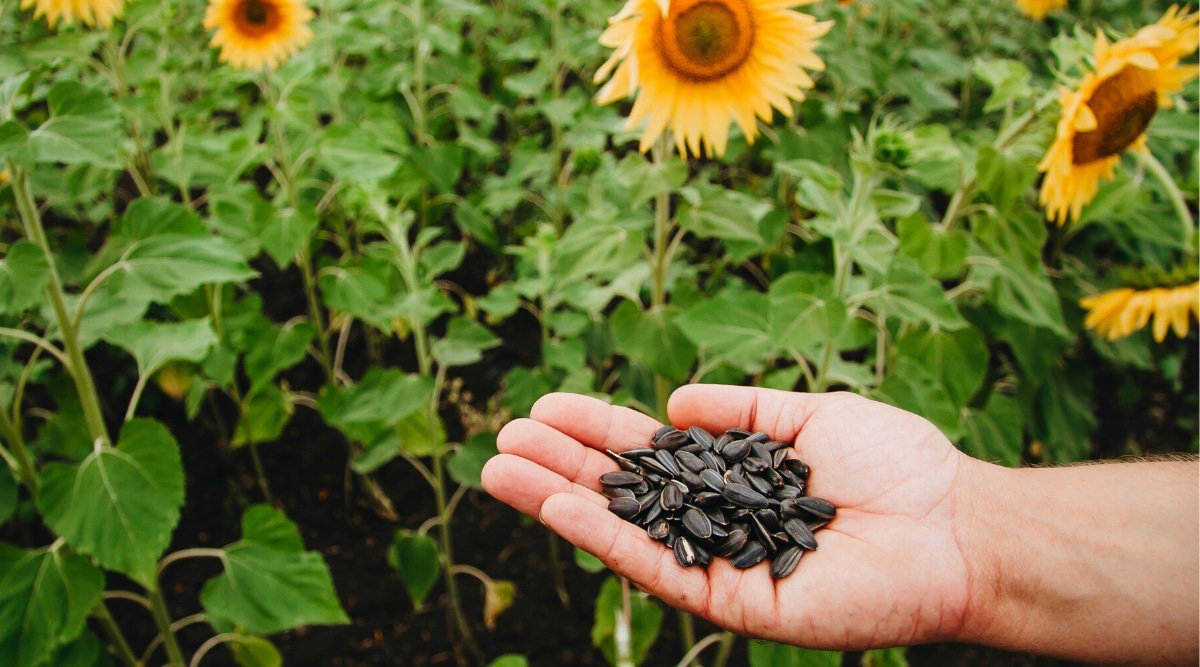
Harvesting Echinacea seeds
Harvesting Echinacea seeds is not only a rewarding experience but also an opportunity to collect seeds for future planting and expansion of your Echinacea garden. When the flowers of your Echinacea plants begin to fade and dry out, it’s a good indication that the seeds are ready for harvest. Here’s a step-by-step guide on how to harvest Echinacea seeds:
1. Timing: Wait until the flowers have fully bloomed and started to wilt and dry on the plant. This typically occurs in late summer to early fall, depending on your location and the specific Echinacea variety. The seedheads should be brown and the petals dry and papery to the touch.
2. Prepare tools and containers: Before harvesting, gather the necessary tools and containers. You’ll need sharp scissors or pruners to cut the seedheads, a clean and dry container to collect the seeds, and paper bags or envelopes for storing the harvested seeds.
3. Harvesting the seedheads: Select seedheads that are fully dried and ready for harvest. Cut each seedhead from the plant, leaving a small stem attached to facilitate handling. Place the cut seedheads in the container, being careful not to damage the surrounding seeds.
4. Drying the seedheads: Allow the seedheads to dry further in a warm, dry, and well-ventilated area for about one to two weeks. This will ensure that the seeds are completely dry and ready for extraction. Keep the seedheads out of direct sunlight to prevent premature seed dispersal.
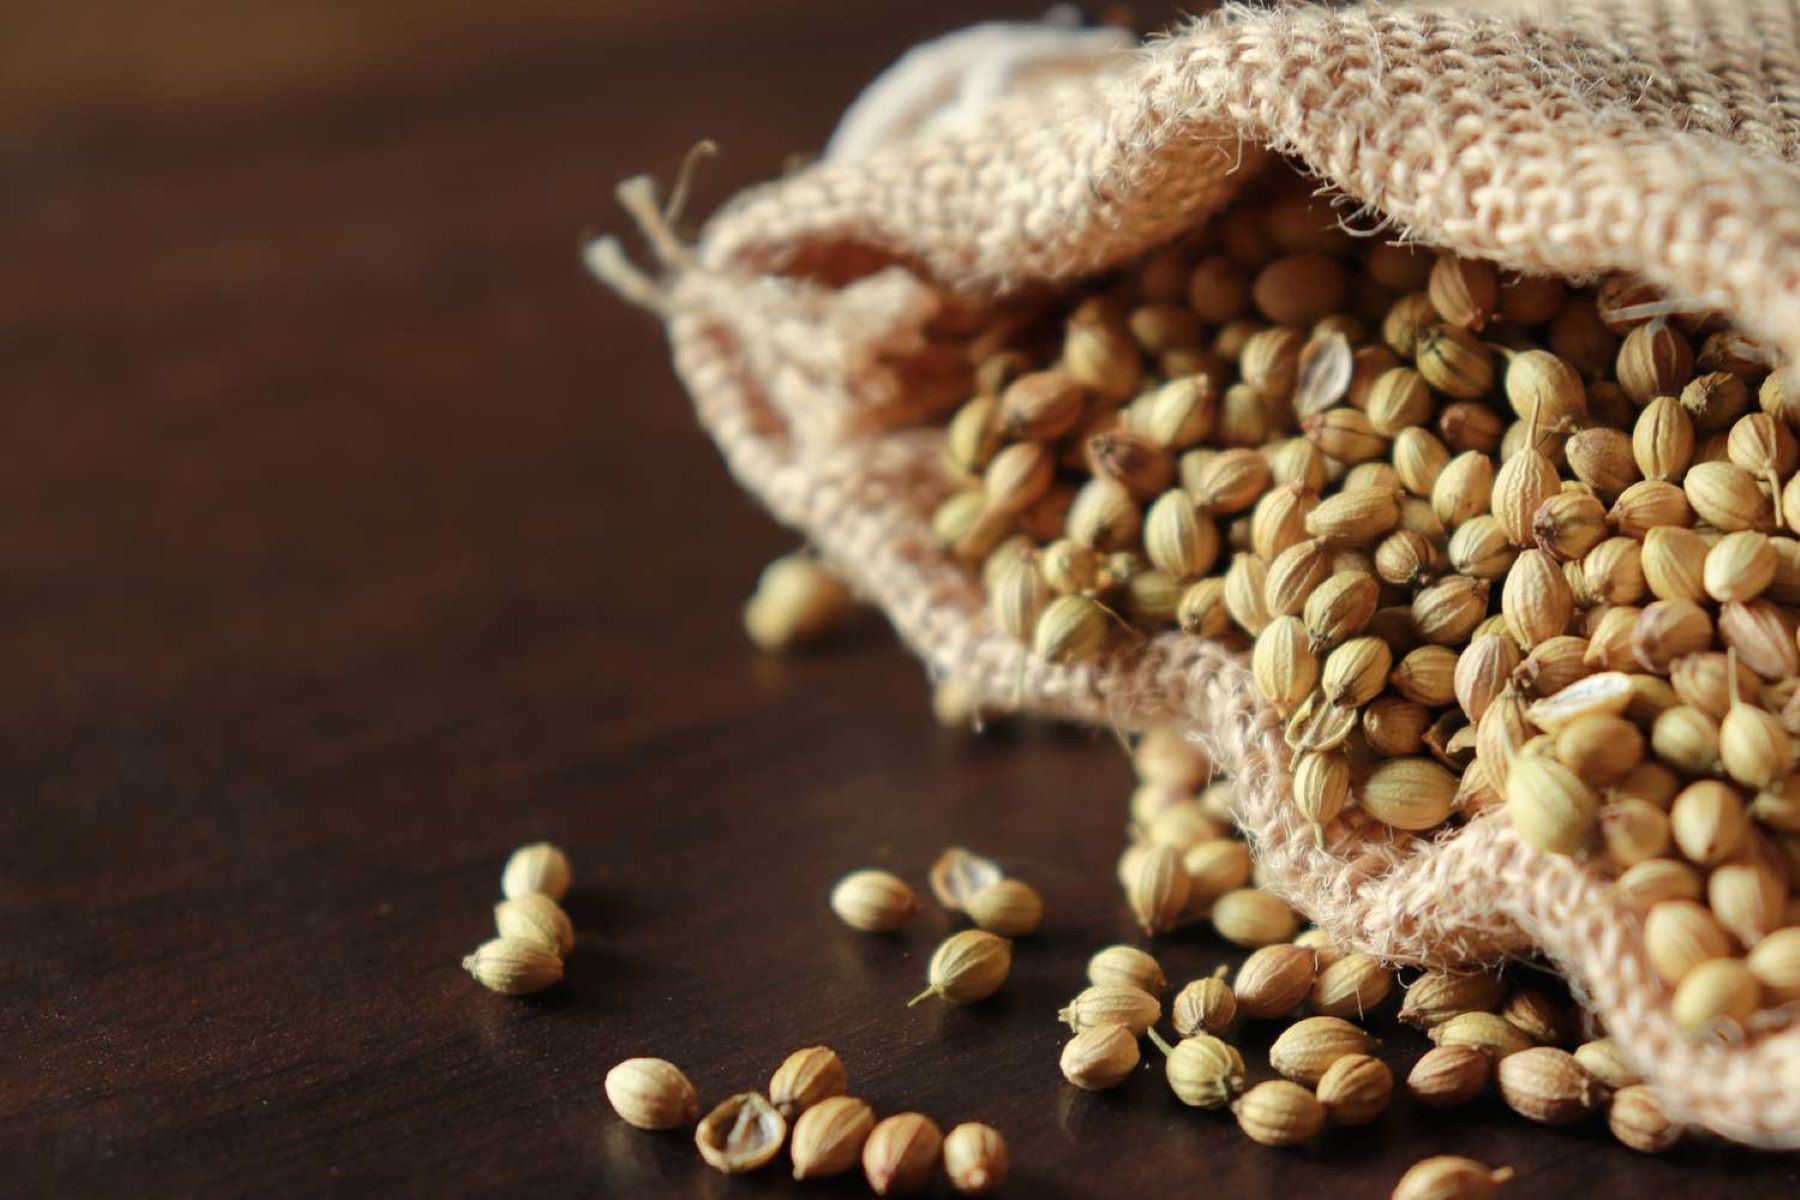
5. Removing the seeds: Once the seedheads are thoroughly dry, gently rub or shake them over a clean and dry surface to release the seeds. The seeds are small and dark, and they will separate easily from the dried flower head. Remove any remaining flower debris or chaff from the seeds.
6. Cleaning the seeds: To remove any remaining impurities or debris, you can use a fine mesh sieve or screen to sift through the seeds. This helps ensure that you’re left with clean and viable seeds for future planting.
7. Storing the seeds: Place the harvested and cleaned Echinacea seeds in paper bags or envelopes. Label them with the date of harvesting and the Echinacea variety, if known. Store the seeds in a cool, dry, and dark place to maintain their viability. A refrigerator or a cool pantry is ideal for long-term seed storage.
8. Saving seeds for future planting: If you wish to save seeds from specific Echinacea varieties, ensure that different varieties are isolated from cross-pollination. This can be done by planting different varieties in separate beds or using physical barriers, such as row covers or cages, to prevent accidental cross-pollination between varieties.
Harvesting Echinacea seeds not only allows you to enjoy the beauty of the flowers but also provides you with the opportunity to preserve the genetic diversity of these plants and expand your Echinacea garden in the future. With proper harvesting and storage, you can continue growing Echinacea plants from your own collected seeds for years to come.
Read more: When To Sow Poppy Seeds
Conclusion
Growing Echinacea from seeds is a rewarding and fulfilling experience that offers numerous benefits for gardeners. From their vibrant colors and attractive flowers to their medicinal properties, Echinacea plants make a fantastic addition to any garden. Whether you choose to sow the seeds indoors or directly in your garden, with proper care and attention, you can witness the transformation of tiny seeds into majestic plants.
Starting Echinacea from seeds allows you to have control over the entire growing process, from seed germination to transplanting and watching them flourish in your garden. It is a cost-effective option, allowing you to grow multiple plants at a fraction of the cost compared to purchasing nursery-grown plants. You also have access to a wide variety of cultivars and can choose the ones that suit your preferences.
When sowing Echinacea seeds, timing is crucial. It’s essential to sow them during the late fall or early winter, ensuring they undergo the necessary cold stratification period. This mimics their natural environment and promotes successful germination. Alternatively, you can sow the seeds in early spring, before the last frost, but germination may take longer.
The success of growing Echinacea from seeds not only depends on timing but also requires proper soil preparation and care. Preparing well-draining soil, providing adequate moisture and light, and protecting the seedlings from pests and diseases are essential aspects of their cultivation. Gradually acclimating seedlings to outdoor conditions through the hardening off process is crucial before transplanting them into your garden.
Throughout the growing process, remember to care for Echinacea seedlings by providing consistent moisture, thinning them out if necessary, and monitoring them for any signs of stress or disease. Once established, Echinacea plants are relatively low-maintenance and can bring years of joy with their colorful blooms and potential health benefits.
When the flowers of your Echinacea plants have faded and dried, you have the opportunity to harvest the seeds for future planting or seed sharing. Proper harvesting and storage techniques ensure the viability and longevity of the seeds, allowing you to continue growing Echinacea plants from your own collected seeds.
In conclusion, growing Echinacea from seeds is a wonderful way to experience the full lifecycle of these versatile plants. With a little knowledge and care, you can enjoy the beauty, benefits, and satisfaction that come with cultivating your own Echinacea garden. So, grab your seeds, roll up your sleeves, and embark on this exciting gardening journey.
Frequently Asked Questions about When To Sow Echinacea Seeds
Was this page helpful?
At Storables.com, we guarantee accurate and reliable information. Our content, validated by Expert Board Contributors, is crafted following stringent Editorial Policies. We're committed to providing you with well-researched, expert-backed insights for all your informational needs.
0 thoughts on “When To Sow Echinacea Seeds”