Home>Garden Essentials>How To Start Basil Seeds
Garden Essentials
How To Start Basil Seeds
Modified: August 27, 2024
Learn how to start basil seeds and create a beautiful garden. Discover tips, techniques, and step-by-step instructions for a successful gardening experience.
(Many of the links in this article redirect to a specific reviewed product. Your purchase of these products through affiliate links helps to generate commission for Storables.com, at no extra cost. Learn more)
Introduction
Welcome to the world of basil gardening! Whether you’re an experienced garden enthusiast or just starting out, growing basil from seeds can be a rewarding and fulfilling experience. Basil, with its aromatic leaves and versatile uses in cooking, is a popular herb in many cuisines around the world.
In this article, we will guide you on how to start basil seeds and provide you with essential tips to ensure successful growth and a bountiful harvest. From choosing the right basil seeds to caring for the seedlings, we’ve got you covered!
Before we dive into the nitty-gritty, let’s take a moment to understand the importance of selecting the right basil seeds for your garden.
Key Takeaways:
- Choose basil seeds based on flavor, growth habit, leaf color, adaptability, and seed quality for a successful harvest. Consider your culinary preferences and local climate when selecting the right basil variety.
- Provide optimal care for basil seedlings by ensuring proper watering, light, temperature, thinning, fertilizing, and pest control. Harvest mature basil leaves in the morning for the best flavor and aroma.
Read more: How To Sow Basil Seeds
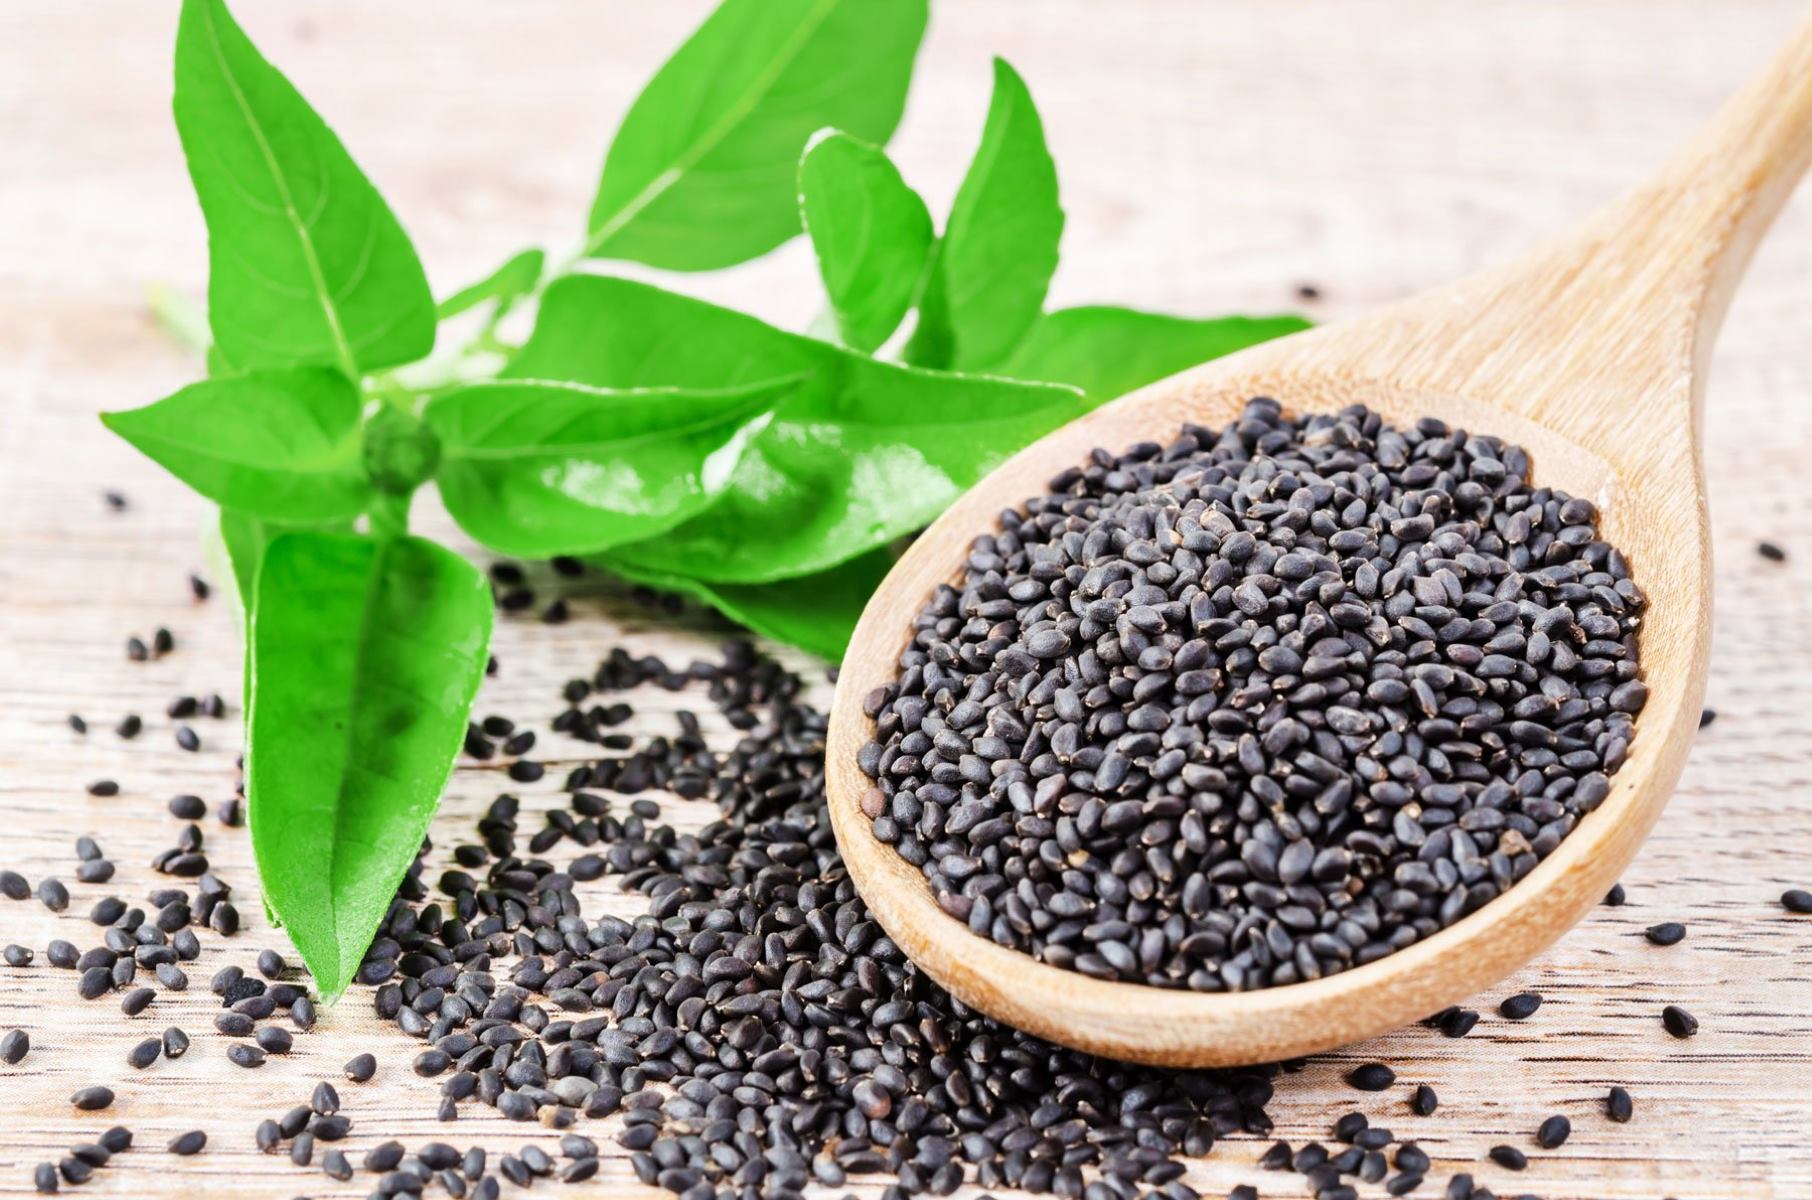
Choosing the Right Basil Seeds
When it comes to choosing basil seeds, there are numerous varieties to consider. From sweet basil to Thai basil and purple basil, each variety offers unique flavors and characteristics. Here are a few key factors to consider when selecting basil seeds for your garden:
- Flavor: Decide on the flavor profile you desire. Sweet basil is the most commonly used variety with a mild, slightly peppery taste, while Thai basil has a stronger, spicier flavor. Explore the different flavors and choose the one best suited for your culinary preferences.
- Growth Habit: Basil can have different growth habits, such as bushy or columnar. Bushy varieties tend to spread out and have smaller leaves, while columnar varieties have a more upright growth pattern. Consider the space you have available and select a basil variety that fits your garden’s dimensions.
- Leaf Color: Basil leaves can come in various shades, including green, purple, and variegated. The color of the leaves can add visual interest to your garden and dishes. Choose a variety that appeals to your aesthetic sense and complements the overall look of your garden.
- Adaptability: Take into account your geographical location and climate. While basil is generally a heat-loving herb, some varieties are more tolerant to cooler temperatures or have better resistance to pests and diseases. Look for basil seeds that are well-adapted to your local climate for optimal growth.
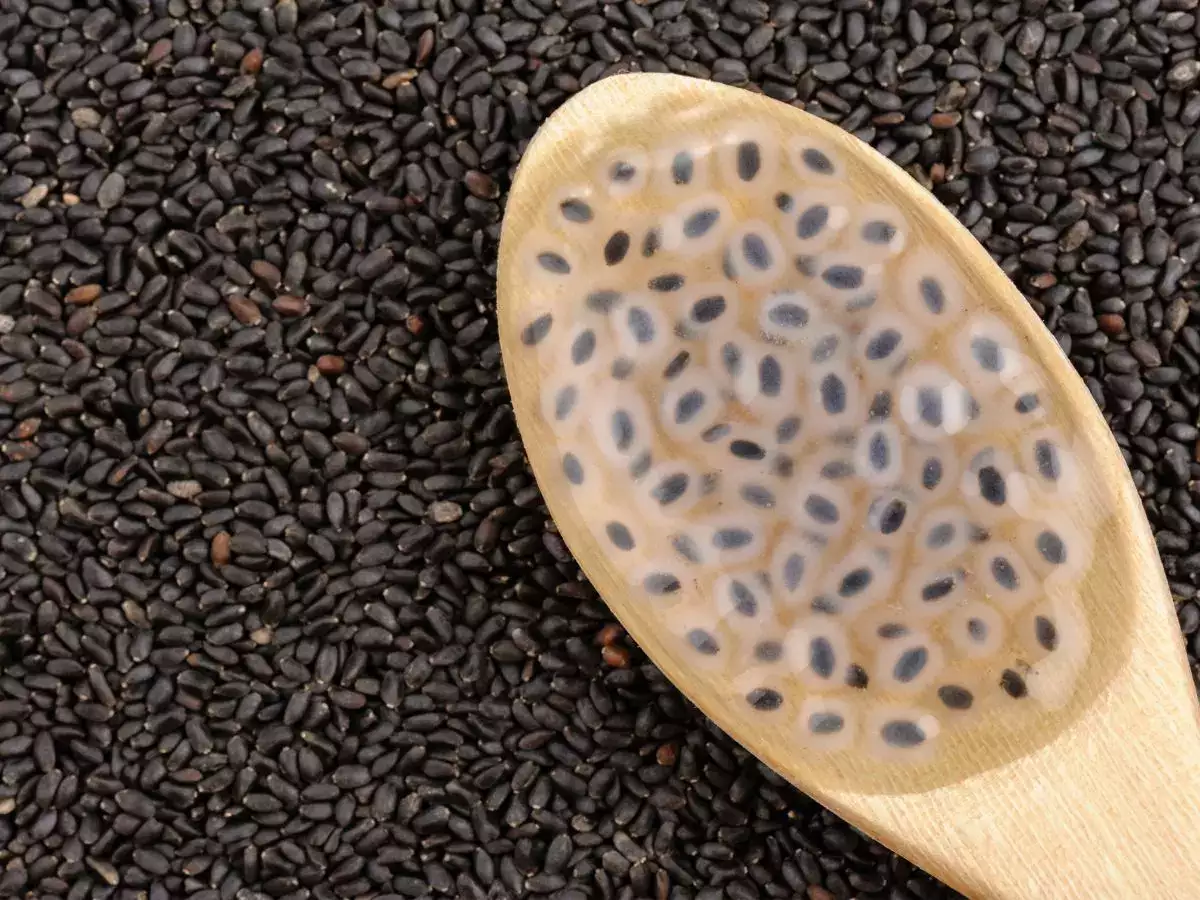
- Seed Quality: It’s essential to choose high-quality basil seeds to ensure a successful germination process. Look for reputable seed suppliers and check the seed packet for information on germination rates and viability. Fresh seeds with a high germination rate will give you the best chance of a successful harvest.
Once you’ve considered these factors, you can confidently choose the basil seeds that align with your preferences and gardening conditions. With the right seeds in hand, it’s time to prepare the planting materials for your basil seeds.
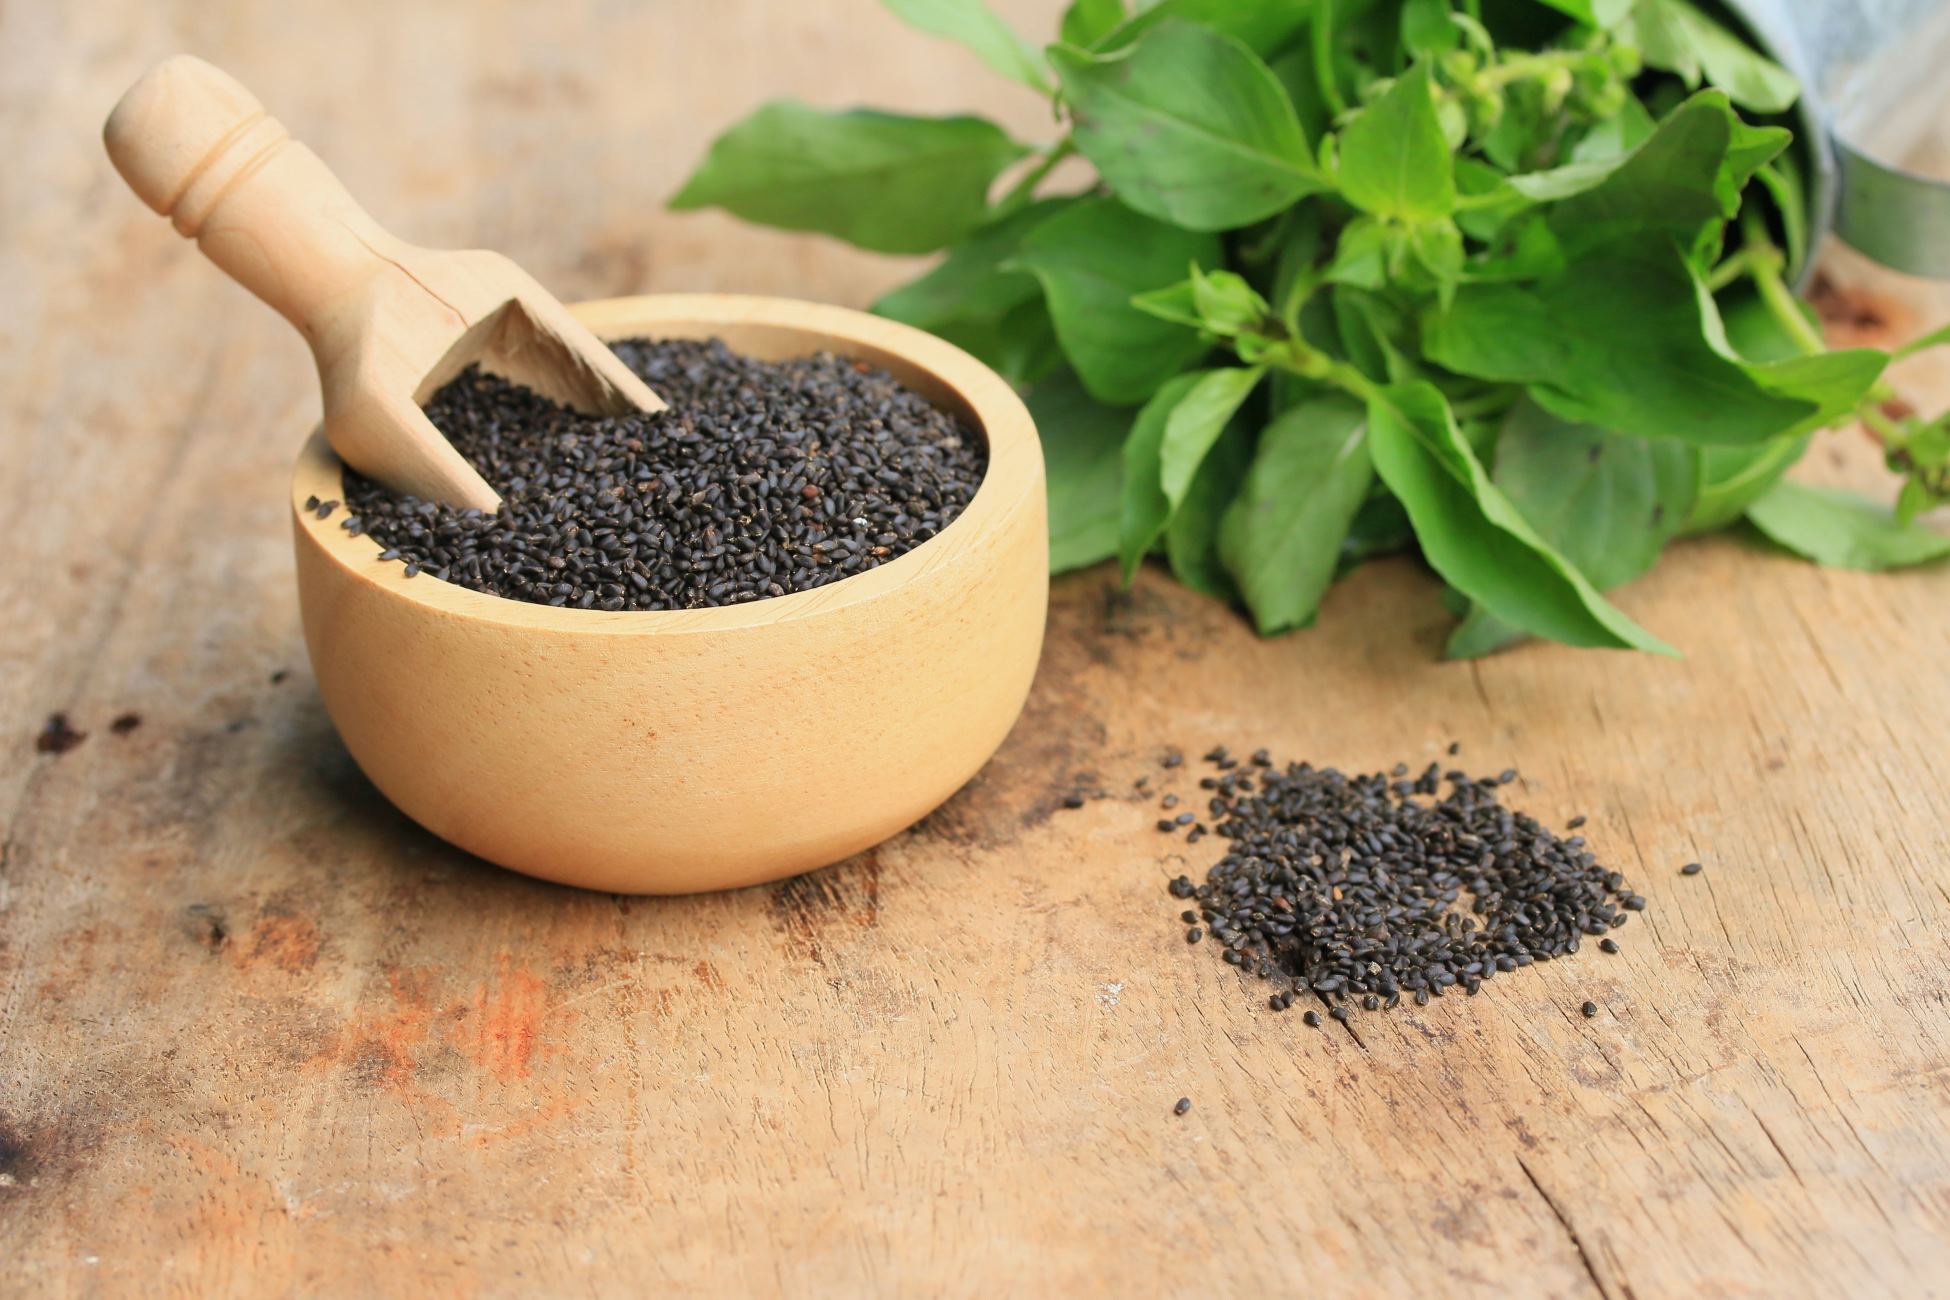
Preparing the Planting Materials
Before starting your basil seeds, it is important to prepare the planting materials to create an optimal environment for germination and growth. Here’s a step-by-step guide on preparing the planting materials:
- Containers: Select suitable containers for starting your basil seeds. You can use seed trays, pots, or even recycled containers like egg cartons or yogurt cups. Ensure the containers have drainage holes to prevent waterlogging.
- Soil: Basil thrives in well-draining soil. Use a lightweight, nutrient-rich potting mix or a blend of equal parts compost, perlite, and vermiculite. This will provide the right balance of drainage and moisture retention for the basil seeds.
- Sterilization: To minimize the risk of disease and pests, sterilize the planting containers and soil. You can do this by washing the containers with warm, soapy water and rinsing them thoroughly. If using recycled containers, sanitize them with a diluted bleach solution.
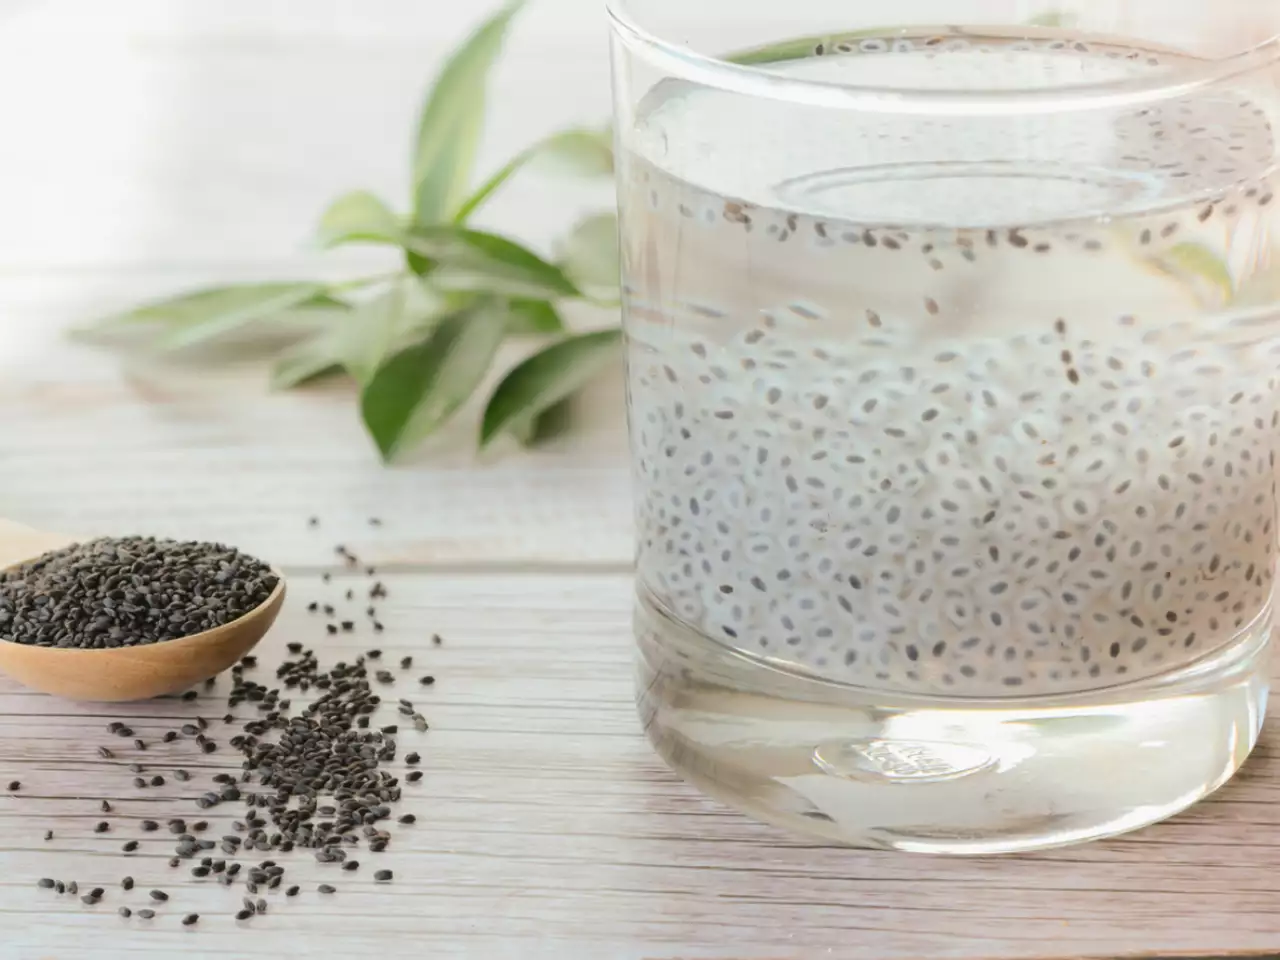
- Moisture: Ensure the soil is evenly moist before sowing the basil seeds. You can lightly water the planting material and allow excess water to drain out. Avoid over-saturating the soil, as it can lead to fungal growth and rotting of the seeds.
- Temperature and Light: Basil seeds require warmth and light for optimal germination. Find a warm and well-lit spot, such as a south-facing window or a greenhouse, where the temperature ranges between 70-85°F (21-29°C). Consider using a heat mat or grow lights to maintain consistent warmth and provide adequate light if natural sunlight is limited.
By following these steps and preparing the planting materials properly, you create an ideal environment for the basil seeds to germinate and thrive. With the planting materials ready, it’s time to sow the basil seeds and start your journey towards a flourishing basil garden.
Planting Basil Seeds
Now that you have your planting materials prepared, it’s time to sow the basil seeds. Here are the steps to ensure successful planting:
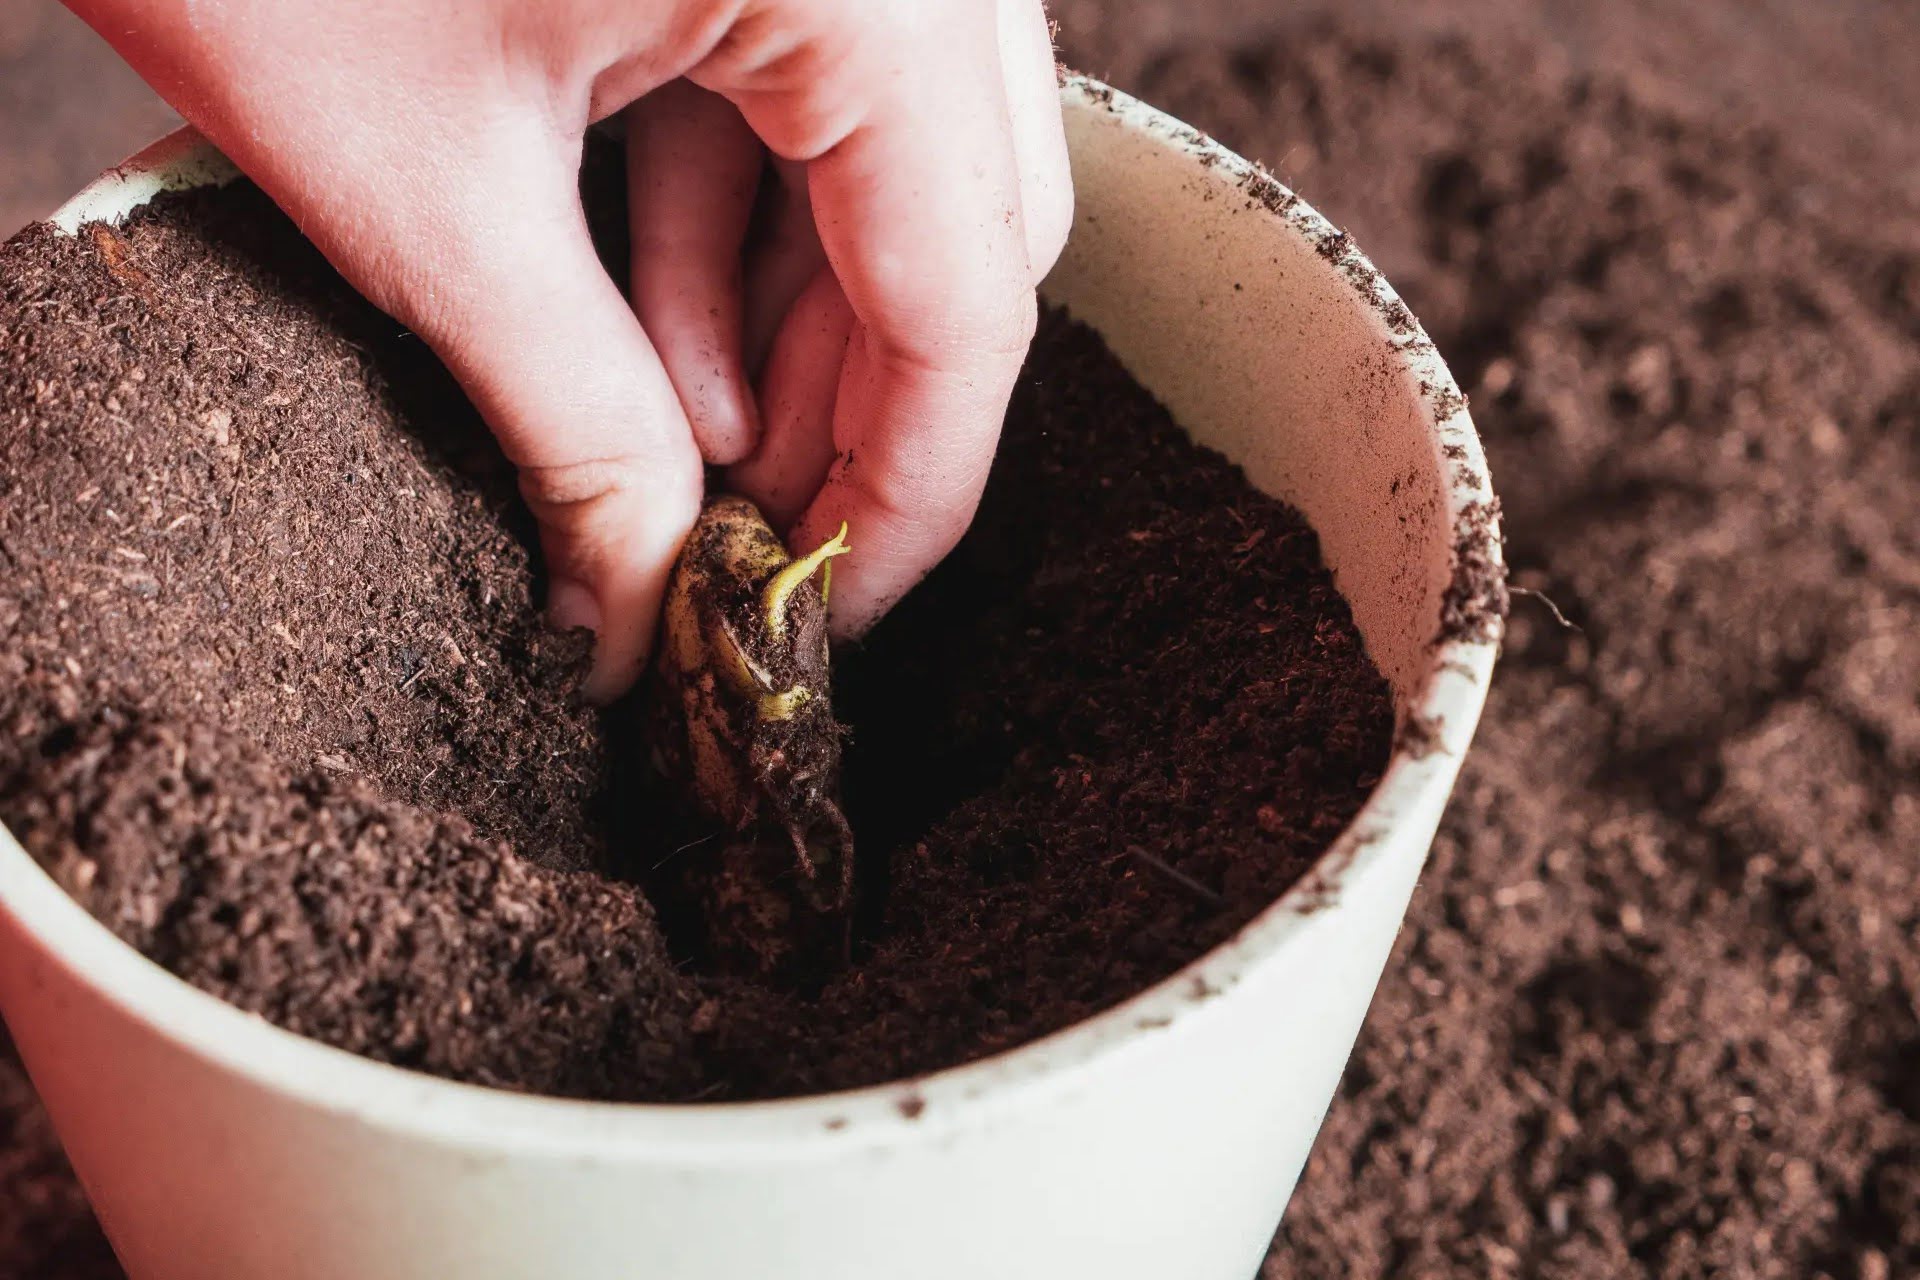
- Sowing Depth: Basil seeds are small and should be sown shallowly. Make small indentations in the soil, about ¼ inch deep. Space the indentations approximately 2-3 inches apart to allow room for the seedlings to grow.
- Seed Placement: Place 2-3 basil seeds in each indentation. This increases the chances of germination, as not all seeds may sprout. Cover the seeds with a thin layer of soil and press it gently to ensure good seed-to-soil contact.
- Moisture: After sowing the basil seeds, water the soil lightly to keep it evenly moist. Be careful not to wash away the seeds. Use a fine mist sprayer or bottom watering method to avoid disrupting the seeds’ placement.
- Labeling: To keep track of the different basil varieties or planting dates, label each container with the seed variety and the date of sowing. This will help you monitor the germination progress and prioritize care accordingly.
- Cover and Maintain Moisture: To create a greenhouse-like environment, cover the containers with a plastic wrap or dome. This helps retain moisture and maintains a consistent temperature. Check the soil regularly and mist if needed to keep it moist, but not waterlogged.
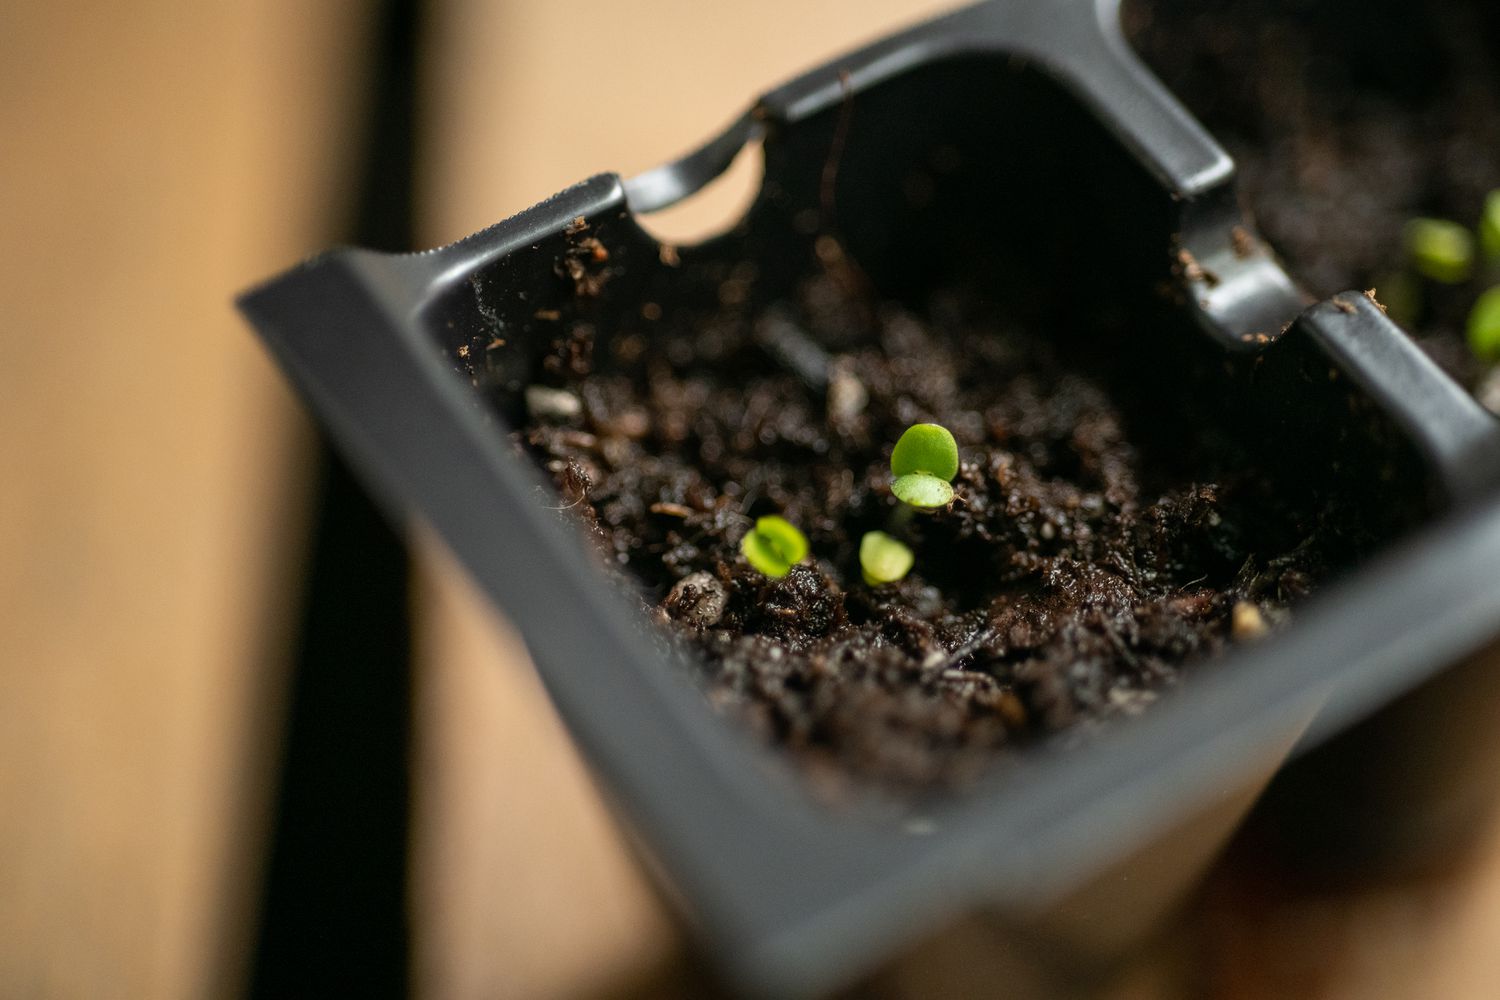
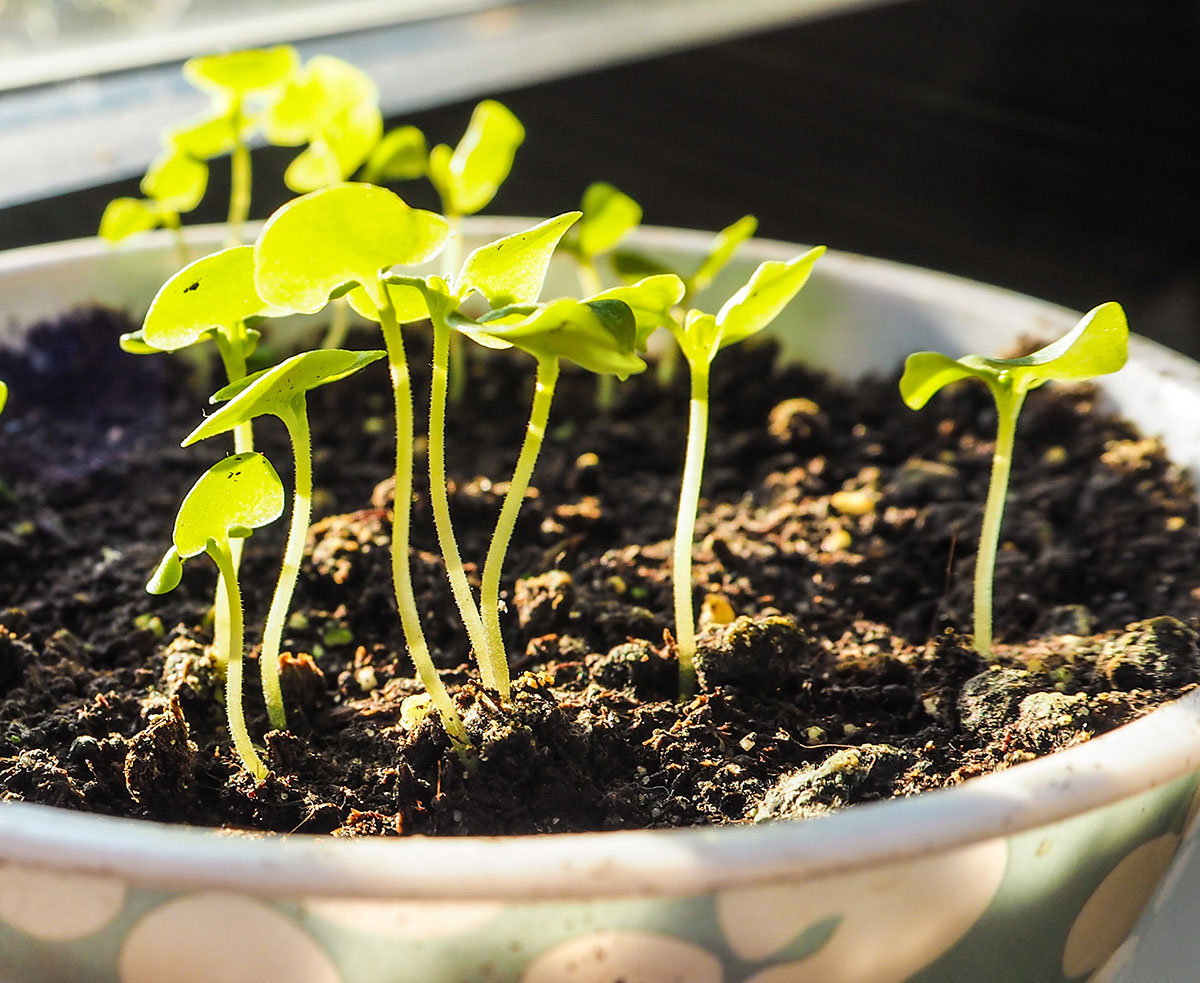
- Germination: Basil seeds typically germinate within 7-14 days, depending on the variety and growing conditions. Once the seedlings emerge, remove the cover and place the containers in a well-lit area with sufficient airflow.
Remember to be patient during the germination process, as basil seeds can take some time to sprout. Maintain consistent moisture levels and monitor the progress. As the seedlings start to grow, it’s crucial to provide them with proper care and attention.
To start basil seeds, plant them in well-draining soil, keep them moist, and place them in a warm, sunny spot. Once they sprout, thin them to the strongest seedlings.
Caring for Basil Seedlings
As your basil seedlings start to grow, they will require proper care to ensure healthy development. Here are some essential tips for caring for your basil seedlings:
- Watering: Basil prefers consistently moist but not waterlogged soil. Water the seedlings when the top inch of soil feels dry, keeping in mind that container-grown plants may require more frequent watering. Avoid overhead watering, as it can increase the risk of fungal diseases. Instead, water the soil directly at the base of the seedlings.
- Light and Temperature: Basil thrives in full sun, so place your seedlings in a location that receives at least 6-8 hours of sunlight per day. If natural sunlight is limited, use a grow light to provide supplementary light. Maintain a temperature of around 70-85°F (21-29°C) for optimal growth.
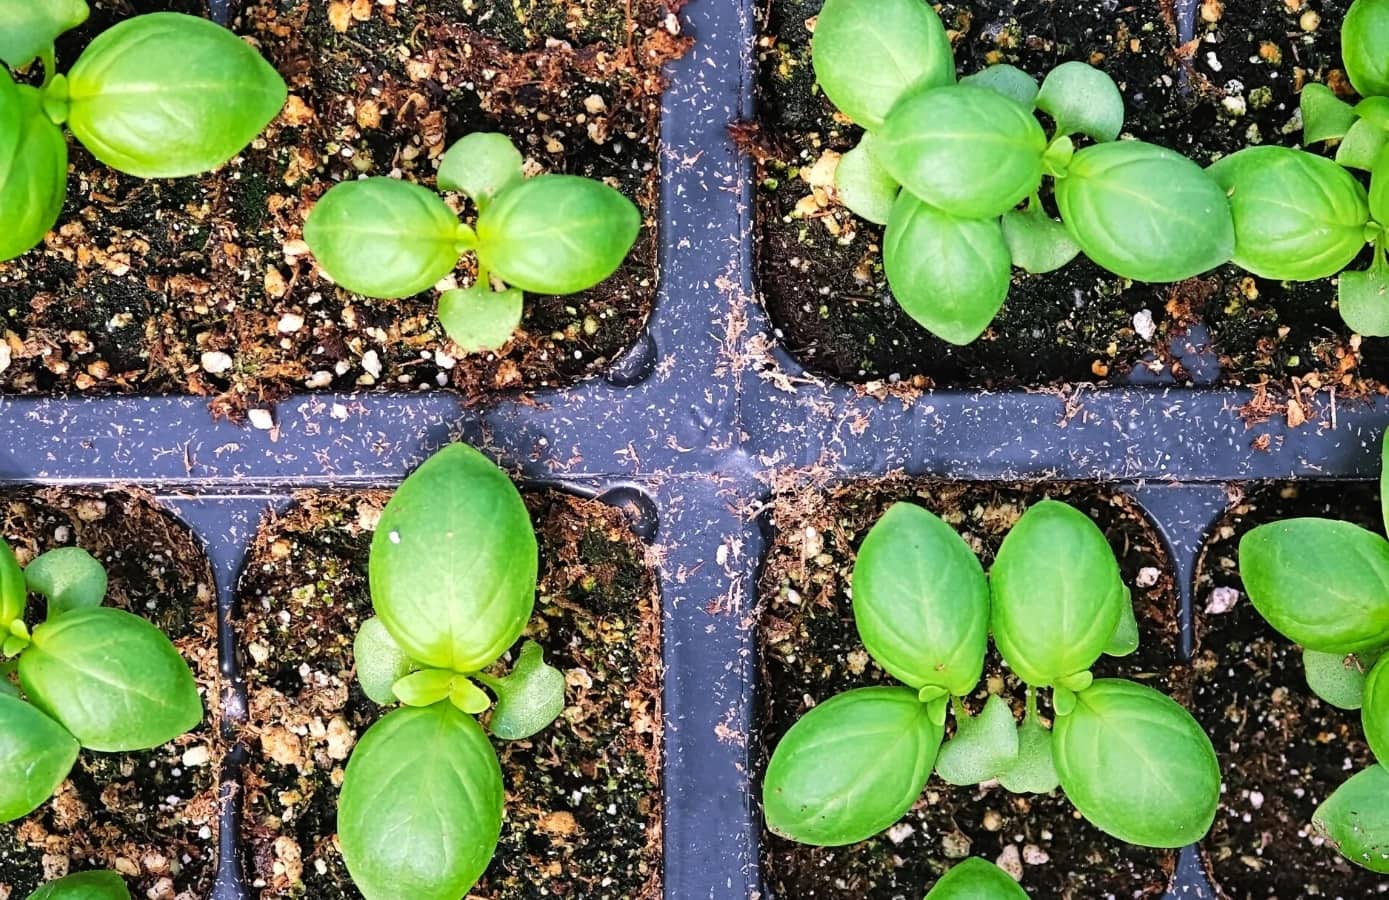
- Thinning and Transplanting: When the basil seedlings have two to three sets of true leaves, thin them out if there are multiple seedlings in one container. This allows the remaining seedlings to have ample space to grow. If seedlings are too crowded, they can compete for nutrients and light. Transplant the thinned seedlings to separate containers or into their final outdoor location if the weather is suitable.
- Fertilizing: Basil is a moderately heavy feeder and benefits from regular feeding. Use a balanced organic fertilizer or a slow-release granular fertilizer to provide essential nutrients. Be sure to follow the manufacturer’s instructions and avoid over-fertilization, as it can lead to excessive foliage growth with reduced flavor intensity.
- Pest and Disease Control: Keep an eye out for common basil pests such as aphids, whiteflies, and caterpillars. Regularly inspect the plants and take appropriate measures, such as handpicking pests or using organic insecticidal soap. Basil is generally a resilient herb, but it can be susceptible to fungal diseases in humid conditions. Maintain good airflow around the plants and avoid overhead watering to minimize the risk of disease.
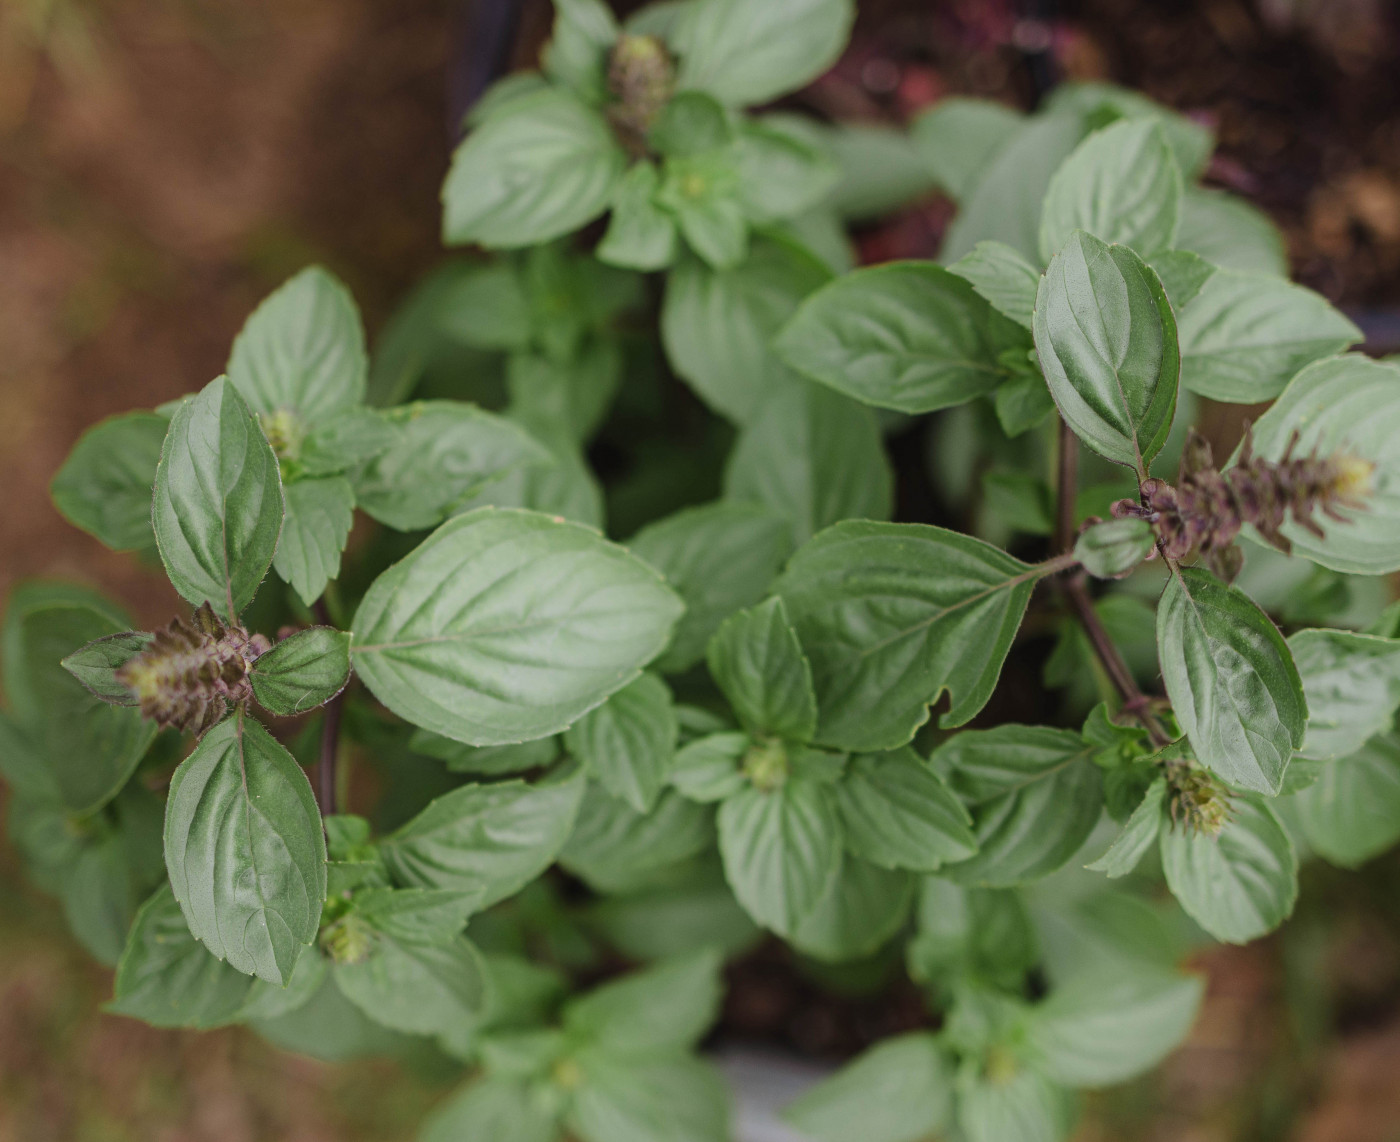
- Pinching and Pruning: To encourage bushier growth, regularly pinch back the growing tips of the basil plants. This stimulates lateral branching and promotes a fuller appearance. Harvesting leaves regularly also helps with plant vigor and encourages more leaf production.
By following these care tips, you will ensure that your basil seedlings grow strong and healthy, ready for a successful transplant into the garden.
Read more: What Is Basil Seed
Transplanting Basil Seedlings
Once your basil seedlings have grown and developed a strong root system, it’s time to transplant them into their final growing location. Here’s how to successfully transplant your basil seedlings:
- Garden Preparation: Choose a well-draining location in your garden that receives full sun for most of the day. Prepare the soil by loosening it with a garden fork or tiller, removing any weeds or debris, and incorporating organic matter such as compost or aged manure to improve fertility.
- Timing: Wait until all chances of frost have passed before transplanting basil seedlings into the garden. Basil is sensitive to cold temperatures and can be damaged or killed by frost. In general, transplant after the last expected frost date in your area.
- Transplanting Technique: Dig a hole in the garden soil that is slightly larger and deeper than the rootball of the seedling. Carefully remove the seedling from its container, taking care not to damage the roots. Place the seedling in the hole, ensuring that the top of the rootball is level with the surrounding soil. Gently firm the soil around the seedling’s base to provide support.
- Spacing: Space the basil seedlings approximately 12-18 inches apart, as they will grow into bushy plants that require room for airflow and light penetration. Adequate spacing reduces the risk of disease and allows each plant to reach its maximum potential.
- Watering: After transplanting, give the seedlings a thorough watering to settle the soil around the roots. Continue to water regularly, ensuring the soil remains evenly moist but not waterlogged. Water at the base of the plants, avoiding overhead watering, which can lead to fungal diseases.
- Mulching: Apply a layer of organic mulch, such as straw or wood chips, around the seedlings. Mulching helps conserve moisture, suppresses weed growth, and maintains a more stable soil temperature. Avoid placing mulch directly against the stems of the basil plants to prevent moisture-related issues.
Transplant shock is common when moving seedlings into the garden, but basil is generally resilient and recovers quickly. With proper care and attention, your transplanted basil seedlings will establish themselves and continue to grow and thrive in their new garden home.
Harvesting Basil Leaves
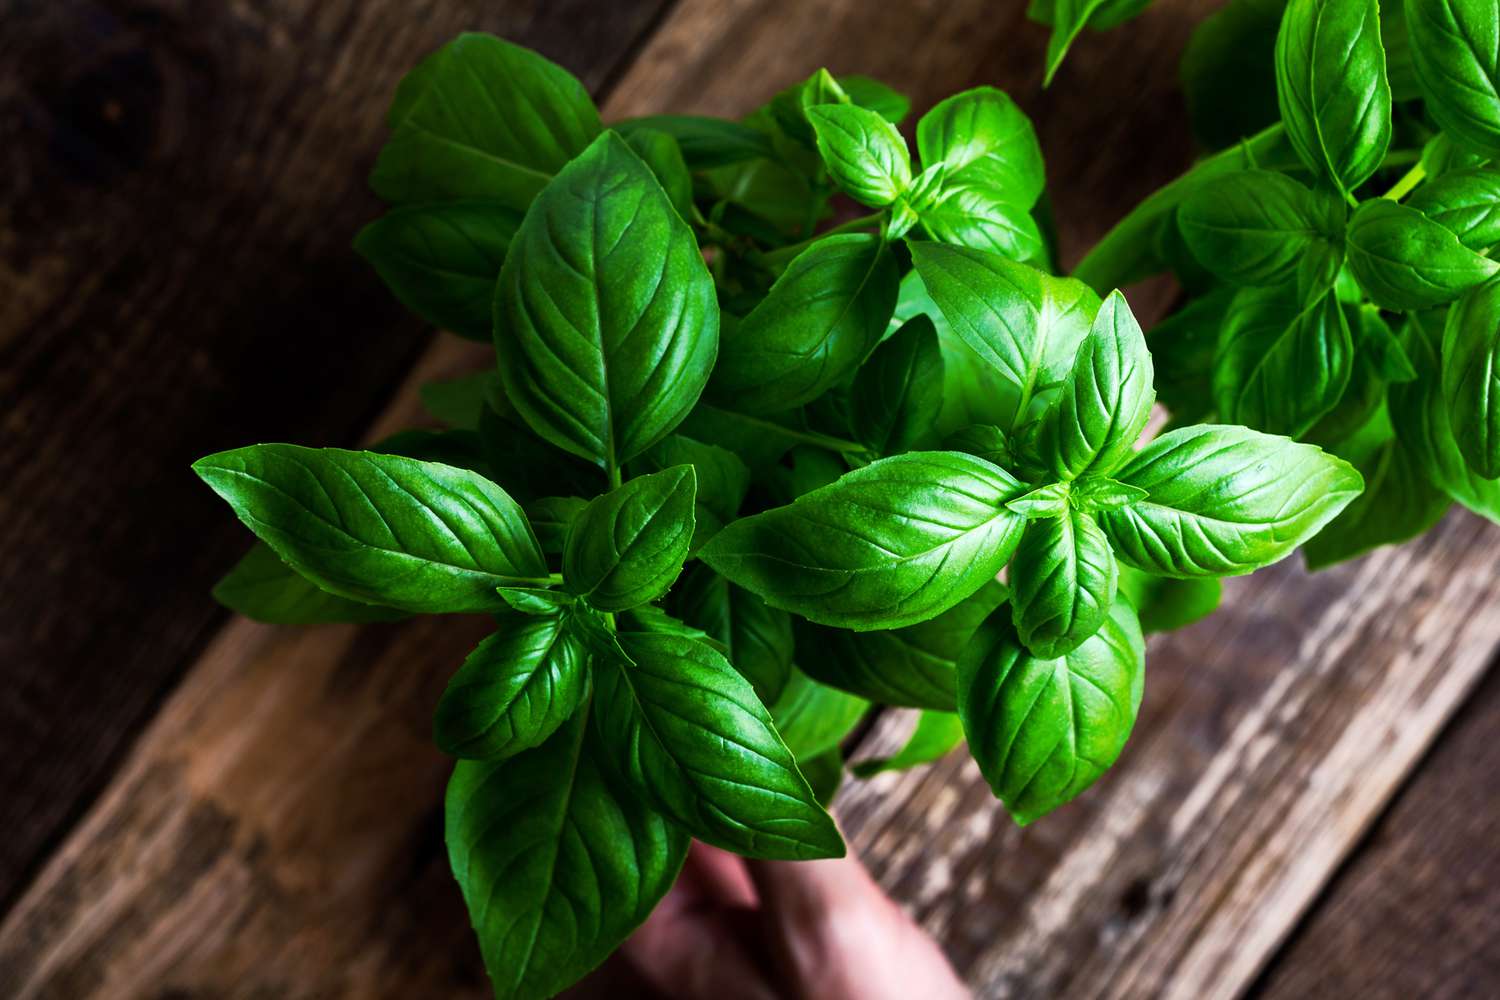
Harvesting basil leaves is a rewarding part of growing your own basil plants, and it allows you to enjoy the fresh flavors and aromatic scents in your culinary creations. Here are some tips on how to harvest basil leaves:
- Maturity: Basil plants can be harvested once they have reached a mature size, usually when they are around 6-8 inches tall. Look for plants with healthy and abundant foliage for the best harvest.
- Timing: It’s best to harvest basil leaves in the morning when the essential oils are at their peak. The leaves will have the most intense flavor and aroma during this time. Avoid harvesting basil leaves when the plants are stressed due to extreme heat or drought.
- Leaf Selection: Choose the larger, outer leaves for harvesting. These leaves have had more exposure to sunlight and tend to be more flavorful. Avoid removing all the leaves from a single stem to ensure that the plant remains productive and continues to grow.
- Harvesting Technique: To harvest basil leaves, use clean, sharp scissors or garden shears. Cut the stems just above a set of healthy leaves, leaving a few inches of stem intact. This encourages the plant to continue producing new growth and ensures a more bushy and vigorous plant.
- Continuous Harvesting: Basil is an abundant herb, and regular harvesting promotes continuous growth. As your basil plants continue to produce new leaves, you can harvest from them multiple times throughout the growing season. Be sure to leave a sufficient amount of foliage on the plant to ensure its health and vitality.
- Storing Basil Leaves: Freshly harvested basil leaves can be used immediately or stored for later use. To store fresh basil leaves, gently wash them in cool water, pat them dry with a paper towel, and place them in a plastic bag or airtight container. Store the leaves in the refrigerator, and they should stay fresh for several days. Another popular method is to freeze the basil leaves in ice cube trays with water or olive oil for longer-term storage.
Remember, the more you harvest your basil plant, the more it will continue to produce fresh leaves for you to enjoy. By following these harvesting techniques, you can savor the vibrant flavors and enticing fragrance of homegrown basil in your favorite dishes.
Conclusion
Starting basil seeds and growing your own basil plants can be a fulfilling and enjoyable experience. With the right knowledge and care, you can have a bountiful supply of fresh basil leaves to enhance your culinary creations.
From choosing the right basil seeds to preparing the planting materials and caring for the seedlings, every step of the process plays a vital role in ensuring successful growth. Remember to select basil seeds that align with your flavor preferences and growing conditions, and provide them with a well-prepared planting medium that offers proper moisture and drainage.
As your basil seedlings develop, provide them with adequate light, water, and nutrients. Prune and pinch back the plants to encourage bushier growth, and be vigilant against pests and diseases. And once your basil plants reach maturity, harvest the leaves at the right time to enjoy their full flavor and aroma.
Whether you use fresh basil leaves in your favorite pasta dishes, salads, sauces, or homemade pesto, having your own basil garden adds an exciting element to your culinary adventures. Plus, the joy of witnessing your basil plants thrive and flourish is truly rewarding.
So, roll up your sleeves, grab some basil seeds, and embark on your basil-growing journey. With proper care and attention, you’ll discover the joys of having a thriving basil garden and the added freshness and flavor it brings to your kitchen.
Happy gardening and happy basil growing!
Frequently Asked Questions about How To Start Basil Seeds
Was this page helpful?
At Storables.com, we guarantee accurate and reliable information. Our content, validated by Expert Board Contributors, is crafted following stringent Editorial Policies. We're committed to providing you with well-researched, expert-backed insights for all your informational needs.


0 thoughts on “How To Start Basil Seeds”