Home>Garden Essentials>How To Start Marigold Seeds
Garden Essentials
How To Start Marigold Seeds
Modified: August 25, 2024
Learn how to start marigold seeds and create a beautiful garden. Find step-by-step instructions and expert tips for successful marigold seed germination.
(Many of the links in this article redirect to a specific reviewed product. Your purchase of these products through affiliate links helps to generate commission for Storables.com, at no extra cost. Learn more)
Introduction
Welcome to the wonderful world of gardening! Whether you have a sprawling backyard or a tiny balcony, growing your own plants can be a fulfilling and rewarding experience. One popular flower that many gardeners love to cultivate is the marigold. Known for their vibrant colors and strong scent, marigolds are not only aesthetically pleasing, but they also have several practical uses in the garden.
In this article, we will guide you through the process of starting marigold seeds so that you can enjoy these beautiful blooms in your garden. Starting marigold seeds from scratch allows you to have greater control over the growth process and can be a cost-effective way to fill your garden with these stunning flowers.
But before we dive into the step-by-step instructions, let’s take a moment to understand some key benefits of growing marigolds. First and foremost, marigolds are excellent companions for other plants in your garden. They naturally repel many common garden pests, including aphids, mosquitoes, and nematodes.
Marigolds are also known to attract bees, butterflies, and other beneficial insects, making them an important ally in promoting pollination and biodiversity in your garden. Additionally, marigolds are relatively low-maintenance plants, making them a perfect choice for both beginner and experienced gardeners.
Now that we have a brief overview of marigolds and their benefits, let’s dive into the step-by-step process of starting marigold seeds.
Key Takeaways:
- Starting marigold seeds is a fun and cost-effective way to fill your garden with vibrant flowers. Choose the right seeds, provide ideal growing conditions, and enjoy the benefits of these beautiful blooms!
- Proper care, watering, and maintenance are essential for healthy marigold plants. Keep an eye out for pests, deadhead faded flowers, and watch your garden come alive with colorful marigolds!
Read more: How To Plant Marigold Seed
Step 1: Gather the necessary materials
Before you begin sowing marigold seeds, it’s essential to gather all the necessary materials to ensure a smooth and successful process. Here’s a list of the items you’ll need:
- Marigold seeds: Purchase high-quality marigold seeds from a reputable nursery or online store. Choose a variety that suits your preference, such as French marigolds, African marigolds, or signet marigolds.
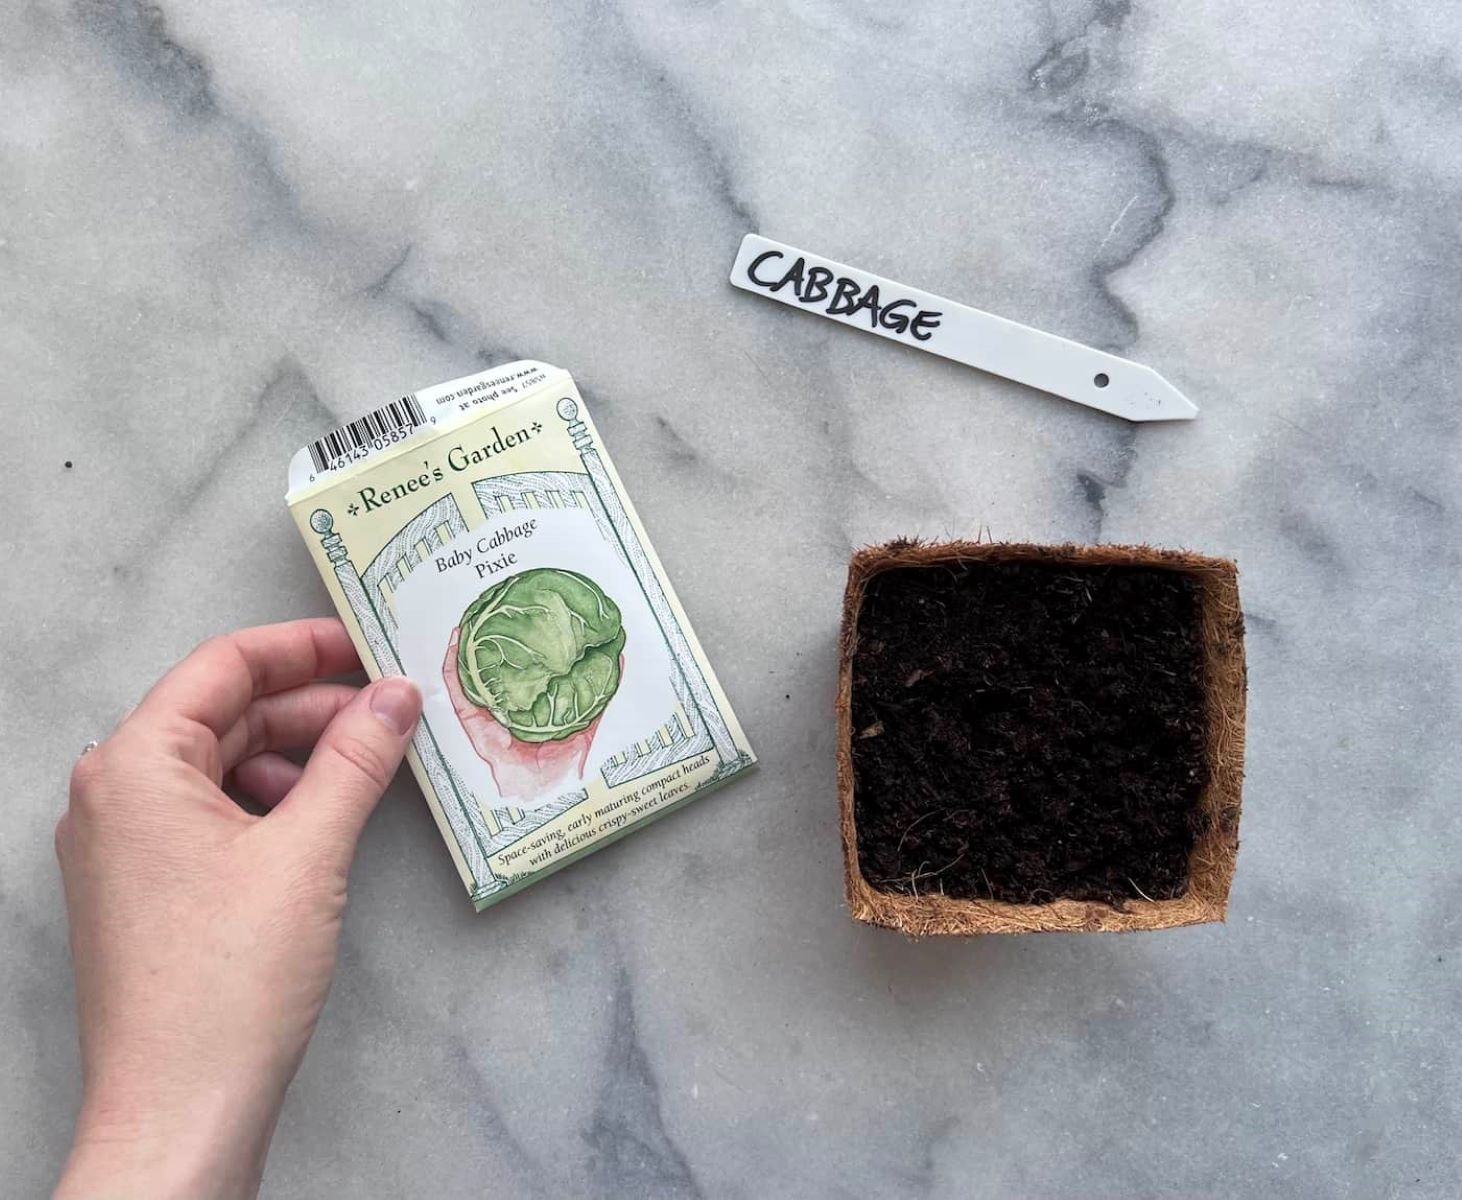
- Seed starting trays or pots: Use plastic or biodegradable seed starting containers with drainage holes. These will provide a conducive environment for the seeds to germinate and grow.
- Seed starting medium: Opt for a well-draining, sterile seed starting mix, which is light and fluffy. Avoid using regular garden soil, as it can contain organisms that may harm the young seedlings.
- Watering can or spray bottle: You’ll need a gentle watering tool to keep the seedlings hydrated without causing damage.
- Labels: Use plant markers or labels to keep track of the different marigold varieties you’re growing. This will be helpful when it comes time to transplant and maintain the plants.
- Grow lights or a sunny location: Marigold seeds require adequate light to germinate and thrive. If you don’t have access to sufficient natural sunlight, consider using grow lights or a sunny windowsill.
- Optional: Heat mat or heating pad – Marigold seeds germinate best when the soil temperature is around 70°F (21°C). If you’re starting the seeds in a cool environment, a heat mat or heating pad can help maintain the optimal temperature.
Once you have gathered all the necessary materials, you’re ready to move on to the next step: choosing the right type of marigold seeds.
Step 2: Choose the right type of marigold seeds
When it comes to choosing marigold seeds, there are several factors to consider. Different varieties of marigolds offer unique colors, sizes, and growth habits. Here are a few popular types of marigolds to guide your decision:
- French marigolds: These marigolds (Tagetes patula) are known for their smaller size and compact growth habit. They produce an abundance of flowers in various shades of yellow, orange, and red. French marigolds are great for borders, containers, or edging gardens.
- African marigolds: Also known as Tagetes erecta, African marigolds are larger and taller compared to French marigolds. They feature big, showy flowers in vibrant shades of yellow and orange. African marigolds are perfect for creating bold focal points in your garden.
- Signet marigolds: These marigolds (Tagetes tenuifolia) are known for their delicate, lacy foliage and small, edible flowers. Signet marigolds produce dainty blooms in shades of yellow and orange and are perfect for adding a touch of beauty to herb gardens or as companion plants.
Consider your gardening goals and the aesthetic you wish to achieve when selecting marigold seeds. If you’re unsure, you can always experiment with different varieties to see which ones thrive in your garden.
Furthermore, if you want to save seeds from your marigold plants for future planting, choose heirloom or open-pollinated varieties. These types of seeds will produce plants that closely resemble the parent plant, ensuring consistency in color and form.
Once you have chosen the types of marigold seeds you want to grow, it’s time to move on to the next step: preparing the seed starting medium.
Step 3: Prepare the seed starting medium
Creating the right environment for marigold seeds to germinate is crucial for their successful growth. The seed starting medium provides the necessary nutrients, moisture, and aeration to support seedling development. Here’s how you can prepare the seed starting medium:
- Select the right mix: Use a high-quality seed starting mix that is lightweight and well-draining. Avoid using regular garden soil as it can be too heavy and may contain harmful organisms.
- Moisten the mix: Before filling your seed trays or pots, moisten the seed starting mix with water. Add water gradually, mixing well until the mix feels slightly damp but not soggy.
- Fill the containers: Fill the seed starting trays or pots with the moistened seed starting mix, leaving a small gap at the top for watering.
- Level the surface: Gently pat down the surface of the seed starting mix to create a level and even surface for sowing the seeds.
It’s important to ensure that the seed starting medium is moist but not overly wet, as excessively wet conditions can lead to issues such as damping-off disease. This fungal disease can cause the young seedlings to become weak and collapse.
Once the seed starting medium is prepared, it’s time to move on to the next step: sowing the marigold seeds.
Step 4: Sow the marigold seeds
Now that you have prepared the seed starting medium, it’s time to sow the marigold seeds. Follow these steps to ensure successful seed germination:
- Read the seed packet instructions: Before sowing the marigold seeds, carefully read the instructions provided on the seed packet. It will give you specific details about the optimal planting depth and spacing.
- Make small depressions: Use your finger or a pencil to create small indentations or depressions in the seed starting mix. These will serve as the planting holes for the marigold seeds.
- Sow the seeds: Place one or two marigold seeds in each planting hole. If the seeds are very small, gently scatter them over the surface of the seed starting mix.
- Cover the seeds: Lightly cover the seeds with a thin layer of the seed starting mix or vermiculite. As a general rule, plant the seeds at a depth of about 1/4 inch (6 mm).
- Label the trays or pots: Use plant labels or markers to identify the variety of marigold seeds that you have sown in each container. This will help you keep track of their progress.
Once you have sown the marigold seeds, gently mist the surface with water to provide moisture without disturbing the seeds. Make sure the seed trays or pots are placed in a warm location with optimal lighting conditions.
Now that the marigold seeds are sown, it’s time to move on to the next step: providing the ideal growing conditions for successful germination and growth.
Read more: How Do You Harvest Marigold Seeds
Step 5: Provide the ideal growing conditions
Creating the ideal growing conditions is crucial for the successful germination and growth of marigold seeds. Here are some key factors to consider:
- Temperature: Marigold seeds germinate best in warm temperatures between 70°F and 75°F (21°C to 24°C). Consider using a heating mat or place the seed trays in a warm location to maintain the optimal temperature.
- Light: Marigold seeds require ample light to sprout and thrive. Place the seed trays in a sunny spot or use fluorescent grow lights if natural sunlight is limited.
- Air circulation: Good air circulation helps prevent disease and promotes healthy plant growth. Ensure that the seed trays or pots are not placed in a stagnant or overly humid environment.
- Humidity: While marigold seeds need moisture to germinate, excessive humidity can promote fungal diseases. Ensure proper ventilation and avoid overwatering the seedlings.
By providing the right combination of temperature, light, air circulation, and humidity, you will create an environment conducive to the successful germination and growth of marigold seeds.
As the marigold seedlings start to emerge, it’s time to move on to the next step: watering the seeds properly.
Start marigold seeds indoors 6-8 weeks before the last frost. Plant seeds in a well-draining soil mix, keep them moist, and provide plenty of sunlight. Transplant seedlings outdoors after the last frost.
Step 6: Water the seeds properly
Proper watering is essential to ensure the healthy growth of marigold seeds. Here’s how you can water the seeds properly:
- Monitor moisture levels: Check the moisture level of the seed starting mix regularly. It should be consistently moist but not overly wet. Avoid letting the soil dry out completely or become waterlogged.
- Bottom watering: To prevent disturbing the delicate marigold seeds and seedlings, it’s best to water from the bottom. Place the seed trays in a shallow tray filled with water, allowing the mix to absorb moisture from the drainage holes at the bottom. Once the soil surface is evenly moist, remove the trays from the water.
- Mist the seedlings: As the seedlings emerge and grow, you can switch to gently misting the surface of the soil to provide moisture. Use a spray bottle with a fine mist setting to avoid damaging the delicate seedlings.
- Avoid overwatering: Excessive watering can lead to root rot and other fungal diseases. Only water when the top inch (2.5 cm) of the soil feels dry to the touch. Adjust the frequency of watering according to the moisture needs of the seedlings.
Remember that maintaining proper moisture levels is key to successful germination and the overall health of your marigold seedlings. As the seedlings continue to grow, it’s important to transition to a regular watering routine to support their development.
With the marigold seeds properly watered, it’s time to move on to the next step: taking care of the seedlings.
Step 7: Take care of the seedlings
Now that your marigold seedlings have sprouted, it’s important to provide them with proper care to ensure their healthy growth. Here are some essential steps to take care of the seedlings:
- Thin out the seedlings (optional): If multiple seedlings have grown in the same planting hole, you may need to thin them out to avoid overcrowding. Carefully remove the weaker seedlings, leaving behind the healthiest and strongest ones.
- Provide adequate lighting: Place the seedlings in a location with bright, indirect light or under fluorescent grow lights. Aim for about 12 to 14 hours of light each day to promote strong and sturdy growth.
- Rotate the trays: To ensure even growth, rotate the seed trays regularly so that all sides of the seedlings receive equal exposure to light.
- Fertilize the seedlings: After the seedlings have developed their first set of true leaves, you can start fertilizing them. Use a diluted, balanced liquid fertilizer following the recommended dosage on the packaging. Apply the fertilizer once every two weeks.
- Monitor for pests and diseases: Keep a close eye on the seedlings for any signs of pests or diseases. Common pests that may affect marigolds include aphids and spider mites. Use natural pest control methods or organic insecticides if necessary.
- Provide support (if needed): As the marigold seedlings grow taller, some varieties may benefit from staking or support. Use bamboo stakes or small plant cages to prevent the seedlings from bending or breaking.
Consistent care and attention to the seedlings will encourage healthy growth and prepare them for successful transplantation. With proper care in place, it’s time to move on to the next step: transplanting the marigold seedlings.
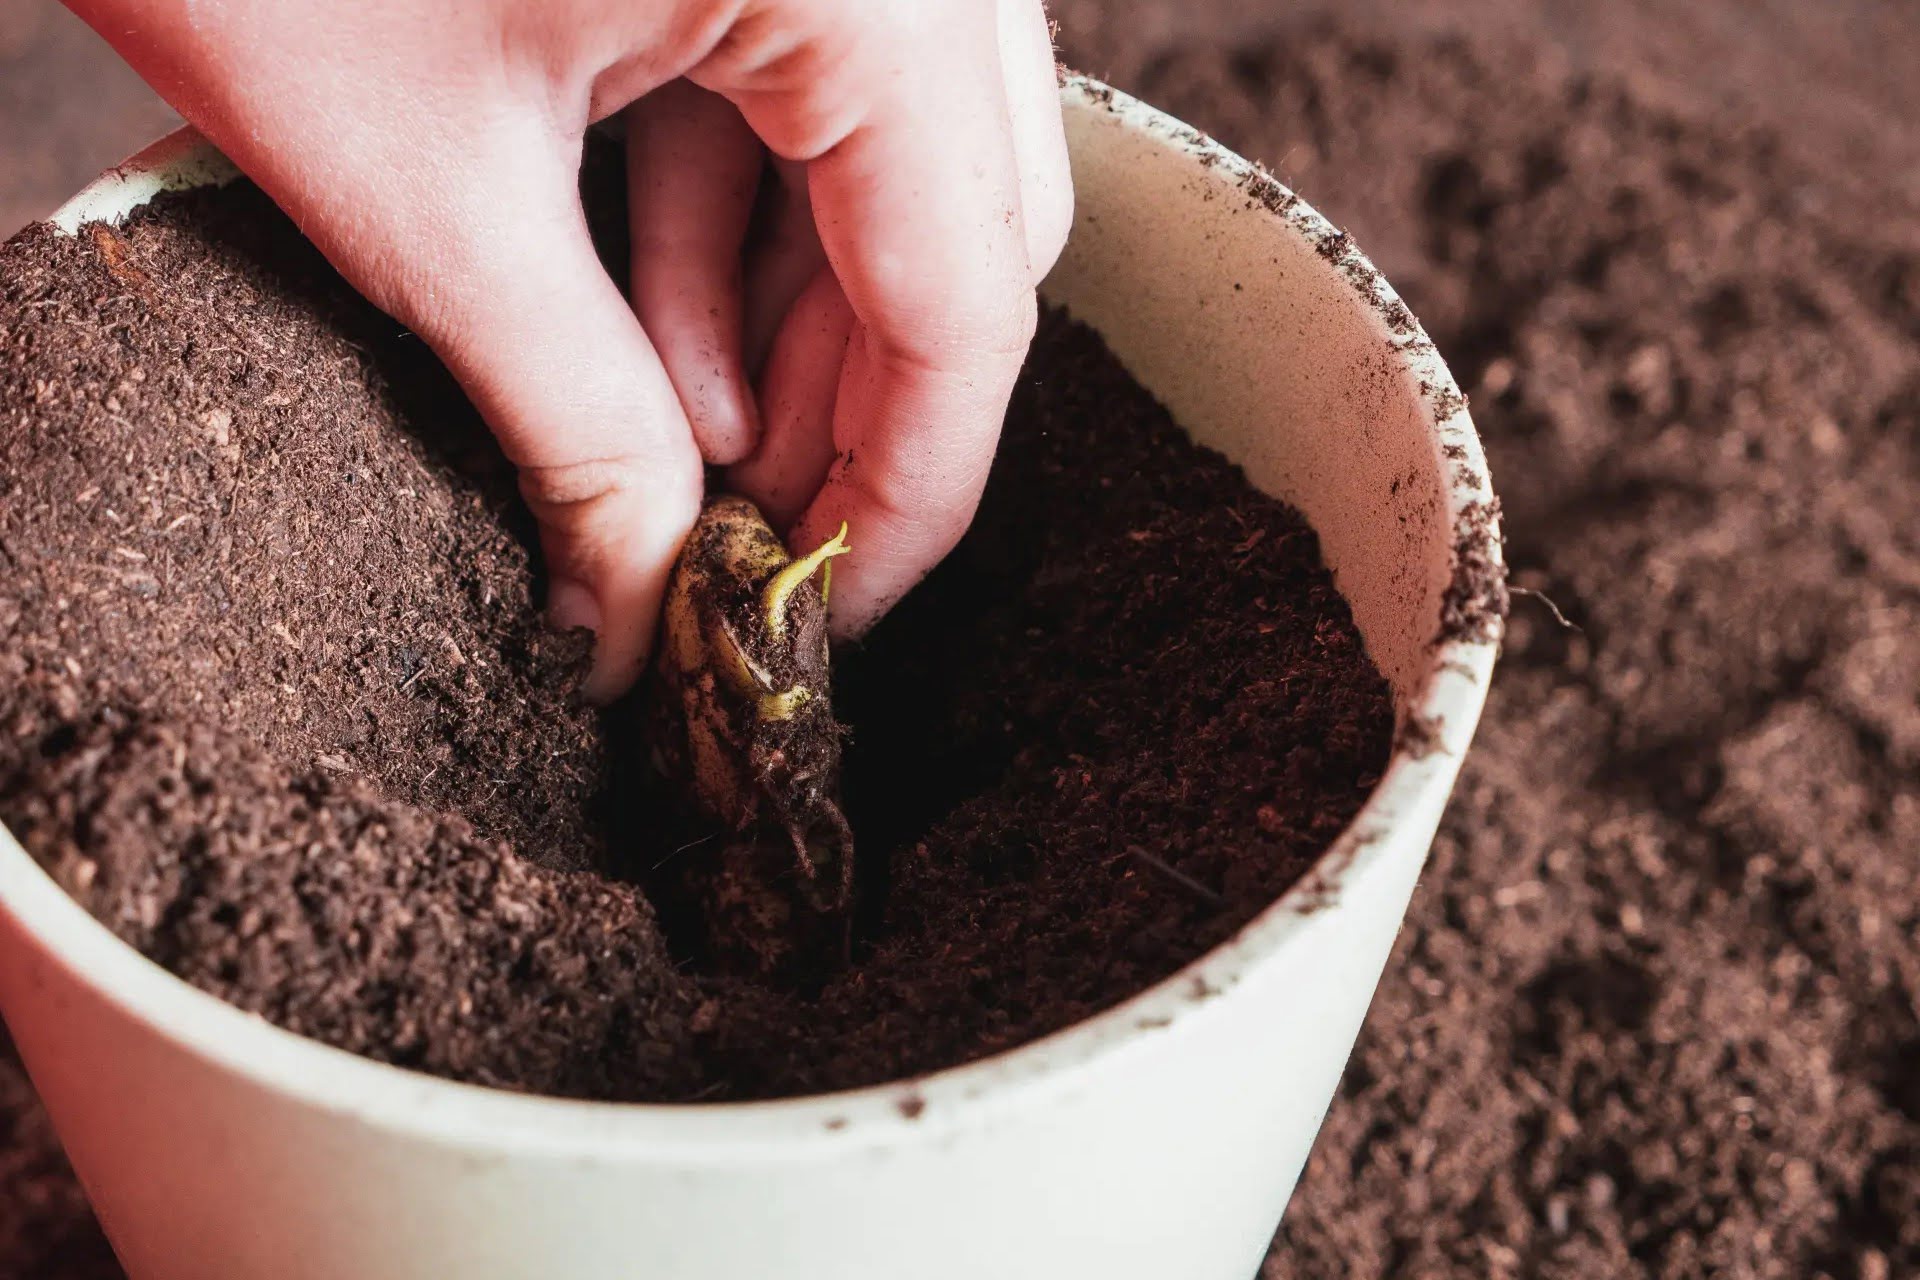
Step 8: Transplant the marigold seedlings
Once your marigold seedlings have grown to a sturdy and appropriate size, it’s time to transplant them into their final growing locations. Follow these steps to successfully transplant your marigold seedlings:
- Choose the right timing: Wait until the last frost date has passed and the soil has warmed up before transplanting your marigold seedlings. This will ensure that the young plants won’t be exposed to cold temperatures.
- Prepare the transplant site: Select a location in your garden that receives full sun or part sun, depending on the variety of marigolds you are growing. Ensure the soil is well-draining and free from weeds.
- Water the seedlings: Give the seedlings a thorough watering a few hours before transplanting. This will help keep their roots moist and ready for the transition.
- Dig holes: Dig holes in the transplant site that are slightly larger than the size of the root ball of each seedling. Space the holes at the recommended distance for the specific marigold variety.
- Gently remove the seedlings: Carefully remove the seedlings from the seed trays by loosening the seedlings from the bottom and guiding them out. Handle the seedlings by their leaves, avoiding touching the delicate stems.
- Plant the seedlings: Place each seedling into a hole, ensuring that the top of the root ball is level with the surrounding soil. Backfill the hole with soil, firming it gently around the seedling to eliminate any air pockets.
- Water after transplanting: Give the newly transplanted seedlings a thorough watering to help establish their root systems in the new location. Ensure that the soil stays consistently moist but not waterlogged during the early stages of growth.
- Mulch: Apply a layer of organic mulch around the base of the seedlings to help conserve moisture, suppress weeds, and regulate soil temperature.
Transplant shock is common in seedlings, so it’s important to provide extra care and attention during this period. Avoid transplanting during hot, sunny days, and consider providing temporary shading for the seedlings if needed.
With your marigold seedlings successfully transplanted, it’s time to move on to the final step: maintaining and caring for the marigold plants.
Read more: How To Get Seeds From Marigolds
Step 9: Maintain and care for the marigold plants
Once your marigold plants are established in their new location, it’s important to provide ongoing care to ensure their health and vitality. Follow these steps to properly maintain and care for your marigold plants:
- Watering: Water the marigold plants regularly, keeping the soil moist but not waterlogged. Provide deep, thorough watering when the top inch of soil feels dry to the touch.
- Fertilizing: Marigolds are relatively low-maintenance plants, but they can benefit from occasional feeding. Apply a balanced, water-soluble fertilizer every 4-6 weeks during the growing season to promote healthy growth and abundant blooms.
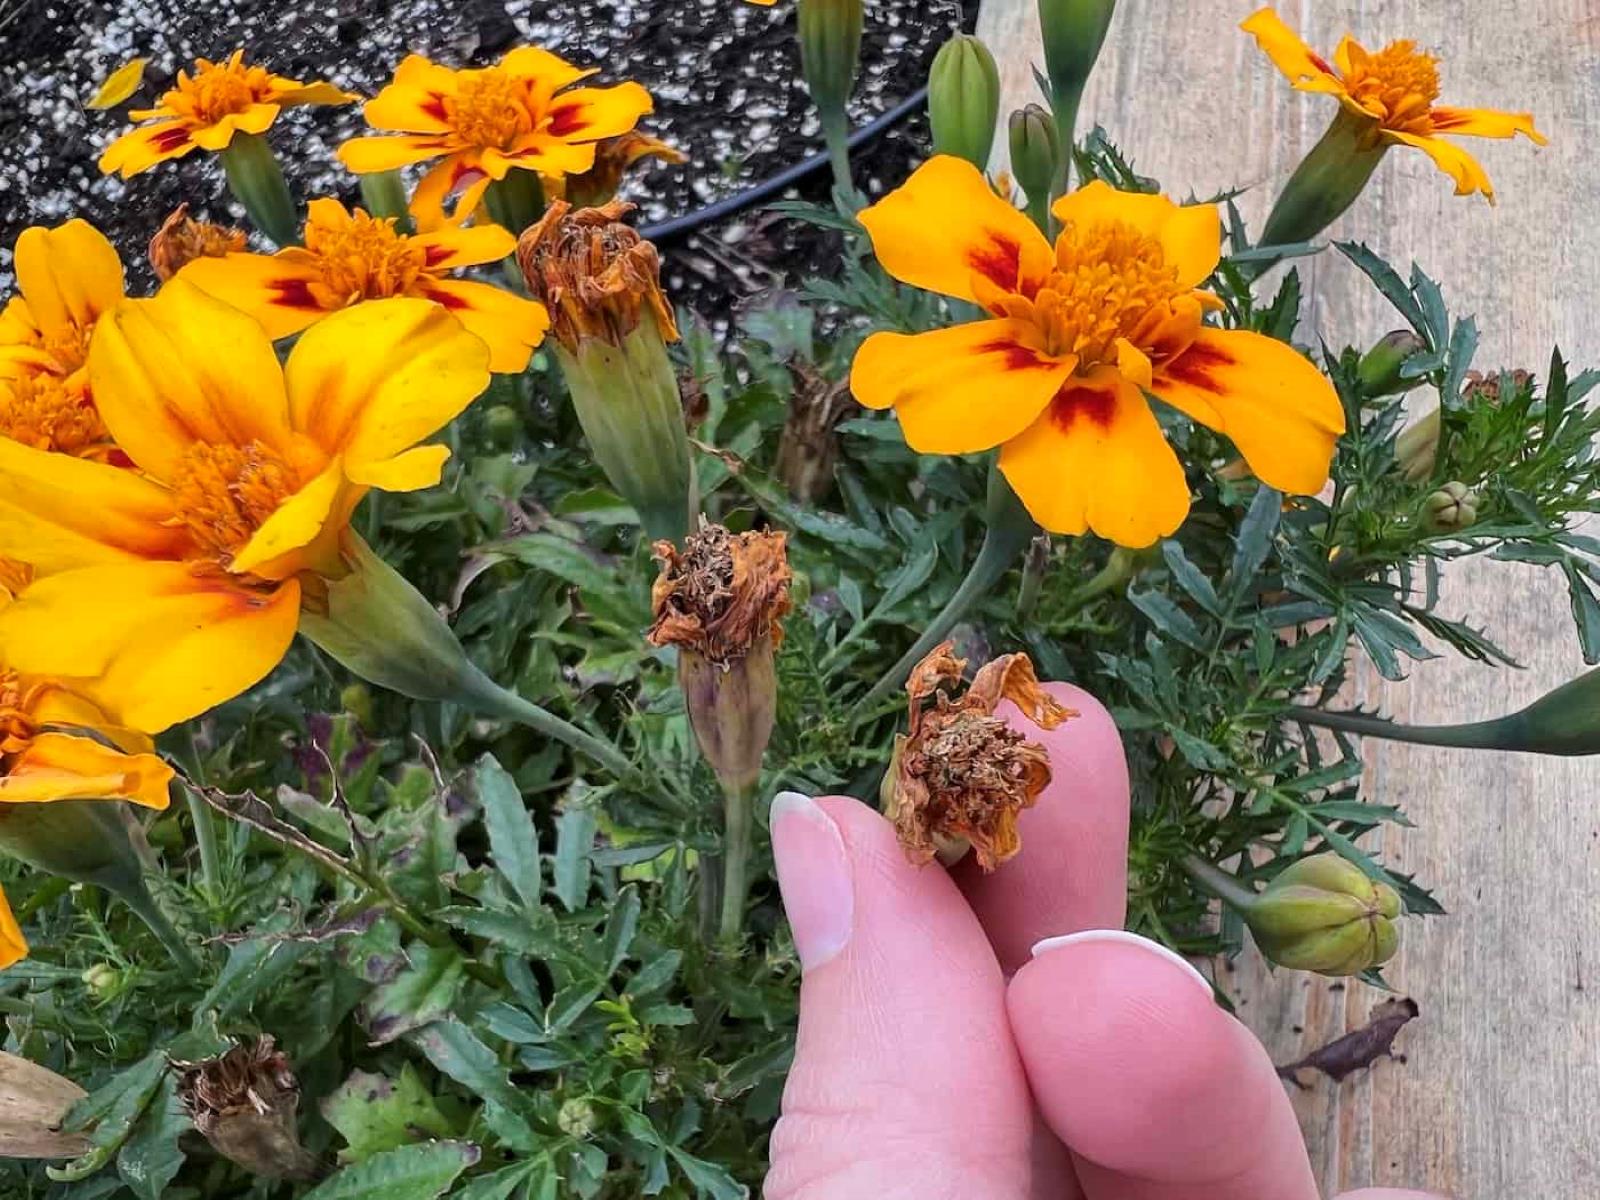
- Deadheading: To encourage continuous blooming, remove faded or spent flowers by pinching or cutting them off. This process, known as deadheading, redirects the plant’s energy towards producing new blooms.
- Pest and disease management: Keep an eye out for pests like aphids, slugs, or spider mites, and take appropriate action if necessary. Monitor the plants for signs of disease, such as powdery mildew, and promptly address any issues using organic pest control methods or natural remedies.
- Weed control: Regularly weed the area around the marigold plants to prevent competition for nutrients and water. Apply a layer of organic mulch to help suppress weeds and conserve moisture.
- Monitor for signs of stress: Keep an eye out for any signs of stress or nutrient deficiencies, such as yellowing leaves or stunted growth. Make adjustments to watering, fertilizing, and overall care as needed to address the plants’ needs.
- Monitor for seed production (optional): If you wish to collect seeds from your marigold plants for future planting, allow a few flowers to mature and dry on the plant. Harvest the seeds once the flower heads have turned brown and the seeds are fully formed.
By providing proper maintenance and care, your marigold plants will continue to thrive and reward you with their vibrant blooms throughout the growing season.
Now that you have learned how to maintain and care for marigold plants, you are well-equipped to enjoy their beauty and benefits in your garden. Happy gardening!
Conclusion
Congratulations! You have learned how to start marigold seeds and successfully grow these beautiful flowers in your garden. Starting marigold seeds from scratch not only allows you to have control over the growing process but also offers a cost-effective way to fill your garden with vibrant colors and delightful scents.
Throughout this guide, we covered the step-by-step process to help you get started. You learned about gathering the necessary materials, choosing the right marigold seeds, preparing the seed starting medium, sowing the seeds, and providing the ideal growing conditions. We also discussed how to properly water the seeds, take care of the seedlings, transplant them into the garden, and maintain the plants to ensure their health and vitality.
By following these steps and providing the necessary care and attention, you can enjoy a bountiful harvest of marigold blooms. These versatile flowers not only add color and beauty to your garden but also act as natural pest repellents and attract beneficial pollinators.
Remember to monitor the plants for pests, diseases, and signs of stress and take appropriate measures to address any issues that may arise. Regular watering, fertilizing, and deadheading will help promote continuous blooming and maintain the health and vibrancy of your marigold plants.
Whether you choose French marigolds, African marigolds, or signet marigolds, these versatile flowers are sure to enhance your garden and bring joy to your gardening experience. So go ahead and get started with sowing your marigold seeds, and watch as your garden transforms into a colorful and thriving oasis.
Now, armed with this knowledge and your green thumb, it’s time to embark on your marigold-growing journey. Get your hands dirty, enjoy the therapeutic aspects of gardening, and relish in the beauty that marigolds bring to your outdoor space. Happy gardening!
Now that you've got the hang of starting marigold seeds, why stop there? Expand your gardening prowess with creative ideas for enclosing your green space. Anyone with a yard can benefit from our guide on stylish garden fence designs. Not only will they keep critters out, but they'll also add a splash of style to any outdoor area. Curious about other gardening costs? Check out our detailed analysis on the price of various flower seeds. This insight helps in planning your next planting season without straining your wallet.
Frequently Asked Questions about How To Start Marigold Seeds
Was this page helpful?
At Storables.com, we guarantee accurate and reliable information. Our content, validated by Expert Board Contributors, is crafted following stringent Editorial Policies. We're committed to providing you with well-researched, expert-backed insights for all your informational needs.


0 thoughts on “How To Start Marigold Seeds”