Home>Garden Essentials>How To Start Squash Seeds
Garden Essentials
How To Start Squash Seeds
Modified: March 16, 2024
Learn how to start squash seeds in your garden with our easy-to-follow guide. Start growing your own squash today and enjoy a bountiful harvest!
(Many of the links in this article redirect to a specific reviewed product. Your purchase of these products through affiliate links helps to generate commission for Storables.com, at no extra cost. Learn more)
Introduction
Welcome to the world of gardening! If you are looking to start your own vegetable garden and want to try growing squash, you’ve come to the right place. Squash is a versatile and delicious vegetable that can be enjoyed in a variety of dishes, from soups and stews to salads and even desserts.
Starting squash seeds is the first step in the journey of growing your own squash plants. By starting from seeds, you have more control over the variety you choose, and it can be a rewarding experience to watch your seeds grow into healthy and productive plants.
In this article, we will guide you through the process of starting squash seeds, from choosing the right variety to caring for the seedlings. So let’s dig in and get started on your squash-growing adventure!
Key Takeaways:
- Choose the right squash variety based on your taste, garden space, and climate. Consider factors like texture, flavor, and growing season to ensure a successful squash-growing adventure.
- Gather essential materials and follow step-by-step instructions to start and care for your squash seeds. Provide optimal growing conditions and troubleshoot common issues for a bountiful harvest.
Read more: How To Plant Squash Seeds
Choosing the right squash variety
When it comes to choosing the right squash variety to grow from seeds, there are a few factors to consider. One of the first things to determine is the type of squash you prefer. There are two main categories: summer squash and winter squash.
Summer squash, such as zucchini and yellow squash, have a soft skin and are harvested when they are still immature. They are usually eaten fresh and have a mild flavor. These squash varieties are perfect for adding to salads, stir-fries, or simply grilling as a side dish.
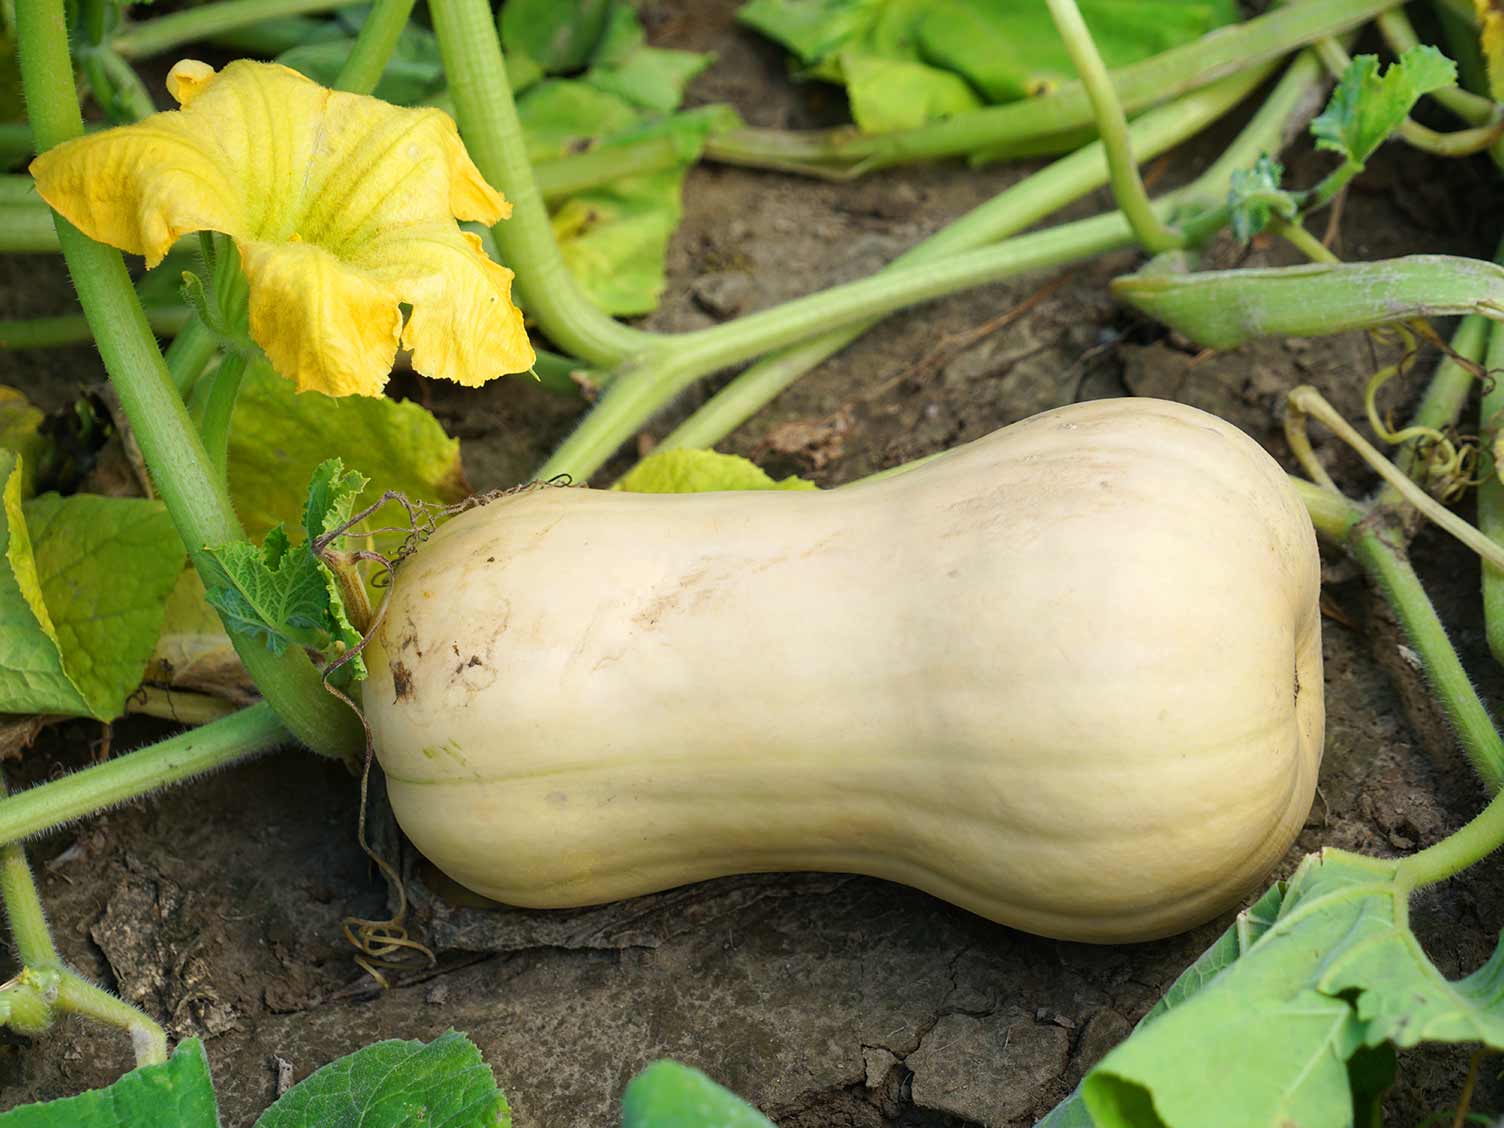
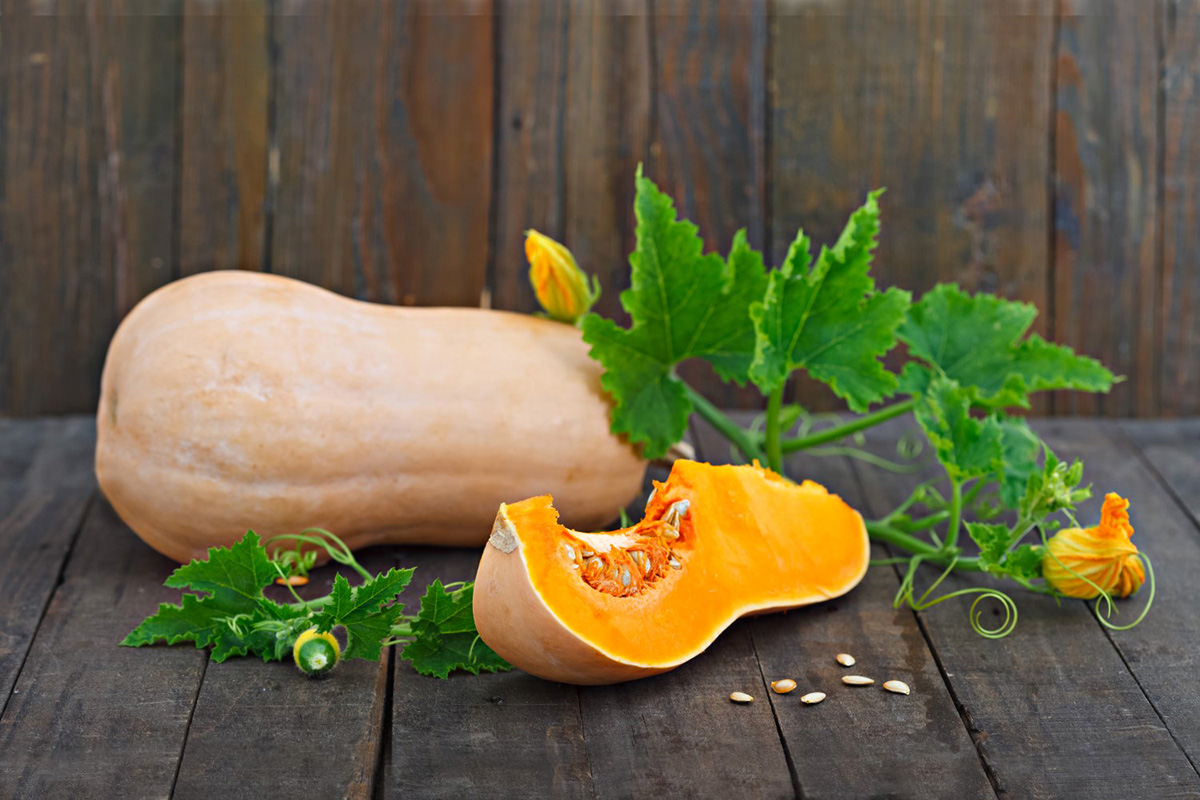
Winter squash, on the other hand, have a hard outer skin and are harvested when they reach full maturity. Examples of winter squash include butternut, acorn, and spaghetti squash. They have a sweet, rich flavor and can be stored for several months, making them a great addition to your fall and winter meals.
Once you’ve decided between summer and winter squash, you can further narrow down your options by considering the available space in your garden. If you have limited space, you may want to choose a bush variety that doesn’t require as much room to spread. If you have more space available or plan to grow your squash vertically, vine varieties are a great option.
Additionally, consider the growing season in your area. Some varieties of squash are better suited for cooler climates, while others thrive in warmer temperatures. Check the seed packet or do a quick online search to find squash varieties that are recommended for your specific climate.
Lastly, think about your preferences in terms of flavor and texture. Some squash varieties are known for their creamy texture, while others have a firmer flesh. If you have a specific recipe in mind or have a preference for a certain texture, choose a squash variety that meets your criteria.
By taking into account these factors, you can select the right squash variety that suits your taste, garden space, climate, and culinary preferences. Once you have chosen the perfect variety, it’s time to gather the necessary materials to start your squash seeds.
Gathering the necessary materials
Before you can start planting squash seeds, you’ll need to gather a few essential materials. By having everything prepared in advance, you can ensure a smooth and successful seed-starting process. Here are the materials you’ll need:
- Squash seeds: Choose high-quality seeds from a reputable source. Make sure they are fresh and not expired.
- Seed trays or pots: You can choose to use seed trays with individual cell compartments or small pots for starting your squash seeds. Look for containers that have drainage holes to prevent waterlogging.
- Seed starting mix: Use a well-draining seed starting mix that is light and fluffy. Avoid using garden soil, as it can be too heavy and may contain pathogens.
- Watering can or spray bottle: A watering can with a fine rose or a spray bottle will help you provide a gentle and even mist of water to keep the soil moist without disturbing the seeds.
- Grow lights or a sunny location: Squash seeds require ample light to germinate and grow into healthy seedlings. If you don’t have access to a sunny location, consider using fluorescent grow lights.
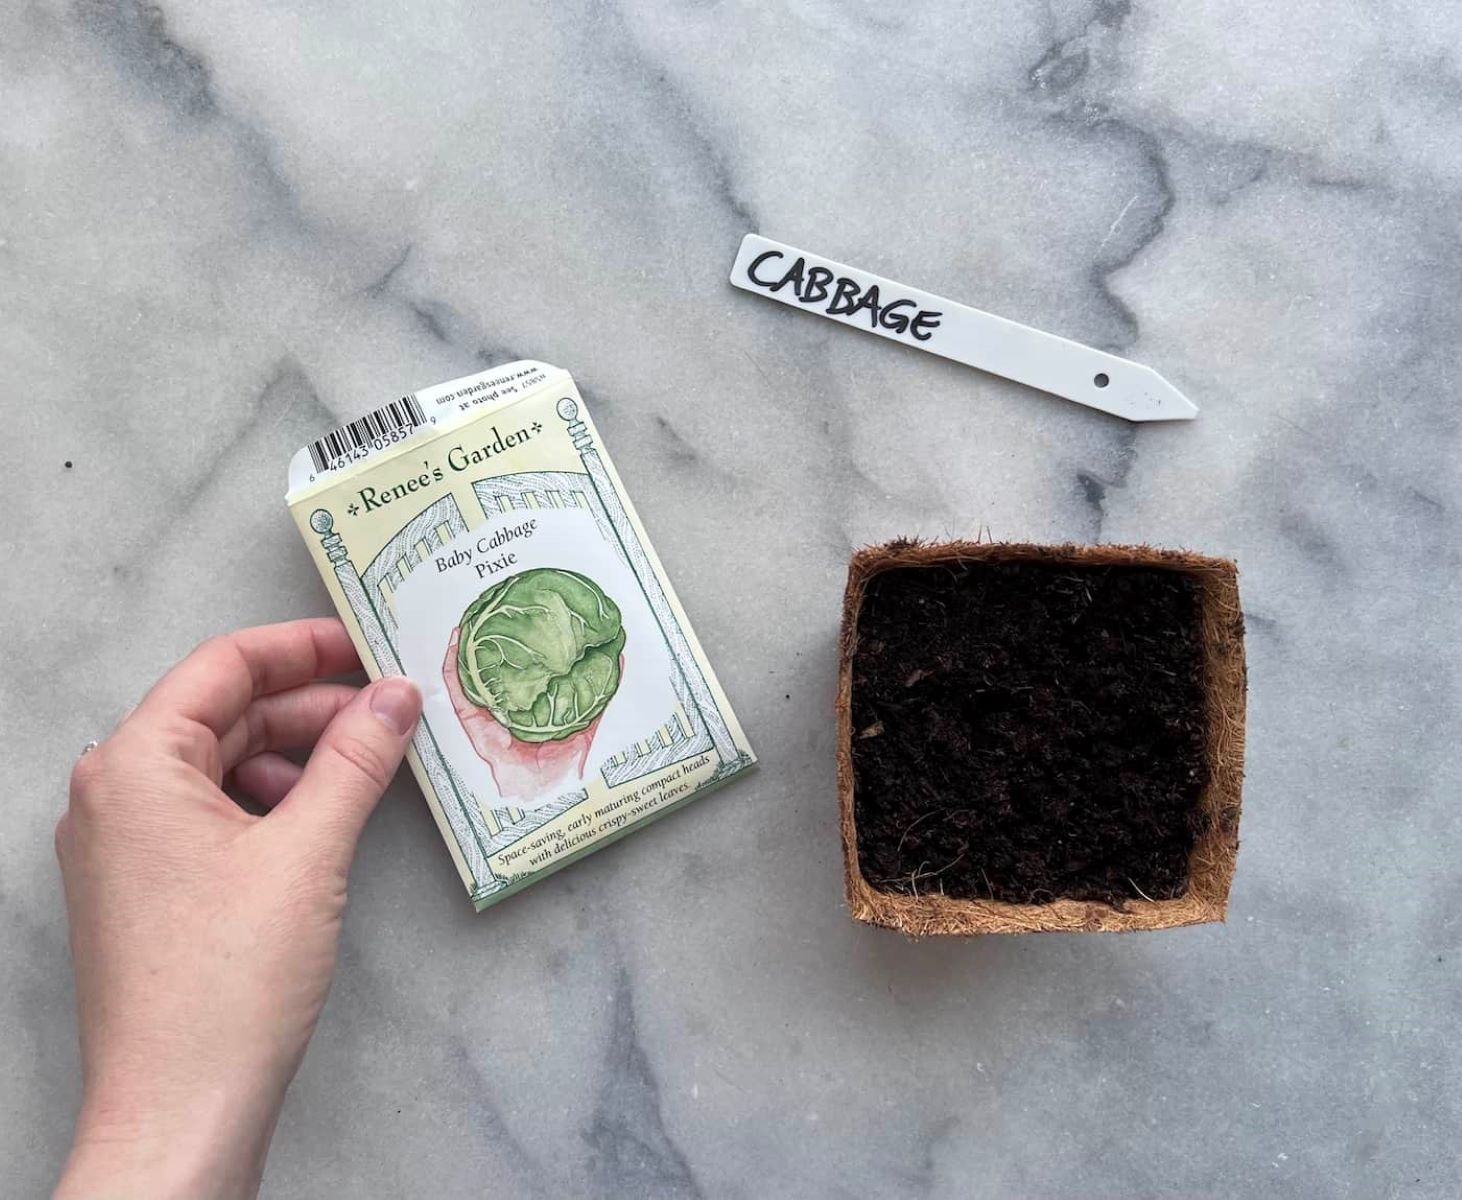
- Plant labels: It’s important to label your squash varieties to keep track of what you’ve planted. You can use popsicle sticks, plastic labels, or any other labeling system that suits you.
- Optional: Heat mat or bottom heat source: Squash seeds prefer warm soil for germination. If you live in a cooler climate or want to give your seeds a boost, consider using a heat mat or placing the seed trays on top of a radiator or warm surface.
By gathering these materials ahead of time, you’ll be ready to start planting your squash seeds without any delays. Once you have everything prepared, it’s time to move on to the next step: preparing the seed trays or pots.
Preparing the seed trays or pots
Preparing the seed trays or pots is an important step in the squash seed-starting process. This is where your seeds will take root and begin their journey to becoming healthy seedlings. Follow these steps to ensure the optimal conditions for your squash seeds:
- Clean and sterilize: Before using your seed trays or pots, make sure they are clean and free from any soil or debris. Wash them with warm, soapy water and rinse well. If you are reusing containers from a previous planting season, sterilize them by soaking in a diluted bleach solution (1 part bleach to 9 parts water) for 10-15 minutes. Rinse thoroughly afterwards.
- Add drainage: If your containers don’t have drainage holes, it’s important to create them. Use a drill or a hot nail to make several small holes in the bottom of each container. This will allow excess water to drain and prevent your squash seeds from sitting in waterlogged soil.
- Fill with seed starting mix: Fill your seed trays or pots with a high-quality seed starting mix, leaving about half an inch of space at the top. Gently firm the soil to ensure good contact with the container.
- Moisten the soil: Before planting your squash seeds, moisten the seed starting mix by watering from the top. Aim to achieve a consistently moist but not waterlogged soil. Allow any excess water to drain out.
Once you’ve prepared your seed trays or pots, they are ready for planting. But before you get your hands dirty, let’s move on to the next section, where we’ll guide you through the process of planting squash seeds.
Planting the squash seeds
Now it’s time to get your hands dirty and plant your squash seeds. Follow these steps to ensure successful germination and healthy seedling growth:
- Create planting depressions: Using your finger or a small spoon, create planting depressions in the moistened seed starting mix. The depth should be about 1 inch and the spacing between depressions will depend on the specific variety of squash you are planting. Refer to the seed packet for recommended spacing.
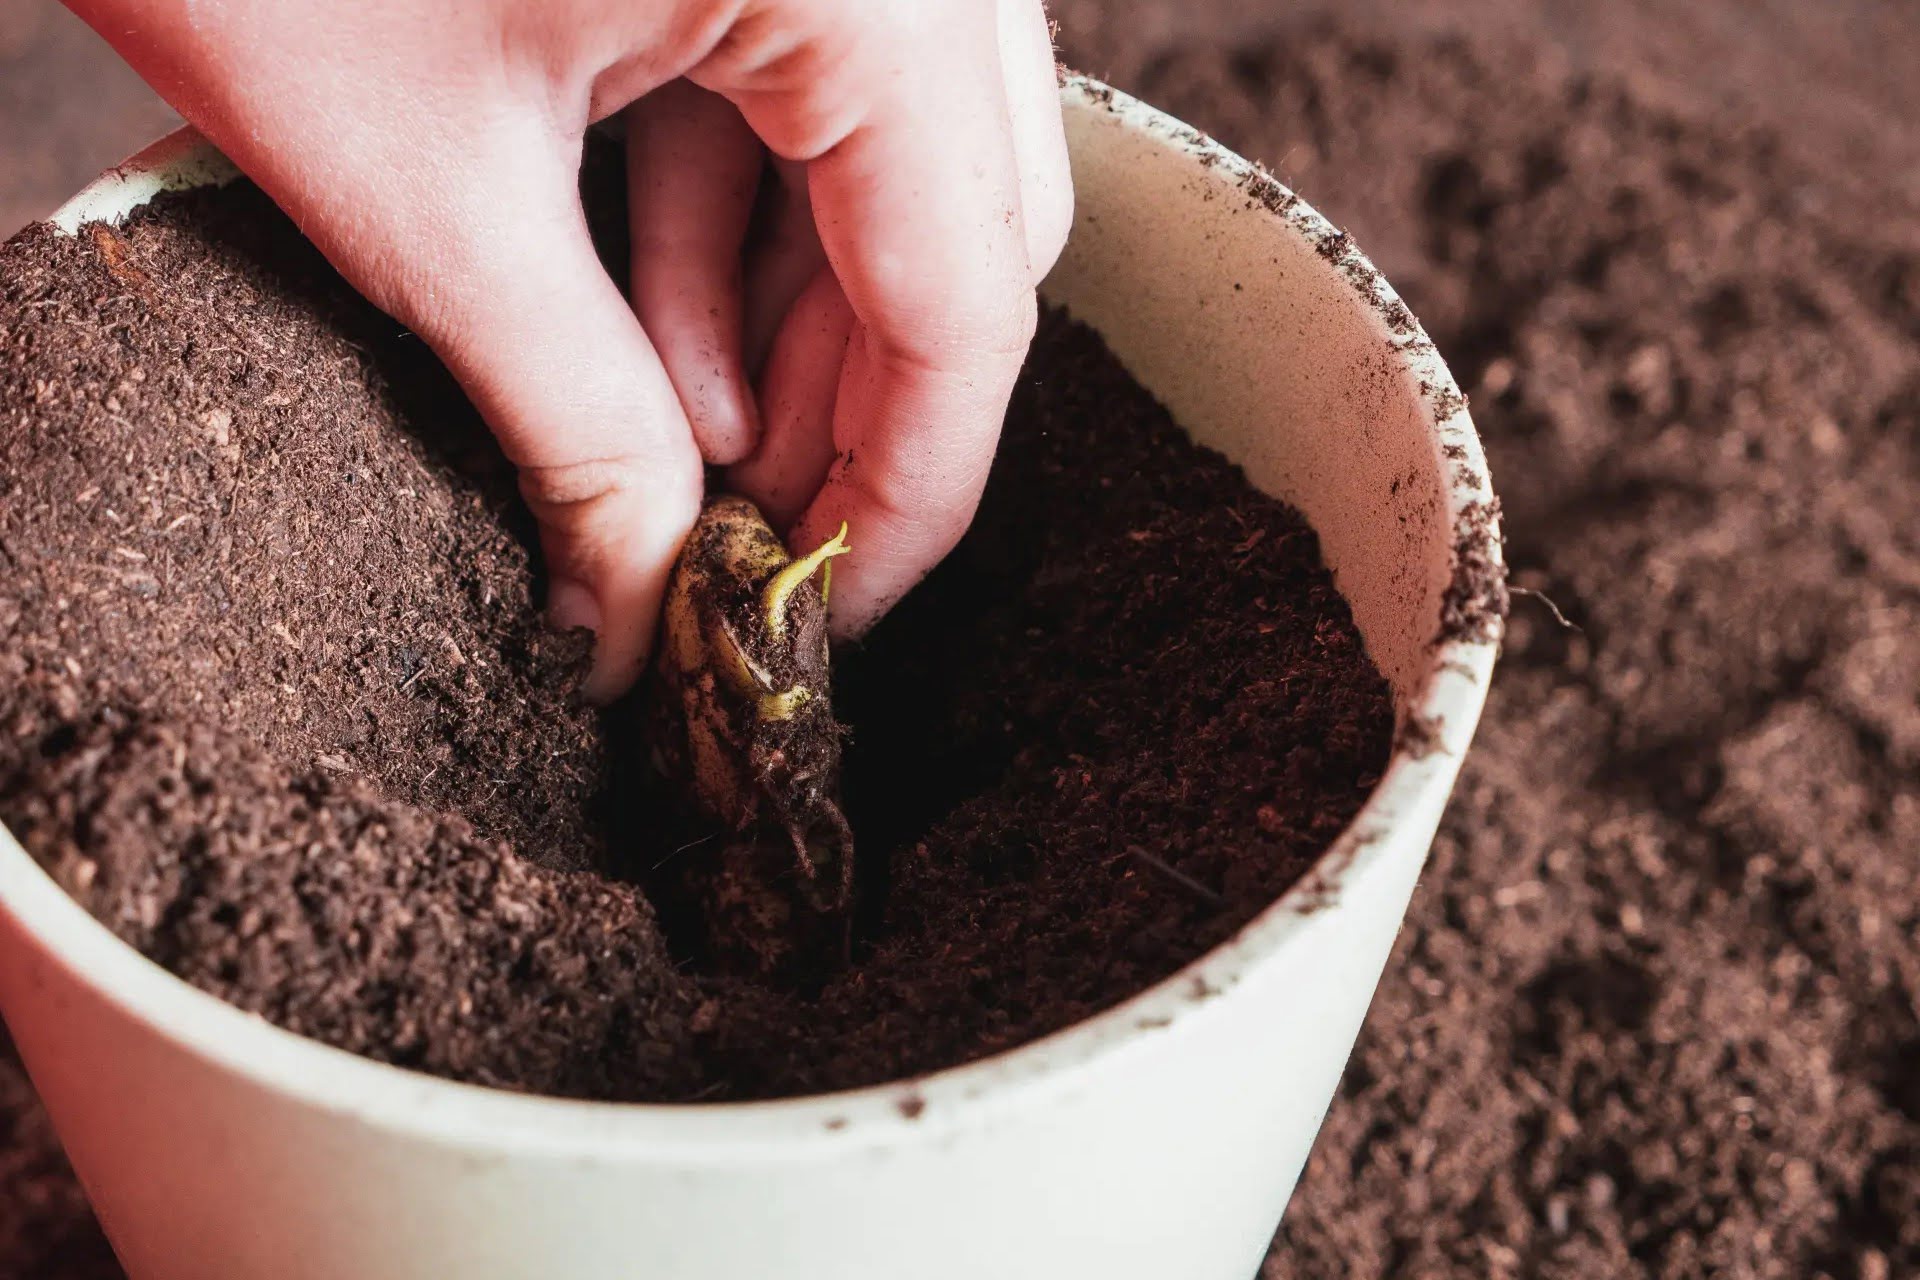
- Plant the seeds: Place one or two squash seeds in each planting depression. If you’re using larger pots, you can plant multiple seeds in each pot and thin them out later, keeping the strongest seedlings.
- Cover and lightly press: Gently cover the squash seeds with a thin layer of seed starting mix, about ¼ inch deep. Lightly press down on the soil to ensure good seed-to-soil contact, but be careful not to compact the soil too much.
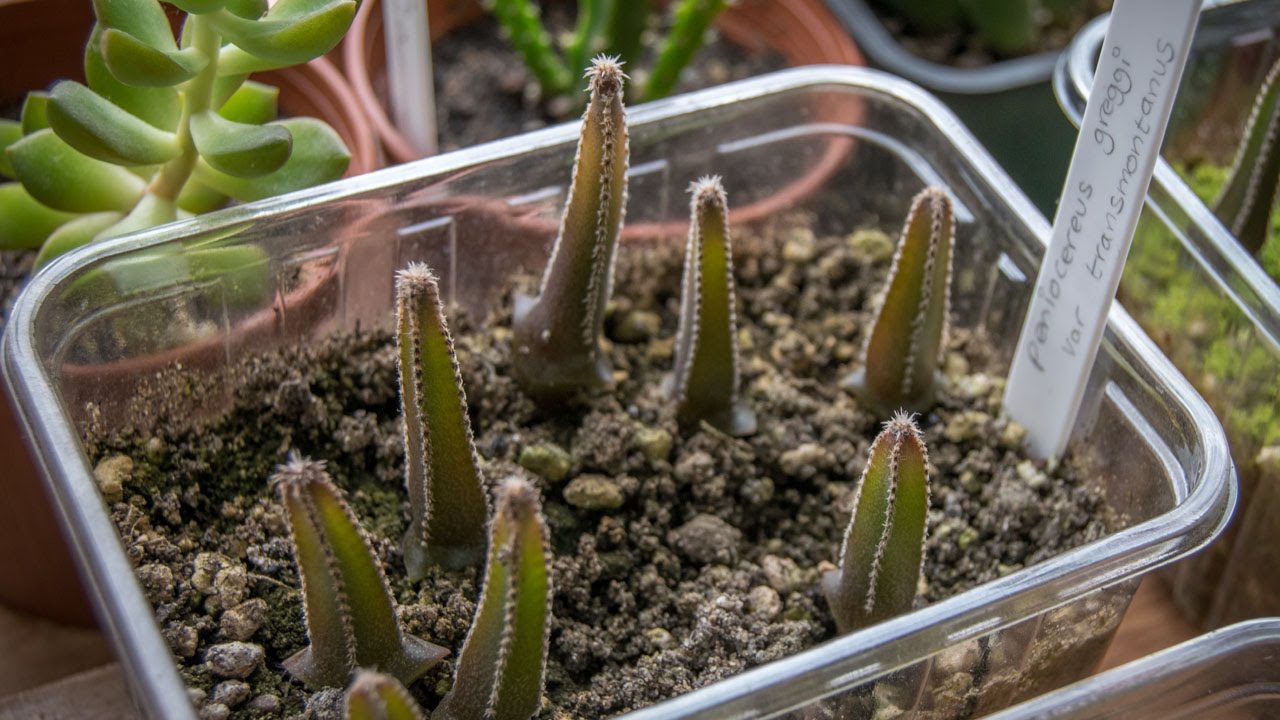
- Label and mist: Place a plant label in each tray or pot to keep track of the squash varieties. Using a spray bottle or a gentle stream of water from a watering can, give the planted seeds a fine mist of water to settle the soil around them.
- Provide warmth: Squash seeds prefer warm temperatures for germination. If possible, place the seed trays or pots in a warm location or on a heat mat set to the appropriate temperature. This will help speed up germination.
- Cover and monitor: Cover the seed trays or pots with a clear plastic dome or plastic wrap to create a mini greenhouse effect. This will help retain moisture and create a warm and humid environment for the seeds to germinate. Check regularly to ensure the soil remains consistently moist and remove the cover once seedlings start to emerge.
Now that your squash seeds are planted, it’s time to provide them with the ideal growing conditions to ensure their successful growth. In the next section, we’ll delve into the details of providing the optimal environment for your squash seedlings.
When starting squash seeds, make sure to plant them in nutrient-rich soil and keep them consistently moist. Provide plenty of sunlight and warmth to encourage healthy seedling growth.
Read more: How To Toast Squash Seeds
Providing the ideal growing conditions
Creating the ideal growing conditions for your squash seedlings will help promote healthy growth and ensure a successful crop. Here are some key factors to consider:
- Temperature: Squash seedlings thrive in warm temperatures. Aim to keep the growing area around 70-85°F (21-29°C) during the day and no lower than 60°F (15°C) at night. If necessary, use a space heater or heat mat to maintain the optimal temperature.
- Light: Provide your squash seedlings with ample light. Place them in a sunny location, such as a windowsill or under fluorescent grow lights. Seedlings need at least 12-16 hours of light daily to grow strong and healthy.
- Watering: Keep the soil consistently moist but not waterlogged. Water the seedlings from the bottom by placing the tray or pot in a shallow tray of water and allowing the soil to absorb the moisture. Avoid overhead watering, as it can damage the delicate seedlings.
- Air circulation: Adequate air circulation is important for preventing diseases and strengthening the seedlings. If using a plastic dome or cover, make sure to remove it once the seedlings start to emerge to allow proper airflow.
- Fertilization: To provide nutrients to the growing seedlings, you can use a diluted balanced liquid fertilizer once the first set of true leaves appear. Follow the instructions on the fertilizer package for the appropriate dilution ratio.
It’s important to monitor the growing conditions consistently and make adjustments as needed. Keep an eye out for any signs of distress or disease and take appropriate measures to address them. As your seedlings continue to grow and mature, it will soon be time to transplant them into their permanent location.
In the next section, we’ll cover the process of transplanting the squash seedlings and ensuring their successful establishment in your garden.
Caring for the squash seedlings
Once your squash seedlings have emerged and started to grow, it’s important to provide them with proper care to ensure their healthy development. Here are some essential tips for caring for your squash seedlings:
- Thinning: If you planted multiple squash seeds in one container, thin out the weaker seedlings to give the remaining ones more space to grow. Choose the strongest and healthiest seedling to keep in each pot or space them out according to the recommended spacing for your specific variety.
- Watering: Regular watering is crucial for the growth of your squash seedlings. Keep the soil evenly moist, but avoid overwatering as it can lead to root rot. Check the moisture level of the soil regularly and water when the top inch feels dry to the touch.
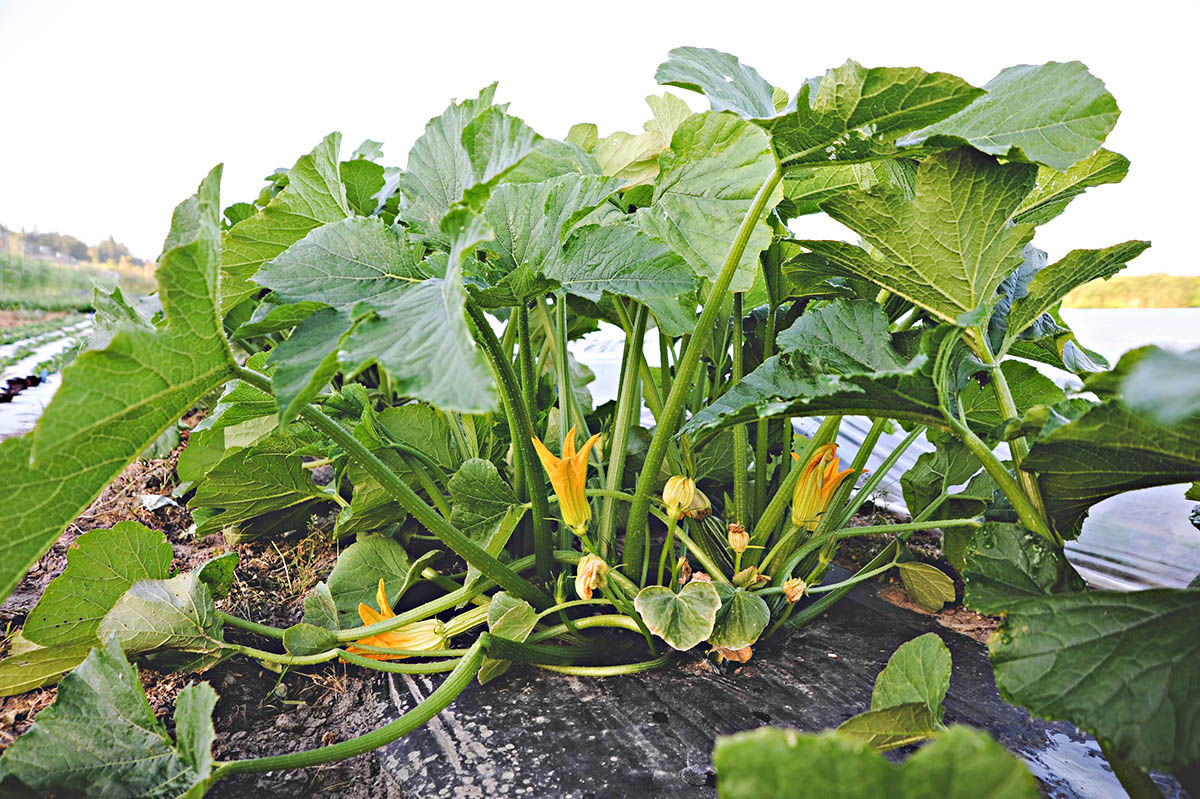
- Support: As your squash seedlings grow, they may need support to prevent them from sprawling on the ground. Consider using stakes, tomato cages, or trellises to support the vines and keep them off the soil. This will help improve air circulation and minimize the risk of diseases.
- Weeding: Regularly remove any weeds that appear near your squash seedlings. Weeds compete with your plants for nutrients and water, so keeping the area around the seedlings weed-free will promote their healthy growth.
- Pest control: Monitor your squash seedlings for any signs of pest infestation, such as aphids or squash bugs. If you notice any pests, use organic pest control methods or insecticidal soaps to manage the problem. Early detection and intervention are key to preventing severe damage.
- Mulching: Apply a layer of organic mulch, such as straw or wood chips, around your squash seedlings to help retain moisture, suppress weeds, and regulate soil temperature. This will create a more favorable growing environment for your plants.
- Pruning: Once your squash plants start to grow vigorously, you can prune off any excessive growth or side shoots. This will help redirect the plant’s energy into producing more fruit and improve the airflow around the plant, reducing the risk of disease.
By providing adequate care and attention to your squash seedlings, you’ll set the stage for a successful and productive harvest. In the next section, we’ll cover the process of transplanting the squash seedlings into their permanent location in your garden.
Transplanting the squash seedlings
Once your squash seedlings have grown a few inches tall and have a few sets of true leaves, it’s time to transplant them into their permanent location in your garden. Follow these steps to ensure a successful transplant:
- Choose the right timing: Transplant your squash seedlings outdoors after all danger of frost has passed and the soil has warmed up. Wait until the seedlings are well-established and have sturdy stems.
- Prepare the planting area: Choose a sunny spot in your garden with well-draining soil. Prepare the soil by loosening it with a garden fork or tiller and removing any weeds or debris. Incorporate organic matter, such as compost or well-rotted manure, into the soil to enrich its fertility.
- Dig holes: Dig holes in the prepared soil, spaced according to the recommended spacing for your specific variety of squash. The holes should be slightly larger than the root ball of each seedling.
- Transplant the seedlings: Gently remove the squash seedlings from their containers, taking care not to damage the delicate roots. Place each seedling in a hole, making sure the top of the root ball is level with or slightly above the soil surface. Fill in the hole with soil and firm it gently around the base of the seedling.
- Water thoroughly: After transplanting, water the seedlings thoroughly to settle the soil and help the roots establish. Provide enough water to moisten the soil to the depth of the root ball.
- Mulch around the seedlings: Apply a layer of organic mulch, such as straw or wood chips, around the base of the seedlings. This will help conserve moisture, suppress weeds, and regulate soil temperature.
- Provide support: If you’re growing vining squash varieties, provide support in the form of stakes, trellises, or cages. This will help keep the plants upright, prevent the fruit from touching the ground, and improve airflow.
Continue to monitor and care for your transplanted squash seedlings by providing regular water, proper nutrition, and pest control as needed. With time and attention, your squash plants will grow and produce an abundant harvest for you to enjoy.
In the next section, we’ll discuss some common issues that you may encounter while growing squash and how to troubleshoot them effectively.
Troubleshooting common issues
While growing squash, you may encounter some common issues that can affect the health and productivity of your plants. Here are a few problems you may come across and some potential solutions:
- Poor or uneven germination: If your squash seeds fail to germinate or have low germination rates, check the freshness of the seeds. Use fresh seeds from a reputable source. Ensure that the soil temperature and moisture levels are optimal for germination. Consider using a heat mat or adjusting watering practices if necessary.
- Yellowing leaves: Yellowing leaves in squash plants can be a sign of nutrient deficiency or overwatering. Make sure you are providing sufficient drainage and avoiding overwatering. Check the soil fertility and consider applying a balanced fertilizer. Adjust irrigation to maintain the right moisture level.
- Powdery mildew: Powdery mildew is a fungal disease that appears as a white powdery coating on the leaves and stems of squash plants. Improve air circulation around the plants by spacing them adequately and pruning excess foliage. Apply organic fungicides or use a mixture of baking soda and water to treat and prevent powdery mildew.
- Pest infestations: Common pests that affect squash plants include squash bugs, cucumber beetles, and aphids. Monitor your plants regularly and use organic insecticidal soaps or introduce beneficial insects like ladybugs or predatory wasps to control pest populations naturally.
- Vine borers: Vine borers are destructive pests that attack squash plants. Look for entry holes at the base of the stems and regularly check for eggs or larvae. Remove and destroy any affected plant parts or use biological controls like beneficial nematodes or parasitic wasps to manage vine borers.
- Lack of pollination: If your squash plants are not setting fruit, it may be due to poor pollination. Increase pollination by attracting pollinators like bees and butterflies to your garden. You can also hand-pollinate the flowers by transferring pollen between male and female blooms using a small brush or cotton swab.
- Disease susceptibility: Squash plants are susceptible to various diseases such as bacterial wilt, mosaic virus, and bacterial and fungal infections. To prevent diseases, select disease-resistant varieties, practice crop rotation, avoid overhead watering, and ensure good air circulation. Remove and destroy infected plants to prevent the spread of disease.
It’s important to regularly inspect your squash plants, address issues promptly, and take preventive measures to keep them healthy. With proper care and attention, you can overcome common issues and enjoy a bountiful harvest of delicious squash.
In the final section, we’ll discuss the exciting part of growing squash – harvesting and enjoying the fruits of your labor!
Read more: How To Save Squash Seeds
Harvesting and enjoying your squash
Congratulations on reaching the most rewarding part of growing squash – the harvest! Here are some tips to ensure that your squash is picked at the right time and enjoyed to its fullest:
- Know when to harvest: The timing of harvest will depend on the variety of squash you are growing. Summer squash should be harvested when they are still young and tender, usually when they are about 6-8 inches long. Winter squash should be allowed to mature fully on the vine and harvested when the skin is hard and cannot be easily pierced with a fingernail.
- Check for readiness: To determine if a summer squash is ready for harvest, gently press your fingernail on the skin. If it leaves a mark, the squash is still immature. If the skin is firm and resists indentation, it’s ready to be picked. For winter squash, look for a deep, consistent color and a hard, tough skin.
- Harvest carefully: Use a sharp knife or pruning shears to cut the squash from the vine, leaving a short stem attached. Avoid pulling or twisting the squash, as this can damage the plant. Be careful not to bruise or puncture the squash during harvest.
- Handle with care: Squash can be easily damaged, so handle them gently to avoid any bruising or cuts. Carry them by the stem or the bottom, being cautious not to put pressure on the fruit itself.
- Proper storage: Winter squash can be stored for several months if kept in a cool, dry, and preferably dark location. Remove any excess dirt and let them cure in a well-ventilated area for a week or two before storing. Summer squash, on the other hand, should be consumed fresh as it does not have a long shelf life.
- Enjoy the harvest: Now it’s time to savor the fruits of your labor! Incorporate squash into a variety of dishes, from sautés and stir-fries to soups, stews, and even desserts. Experiment with different recipes and cooking methods to fully appreciate the flavor and versatility of squash.
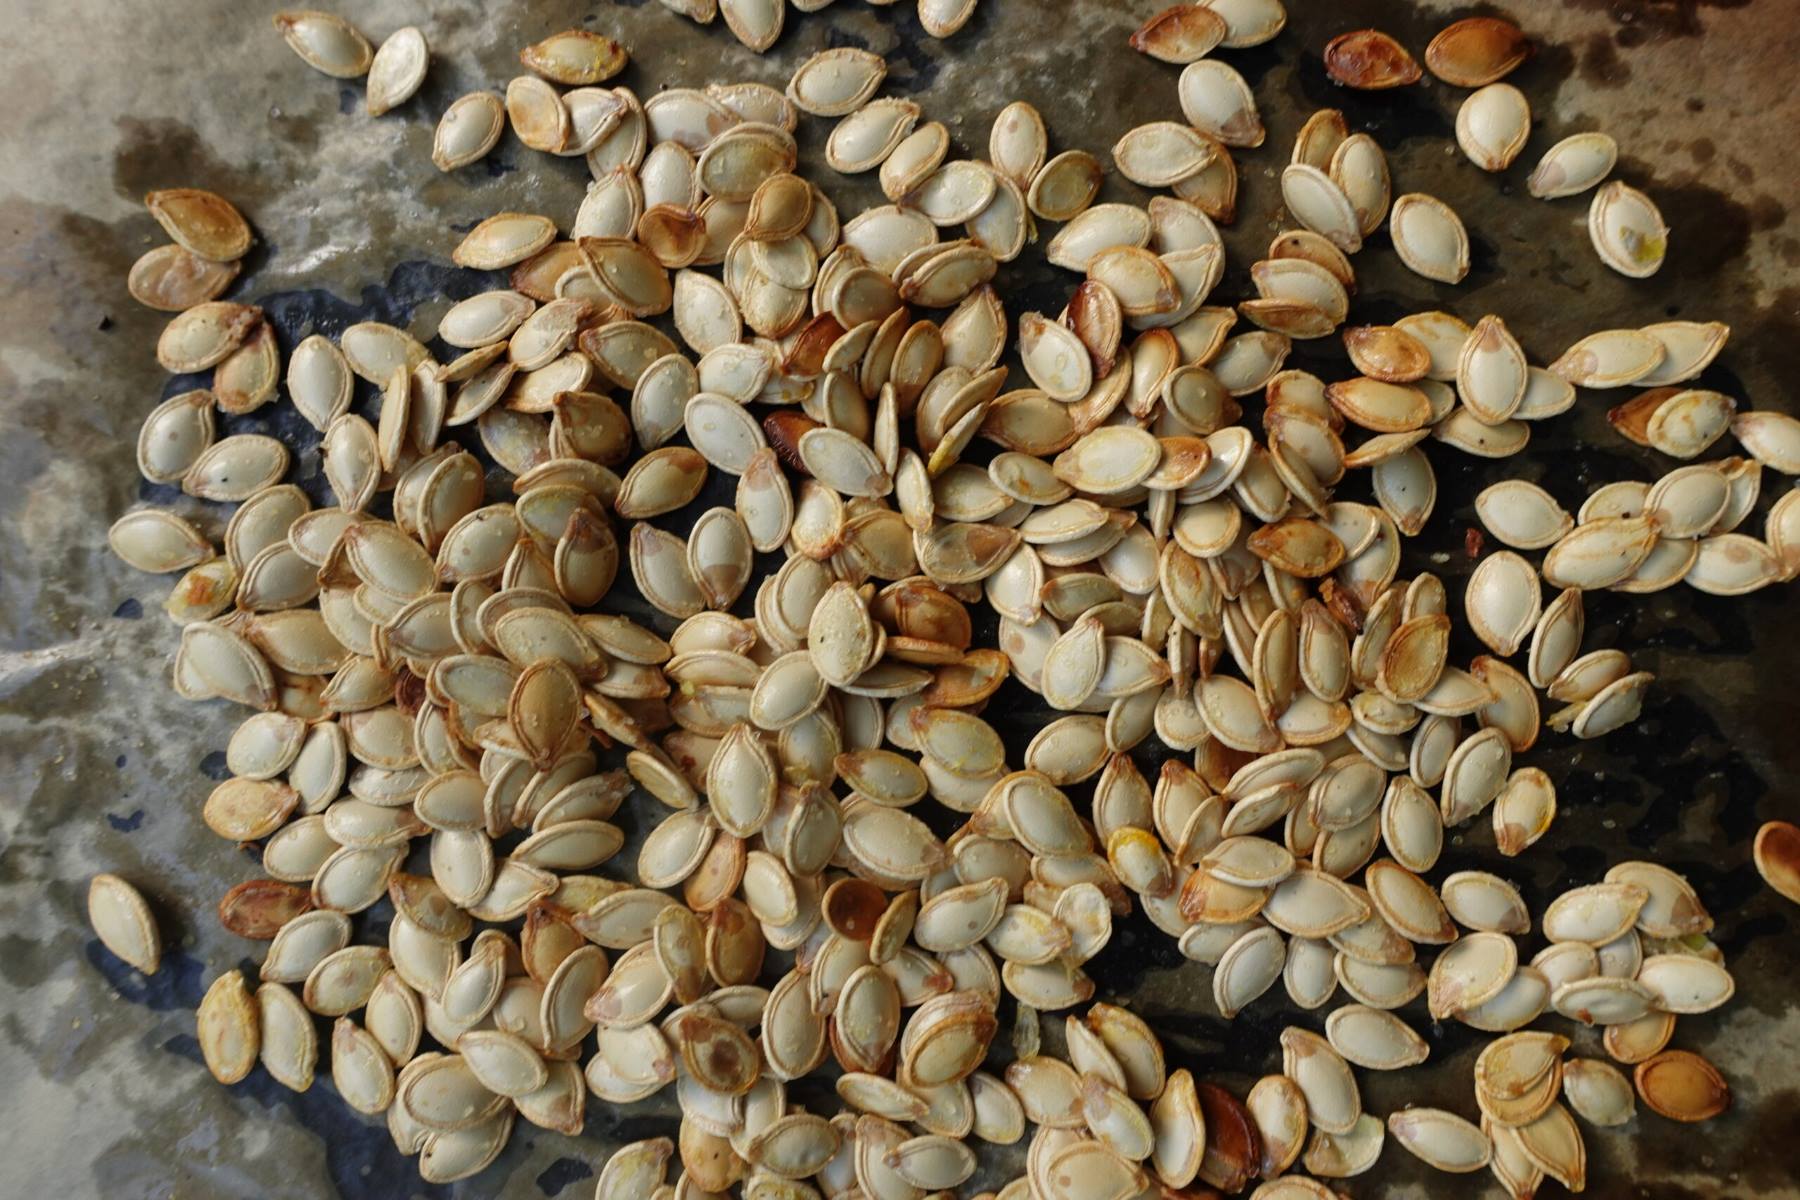
- Save seeds: If you’re interested in saving seeds for future planting, select a healthy, fully mature squash and scoop out the seeds. Rinse them well and let them dry completely, then store them in a cool, dry place in an airtight container until the next planting season.
Harvesting and enjoying your homegrown squash is a delightful experience. The satisfaction of seeing your plants grow from seeds to fully matured fruits is truly rewarding. So gather your squash, get creative in the kitchen, and relish the delicious taste of your own homegrown produce.
With these tips and techniques, you are well-equipped to start and successfully grow squash seeds. Follow the steps, provide proper care, and troubleshoot any issues that may arise. Embrace the journey of gardening, and may your squash harvest be bountiful and delightful!
Frequently Asked Questions about How To Start Squash Seeds
Was this page helpful?
At Storables.com, we guarantee accurate and reliable information. Our content, validated by Expert Board Contributors, is crafted following stringent Editorial Policies. We're committed to providing you with well-researched, expert-backed insights for all your informational needs.


0 thoughts on “How To Start Squash Seeds”