Home>Garden Essentials>How To Plant Catnip Seeds In A Pot
Garden Essentials
How To Plant Catnip Seeds In A Pot
Modified: May 6, 2024
Learn how to plant catnip seeds in a pot and create a beautiful garden filled with fresh catnip. Follow our step-by-step guide for a successful garden.
(Many of the links in this article redirect to a specific reviewed product. Your purchase of these products through affiliate links helps to generate commission for Storables.com, at no extra cost. Learn more)
Introduction
Welcome to the wonderful world of gardening! Whether you are a seasoned gardener or just beginning your green-thumb journey, growing plants can bring immense joy and satisfaction. If you are a cat lover, there is one plant that you should definitely consider adding to your garden – catnip.
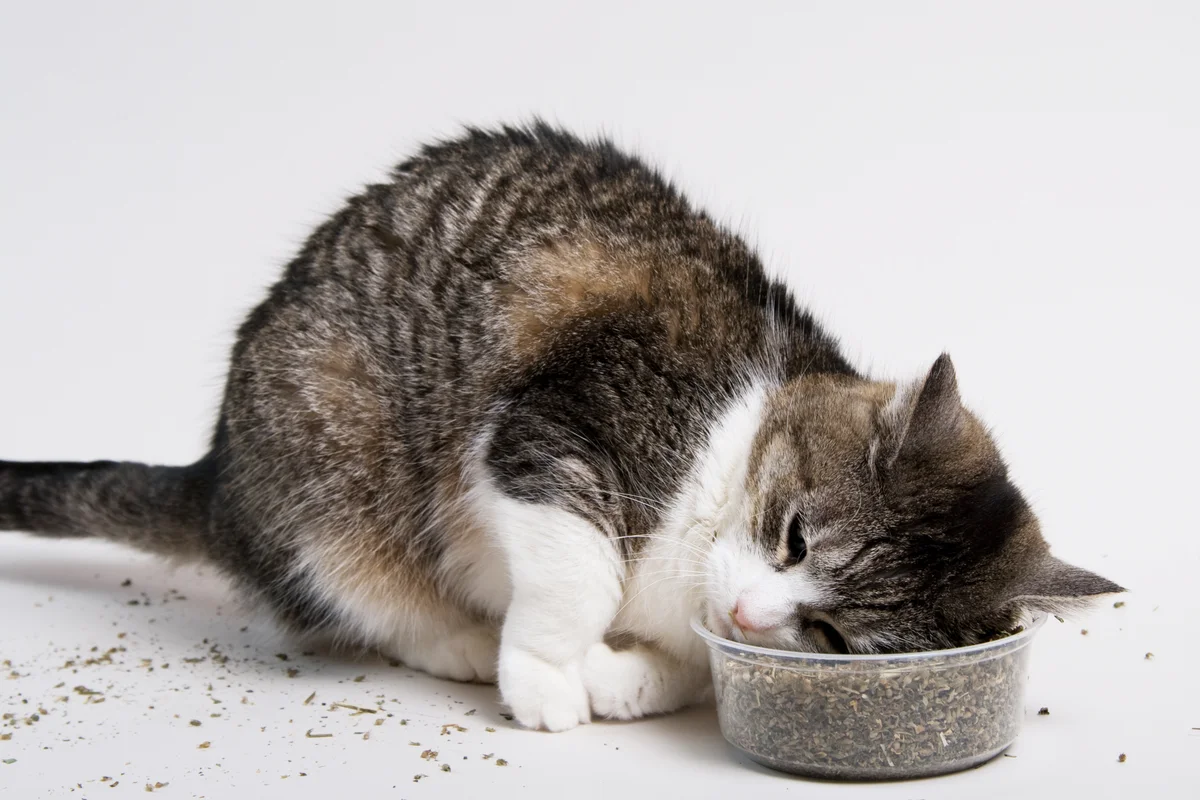
Catnip, also known as Nepeta cataria, is a perennial herb that belongs to the mint family. It is a favorite among feline friends and can provide them with hours of entertainment. Not only is catnip loved by cats, but it also has several benefits for humans as well. It has been used for centuries in herbal medicine for its calming properties and can be brewed into a soothing tea.
If you want to ensure that your furry family member has a constant supply of fresh catnip, consider planting catnip seeds in a pot. This allows you to easily control the growing conditions and keep the plants in a designated area. In this article, we will guide you through the process of planting catnip seeds in a pot, from choosing the right pot to harvesting the leaves.
So, let’s get started and create the purrfect catnip paradise for your feline companion!
Key Takeaways:
- Planting catnip seeds in a pot requires choosing the right container, selecting high-quality seeds, and preparing the soil. With proper care, you can enjoy the aromatic benefits of catnip for both your cats and yourself.
- Harvesting catnip leaves is a rewarding experience that involves selective picking, proper drying, and storage. This allows you to savor the soothing properties of catnip throughout the year, benefiting both you and your furry companions.
Read more: How To Plant Chive Seeds In A Pot
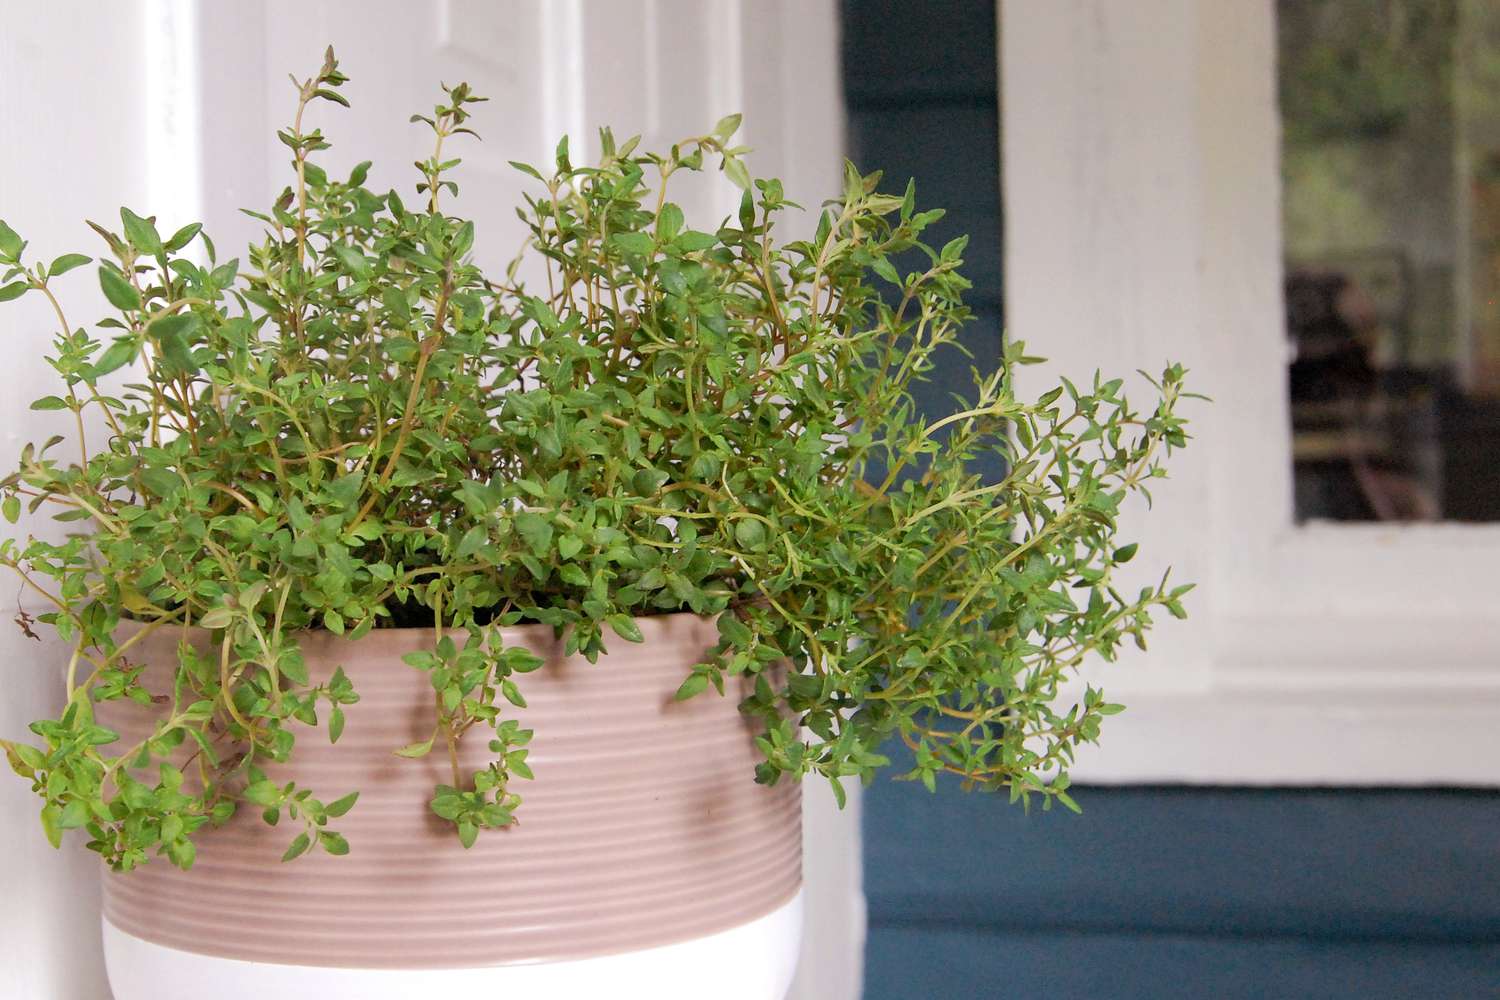
Choosing the Right Pot
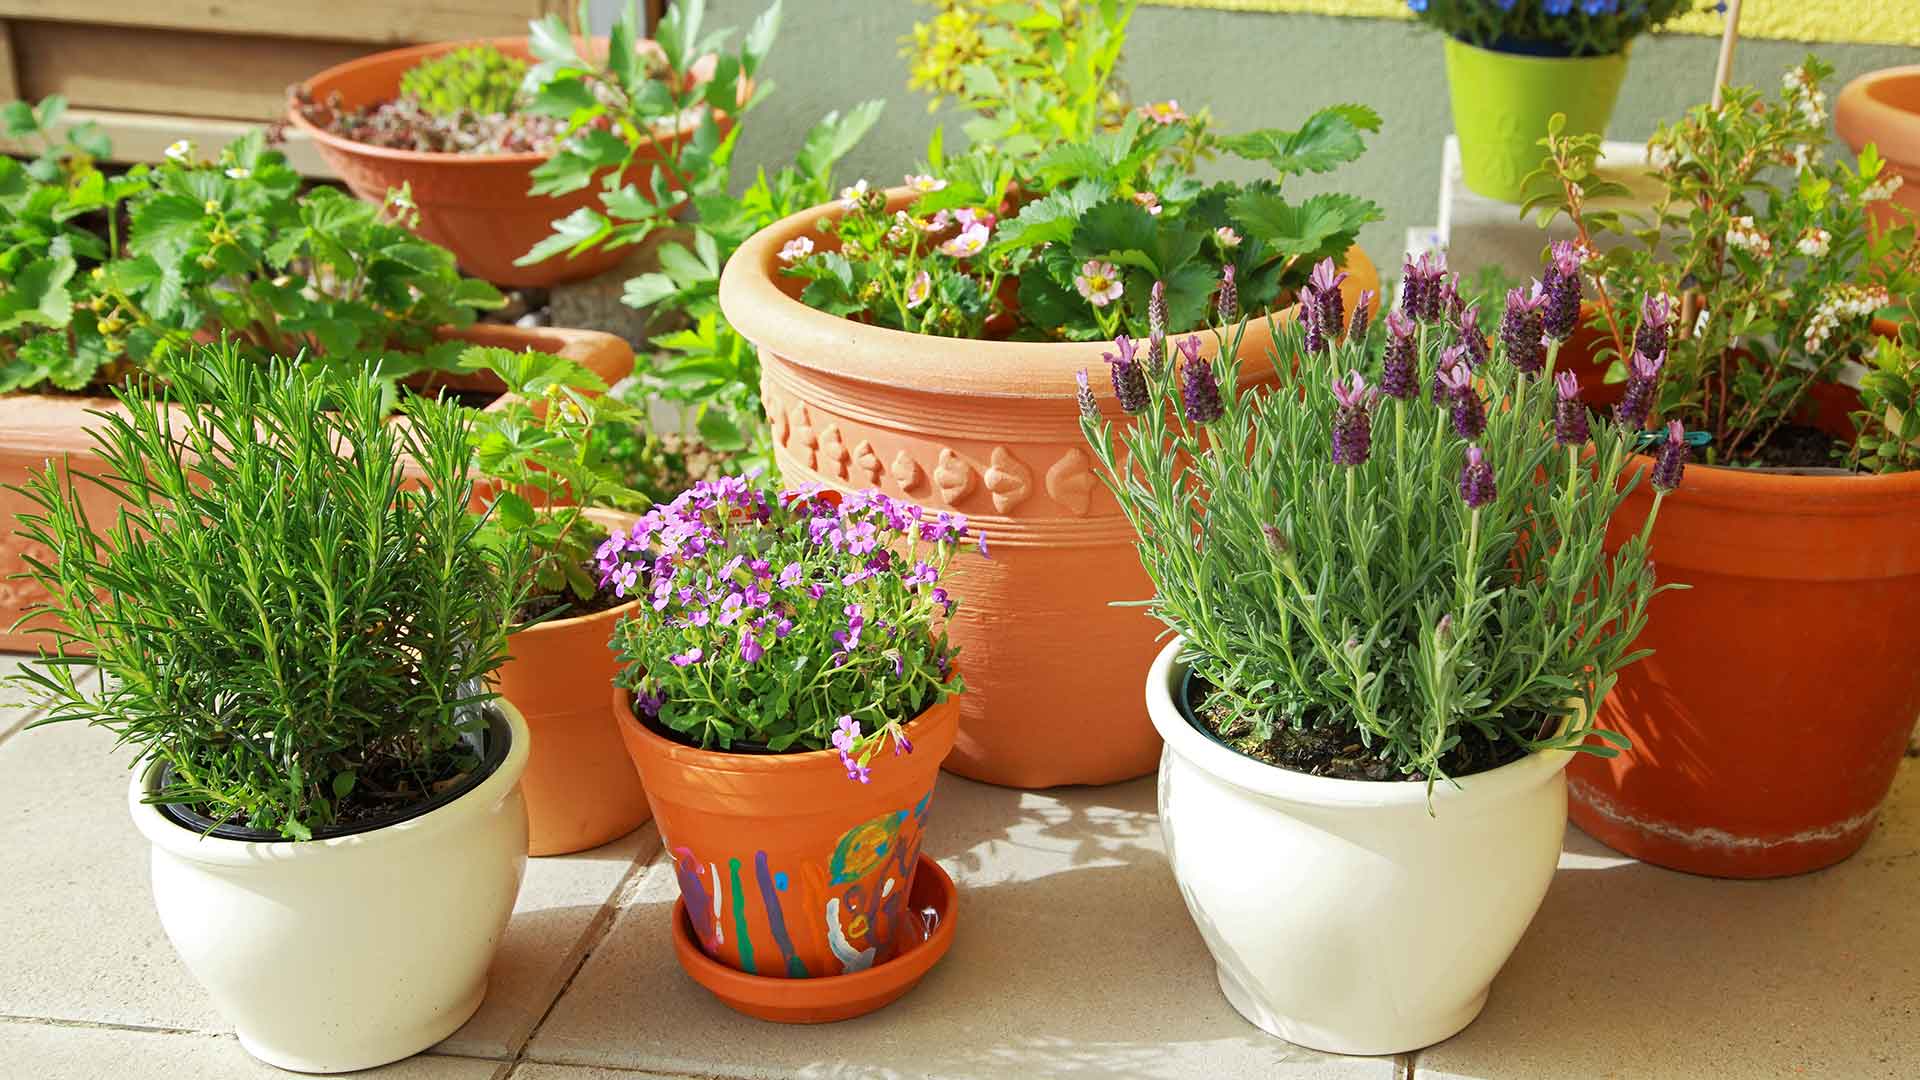
When it comes to growing catnip in a pot, choosing the right container is crucial for the health and growth of your plants. Here are a few factors to consider when selecting a pot:
- Size: Catnip plants can grow to be about 2-3 feet tall and have a spread of 1-2 feet. Therefore, choose a pot that has a diameter of at least 12 inches to accommodate the growing plant. It should also be deep enough to provide sufficient space for the roots to spread.
- Drainage: Catnip plants prefer well-draining soil, so it’s important to choose a pot with drainage holes at the bottom. This will prevent water from pooling and causing root rot. If your chosen pot does not have drainage holes, consider drilling some in the bottom or using a layer of gravel or broken pottery shards to create a drainage layer.
- Material: Pots come in a variety of materials, including clay, plastic, and ceramic. Clay pots are porous and allow for better airflow to the roots, but they can dry out more quickly. Plastic pots are lightweight and retain moisture better, but they may not provide the same level of breathability. Ceramic pots offer a balance between the two. Choose a pot material that suits your environment and watering habits.
- Stability: Catnip plants can become top-heavy due to their height, so it’s important to choose a pot that is stable and won’t tip over easily. Look for pots with a wider base or consider using a pot with a saucer or placing the pot in a decorative planter for added stability.
Once you have chosen the perfect pot, make sure to clean it thoroughly before planting your catnip seeds. Rinse it with water and mild soap to remove any dirt or residue. This will ensure a clean and healthy environment for your catnip plants to thrive.
Now that you have the right pot, it’s time to move on to selecting your catnip seeds.
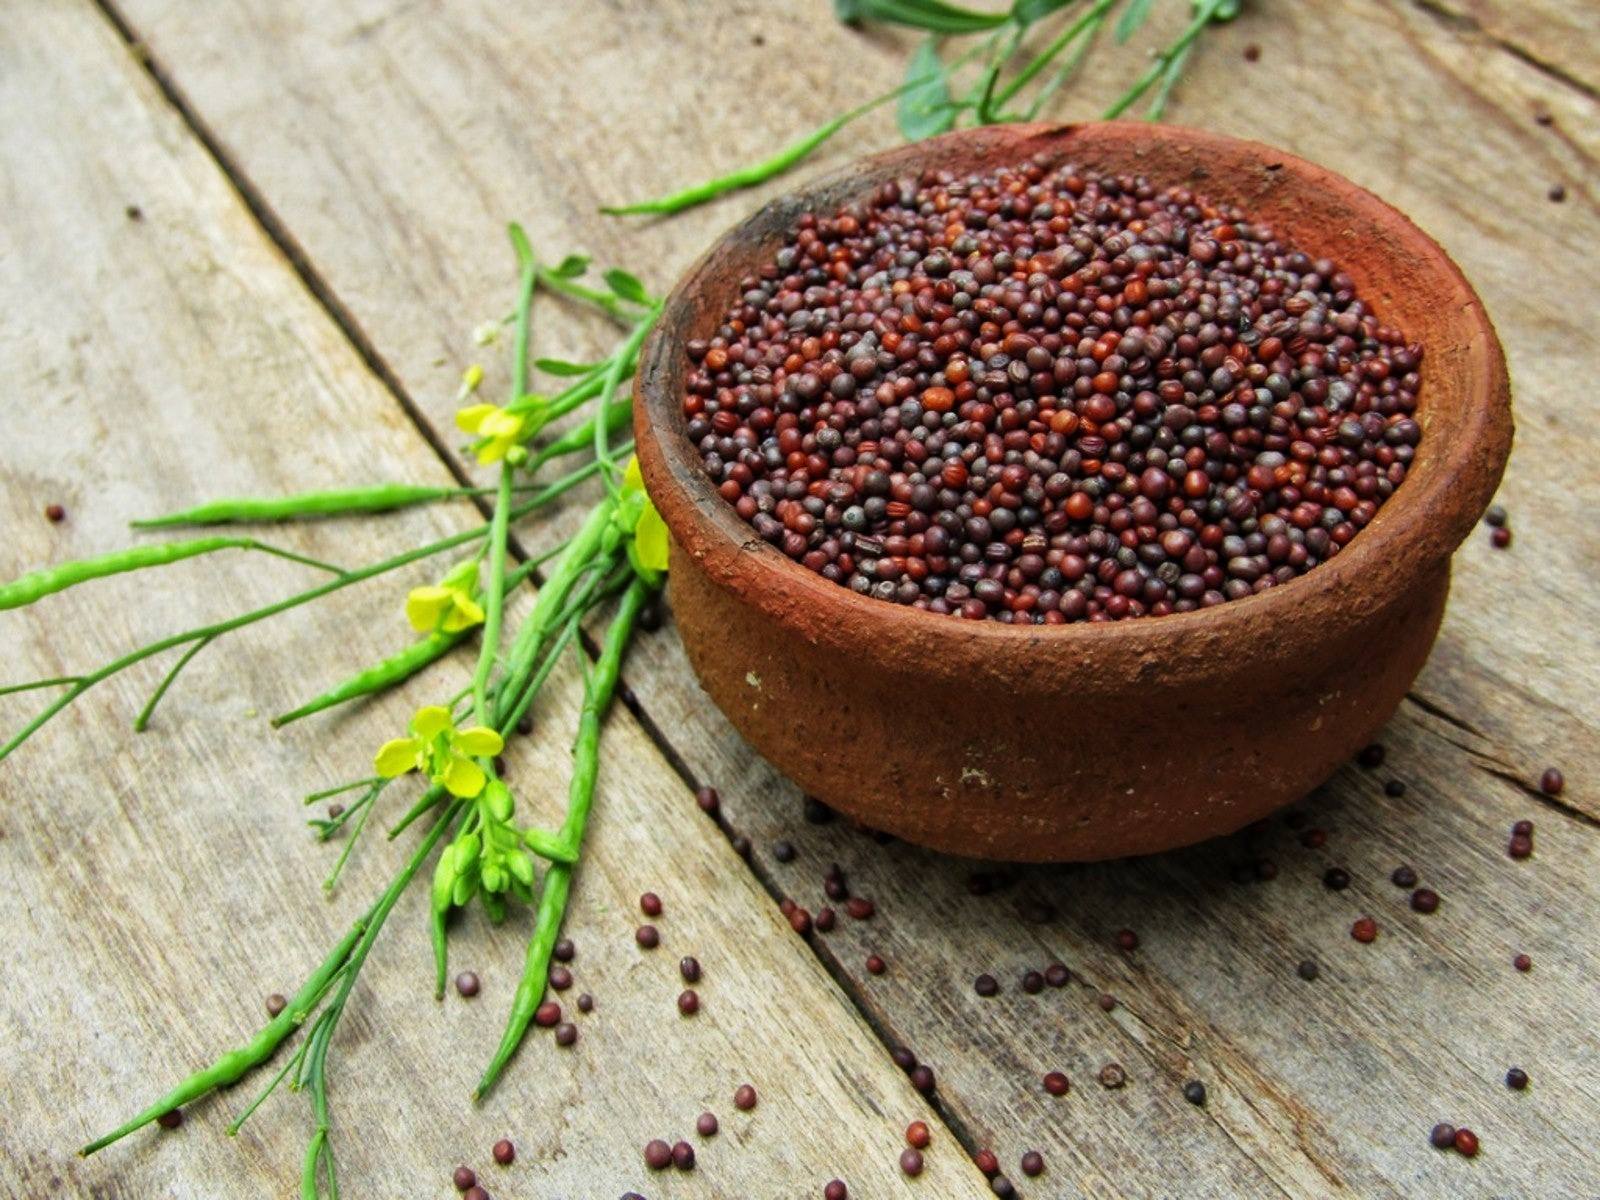
Selecting Catnip Seeds
Choosing the right catnip seeds is essential for a successful growing experience. When it comes to selecting catnip seeds, there are a few things to keep in mind:
- Varieties: Catnip seeds come in different varieties, so consider what you prefer for your cat and for yourself if you plan on using it for herbal remedies. Common catnip varieties include ‘Nepeta cataria’, ‘Lemon Catnip’, and ‘Six Hills Giant’. Each variety may have slightly different characteristics in terms of scent and appearance, so do a little research to find the variety that suits your preferences.
- Quality: Ensure that you purchase catnip seeds from a reputable source to guarantee good quality. Look for seeds that are fresh and have a high germination rate. You can check the packaging or seed supplier’s website for information on the seed’s viability and germination rate.
- Organic: Consider opting for organic catnip seeds if you prefer to grow your plants using natural methods and to avoid any potential exposure to pesticides or chemicals. Organic seeds are produced without synthetic fertilizers or pesticides, giving you peace of mind when growing your catnip.
- Quantity: How much catnip you plan to grow will determine how many seeds you need. Take into account the size of your pot and the desired number of plants. It’s always a good idea to have a few extra seeds on hand in case some don’t germinate or if you want to expand your catnip garden in the future.
Once you’ve selected your catnip seeds, it’s time to prepare the potting soil for planting.
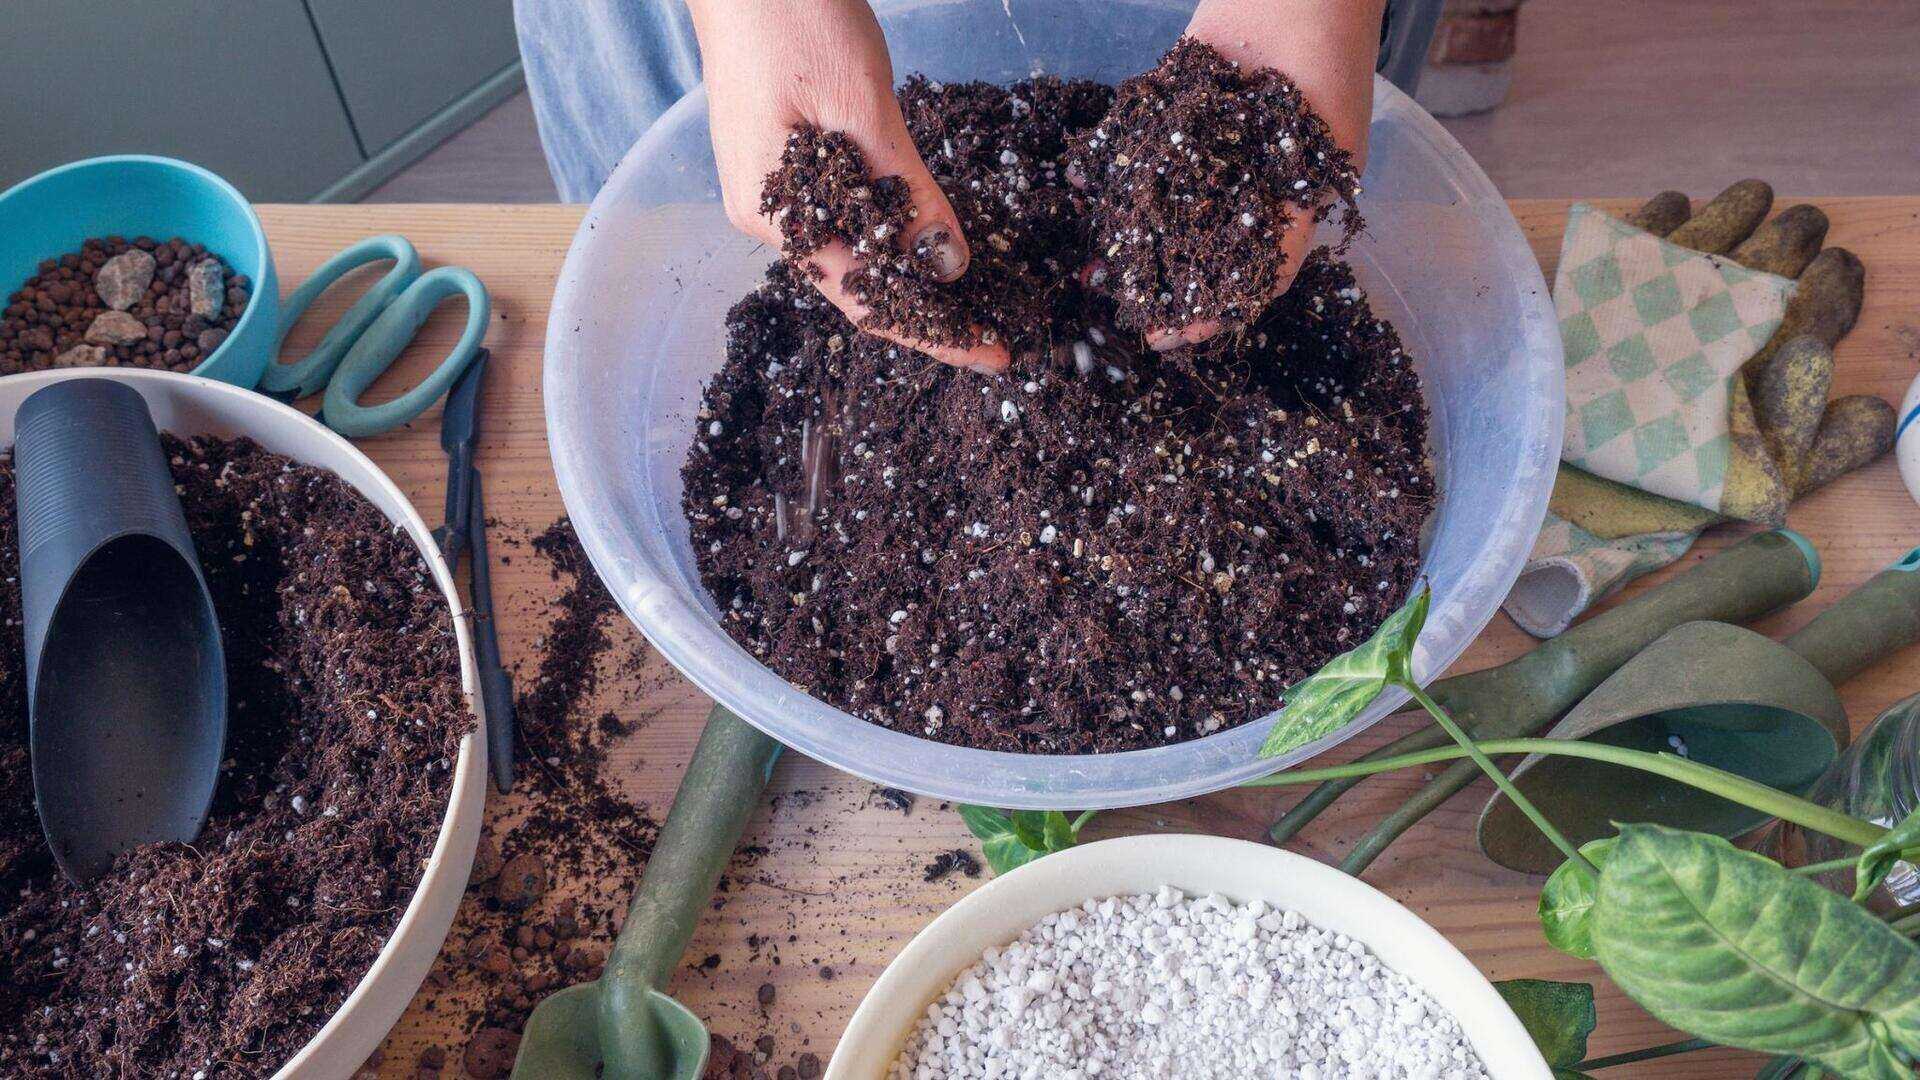
Preparing the Potting Soil
Creating the right growing environment for your catnip plants starts with preparing the potting soil. Here are the steps to follow:
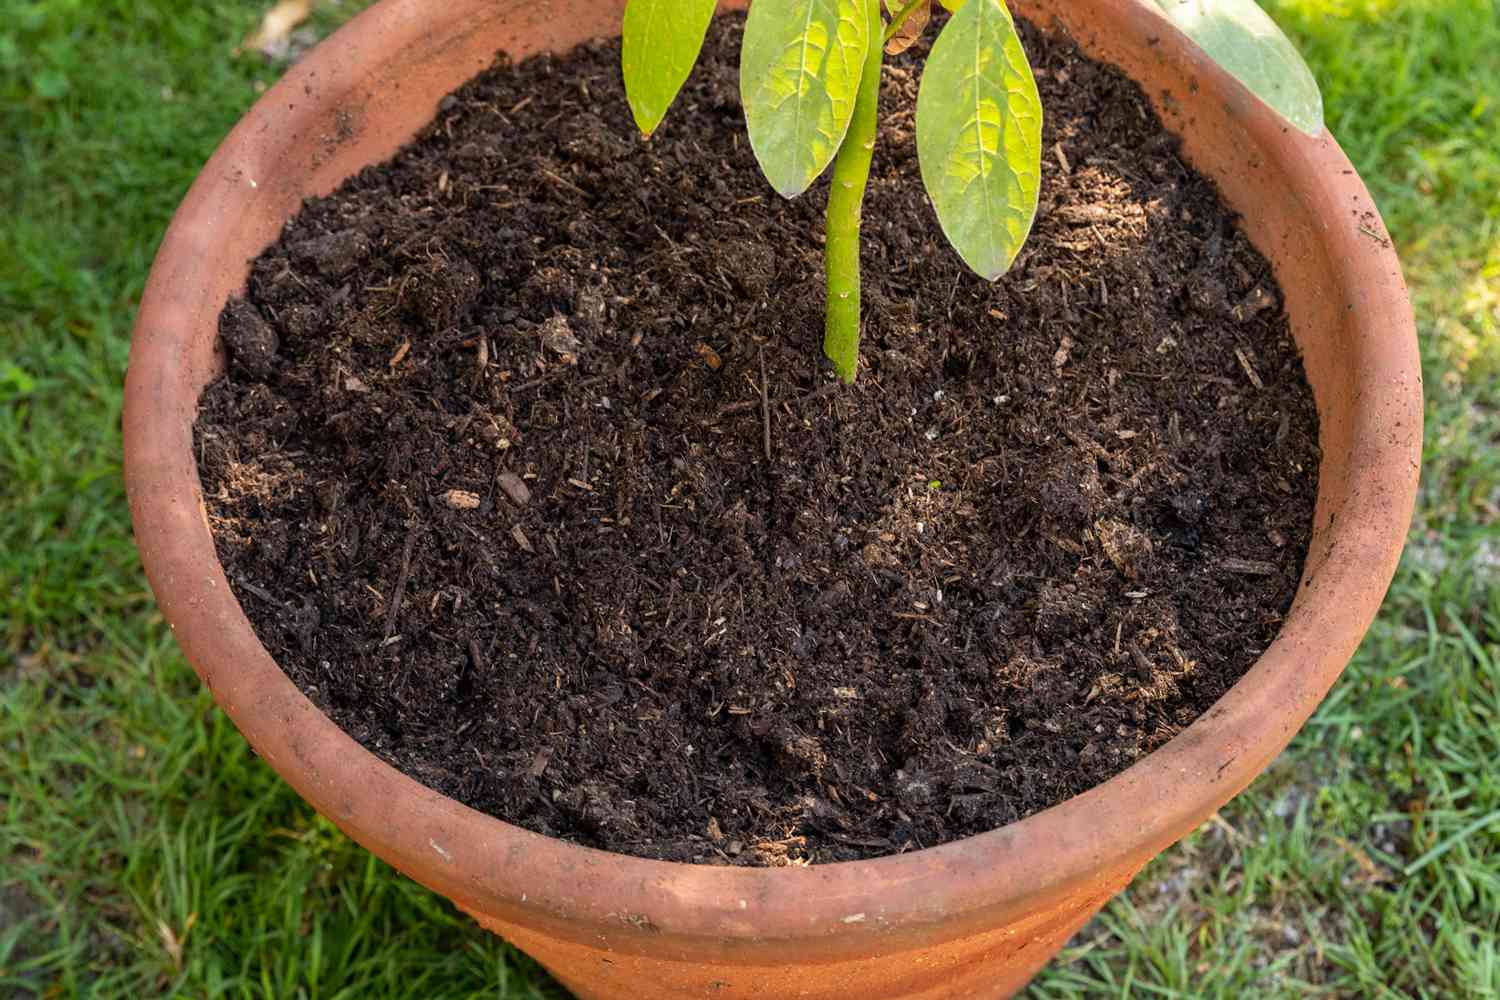
- Choose a quality potting mix: Opt for a well-draining, lightweight potting mix that is specifically formulated for container gardening. Avoid using garden soil, as it can be too heavy and could compact in the pot, leading to poor drainage.
- Amend the soil: Catnip plants prefer slightly alkaline to neutral soil with a pH range of 6.0 to 7.5. Test the pH level of your potting mix and adjust it if necessary by adding dolomite lime to raise the pH or elemental sulfur to lower it. Follow the instructions on the product packaging for proper application.
- Enhance drainage: To further improve drainage in the potting soil, you can add organic matter such as perlite, vermiculite, or coarse sand. These amendments help prevent the soil from becoming compacted and allow excess water to drain freely.
- Add organic fertilizer: Prior to planting your catnip seeds, incorporate a slow-release organic fertilizer into the potting mix. This will provide the necessary nutrients for the growing plants over an extended period. Follow the package instructions for the recommended amount to add based on the size of your pot.
- Moisten the soil: Before filling your pot with the potting mix, lightly moisten it to ensure even distribution of water. However, avoid over-saturating the soil, as it can lead to root rot. The soil should be slightly moist, similar to a wrung-out sponge.
Now that your potting soil is ready, it’s time to move on to the exciting part – planting the catnip seeds!
When planting catnip seeds in a pot, make sure to use well-draining soil and place the pot in a sunny location. Water the seeds regularly, but be careful not to overwater as catnip prefers slightly dry conditions.
Planting the Catnip Seeds
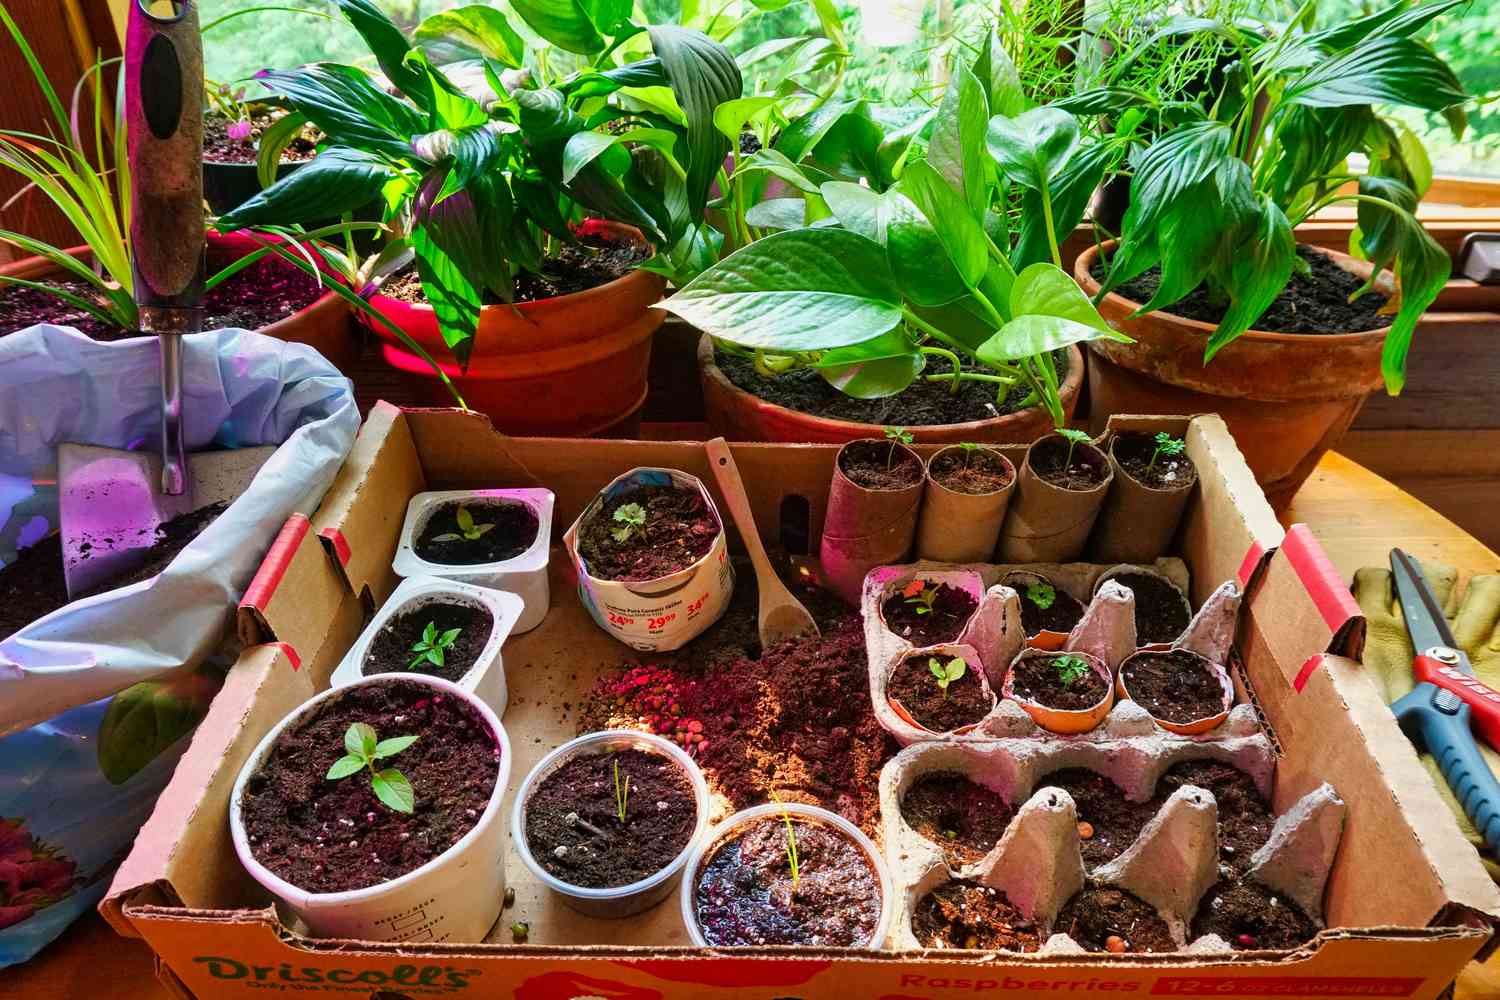
Planting catnip seeds is a straightforward process that requires a few simple steps. Here’s how you can effectively sow catnip seeds in your prepared potting soil:
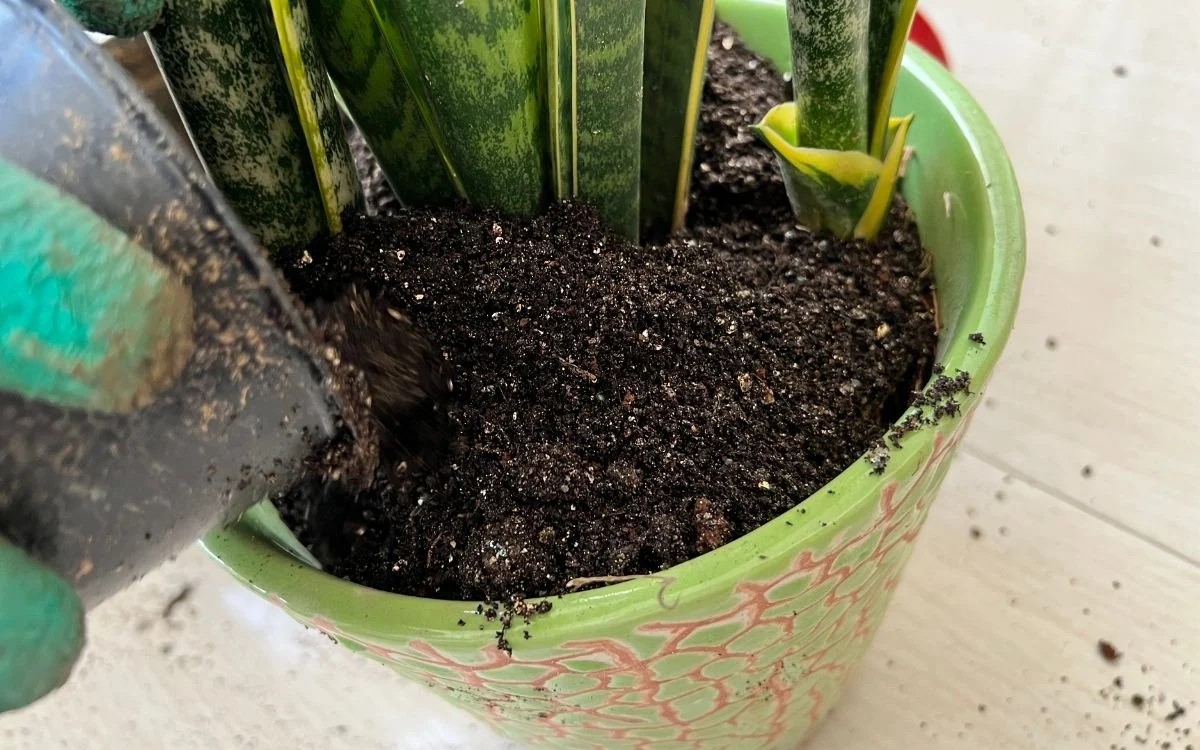
- Fill the pot: Fill the chosen pot with the prepared potting soil, leaving about an inch of space from the top. Level the soil surface gently with your hand or a small gardening tool.
- Sow the seeds: Sprinkle the catnip seeds evenly over the soil surface. Aim for a spacing of about 1-2 inches between each seed. Alternatively, you can place a few seeds in groups to encourage fuller growth and ensure successful germination.
- Lightly cover the seeds: Catnip seeds require light to germinate, so they should not be buried too deeply. Sprinkle a thin layer of the prepared potting soil or vermiculite over the seeds, barely covering them. Gently pat the soil to ensure good seed-to-soil contact.
- Moisten the soil: Using a watering can or spray bottle, lightly water the soil to moisten it without causing waterlogging. Be careful not to wash away the seeds or disrupt their placement. Maintain moisture throughout the germination period.
- Place in a warm location: Catnip seeds germinate best in warm temperatures between 65-75°F (18-24°C). Find a warm spot near a window or use a heat mat to provide the optimal germination conditions for your seeds.
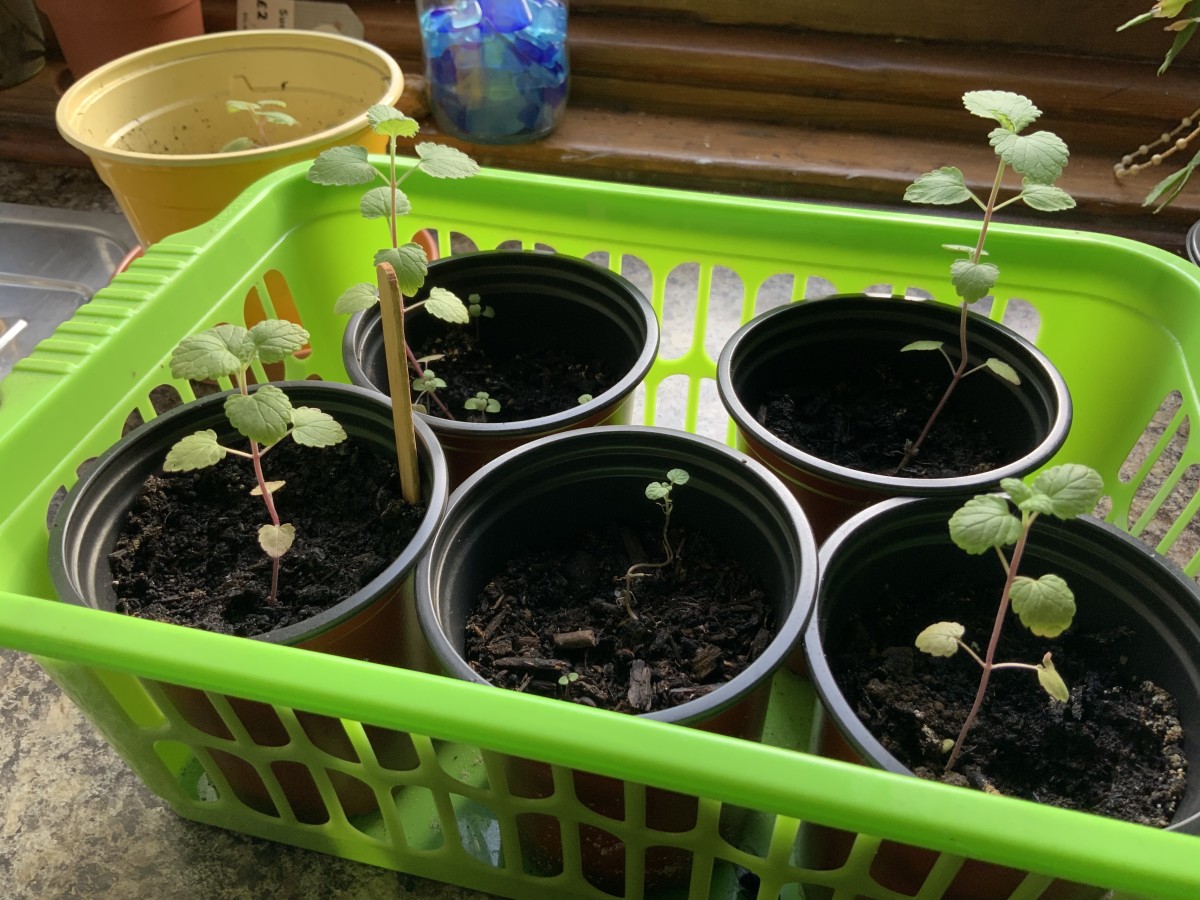
- Patience and care: Catnip seeds usually take 7-14 days to germinate. During this time, continue to monitor the moisture level in the soil and ensure it remains slightly moist. Avoid overwatering, as excess moisture can promote fungal diseases.
Once the catnip seeds have germinated and sprouted, it’s time to provide proper care to help the plants grow and thrive.
Read more: How To Start Catnip Seeds
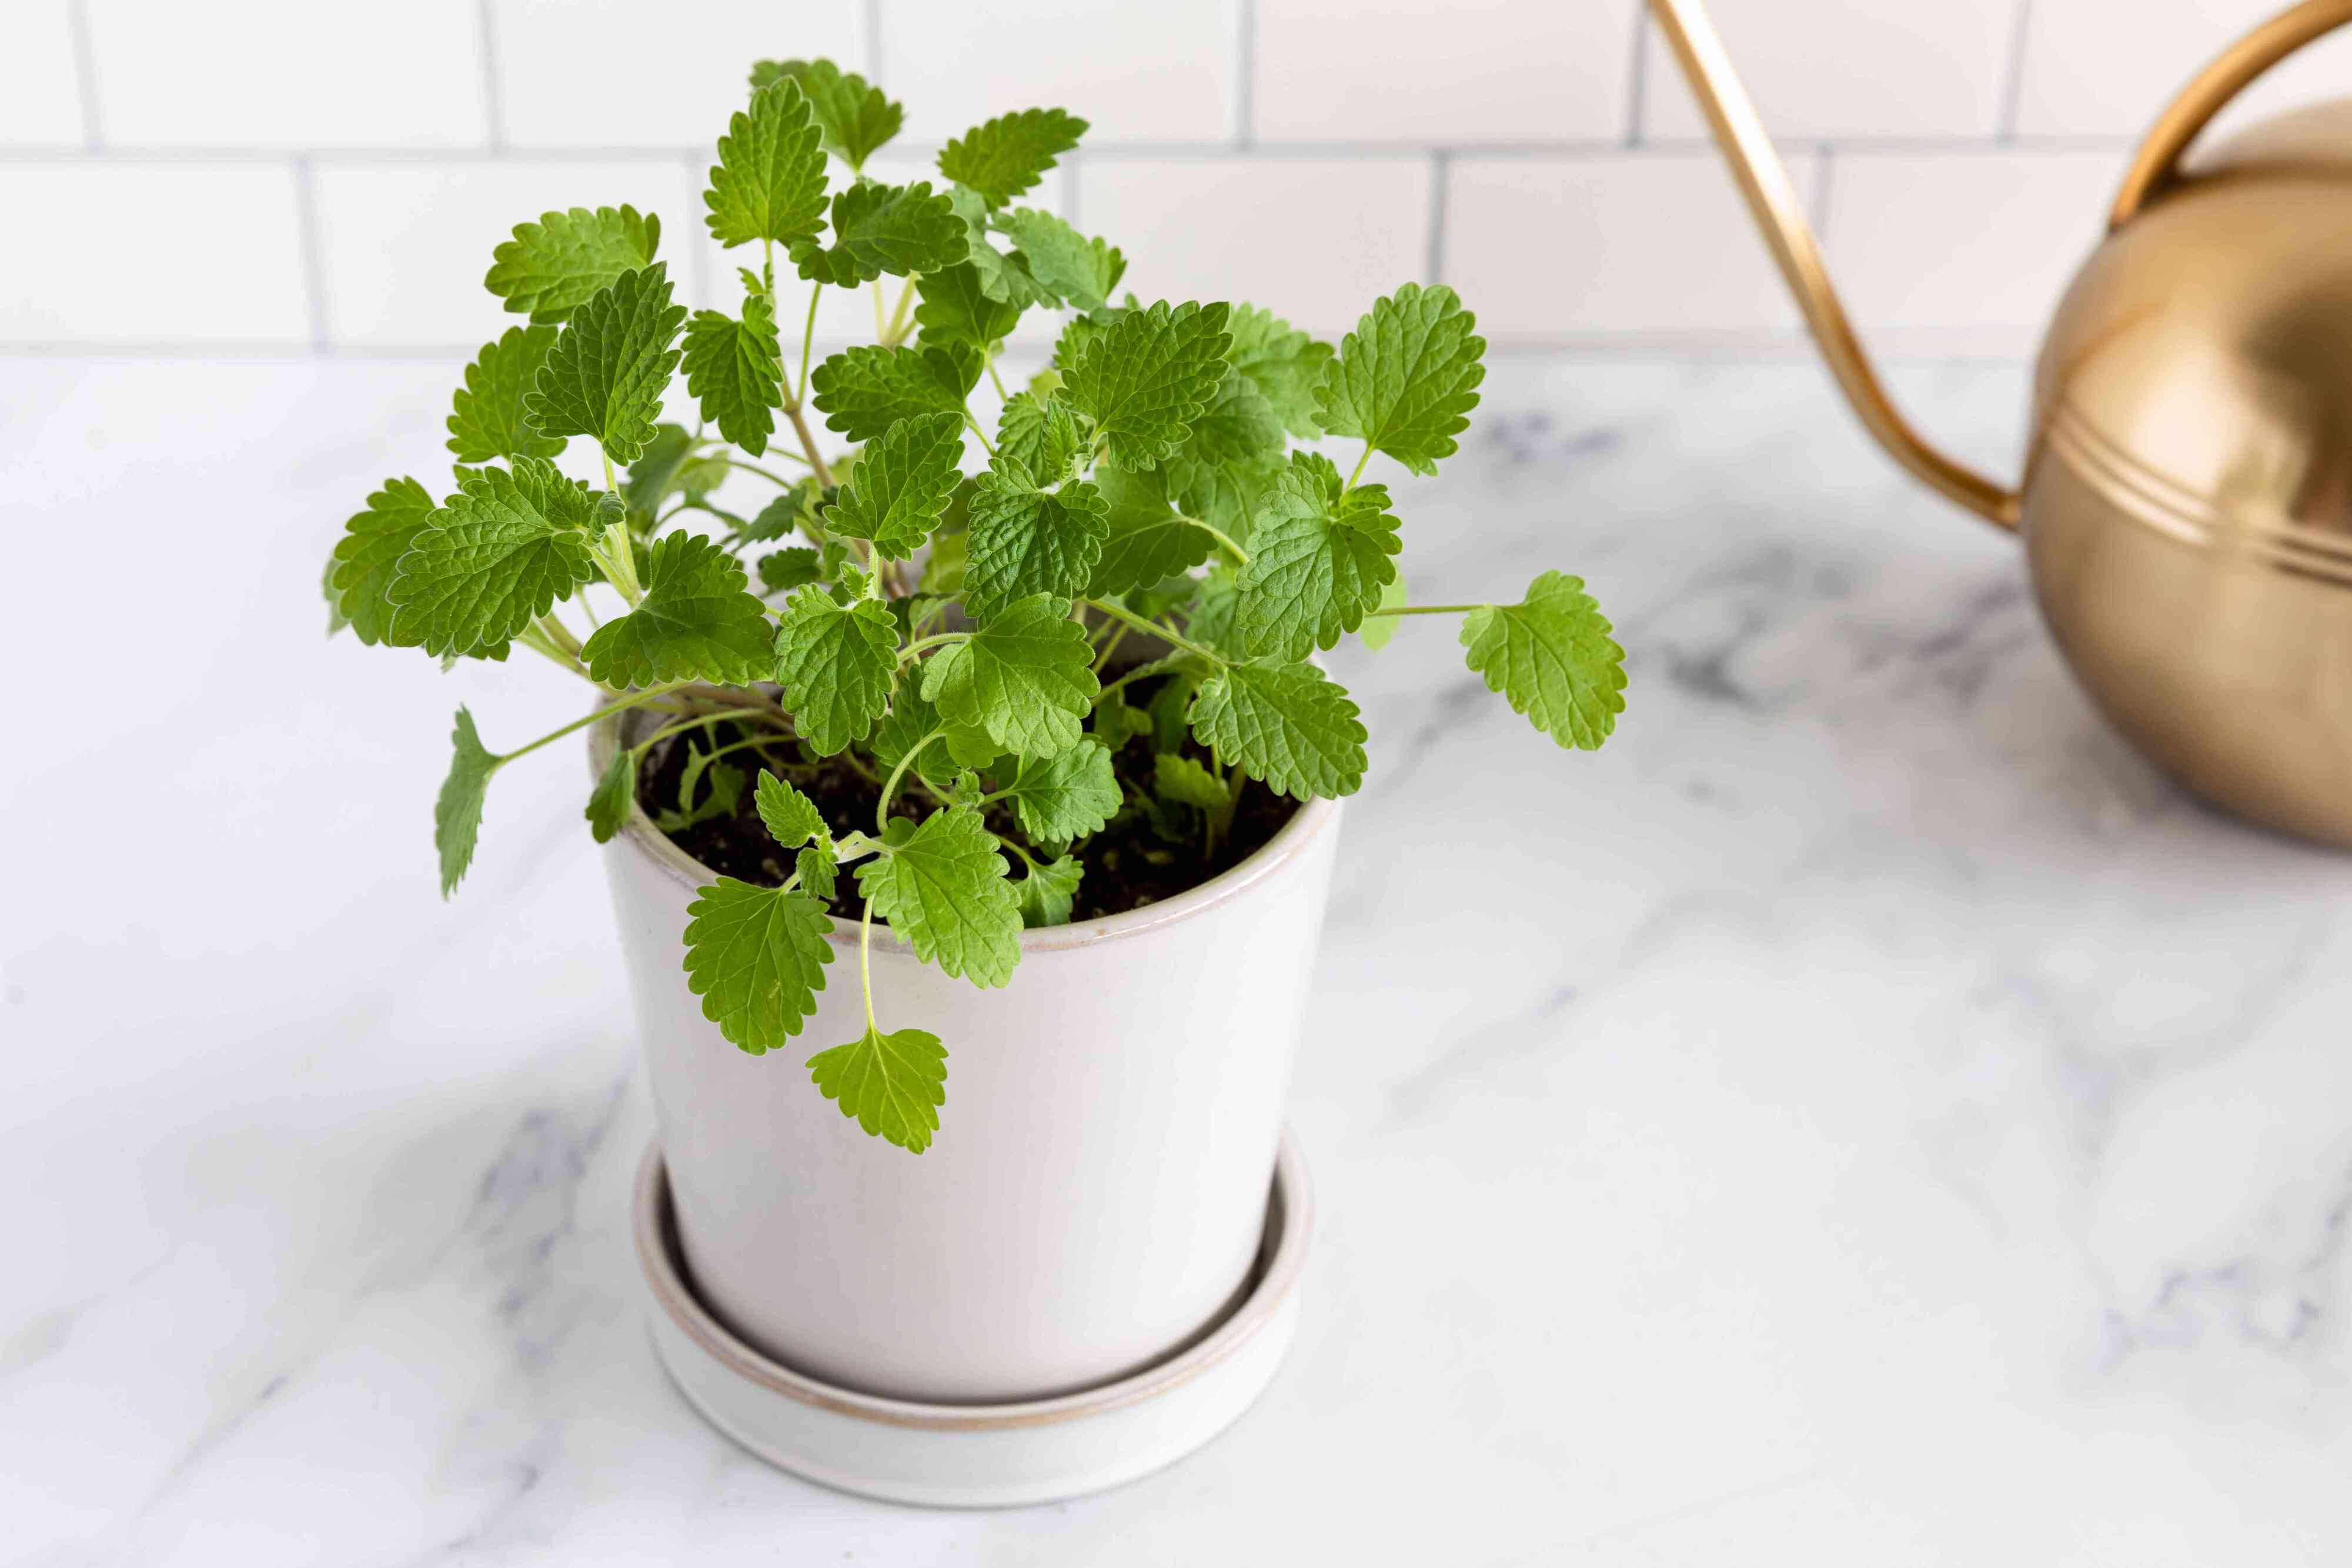
Caring for Catnip Plants
Catnip plants are relatively easy to care for and require minimal maintenance. By following these simple steps, you can ensure that your catnip plants grow healthy and strong:
- Watering: Catnip plants prefer consistently moist soil, so water them whenever the top inch of soil feels dry. Avoid overwatering, as it can lead to root rot. As the plants become established, water deeply to encourage their root system to grow deeper into the soil.
- Sunlight: Catnip plants thrive in full sun, so place them in a location that receives at least 6-8 hours of direct sunlight each day. If growing indoors, consider using grow lights to provide sufficient light for the plants.
- Pruning: To encourage bushier growth and prevent the plants from becoming leggy, pinch or trim the tips of the catnip stems regularly. This will promote lateral branching and create a compact, lush plant. Harvesting the leaves regularly also helps maintain the plant’s shape and vigor.
- Fertilizing: Catnip plants are relatively light feeders, but you can provide them with a boost of nutrients by applying a balanced organic fertilizer every 4-6 weeks during the growing season. Follow the package instructions for application rates and avoid over-fertilizing, as it can lead to excessive foliage growth with fewer aromatic oils.
- Weed control: Regularly check for weeds around your catnip plants and remove them promptly. Weeds can compete with your plants for nutrients and water, potentially stunting their growth. Mulching around the base of the plants can help suppress weed growth and retain soil moisture.
- Pest management: Catnip plants are generally resistant to pests, but you may encounter occasional issues such as aphids or spider mites. Monitor your plants regularly and take appropriate measures such as using insecticidal soap or natural predators to control pest populations if necessary.
- Winter care: Catnip is a perennial plant, but it may require winter protection in colder climates. Mulch the base of the plants with a thick layer of straw or leaves to insulate the roots from freezing temperatures. In regions with extremely cold winters, you can also consider bringing potted catnip indoors and placing it in a cool location.
By providing proper care and attention, your catnip plants will thrive and continue to provide enjoyment for both you and your feline friends.
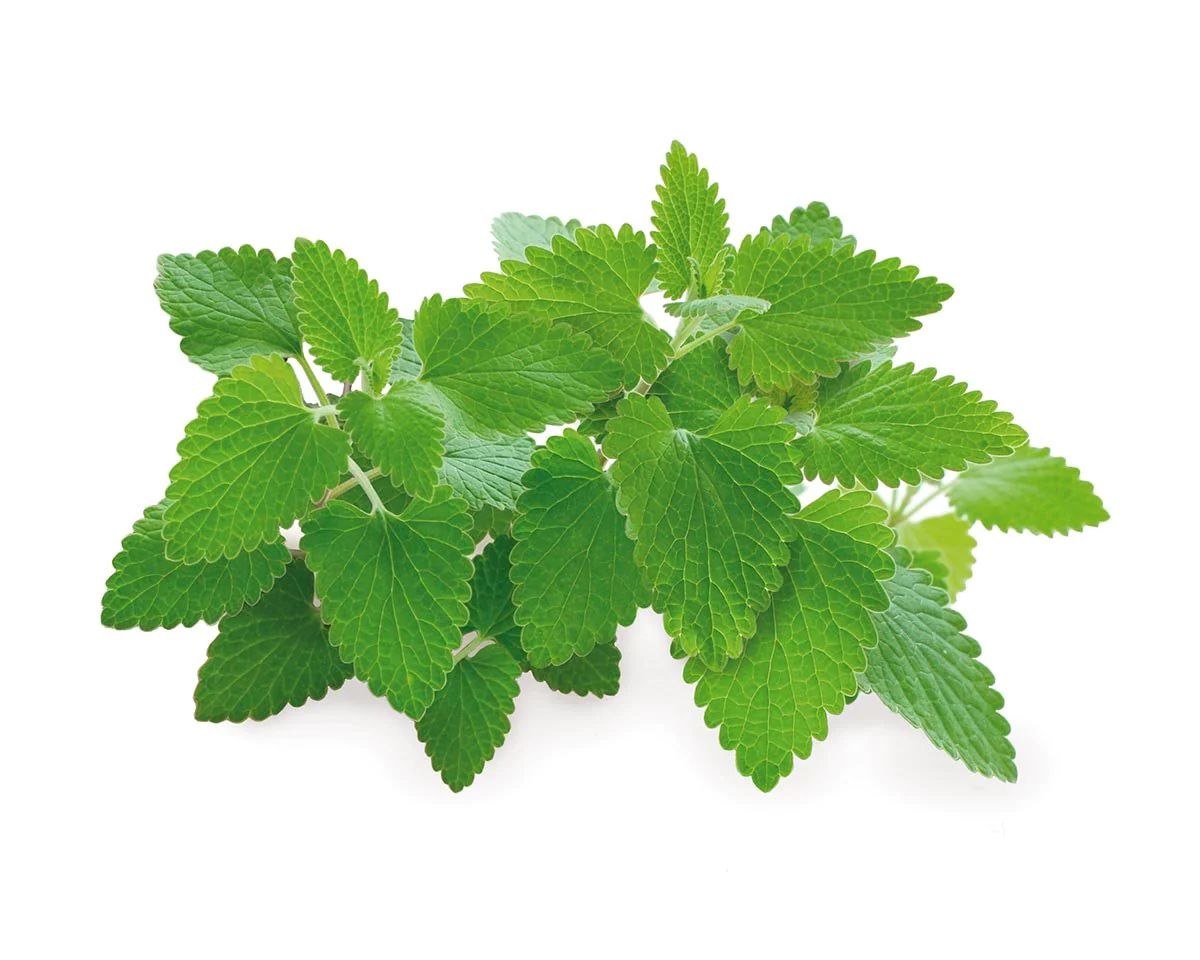
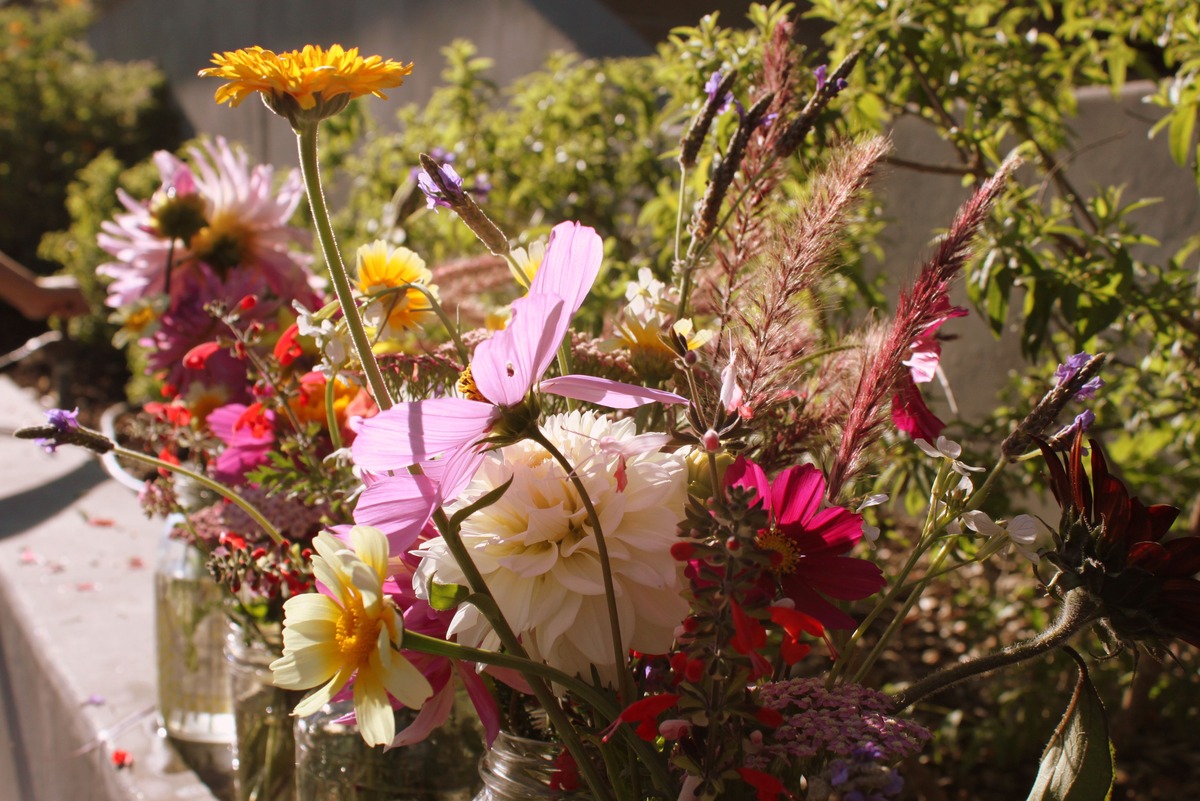
Harvesting Catnip Leaves
Harvesting catnip leaves is a rewarding experience that allows you to enjoy the aromatic benefits of this beloved herb. Here’s how you can properly harvest catnip leaves:
- Timing: The prime time to harvest catnip leaves is when the plants are in full bloom. This is when the leaves are at their most aromatic and flavorful. Wait until the morning dew has dried on the leaves before proceeding with the harvest.
- Selective harvesting: When harvesting catnip leaves, selectively pick individual leaves or stems rather than stripping the entire plant. This allows the plant to continue growing and producing leaves throughout the growing season.
- Handpicking method: Gently hold the stem of the leaf or stem you wish to harvest between your thumb and forefinger. Use a pair of sharp, clean scissors or gardening shears to make a clean, angled cut just above a leaf node or pair of leaves. This promotes new growth from that node and helps maintain the plant’s overall form.
- Harvesting large quantities: If you need to harvest a larger quantity of catnip leaves, you can cut back the plant to within a few inches of the base. This will encourage new growth and allow for multiple harvests throughout the growing season.
- Drying the leaves: To preserve the potency and flavor of the catnip leaves, it’s best to dry them. Gather the harvested stems into small bundles and hang them upside down in a well-ventilated area away from direct sunlight. Allow the leaves to dry completely for about 1-2 weeks until they become crisp to the touch.
- Storing dried leaves: Once the catnip leaves are thoroughly dried, remove them from the stems and store them in airtight containers, such as glass jars or resealable bags. Store the containers in a cool, dark place to maintain the freshness and potency of the leaves. Properly dried catnip leaves can retain their aroma and effects for up to a year.
Remember, catnip is not only enjoyable for cats, but humans can also benefit from its soothing and calming properties. Use the dried leaves to make herbal tea, sachets, or as an ingredient in culinary recipes.
With these harvesting tips, you can enjoy the bountiful rewards of your catnip plants, both for yourself and your furry companions!
Conclusion
Growing catnip in a pot can bring immense joy and satisfaction to both cat owners and gardening enthusiasts alike. By carefully choosing the right pot, selecting high-quality catnip seeds, and preparing the potting soil, you are setting the stage for successful cultivation.
Once you have planted the catnip seeds, providing proper care such as regular watering, adequate sunlight, occasional pruning, and timely fertilization will ensure healthy plant growth. Keeping an eye out for pests and weeds will help maintain the vitality of your plants.
When the catnip plants reach full bloom, you can harvest the aromatic leaves, either for your cats’ enjoyment or for personal use. Properly drying and storing the leaves will allow you to savor their soothing properties throughout the year.
Remember, gardening is a journey, and each step contributes to the overall experience. From the excitement of selecting seeds to the satisfaction of watching your catnip plants flourish, cultivating this herb in a pot can become a rewarding and fulfilling endeavor.
So why wait? Start your catnip adventure today and create a purrfect oasis for your feline friends, filled with the delightful scent and playful effects of this fantastic herb!
Now that you've got a handle on planting catnip, why not give your garden a stylish edge? Our next read offers a range of creative ideas for fencing that not only secures your space but also adds a touch of charm. With designs that cater to every taste, you'll find the perfect match to complement your green haven, ensuring your plants—and your catnip—thrive in beauty and safety.
Frequently Asked Questions about How To Plant Catnip Seeds In A Pot
Was this page helpful?
At Storables.com, we guarantee accurate and reliable information. Our content, validated by Expert Board Contributors, is crafted following stringent Editorial Policies. We're committed to providing you with well-researched, expert-backed insights for all your informational needs.

0 thoughts on “How To Plant Catnip Seeds In A Pot”