Home>Garden Essentials>How To Plant Chive Seeds In A Pot
Garden Essentials
How To Plant Chive Seeds In A Pot
Modified: August 27, 2024
Learn how to plant chive seeds in a pot and create a beautiful garden. Discover tips and techniques for successful gardening at home.
(Many of the links in this article redirect to a specific reviewed product. Your purchase of these products through affiliate links helps to generate commission for Storables.com, at no extra cost. Learn more)
Introduction
Are you looking to add a delicious and versatile herb to your garden or balcony? Look no further than chives! Chives are a member of the onion family and are known for their delicate flavor and vibrant green color. Not only do chives add a pop of flavor to dishes, but they also provide visual appeal to any garden or pot.
One of the easiest and most rewarding ways to grow chives is by planting chive seeds in a pot. This method allows you to have fresh chives at your fingertips without the need for a large garden space. Whether you’re a seasoned gardener or just starting out, planting chive seeds in a pot is a simple and enjoyable process.
In this article, we’ll walk you through the steps to successfully plant chive seeds in a pot. From selecting the right pot to providing optimal growing conditions, you’ll have all the information you need to grow healthy and flavorful chive plants.
Key Takeaways:
- Planting chive seeds in a pot is an easy and rewarding way to grow flavorful herbs, even with limited space. Choose the right pot, soil, and conditions for successful chive cultivation.
- Harvesting chives from pot-grown plants is a delightful experience. Snip leaves in the morning, maintain plant health, and experiment with care techniques for a bountiful, flavorful harvest.
Read more: How Many Chive Seeds Per Pot
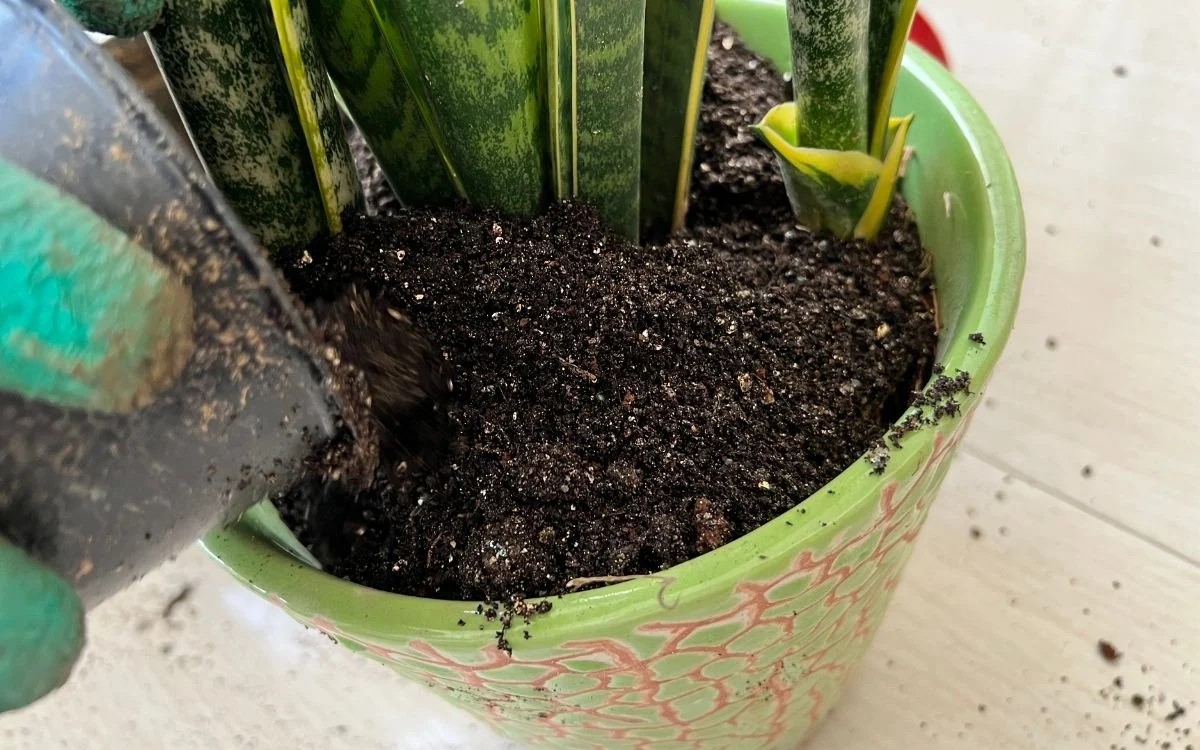
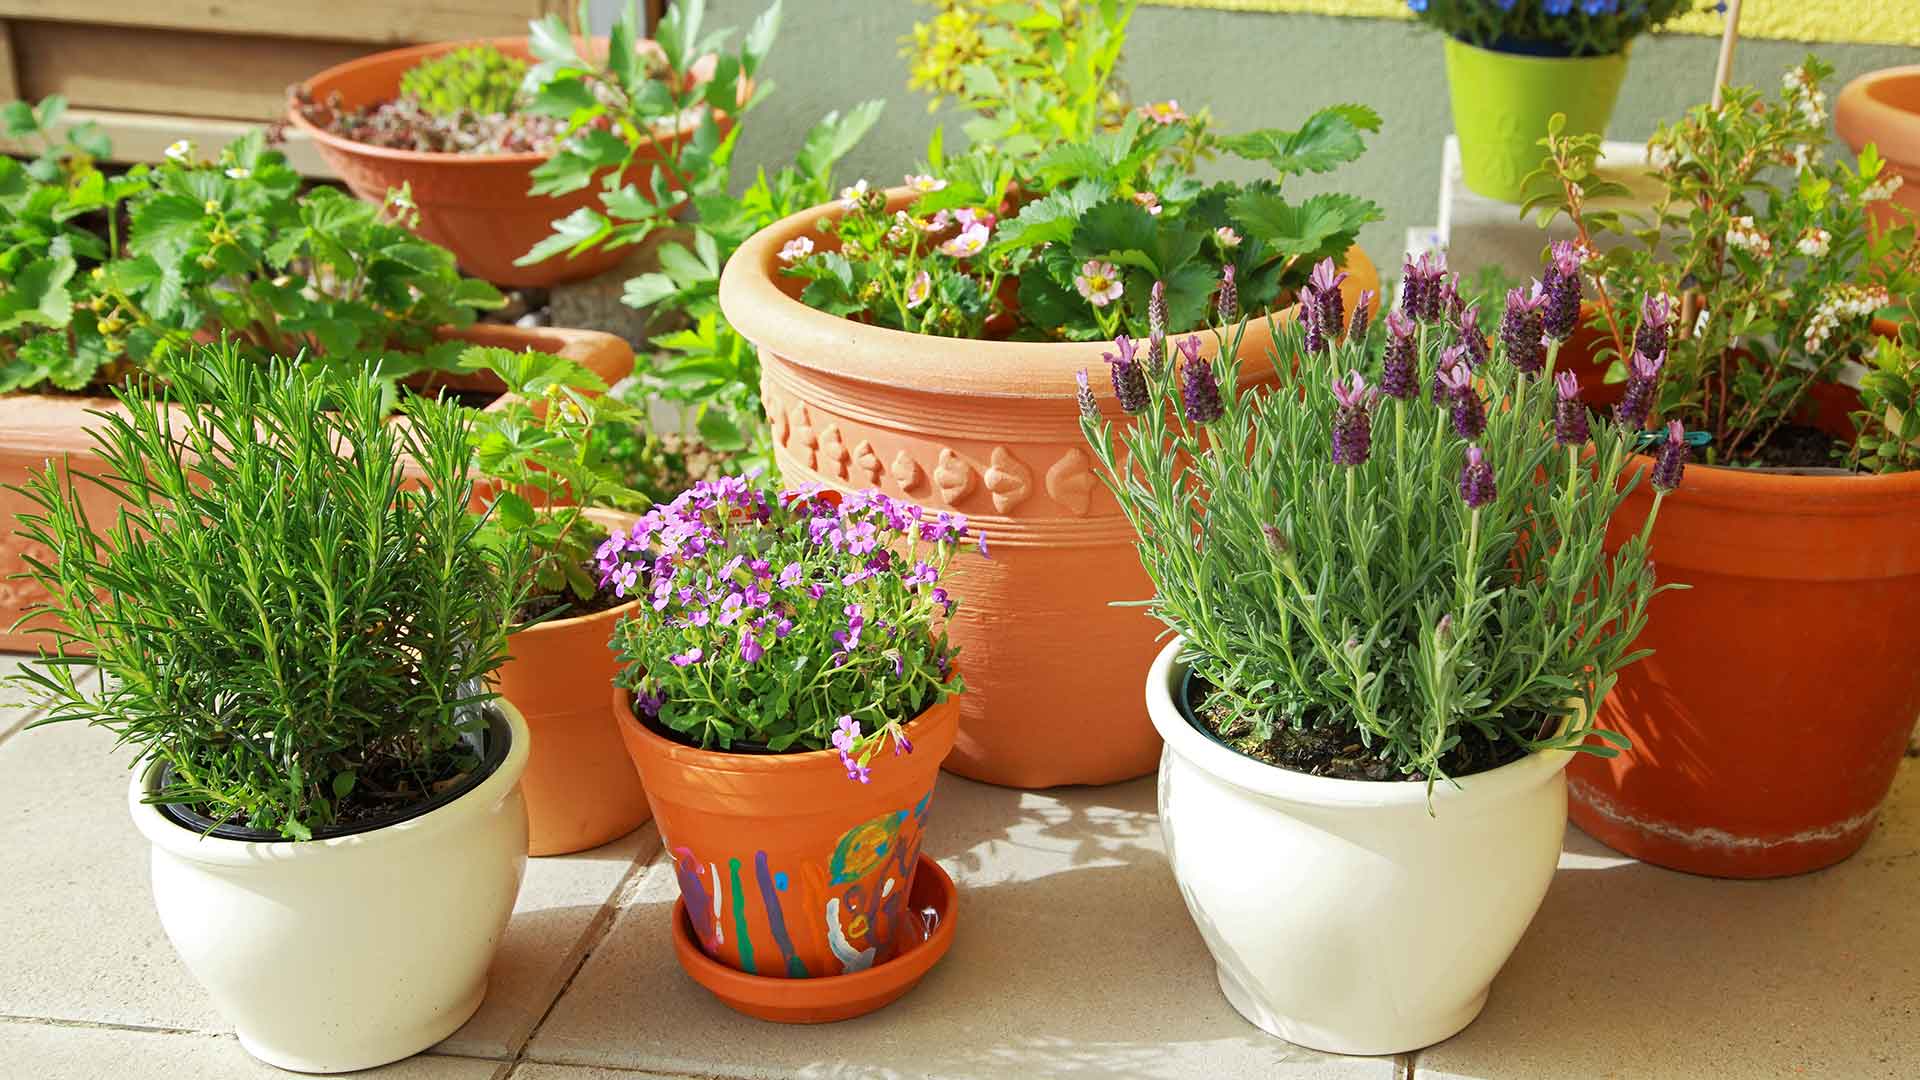
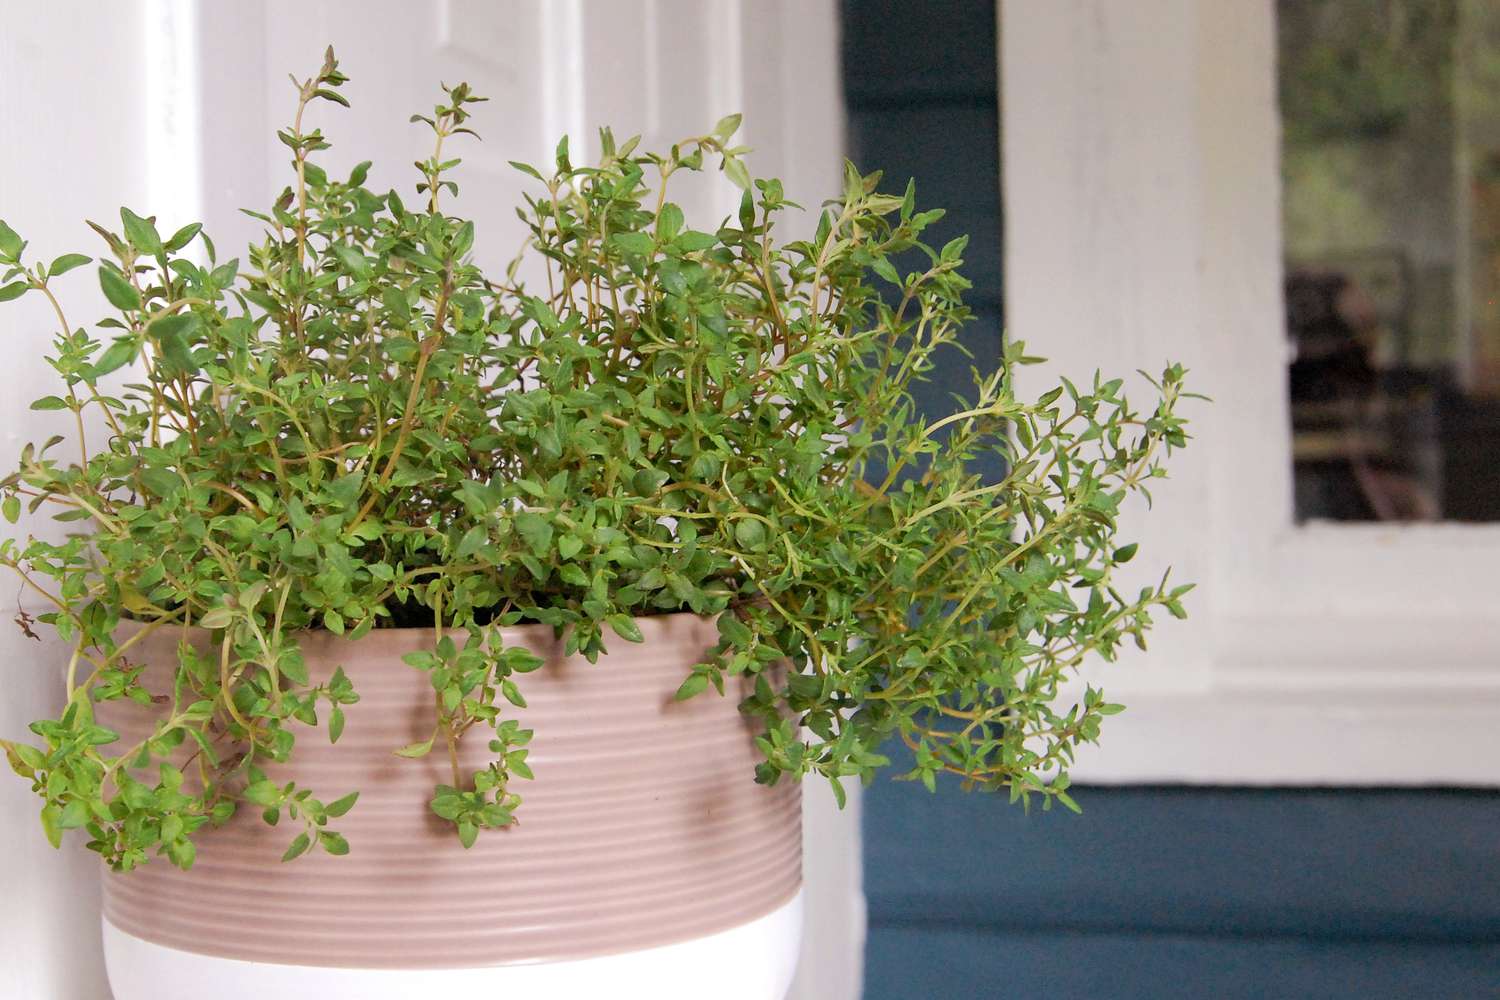
Selecting a pot for planting chive seeds
Choosing the right pot is an important first step in planting chive seeds. The size and material of the pot can impact the growth and health of your chive plants.
When it comes to size, a pot that is at least 8-10 inches in diameter and 6-8 inches deep is ideal for chive seedlings. This size provides enough space for the roots to spread and promotes healthy growth. If you plan on planting multiple chive seeds in the same pot, consider a larger pot to allow for more plants and root space.
In terms of material, clay or ceramic pots are popular choices for growing chives. These types of pots offer good drainage and allow the soil to breathe. However, plastic pots can also be used as long as they have drainage holes to prevent water from stagnating.
Additionally, consider the aesthetics of the pot. Chives have beautiful and delicate foliage, so a pot with a neutral or natural color can accentuate their appearance. You can also get creative with decorative pots or repurposed containers, as long as they meet the size and drainage requirements.
Lastly, ensure that the pot you choose has drainage holes at the bottom. Proper drainage is crucial for preventing waterlogged soil, which can lead to root rot and damaged plants. If your chosen pot doesn’t have drainage holes, you can drill them yourself or place a layer of rocks or broken pottery pieces at the bottom to create a drainage layer.
By selecting the right pot for planting chive seeds, you are setting a solid foundation for successful growth. Remember to consider size, material, drainage, and aesthetics when making your selection.
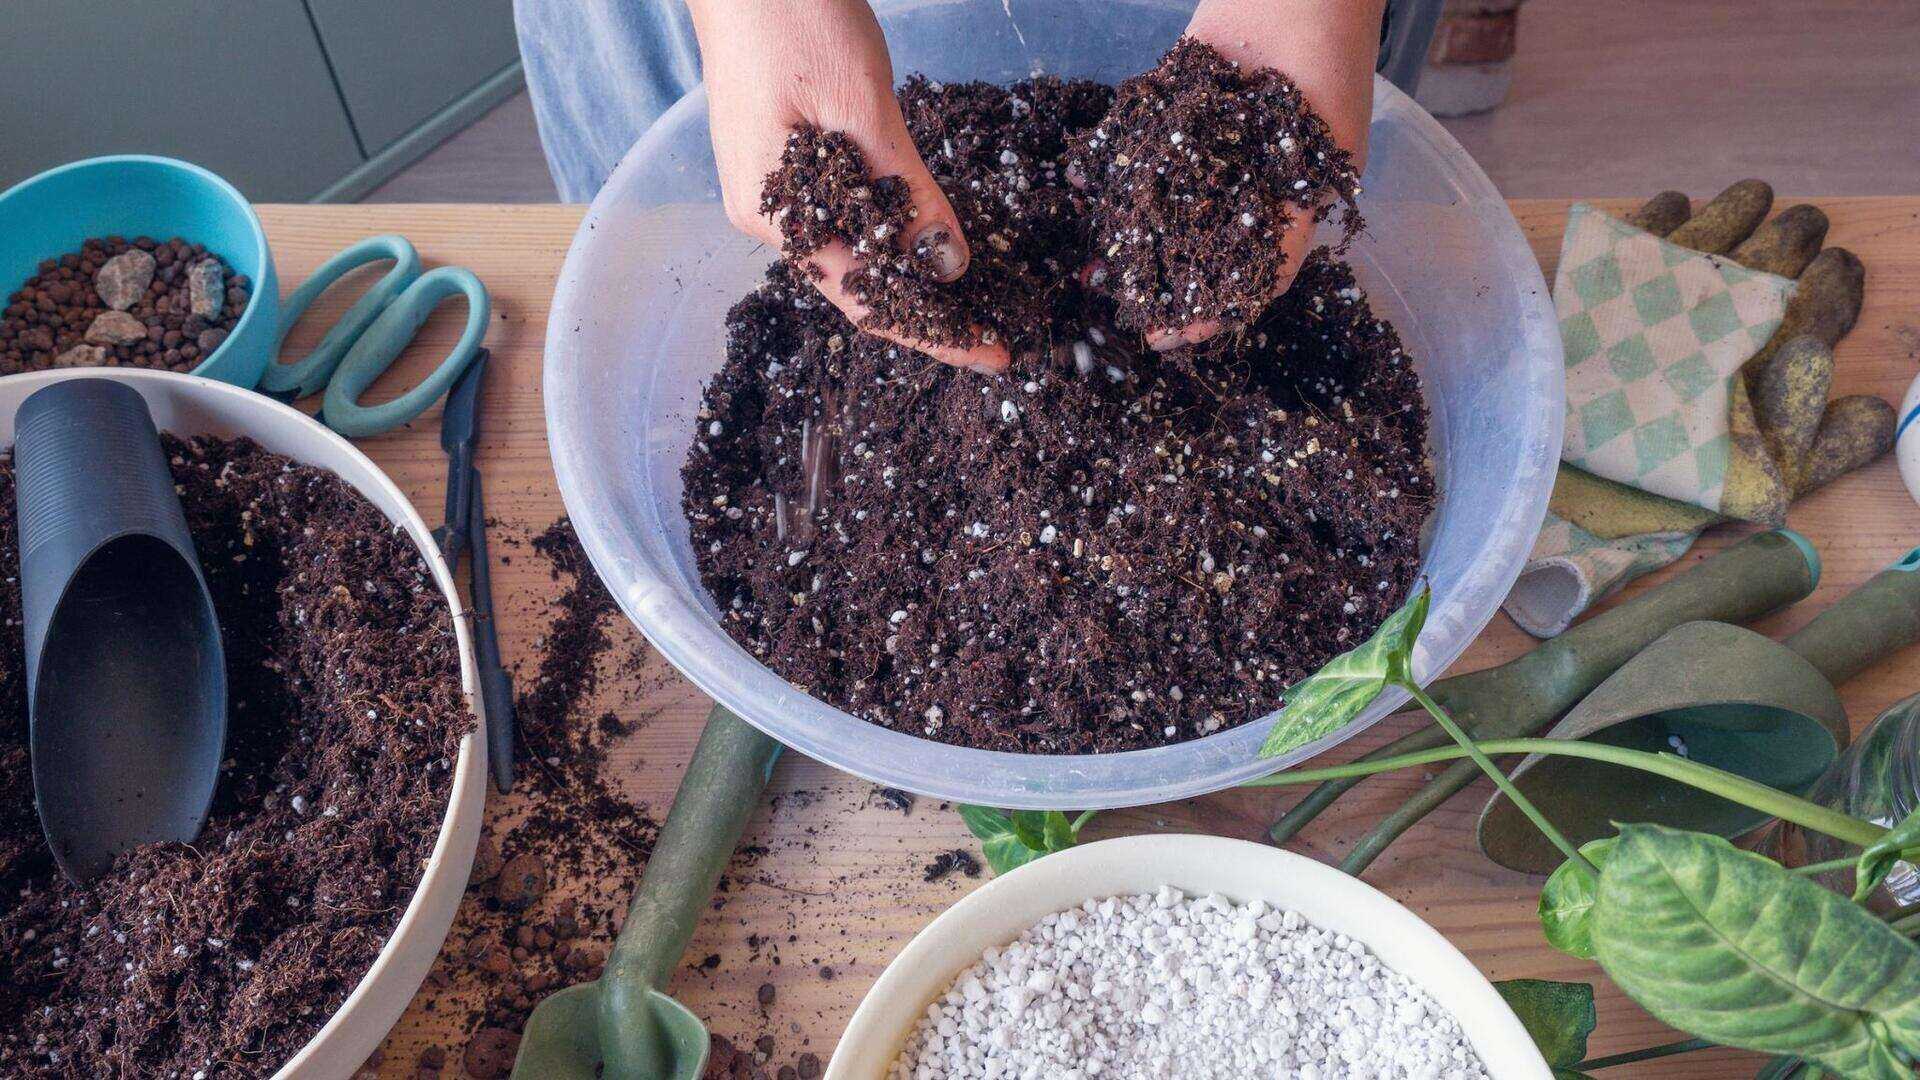
Choosing the right soil for chive seeds
The soil you use for planting chive seeds plays a critical role in their growth and development. Chives thrive in well-draining, nutrient-rich soil that is slightly alkaline. Here are some factors to consider when choosing the right soil for your chive seeds:
- Texture: Chives prefer soil that is light, loose, and well-draining. Avoid heavy clay soils that can retain too much moisture, as this can lead to root rot. Sandy loam or loamy soil types are ideal for chive seed growth.
- pH level: Chives prefer slightly alkaline soil with a pH between 6.0 and 7.0. You can test the pH level of your soil using a soil testing kit available at gardening stores. If your soil is too acidic, add lime to raise the pH level and make it more alkaline.
- Organic matter: Adding organic matter such as compost or well-rotted manure to the soil can help improve its fertility and drainage. This will provide essential nutrients for the chive plants to thrive.
When preparing the soil for chive seeds, start by removing any weeds or debris from the planting area. Loosen the soil with a garden fork or trowel to improve aeration and root penetration.
Next, mix in organic matter such as compost or well-rotted manure into the soil. Aim for a ratio of 1 part organic matter to 2 parts soil. This will help improve the soil structure, enhance drainage, and provide nutrients for the chive seeds to establish strong roots.
Before planting the chive seeds, moisten the soil slightly. This will provide a favorable environment for germination and ensure that the seeds make good contact with the soil.
By selecting the right soil and preparing it properly, you are creating an optimal growing environment for your chive seeds. Remember to consider texture, pH level, and organic matter when choosing and preparing the soil for planting.
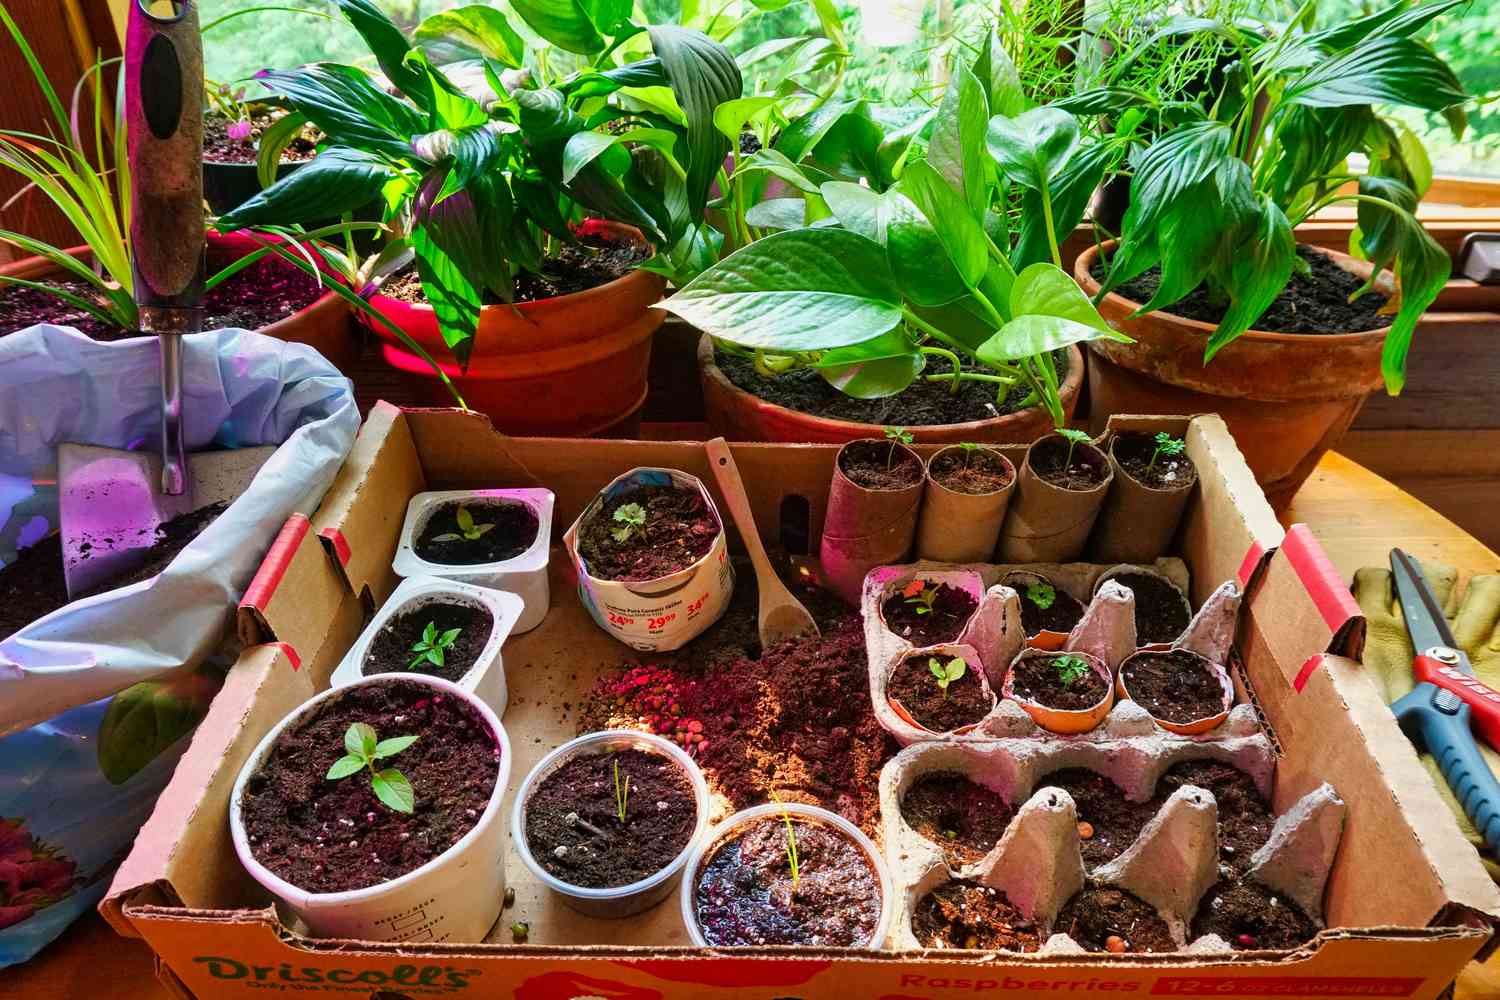
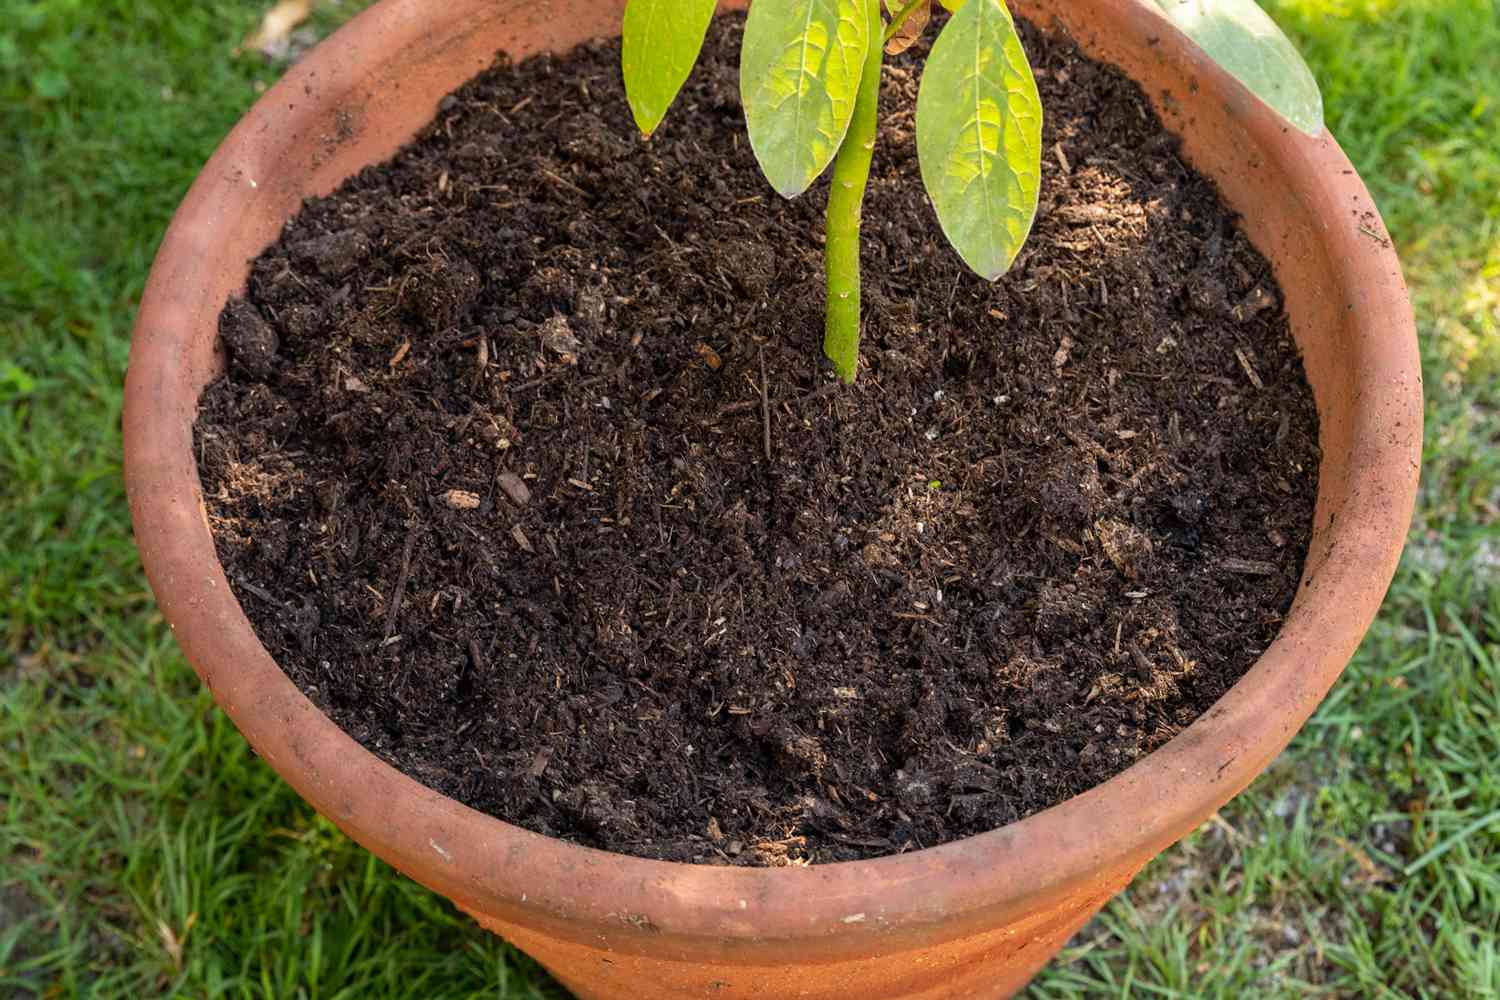
Planting chive seeds in the pot
Now that you have selected the perfect pot and prepared the right soil, it’s time to plant your chive seeds. Follow these steps to ensure successful planting:
- Fill the pot: Fill the pot with the prepared soil, leaving about an inch of space from the rim. Gently tamp down the soil to ensure it’s evenly distributed.
- Sow the seeds: Sprinkle the chive seeds evenly on top of the soil. Chive seeds are tiny, so you don’t need to bury them deep. Press them lightly into the soil, or gently rake the surface with your finger to lightly cover the seeds.
- Water the seeds: After sowing the seeds, water the pot gently to settle the soil and provide moisture. Avoid overwatering, as excessive water can wash away the seeds or lead to rot. Keep the soil moist but not waterlogged throughout the germination process.
- Provide warmth and light: Chive seeds require consistent warmth and light for germination. Place the pot in a warm area with indirect sunlight or use a grow light to provide the necessary light conditions.
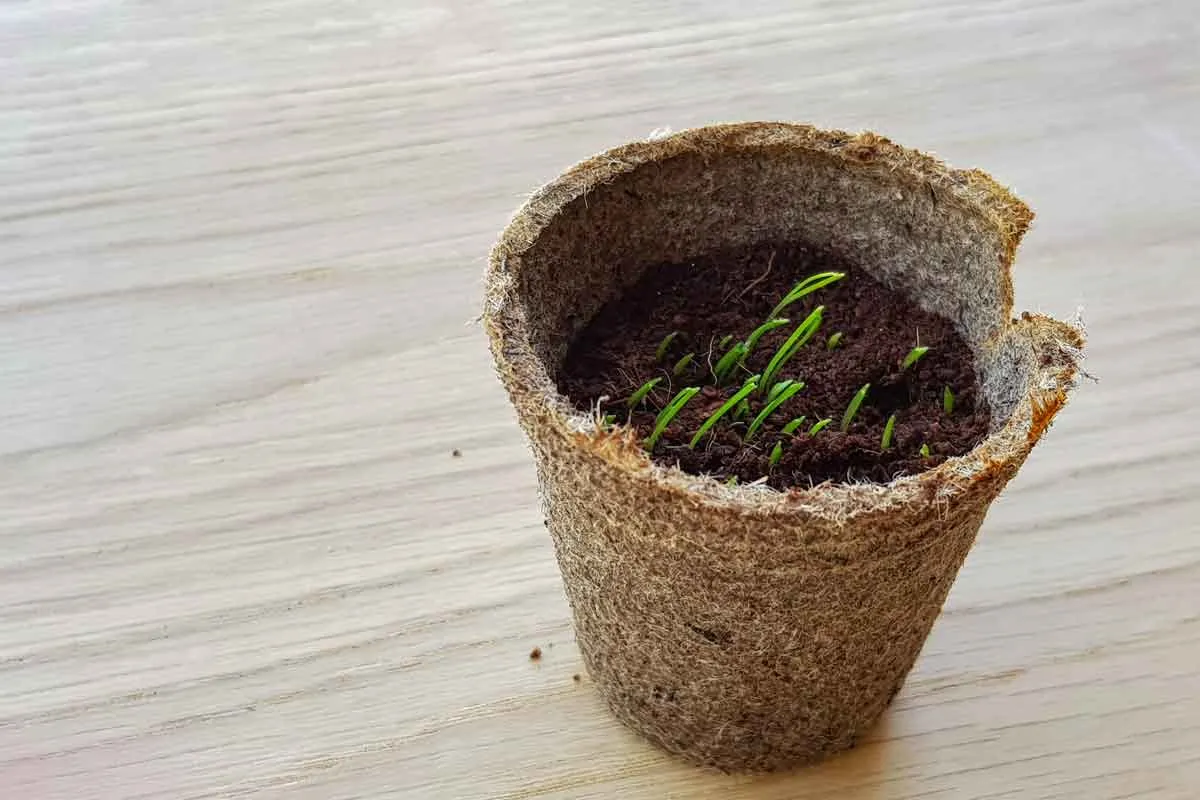
- Germination: Chive seeds typically germinate within 7-14 days, but it can take longer. Be patient and continue to provide the right conditions for germination.
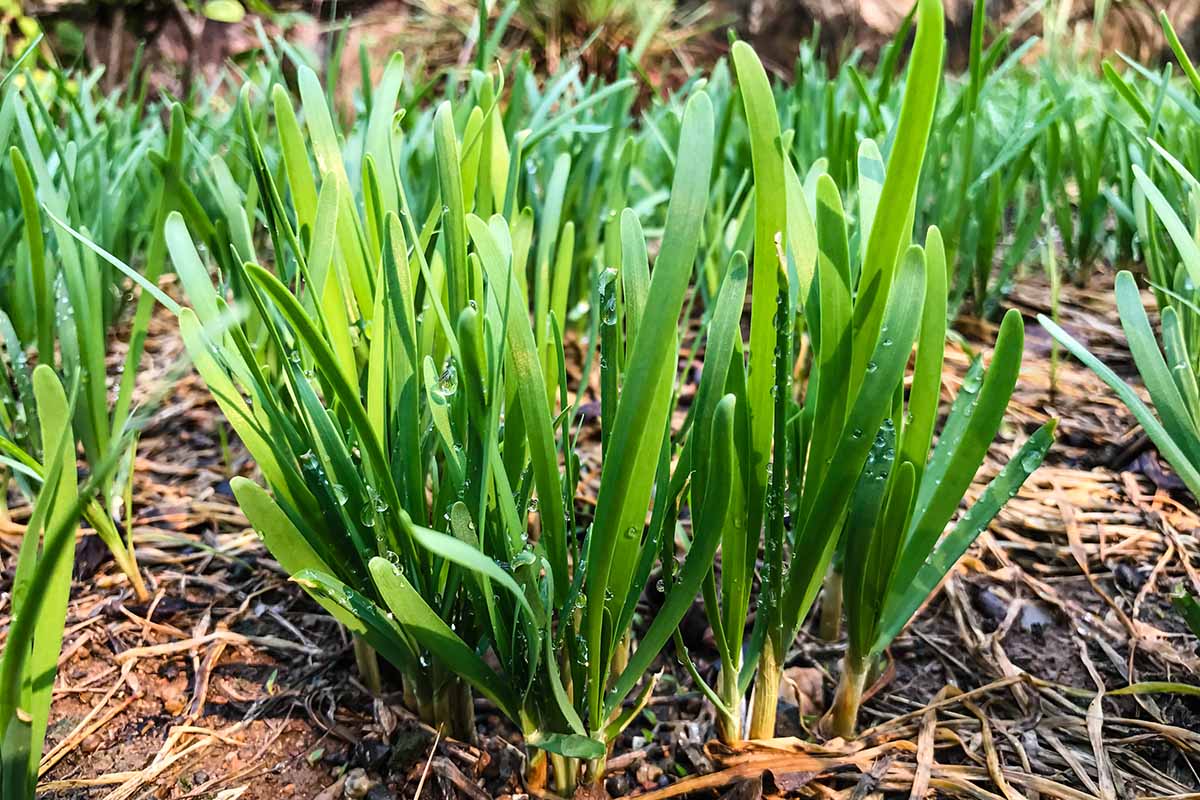
As the chive seedlings emerge, make sure they are getting adequate airflow to prevent damping-off disease. If you notice overcrowding, thin out the seedlings to allow proper spacing for their growth.
Remember to label the pot with the planting date to keep track of the growth progress. This will come in handy when it’s time to harvest the chives.
With proper planting and care, your chive seeds will soon sprout, and you’ll be on your way to growing healthy and flavorful chive plants in your pot.
Providing optimal growing conditions for chive seeds
Once your chive seeds have sprouted, it’s essential to provide them with the right growing conditions to ensure healthy and robust plant growth. Here are some tips for providing optimal conditions:
- Sunlight: Chives thrive in full sun or partial shade. Place your pot in an area that receives at least 6 hours of sunlight per day. If you’re growing chives indoors, place them near a south-facing window or use a grow light to provide adequate light.
- Temperature: Chives are relatively hardy and can tolerate a wide range of temperatures. Ideally, they prefer temperatures between 60°F (15°C) and 70°F (21°C). However, they can tolerate colder temperatures as well.
- Air circulation: Good air circulation is essential for preventing diseases and ensuring healthy plant growth. If you’re growing chives indoors, use a fan to gently move the air around the plants. Outdoors, ensure that the plants have enough space between them for adequate airflow.
- Watering: Chives prefer slightly moist soil but are susceptible to root rot if overwatered. Water the plants when the top inch of soil feels dry, and avoid watering the foliage to prevent fungal diseases. Aim for consistency in watering to provide even moisture.
- Fertilization: Chives are not heavy feeders, but they can benefit from a light application of balanced organic fertilizer once or twice during the growing season. Follow the manufacturer’s instructions for the recommended amount and frequency of application.
- Weed control: Keep the area around your chive plants free from weeds, as they can compete for nutrients and water. Regularly inspect the pot for any weed growth and remove them promptly.
Observing your chive plants and understanding their needs will help you provide the best growing conditions. Monitor the soil moisture, check for any signs of pests or diseases, and adjust your care routine accordingly.
With proper care and attention, your chive seedlings will develop into healthy and flourishing plants, ready to provide you with tasty and aromatic chives for culinary delight.
When planting chive seeds in a pot, make sure to use well-draining soil and keep the pot in a sunny spot. Water the seeds regularly, but be careful not to overwater as chives prefer slightly dry conditions.
Read more: How To Plant Catnip Seeds In A Pot
Watering and fertilizing chive plants
Proper watering and fertilizing are key factors in ensuring the healthy growth and productivity of your chive plants. Here are some guidelines for watering and fertilizing chives:
- Watering: Chives prefer consistent moisture but are susceptible to root rot if overwatered. Water the plants when the top inch of soil feels dry to the touch. Use a watering can or hose with a gentle spray attachment to evenly moisten the soil. Avoid wetting the foliage, as this can lead to fungal diseases. It’s important to strike a balance between keeping the soil adequately moist and preventing waterlogged conditions.
- Fertilizing: Chives are relatively low-maintenance plants and don’t require heavy fertilization. However, a light feeding can benefit their growth. Apply a balanced organic fertilizer, such as compost or well-rotted manure, around the base of the plants in early spring and again in mid-summer. Follow the package instructions for the recommended amount and frequency of application. Alternatively, you can use a slow-release granular fertilizer according to the manufacturer’s instructions.
- Organic matter: Regularly adding organic matter, such as compost, to the soil around your chive plants can help improve soil fertility and provide a steady supply of nutrients. Apply a layer of compost around the base of the plants, avoiding direct contact with the stems, in the spring and fall.
- Water-soluble fertilizer: If you prefer using water-soluble fertilizers, dilute them according to the package instructions and apply once every two to four weeks during the growing season. This can provide a quick nutrient boost to your chive plants.
- Monitor plant health: Pay attention to the overall health and appearance of your chive plants. If the leaves start to yellow or the plants seem stunted, it may indicate nutrient deficiency. Adjust your fertilizer application as needed based on the specific requirements of your plants and the quality of your soil.
Remember to always water and fertilize your chive plants based on their specific needs and the environmental conditions. By providing adequate moisture and essential nutrients, you’ll help your chive plants thrive and produce abundant foliage.
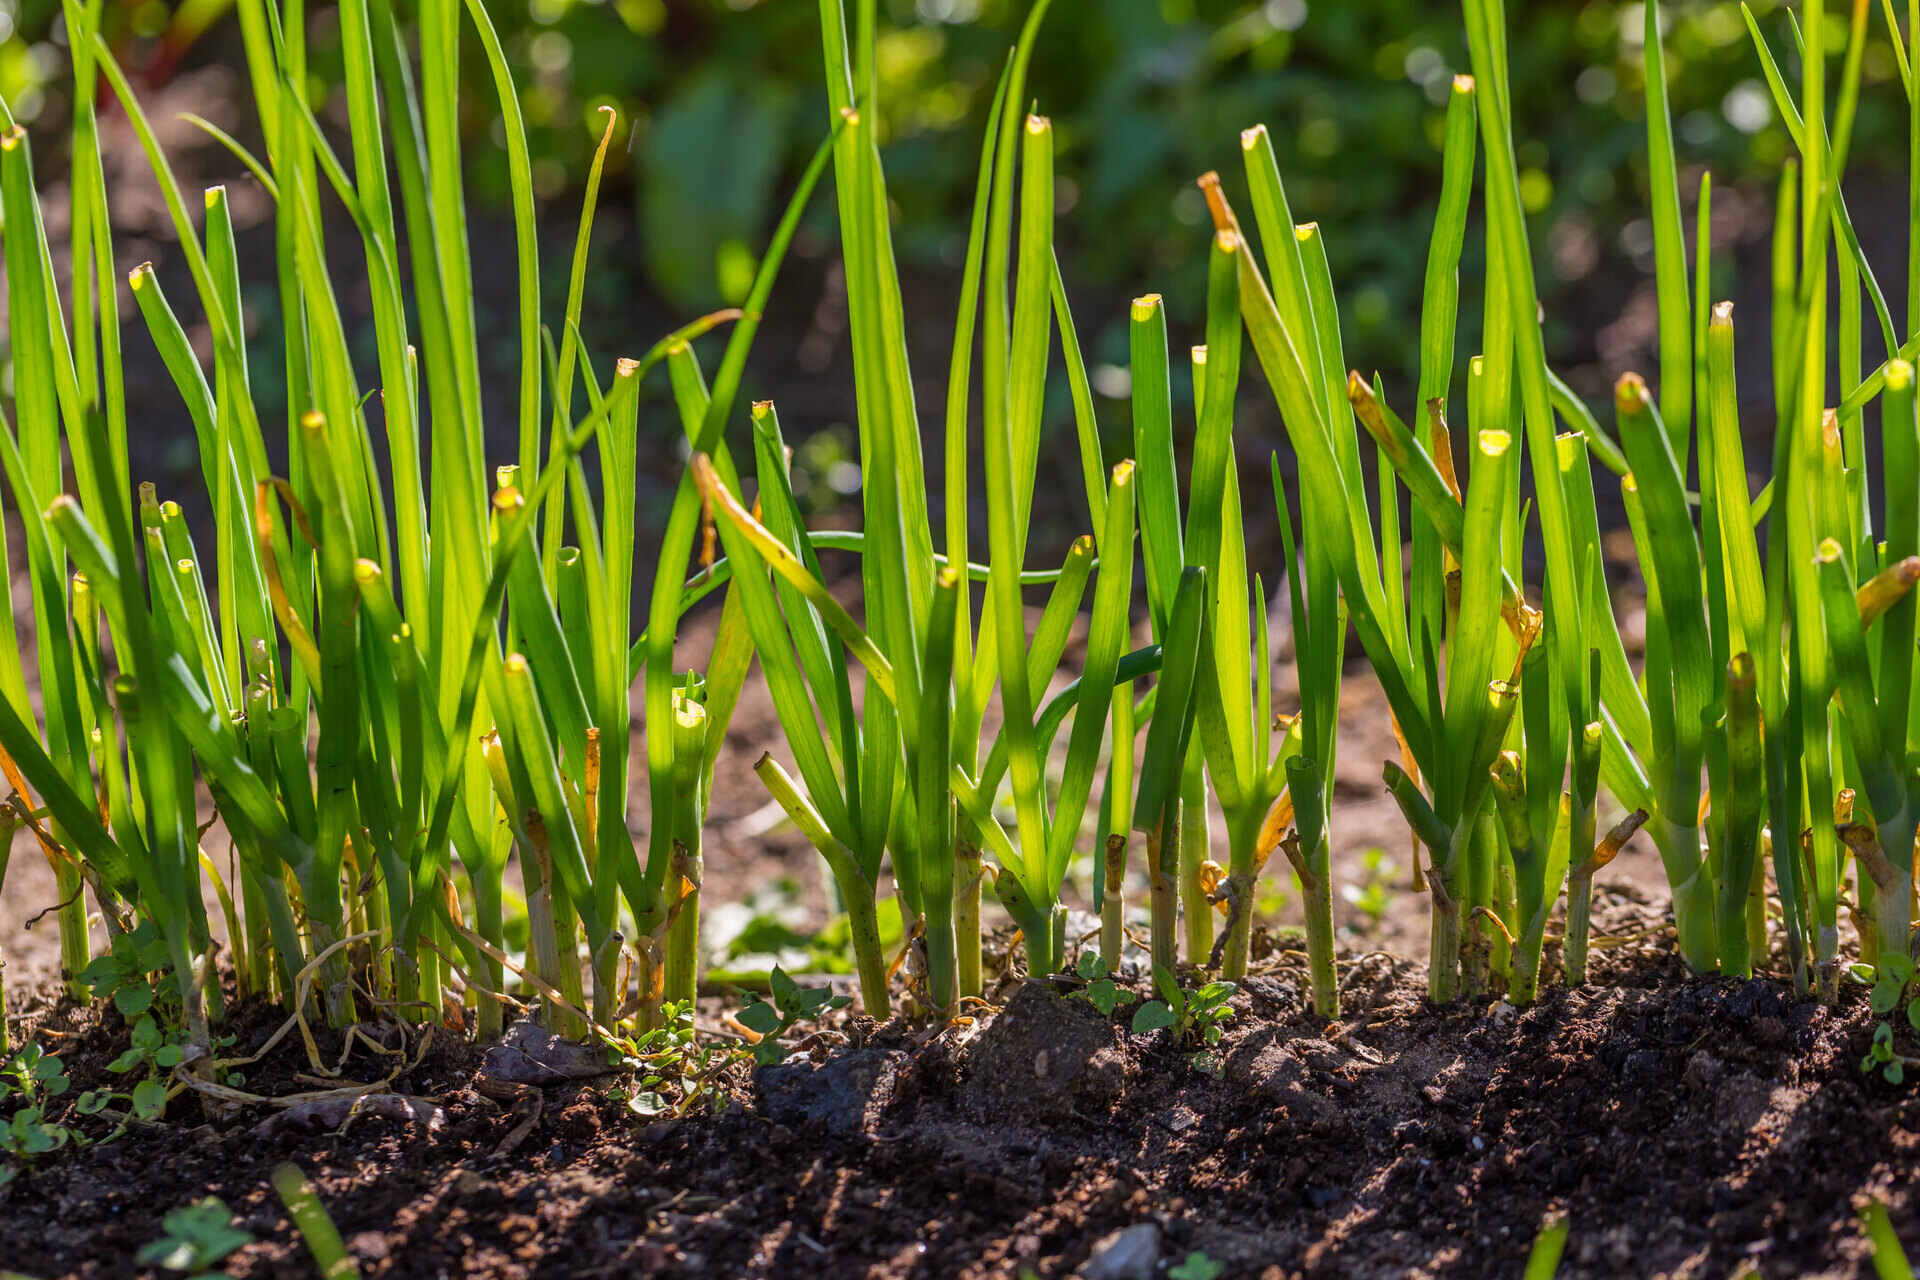
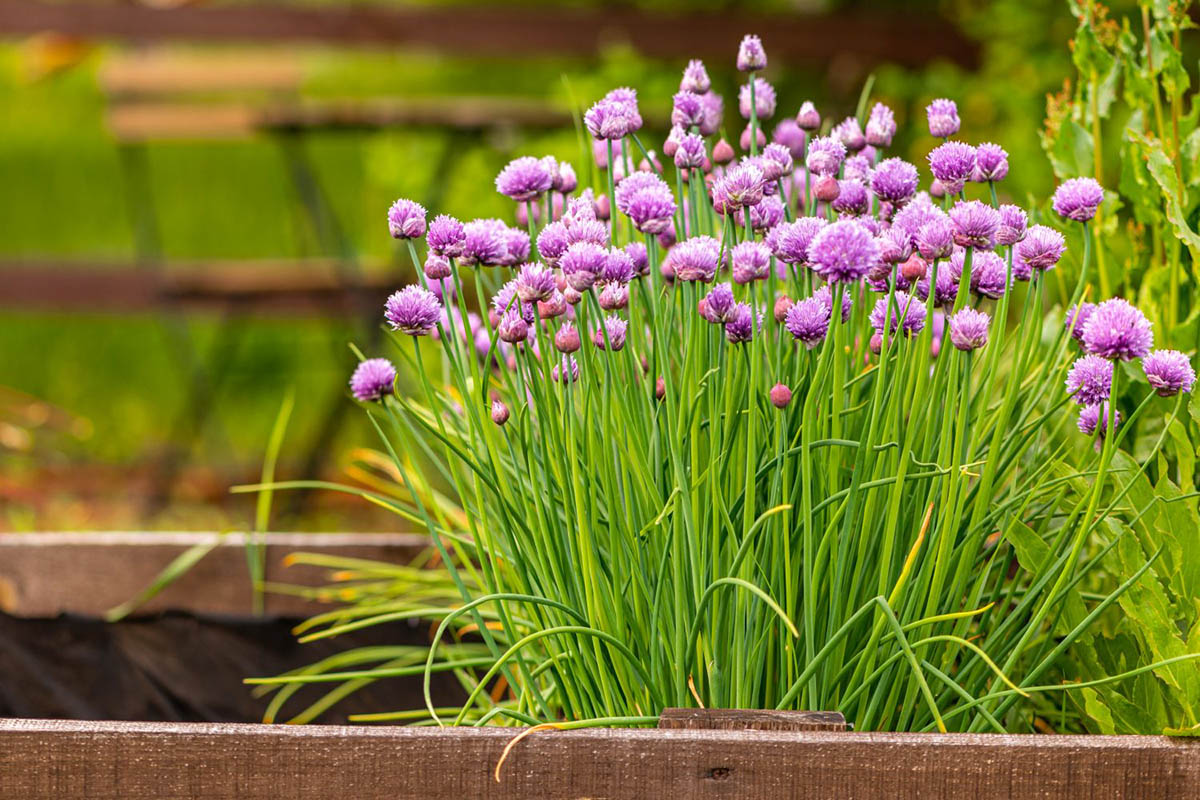
Harvesting chives from pot-grown plants
Harvesting chives from your pot-grown plants is a rewarding experience, as you get to enjoy the fresh and flavorful leaves in your culinary creations. Here’s how to properly harvest chives:
- Wait for maturity: Chives typically reach maturity and are ready for harvest about 60-70 days after planting. At this stage, the plants will have well-established clumps of leaves and a healthy growth.
- Select the right time of day: Harvest chives in the morning when the plants are well-hydrated and the flavor is at its best. The essential oils and flavors are most concentrated during this time.
- Choose the harvesting method: There are two common methods for harvesting chives. You can either cut individual leaves or snip the entire clump of leaves. The method you choose depends on your preference and the intended use of the chives.
- For individual leaf harvesting: Use a sharp pair of scissors or garden shears to snip the outer leaves near the base of the plant. Leave the inner leaves to continue growing. This method allows for continuous harvest throughout the growing season.
- For clump harvesting: If you need a larger quantity of chives or want to encourage fresh growth, cut the entire clump of leaves about 2 inches above the soil level. This method will temporarily halt growth while the plant regenerates new leaves.
- Regular maintenance: After harvesting, remove any yellow or wilted leaves from the plant to maintain its health and appearance. Regular maintenance and harvesting will encourage continuous growth and a fresh supply of chives.
Once harvested, give your chive leaves a quick rinse under cold water to remove any debris or dirt. Pat them dry gently with a paper towel before storing or using them in your favorite dishes.
Remember, the delicate onion flavor of chives is best when used fresh. If you have more chives than you can use immediately, you can freeze them in an airtight container or chop them and freeze them in ice cube trays with a little water or oil for future use.
With each harvest, your chives will continue to flourish and provide you with a continuous supply of fresh and aromatic leaves throughout the growing season.
Tips for successful chive seed planting
Planting chive seeds in a pot can be a rewarding and enjoyable experience. To ensure successful growth and thriving chive plants, consider the following tips:
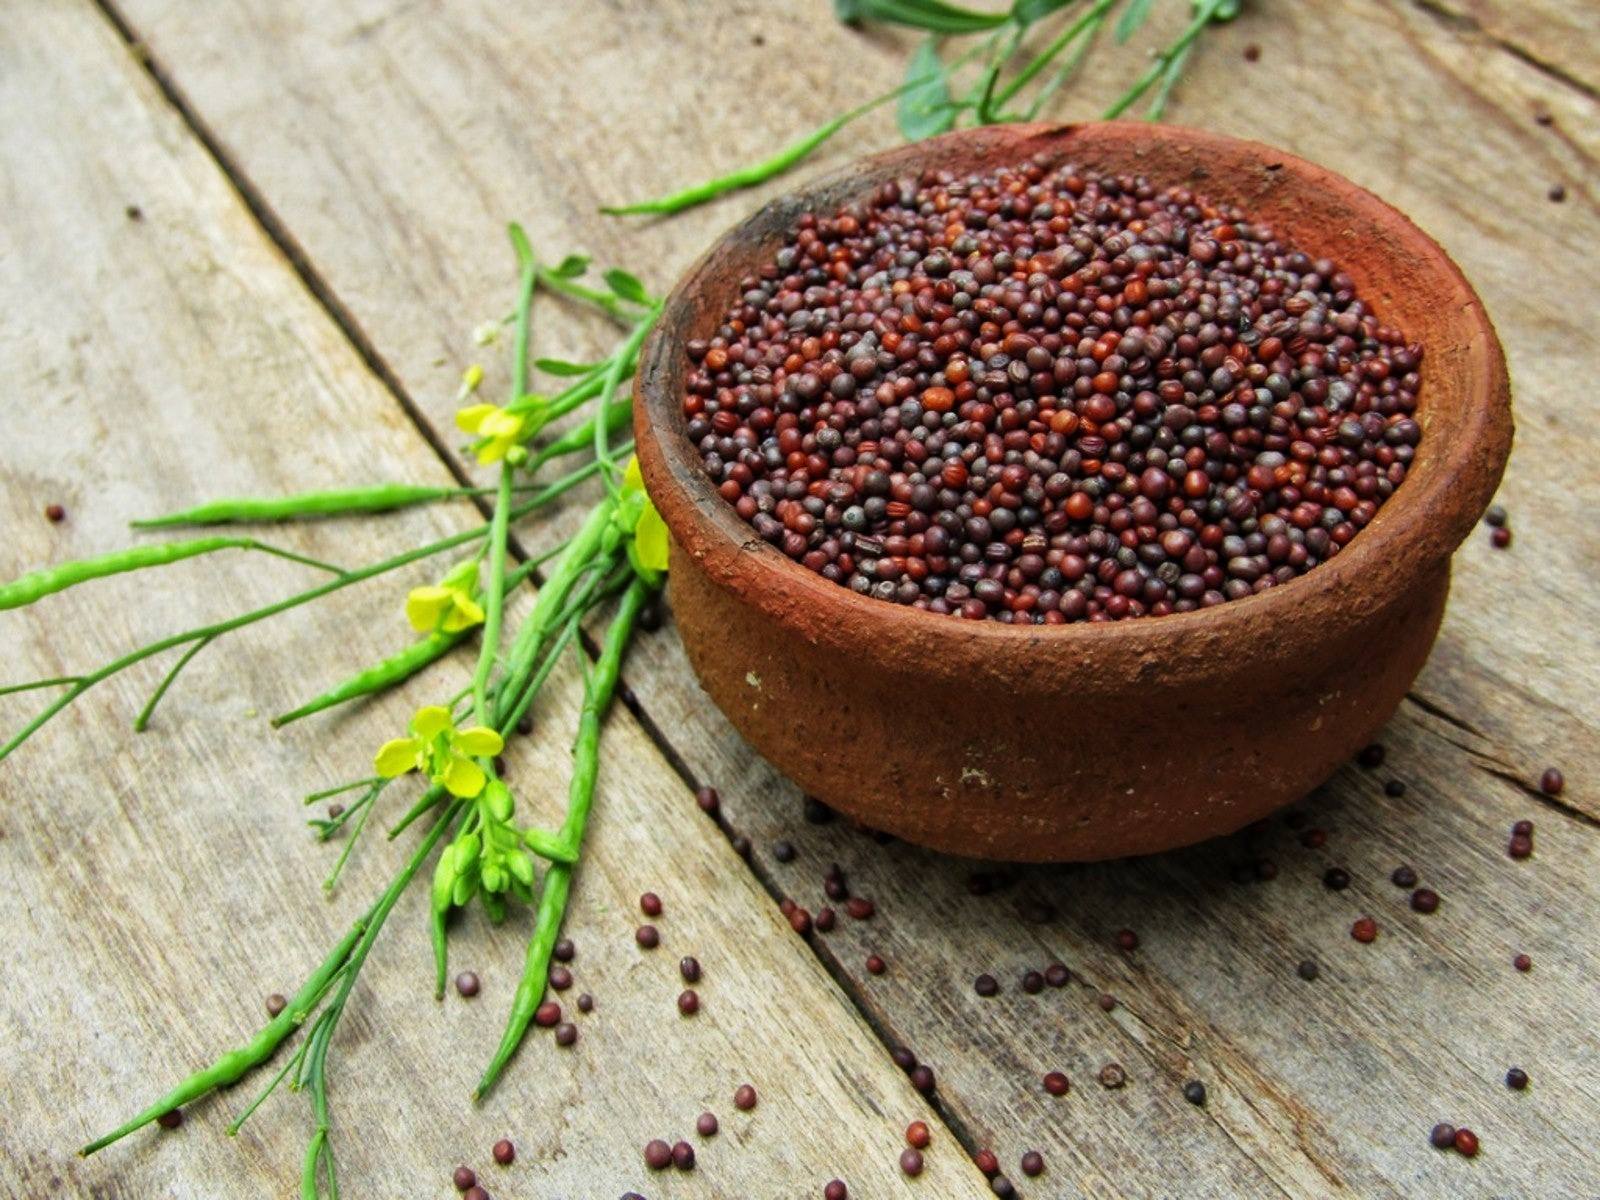
- Start with fresh seeds: When purchasing chive seeds, make sure they are fresh and from a reputable source. Fresh seeds have a higher germination rate, giving you a better chance of success.
- Pre-soak the seeds: To enhance germination, you can pre-soak the chive seeds in water for 24 hours before planting. This can help soften the seed coat and improve the chances of successful sprouting.
- Follow the planting depth: Chive seeds are tiny, so it’s important to pay attention to the recommended planting depth. Generally, chive seeds should be planted about 1/4 inch deep in the soil, or sprinkled on top and gently pressed into the soil.
- Provide consistent moisture: Chive seeds require consistent moisture for germination. Ensure the soil is evenly moist but not waterlogged. Consider misting the soil with a spray bottle to prevent disturbing the seeds before they sprout.
- Thin out seedlings: If multiple seedlings emerge in one spot, thin them out to provide enough space for each plant to grow. This allows for proper air circulation and reduces competition for nutrients and sunlight.
- Grow in a sunny location: Chives thrive in full sun or partial shade. Choose a location that receives at least 6 hours of sunlight per day, whether you’re growing them indoors or outdoors.
- Prune regularly: Regular pruning helps promote bushier growth and prevents the plants from becoming leggy. Trim the chive leaves regularly, using clean and sharp scissors or garden shears.
- Divide and propagate: As chive plants mature, they can become crowded. Divide the clumps every few years to maintain their vitality. This also gives you the opportunity to propagate and expand your chive garden.
- Protect from extreme temperatures: Chives are hardy plants, but they can be sensitive to extreme temperatures. Protect them during heatwaves or frost by moving pots to a sheltered location or providing appropriate cover.
- Observe and experiment: Gardening is a continual learning process. Observe how your chive plants respond to different factors such as watering, sunlight, and fertilization. Experiment with different techniques and adjustments to find what works best for your specific growing conditions.
By implementing these tips, you’ll increase the likelihood of successful chive seed planting and enjoy a bountiful harvest of flavorful chives.
Conclusion
Planting chive seeds in a pot is a wonderful way to enjoy the fresh and versatile flavors of this herb, even if you have limited space. By selecting the right pot, preparing the appropriate soil, and providing optimal growing conditions, you can successfully cultivate healthy and flavorful chive plants right at your fingertips.
Remember to choose a pot that is the right size and material, with proper drainage, to ensure the well-being of your chive plants. The soil should be light, well-draining, and slightly alkaline, enriched with organic matter to provide essential nutrients.
When planting chive seeds, sow them gently into the soil and provide adequate moisture and warmth for germination. Once the seedlings emerge, ensure they receive enough sunlight, proper air circulation, and consistent watering. Fertilize the plants lightly to promote growth and vitality.
Harvesting chives from your pot-grown plants can be an exciting experience. Keep in mind the right time to harvest, whether you choose to snip individual leaves or cut the entire clump, and maintain the overall health of the plants through regular maintenance.
Throughout the growing season, observe the needs of your chive plants and adjust your care routine accordingly. Discover what works best for your specific growing conditions and experiment with different techniques to maximize the growth and flavors of your chives.
With patience, care, and these helpful tips, you’ll be rewarded with a bountiful harvest of fresh and aromatic chives for use in a variety of culinary creations. Whether you’re adding them to salads, soups, omelets, or infused oils, the delightful taste and vibrant green color of your homegrown chives will elevate your dishes to new heights of flavor.
So go ahead, start planting chive seeds in a pot, and experience the joy of cultivating this versatile herb right in your own home or garden!
Excited about sprucing up your garden's look? Check out our collection of creative gardening ideas that can transform any outdoor space. Whether you've got a tiny patio or vast greenery, these fence designs can redefine boundaries and style. Perfect for garden enthusiasts looking to infuse new life into their yards!
Frequently Asked Questions about How To Plant Chive Seeds In A Pot
Was this page helpful?
At Storables.com, we guarantee accurate and reliable information. Our content, validated by Expert Board Contributors, is crafted following stringent Editorial Policies. We're committed to providing you with well-researched, expert-backed insights for all your informational needs.

0 thoughts on “How To Plant Chive Seeds In A Pot”