Furniture
How To Build An IKEA Malm Dresser
Modified: February 25, 2024
Discover the step-by-step guide on how to effortlessly assemble the IKEA Malm Dresser and transform your space with stylish and functional furniture.
(Many of the links in this article redirect to a specific reviewed product. Your purchase of these products through affiliate links helps to generate commission for Storables.com, at no extra cost. Learn more)
Introduction
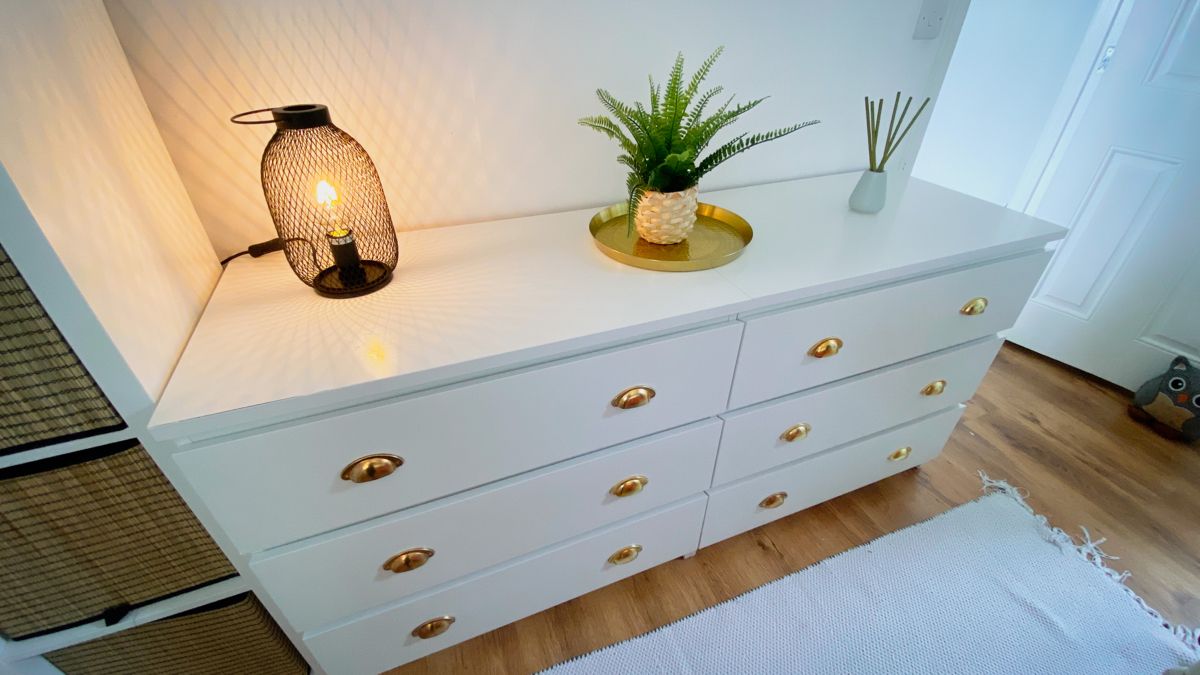
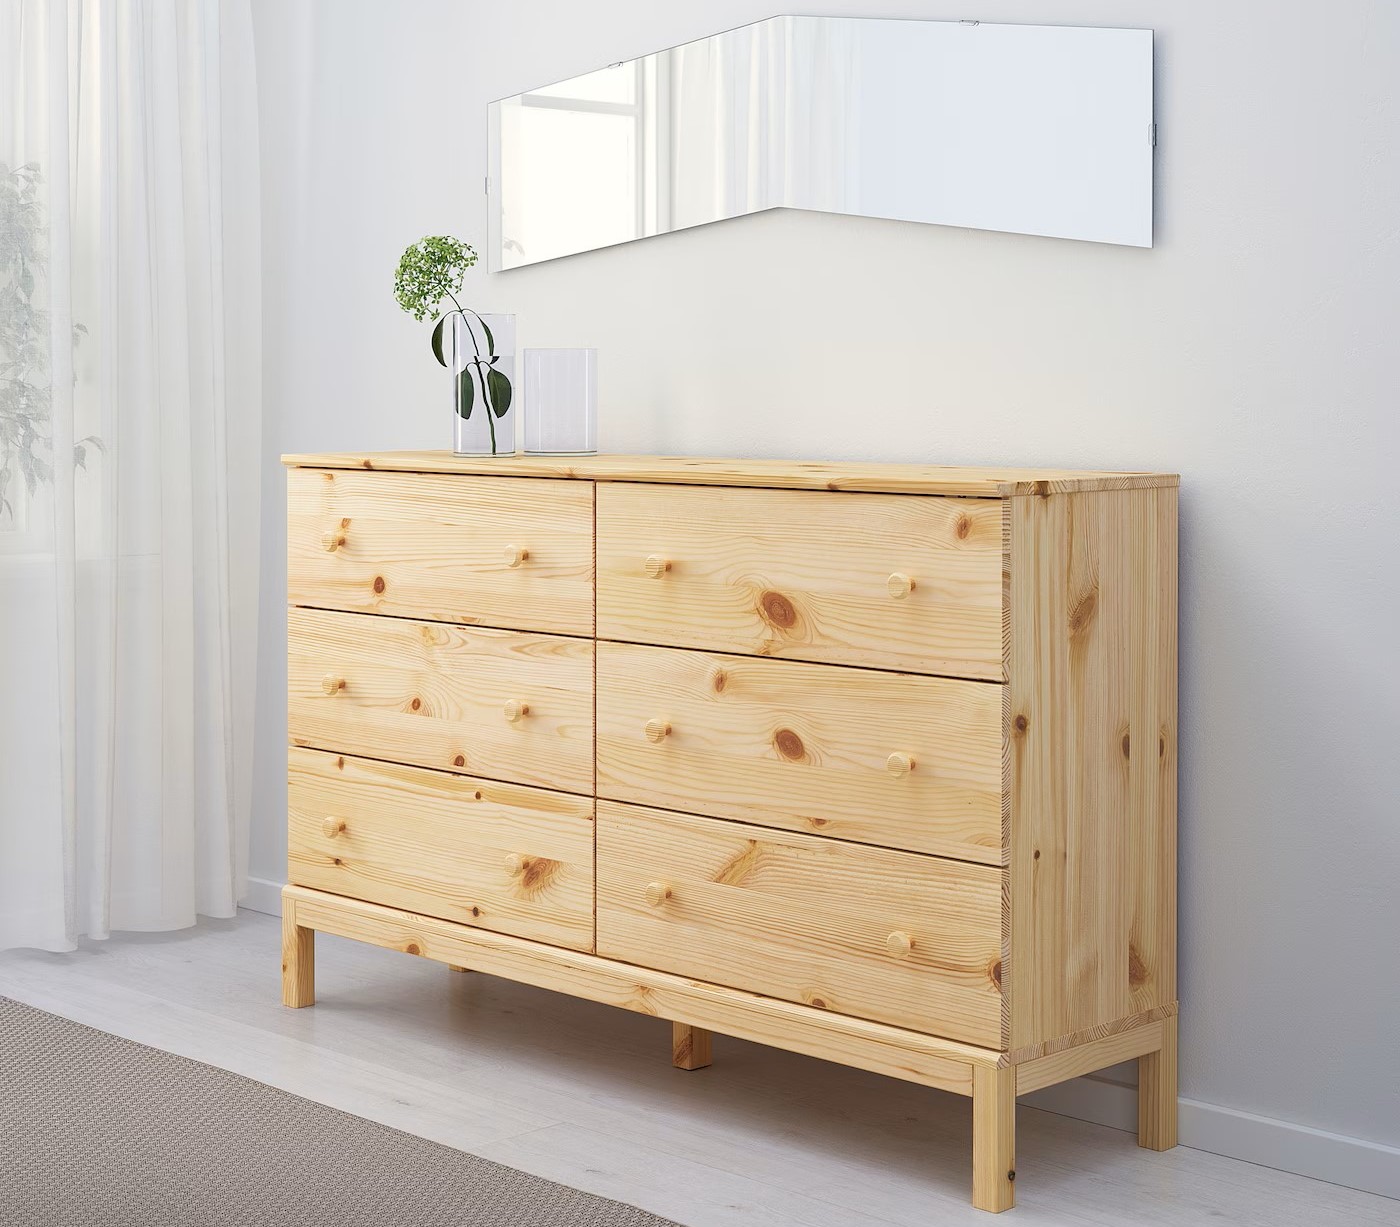
Building furniture can be a rewarding and fulfilling experience. It allows you to unleash your inner DIY enthusiast and create functional pieces that fit your personal style. One popular choice among furniture enthusiasts is the IKEA Malm dresser. With its sleek design and ample storage space, the Malm dresser is a versatile and practical addition to any home.
However, the process of building furniture can sometimes be daunting, especially for those who are new to DIY projects. But fear not! In this article, we will guide you through the step-by-step process of building an IKEA Malm dresser. Whether you’re a seasoned DIY expert or a beginner looking for a fun project, this guide will help you successfully assemble your Malm dresser and enjoy the satisfaction of creating something with your own hands.
Before we dive into the assembly process, it’s important to gather all the necessary tools and materials. This will ensure that you have everything you need within reach, saving you time and frustration along the way.
Key Takeaways:
- Building an IKEA Malm dresser is a rewarding DIY project that requires careful organization, attention to detail, and following step-by-step instructions. The end result is a functional and stylish piece of furniture for your home.
- Assembling the Malm dresser involves gathering tools, organizing components, reading instructions, and making final adjustments. The process offers a sense of accomplishment and the opportunity to enjoy a versatile and practical furniture piece.
Read more: How To Add Legs To An IKEA Malm Dresser
Step 1: Gathering the Necessary Tools and Materials
Before you begin assembling the IKEA Malm dresser, it’s essential to gather all the necessary tools and materials. Having everything you need within reach will make the assembly process smoother and more efficient. Here’s a list of the items you’ll need:
- Allen wrench or screwdriver
- Hammer
- Tape measure
- Level
- Optional: Electric screwdriver (for faster assembly)
- The IKEA Malm dresser kit, which includes the pre-cut wood pieces, screws, and other necessary hardware
Make sure to check that you have all the required tools and materials before starting. This will save you from having to pause the assembly midway to search for missing items.
Once you have everything ready, it’s time to organize the components and familiarize yourself with the instructions.
Step 2: Organizing the Components
Before diving into the assembly process, it’s important to take a few moments to organize the components of the IKEA Malm dresser. This step will help you understand the layout of the materials and ensure that you have everything you need.
Start by emptying the contents of the Malm dresser kit onto a clean, spacious surface. Sort the wooden pieces, screws, and other hardware into separate piles. Take a close look at the components and familiarize yourself with their shapes and sizes.
Next, identify the different sections of the dresser, such as the dresser frame, dresser top, and drawers. Lay out the pieces in a logical order, following the instruction manual provided with the kit. This will allow you to easily access each component as you progress through the assembly process.
Additionally, it’s a good idea to check all the components for any damage or missing parts. If you notice any issues, such as cracked wood or incomplete hardware, contact the IKEA customer service for assistance.
By organizing the components before starting the assembly, you’ll have a clear visual overview of the materials and ensure a smoother and more efficient building process.
Step 3: Reading the Instructions
Now that you have organized the components of your IKEA Malm dresser, it’s time to familiarize yourself with the instructions. Reading and understanding the instructions is crucial for a successful assembly process.
Begin by locating the instruction manual that came with your Malm dresser kit. Take the time to carefully read through the entire manual before starting the assembly. Pay close attention to the diagrams, illustrations, and step-by-step instructions provided. This will give you a clear understanding of the order in which the components should be assembled.
It’s important to note that IKEA instructions are typically accompanied by universal symbols and minimal text. This is done to make the instructions accessible to people from various language backgrounds. Take your time to interpret the symbols and understand their meaning. Refer to the key provided in the manual if needed.
As you go through the instructions, make note of any additional tools or materials that may be needed for specific steps. This will prevent unnecessary interruptions during the assembly process.
If you come across any ambiguous or unclear instructions, don’t hesitate to consult online resources or reach out to the IKEA customer service for clarification.
Reading and understanding the instructions beforehand will help you build your IKEA Malm dresser with confidence and efficiency.
Step 4: Assembly of the Dresser Frame
Now that you have familiarized yourself with the instructions, it’s time to start assembling the dresser frame of your IKEA Malm dresser. This step is the foundation of the entire assembly process.
Begin by identifying the larger wooden pieces that form the sides, back, and bottom of the dresser frame. Carefully follow the instructions to determine the correct orientation of each piece.
Using your Allen wrench or screwdriver, start attaching the wooden pieces together as instructed. Make sure to tighten the screws securely but be cautious not to overtighten and strip the holes.
It’s important to check that the dresser frame is level and square as you proceed with the assembly. This can be done by using a level and visually confirming that the corners are at 90-degree angles. Making any necessary adjustments at this stage will ensure that your dresser is stable and well-aligned.
Continue following the instructions to attach any additional support beams or reinforcement pieces to strengthen the frame. These additional components are often included in the Malm dresser kit to enhance stability and durability.
Once you have completed the assembly of the dresser frame, take a step back and inspect your work. Ensure that all joints are secure and the frame is solid. Making any adjustments or tightening any loose screws at this stage will save you time and effort in the long run.
With the dresser frame successfully assembled, you’re now ready to proceed to the next step: attaching the dresser top.
When assembling the IKEA Malm Dresser, make sure to carefully follow the instructions step by step to ensure all parts are correctly assembled and secured. Double-check all connections before moving on to the next step.
Read also: 9 Superior Malm Dresser for 2025
Step 5: Attaching the Dresser Top
Now that you have completed the assembly of the dresser frame, it’s time to move on to attaching the dresser top. This step will give your IKEA Malm dresser a finished and polished look.
Start by locating the dresser top piece provided in the Malm dresser kit. Ensure that it is clean and free from any debris. Place the dresser top piece on a soft surface to prevent scratching or damaging the surface.
Follow the instructions provided to position the dresser top onto the assembled dresser frame. The instructions may require you to align specific edges or insert dowels for stability.
Using the screws or other hardware provided, secure the dresser top to the frame. Be sure to tighten the screws evenly and firmly, ensuring a secure attachment. Take care not to overtighten and strip the holes.
Once the dresser top is securely attached, double-check that it is level and aligned with the frame. Use a level to ensure that the surface is flat, and make any necessary adjustments to ensure a seamless fit.
Take a moment to admire your progress now that the dresser top is in place. The Malm dresser is starting to take shape, and it’s time to move on to the next step: installing the drawers.
Before we proceed, it’s crucial to ensure the dresser top is securely attached and level, as it will bear the weight of the drawers once they are installed.
Step 6: Installing the Drawers
With the dresser frame and top successfully assembled, it’s time to move on to installing the drawers of your IKEA Malm dresser. This step will bring functionality and storage to your furniture piece.
Start by identifying the drawer components, including the sides, front, and back panels, as well as the drawer slides provided in the Malm dresser kit. Lay out the components in front of you, checking for any damage or missing pieces.
Follow the instructions provided to attach the drawer slides to the dresser frame. The slides are usually mounted on the sides of the frame or along the edges of the dresser top. Ensure that they are level and properly aligned for smooth movement.
Once the drawer slides are securely in place, you can begin assembling the drawers themselves. Connect the front and back panels to the sides, following the instructions provided. Use screws or other hardware to secure the panels together, ensuring a sturdy construction.
Insert the assembled drawers into the dresser frame, sliding them along the drawer slides. They should glide smoothly and fit snugly into place. Double-check that the drawers are aligned and flush with the dresser front for a seamless and professional appearance.
Repeat the process for each drawer, ensuring that they are all installed correctly and operate smoothly. Take your time to adjust and align the drawers as needed, guaranteeing they open and close effortlessly.
Finally, test the functionality of the drawers by opening and closing them multiple times. Ensure that they slide smoothly without any sticking or obstruction. If any adjustments or modifications are required, make them before moving on to the final step.
Now that the drawers are successfully installed, it’s time to make the final touches and adjustments to complete your IKEA Malm dresser.
Step 7: Final Touches and Adjustments
Congratulations! You’re in the home stretch of assembling your IKEA Malm dresser. Step 7 focuses on making final touches and adjustments to ensure the dresser is functional, stable, and visually appealing.
Take a close look at the dresser to identify any loose screws or misaligned components. Use your tools to tighten any loose screws and make any necessary adjustments to ensure everything is secure.
Next, check the overall stability and balance of the dresser. Gently rock the dresser from side to side to ensure it doesn’t wobble or feel unstable. If needed, adjust any uneven legs or correct any imbalances to provide a solid foundation.
Inspect the exterior of the dresser for any scratches or imperfections. Use a soft cloth to clean the surfaces and remove any dust or debris. For small scratches or marks, you can use a wood touch-up pen or furniture polish to restore the appearance.
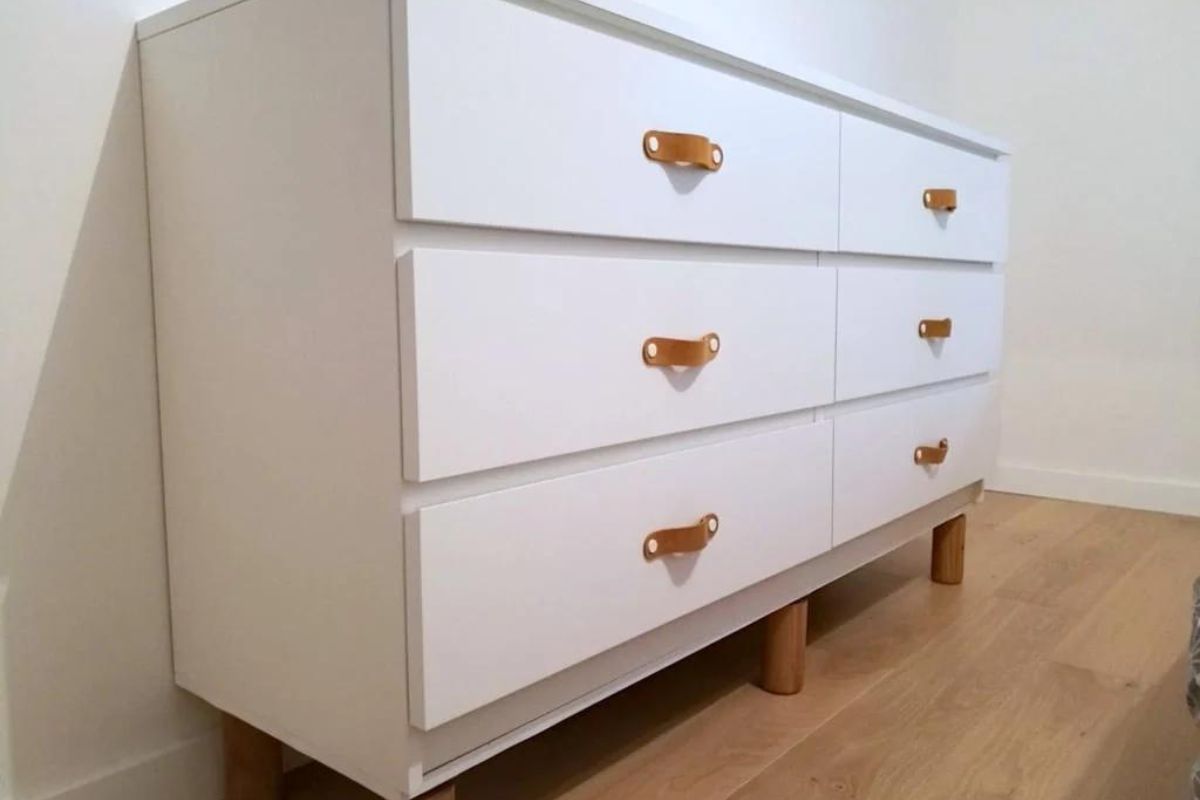
As a final step, step back and admire your creation. Take the time to appreciate the effort and craftsmanship that went into building your IKEA Malm dresser. Admire the clean lines, functionality, and storage capacity it provides to your living space.
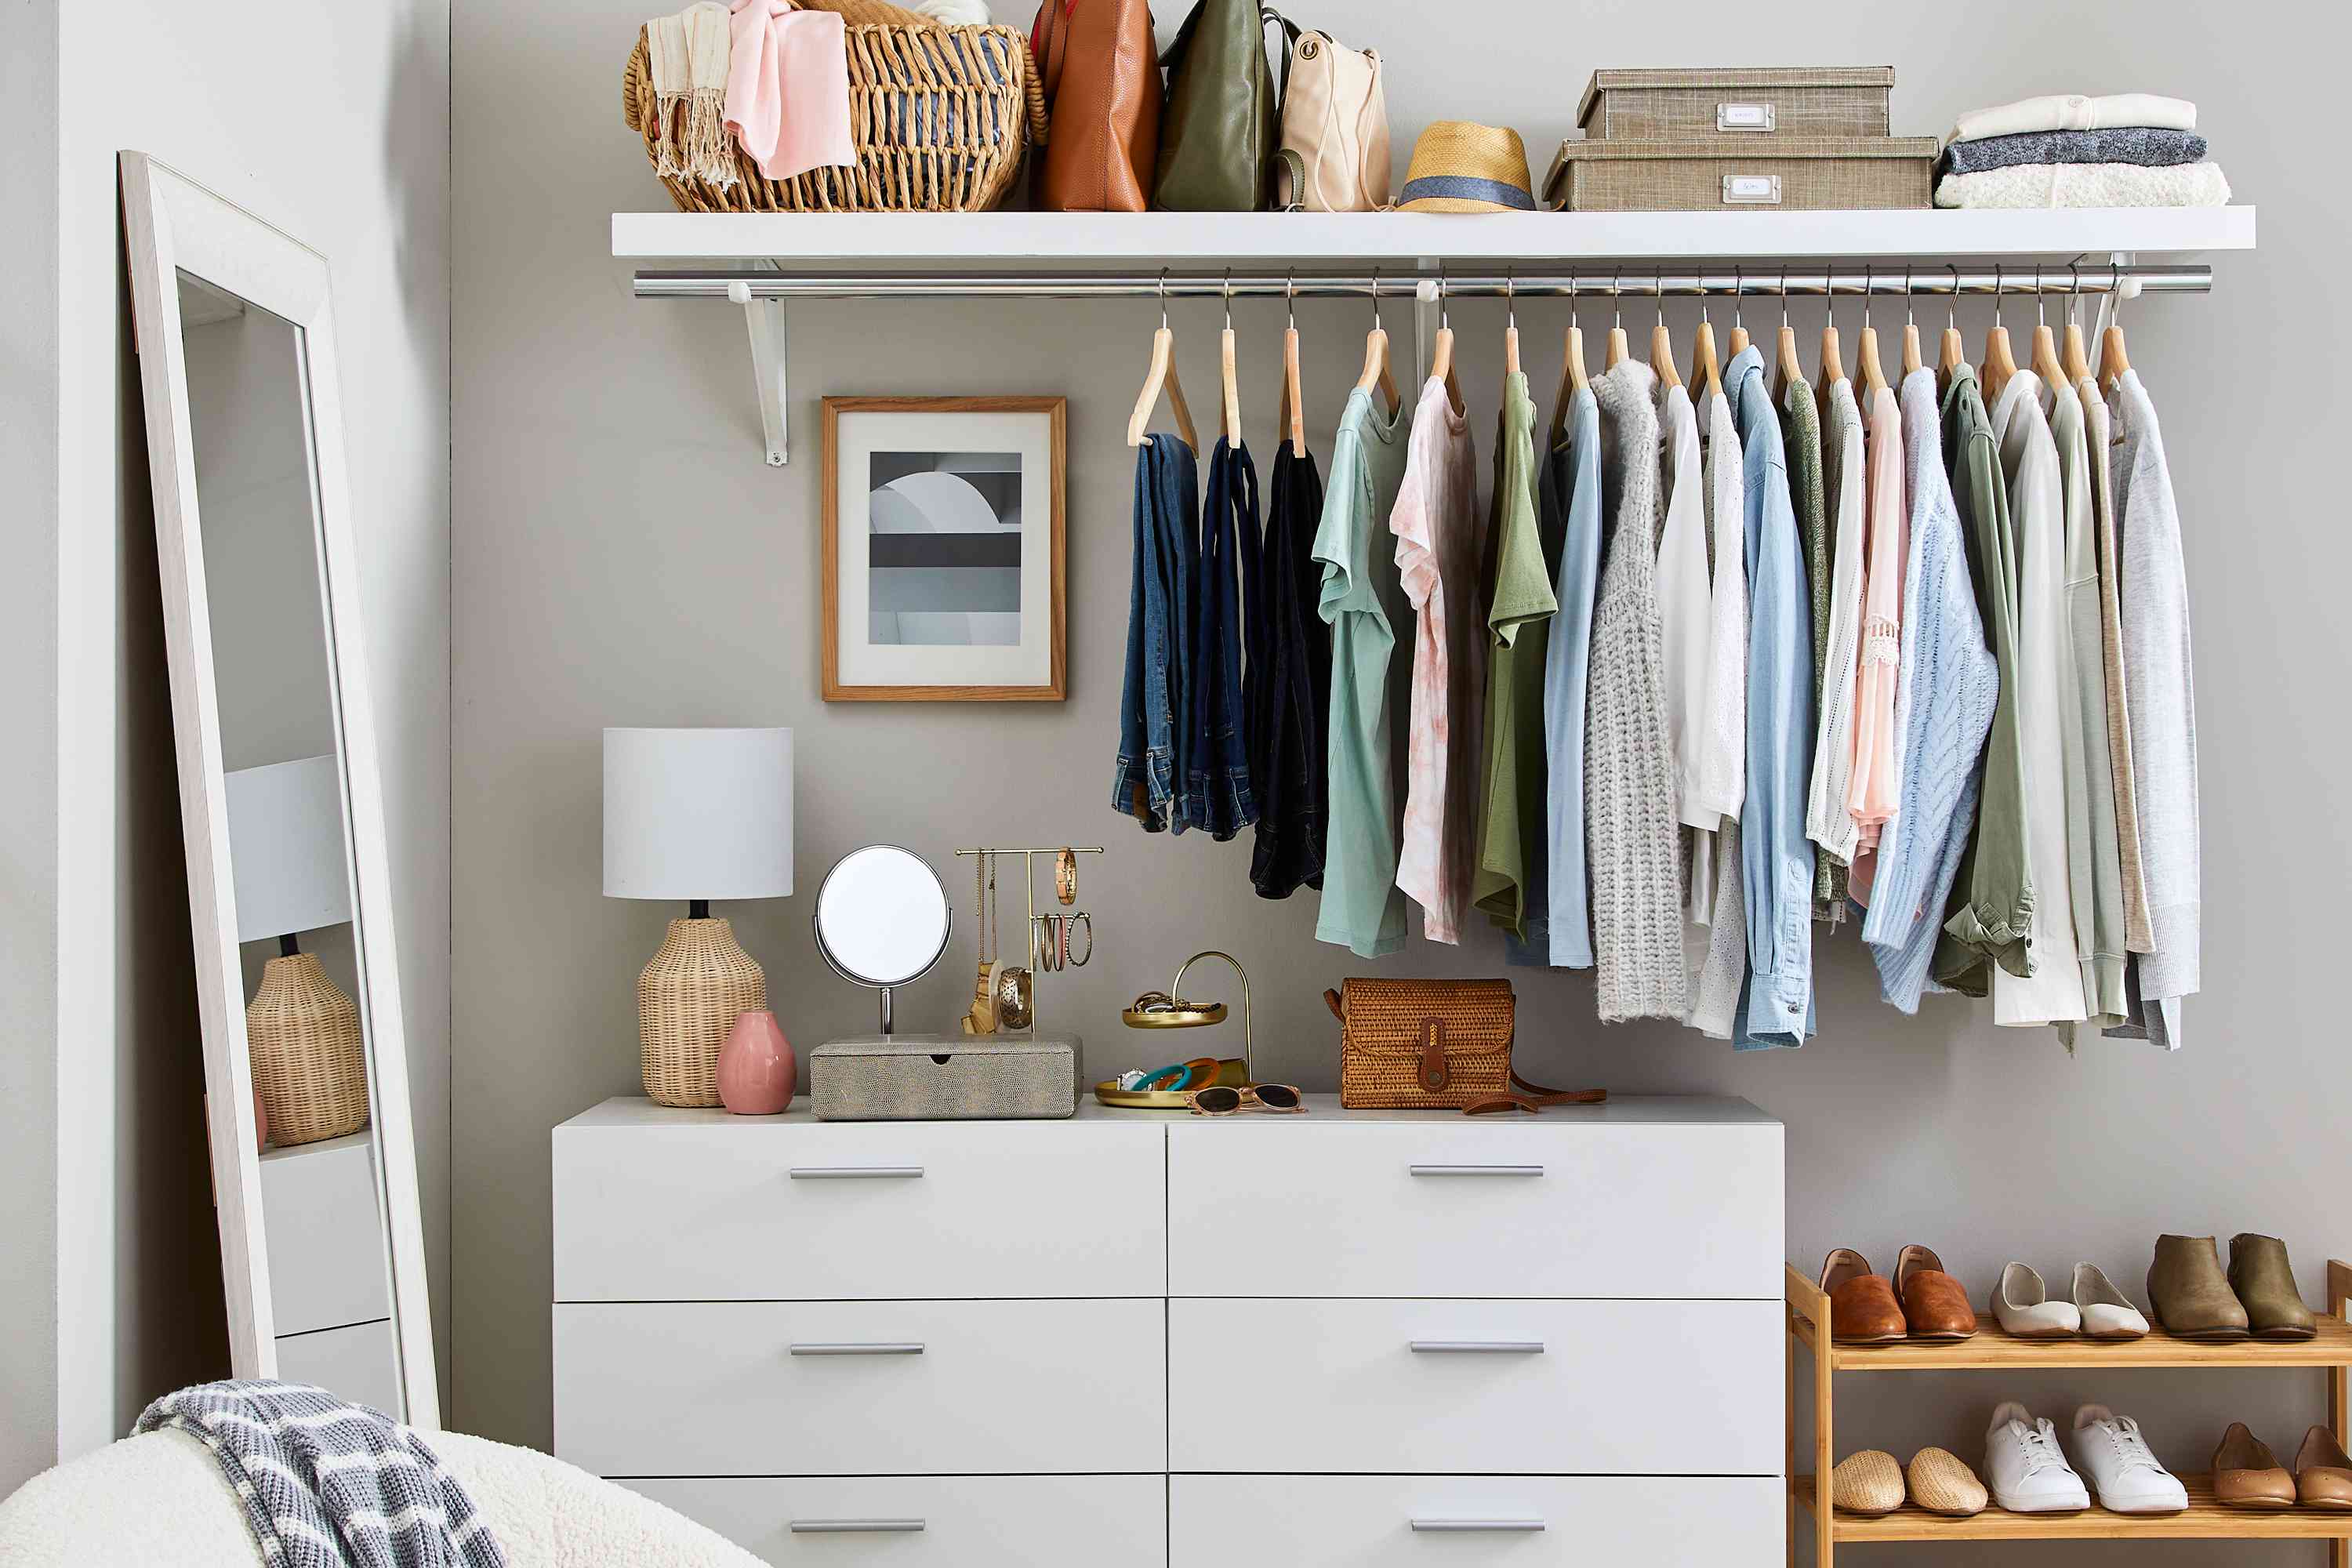
Now that you’ve successfully assembled your dresser, it’s time to enjoy and utilize it to its fullest potential. Organize your belongings in the drawers, display decorative items on top, and make the most of the storage space provided.
Remember, building furniture is a skill that improves with practice. If at any point you encounter challenges or difficulties during the assembly process, don’t hesitate to consult the instruction manual or seek assistance from IKEA customer service.
By following this step-by-step guide, you have successfully built your IKEA Malm dresser. Well done!
Conclusion
Building furniture can be a fun and rewarding experience, and assembling an IKEA Malm dresser is no exception. Throughout this step-by-step guide, we have walked you through the process of building your very own Malm dresser, from gathering the necessary tools and materials to making final adjustments.
By organizing the components, reading the instructions carefully, and following each step attentively, you have successfully built a functional and stylish dresser. The Malm dresser offers ample storage space, a sleek design, and the satisfaction of knowing you created it with your own hands.
Remember, the key to a successful assembly is taking your time and paying attention to detail. Ensure that all screws are tightened properly, components are aligned correctly, and any necessary adjustments are made along the way.
With your newly assembled Malm dresser, you now have a versatile and practical piece of furniture to enhance your home. Organize your belongings in the drawers, personalize the dresser top with decorative items, and enjoy the functionality and aesthetics it provides.
Building furniture not only adds value to your living space but also allows you to develop new skills and unleash your creativity. So, whether it’s the Malm dresser or another furniture piece, embrace the joy of DIY projects and continue exploring the world of furniture assembly.
Thank you for joining us on this journey of building the IKEA Malm dresser. We hope this guide has been informative and helpful in your furniture-building endeavors. Happy assembling!
Frequently Asked Questions about How To Build An IKEA Malm Dresser
Was this page helpful?
At Storables.com, we guarantee accurate and reliable information. Our content, validated by Expert Board Contributors, is crafted following stringent Editorial Policies. We're committed to providing you with well-researched, expert-backed insights for all your informational needs.


0 thoughts on “How To Build An IKEA Malm Dresser”