Home>Garden Essentials>Garden Storage>How To Make Sliding Wardrobe Doors
Garden Storage
How To Make Sliding Wardrobe Doors
Modified: January 5, 2024
Learn how to create sliding wardrobe doors for efficient storage. Transform your space with this easy DIY project.
(Many of the links in this article redirect to a specific reviewed product. Your purchase of these products through affiliate links helps to generate commission for Storables.com, at no extra cost. Learn more)
Introduction
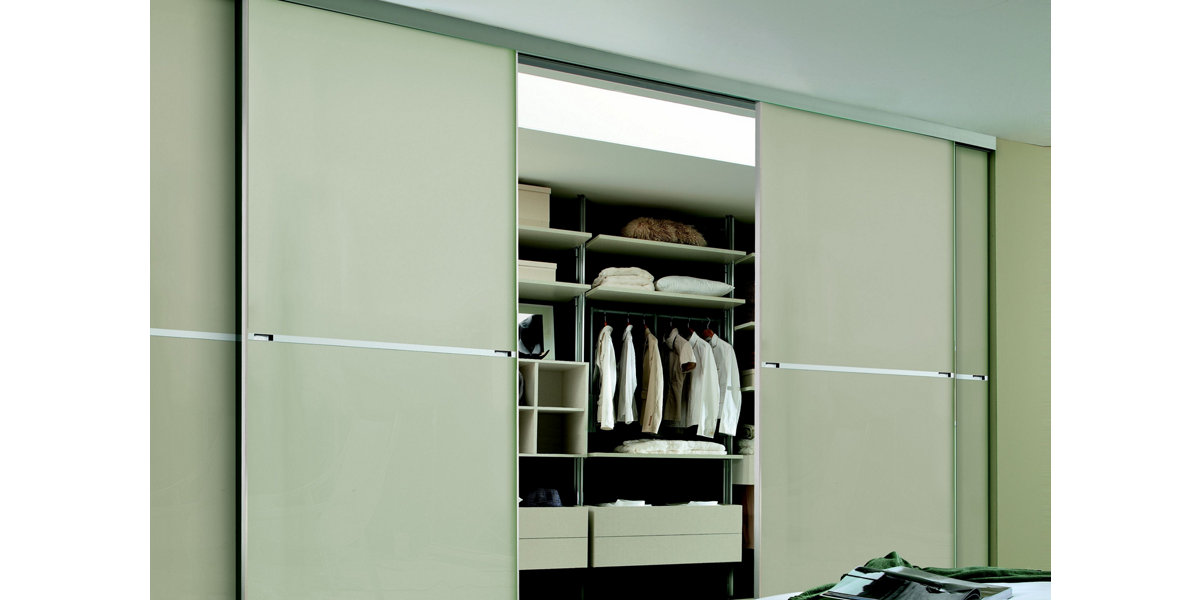
Welcome to our guide on how to make sliding wardrobe doors. Sliding wardrobe doors are not only stylish and space-saving but also add a touch of elegance to any room. Whether you want to transform your existing wardrobe into a sliding door system or build a new wardrobe from scratch, this article will provide you with a step-by-step guide to help you successfully complete the project.
Making sliding wardrobe doors is a rewarding task that requires some planning, preparation, and careful execution. By following the instructions and using the right materials, you can create a functional and visually appealing sliding door system that meets your needs and complements your interior decor.
Before we dive into the details, let’s take a look at the materials you will need for this project.
Key Takeaways:
- Making sliding wardrobe doors requires precise measurements, careful selection of materials, and attention to detail during installation. The right sliding door system and proper alignment are crucial for smooth and efficient operation.
- Adding finishing touches such as paint, handles, and regular maintenance enhances the functionality and appearance of sliding wardrobe doors. Following manufacturer’s instructions ensures a successful DIY project.
Read more: How To Install Sliding Wardrobe Doors
Materials Needed
Before you begin making sliding wardrobe doors, it’s important to gather all the necessary materials. Here’s a list of the items you will need:
- Wooden or aluminum sliding door tracks
- Rollers or sliding door wheels
- Doors panels (wood, glass, or other material of your choice)
- Screws and fasteners
- Drill
- Measuring tape
- Screwdriver
- Level
- Saw (if trimming the doors to size is required)
- Sandpaper
- Paint or stain (if you want to finish the doors)
- Optional: Handles or knobs for the doors
Make sure to purchase high-quality materials that are durable and designed specifically for sliding door systems. This will ensure smooth operation and longevity for your sliding wardrobe doors.
Once you have gathered all the necessary materials, you’re ready to move on to the next step: measuring the opening for your sliding wardrobe doors.
Step 1: Measure the Opening
The first step in making sliding wardrobe doors is to accurately measure the opening where the doors will be installed. This will help you determine the dimensions of the doors and tracks you will need.
Start by measuring the width of the opening. Use a measuring tape to measure the distance between the two walls or the existing frame where the doors will be installed. Take multiple measurements at different points to ensure accuracy.
Next, measure the height of the opening. Again, use a measuring tape to determine the distance between the floor and the top of the opening. As with the width, take multiple measurements to ensure accuracy.
Once you have the measurements for the width and height, write them down and double-check for accuracy. It’s important to have precise measurements to ensure a proper fit for your sliding wardrobe doors.
If your opening is not a standard size, you may need to trim the doors or customize the tracks to fit. It’s important to factor in any additional space required for the tracks and rollers when determining the size of the doors.
Keep in mind that the doors should overlap slightly in the center when closed to prevent any gaps. This overlap will depend on your personal preference, but a general rule of thumb is to have a 25-50mm overlap in the center.
Once you have measured the opening and determined the dimensions for your sliding wardrobe doors, you can proceed to the next step: choosing the sliding door system.
Step 2: Choose the Sliding Door System
Choosing the right sliding door system is crucial for the smooth operation and functionality of your sliding wardrobe doors. There are various options available, so consider your needs and preferences before making a decision.
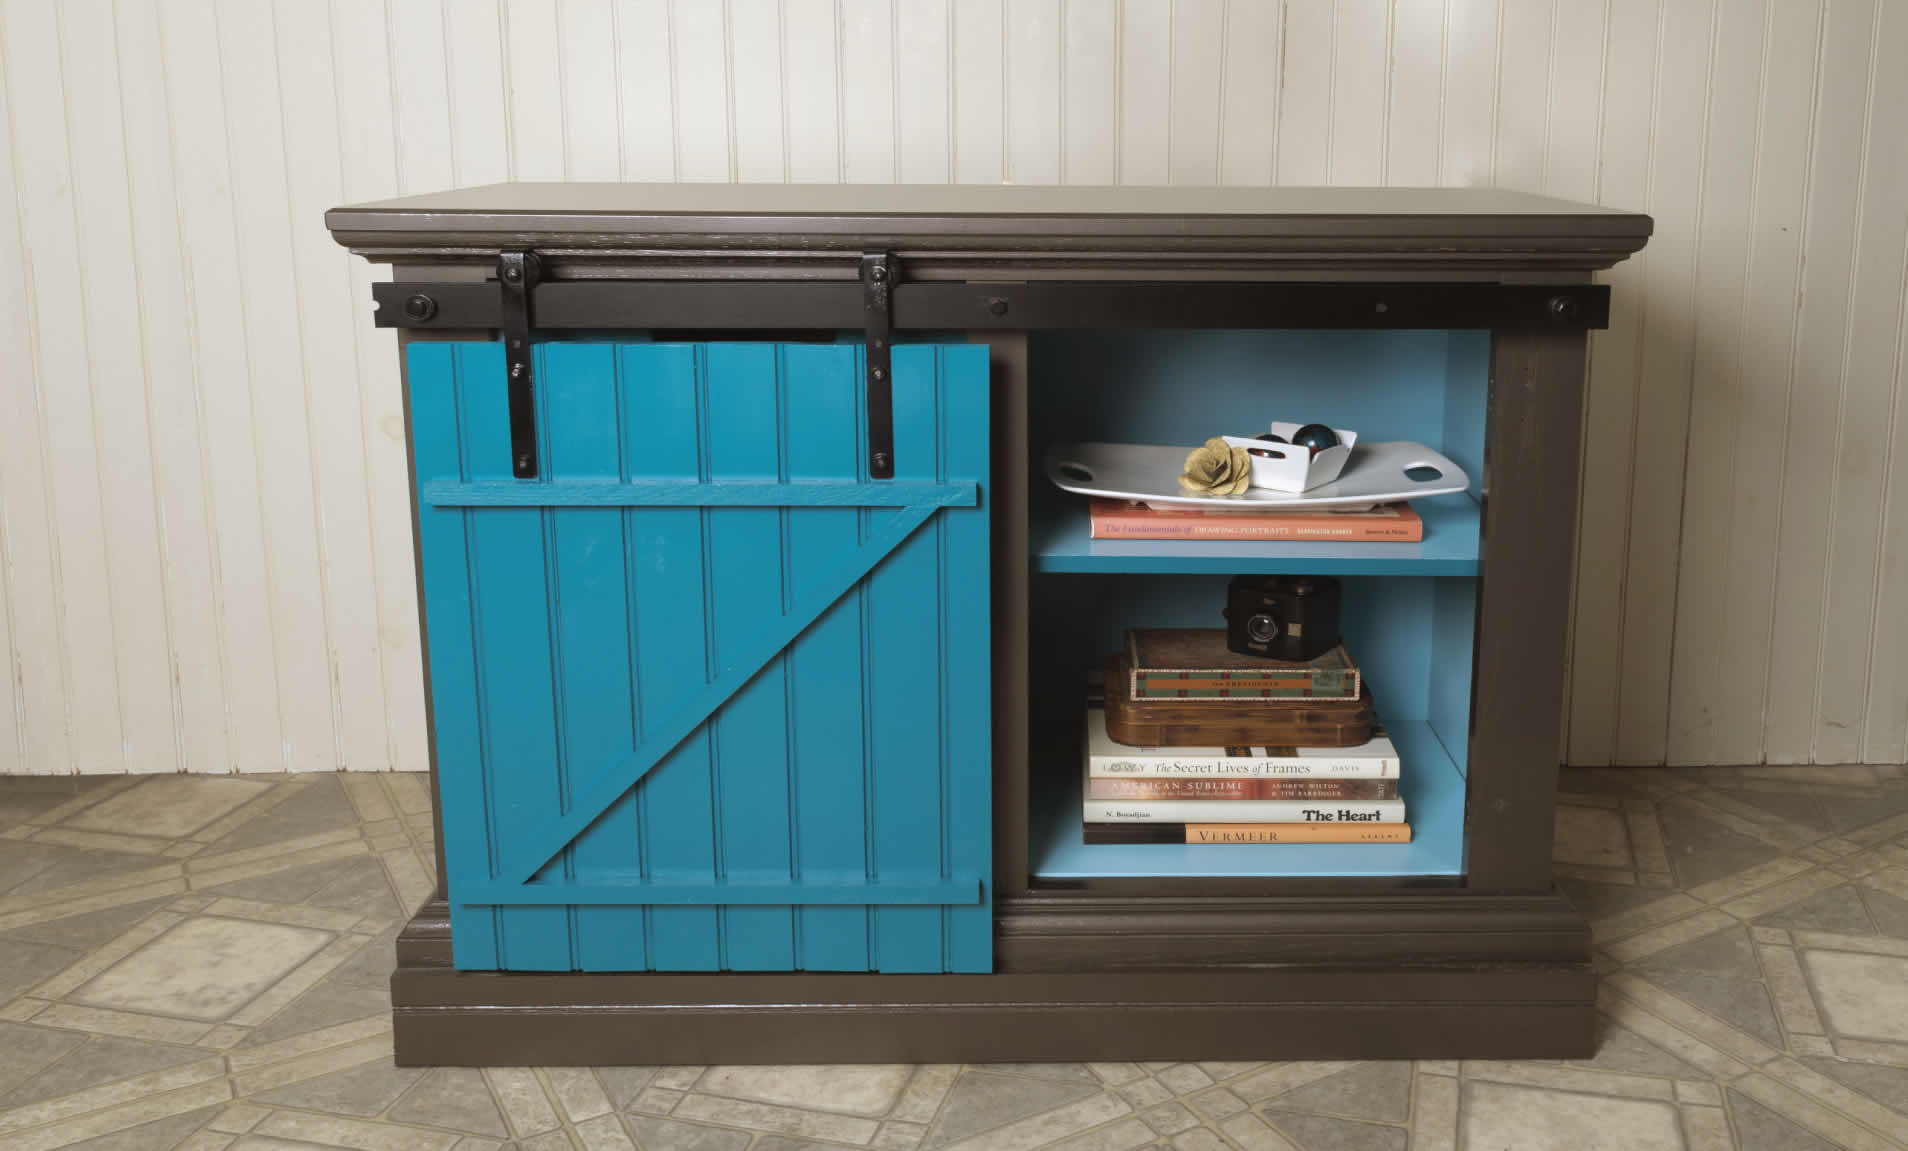
One popular option is to use wooden tracks and rollers. Wooden tracks offer a classic and aesthetically pleasing look, especially when paired with wooden doors. They are generally easy to install and can be painted or stained to match the overall design of your room.
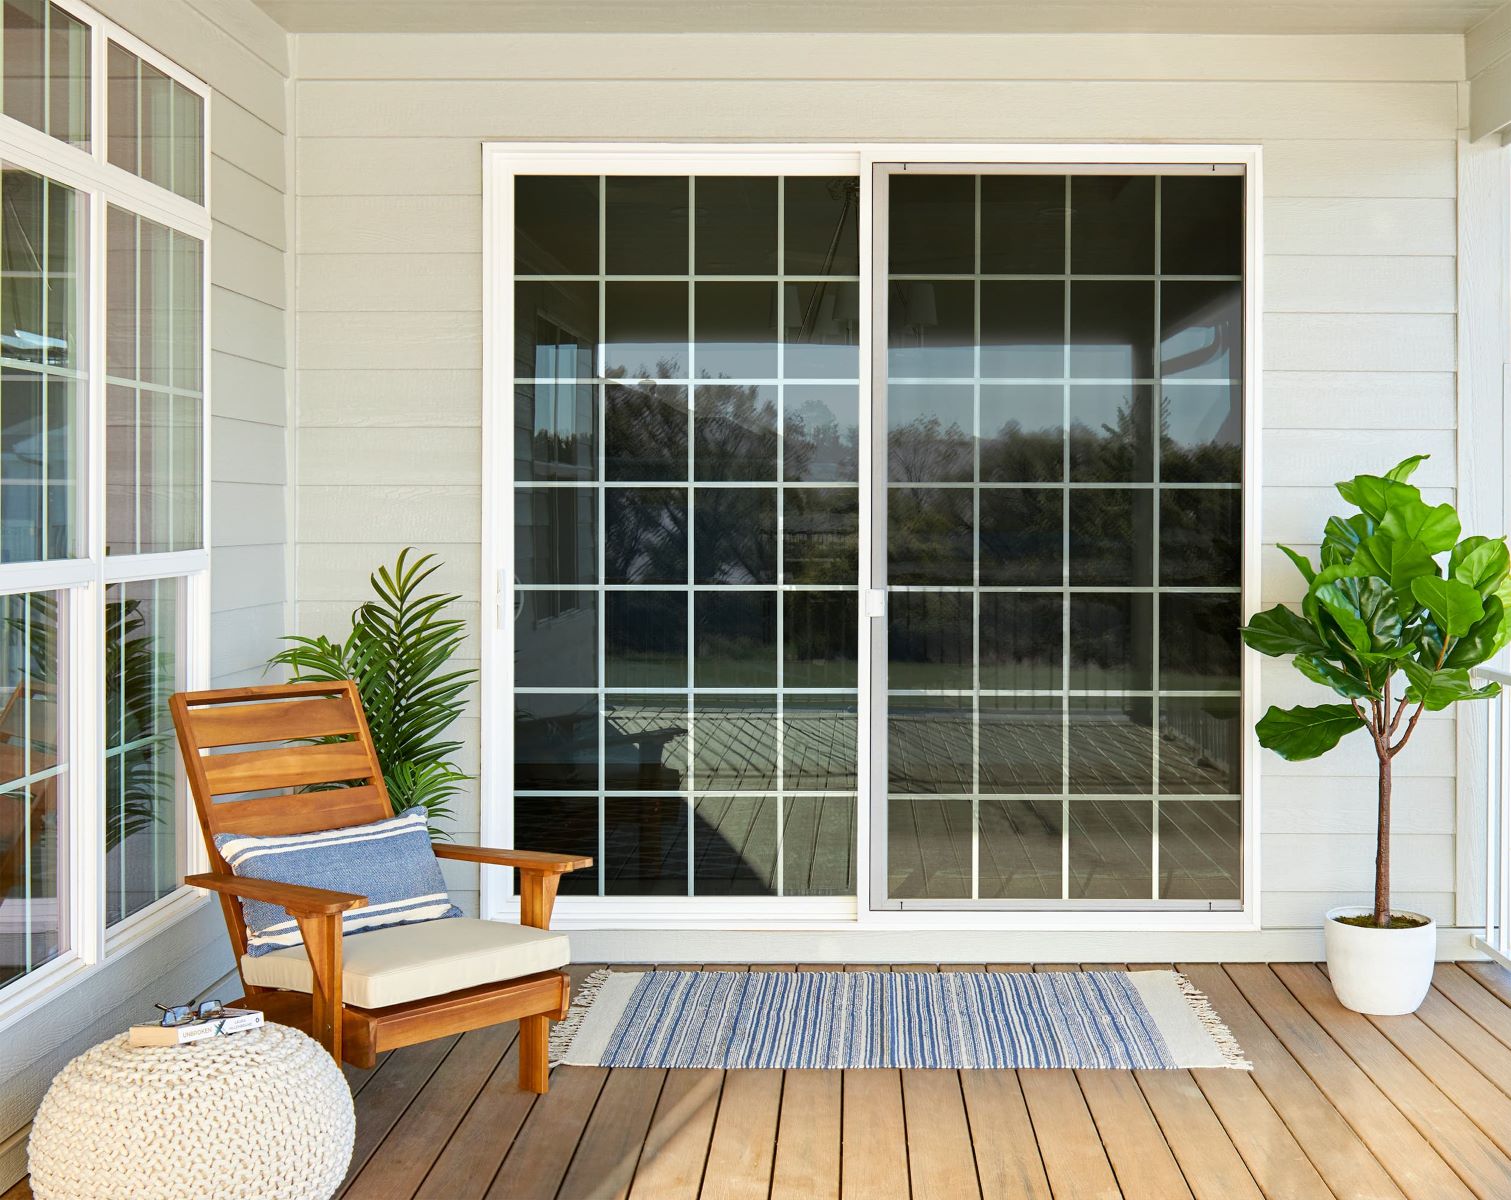
Another popular choice is aluminum tracks and rollers. Aluminum is known for its durability and versatility. Aluminum tracks are available in different finishes and can be paired with various types of doors, including glass and wood, to create a modern and sleek appearance.
When selecting the sliding door system, consider the weight and thickness of your doors. Ensure that the tracks and rollers are designed to support the weight of your doors to prevent any issues with the door’s movement or stability.
You may also want to decide whether you want a top-hung or bottom-rolling system. A top-hung system suspends the doors from an overhead track, while a bottom-rolling system uses a track on the floor. Consider factors such as available space, ease of installation, and desired aesthetic when choosing between the two.
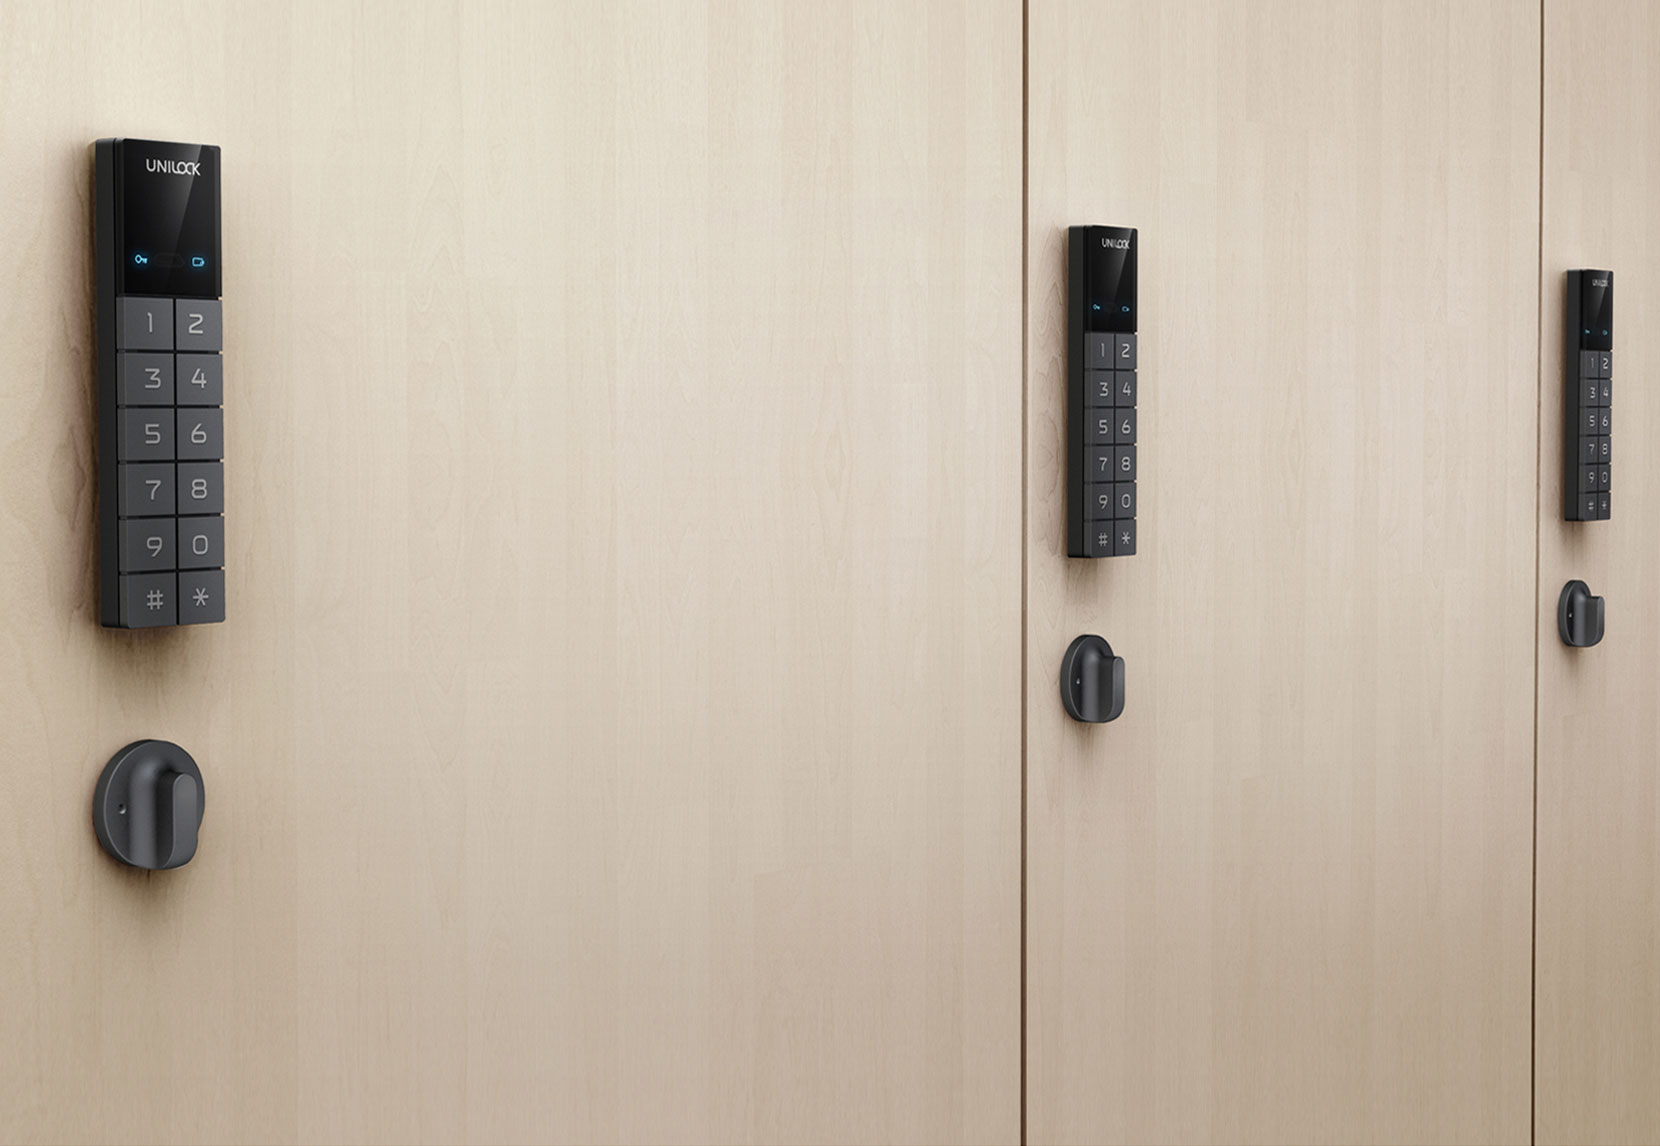
Additionally, take into account any additional features you may want, such as soft-closing mechanisms or handles/knobs for the doors. These details can enhance the functionality and overall appearance of your sliding wardrobe doors.
Once you have chosen the sliding door system that best suits your needs, it’s time to move on to the next step: preparing the wardrobe frame.
Step 3: Prepare the Wardrobe Frame
Before you install the sliding door system, it’s important to prepare the wardrobe frame to ensure a proper fit and smooth installation.
Start by removing any existing doors or hardware from the wardrobe frame. Clear out the area and ensure there are no obstructions or protrusions that could interfere with the sliding door tracks.
If the frame is uneven or not level, you may need to make adjustments. Use a level to check the horizontal and vertical alignment of the frame. If necessary, shim or adjust the frame to ensure it is straight and level. This will ensure that the doors slide smoothly along the tracks.
Next, inspect the frame for any damage or wear and tear. Repair or replace any damaged areas to ensure a solid foundation for the sliding door system.
If you plan to paint or finish the wardrobe frame, now is the time to do so. Take the opportunity to refresh the appearance of the frame and ensure it matches the overall design of the room.
Once the frame is prepared and in good condition, you can move on to the next step: installing the tracks for the sliding wardrobe doors.
Take your time during this step to ensure that the wardrobe frame is properly prepared. It is essential to ensure that the frame is level and in good condition to ensure the smooth functioning of the sliding wardrobe doors.
Read also: 9 Incredible Sliding Door Wardrobe for 2024
Step 4: Install the Tracks
With the wardrobe frame prepared, it’s time to install the tracks for the sliding wardrobe doors. The tracks will provide the sliding mechanism and guide the doors along their designated path.
Start by measuring and marking the placement of the tracks on both the top and bottom of the wardrobe frame. Use a measuring tape and a pencil to ensure accuracy.
Depending on the type of sliding door system you chose, there may be different installation methods. Follow the manufacturer’s instructions for your specific system to install the tracks correctly.
If you are using wooden tracks, you will need to attach them to the top and bottom of the wardrobe frame using screws. Make sure the tracks are level and aligned properly before securing them into place.
For aluminum tracks, you may need to drill holes in the wardrobe frame to secure the tracks in place. Use the appropriate fasteners recommended by the manufacturer to ensure a secure installation.
Once the tracks are installed, double-check their alignment and make any necessary adjustments to ensure they are straight and level. The doors will glide along these tracks, so it’s crucial to ensure they are properly aligned.
After the tracks are securely in place, give them a test run to ensure they are functioning smoothly. Open and close the sliding doors to make sure they move along the tracks without any obstructions or difficulties.
Installing the tracks for the sliding wardrobe doors is a critical step in the process. Take your time to ensure that the tracks are properly aligned and securely attached to the wardrobe frame. This will ensure the smooth functioning of the sliding doors.
When installing sliding wardrobe doors, make sure to measure the opening accurately to ensure the doors fit properly. It’s also important to use the right hardware and follow the manufacturer’s instructions for smooth operation.
Step 5: Attach the Rollers
Once the tracks are installed, the next step in making sliding wardrobe doors is to attach the rollers. The rollers will be responsible for supporting the weight of the doors and allowing them to glide smoothly along the tracks.
Start by examining the design of your sliding door system to identify where the rollers should be attached. In most cases, rollers are attached to the top edge of the doors, but the specific placement may vary depending on the system you are using.
Carefully measure and mark the placement of the rollers on the doors. This is important for ensuring that the doors will hang evenly and operate correctly. Use a pencil or a marker to make these marks.
Next, follow the manufacturer’s instructions to attach the rollers to the doors. This usually involves using screws or fasteners provided with the system. Be sure to tighten the screws securely, but avoid over-tightening to prevent damaging the doors.
Once the rollers are attached, carefully lift the doors and position them on the tracks. Make sure that the rollers are properly aligned with the tracks and securely seated in them. The doors should move smoothly along the tracks without any resistance.
Give the sliding doors a test run to ensure that they slide effortlessly and without any issues. If the doors feel stiff or get stuck, check that the rollers are correctly attached and aligned. Make any necessary adjustments to ensure smooth operation.
Attaching the rollers is a crucial step in the process of making sliding wardrobe doors. Take your time to ensure that the rollers are securely attached to the doors and that they move smoothly along the tracks. This will ensure the functionality and longevity of your sliding wardrobe doors.
Step 6: Hang the Sliding Doors
Now that the tracks are installed and the rollers are attached to the doors, it’s time to hang the sliding doors on the tracks. This step brings your sliding wardrobe doors one step closer to completion.
Start by lifting one of the doors and aligning the rollers with the corresponding track. Carefully slide the door onto the track, ensuring that the rollers are securely seated and gliding smoothly.
Repeat the process with the second door, making sure it is aligned and seated properly on its track.
Once both doors are hanging on the tracks, ensure that they are level and even. You can use a spirit level to double-check their alignment. If needed, make slight adjustments to the position of the doors to ensure they are hanging straight.
Test the sliding doors by opening and closing them several times. They should move effortlessly along the tracks without any resistance or sticking.
If you notice any issues with the door’s movement, such as rubbing or misalignment, make the necessary adjustments to ensure smooth operation. This may involve adjusting the position of the doors on the tracks or fine-tuning the alignment of the rollers.
It’s important to take your time during this step to ensure that the doors are properly hung and functioning smoothly. Properly hanging the sliding doors will ensure that they operate efficiently and provide easy access to your wardrobe.
With the sliding doors hung and smoothly gliding along the tracks, you’re ready to move on to the next step: adjusting and testing the doors.
Step 7: Adjust and Test the Doors
After hanging the sliding doors on the tracks, it’s important to take the time to adjust and test them to ensure they function properly and provide a seamless sliding experience.
Begin by checking the alignment of the doors. Use a spirit level to ensure that they are hanging straight and level. If necessary, make any slight adjustments to the position of the doors on the tracks to ensure they are properly aligned.
Next, test the doors by sliding them back and forth along the tracks. Pay attention to any resistance or dragging. If the doors feel stiff or are not moving smoothly, it may be necessary to make some adjustments.
If the doors are rubbing or sticking, you can try adjusting the height of the rollers. Many sliding door systems have height-adjustable rollers that can be easily adjusted to achieve a smooth glide. Consult the manufacturer’s instructions for your specific system on how to make these adjustments.
Additionally, check the doors for any gaps or misalignment when closed. They should fit snugly and evenly without any noticeable gaps. If there are any gaps, adjust the position of the doors on the tracks or make any necessary adjustments to the rollers to ensure a proper fit.
Once you have made any necessary adjustments, test the doors again to ensure they slide smoothly and without any issues. Continue adjusting and testing until you are satisfied with the operation of the doors.
It’s essential to take the time to adjust and test the sliding doors to ensure they function properly. A well-adjusted door system will provide ease of use and longevity for your sliding wardrobe doors.
With the doors adjusted and tested, you’re almost done! The final step is to add some finishing touches.
Step 8: Finishing Touches
After completing the installation and adjustments of your sliding wardrobe doors, it’s time to add the finishing touches to enhance their appearance and functionality.
If desired, you can paint or stain the doors to match the overall aesthetic of your room. Choose a color or finish that complements your interior design and apply it evenly to the doors. Make sure to follow the manufacturer’s instructions for the specific type of paint or stain you are using.
In addition, you may opt to add handles or knobs to the doors for easy opening and closing. There are various styles and materials available, so choose ones that match your personal preference and the overall style of your wardrobe.
Once you have added any desired finishing touches, it’s important to clean the doors and tracks. Use a soft cloth or a mild cleaner to remove any dust or debris that may have accumulated during the installation process. Keeping the doors and tracks clean will ensure smooth operation and maintain their appearance for years to come.
Finally, step back and admire your newly installed sliding wardrobe doors. Take a moment to appreciate the space-saving functionality and stylish look they bring to your room.
Remember, regular maintenance and care will help extend the lifespan of your sliding wardrobe doors. Clean the tracks periodically, lubricate the rollers if necessary, and address any issues promptly to prevent further damage or malfunction.
Congratulations on successfully making and installing your sliding wardrobe doors! Enjoy the convenience and beauty they bring to your space.
As a final note, always refer to the manufacturer’s instructions for the specific sliding door system you are using, as the installation process may vary depending on the brand and model.
Conclusion
Creating sliding wardrobe doors is a rewarding project that can enhance the functionality and appearance of any room. By following the step-by-step guide outlined in this article, you can successfully make and install your own sliding doors, saving space and adding a touch of elegance to your wardrobe.
From measuring the opening and selecting the right sliding door system to preparing the wardrobe frame, installing the tracks, attaching the rollers, and finally hanging and adjusting the doors, each step plays a crucial role in achieving a smooth and efficient sliding motion.
Remember to take your time during each step, ensuring precise measurements, proper alignment, and smooth operation. This will guarantee that your sliding wardrobe doors function flawlessly and provide easy access to your belongings.
Make sure to choose high-quality materials and follow the manufacturer’s instructions for your specific sliding door system. This will help ensure the longevity and stability of your doors.
Once the doors are installed, don’t forget the finishing touches. Whether it’s adding paint or stain to match your room’s color scheme, installing handles or knobs for easy operation, or performing regular maintenance to keep the doors clean and functioning smoothly, these final details will complete the overall look and functionality of your sliding wardrobe doors.
Remember to always refer back to the manufacturer’s instructions for any guidance specific to your sliding door system. Following their recommendations will ensure a successful and rewarding project.
Now that you have the knowledge and understanding of how to make sliding wardrobe doors, you can confidently embark on your own DIY project. Enjoy the convenience, space-saving benefits, and elegance that sliding wardrobe doors bring to your living space.
Good luck with your project, and may your sliding wardrobe doors become a beautiful and functional addition to your home!
Frequently Asked Questions about How To Make Sliding Wardrobe Doors
Was this page helpful?
At Storables.com, we guarantee accurate and reliable information. Our content, validated by Expert Board Contributors, is crafted following stringent Editorial Policies. We're committed to providing you with well-researched, expert-backed insights for all your informational needs.


0 thoughts on “How To Make Sliding Wardrobe Doors”