Articles
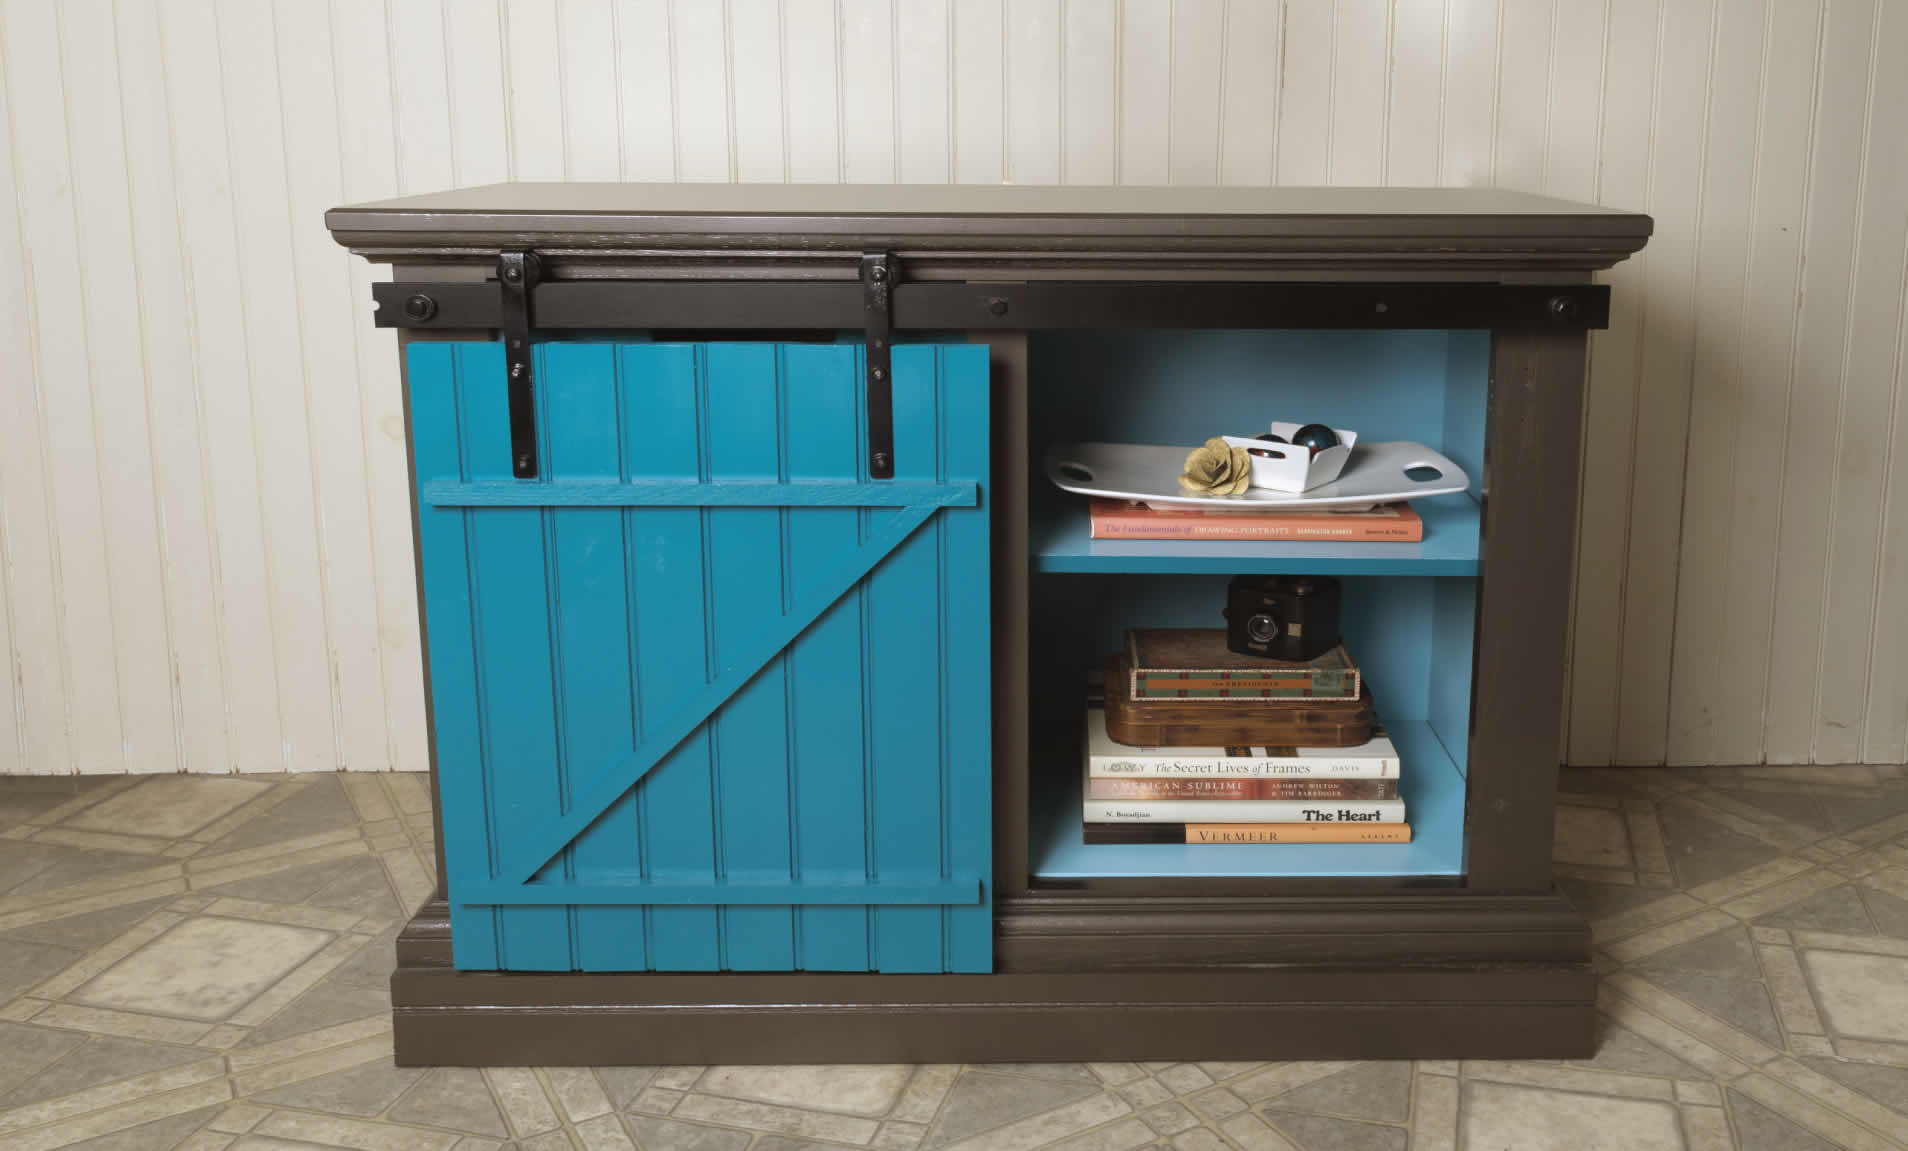
How To Make A Sliding Door Cabinet
Modified: August 31, 2024
Learn how to make a sleek sliding door cabinet for your home maintenance needs. Maximize your space while keeping everything organized and accessible.
(Many of the links in this article redirect to a specific reviewed product. Your purchase of these products through affiliate links helps to generate commission for Storables.com, at no extra cost. Learn more)
Introduction
Welcome to the world of DIY furniture projects! If you’re looking to add a stylish and functional touch to your home, a sliding door cabinet is a fantastic option. Not only does it offer ample storage space, but it also saves room by eliminating the need for swinging doors. In this article, we’ll guide you through the process of making your very own sliding door cabinet from scratch.
Whether you’re a seasoned woodworking enthusiast or a beginner looking for a fun and rewarding project, making a sliding door cabinet is a great way to flex your DIY muscles. With a bit of planning, measuring, cutting, and assembling, you’ll have a beautifully crafted piece of furniture that will impress your friends and family.
To get started, let’s gather the materials and tools you’ll need for this project.
Key Takeaways:
- Building a sliding door cabinet is a rewarding DIY project that combines functionality and style. With careful planning, precise measurements, and skilled craftsmanship, you can create a customized storage solution that adds elegance to any room.
- From cutting and assembling the cabinet pieces to installing the sliding door hardware and adding finishing touches, this DIY journey offers valuable woodworking skills and the satisfaction of creating a beautiful and functional piece of furniture.
Materials and Tools Needed
Before you dive into the construction of your sliding door cabinet, make sure you have all the necessary materials and tools. Here’s a list to help you get started:
Materials:
- 4 sheets of plywood or MDF for the cabinet sides, top, and bottom
- 2 sheets of plywood or MDF for the cabinet doors
- Sliding door hardware kit, including tracks, rollers, and handles
- Screws
- Wood glue
- Paint or stain of your choice
Tools:
- Tape measure
- Pencil
- Circular saw or table saw
- Power drill
- Screwdriver
- Clamps
- Sandpaper or sanding block
- Paintbrush or foam applicator
Make sure you have all these materials and tools handy before you embark on your sliding door cabinet project. It’s always a good idea to have everything prepared in advance, as it will make the construction process much smoother.
Once you’re equipped with all the essentials, it’s time to move on to the first step: measuring and planning. Let’s get started!
Step 1: Measuring and Planning
Before you start cutting any pieces of wood, it’s crucial to have precise measurements and a well-thought-out plan. Taking the time to measure and plan in advance will help ensure that your sliding door cabinet turns out exactly as you envision.
Begin by determining the desired dimensions of your cabinet. Consider the available space in the room where you plan to place it and the items you intend to store. Measure the height, width, and depth of the cabinet, and jot down these measurements for reference.
Next, sketch out a rough diagram or use a design software to visualize the cabinet’s layout. Include dimensions for each component, such as the sides, top, bottom, and doors. This will serve as your blueprint and guide you throughout the construction process.
Once you have a clear understanding of the cabinet’s dimensions and design, make a list of the materials you’ll need. Take accurate measurements of the plywood or MDF sheets you’ll be using for the cabinet’s various parts. This will help you determine the quantity of materials required and minimize waste.
Consider the type of sliding door hardware you’ll be using and take note of its dimensions. This will help you determine the necessary space to allocate for the tracks and rollers on the cabinet frame.
Finally, always double-check your measurements and plans before proceeding. It’s better to spend a little extra time at this stage to ensure accuracy rather than encountering costly mistakes during the assembly process.
With your measurements and plans in hand, you’re now ready to move on to the next step: cutting the cabinet pieces. Stay tuned!
Read more: How To Make A Cabinet Door
Step 2: Cutting the Cabinet Pieces
Now that you have your measurements and plans finalized, it’s time to start cutting the pieces for your sliding door cabinet. This step requires precision and careful execution to ensure that all the components fit together seamlessly.
Begin by setting up a clean and well-lit workspace. Make sure you have your safety goggles and gloves on to protect yourself during the cutting process.
Using your measurements, mark and measure the plywood or MDF sheets according to your design and dimensions. Double-check your measurements to avoid any errors. Then, using a circular saw or table saw, make the necessary cuts along the marked lines.
Remember to not only cut the sides, top, and bottom of the cabinet but also the doors. Ensure that the doors have proper dimensions and are symmetrical for a visually pleasing result.
When cutting the pieces, it’s important to take into account the thickness of the material and adjust your measurements accordingly. This will ensure that the cabinet is sturdy and that the doors fit smoothly on the tracks.
Once all the pieces are cut, use sandpaper or a sanding block to smooth any rough edges or surfaces. This will ensure a clean and professional finish for your sliding door cabinet.
After sanding, take some time to organize and label each piece. This will make the assembly process much easier and prevent any confusion later on.
With all the cabinet pieces cut and prepared, you’re now ready for the next step: assembling the cabinet frame. Stay tuned!
Step 3: Assembling the Cabinet Frame
With the cabinet pieces cut to size, it’s time to start assembling the frame of your sliding door cabinet. This step will bring your project one step closer to completion and give you a clear glimpse of what the finished cabinet will look like.
Begin by laying out the side panels, top, and bottom pieces of the cabinet. Apply wood glue to the edges of each piece and carefully align them according to your design and measurements.
Once the pieces are aligned, use clamps to hold them together firmly. This will ensure that the cabinet frame dries and sets properly. Make sure to clean up any excess glue that squeezes out during the clamping process.
Next, use a power drill to drive screws into the joints of the cabinet frame. This will provide extra stability and reinforce the structure.
Continue assembling the cabinet frame by attaching additional support pieces, such as horizontal braces or dividers, depending on your design and storage needs. Again, use wood glue and screws to secure these components in place.
Throughout the assembly process, use a carpenter’s square to ensure that all corners and edges are perfectly aligned and at right angles. This will guarantee a professional-looking cabinet that functions smoothly.
After the cabinet frame is fully assembled and the glue is dry, remove the clamps and give the frame a final inspection. Make any necessary adjustments before proceeding to the next step.
Congratulations! You’ve successfully completed the assembly of the cabinet frame. Now, it’s time to move on to the exciting step of installing the sliding door hardware. Keep reading to learn more!
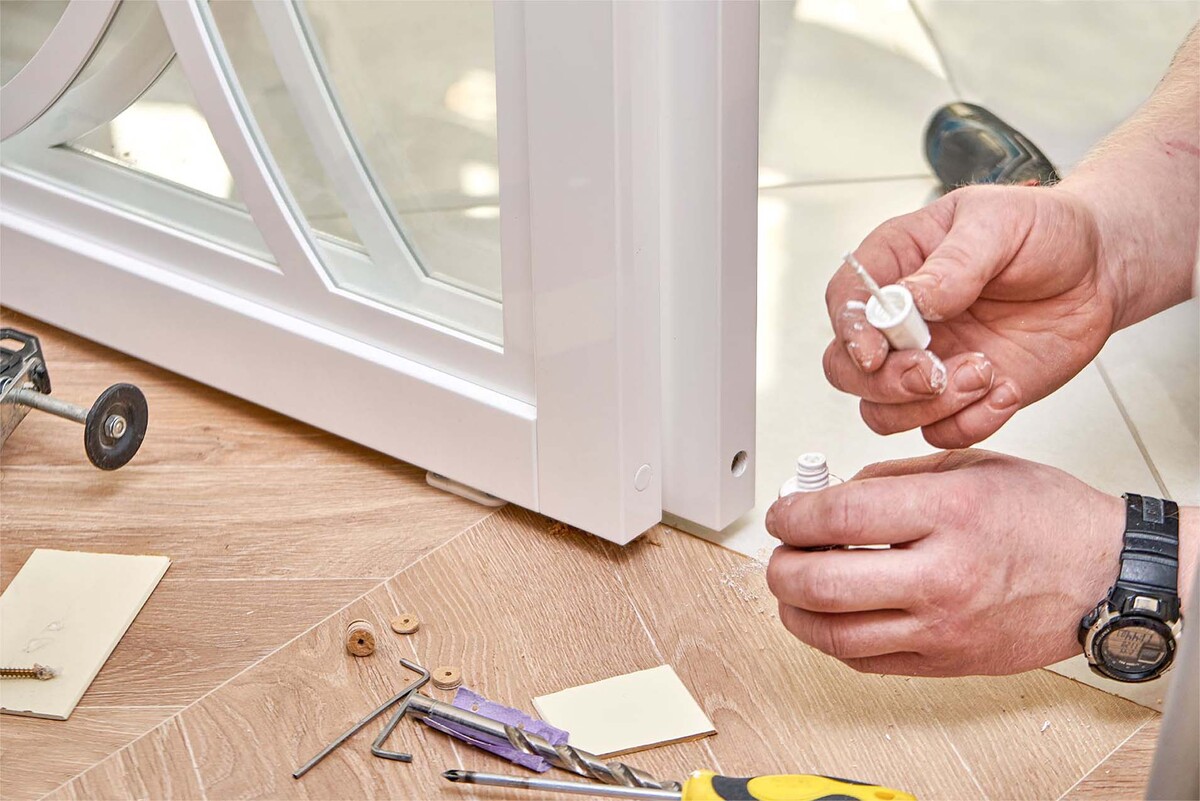
Step 4: Installing the Sliding Door Hardware
Installing the sliding door hardware is a crucial step that will transform your cabinet into a functional and stylish piece of furniture. This step requires careful attention to detail and precise placement of the hardware components.
Start by following the manufacturer’s instructions for installing the sliding door tracks. Measure and mark the appropriate location for the tracks on the inside of the cabinet frame. Use a pencil to ensure accuracy.
Once the tracks are positioned correctly, secure them in place using screws or nails. Make sure they are level and properly aligned to ensure smooth sliding of the cabinet doors.
Next, attach the rollers to the top edge of each cabinet door. The number of rollers needed will depend on the weight and size of your doors. Make sure to evenly distribute the rollers to ensure balanced and effortless operation.
Carefully hang the doors on the tracks, ensuring that they glide smoothly and are properly aligned. Adjust as needed to ensure a perfect fit and smooth sliding motion.
Test the sliding doors to make sure they open and close smoothly without any obstructions. Make any necessary adjustments to the hardware to ensure optimal functionality.
Once the sliding door hardware is securely installed and the doors are functioning properly, take a moment to appreciate the progress you’ve made. Your sliding door cabinet is starting to take shape!
But we’re not done yet. In the next step, we’ll focus on attaching the doors to the cabinet frame and adding the finishing touches. Stay tuned!
When making a sliding door cabinet, ensure that the sliding mechanism is sturdy and smooth. Use high-quality hardware and measure the space carefully to ensure a perfect fit.
Step 5: Attaching the Doors
Now that the sliding door hardware is installed, it’s time to attach the doors to the cabinet frame. This step will bring your sliding door cabinet to life and give it a polished and functional appearance.
Begin by ensuring that the cabinet doors are properly aligned with the cabinet frame. Use a tape measure or ruler to make precise measurements and ensure equal spacing on all sides.
Once you’re satisfied with the alignment, use hinges to attach the doors to the cabinet frame. The number of hinges needed will depend on the size and weight of your doors. Place the hinges at the top and bottom of each door, ensuring they are aligned with the corresponding points on the cabinet frame.
Secure the hinges in place using screws, making sure they are tightly fastened for stability. Double-check the alignment of the doors and ensure that they open and close smoothly without any resistance.
Test the doors to ensure they slide effortlessly along the tracks, and that they open and close smoothly. If needed, make any necessary adjustments to the hinges or door placement to ensure optimal functionality.
With the doors securely attached, take a moment to admire the transformation. Your sliding door cabinet is now complete, and it’s time to move on to the next step of adding shelves and organizing the interior.
Congratulations on reaching this milestone in your DIY project! In the following step, we’ll focus on adding shelves and organizing the interior of your sliding door cabinet. Stay tuned!
Read more: How To Make A Glass Cabinet Door
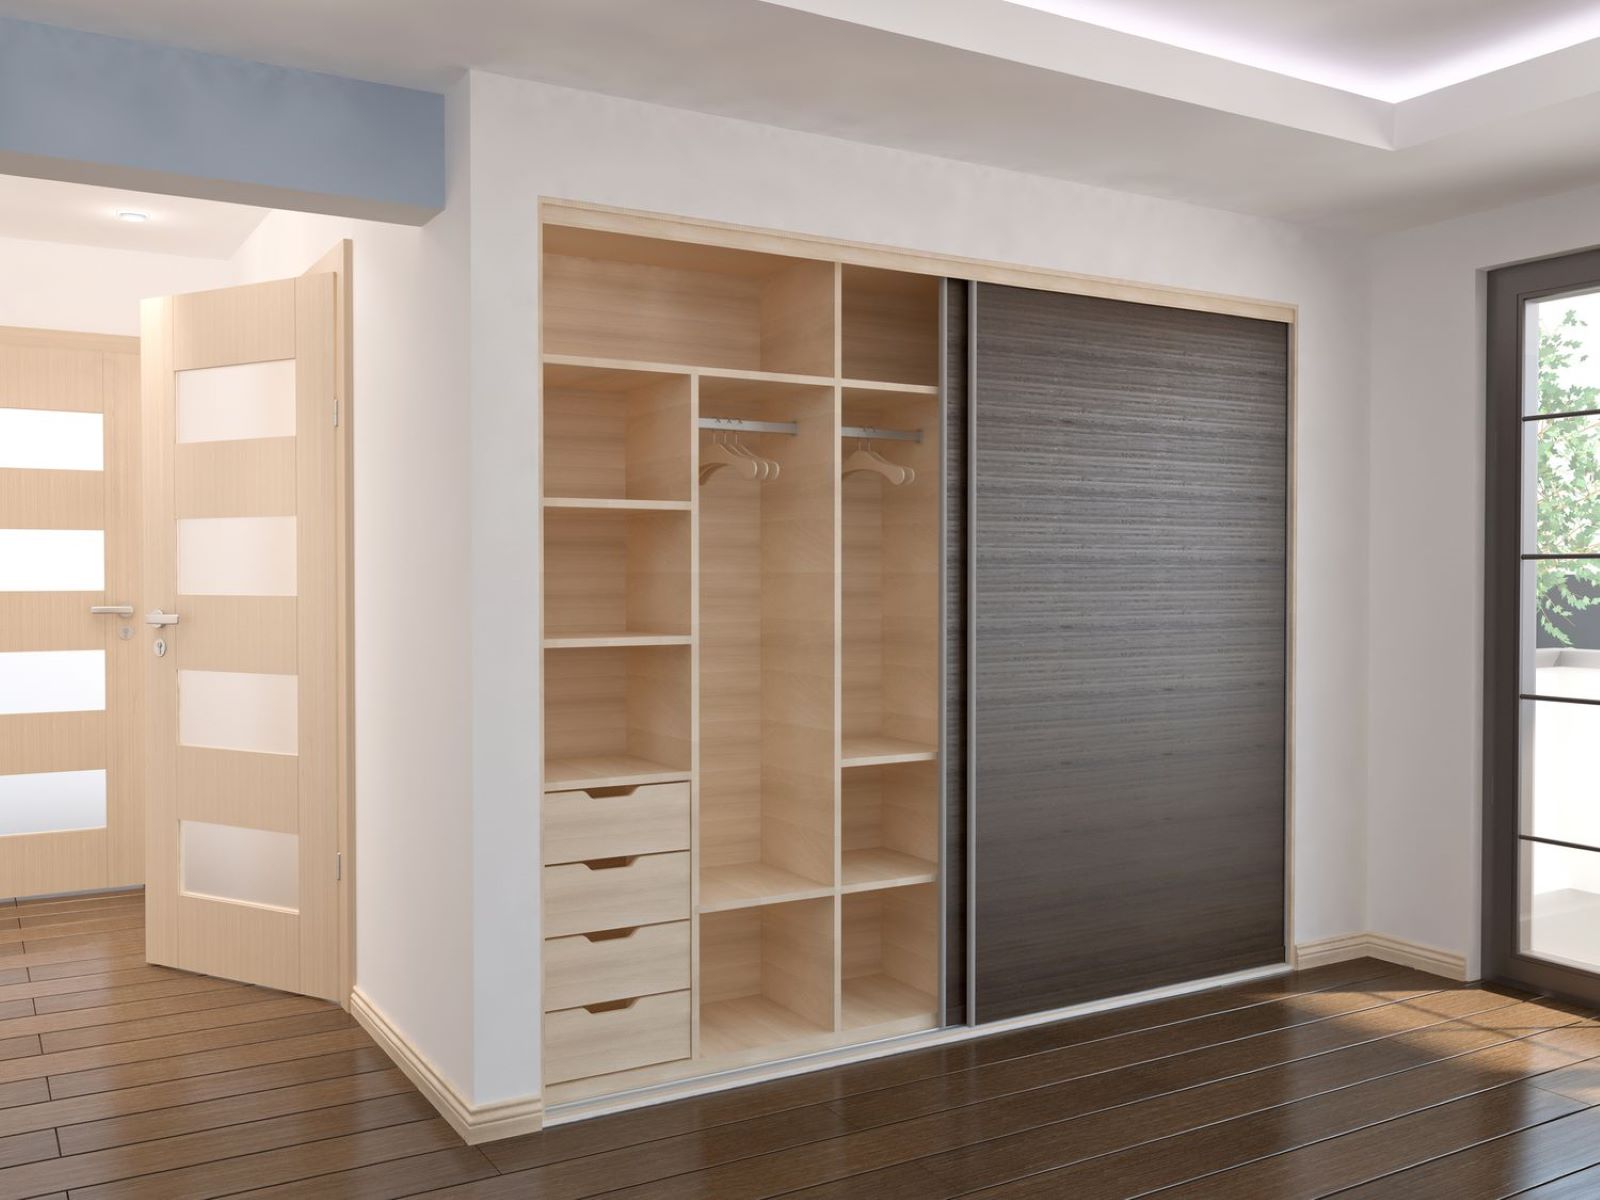
Step 6: Adding Shelves and Interior Organization
With the doors attached, it’s time to focus on the interior of your sliding door cabinet. Adding shelves and organizing the space will maximize its storage potential and make it more functional for your needs.
Start by measuring the height and width of the cabinet’s interior space. This will help you determine the size and number of shelves needed. Consider the items you plan to store and their respective heights to determine the spacing between shelves.
Using plywood or MDF, cut the shelves to the desired dimensions. Sand the edges to ensure a smooth finish. If desired, stain or paint the shelves to match your overall design aesthetic.
Next, mark the desired locations for the shelves inside the cabinet frame. Use a level to ensure the shelves are straight and aligned. Attach shelf brackets or supports to the sides of the cabinet frame based on your measurements.
Place the shelves on the brackets or supports, adjusting them as necessary for an even and secure fit. Double-check the spacing and alignment to ensure everything is in place.
Once the shelves are in place, take the opportunity to organize the interior of your cabinet. Consider using storage bins, baskets, or dividers to further maximize space and keep items neatly organized.
Take some time to arrange your belongings in a logical and efficient manner, making use of the different compartments and shelves available in the cabinet. Consider labeling or categorizing items to facilitate easy access and maintain order.
With the shelves added and the interior organized, take a step back and admire your handiwork. Your sliding door cabinet is now not only functional but also aesthetically pleasing and well-organized.
Now, onto the final step: applying the finishing touches to complete your sliding door cabinet. Keep reading to learn more!
Step 7: Finishing Touches
Congratulations on reaching the final step of your sliding door cabinet project! Now it’s time to add the finishing touches that will enhance the appearance and durability of your creation.
Start by thoroughly inspecting your cabinet for any rough edges or imperfections. Use sandpaper or a sanding block to smooth out any rough areas and ensure a polished finish.
If you plan to paint or stain your cabinet, now is the time to do so. Choose a color that complements your existing decor or matches your personal style. Apply the paint or stain using a brush or foam applicator, following the manufacturer’s instructions.
Allow the paint or stain to dry completely before moving on to the next step. This will ensure a long-lasting and professional finish.
Once the paint or stain is dry, consider adding a protective topcoat to seal and protect the surface of your cabinet. This can be a clear varnish or polyurethane that will shield the wood from damage and give it a beautiful sheen.
As a final touch, consider adding decorative elements such as knobs or handles to your cabinet doors. Choose styles that complement the overall design and add a personal touch to your creation.
With the finishing touches complete, take a moment to step back and admire your finished sliding door cabinet. You’ve successfully transformed raw materials into a functional and beautiful piece of furniture!
Remember to maintain your cabinet by periodically wiping it down with a damp cloth and taking care to prevent any spills or damages. With proper care, your sliding door cabinet will continue to bring you joy and serve as a functional storage solution for years to come.
Thank you for joining us on this DIY journey. We hope you’ve enjoyed the process and gained valuable woodworking skills along the way. Now, it’s time to showcase your sliding door cabinet to family and friends and revel in your accomplishment!
Happy DIYing!
Conclusion
Congratulations on completing your sliding door cabinet! Through careful planning, precise measurements, and skilled craftsmanship, you have successfully created a functional and stylish piece of furniture for your home.
Building your own sliding door cabinet allows you to customize the design, size, and organization of the storage space to perfectly suit your needs. Not only does it provide ample storage space, but it also adds a touch of elegance and practicality to any room.
Throughout this DIY project, you have learned valuable woodworking skills, from measuring and cutting to assembly and finishing. The process may have required time, effort, and attention to detail, but the end result is a beautiful piece of furniture that you can be proud of.
Remember to customize your sliding door cabinet to suit your personal style and taste. Choose a paint or stain color that matches your existing decor, and select knobs or handles that add a touch of personality to the piece.
As you enjoy the functionality and beauty of your sliding door cabinet, don’t forget to properly maintain it. Regularly clean and dust the surfaces, and be cautious with spills or heavy items. With proper care, your cabinet will continue to serve you well for years to come.
We hope this step-by-step guide has been helpful in your journey to create a sliding door cabinet. Whether you’re a seasoned DIY enthusiast or a beginner attempting your first woodworking project, this accomplishment showcases your creativity, skill, and dedication.
Thank you for joining us on this DIY adventure. We hope it has inspired you to continue exploring and honing your woodworking skills. May your sliding door cabinet bring both functionality and beauty to your living space, while reminding you of the satisfaction that comes with creating something with your own two hands.
Happy crafting!
Frequently Asked Questions about How To Make A Sliding Door Cabinet
Was this page helpful?
At Storables.com, we guarantee accurate and reliable information. Our content, validated by Expert Board Contributors, is crafted following stringent Editorial Policies. We're committed to providing you with well-researched, expert-backed insights for all your informational needs.


0 thoughts on “How To Make A Sliding Door Cabinet”