Articles
How To Install Blinds On Sliding Doors
Modified: January 9, 2024
Learn how to install blinds on sliding doors with our informative articles. Find step-by-step guides and expert tips to complete your project.
(Many of the links in this article redirect to a specific reviewed product. Your purchase of these products through affiliate links helps to generate commission for Storables.com, at no extra cost. Learn more)
Introduction
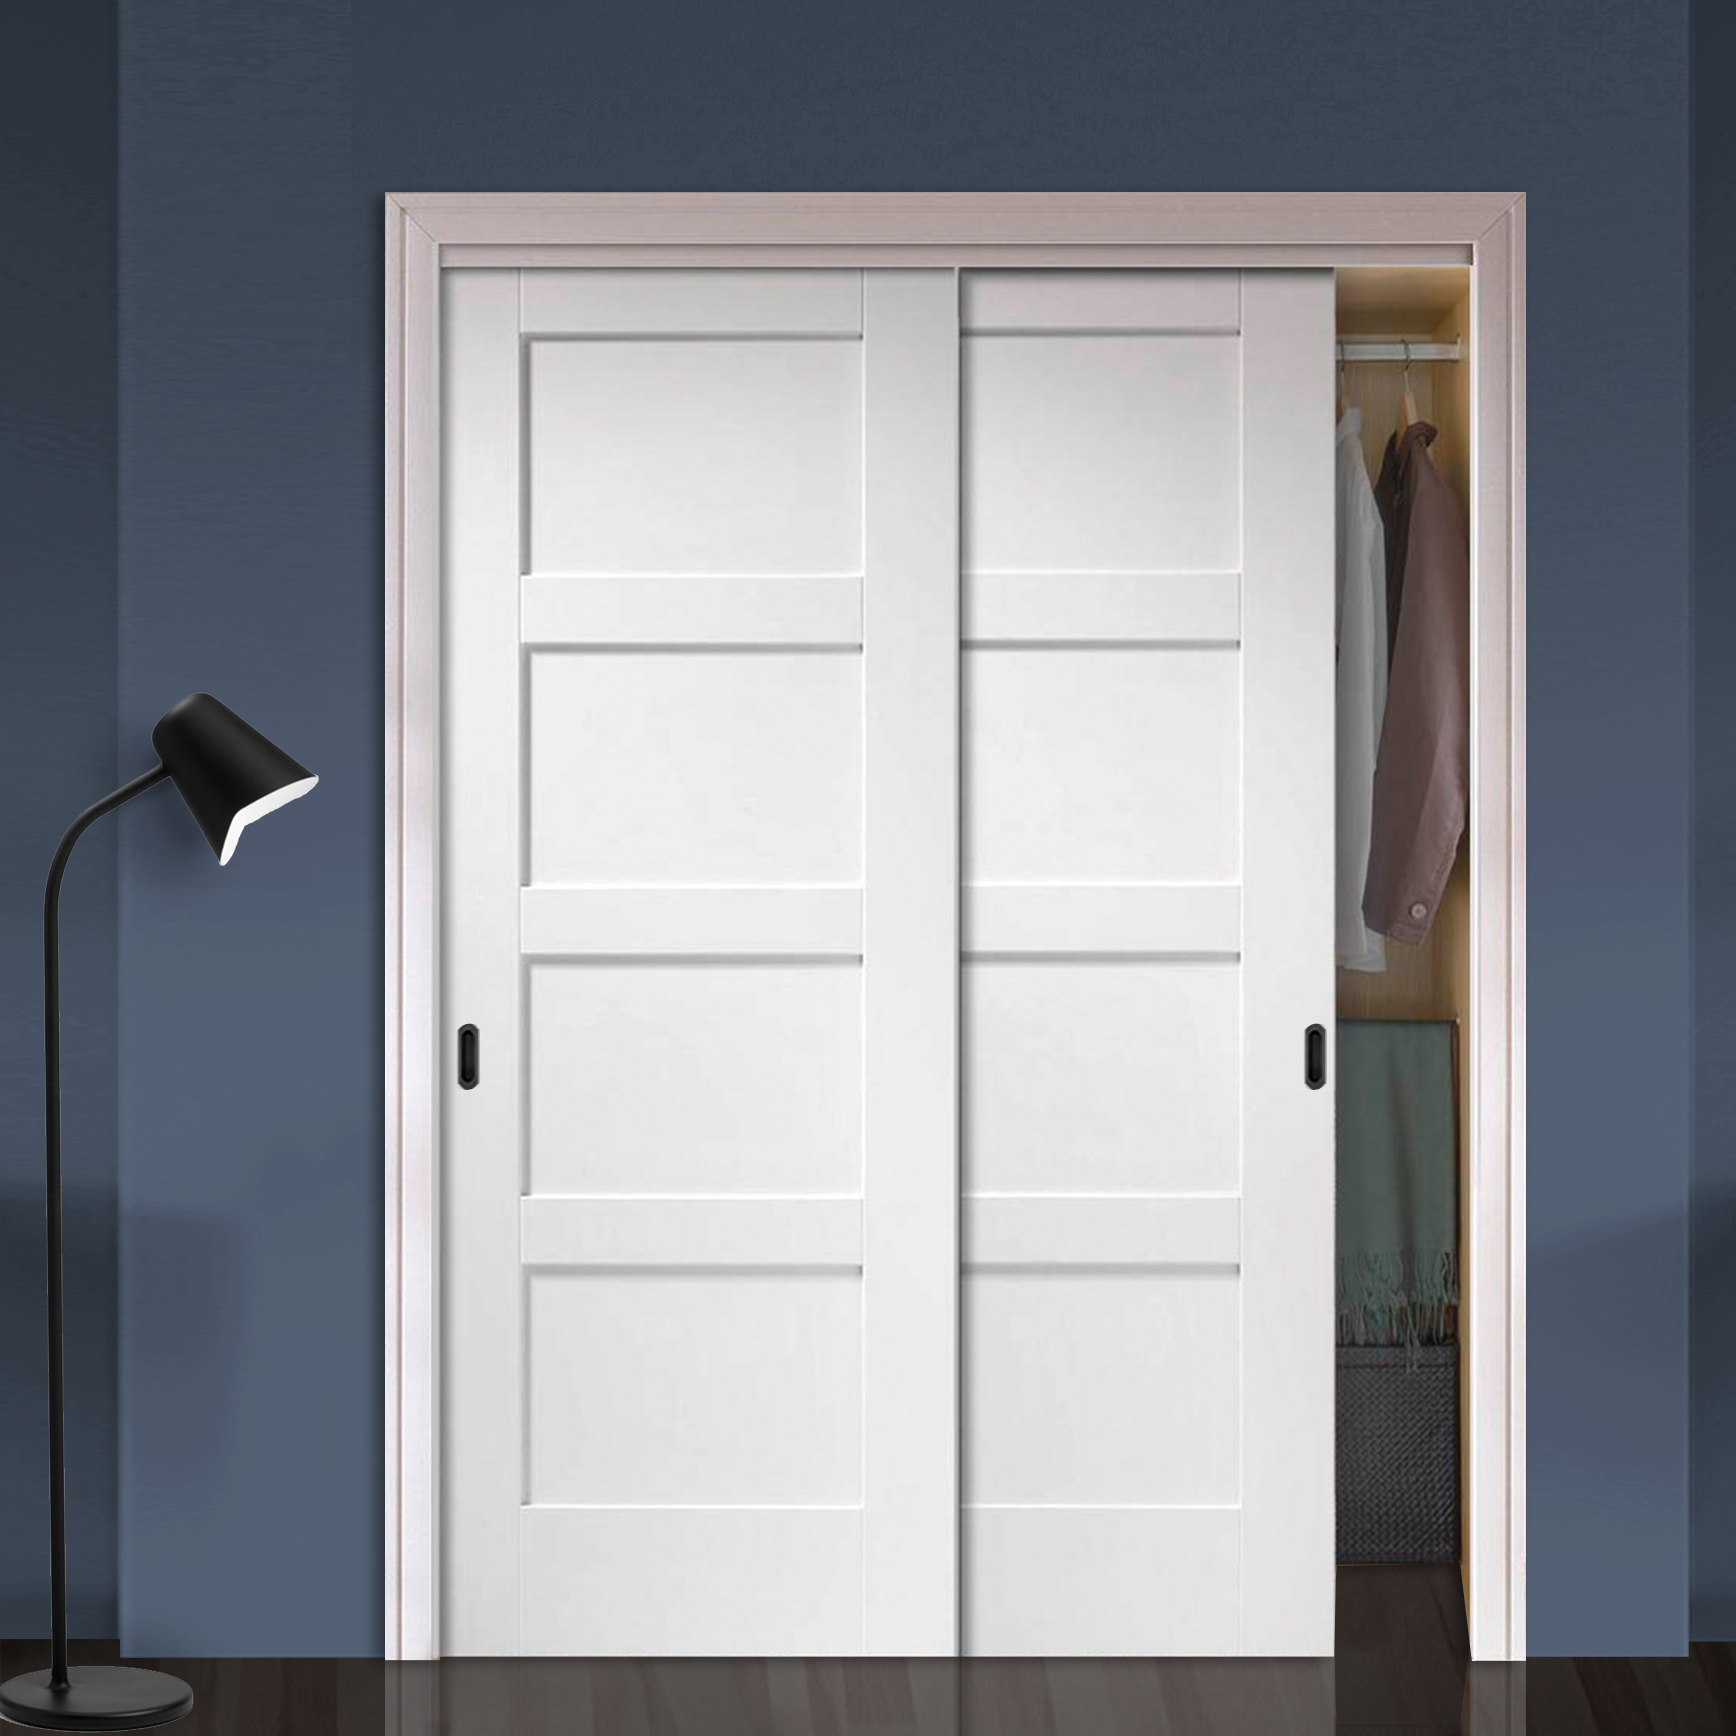
Installing blinds on sliding doors is a great way to add privacy, control sunlight, and enhance the overall look of your space. Sliding doors are a popular choice for both indoor and outdoor areas, and by adding blinds, you can create a functional and stylish solution for light control and privacy.
In this article, we will guide you through the step-by-step process of installing blinds on sliding doors. Whether you have a sliding glass door leading to your patio or a large sliding door separating two rooms, the installation process remains quite similar.
Before you begin, it’s important to measure your sliding doors accurately and select the right type of blinds that suit your needs and complement your decor. Additionally, gather the necessary tools and materials, such as a drill, screws, brackets, and the blinds themselves.
Installing blinds on sliding doors is not only a practical solution but also a rewarding DIY project that can be completed in a few simple steps. So, let’s get started!
Key Takeaways:
- Transform your space with functional and stylish blinds on sliding doors. Follow the step-by-step process to measure, choose, and install the perfect blinds for privacy, sunlight control, and aesthetic enhancement.
- Ensure a seamless installation by accurately measuring your sliding door, choosing the right type of blinds, and gathering the necessary tools and materials. With proper mounting, attachment, and adjustment, enjoy the benefits of functional and visually appealing blinds.
Read more: How To Fix Sliding Door Blinds
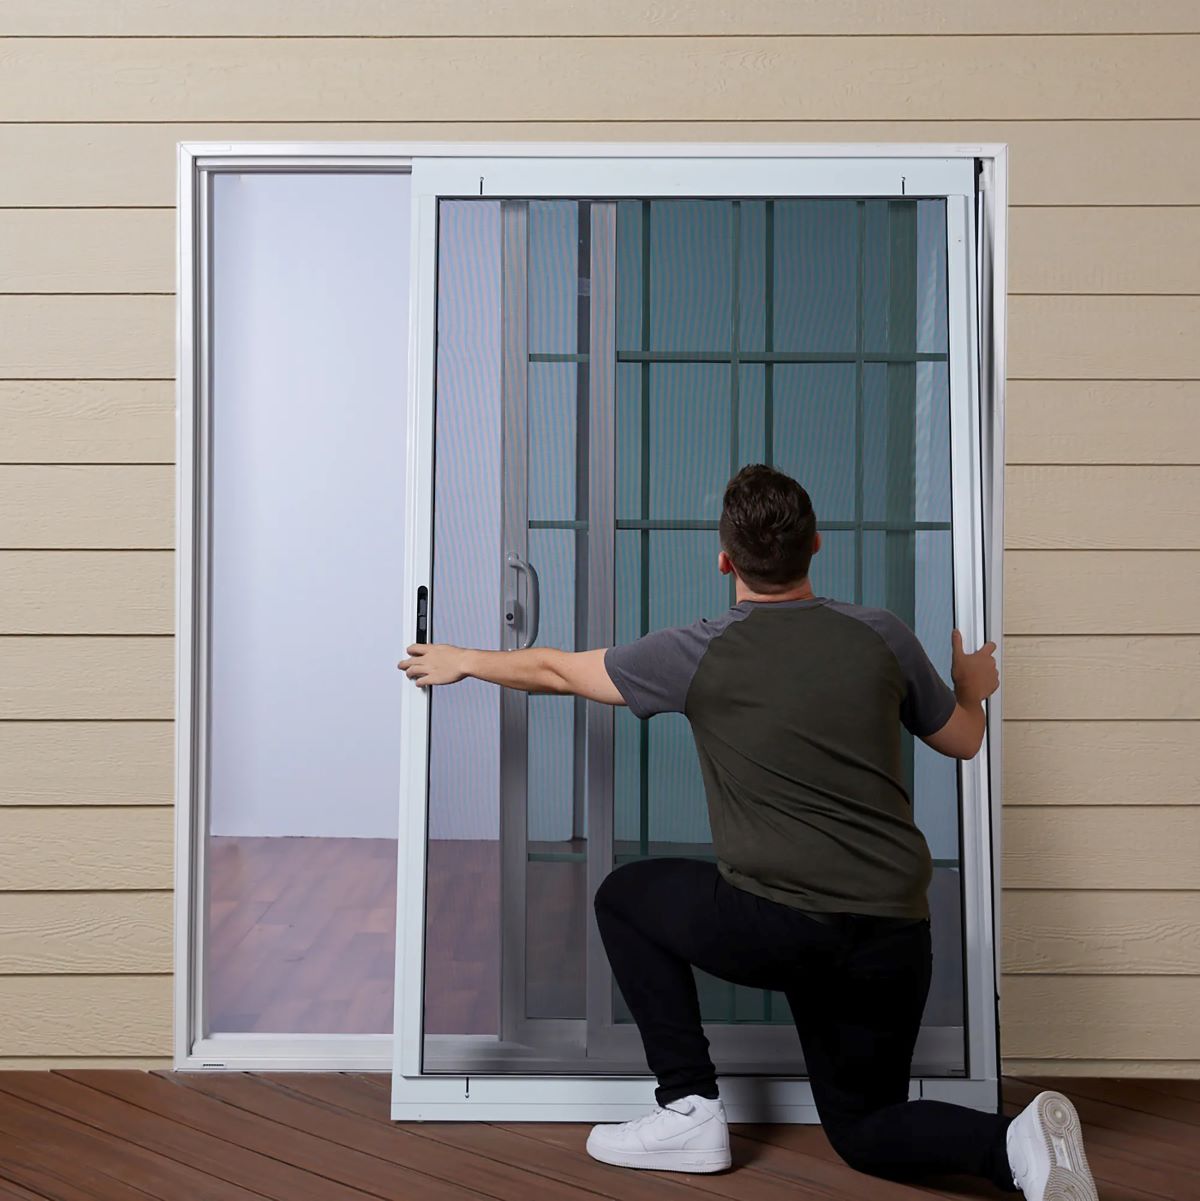
Step 1: Measure the Sliding Door
The first step in installing blinds on your sliding doors is to accurately measure the dimensions of the door. This is essential to ensure that you purchase the correct size of blinds that will fit perfectly.
Start by measuring the width of the door frame. Use a tape measure and measure from one side of the frame to the other. Make sure to measure both the top and bottom of the frame, as well as the middle, in case there are any variations in size.
Next, measure the height of the door. Again, measure from the top of the frame to the bottom, making sure to measure in multiple locations to account for any unevenness or irregularities in the door frame.
Once you have the exact measurements of your sliding door, you can use these dimensions to determine the size of the blinds you need to purchase. Most blinds come in standard sizes, but it’s always a good idea to check the manufacturer’s recommendations or consult with a salesperson to ensure you get the right fit.
Keep in mind that depending on your preference, you may choose to mount the blinds inside or outside the door frame. If you prefer an inside mount, make sure to measure the inside dimensions of the frame.
Remember to double-check your measurements before purchasing the blinds to avoid any unnecessary hassle or returns. It’s always better to be precise in your measurements to ensure a seamless installation process.
Now that you have accurately measured your sliding door, it’s time to move on to the next step: choosing the right type of blinds.
Step 2: Choose the Right Type of Blinds
Choosing the right type of blinds for your sliding doors is crucial as it will not only impact the overall look of the space but also determine how well they function and fit in with your lifestyle.
Here are a few popular types of blinds that are suitable for sliding doors:
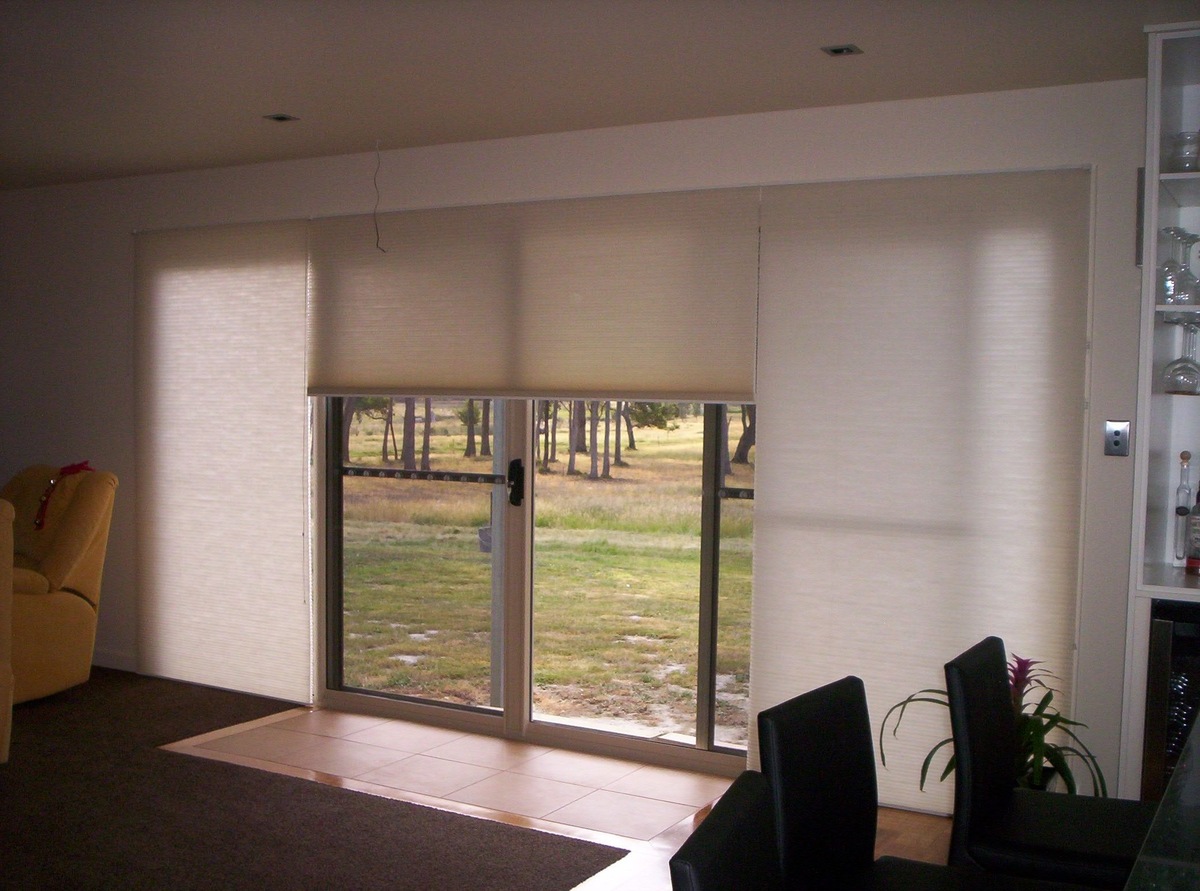
- Vertical Blinds: Vertical blinds are a popular choice for sliding doors due to their ability to easily slide open and closed. They consist of vertical slats that can be tilted to control light and privacy. Vertical blinds are available in various materials, such as vinyl, fabric, or wood, allowing you to choose the option that best suits your aesthetic preferences.
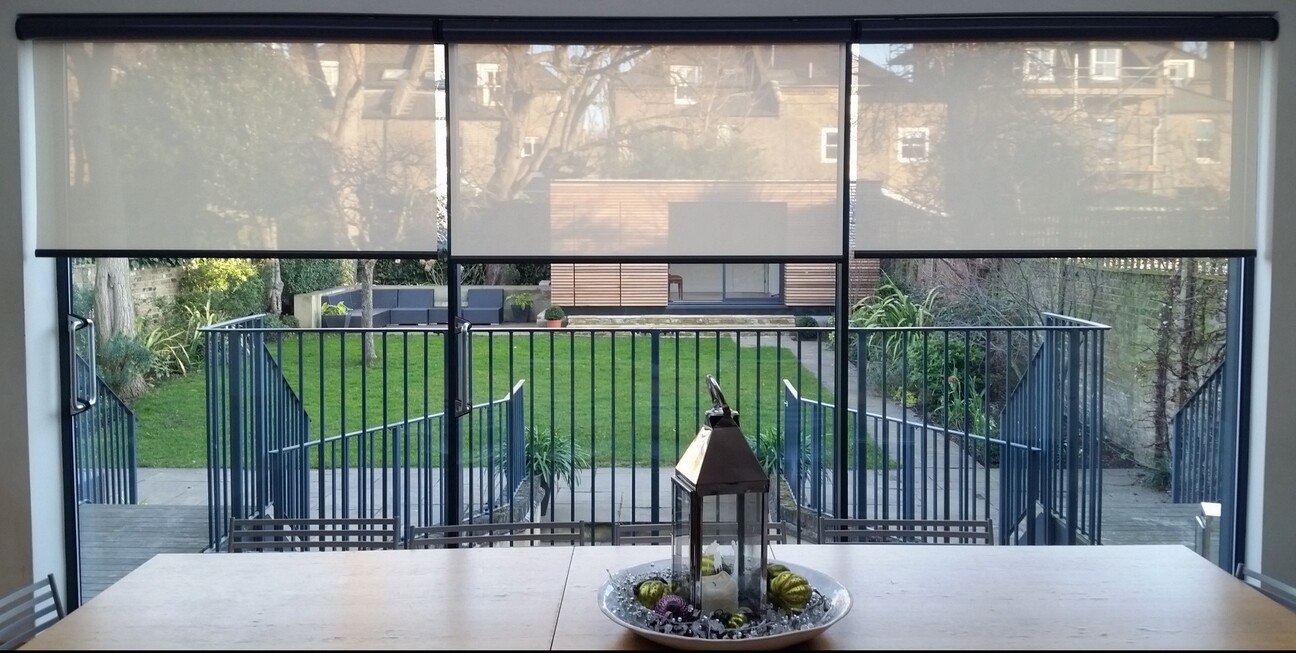
- Panel Track Blinds: Panel track blinds are a modern and sleek option for sliding doors. They feature wide fabric panels that slide back and forth on a track system. Panel track blinds provide excellent light control and are available in different designs and fabrics, allowing you to customize the look of your space.
- Roman Shades: Roman shades are a stylish and versatile choice for sliding doors. Made of soft fabric, they can be raised and lowered to control sunlight and privacy. Roman shades come in various patterns and textures, giving you the opportunity to add a touch of elegance to your sliding doors.
When choosing blinds, consider your specific needs and preferences. Do you want maximum privacy and light control, or are you looking for a more decorative option? Additionally, consider the maintenance requirements and durability of the blinds, especially if you have pets or children.
Take your time to research and explore different options, and consult with a blinds specialist if needed. Once you have decided on the type of blinds you want to install on your sliding doors, you can move on to the next step: gathering the necessary tools and materials.
Step 3: Gather the Necessary Tools and Materials
Before you start the installation process, it’s important to gather all the necessary tools and materials. Having everything ready beforehand will make the installation smoother and more efficient.
Here’s a list of the tools and materials you will need:
- Tape Measure: This is essential for accurately measuring the dimensions of your sliding door and determining the size of the blinds you need.
- Drill: You will need a drill to create holes for the mounting brackets.
- Screws: Screws are used to secure the brackets onto the door frame or wall, depending on the type of installation.
- Mounting Brackets: These brackets hold the blinds in place and allow them to slide open and closed. Make sure the brackets are compatible with the type of blinds you have chosen.
- Level: A level is useful for ensuring that the blinds are installed straight and level.
- Pencil: Use a pencil to mark the positions for the mounting brackets.
- Blinds: Of course, you will need the blinds themselves. Make sure you have the correct size and type of blinds as per your measurements and preferences.
Having all these tools and materials readily available will save you time and effort during the installation process. It’s always a good idea to double-check your checklist before you start to ensure everything is in order.
Now that you have gathered all the necessary tools and materials, you are ready to move on to the next step: mounting the brackets.
When installing blinds on sliding doors, make sure to measure the width and height accurately to ensure a proper fit. It’s also important to choose blinds that are specifically designed for sliding doors to ensure smooth operation.
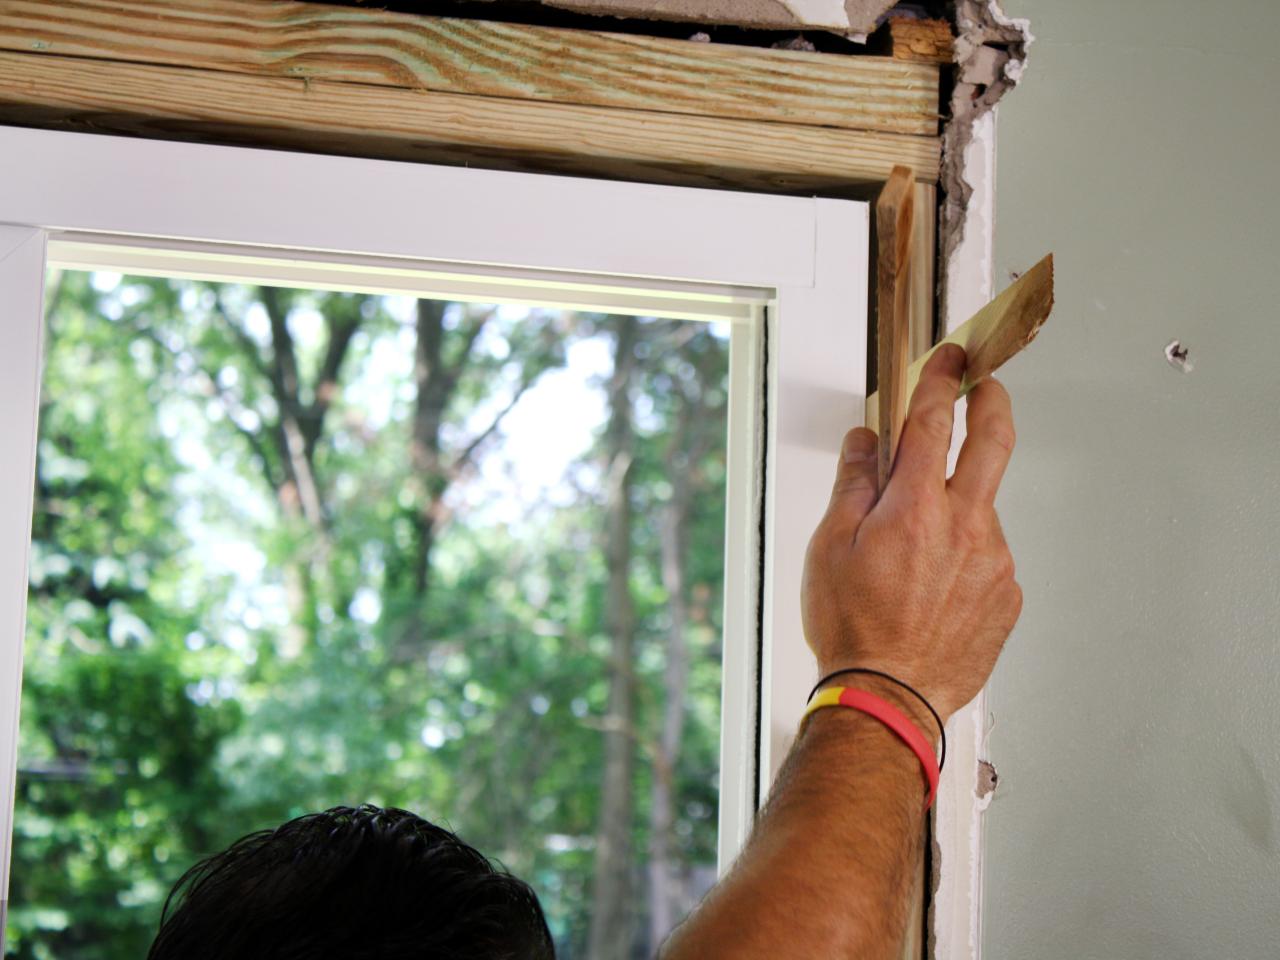
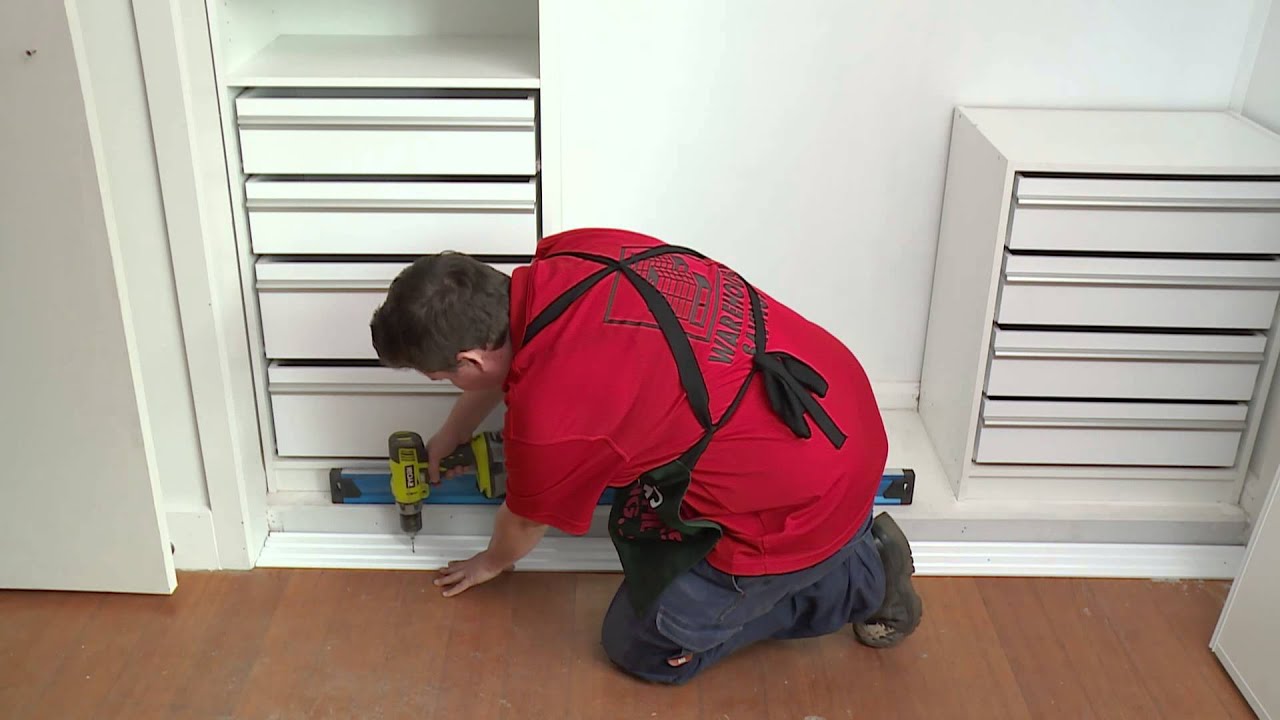
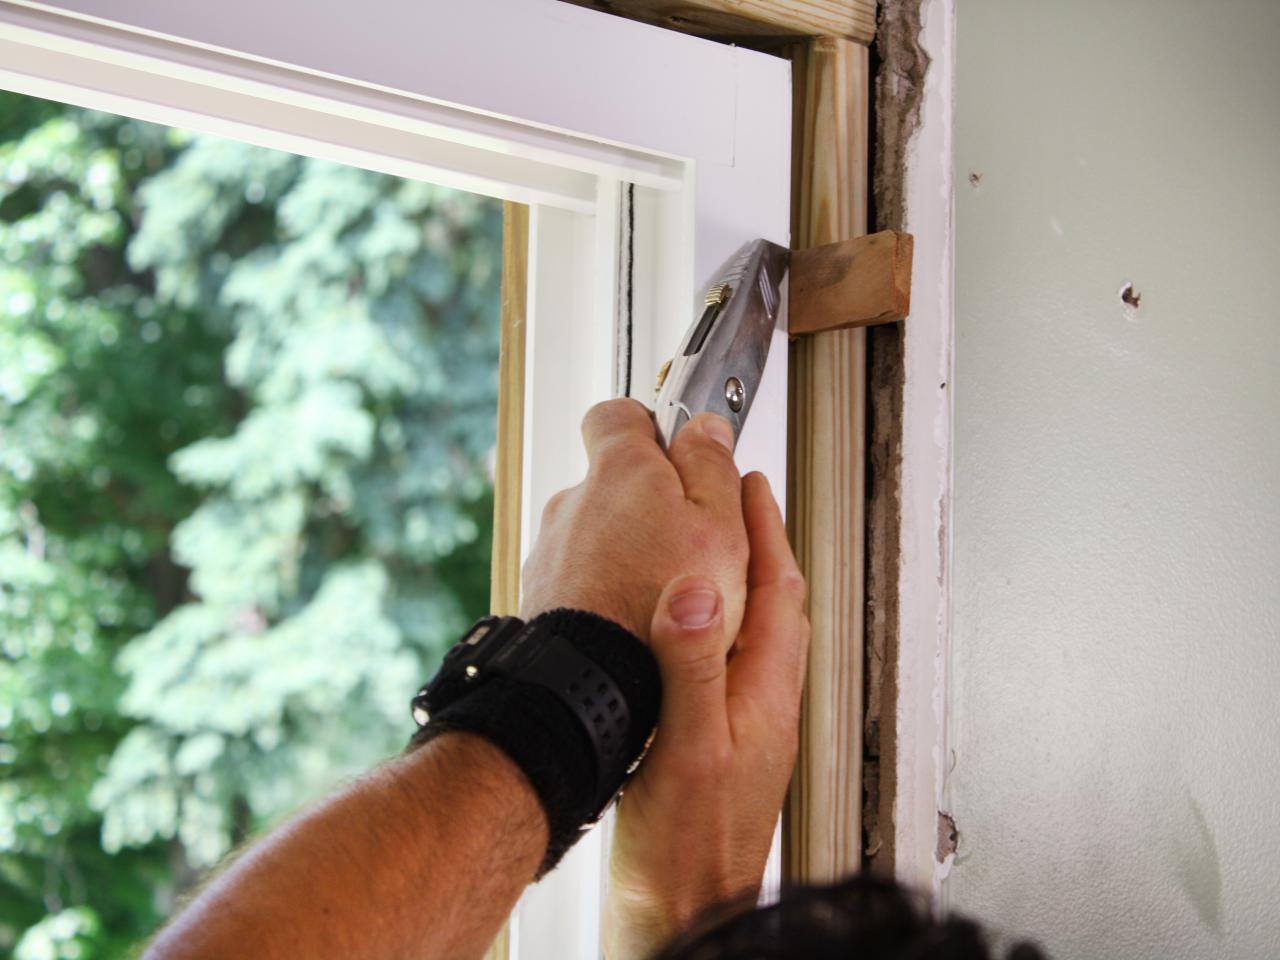
Step 4: Mounting the Brackets
Mounting the brackets is an important step in the installation process as they provide the support and stability for your blinds. The exact method of mounting will depend on the type of blinds you have chosen and whether you are opting for an inside or outside mount.
Here’s a general guide for mounting the brackets:
- Using a pencil, mark the desired height of the blinds on both sides of the sliding door. Make sure the marks are level and aligned.
- Hold the first bracket up to the marked position and use a level to ensure it is straight. Mark the screw holes with a pencil.
- Repeat the process for the second bracket, making sure it is aligned with the first bracket.
- Using a drill, create pilot holes at the marked screw hole positions.
- Securely attach the brackets to the door frame or wall using screws. Make sure the brackets are level and firmly in place.
It’s important to follow the manufacturer’s instructions for your specific type of blinds and brackets to ensure a proper installation. Some blinds may require additional steps or specific bracket placement.
If you are installing vertical blinds, you may need to attach a valance clip or headrail to the brackets for a finished look. Again, refer to the manufacturer’s instructions for the specific installation process.
Take your time during this step to ensure precise placement and proper attachment of the brackets. Once the brackets are securely mounted, you are ready to move on to the next step: attaching the blinds to the brackets.
Read more: How To Install Blinds On A Door
Step 5: Attach the Blinds to the Brackets
After successfully mounting the brackets, it’s time to attach the blinds to them. The method may vary depending on the type of blinds you have chosen, so make sure to follow the manufacturer’s instructions for your specific blinds.
Here’s a general guide on how to attach the blinds to the brackets:
- For vertical blinds: Start by opening the blind slats or panels. Then, insert the top of the blinds into the open brackets, making sure they are securely in place. Close the brackets to hold the blinds in position.
- For panel track blinds: Slide the panels onto the track system and ensure they are evenly spaced. Once all the panels are in place, attach the panel carriers to the track.
- For Roman shades: Attach the headrail or mounting rail of the Roman shades onto the brackets. Follow the manufacturer’s instructions to secure them properly.
Once the blinds are attached to the brackets, give them a gentle tug or slide them open and closed to ensure they are functioning smoothly. If you notice any misalignment or difficulties with the blinds’ movement, double-check the bracket placement and attachment.
It’s also a good idea to test the blinds at different positions to ensure they provide the desired level of light control and privacy.
Now that the blinds are securely attached to the brackets, it’s time to move on to the final step: adjusting and testing the blinds.
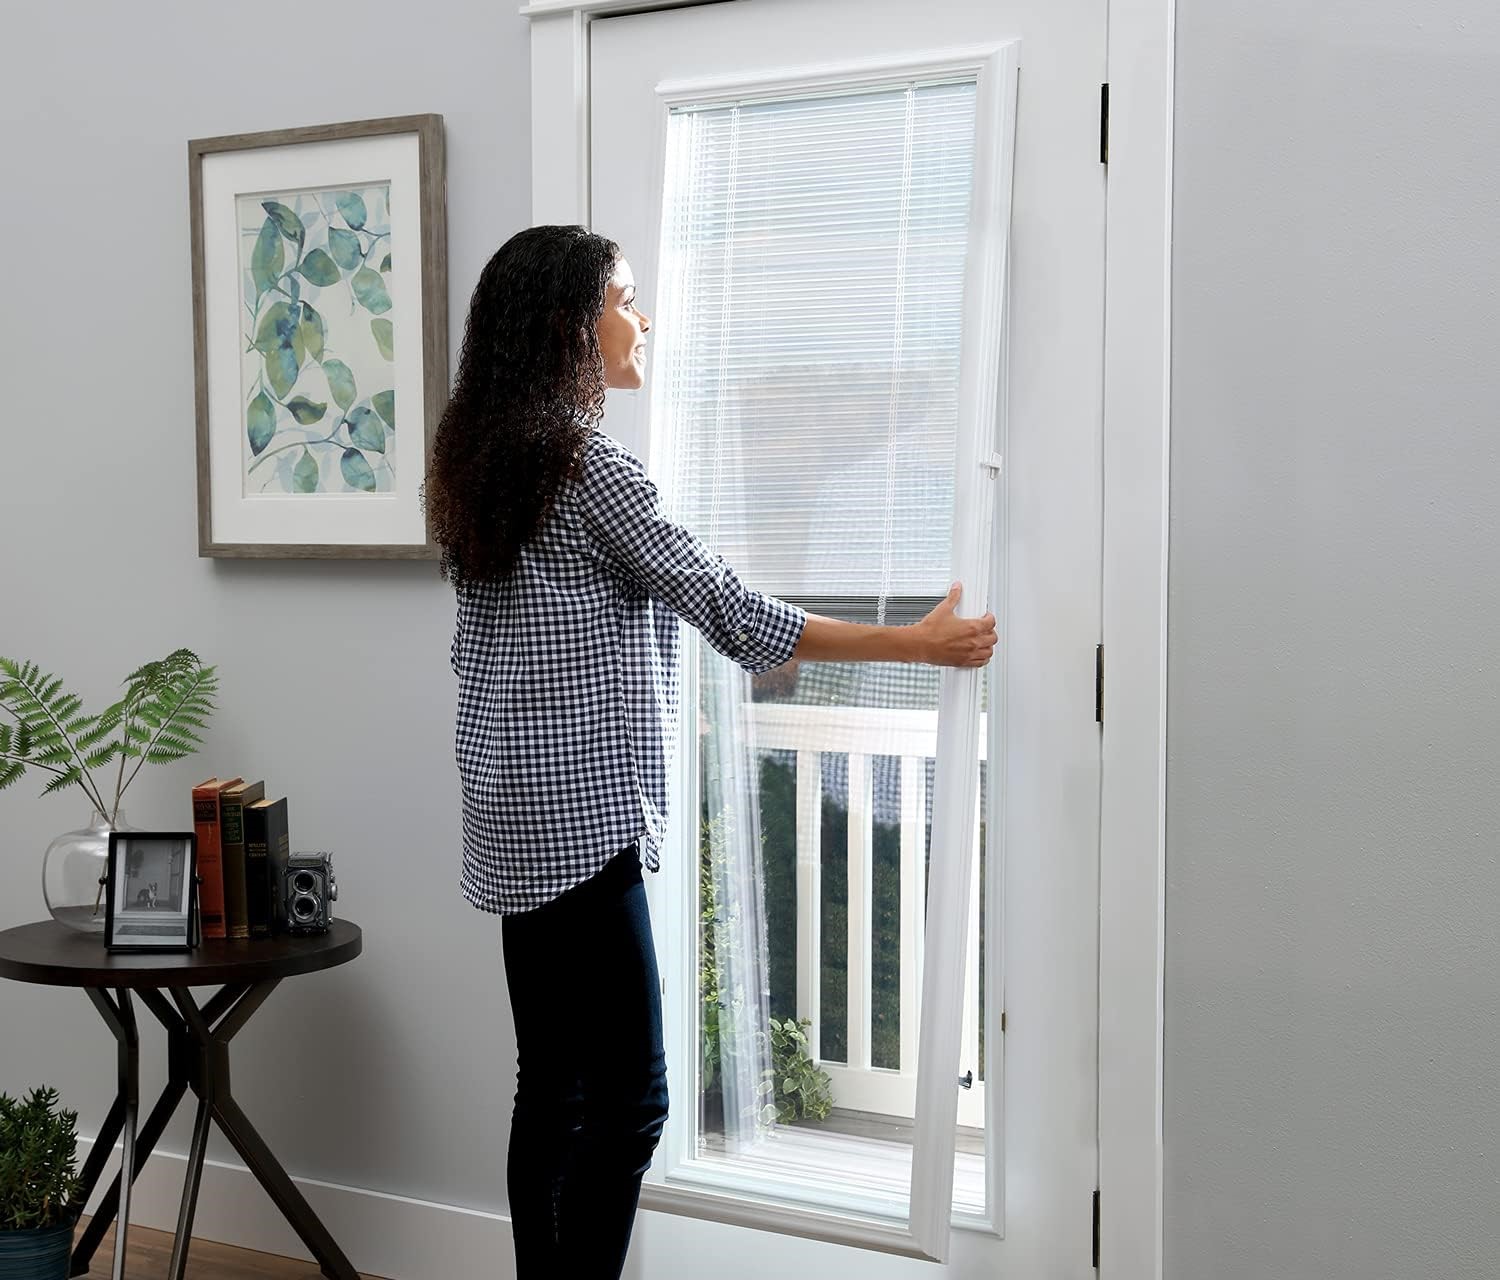
Step 6: Adjusting and Testing the Blinds
Once the blinds are installed, it’s important to adjust and test them to ensure they are functioning properly and meeting your needs. This step allows you to fine-tune the blinds for optimal light control, privacy, and visual appeal.
Here’s what you should do to adjust and test your blinds:
- Test the blinds’ operation: Open and close the blinds to check if they move smoothly along the track or slats. Make sure they open and close fully without any obstruction or resistance.
- Adjust the slat or panel tilt: For blinds with adjustable slats or panels, use the control wand or cord to adjust the tilt angle. This allows you to control the amount of light and privacy. Experiment with different tilt angles to find the perfect balance.
- Check for any misalignment: Pay attention to the alignment of the blinds when they are fully closed. Ensure that the slats or panels are evenly aligned and not crooked. If necessary, adjust the brackets or attachment points to achieve proper alignment.
- Test the cord or control mechanism: If your blinds have cords or control mechanisms, test them to make sure they operate smoothly. Ensure that the cords are properly secured and not tangled to prevent any safety hazards.
While adjusting the blinds, take the time to evaluate how they affect the overall look and functionality of the space. Assess the amount of light they allow in, the level of privacy they provide, and how they complement the room’s aesthetics.
If you encounter any issues or challenges during this step, refer to the manufacturer’s instructions or seek assistance from a professional. It’s important to ensure that your blinds are functioning properly and meeting your expectations.
With the blinds now adjusted and tested, you have successfully completed the installation process. Step back and admire your newly installed blinds on your sliding doors!
Conclusion
Installing blinds on sliding doors can transform both the function and appearance of your space. By following the step-by-step process outlined in this article, you can successfully install blinds that provide privacy, control sunlight, and enhance the overall look of your sliding doors.
Remember, the key steps in the installation process include measuring the sliding door accurately, choosing the right type of blinds, gathering the necessary tools and materials, mounting the brackets securely, attaching the blinds to the brackets, and finally adjusting and testing the blinds for optimal functionality.
Throughout the process, it’s important to refer to the manufacturer’s instructions for your specific blinds and seek professional help if needed. Taking the time to ensure proper installation will ensure that your blinds function smoothly and provide the desired level of light control and privacy.
So, whether you’re installing vertical blinds for easy operation, panel track blinds for a modern look, or Roman shades for a touch of elegance, with a little bit of planning and effort, you can enjoy the benefits and beauty of blinds on your sliding doors.
Now that you have the knowledge and guidance to install blinds on sliding doors, bring in that extra touch of style, privacy, and control to your space. Get started and enjoy the comfort and functionality that blinds can provide!
Frequently Asked Questions about How To Install Blinds On Sliding Doors
Was this page helpful?
At Storables.com, we guarantee accurate and reliable information. Our content, validated by Expert Board Contributors, is crafted following stringent Editorial Policies. We're committed to providing you with well-researched, expert-backed insights for all your informational needs.