Home>Garden Essentials>Garden Storage>How To Install Sliding Wardrobe Doors
Garden Storage
How To Install Sliding Wardrobe Doors
Modified: February 27, 2024
Learn how to easily install sliding wardrobe doors for convenient and stylish storage solutions in your home. Step-by-step instructions and expert tips included.
(Many of the links in this article redirect to a specific reviewed product. Your purchase of these products through affiliate links helps to generate commission for Storables.com, at no extra cost. Learn more)
Introduction
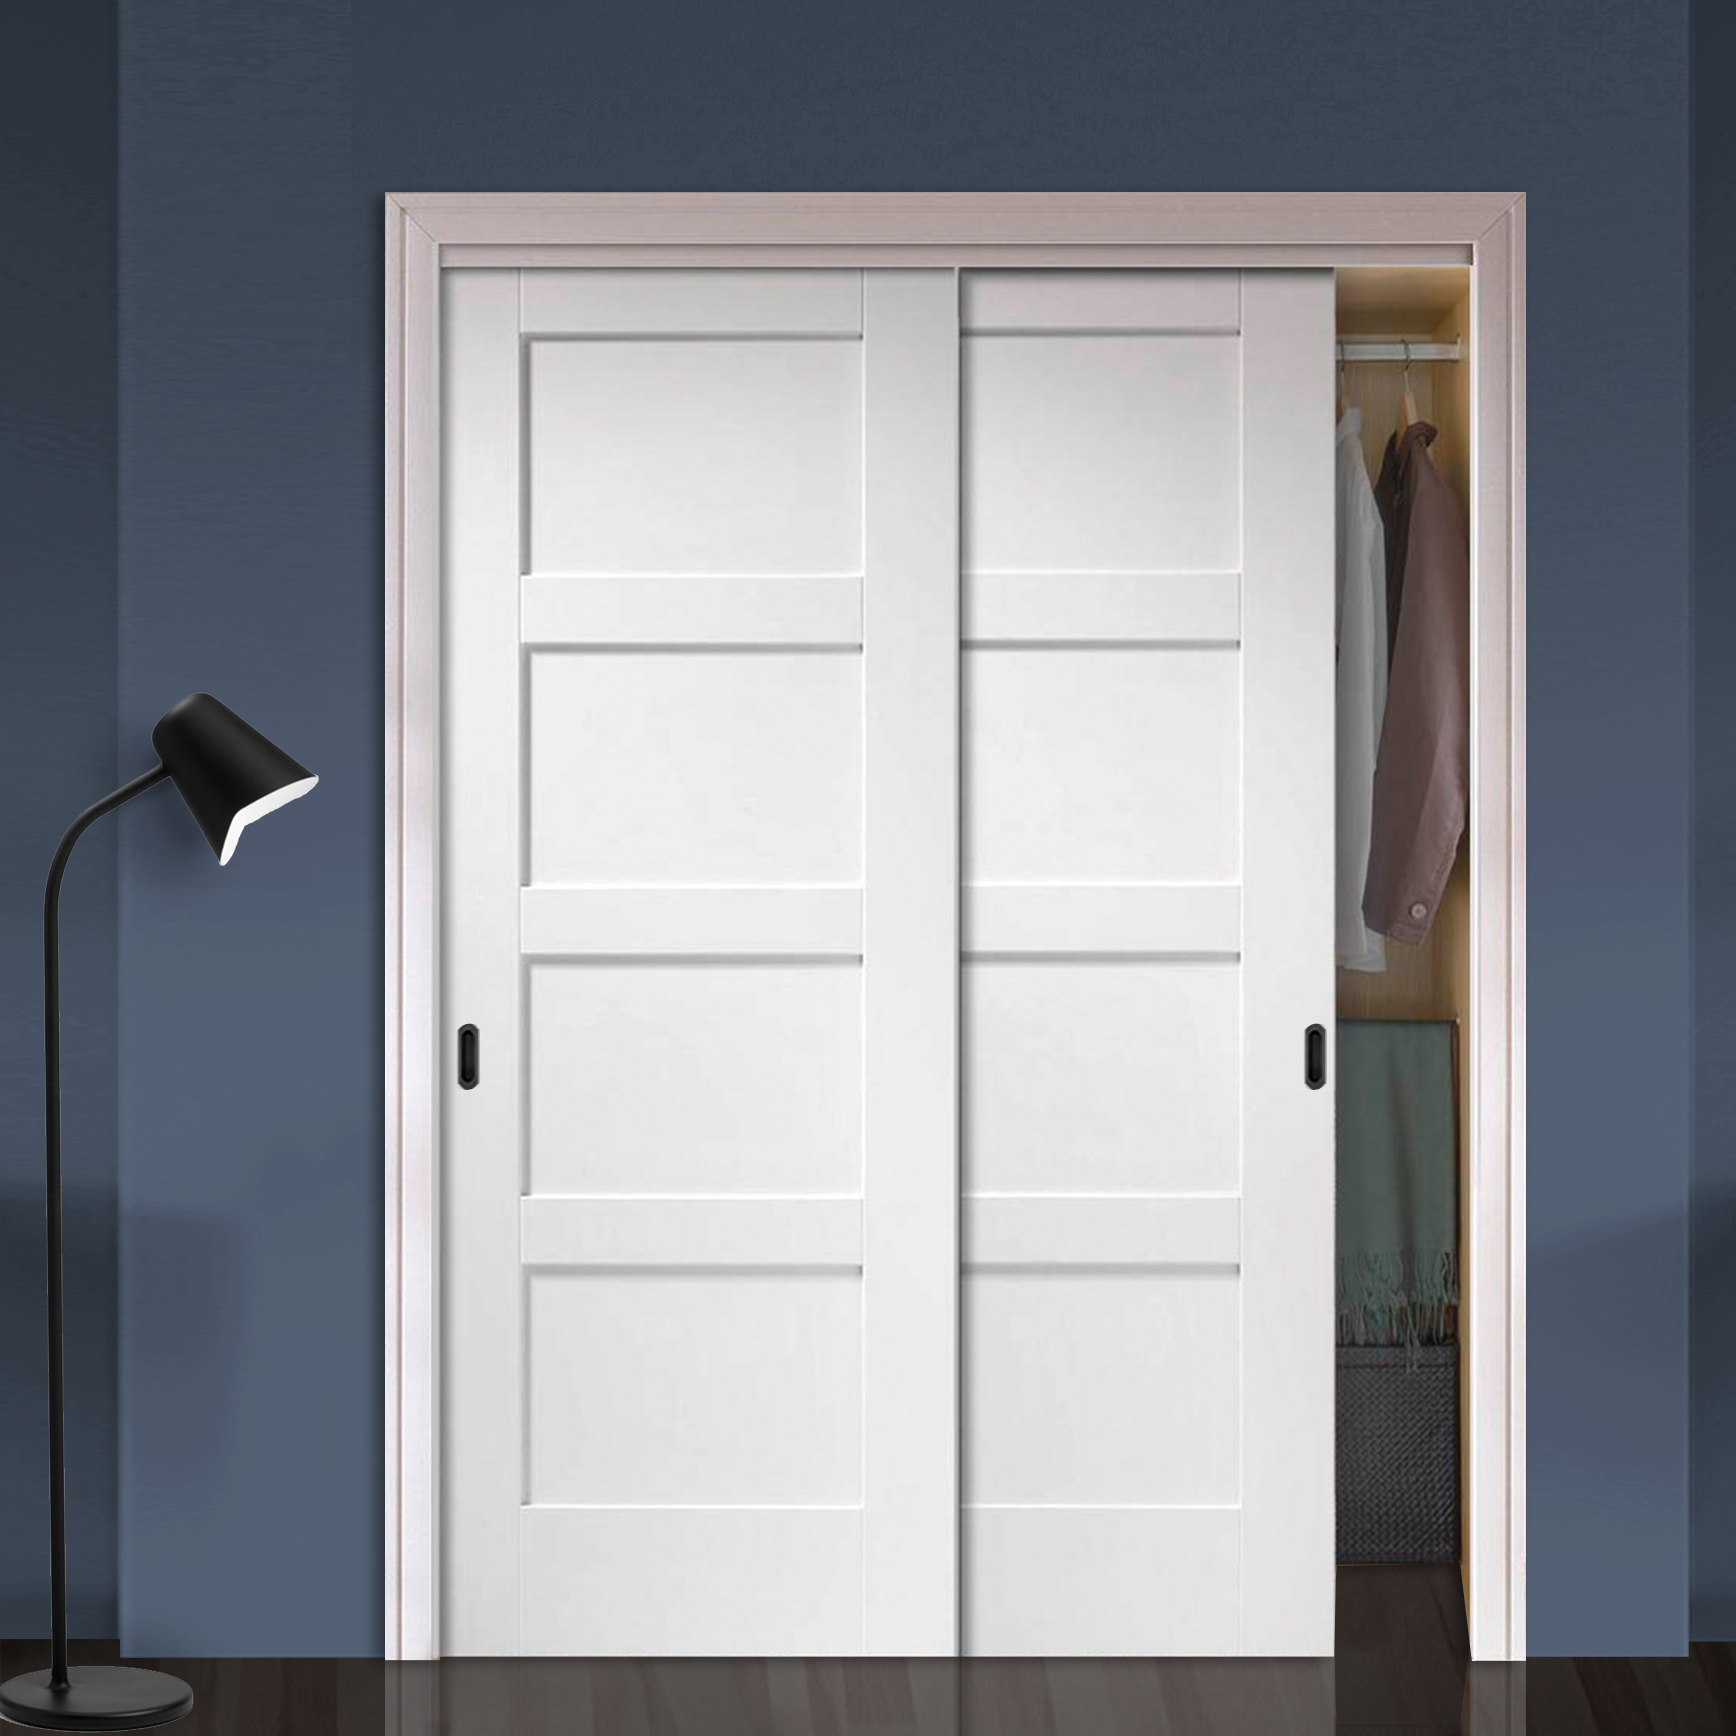
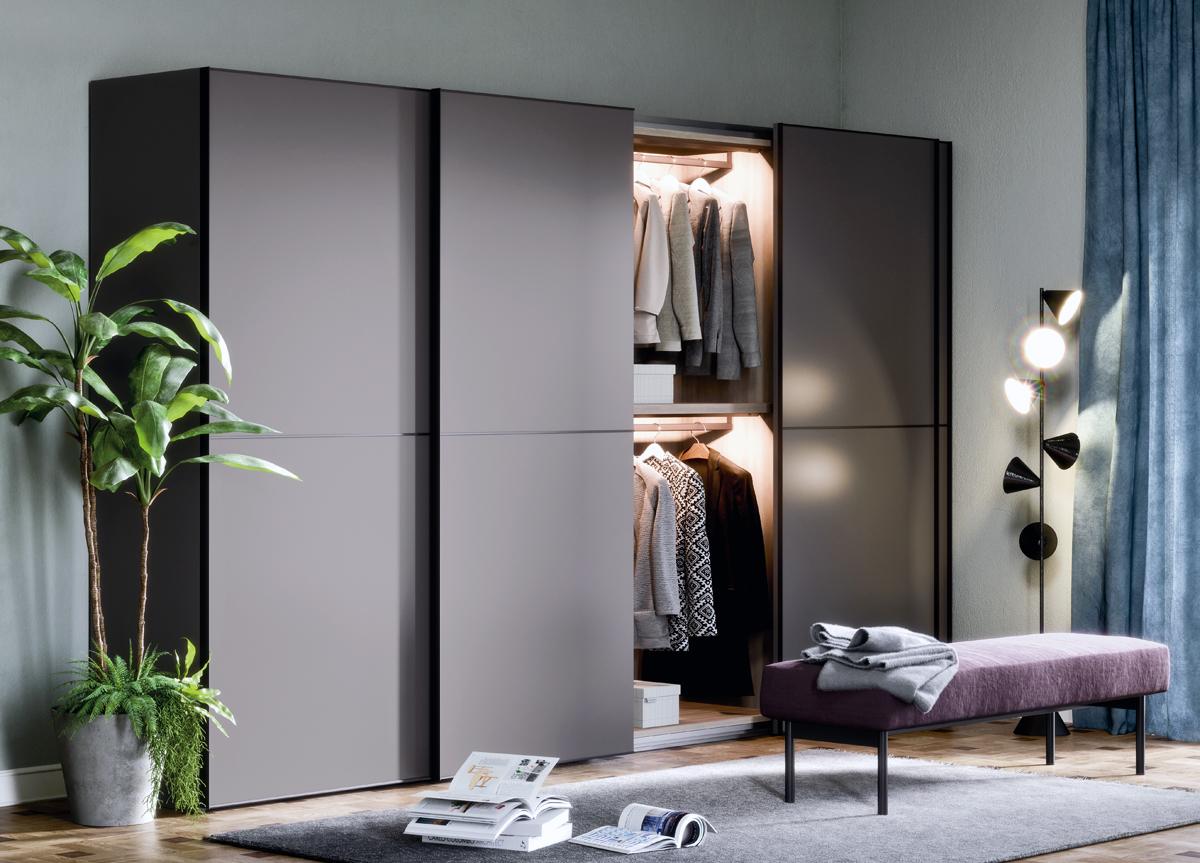
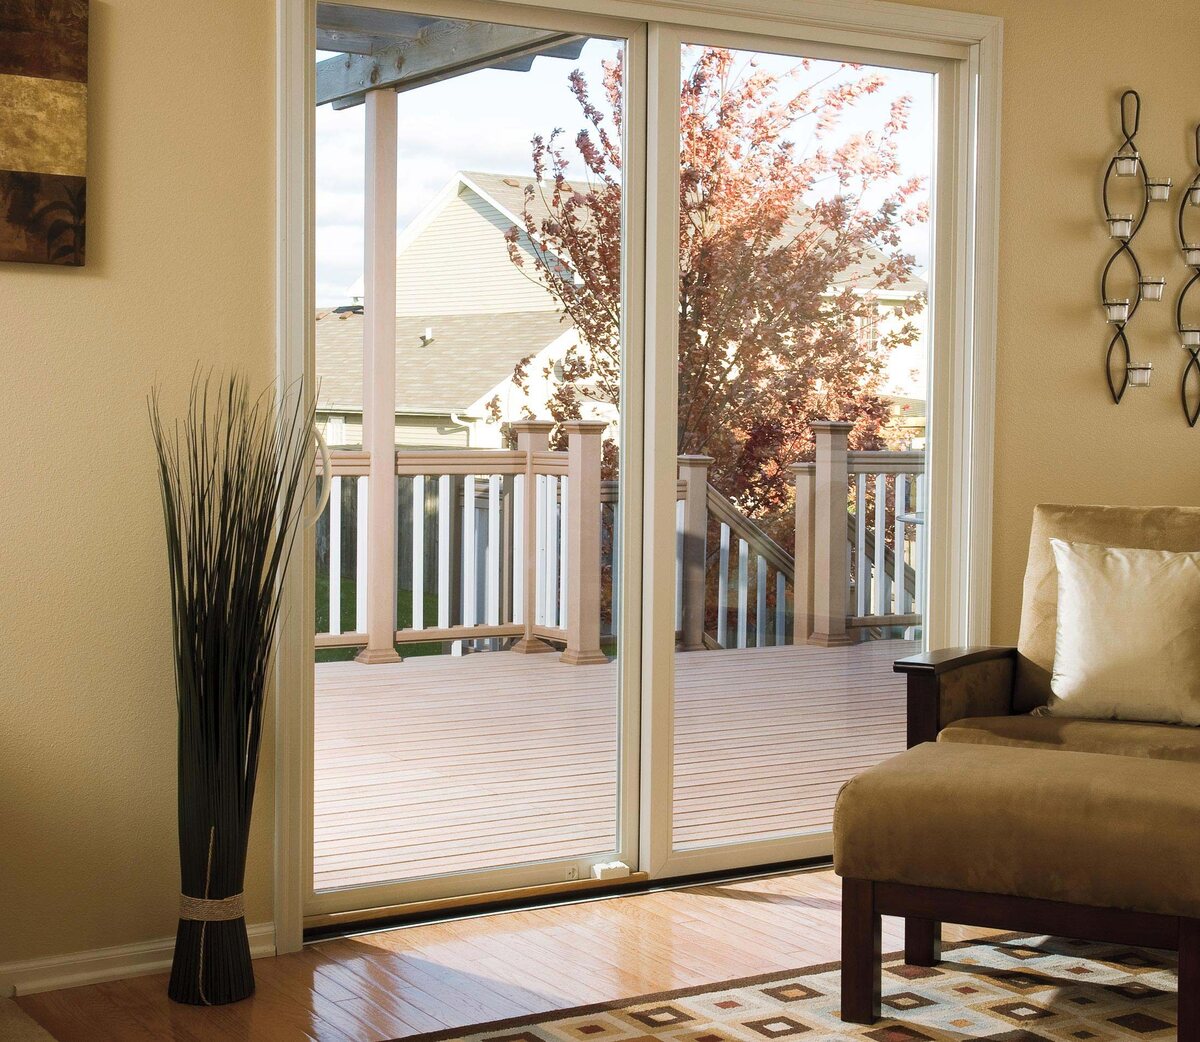
Welcome to the world of sliding wardrobe doors – a stylish and practical solution for modern homes. Sliding wardrobe doors not only provide easy access to your clothes and belongings, but they also maximize space in your bedroom or dressing area. Plus, with a wide range of designs, materials, and finishes available, you can customize your sliding wardrobe doors to match your interior decor.
In this article, we will walk you through the process of installing sliding wardrobe doors. Whether you are replacing your old doors or installing new ones, this step-by-step guide will help you achieve a professional-looking and functional wardrobe system.
Before diving into the installation process, let’s first understand the importance of choosing the right sliding wardrobe doors for your space. The doors you choose will not only affect the overall appearance of the room, but they will also determine the ease of use and functionality of your wardrobe.
When selecting sliding wardrobe doors, consider the following factors:
- Style: Decide on the style of doors that best complements your room’s decor. Whether you prefer mirrored, glass, or wood-panelled doors, make sure they align with your aesthetic vision.
- Size: Measure the width and height of your wardrobe opening to ensure the doors fit properly. Most sliding doors can be customized to fit your specific measurements.
- Material: Choose a material that suits your needs and preferences. Options include solid wood, MDF, aluminum, or a combination of materials.
- Finish: Consider the finish of the doors to enhance the overall look and feel of your space. From sleek and modern to rustic and traditional, there are countless finishes to choose from.
- Functionality: Think about practical features such as soft-close mechanisms, integrated storage solutions, and ease of maintenance. These factors will impact the convenience and longevity of your sliding wardrobe doors.
Once you have chosen the perfect sliding wardrobe doors, it’s time to gather the necessary tools and materials for the installation process. Having everything prepared beforehand will ensure a smooth and efficient installation.
Here’s a list of the tools and materials you will need:
- Measuring tape
- Pencil
- Power drill
- Screwdriver
- Level
- Track system (top and bottom)
- Door panels
- Door handles
- Screws
With these essentials at hand, let’s move on to the step-by-step process of installing your sliding wardrobe doors.
Key Takeaways:
- Choose sliding wardrobe doors that match your style, size, material, finish, and functionality to maximize space and add sophistication to your room.
- Thoroughly prepare, measure, and align the track system, panels, and handles for smooth and efficient sliding wardrobe door installation.
Read more: How To Make Sliding Wardrobe Doors
Choosing the Right Sliding Wardrobe Doors
When it comes to choosing sliding wardrobe doors, there are several factors to consider that will ensure you make the right choice for your space and personal style. Let’s explore these factors in more detail:
Style: The style of your sliding wardrobe doors will greatly impact the overall aesthetic of the room. Consider the existing decor and choose doors that complement the style, whether it’s contemporary, minimalist, traditional, or something in between. Mirrored doors can create a sense of spaciousness and reflect light, while glass doors can add a touch of sophistication. Alternatively, wood-panelled doors can bring warmth and texture to the space.
Size: Accurate measurements are crucial when selecting sliding wardrobe doors. Measure the width and height of the opening to ensure the doors will fit properly. It’s recommended to measure the width at the top, middle, and bottom of the opening, as walls can sometimes be uneven. Additionally, consider the space required for the doors to slide open without obstruction.
Material: The material of your sliding wardrobe doors will affect their durability, appearance, and maintenance requirements. Common materials include solid wood, medium-density fiberboard (MDF), aluminum, and laminate. Solid wood doors are sturdy and offer a natural aesthetic, while MDF doors are more affordable and resistant to warping. Aluminum doors are lightweight and modern, while laminate doors provide a variety of finishes and designs.
Finish: The finish of the doors can greatly enhance the overall look and feel of your room. Choose a finish that complements the existing furniture and decor. Options range from natural wood stains to painted finishes in various colors. Consider the desired level of glossiness or matte appearance to achieve the desired effect.
Functionality: Think about the practical features that will enhance the functionality of your sliding wardrobe doors. Soft-close mechanisms ensure smooth and silent operation, while integrated storage solutions, such as shelves or hanging compartments, can optimize the use of space. Additionally, choose doors with easy-to-clean surfaces if maintenance is a priority.
It’s also worth considering any additional features or accessories that can enhance the functionality and convenience of your sliding wardrobe doors. For example, built-in lighting can illuminate the interior of the wardrobe, making it easier to find your belongings. A sliding door gear system with a bottom guide can provide added stability and prevent the doors from swinging.
Take the time to explore different options and envision how your chosen doors will transform the look and functionality of your space. By considering factors such as style, size, material, finish, and functionality, you can select sliding wardrobe doors that perfectly suit your needs and personal taste.
Now that you have chosen the perfect sliding wardrobe doors, let’s move on to the step-by-step process of installing them.
Tools and Materials Needed for Installation
Before you begin installing your sliding wardrobe doors, it’s essential to have the right tools and materials on hand. Here’s a list of everything you will need:
- Measuring tape: A measuring tape is crucial for accurately measuring the width and height of your wardrobe opening. It will ensure that the doors fit properly.
- Pencil: Use a pencil to mark measurement lines on the wall or track, ensuring precision during installation.
- Power drill: You will need a power drill to secure the track system and handle installation. Make sure you have the appropriate drill bits for the type of wall material.
- Screwdriver: A screwdriver is necessary for driving in screws during the installation process. It’s recommended to have both a flathead and a Phillips head screwdriver available.
- Level: To ensure that your sliding wardrobe doors are installed straight and level, a spirit level or laser level is essential. This tool will help you achieve a professional and visually appealing result.
- Track system (top and bottom): The track system consists of a top track and a bottom track that guide the movement of the sliding doors. Ensure you have the correct length and type of track system for your specific doors.
- Door panels: The sliding door panels are the main components of your wardrobe doors. Choose panels that match your desired style and dimensions.
- Door handles: Depending on your preference, select door handles or knobs that complement the overall design of your sliding wardrobe doors.
- Screws: You will need screws of appropriate length and type for securing the tracks and attaching the panels.
Having these tools and materials ready before you start the installation process will make the process smoother and more efficient. Additionally, it’s a good idea to have a partner or friend to assist you, as installing sliding wardrobe doors can require some heavy lifting and precise measurements.
It’s important to follow the manufacturer’s instructions provided with your specific sliding wardrobe door kit. These instructions may include additional tools or materials that are specific to the brand or model you have chosen.
With everything prepared, you are ready to proceed with the installation process. In the next steps, we will guide you through the measurements, removal of existing doors (if applicable), track preparation, door hanging, and final adjustments to ensure your sliding wardrobe doors are perfectly installed.
Step 1: Measure the Opening
The first step in installing sliding wardrobe doors is to accurately measure the opening where the doors will be installed. This ensures that the doors fit properly and operate smoothly. Here’s how to measure the opening:
- Width: Use a measuring tape to measure the width of the opening at three points: the top, middle, and bottom. Record the measurements and take note of the smallest width measurement. This ensures that the doors will fit even if the walls are not perfectly straight.
- Height: Measure the height of the opening from the floor to the top of the opening. Again, take three measurements at different points: the left side, the center, and the right side. Record the smallest height measurement to ensure that the doors will fit without scraping against the ceiling or floor.
- Depth: In addition to the width and height, measure the depth of the wardrobe opening. This will help determine the size of the doors and the amount of clearance needed for them to slide smoothly.
It’s important to measure the opening accurately to ensure that your sliding wardrobe doors fit perfectly. If you’re unsure about taking measurements or want to ensure precision, consider seeking the assistance of a professional installer or follow the manufacturer’s guidelines provided with the sliding door kit.
Once you have measured the width, height, and depth of the wardrobe opening, it’s time to prepare for the installation. Remove any existing doors or obstacles that may interfere with the installation process. Clear the area and ensure that the floor, walls, and ceiling are clean and free from any debris.
By taking accurate measurements and preparing the space, you are now ready to move on to the next step: removing any existing doors (if applicable). This will make way for the installation of your brand-new sliding wardrobe doors.
Step 2: Remove Existing Doors (if applicable)
If you have existing doors on your wardrobe that you want to replace with sliding wardrobe doors, the next step is to remove them. Follow these steps to safely remove the existing doors:
- Empty the wardrobe: Before removing the doors, empty the wardrobe of all its contents. This will make the process easier and prevent any items from getting damaged.
- Identify the door type: Determine the type of doors you have and the mechanism used to attach them. Common types include hinged doors, folding doors, or bypass doors. Each type may have a different removal process, so it’s important to understand how your doors are installed.
- Locate the hinges or sliding mechanism: For hinged doors, locate the hinges attaching the doors to the wardrobe frame. Use a screwdriver to remove the screws securing the hinges, one at a time, and carefully lift the door out of its frame. If you have folding doors, look for any locking mechanisms or clips that hold the doors together. Release these mechanisms and gently lift the doors out of their tracks. Bypass doors typically slide along a top and bottom track system—remove any screws or clips securing the doors to the tracks, then lift the doors off the tracks one at a time.
- Remove the frame (if necessary): In some cases, the doors may be attached to a frame. If this is the case, carefully remove any screws securing the frame to the wardrobe opening. Use a screwdriver or drill to loosen the screws and gently lift the frame out of the opening.
- Clean and inspect the wardrobe: Once the doors and frame have been removed, take the opportunity to clean the wardrobe interior. Wipe down the walls and shelves, and vacuum or sweep the floor. Inspect the wardrobe for any damages or repairs that may be needed before installing the new sliding doors.
Remember to be cautious and take your time when removing the existing doors. If you encounter any difficulties or are unsure about the removal process, consult the manufacturer’s instructions or seek the help of a professional installer.
With the existing doors removed and the wardrobe interior cleaned, you are now ready to move on to the next step: preparing the track that will guide the movement of your sliding wardrobe doors.
Read more: How To Install A Sliding Glass Door
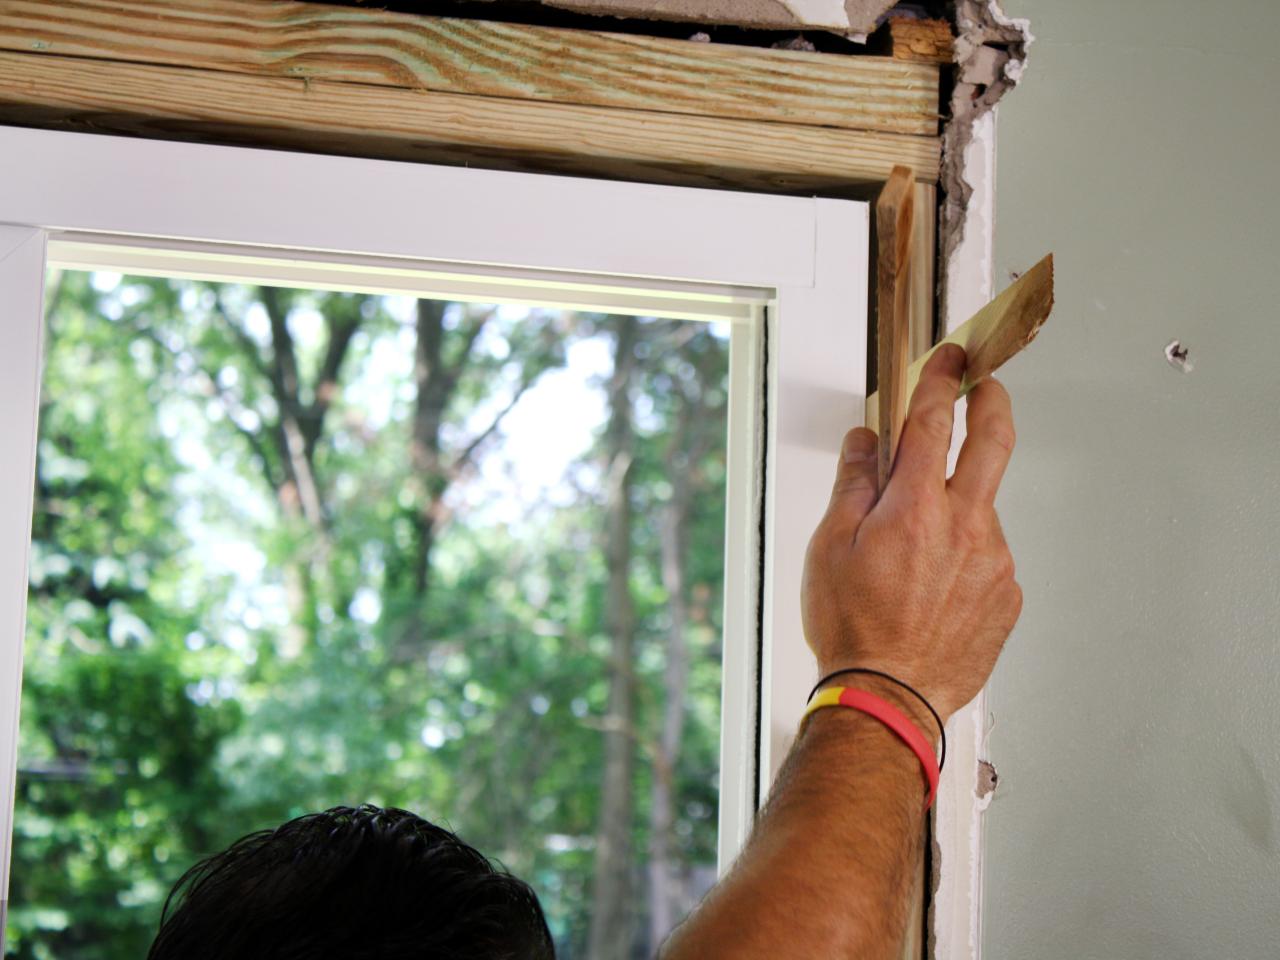
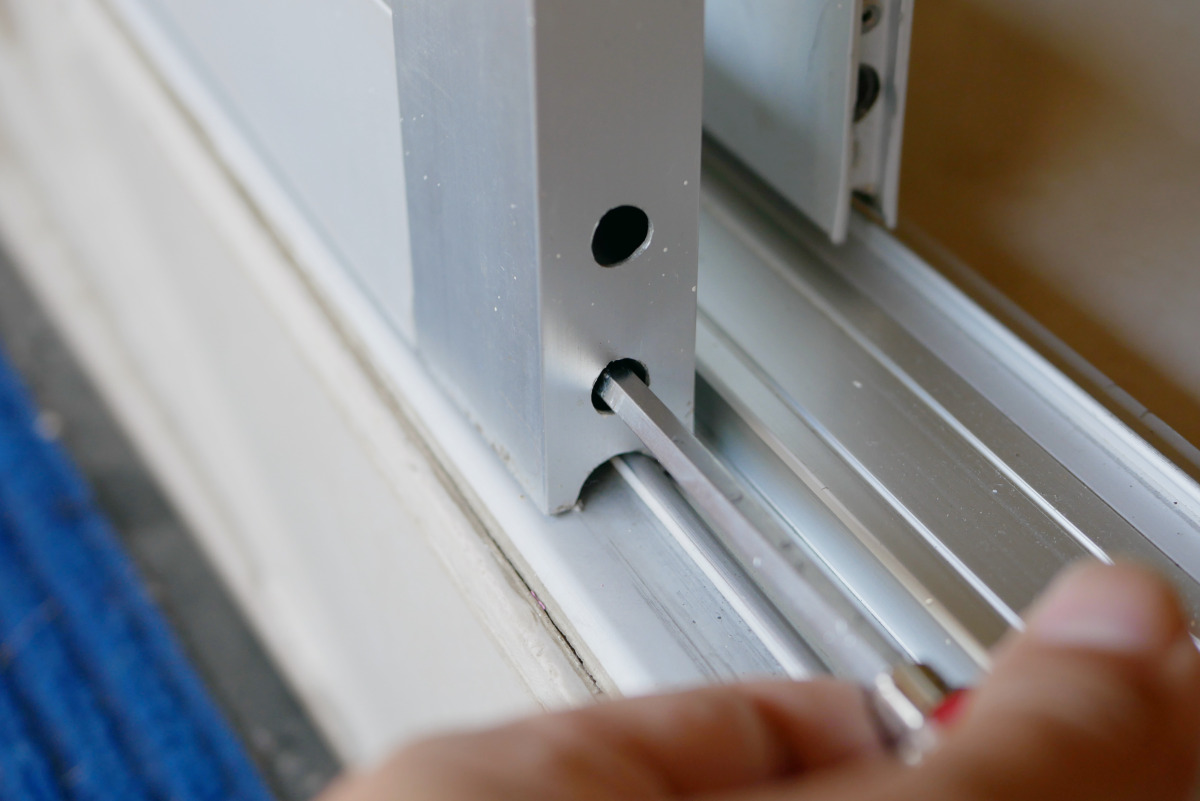
Step 3: Prepare the Track
Before installing the sliding wardrobe doors, it is important to properly prepare the track system that will guide the doors’ movement. This step ensures a smooth and hassle-free operation of the doors. Follow these steps to prepare the track:
- Inspect the track: Carefully examine the track system to ensure it is in good condition, without any signs of damage or defects. Look for any bends or dents that may hinder the doors from sliding smoothly.
- Clean the track: Thoroughly clean the track to remove any dust, dirt, or debris that may obstruct the door’s movement. Use a vacuum cleaner or a soft brush to remove any particles or buildup. Ensure the track is completely clean before proceeding.
- Measure and mark: Measure the length of the track system and mark the exact position where it will be installed. Use a measuring tape and a pencil to ensure accuracy. Take into account any additional requirements based on the manufacturer’s instructions.
- Cut the track (if necessary): If the track system is longer than needed, you may need to cut it down to the appropriate size. Follow the manufacturer’s guidelines for cutting the track, using a saw or appropriate cutting tool. Make sure to trim the track evenly and smoothly for optimal door movement.
- Pre-drill holes (if necessary): Depending on the track system and the material of the wall, pre-drilling holes may be necessary to ensure secure installation. Use a power drill and the appropriate drill bit to create pilot holes in the marked positions. Make sure to align the holes with the track system’s mounting holes.
- Attach the track: With the track prepared and the pilot holes in place, it’s time to attach the track to the wall. Align the track with the pilot holes and use screws appropriate for your wall type (wood, drywall, etc.) to secure the track in place. Ensure the track is level and straight during installation.
- Secure the track: Check that the track is securely attached to the wall. Make adjustments if necessary to ensure stability. Test the track by sliding your hand along it to ensure it moves smoothly without any obstructions.
Properly preparing the track ensures that your sliding wardrobe doors can move effortlessly. By inspecting, cleaning, measuring, cutting (if needed), and securely attaching the track, you create a solid foundation for the installation process.
Once the track is prepared, you are ready to move on to the next step: installing the top track, which will directly support the sliding doors.
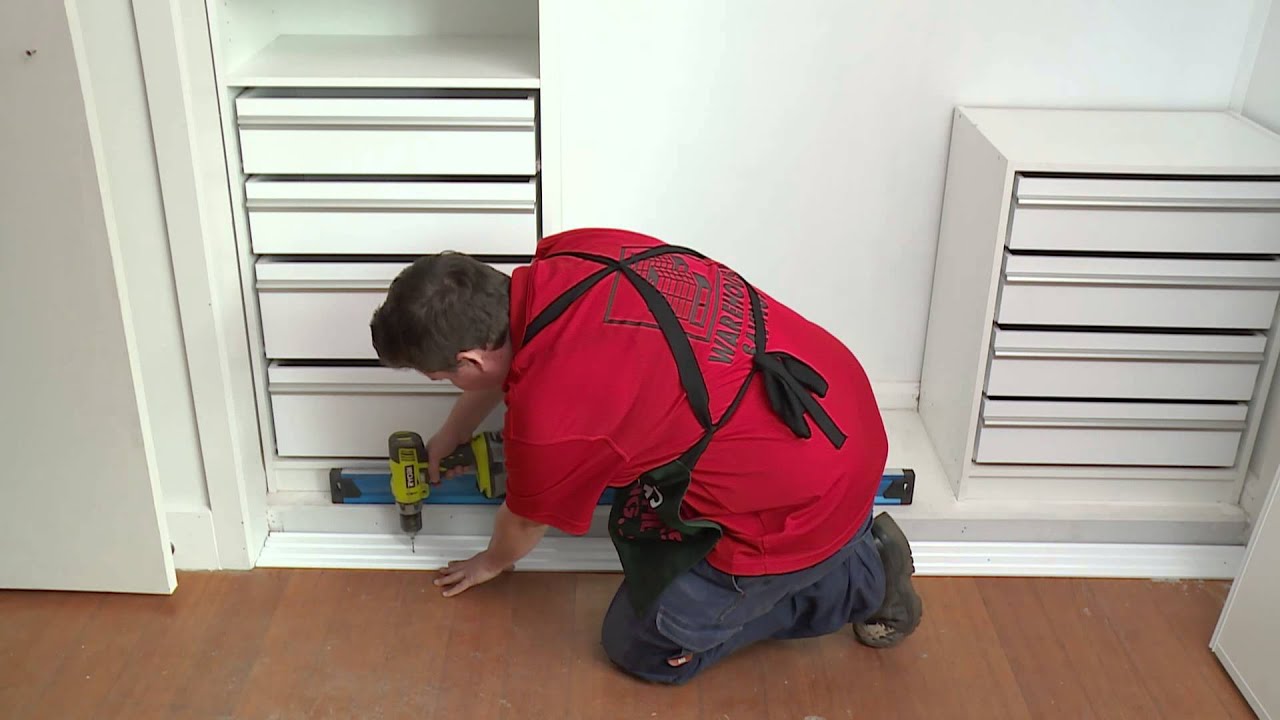
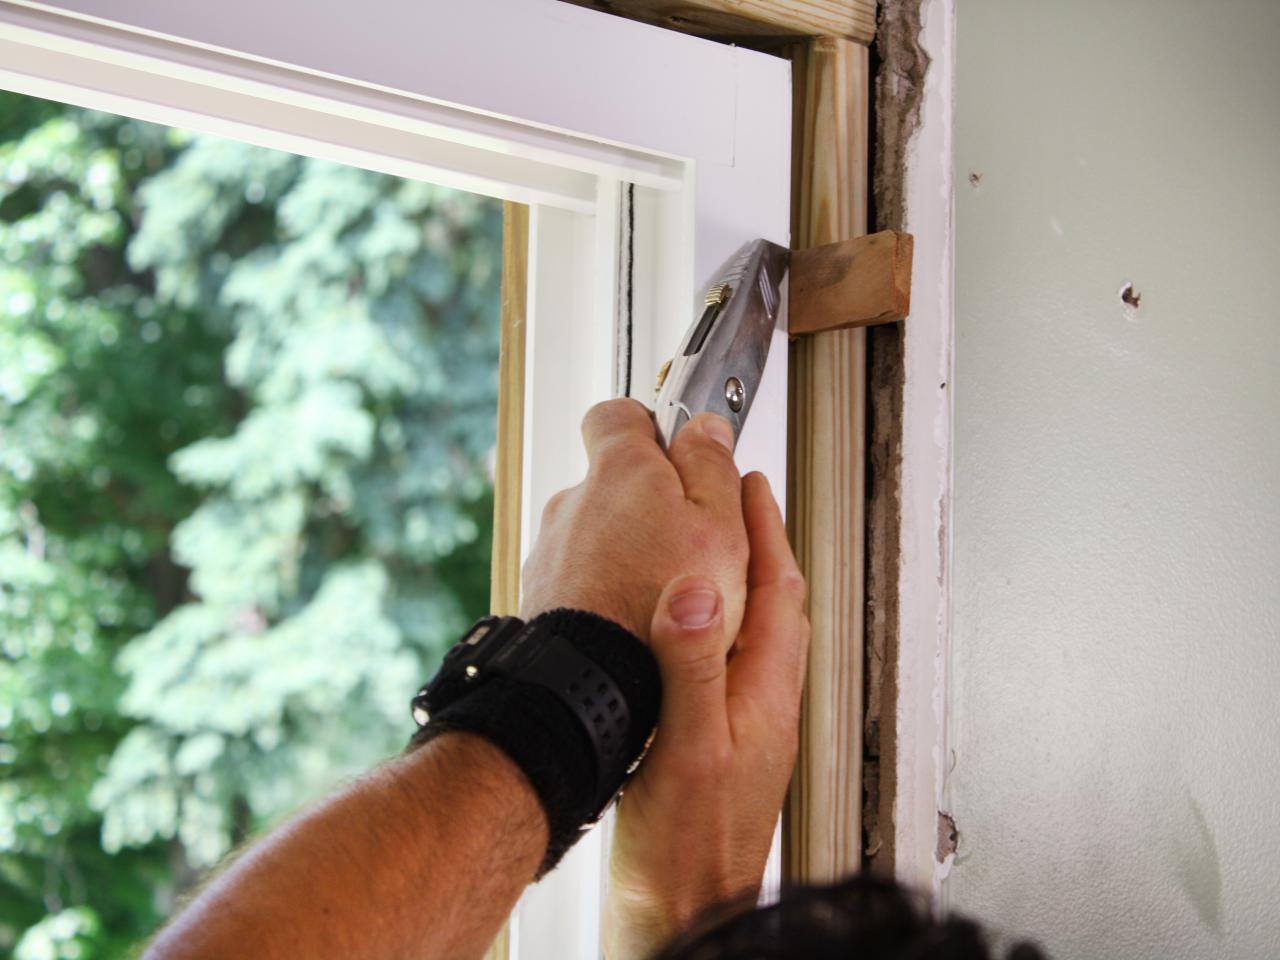
Step 4: Install the Top Track
Installing the top track is a crucial step in the installation process of sliding wardrobe doors. The top track provides support and stability to the doors as they slide open and closed. Follow these steps to install the top track:
- Align the track: Place the top track in the desired position along the top of the wardrobe opening. Ensure that the track is level by using a spirit level. Make any necessary adjustments to achieve a straight and even placement.
- Mark the screw positions: Use a pencil or marker to mark the positions where the screws will go. These marks will indicate where you need to pre-drill holes.
- Pre-drill holes: Using a power drill and the appropriate drill bit, carefully pre-drill holes at the marked positions. Be mindful of the depth and size of the holes, as they should match the screws you will use to secure the top track.
- Attach the top track: Place the top track back in position and align the pre-drilled holes with the holes in the track. Insert the screws into the holes and use a screwdriver or power drill to securely fasten the track to the wall or ceiling. Make sure not to overtighten the screws, as it may cause damage to the track or the surface.
- Check for stability: Once the top track is attached, check for any wobbling or instability. Gently shake the track to ensure it is securely fastened and provides a solid base for the sliding wardrobe doors.
- Test the track: Slide the doors along the track to check if they move smoothly. Ensure there are no obstructions or resistance. If you encounter any issues, such as doors getting stuck or not sliding correctly, inspect the track for any misalignment or protruding screws. Adjust if necessary.
Installing the top track properly is essential for the smooth operation and stability of your sliding wardrobe doors. By aligning, marking, pre-drilling, attaching, and checking for stability, you can ensure that the top track provides the necessary support for the doors.
With the top track installed, you are now ready to move on to the next step: installing the bottom track, which will further secure the doors and guide their movement.
When installing sliding wardrobe doors, make sure to measure the opening accurately and level the tracks before attaching the doors. This will ensure smooth operation and a professional finish.
Step 5: Install the Bottom Track
Installing the bottom track is a crucial step in the installation process of sliding wardrobe doors. The bottom track provides stability and guides the doors’ movement along the floor. Follow these steps to install the bottom track:
- Prepare the floor: Ensure that the floor surface is clean and free of any dust, debris, or obstructions that could affect the installation or movement of the bottom track.
- Measure and mark the position: Measure the length of the bottom track and mark its position on the floor using a pencil or marker. Make sure the track is aligned parallel to the top track and centered along the opening.
- Pre-drill holes (if necessary): Depending on the flooring material, you may need to pre-drill holes to secure the bottom track. Use a power drill and the appropriate drill bit to create pilot holes at the marked positions.
- Attach the bottom track: With the pre-drilled holes in place (if needed), position the bottom track along the marked line. Ensure that it is aligned and level. Insert screws into the pre-drilled holes or directly into the track, depending on the manufacturer’s instructions, and secure the bottom track to the floor.
- Check for stability: Once the bottom track is attached, check for any wobbling or movement. Apply slight pressure to ensure it is securely fastened and provides a stable base for the sliding wardrobe doors.
- Test the track: Slide the doors along the bottom track to check if they move smoothly. Ensure there are no obstructions or resistance. If you encounter any issues, such as doors getting stuck or not sliding correctly, inspect the bottom track for any misalignment or protruding screws. Adjust if necessary.
Installing the bottom track properly is essential for the stability and smooth operation of your sliding wardrobe doors. By measuring, marking, pre-drilling (if necessary), attaching, and checking for stability, you can ensure that the bottom track securely guides the doors along the floor.
With both the top track and bottom track installed, you have created the foundation for your sliding wardrobe doors. Now, it’s time to move on to the next step: hanging the sliding doors and bringing your wardrobe to life.
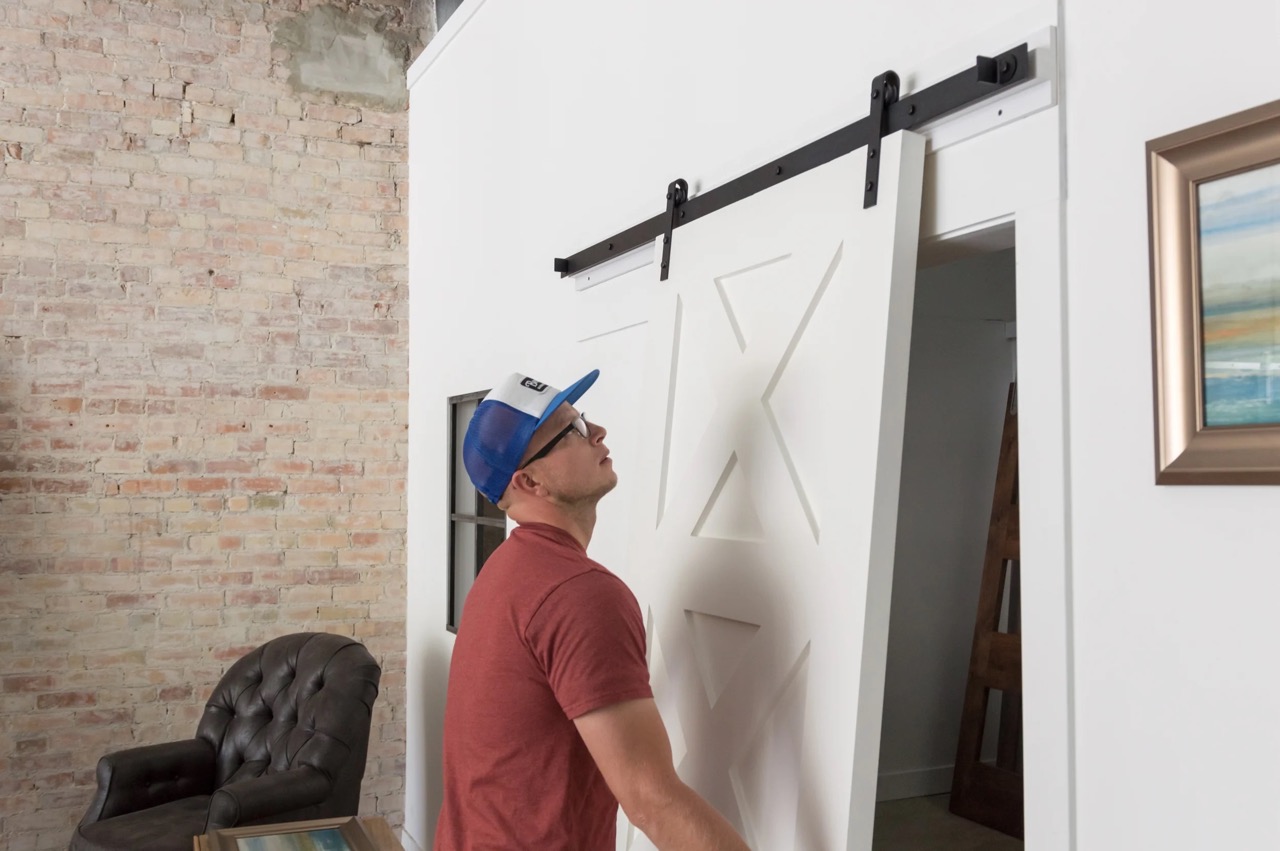
Step 6: Hang the Sliding Doors
Now that the track system is in place, it’s time to hang the sliding doors onto the tracks. Hanging the doors properly will ensure they glide smoothly and securely. Follow these steps to hang the sliding doors:
- Prepare the doors: Before hanging the doors, ensure they are clean and free from any dust or debris. Wipe them down if necessary to ensure a smooth surface for installation.
- Lift the door panel: Lift the first door panel and position it at a slight angle, making sure the bottom rollers align with the bottom track. Hold the door panel firmly while aligning the top rollers with the top track.
- Place the rollers on the track: Slowly lower the door panel onto the track, ensuring that the rollers engage with the track. Gently push the door panel until it is fully seated on the track.
- Repeat the process for additional panels: If your sliding wardrobe doors consist of multiple panels, repeat the above steps for each panel. Make sure to align the rollers with the track and ensure a smooth and seamless connection between panels.
- Test the doors: Once all the panels are hung, slide the doors back and forth along the tracks to test their movement. Ensure they glide smoothly without any resistance or sticking points. If needed, make minor adjustments to the alignment of the panels to ensure optimal performance.
It’s important to handle the doors with care and avoid excessive force when hanging them onto the tracks. The panels should fit snugly on the track but still allow for smooth movement.
Remember to follow the manufacturer’s instructions provided with your specific sliding wardrobe door kit, as the hanging process may vary depending on the design and mechanisms of the doors.
With the sliding doors successfully hung, you’re one step closer to completing the installation. Now, let’s move on to the next step: adjusting and aligning the doors to achieve the perfect fit.
Read more: How To Install Blinds On Sliding Doors
Step 7: Adjusting and Aligning the Doors
After hanging the sliding doors, it’s essential to adjust and align them to ensure they operate smoothly and fit perfectly within the wardrobe opening. Proper alignment will prevent any sticking, rubbing, or uneven gaps between the panels. Follow these steps to adjust and align the doors:
- Check the level: Use a spirit level to ensure that both the top and bottom tracks are level. If any adjustments are needed, loosen the screws that secure the tracks and make the necessary modifications before re-tightening them.
- Adjust the height: If the door panels are not at an even height or level, adjust the height by adjusting the bottom rollers. Most sliding doors have an adjustment mechanism on each roller that allows you to raise or lower the panel. Use a screwdriver or the provided adjustment tool to make the necessary changes.
- Align the panels: Check the alignment of the door panels to ensure they are properly aligned with each other and with the wardrobe opening. If there are any gaps or misalignments, you can adjust the position of the panels horizontally or vertically by slightly loosening the screws that hold the panels in place. Make minor adjustments until the panels are evenly aligned.
- Test the doors: Once you have made the necessary adjustments, slide the doors back and forth to test their movement and check for smooth operation. Ensure that they glide effortlessly and without any obstructions. If you notice any issues, inspect the tracks and the panels for any misalignments or obstacles.
- Secure the adjustments: Once you are satisfied with the alignment and the functioning of the sliding doors, tighten all the screws that hold the panels and tracks in place. Double-check that everything is secure to prevent any movement or loosening over time.
Properly aligning and adjusting the sliding doors will ensure their smooth and seamless operation. Take the time to carefully make adjustments and check for alignment at each stage to achieve the desired fit and functionality.
If you encounter any difficulties during the alignment process or are unsure about the adjustments, consider consulting the manufacturer’s instructions or seeking the help of a professional installer.
With the doors aligned and adjusted, you are almost finished with the installation process. It’s time to move on to the next step: installing the door handles to complete the functionality and aesthetics of your sliding wardrobe doors.
Step 8: Install the Door Handles
Installing door handles on your sliding wardrobe doors is the final touch that adds functionality and enhances their overall aesthetic appeal. Follow these steps to install the door handles:
- Choose the handles: Select the door handles or knobs that match the style and design of your sliding wardrobe doors. Consider the material, shape, and finish to ensure they complement the overall look of the doors and the room.
- Measure for placement: Measure and mark the desired placement of the handles on the door panels. Ensure that they are positioned at a comfortable height and at a consistent distance from the edge of the doors. Use a pencil or marker to make clear, accurate markings.
- Pre-drill holes: Use a power drill with a drill bit appropriate for the size of the screws included with the handles. Pre-drill holes at the marked positions on the door panels. Take care to drill straight and to the appropriate depth, ensuring a secure fit for the screws.
- Attach the handles: Place the handle over the pre-drilled holes and insert the screws through the back of the door panels. Tighten the screws using a screwdriver or a power drill, being careful not to overtighten and damage the doors.
- Repeat for additional handles: If your sliding wardrobe doors have multiple panels and require multiple handles, repeat the above steps for each handle. Ensure consistency in placement and alignment to maintain a cohesive and balanced look.
- Test the handles: Once all the handles are installed, test them by gently pulling or pushing on the doors. Ensure they are securely attached and provide a comfortable grip for opening and closing the doors.
Installing door handles on your sliding wardrobe doors adds the finishing touch, making it easier to access your clothes and belongings. Take your time to select handles that match your personal style and carefully install them for a polished and functional final result.
With the door handles in place, you have completed the installation of your sliding wardrobe doors. The final step is to test and finalize the installation to ensure everything is functioning smoothly.
Step 9: Test and Finalize Installation
Congratulations! You have reached the final step of the sliding wardrobe door installation process. Step 9 involves testing the doors and finalizing the installation to ensure everything is functioning smoothly and securely. Follow these steps to complete the installation:
- Test the door movement: Slide the doors back and forth along the tracks to test their movement. Ensure they glide smoothly and effortlessly without any obstructions or sticking points. Pay attention to any unusual sounds or resistance during this test.
- Check for gaps and alignment: Inspect the doors and the surrounding frame for any gaps, misalignment, or unevenness. Stand back and visually evaluate the overall appearance and symmetry of the doors. Adjust as necessary to achieve a balanced and cohesive look.
- Secure any loose screws: Check all screws, particularly those securing the tracks, panels, and handles. If any are loose, tighten them using a screwdriver or power drill. This ensures the stability and longevity of the installation.
- Clean up: Remove any debris or dust that may have accumulated during the installation process. Wipe down the doors, tracks, and surrounding areas to achieve a clean and presentable finish. This step will give your newly-installed sliding wardrobe doors a fresh and polished appearance.
- Final inspection: Take a final walk-through and inspect the doors from various angles. Check for any imperfections or areas that require further adjustment. Address any issues promptly to ensure a satisfactory installation.
- Enjoy your sliding wardrobe doors: Congratulations! Your sliding wardrobe doors are now installed and ready for use. Open and close them multiple times to appreciate the smooth operation and convenience they provide. Organize your wardrobe and enjoy the enhanced functionality and visual appeal of your newly installed doors.
By thoroughly testing and finalizing the installation, you can have peace of mind knowing that your sliding wardrobe doors are secure, aligned, and functioning optimally.
Remember to refer to the manufacturer’s instructions for any specific maintenance or care guidelines to ensure the longevity and performance of your sliding wardrobe doors. Regularly clean and maintain the tracks, panels, and handles to keep them in top condition.
Thank you for following this step-by-step guide. We hope that the installation process has been smooth and enjoyable. Now, sit back, relax, and admire your beautiful new sliding wardrobe doors!
Conclusion
Congratulations on successfully installing your sliding wardrobe doors! By following this step-by-step guide, you have transformed your space with a stylish and functional wardrobe solution. Sliding wardrobe doors not only maximize space but also add a touch of sophistication to any room.
In this guide, we covered everything from choosing the right sliding wardrobe doors to the final touches of installation. We discussed the importance of considering factors such as style, size, material, finish, and functionality when selecting your doors. We also provided a comprehensive list of tools and materials needed for the installation process.
Throughout the installation steps, we emphasized the importance of precision and attention to detail. From measuring the opening accurately to aligning the panels and adjusting the tracks, each step was crucial in achieving a smooth and seamless operation of the sliding doors.
As you progress through the installation process, we encouraged you to test and finalize each step, ensuring that everything was functioning well and aligned properly. This attention to detail helps guarantee that the doors will provide reliable and convenient access to your wardrobe for years to come.
With your sliding wardrobe doors fully installed, it’s time to organize your wardrobe and enjoy the benefits they bring. These doors not only offer practicality but also enhance the aesthetic appeal of your space.
Remember to refer to the manufacturer’s instructions for any specific maintenance or care guidelines to keep your sliding wardrobe doors in excellent condition. Regularly inspect and clean the tracks, handles, and panels to maintain their optimal performance.
Thank you for following this guide, and we hope it has been helpful in your journey to install sliding wardrobe doors. Enjoy the functionality and elegance they bring to your home!
Frequently Asked Questions about How To Install Sliding Wardrobe Doors
Was this page helpful?
At Storables.com, we guarantee accurate and reliable information. Our content, validated by Expert Board Contributors, is crafted following stringent Editorial Policies. We're committed to providing you with well-researched, expert-backed insights for all your informational needs.


0 thoughts on “How To Install Sliding Wardrobe Doors”