Articles
How To Test Your Garden Soil
Modified: December 6, 2023
Learn how to test your garden soil for optimal gardening results. Get expert tips and techniques for assessing soil fertility and pH levels.
(Many of the links in this article redirect to a specific reviewed product. Your purchase of these products through affiliate links helps to generate commission for Storables.com, at no extra cost. Learn more)
Introduction
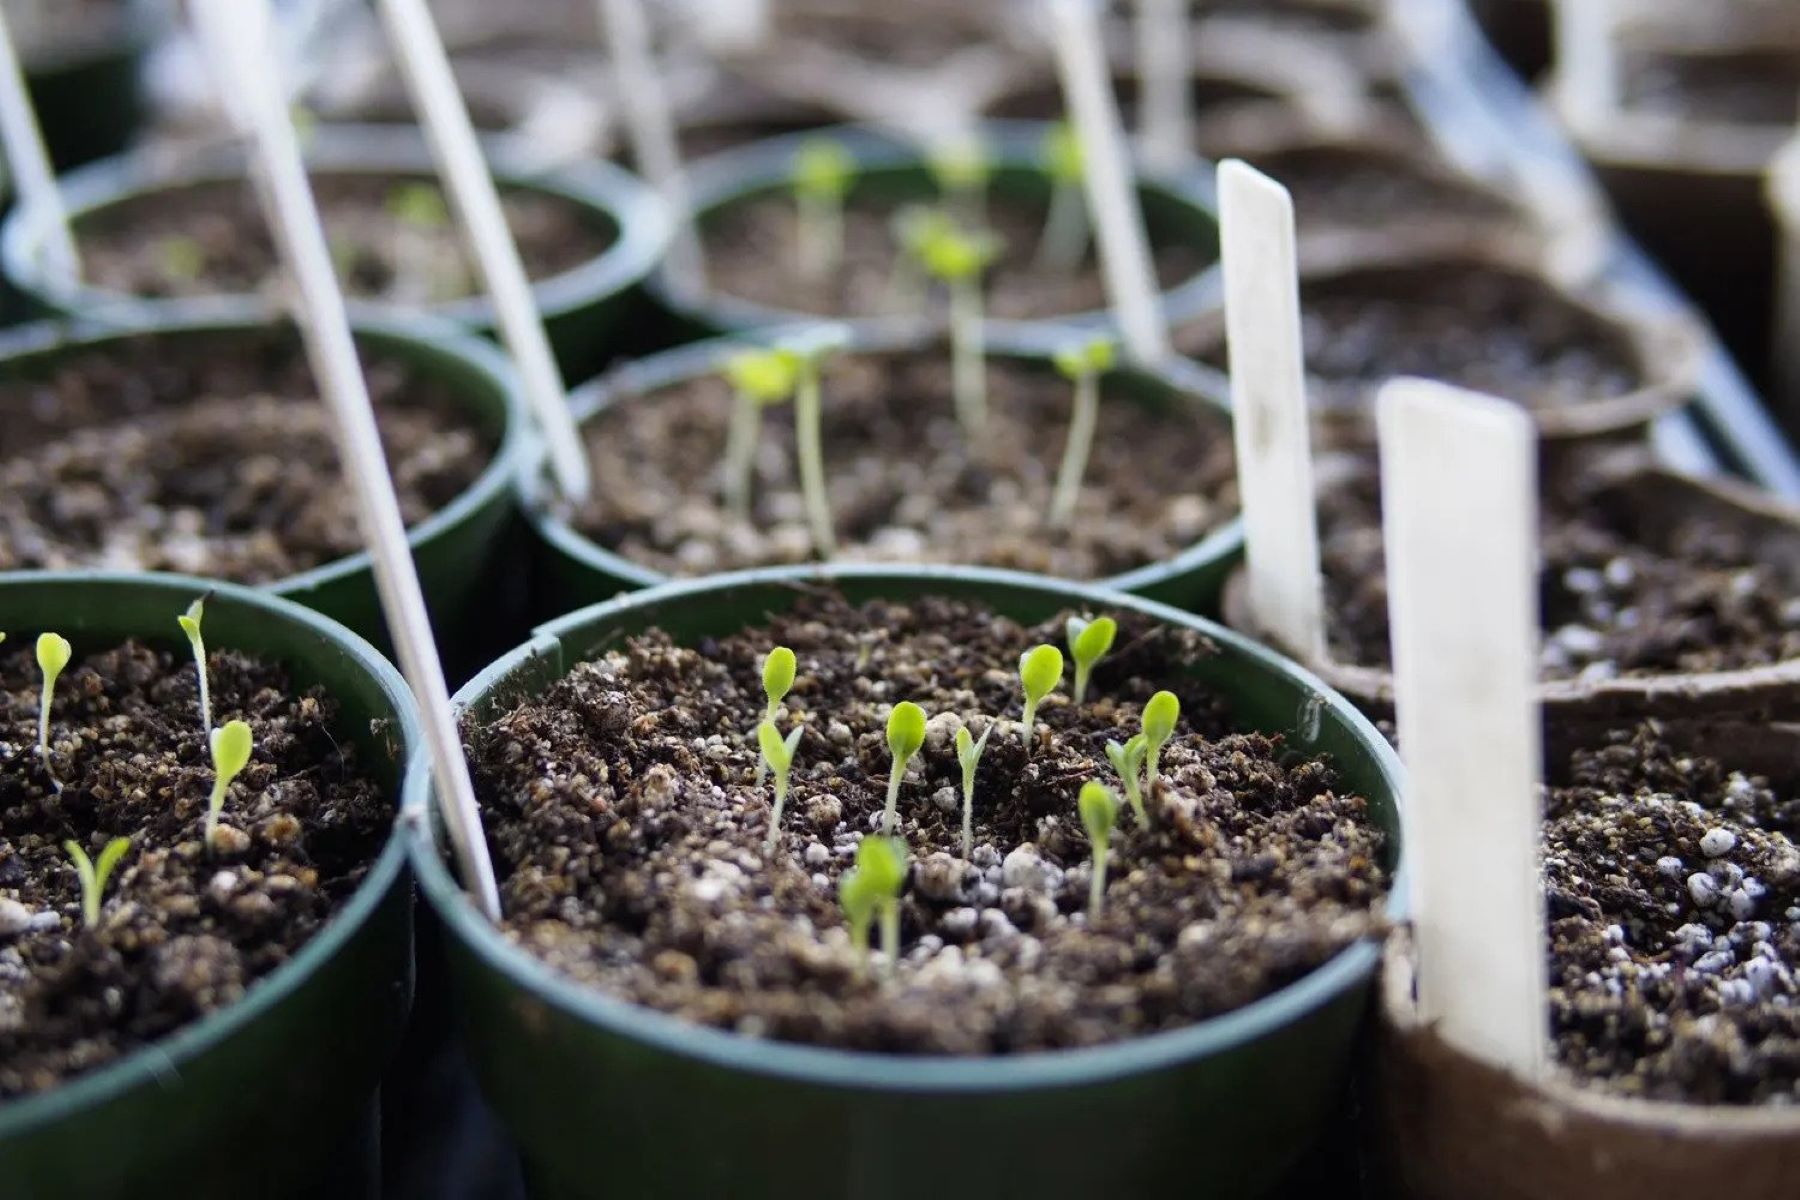
When it comes to gardening, understanding the quality of your soil is essential for successful plant growth. Soil composition and nutrient levels play a crucial role in determining the health and productivity of your garden. However, before you can make any necessary amendments, you need to assess the current condition of your soil.
Testing your garden soil is a simple and effective way to gain insights into its pH levels, texture, nutrient content, drainage, and organic matter. Armed with this knowledge, you can make informed decisions on how to improve your soil and create optimal growing conditions for your plants.
In this article, we will guide you through the process of testing your garden soil step by step. By the end, you will have a comprehensive understanding of your soil’s characteristics and be ready to take the necessary steps to provide the best environment for your plants to thrive.
Key Takeaways:
- Understanding your garden soil’s pH, texture, and nutrient levels is crucial for creating optimal growing conditions. Regular testing and interpretation of results will guide you in making informed decisions to support healthy plant growth.
- Testing your garden soil is a continuous process that empowers you to nurture the health and fertility of your garden. By analyzing soil characteristics and making necessary amendments, you can create an ideal environment for your plants to thrive.
Step 1: Gathering the necessary tools
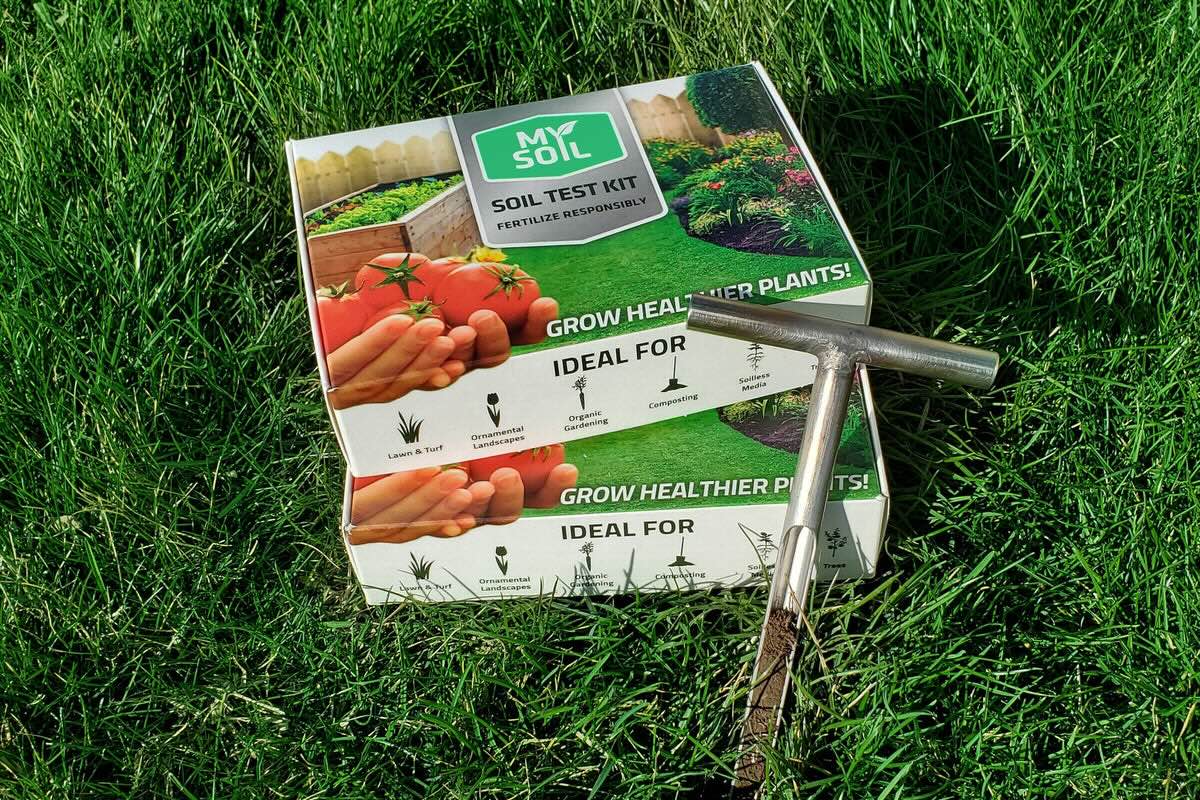
Before you begin testing your garden soil, it’s important to gather the necessary tools to ensure an accurate and reliable assessment. Here are the essential tools you’ll need:
- Soil testing kit: This kit should include pH testing strips or a pH meter, as well as tests for nutrients such as nitrogen, phosphorus, and potassium.
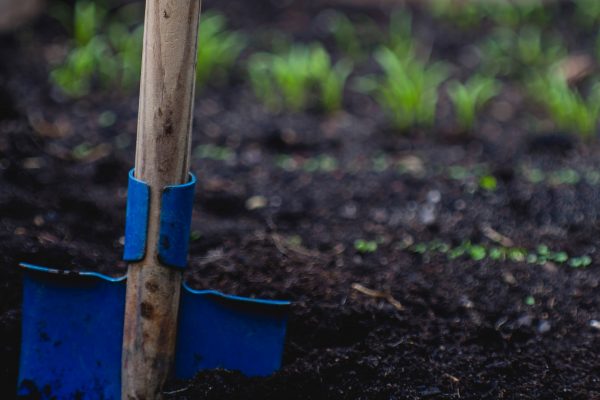
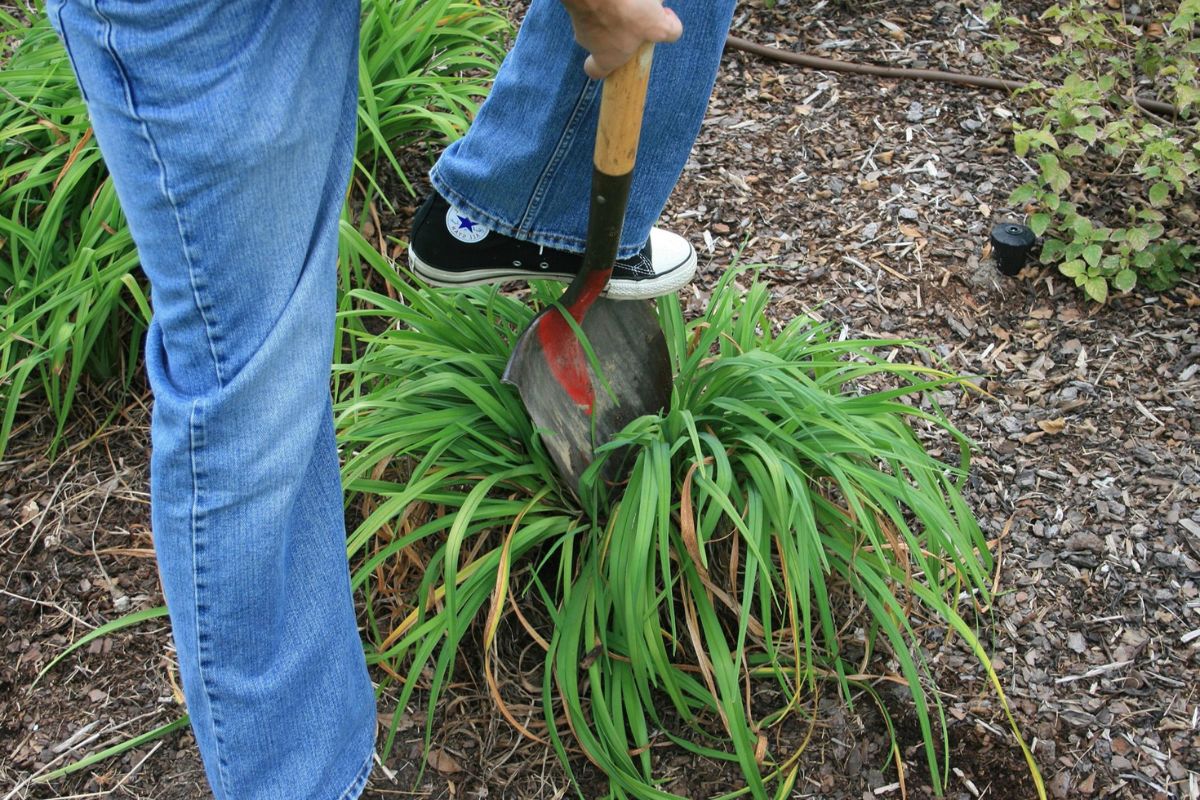
- Garden trowel or shovel: You’ll need a tool to dig soil samples from different areas of your garden.
- Plastic containers: Use these to store your soil samples for testing.
- Distilled water: This is necessary for preparing the soil samples for testing.
- Marker or labels: It’s important to label your soil samples correctly to avoid confusion during the testing process.
- Notebook and pen: Keep track of your soil testing results and observations.
Once you have gathered these tools, you’re ready to move on to the next step of testing your garden soil. Remember to clean and sterilize your tools before and after each use to prevent cross-contamination between samples.
Step 2: Test for soil pH
The pH level of your soil is a crucial factor in determining its acidity or alkalinity. Different plants have different pH preferences, so it’s important to know the pH level of your soil in order to choose appropriate plants and make necessary adjustments if needed.
To test your soil’s pH, follow these steps:
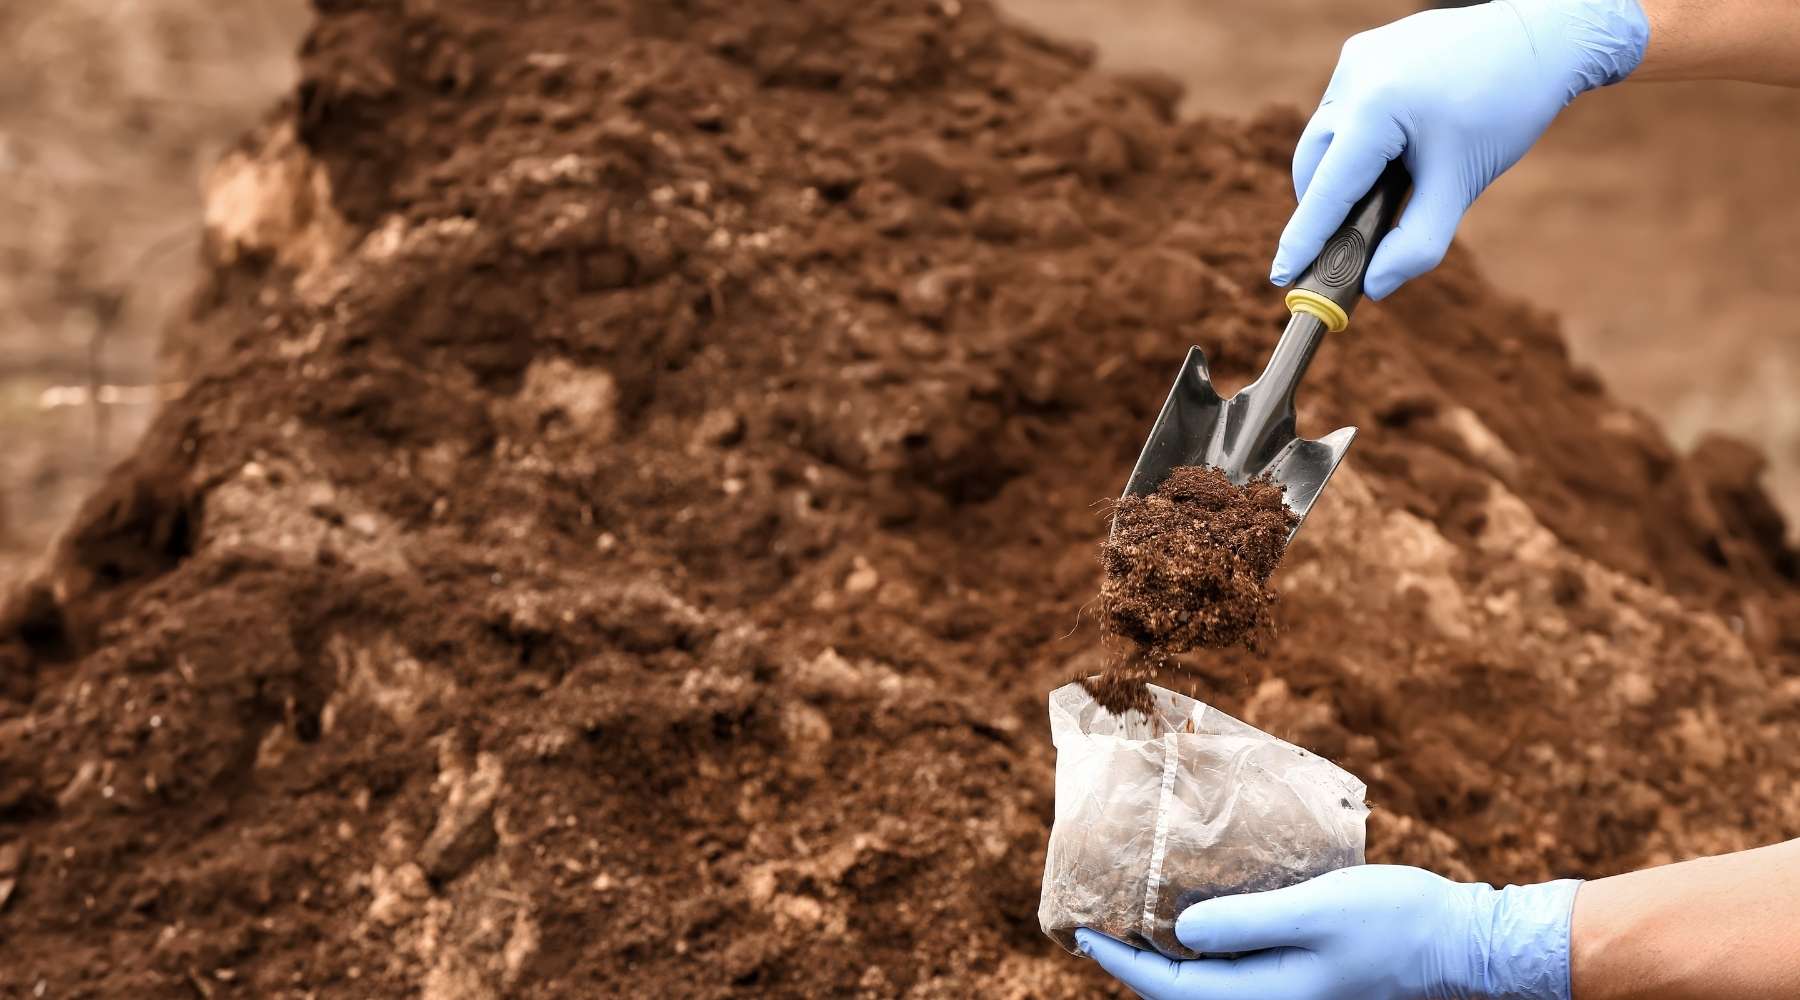
- Collect soil samples from various areas of your garden. Make sure to collect samples from different depths – both from the surface and several inches down.
- Place each soil sample in a separate container and remove any debris such as rocks or roots.
- Using your pH testing kit, follow the manufacturer’s instructions to perform the pH test. This may involve adding water and a pH indicator to the soil sample and comparing the color change to a pH chart.
- Record the pH results for each soil sample in your notebook.
Soil pH is measured on a scale ranging from 0 to 14, with 7 considered neutral. Values below 7 indicate acidic soil, while values above 7 indicate alkaline soil. Most plants prefer slightly acidic to neutral soil, with a pH range of 6 to 7.5.
If your soil is too acidic, you can raise the pH by adding lime or wood ash. Conversely, if your soil is too alkaline, you can lower the pH by adding elemental sulfur or organic matter such as compost.
By testing the pH levels of your soil, you can ensure that your plants have the optimal conditions for growth and nutrient absorption.
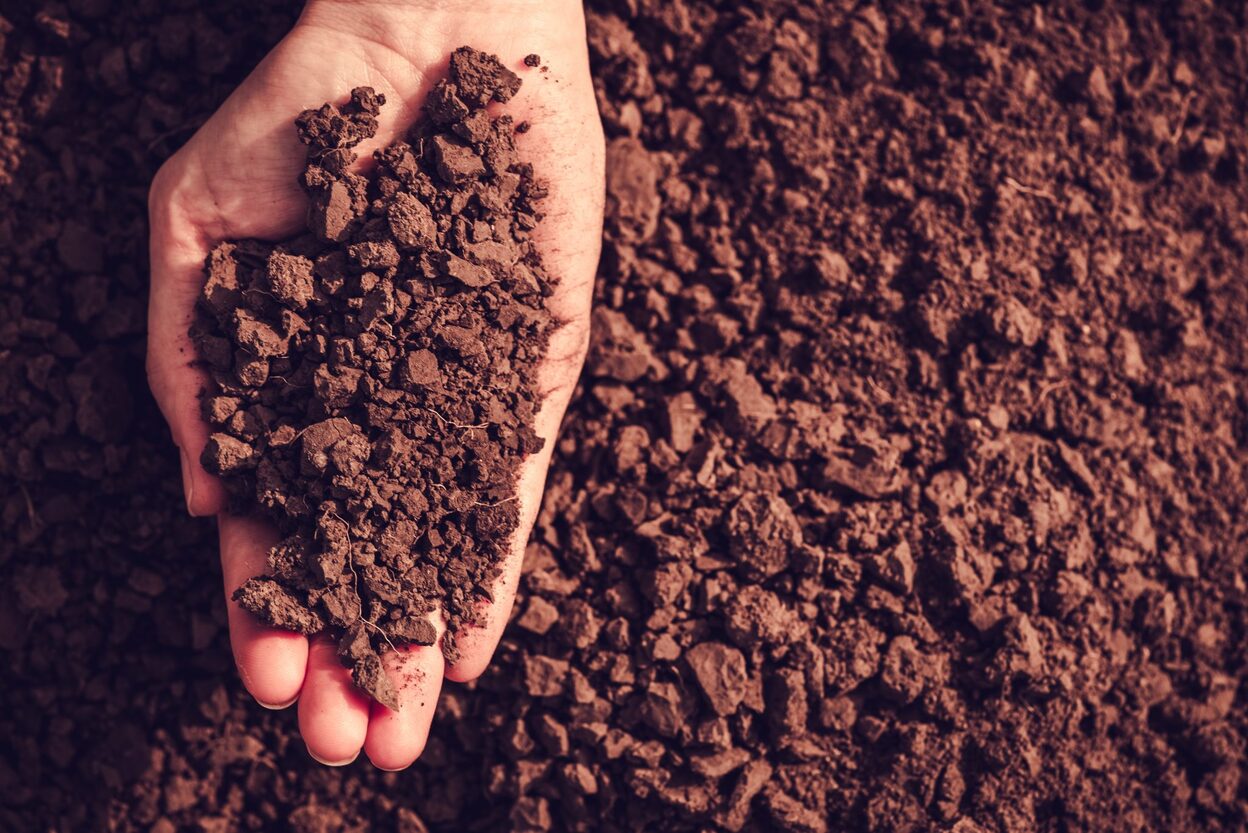
Step 3: Testing for soil texture
Understanding the texture of your soil is essential for determining its water-holding capacity, drainage, and overall suitability for plant growth. Soil texture refers to the relative proportions of sand, silt, and clay particles in the soil.
To determine the texture of your soil, follow these steps:
- Take a soil sample from the desired area of your garden, ensuring that it is representative of the entire area you want to test.
- Remove any rocks, roots, or debris from the soil sample and break up any large clumps.
- Moisten the soil sample with a few drops of water to make it easier to work with.
- Take a small handful of the moistened soil and squeeze it in your hand. Pay attention to how it feels and behaves.
- Observe the texture of the soil sample:
- Sandy soil: Sandy soil feels gritty and crumbles easily. It drains quickly but does not retain much water or nutrients.
- Silty soil: Silty soil feels smooth and soft. It holds water and nutrients well but can become compacted easily.
- Clay soil: Clay soil feels heavy and sticky when wet but hard and compact when dry. It has high water-holding capacity but poor drainage.
- Loamy soil: Loamy soil is a balanced combination of sand, silt, and clay. It feels crumbly and is often considered the ideal soil texture for gardening.
- Record your observations and soil texture results in your notebook.
Knowing the soil texture will help you determine the best course of action in terms of soil amendment, watering practices, and plant selection. Adding organic matter such as compost can improve the structure and fertility of sandy soils, while adding sand or silt can improve drainage in heavy clay soils.
By testing the soil texture, you can make informed decisions to optimize your gardening efforts and create an ideal environment for your plants to flourish.
Step 4: Determine soil nutrient levels
Assessing the nutrient levels in your soil is crucial for understanding its fertility and determining if any amendments are needed to support healthy plant growth. This step involves testing for essential nutrients such as nitrogen (N), phosphorus (P), and potassium (K), as well as other micronutrients like calcium, magnesium, and iron.
Follow these steps to determine the nutrient levels in your soil:
- Collect soil samples from various areas of your garden, ensuring that each sample is representative of its specific location.
- Remove any debris, rocks, or roots from the soil samples.
- Divide your soil samples into separate containers, one for each area of your garden.
- Use your soil testing kit to perform the nutrient tests according to the manufacturer’s instructions. This may involve mixing the soil with a test solution and comparing the color change to a color chart.
- Record the nutrient levels for each soil sample in your notebook.
The ideal nutrient levels for your soil will depend on the specific needs of the plants you wish to grow. Nitrogen is essential for leafy growth, phosphorus promotes root development and flower production, and potassium helps with overall plant health and disease resistance.
If the nutrient levels in your soil are low, you can amend it by adding organic matter such as compost or using fertilizers specifically formulated for the lacking nutrients. However, it’s important not to over-fertilize, as this can lead to nutrient imbalances and harm plants.
By testing the nutrient levels in your soil, you can tailor your fertilizer applications and amendments to meet the specific needs of your plants, ensuring optimal growth and productivity.
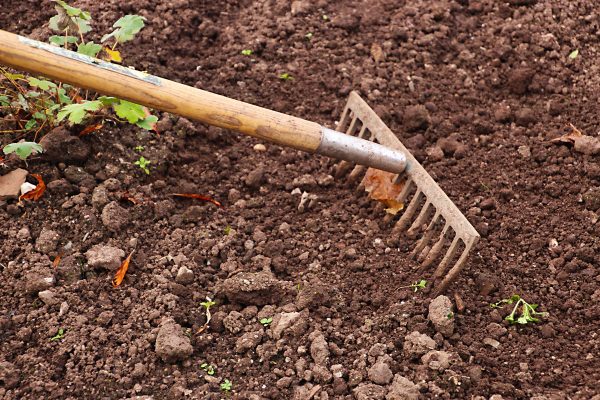
Before testing your garden soil, make sure to remove any debris or large rocks from the surface. This will ensure a more accurate soil sample for testing.
Read more: How To Store Garden Soil
Step 5: Assessing soil drainage
The drainage capability of your soil is a critical factor that affects plant health and growth. Poor drainage can lead to waterlogged soil, which can suffocate plant roots and promote the growth of root rot and other pathogens. On the other hand, excessive drainage can result in soil that dries out too quickly, leading to dehydration and nutrient leaching.
Follow these steps to assess the drainage of your soil:
- Choose a section of your garden that you want to test.
- Dig a hole that is approximately 30 centimeters deep and wide.
- Fill the hole with water and let it drain completely.
- Once the water has drained, refill the hole with water and measure the time it takes for the water to completely disappear.
- Observe the speed at which the water drains:
- Fast-draining soil: If the water disappears within a few hours or less, your soil has excellent drainage.
- Slow-draining soil: If the water takes more than 24 hours to disappear, your soil has poor drainage and retains excessive moisture.
- Medium-draining soil: If the water takes between 6 to 12 hours to disappear, your soil has moderate drainage.
- Record your observations and drainage results in your notebook.
If your soil has poor drainage, you can improve it by adding organic matter such as compost or well-rotted manure. This will help improve soil structure and promote better water movement.
Understanding the drainage capacity of your soil will guide you in choosing appropriate plants and implementing proper watering practices to ensure their health and vitality.
Step 6: Analyzing organic matter content
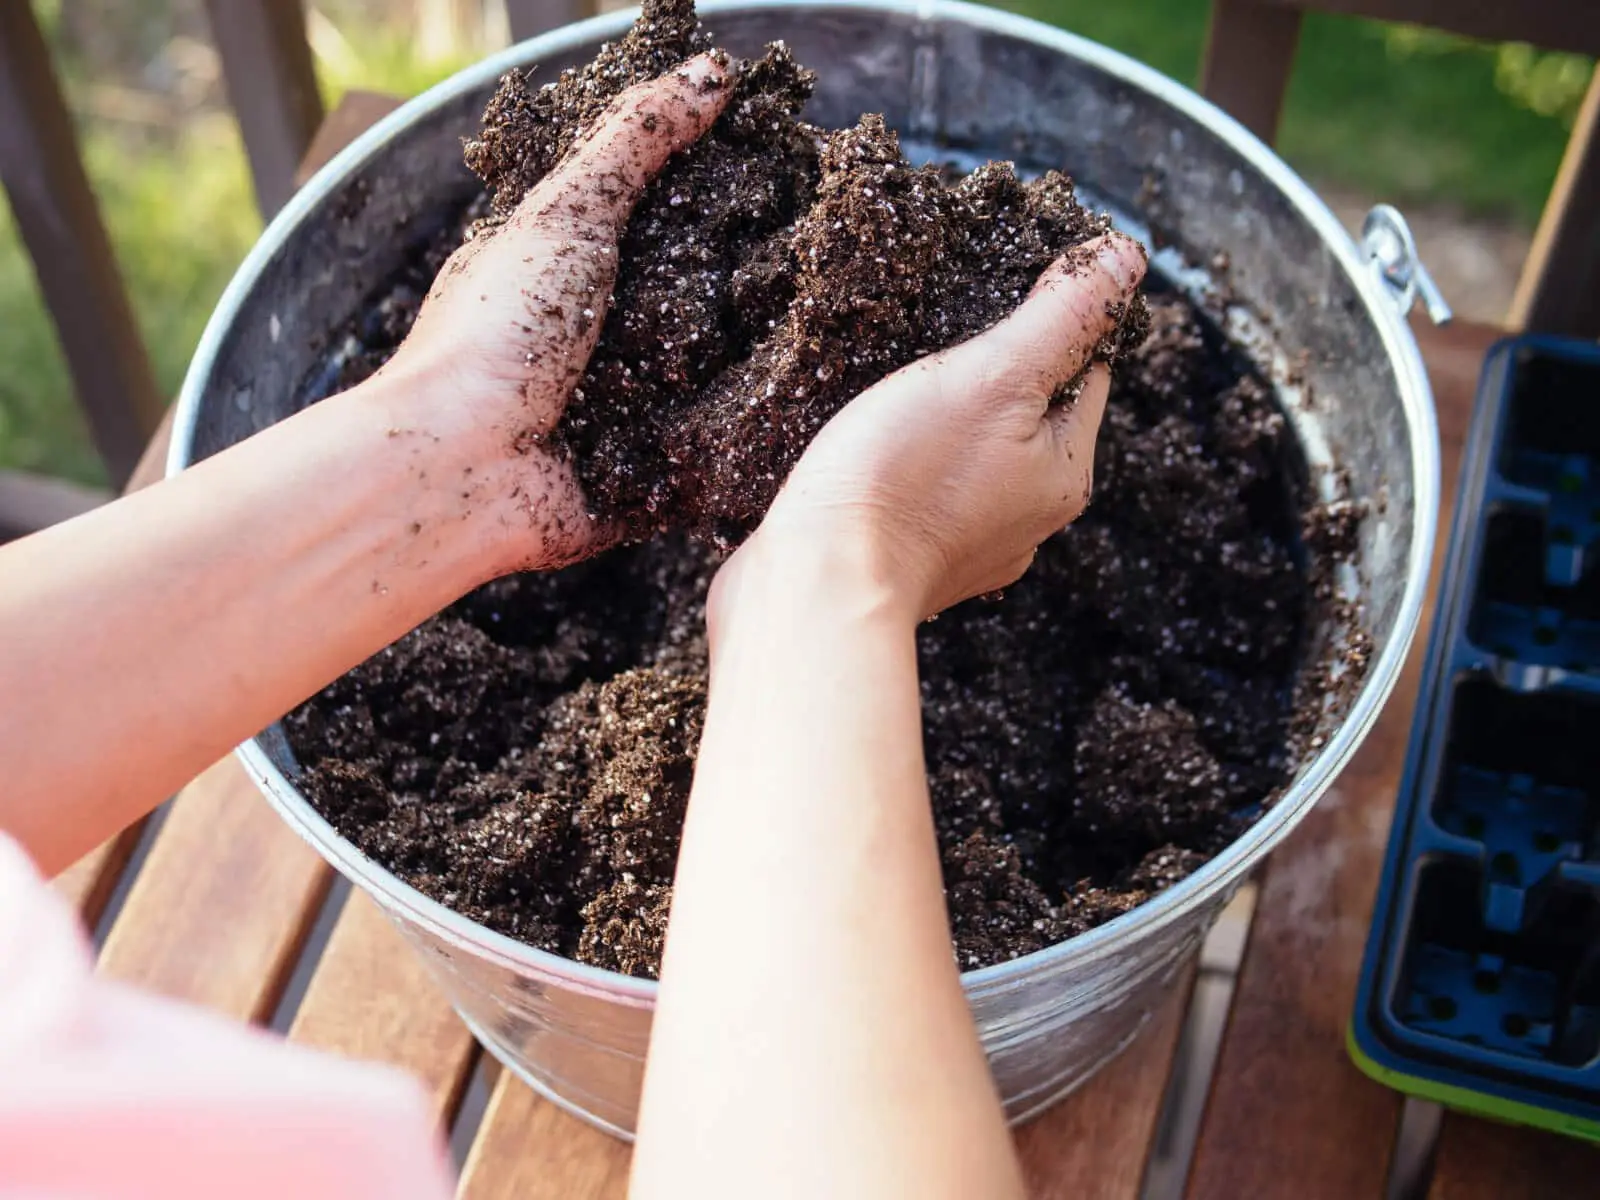
The organic matter content of your soil is a crucial indicator of its fertility and overall health. Organic matter improves soil structure, enhances nutrient retention, and promotes beneficial microbial activity. Analyzing the organic matter content will help you determine if your soil is rich in organic materials or if it requires additional amendments.
Follow these steps to analyze the organic matter content of your soil:
- Collect soil samples from various areas of your garden, making sure to include both surface soil and deeper soil layers.
- Remove any debris or large particles from the soil samples.
- Spread the soil samples on a clean, flat surface and allow them to air dry for a few days.
- Once dry, break up any clumps and remove any remaining debris.
- Weigh a specific amount of the dried soil samples, typically around 100 grams, and record the weight.
- Place the weighed soil samples in a pre-weighed, heat-resistant container and heat them in an oven at a temperature of around 375°F (190°C) for about 2-3 hours.
- Allow the container to cool, then weigh it again and record the weight.
- Calculate the percentage of organic matter using the following formula: (Weight of organic matter / Weight of dried soil) x 100.
- Record the percentage of organic matter for each soil sample in your notebook.
An ideal range of organic matter content is generally between 3% to 5%. Soils with low organic matter content may benefit from the addition of compost, leaf mulch, or other organic materials to improve fertility and overall soil quality.
By analyzing the organic matter content of your soil, you can determine its nutrient-holding capacity and make informed decisions on how to improve its overall health and productivity.
Step 7: Interpreting your soil test results
Interpreting the results of your soil test is crucial to understanding the specific needs of your garden and making informed decisions about soil amendments and plant selection. The results will provide valuable insights into the pH level, nutrient levels, and other characteristics of your soil.
Follow these steps to interpret your soil test results:
- Review the pH level of your soil. Determine whether it is acidic, neutral, or alkaline, and compare it to the desired pH range for the plants you want to grow. If necessary, adjust the pH level using appropriate soil amendments.
- Evaluate the nutrient levels in your soil. Compare the results to the recommended levels for the specific plants you want to grow. If any nutrients are deficient, consider adding organic fertilizers or other amendments to address the deficiencies. Be cautious not to over-fertilize as this can harm plants.
- Assess the soil texture and drainage abilities. Determine whether your soil is primarily sandy, loamy, or clayey, and consider how it impacts water movement and root growth. Adjust soil structure and drainage as necessary using compost, sand, or other suitable amendments.
- Analyze the organic matter content of your soil. Determine the percentage of organic matter and assess whether it falls within the desired range. If it is low, consider adding organic materials such as compost or well-rotted manure to improve soil fertility and structure.
- Consider any additional information from the soil test, such as micronutrient levels or specific recommendations. Follow the suggested actions to address any specific concerns or improvements needed.
Remember that soil testing is not a one-time event. It is recommended to test your soil periodically, perhaps every couple of years, to monitor changes and adjust your gardening practices accordingly.
By interpreting your soil test results, you will gain a comprehensive understanding of the characteristics of your soil and be able to make informed decisions on how best to nurture and support the health of your garden.
Conclusion
Testing your garden soil is a crucial step in ensuring the success of your gardening endeavors. It provides valuable insights into the pH level, nutrient content, texture, drainage, and organic matter content of your soil. Armed with this knowledge, you can make informed decisions on soil amendments, plant selection, and watering practices to create the optimal growing conditions for your plants.
Throughout the testing process, you have learned how to gather the necessary tools, test for soil pH, assess soil texture, determine nutrient levels, evaluate soil drainage, and analyze organic matter content. Each step has provided valuable information that will help you understand your soil better and take appropriate action to improve its overall health and fertility.
Remember, soil testing is not a one-time task. As your garden evolves and your plants’ needs change, periodic soil testing will help you monitor and adjust your soil management practices accordingly. Additionally, it’s essential to keep records of your soil test results to track changes over time and make informed decisions based on the data.
By regularly testing your garden soil and implementing the necessary amendments, you will create an ideal environment for your plants to thrive. Healthy soil will support vigorous growth, increase fruit and flower production, and enhance the overall beauty and productivity of your garden.
So, take the time to test your garden soil and unlock the secrets hidden beneath the surface. Armed with this knowledge, you can embark on a gardening journey that is rooted in understanding and nurtures the true potential of your plants.
Frequently Asked Questions about How To Test Your Garden Soil
Was this page helpful?
At Storables.com, we guarantee accurate and reliable information. Our content, validated by Expert Board Contributors, is crafted following stringent Editorial Policies. We're committed to providing you with well-researched, expert-backed insights for all your informational needs.


0 thoughts on “How To Test Your Garden Soil”