Articles
How To Turn Your Basement Into A Bunker
Modified: October 20, 2024
Discover the best tips and articles on how to transform your basement into a secure bunker for ultimate safety and preparedness.
(Many of the links in this article redirect to a specific reviewed product. Your purchase of these products through affiliate links helps to generate commission for Storables.com, at no extra cost. Learn more)
Introduction
Turning your basement into a bunker is a practical and strategic decision, providing you with a secure and fortified space in case of emergencies or unpredictable events. Whether you’re preparing for natural disasters, civil unrest, or even a zombie apocalypse, converting your basement into a bunker can offer you peace of mind and a sense of security.
In this comprehensive guide, we will walk you through the step-by-step process of transforming your basement into a fully functional and well-equipped bunker. From assessing the space to installing essential systems and creating living areas, we will cover all the necessary aspects to help you create a safe and secure refuge.
Before we proceed, it’s important to note that converting your basement into a bunker requires careful planning, budgeting, and adherence to safety regulations. It’s always recommended to consult with professionals, such as architects, engineers, and contractors, to ensure that your bunker meets all necessary standards and is safe to inhabit.
Now, let’s dive into the details and explore the fascinating journey of turning your basement into a bunker that can protect you and your loved ones in times of crisis.
Key Takeaways:
- Transforming your basement into a bunker involves assessing space, waterproofing, reinforcing walls, installing ventilation, stocking supplies, and implementing security measures. Prioritize safety and functionality while consulting professionals for guidance.
- Converting your basement into a bunker requires careful planning, budgeting, and adherence to safety regulations. It’s a proactive step towards preparedness, offering peace of mind and a sense of comfort during unforeseen circumstances. Regular maintenance and updates are essential for a reliable sanctuary.
Read more: How To Turn A Basement Into A Bedroom
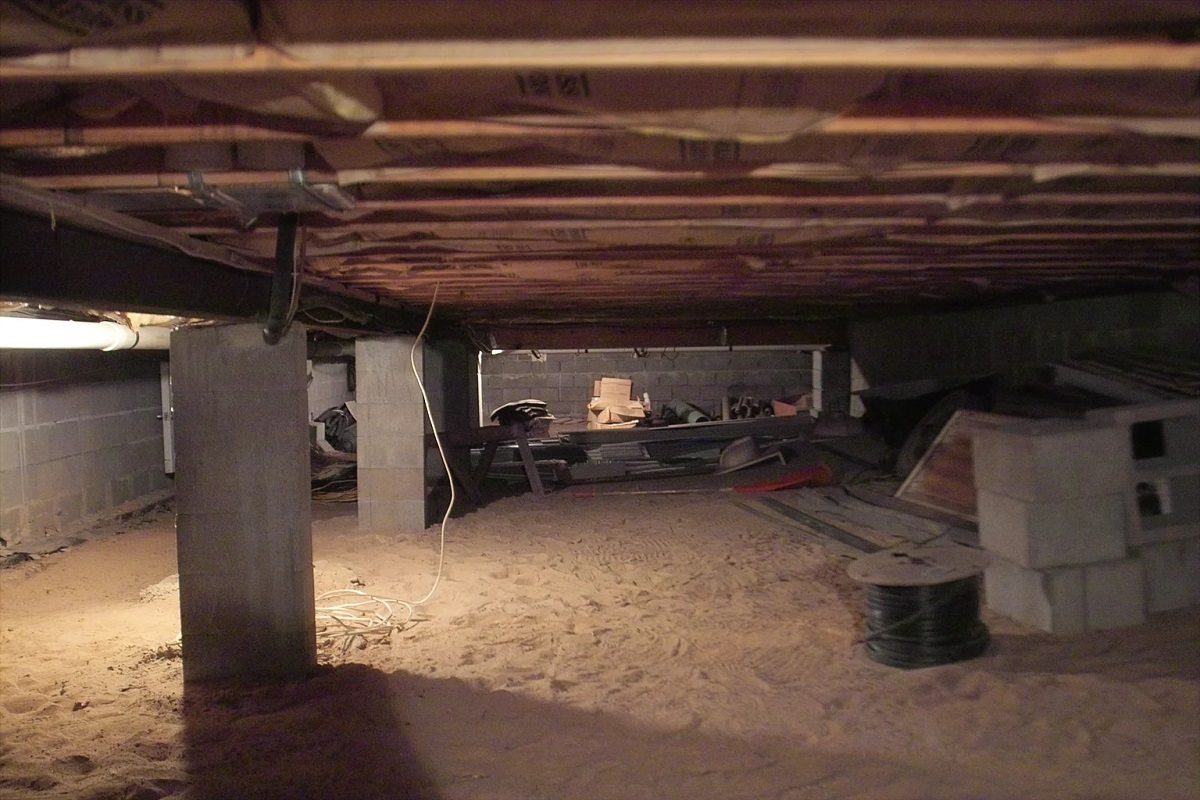
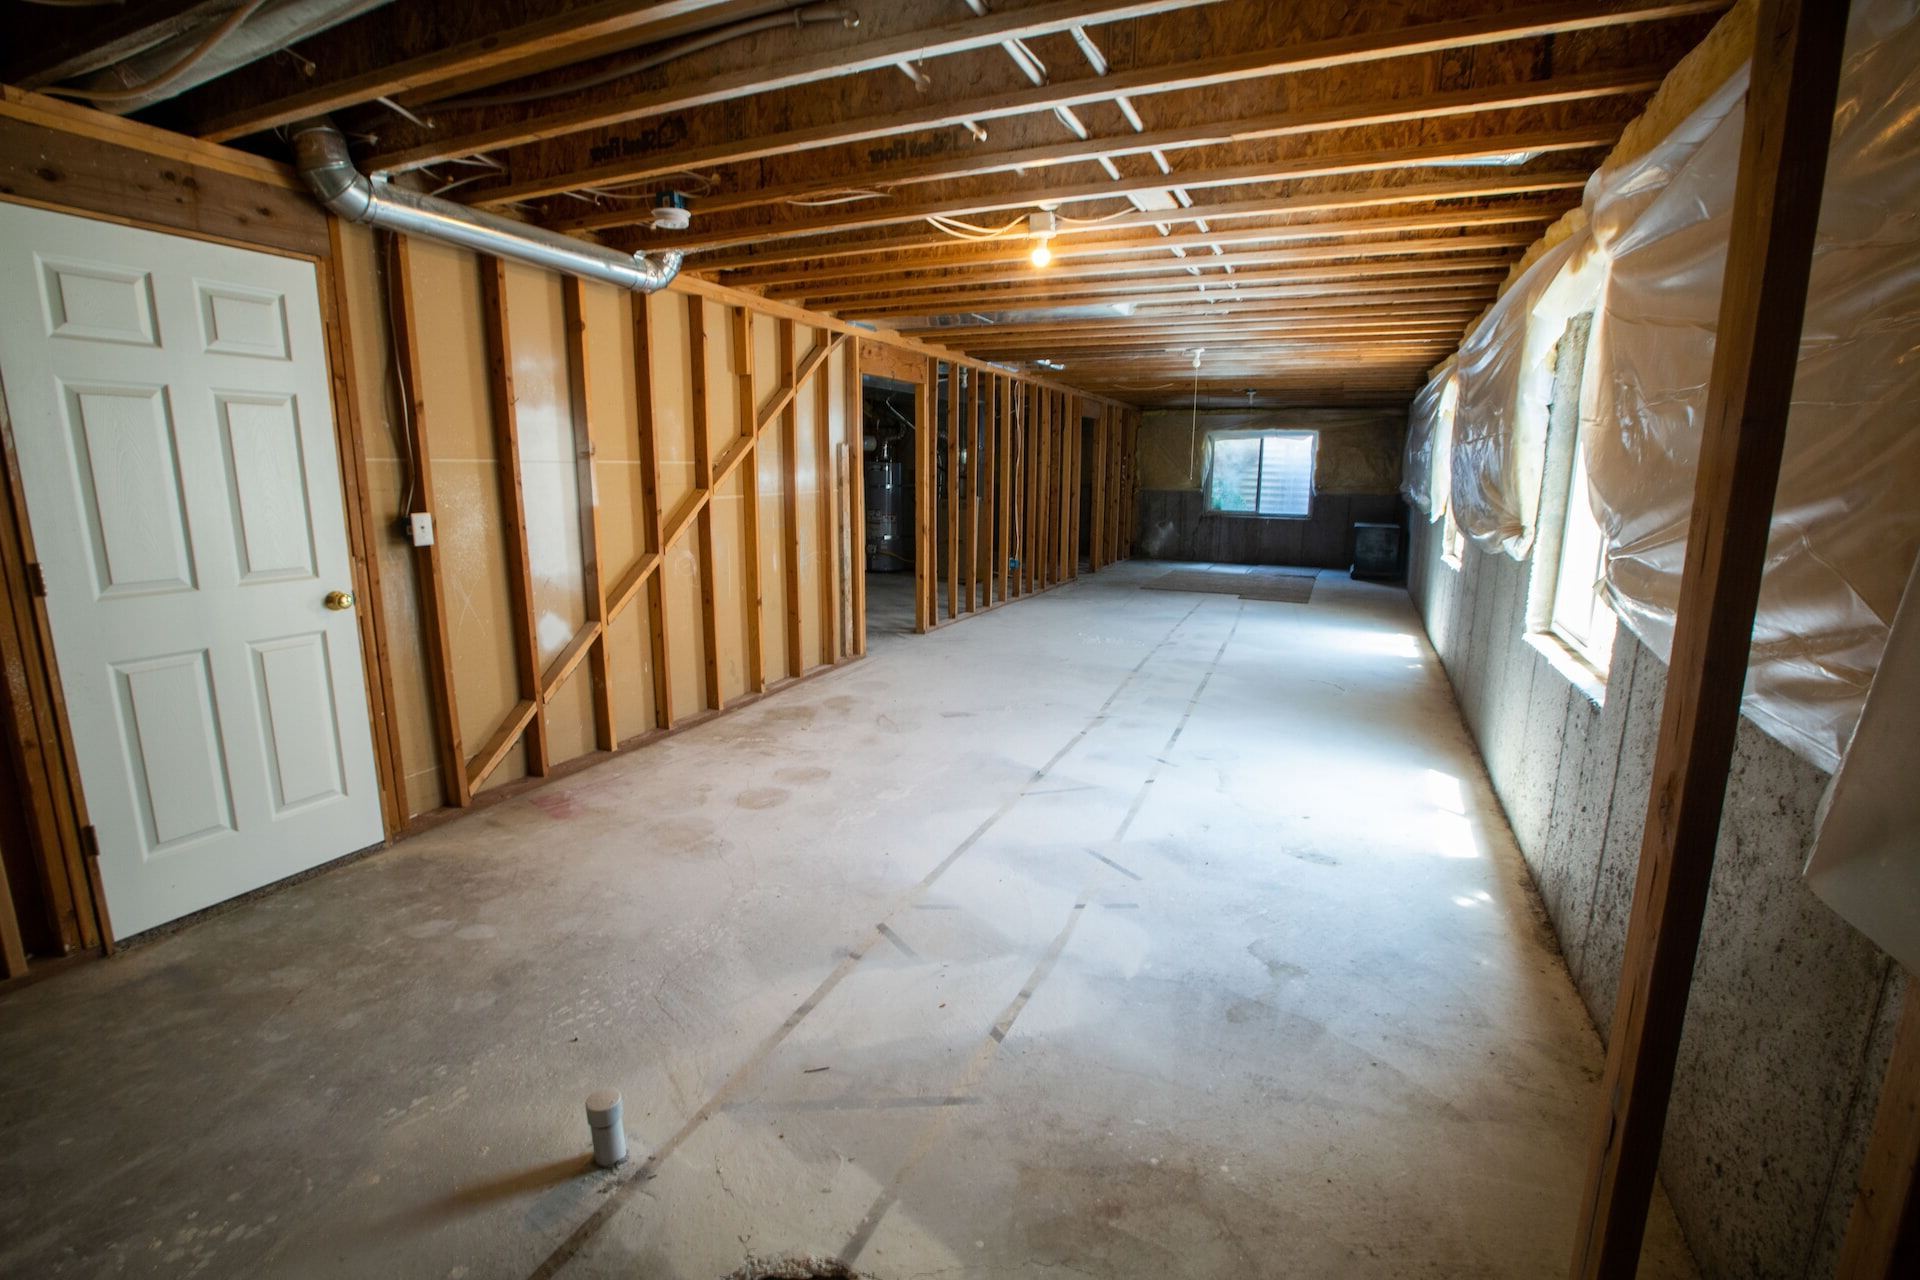
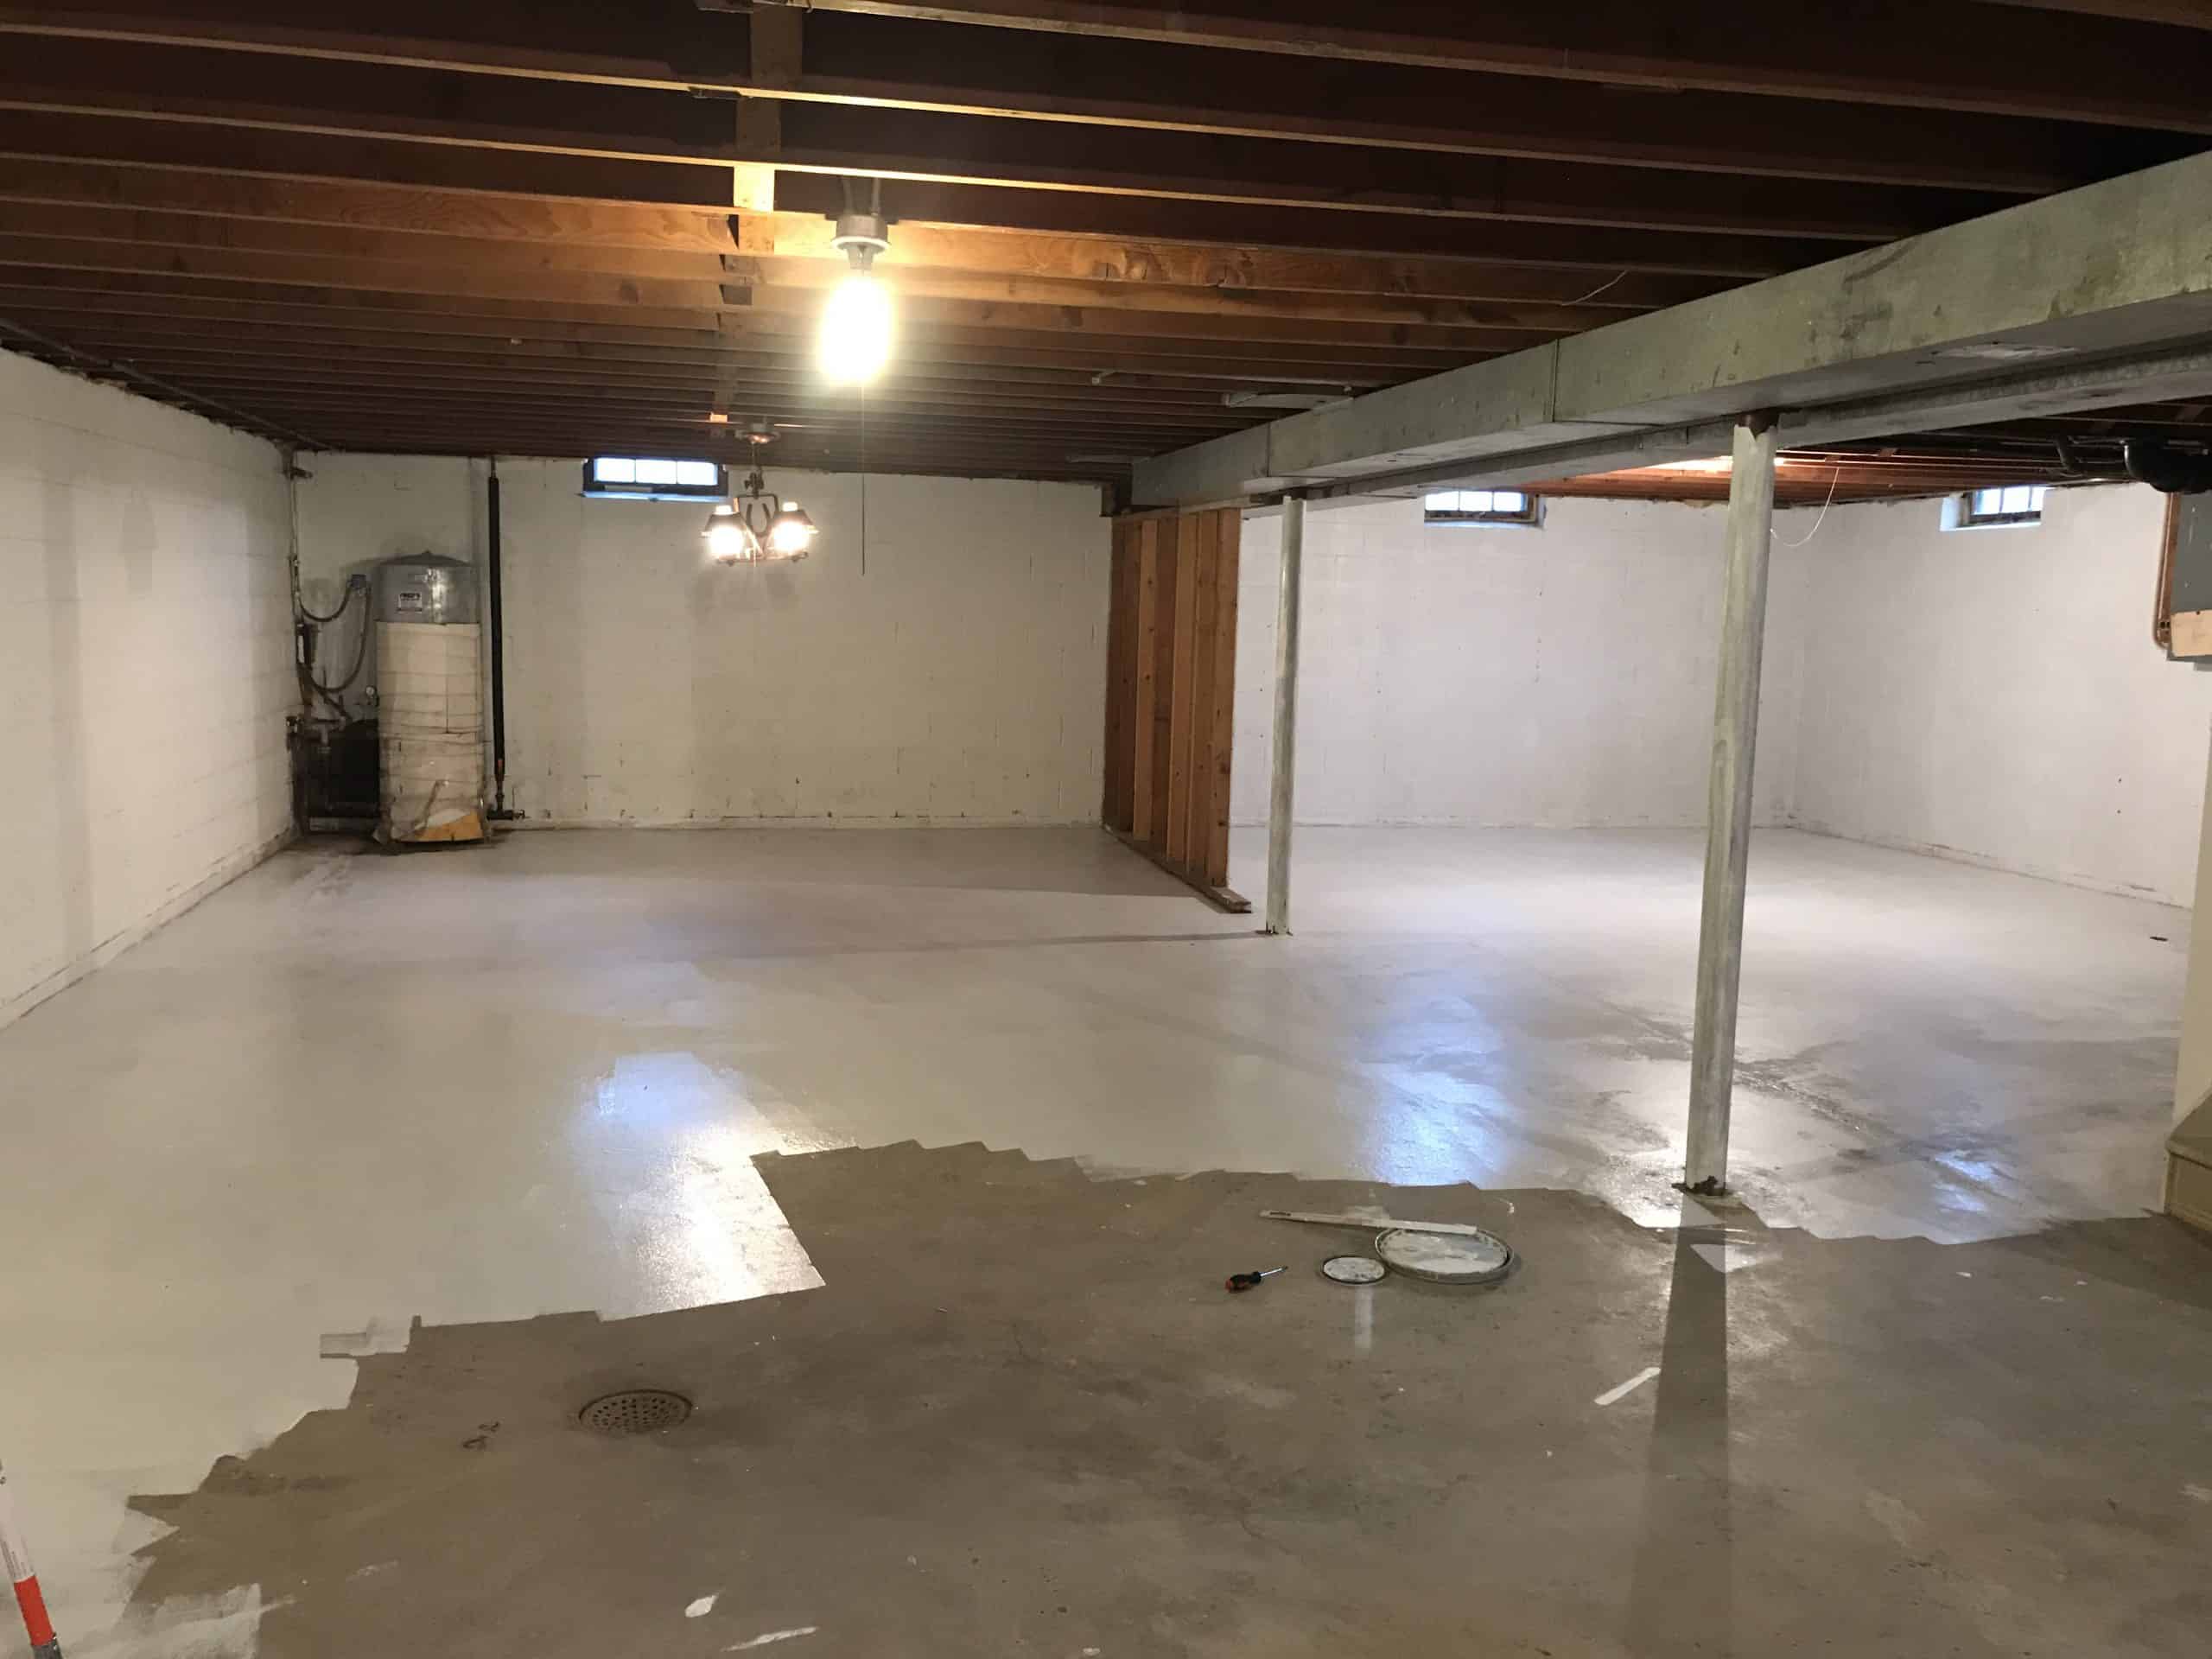
Step 1: Assessing the Basement Space
The first step in turning your basement into a bunker is to assess the available space and determine its suitability for this purpose. Consider the following factors:
- Size: Measure the dimensions and calculate the square footage of your basement. This will help you determine how much space you have to work with and plan the layout accordingly.
- Structural Integrity: Inspect the walls, floors, and ceiling of the basement for any signs of damage or structural issues. Look for cracks, leaks, or uneven surfaces, as these may need to be repaired or reinforced before proceeding.
- Accessibility: Assess the accessibility of the basement and plan for an appropriate entrance and exit. Consider factors such as stairs, doorways, and any potential obstacles that may need to be addressed.
- Natural Light: Take note of the availability of natural light in the basement. If there are limited windows or no windows at all, you will need to plan for alternative lighting solutions to create a comfortable and functional space.
- Utilities: Evaluate the existing utilities in the basement, including electrical, plumbing, and heating systems. Ensure that they are in good condition and capable of supporting the additional requirements of a bunker.
Once you have assessed the basement space, take some time to envision how you want your bunker to look and function. Consider the number of people it needs to accommodate, the duration of stay, and the specific amenities you require.
Remember, the purpose of this assessment is to lay the foundation for the rest of the bunker conversion process. It will help you make informed decisions about the design, materials, and systems needed to create a safe and comfortable space.
In the next step, we will discuss the crucial task of waterproofing and moisture control, ensuring that your bunker remains dry and protected from the elements.
Step 2: Waterproofing and Moisture Control
Ensuring that your bunker is waterproof and properly controlled for moisture is essential to maintain a secure and comfortable environment. Moisture intrusion can lead to mold growth, structural damage, and overall deterioration of the bunker’s integrity. Here are the steps to follow:
- Inspect for leaks: Check for any existing leaks or signs of water damage in your basement. Look for water stains, dampness, or musty odors. Address any leaks before proceeding.
- Exterior drainage: Evaluate the exterior of your home to ensure proper drainage away from the foundation. This will help prevent water from seeping into your basement. Clear gutters and downspouts, install French drains if needed, and grade the surrounding soil away from the foundation.
- Seal cracks and gaps: Seal any cracks or gaps in the basement walls and floors using an appropriate sealant. This will prevent water from seeping through these openings and causing damage. Consider using waterproofing paint or coatings for added protection.
- Install a sump pump: A sump pump is a crucial device for preventing basement flooding. Install a sump pump with a battery backup system to ensure it functions even during power outages.
- Insulate pipes: Insulate your water pipes to prevent condensation and potential leaks. Proper insulation will help control moisture levels and protect your bunker’s infrastructure.
- Ventilation: Install proper ventilation systems, such as exhaust fans or dehumidifiers, to control humidity levels. Excessive moisture can lead to mold growth and damage supplies stored in your bunker.
By addressing waterproofing and moisture control, you can create a dry and secure environment that will protect your bunker from water damage and ensure the longevity of your investment.
In the next step, we will discuss reinforcing the walls and floors of your basement to enhance the structural integrity of your bunker.
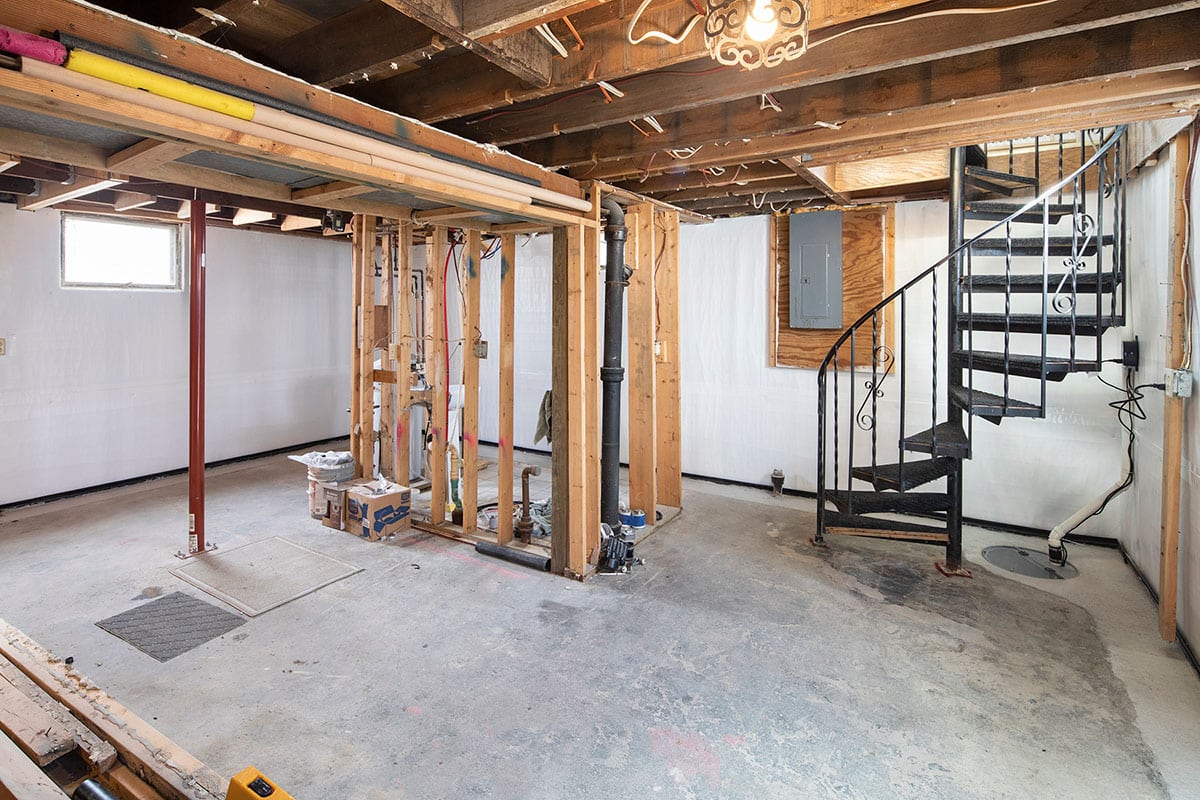
Step 3: Reinforcing the Walls and Floors
Reinforcing the walls and floors of your basement is a crucial step in turning it into a strong and secure bunker. This will provide structural stability and additional protection in case of any unforeseen events. Follow these steps to reinforce your basement:
- Assess existing structures: Evaluate the current condition of the walls and floors in your basement. Look for any signs of weakness or damage, such as cracks, bowing, or settling. Address these issues before proceeding.
- Brace the walls: Install wall braces or anchors to strengthen the overall structure of the basement walls. These can help prevent inward or outward movement, particularly in areas prone to soil pressure or water intrusion.
- Strengthen the floors: Reinforce the basement floors by adding additional support, such as steel beams or columns. This will distribute the weight evenly and prevent sagging or shifting.
- Use reinforced materials: Consider using reinforced concrete or other sturdy materials for any new walls or partitions you plan to add. Reinforced materials offer greater durability and resistance to impact or external forces.
- Anchor heavy items: Secure heavy items, such as shelves or equipment, to the walls or floors using anchors or wall brackets. This will prevent them from toppling over during an emergency.
- Install blast-resistant materials: Depending on the level of security you desire, you may choose to install blast-resistant materials on the walls and floors. These specialized materials can provide additional protection against explosions or ballistic impacts.
Reinforcing the walls and floors of your basement will not only enhance the structural integrity of your bunker but also provide a sense of safety and security. It is important to consult with professionals or structural engineers to ensure that the reinforcement methods you choose are appropriate for your specific situation.
In the next step, we will discuss the importance of installing a ventilation and air filtration system to maintain a healthy and breathable environment within your bunker.
Step 4: Installing Ventilation and Air Filtration System
Proper ventilation and air filtration are vital for maintaining a healthy and comfortable environment within your bunker. Installing an effective system will ensure a continuous supply of fresh air and remove any harmful contaminants. Follow these steps to install a ventilation and air filtration system:
- Evaluate ventilation needs: Assess the size and layout of your bunker to determine the appropriate ventilation requirements. Consider factors such as the number of occupants, activities that will take place, and the duration of stay in the bunker.
- Choose the right ventilation system: Depending on your needs, you may opt for a mechanical ventilation system or natural ventilation methods. Mechanical systems, such as fans or HVAC units, can provide controlled airflow, while natural methods, such as vents or windows, utilize outdoor air circulation.
- Install air filtration units: Consider installing air filtration units to remove dust, smoke, toxins, and other contaminants from the air within your bunker. Choose a system that suits your needs, such as high-efficiency particulate air (HEPA) filters, activated carbon filters, or UV air purifiers.
- Plan for emergency ventilation: Include emergency ventilation options in case of power failure or compromised ventilation systems. This could involve manual ventilation fans, access to fresh outdoor air, or backup power sources to operate the ventilation system.
- Ensure proper airflow: Position vents or fans strategically to facilitate proper airflow throughout the bunker. This will help prevent stagnant air and ensure consistent distribution of fresh air.
- Maintain and test the system: Regularly clean and replace filters, as recommended by the manufacturer, to ensure optimal performance of the ventilation and air filtration system. Test the system periodically to ensure it is functioning effectively.
By installing a proper ventilation and air filtration system, you can create a clean and breathable environment within your bunker. This is particularly important for long-term stays, as it promotes overall health and well-being.
In the next step, we will discuss the crucial task of creating a secure entrance for your bunker, ensuring that only authorized individuals can access the space.
Read more: How To Heat Your Basement
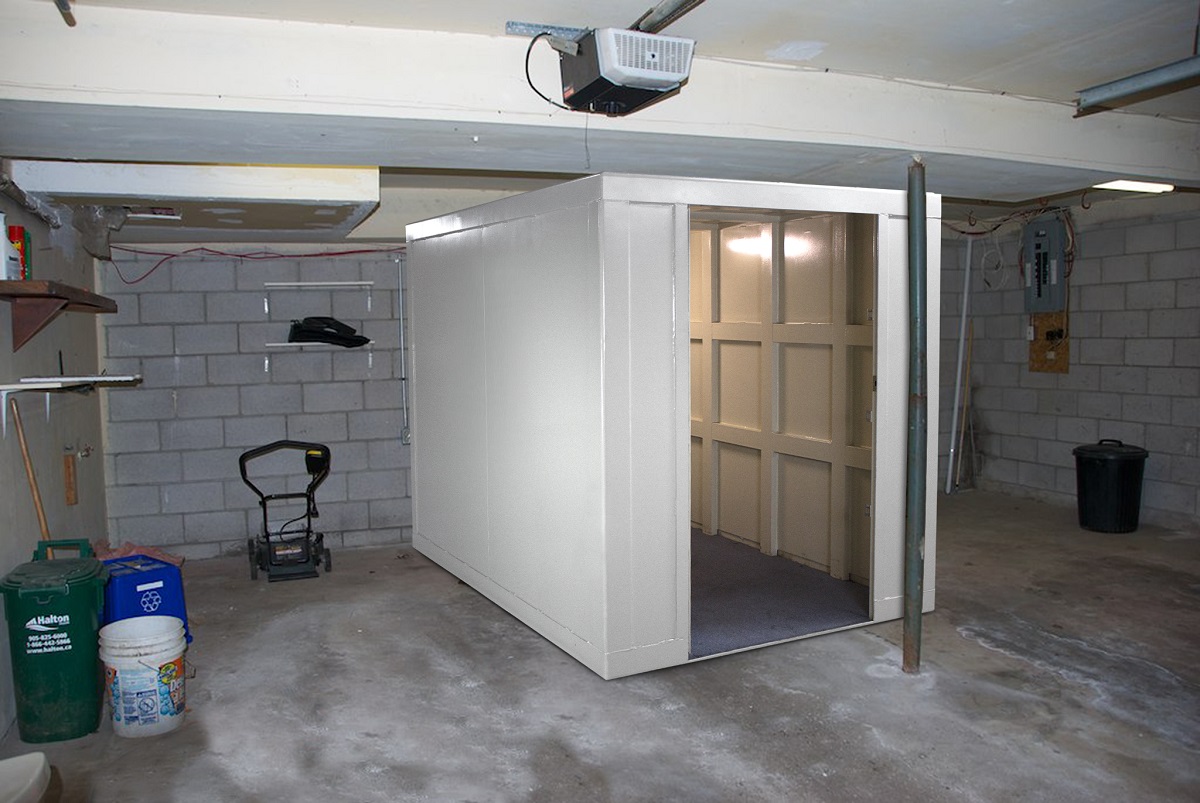
Step 5: Creating a Secure Entrance
Creating a secure entrance for your bunker is essential to control access and ensure the safety of occupants. Consider the following steps when designing and constructing the entrance:
- Choose the location: Determine the most suitable location for the entrance to your bunker. It should be easily accessible and discreet, preferably away from the main entrance of your home.
- Reinforce the entrance: Use heavy-duty materials, such as reinforced steel or solid wood, to construct a strong and secure door. Reinforce the frame and hinges to withstand external pressure or attempted forced entry.
- Install security measures: Consider adding additional security measures to the entrance, such as electronic locks, key-card access systems, or biometric scanners. These extra layers of security can help restrict access to authorized individuals only.
- Consider emergency exits: Plan for multiple exit points, including emergency exits, in case the main entrance becomes inaccessible during an emergency. Ensure that these exits are easily reachable and have proper ventilation and safety features.
- Implement surveillance systems: Install surveillance cameras and motion sensors around the entrance area to monitor any suspicious activity. This will alert you to potential threats and enhance the overall security of your bunker.
- Establish clear protocols: Develop clear protocols and procedures for entering and exiting the bunker. This can include identification verification, security checks, and emergency response plans.
Creating a secure entrance will provide you with peace of mind and control over who has access to your bunker. It ensures that you and your loved ones can seek refuge in a safe and protected environment.
In the next step, we will explore the importance of stocking essential supplies in your bunker to sustain you during extended periods of isolation or emergencies.
When turning your basement into a bunker, make sure to reinforce the walls and ceiling with strong materials like concrete or steel to provide maximum protection.
Step 6: Stocking Essential Supplies
Stocking essential supplies in your bunker is crucial to sustain you and your loved ones during emergencies or extended periods of isolation. It’s important to consider the following steps when preparing and organizing your supplies:
- Create a comprehensive checklist: Make a list of essential items you will need for survival, including food, water, medical supplies, toiletries, clothing, and basic tools. Consider the number of occupants, the anticipated duration of stay, and any specific dietary or medical needs.
- Choose long-lasting and non-perishable food: Select food items that have a long shelf life and require minimal or no refrigeration. Stock up on items like canned goods, dried fruits, nuts, granola bars, and freeze-dried meals. Don’t forget to include a manual can opener.
- Ensure an adequate water supply: Store enough water to meet the hydration needs of all occupants for at least a few weeks. Aim for one gallon of water per person per day to cover drinking, cooking, and sanitation needs.
- Include first aid and medical supplies: Have a well-stocked first aid kit that includes bandages, antiseptics, medications, and any necessary prescription drugs. Consider the specific health conditions and medications required by individuals in your group.
- Provide hygiene and sanitation products: Pack items like toilet paper, soap, hand sanitizer, toothbrushes, toothpaste, and feminine hygiene products. You may also invest in a portable toilet and waste disposal system.
- Consider communication and entertainment: Include battery-operated or solar-powered radios, flashlights, and extra batteries for communication and entertainment. Pack playing cards, books, puzzles, or any other activities to help pass the time.
- Regularly rotate and restock supplies: Check expiration dates and rotate food and medical supplies on a regular basis. Create a system to ensure that your supplies remain fresh and viable.
Having a well-stocked bunker will provide you with the necessary resources to sustain yourselves during emergencies. It’s essential to regularly assess, update, and replenish your supplies to ensure you are adequately prepared.
In the next step, we will discuss the importance of installing emergency power and communication systems in your bunker.
Step 7: Installing Emergency Power and Communications
Installing emergency power and communication systems in your bunker is crucial to ensure you can stay connected and have access to essential services during a crisis. Follow these steps to set up reliable power and communication capabilities:
- Backup power source: Install a backup power generator or a battery system to provide electricity in case of a power outage. Consider your energy needs and ensure the system is capable of running essential appliances and equipment.
- Connectivity options: Install a dedicated phone line or consider using cell phone boosters or satellite phones to maintain communication with the outside world. These options can be vital for emergency communication and staying connected with emergency services.
- Emergency lighting: Install battery-powered or solar-powered lights in strategic locations throughout the bunker. This ensures adequate illumination even during power outages.
- Internet access: Set up a reliable internet connection if possible. This will allow you to access important information, communicate with others, and stay updated on the latest news and safety alerts.
- Two-way radios: Include a set of two-way radios to communicate within the bunker or with individuals outside in case traditional communication methods fail. Ensure that you have spare batteries or a charging system for continuous use.
- Emergency signals: Establish a system for signaling for help or communicating warnings, such as a whistle, flags, or a designated code system. This can be essential during emergencies when traditional communication channels may be disrupted.
Having reliable emergency power and communication systems in place ensures that you can stay connected, receive important updates, and request assistance if needed. Regularly test and maintain these systems to ensure they are fully functional when you need them the most.
In the next step, we will explore creating comfortable sleeping and living areas within your bunker.
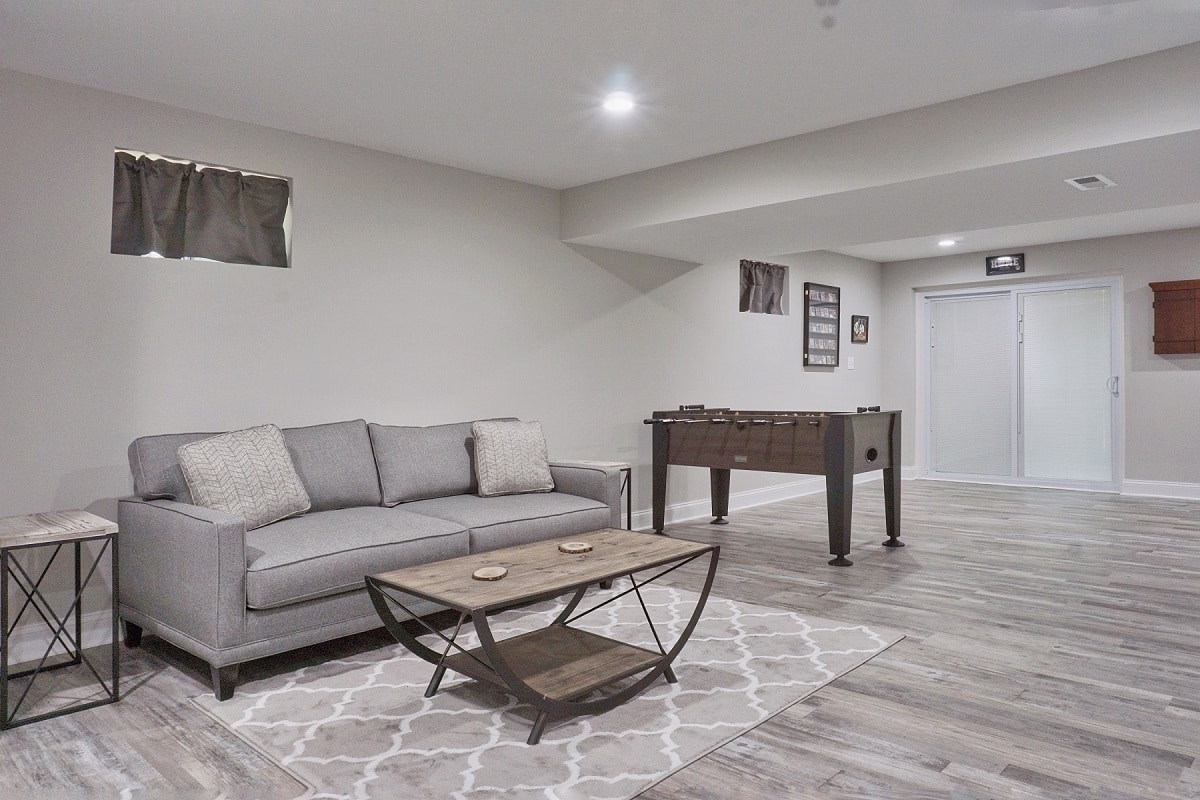
Step 8: Creating Sleeping and Living Areas
Creating comfortable sleeping and living areas within your bunker is essential to make your stay during emergencies or extended periods of isolation more bearable. Follow these steps to design functional and comfortable spaces:
- Plan the layout: Determine the available space and divide it into separate areas for sleeping, lounging, dining, and other activities. Consider the number of occupants and their individual needs.
- Bedding and sleeping provisions: Provide comfortable bedding and sleeping arrangements for each occupant. Consider bunk beds, cots, or inflatable mattresses to maximize space utilization.
- Storage solutions: Install shelves, cabinets, or storage containers to organize personal belongings and supplies. Optimize vertical space to make the most of the available area.
- Lighting and ambiance: Use a combination of overhead lighting, task lighting, and ambient lighting to create a pleasant atmosphere. Consider adjustable lighting options to accommodate different activities and moods.
- Seating and relaxation: Include comfortable seating options, such as sturdy chairs, sofas, or bean bags, to provide a place to relax and unwind. Add cushions and throws to create a cozy and inviting atmosphere.
- Entertainment options: Set up an entertainment area with a television, board games, books, or any other recreational activities that can help pass the time and provide a sense of normalcy.
- Privacy and personal space: Create partitions or curtains to provide privacy and define individual spaces within the bunker. This is especially important when accommodating multiple occupants.
By designing comfortable and functional sleeping and living areas, you can improve the overall well-being and morale of everyone staying in the bunker. Create a space that serves both practical needs and offers a sense of comfort in challenging times.
In the next step, we will discuss the importance of adding storage solutions to keep your bunker organized and efficient.
Read more: How To Clean Your Basement
Step 9: Adding Storage Solutions
Adding efficient storage solutions to your bunker is essential for staying organized and maximizing the use of space. Follow these steps to create practical storage areas:
- Assess storage needs: Evaluate the types of items you need to store in your bunker. Consider food supplies, water, medical supplies, clothing, tools, and any other essential items.
- Maximize vertical space: Utilize vertical space by installing shelves, hanging organizers, or stacking containers. This will help you make the most of limited floor space.
- Label and categorize: Clearly label containers and shelves to easily identify the contents. Categorize items to further streamline organization and make it easier to locate specific supplies.
- Use stackable containers: Invest in durable, stackable containers to efficiently store food, water, and other supplies. Opt for airtight containers to keep items fresh and protected.
- Consider hidden storage: Incorporate hidden storage options, such as under-bed storage or cabinets with concealed compartments. This can help you maximize space while keeping essential items out of sight.
- Utilize wall space: Install hooks or wall-mounted organizers to store items such as tools, equipment, or personal belongings. This will help keep the floor area clutter-free and create more usable space.
- Don’t forget about sanitation: Allocate space for sanitation supplies, including cleaning products and personal hygiene items. Ensure they are easily accessible and properly organized.
By incorporating efficient storage solutions, you can keep your bunker tidy, easily locate items when needed, and make the best use of the available space. Regularly assess and reorganize as necessary to maintain an organized and functional space.
In the final step, we will explore security measures and defense systems to further enhance the safety and protection of your bunker.
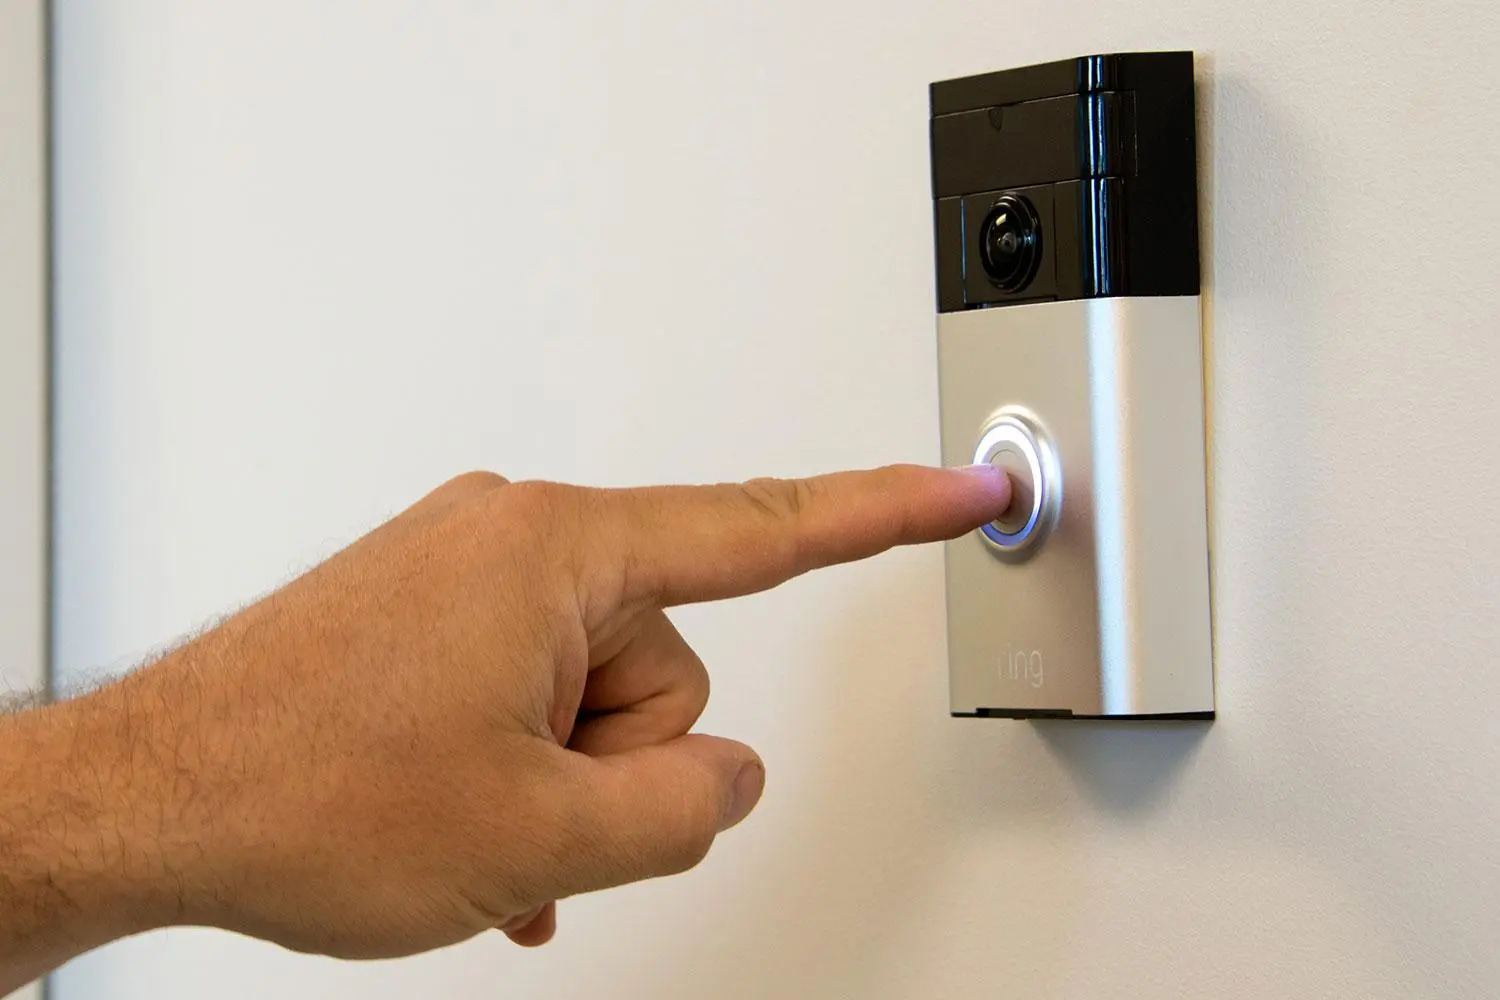
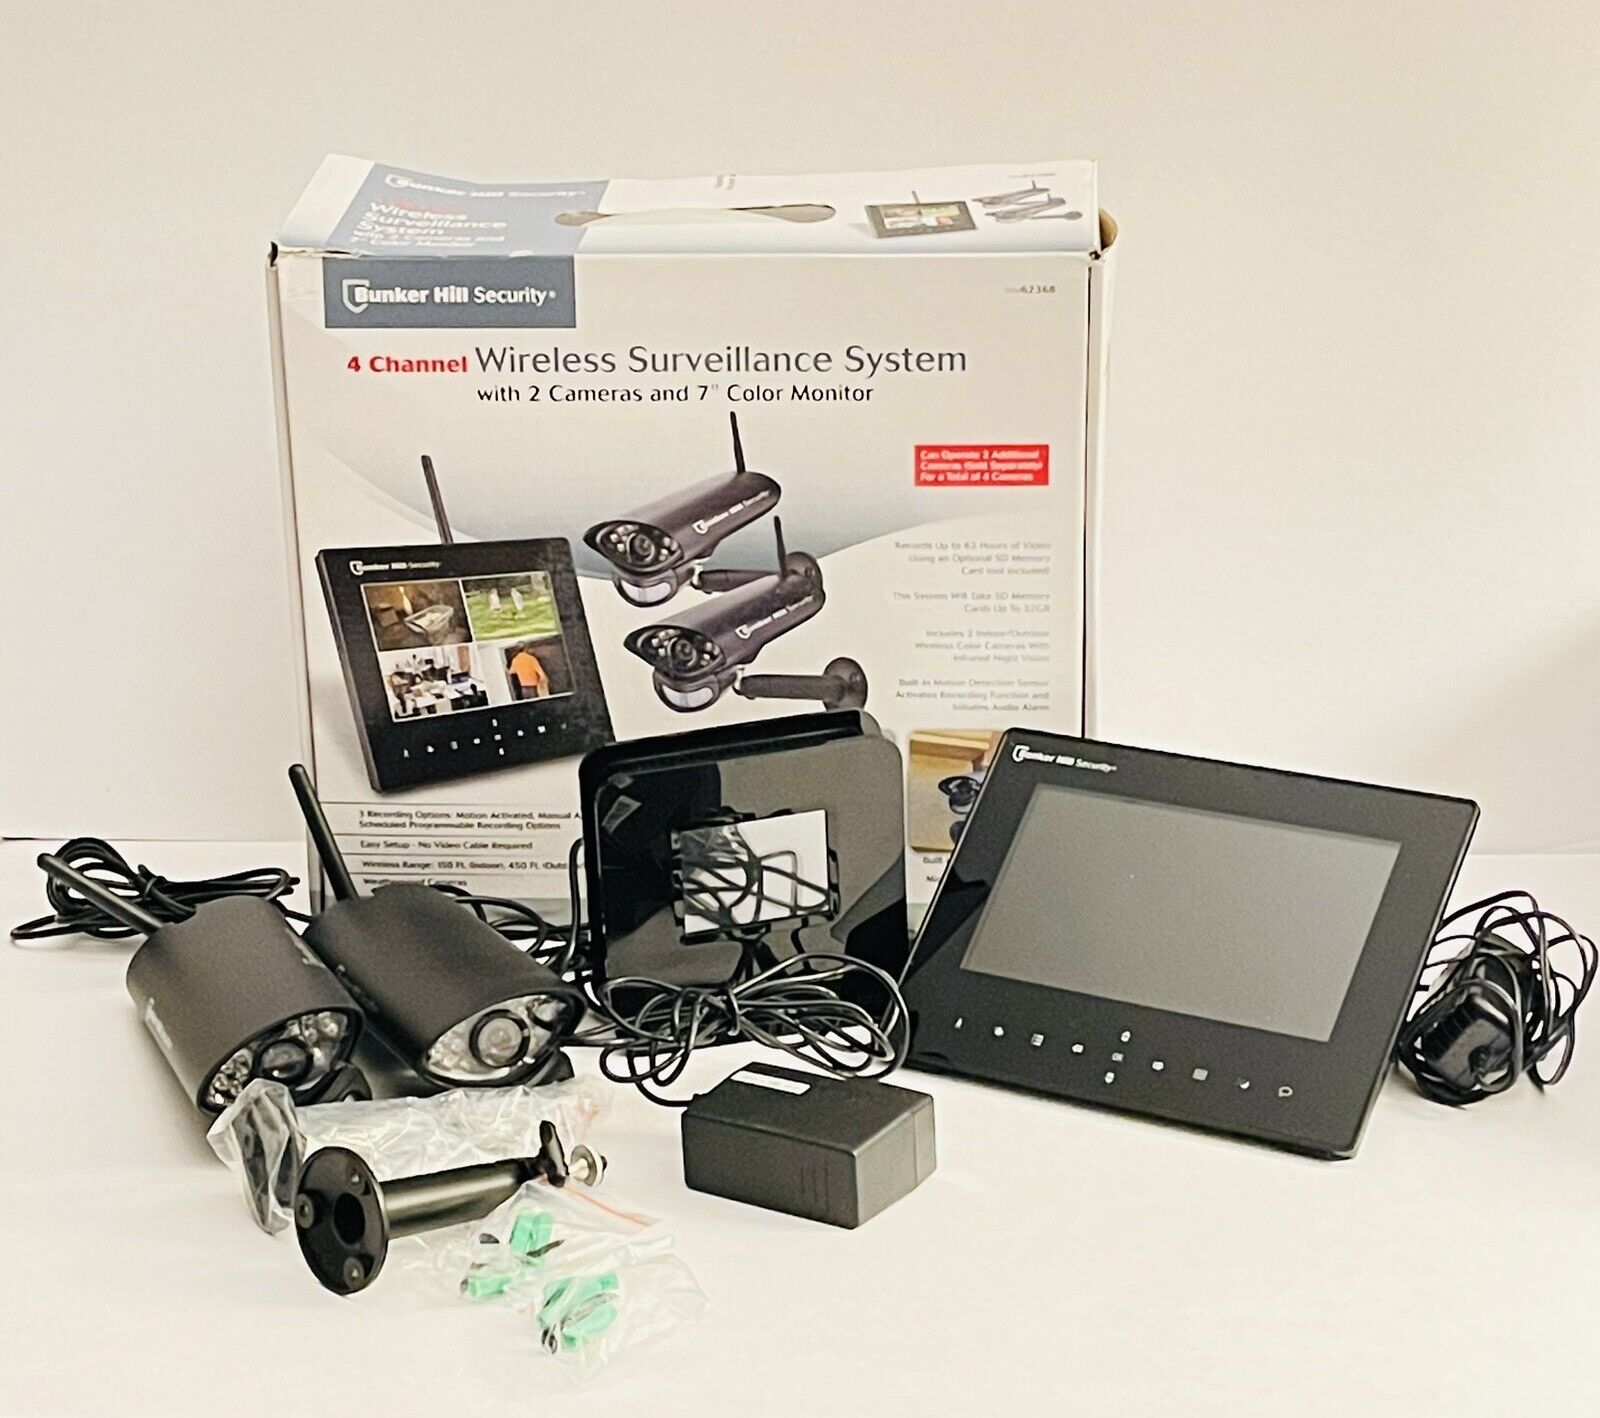
Step 10: Security Measures and Defense Systems
Implementing security measures and defense systems is vital to enhance the safety and protection of your bunker. Follow these steps to create a secure environment:
- Secure perimeter: Ensure the area surrounding your bunker is properly secured with fences, gates, or barriers to deter unauthorized access.
- Install surveillance cameras: Set up surveillance cameras outside your bunker to monitor activity and deter potential intruders. Position cameras strategically to cover all entry points and vulnerable areas.
- Establish a communication system: Install intercoms or other communication systems to verify the identity of individuals before granting access to your bunker.
- Consider reinforced doors and windows: Upgrade the doors and windows of your bunker with reinforced materials, such as steel or laminated glass, to provide added protection against forced entry.
- Invest in a security alarm system: Install a security alarm system with sensors that detect breaches or unauthorized entry. This will alert you to potential threats and act as a deterrent.
- Implement motion-activated lighting: Install motion-activated lights outside your bunker to illuminate the surrounding area and discourage unwanted visitors.
- Consider a safe room: Create a dedicated safe room within your bunker for additional security during high-risk situations. Reinforce walls, install a sturdy door, and equip the room with emergency supplies.
- Learn self-defense techniques: Take the time to learn basic self-defense techniques to protect yourself and your loved ones during hostile situations.
- Train family members or occupants: Conduct regular drills and training exercises to ensure everyone knows how to respond during emergencies and can effectively use the security measures and defense systems in place.
Implementing security measures and defense systems will significantly enhance the safety and protection of your bunker. Regularly evaluate and update these systems to adapt to evolving threats and technology.
With these ten steps, you are well on your way to turning your basement into a fully functional and secure bunker. Remember, consult with professionals when necessary and regularly maintain and update your bunker to ensure it remains a safe haven during unpredictable times.
Stay prepared, stay safe!
Conclusion
Congratulations! You have now reached the end of our comprehensive guide on how to turn your basement into a bunker. By following the ten steps outlined in this article, you have gained valuable insights and knowledge on creating a secure and functional space to protect yourself and your loved ones during emergencies or unpredictable events.
Throughout this journey, we have covered essential aspects such as assessing the basement space, waterproofing and moisture control, reinforcing walls and floors, installing ventilation and air filtration systems, creating a secure entrance, stocking essential supplies, installing emergency power and communication systems, creating sleeping and living areas, adding storage solutions, and implementing security measures and defense systems.
Remember, while this guide provides a comprehensive overview, it is important to involve professionals, such as architects, engineers, and contractors, to ensure your bunker meets all necessary safety standards and regulations.
As you advance in the conversion process, always prioritize safety and functionality. Additionally, consider the unique needs of your family or group when making decisions about supplies, amenities, and security measures.
By converting your basement into a bunker, you have taken a proactive step towards being prepared for unforeseen circumstances. While we hope that you never need to use your bunker, having a secure and well-equipped space provides peace of mind and a sense of comfort.
Remember to regularly maintain and update your bunker, replenishing supplies, testing systems, and staying informed about any advancements in security or emergency preparedness. Continually evaluate and improve your bunker to ensure it remains a reliable sanctuary.
Thank you for joining us on this journey. Stay prepared, stay safe!
Now that you've learned how to convert your basement into a bunker, consider elevating other parts of your house too! For those who are thinking about updating their floors, our guide on the best selections for hardwood floors will provide valuable insights. Perfect for any home renovation project, this guide covers various styles and durability options to help you make the best choice for your living space. Don't miss out on transforming your house into a stylish, welcoming home!
Frequently Asked Questions about How To Turn Your Basement Into A Bunker
Was this page helpful?
At Storables.com, we guarantee accurate and reliable information. Our content, validated by Expert Board Contributors, is crafted following stringent Editorial Policies. We're committed to providing you with well-researched, expert-backed insights for all your informational needs.


0 thoughts on “How To Turn Your Basement Into A Bunker”