Home>Garden Essentials>40 Beautiful Rock Garden Ideas In 2022
Garden Essentials
40 Beautiful Rock Garden Ideas In 2022
Modified: December 6, 2023
Quickly upgrade the aesthetics of your garden with these brilliant rock garden ideas. They're easy, affordable and fuss-free!
(Many of the links in this article redirect to a specific reviewed product. Your purchase of these products through affiliate links helps to generate commission for Storables.com, at no extra cost. Learn more)
You probably had some aesthetic garden designs already outlined in your head, but then quickly realized that they were not the best to go by. Or you may altogether be bereft of ideas. Have you thought about having a rock garden? Check out these best rock garden ideas we’ve laid out for you!

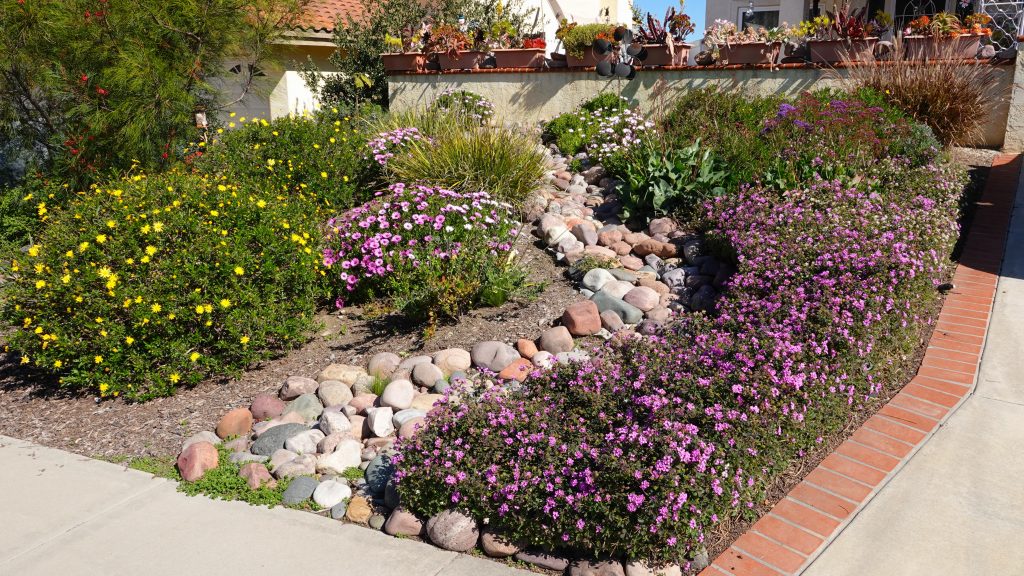
1. A Mini Rockery Stationed At The Front of The House

A mini rockery rightly positioned in the front of your house is a beautiful idea, and even more so when the rocks are entwined by all-green plants. You can position the garden at the corners of your house, or structure it so that it surrounds your yard.
Read more: How To Design A Rock Garden
2. Alpine Garden with Small Water Pond and Bridge
If you love the texture of a smooth pebble, you may want to consider this rock garden design. It is a lovely garden that consists of a small pond constructed using pebbles and rocks. The number of boulders needed to construct it may make it pricey, but you could always customize it to make it budget-friendly.
3. Mediterranean Dry Rock Garden
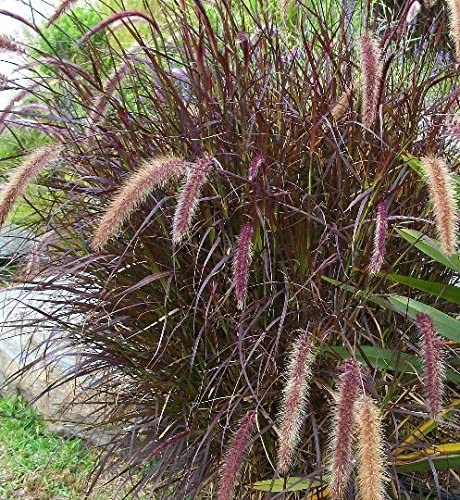
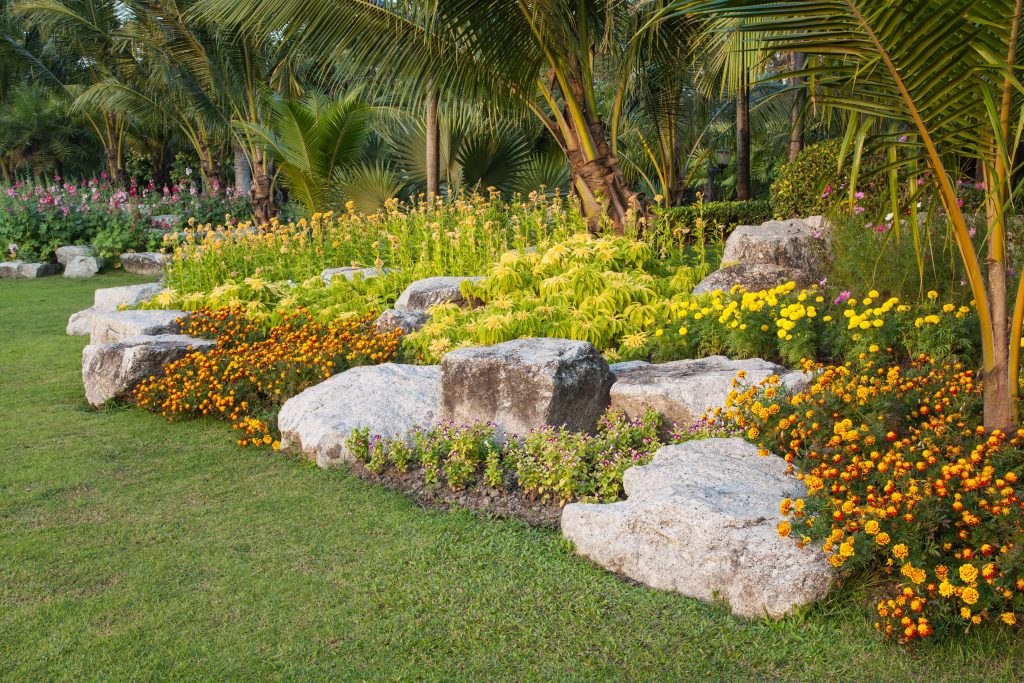
One of the most pleasant sights to behold is a garden of flowers. Nothing beats the refreshing feeling that can come from having those sweet-smelling plants thriving under the moderate conditions that are provided by your garden. This rock garden is one such Mediterranean-style garden with blossoms everywhere If you are not a fan of flowers, other options can make your yard the way you want it: think purple fountain grass, lavender, or a combination of both.

4. A Rock Garden with Alpine
If you are a rock garden enthusiast, one of the first things you’ll notice is that alpine plants are commonly grown in them. This shouldn’t come as a surprise if the biology of the plant is properly understood. This garden arrangement is best positioned at the center of your house. It is an excellent option if you don’t want anything too pricey.
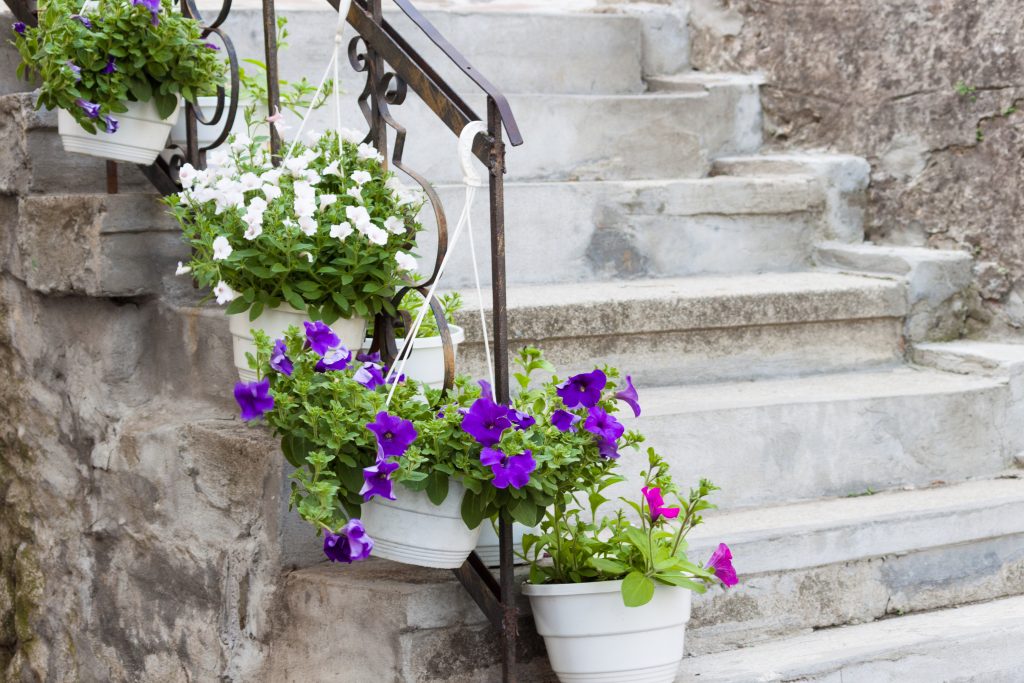
5. Rock Garden with Flower Bed and Step Path
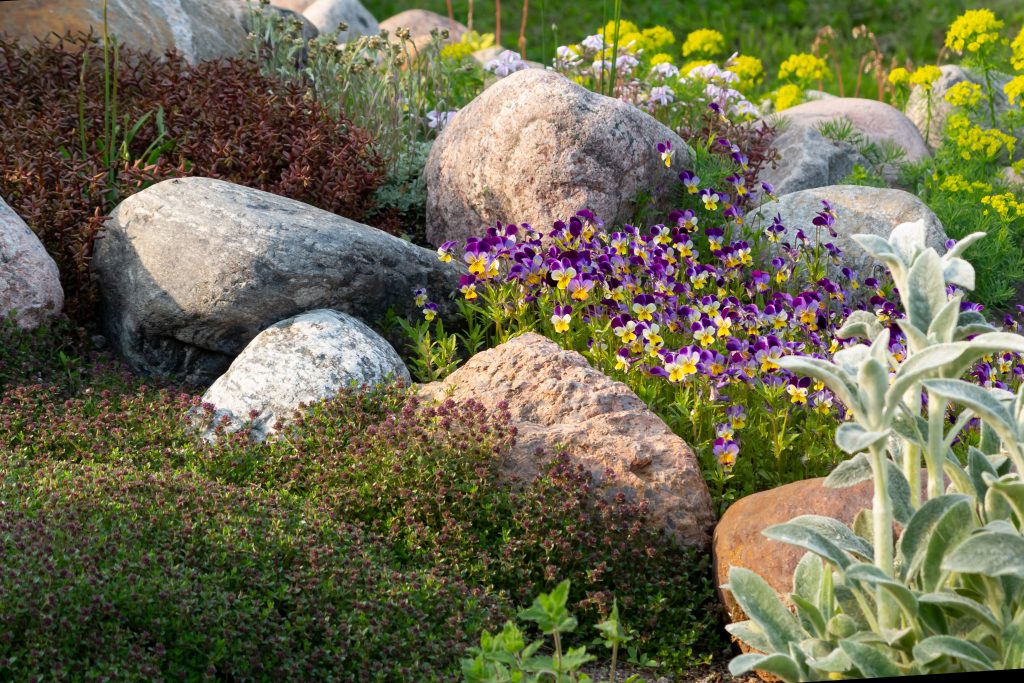
This is another garden design that makes use of flower beds. Shrubs, a few boulders, and pebbles are mainly used in this garden design. If you wish to, a step path makes for easy access to your garden. Also, this is one of the cheaper rock garden solutions out there because the main material involved is pebbles.
6. Landscape Rock Garden with Design Natural Stones
Natural stones, when situated in an appealing environment, are something everyone delights in. This is a very convenient garden arrangement that provides the space you need from everyday stressors. One beautiful thing about this rock garden is the fact that it does not require constant maintenance, plus it is easy to prepare. There is always room to add more plants of your choice in the gaps between the boulders. However, this is entirely up to you.
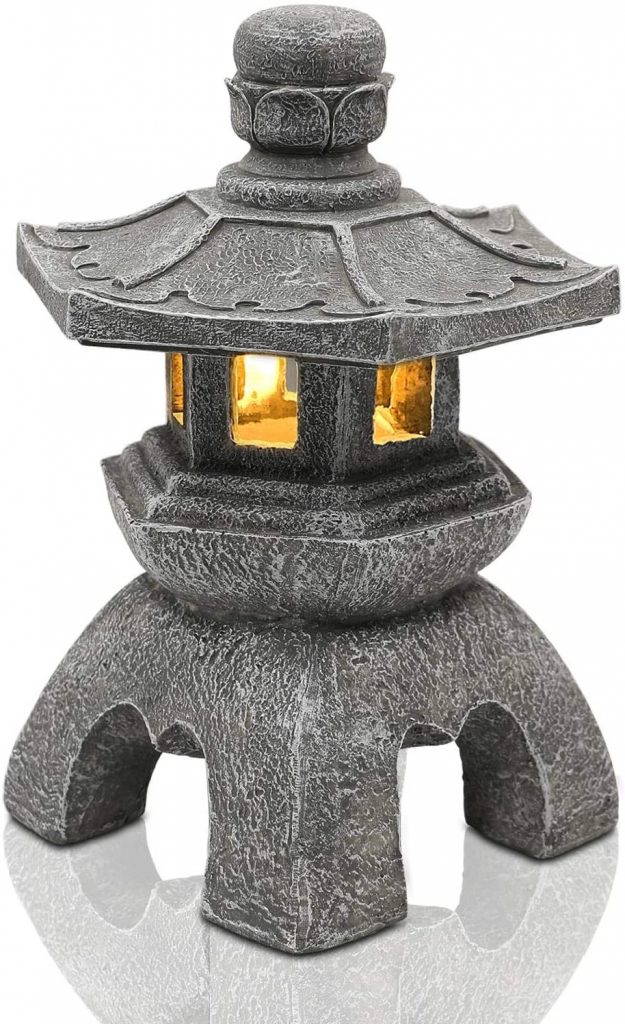
7. White Rock with Green Bush
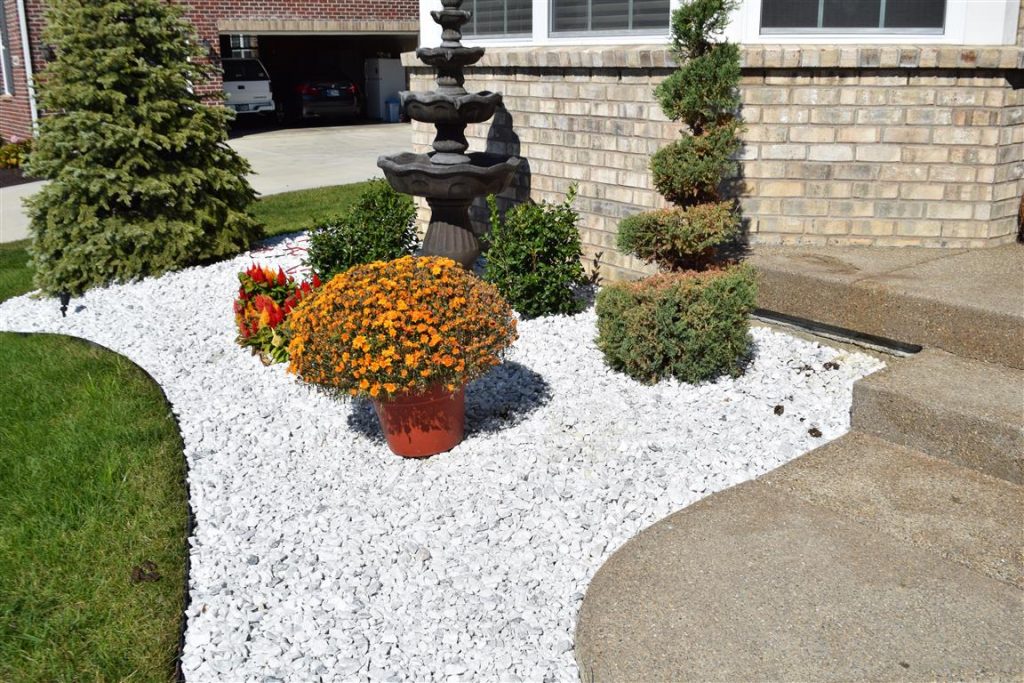
As its name indicates, this small rockery consists of white rock with an all-green bush planted in the middle. You have the option of substituting the stone lantern with any other stone you like, but it is advisable to keep it short and simple for a better flow with the garden arrangement. With this garden design, you will not need to worry about maintenance.
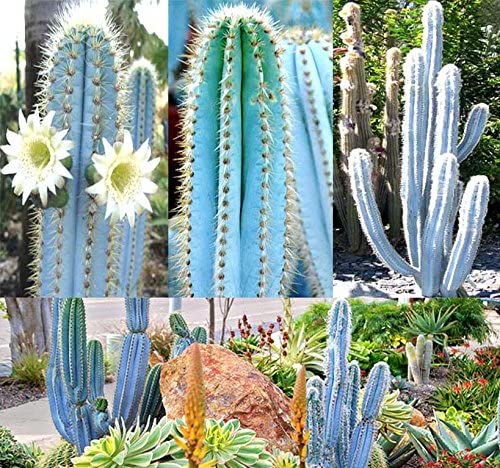
8. Rock Garden with Cactus Plants
This garden arrangement is nice and would definitely add a touch of beauty to your garden. Flowering cacti are beautiful plants, and the synergy they have with rocks and pebbles is second to none.
9. Stone Steps with Flowers
Narrow rocks are ideal for this particular rock garden design. Like some rock garden ideas for small spaces in this post, this idea is also low maintenance and easy to prepare. It features nice-looking flowers stationed on both sides of pebbles and stone steps. Green shrubs and cacti can be used to replace the flowers if you like.
10. Hillside Rock Garden
This hillside garden design is ideal for large gardens. This design allows you to station stones at one point, a pebble pathway at another point, and then your flower beds in between your pebble pathway and your stones. There are plenty of bushes and cacti types in this garden idea which you can choose from.
11. Simple Rock Garden Ideas – Rock Steps
The arrangement of this garden is mainly dependent on the proper preparation of the soil, your stepping stone arrangement, and the type of plants you cultivate in your rock garden. To make it look even more beautiful, you might want to include some boulders in your arrangement.
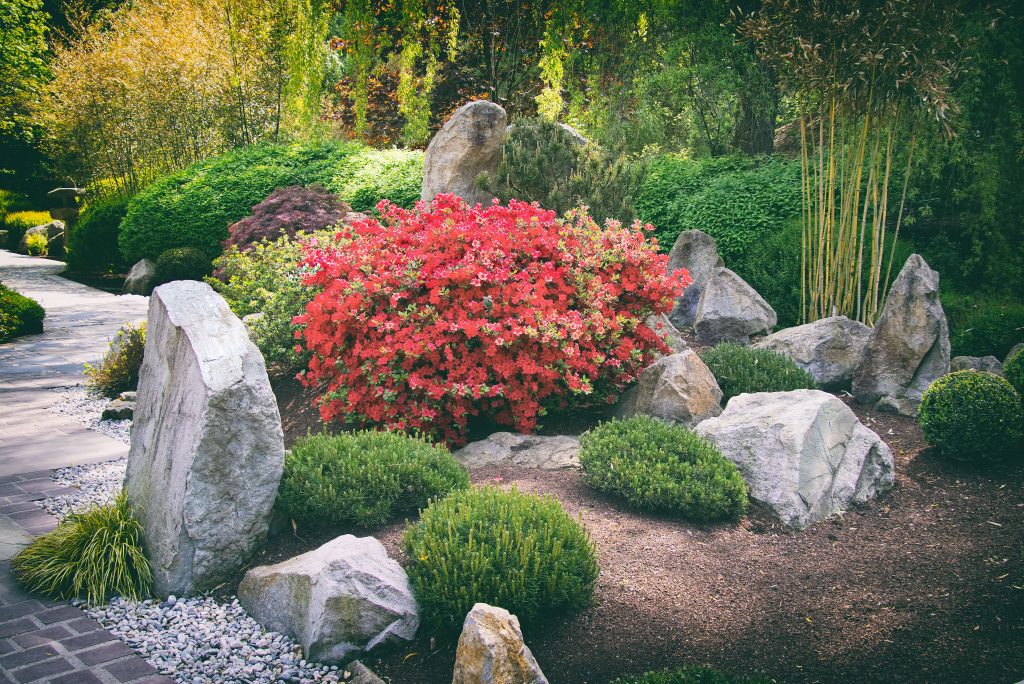
12. Traditional Zen-style Japanese Garden
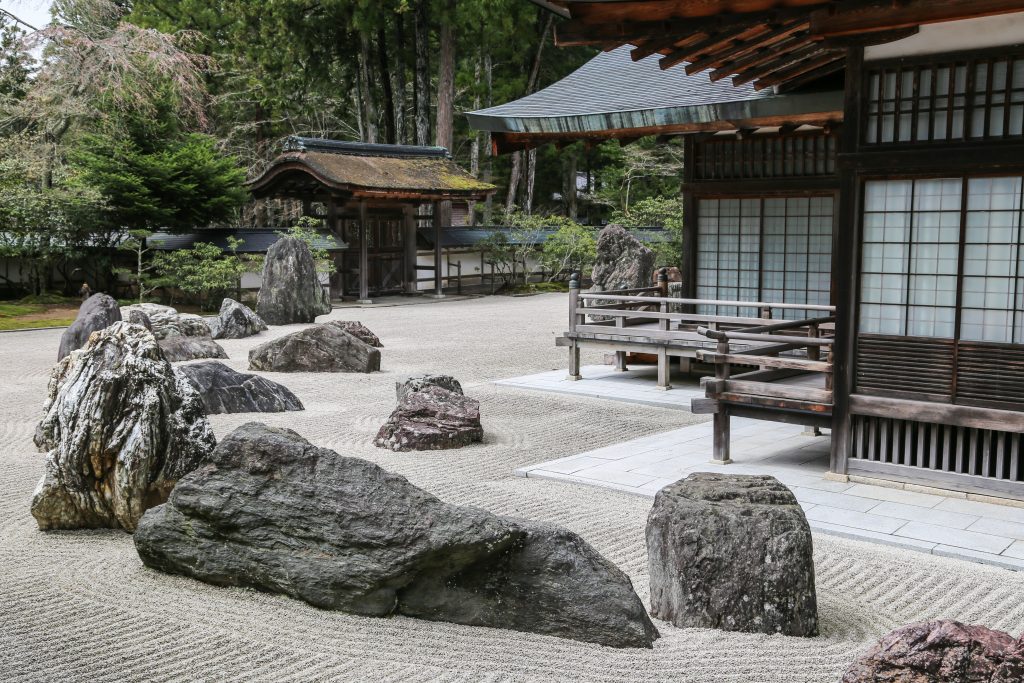
The Zen-style Japanese garden draws its inspiration from nature, making use of flowers and rocks to connote the beauty of Mother Nature. The build of this garden comprises an abundance of green shrubs and pebbles. There are also a few boulders dispersed throughout the garden. The greenery on the sides and middle of the garden would certainly brighten up your garden. All in all, this is a very serene design, appropriate for both small and large spaces.
13. River Rock Gardens
The design of this garden is basically hinged on the specific arrangement of pebbles to bring out a certain design pattern. If you do not have a thing for big pebbles, this design may not be the best garden design for you. There is always room for matching and mixing various designs to come up with a unique design for yourself.
Read more: How To Paint A Rock Fireplace
14. Oriental Rock Garden
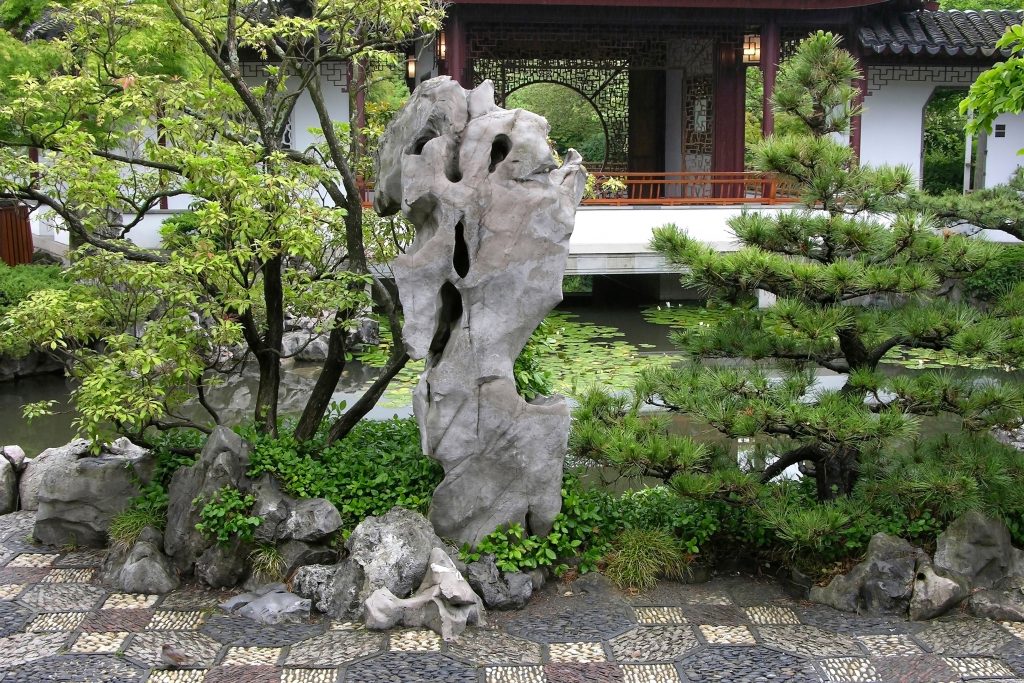
A rock garden of this type is suitable for both small and large gardens. It has caught the fancy of many rock garden fans because the classic design it adopts requires little maintenance.
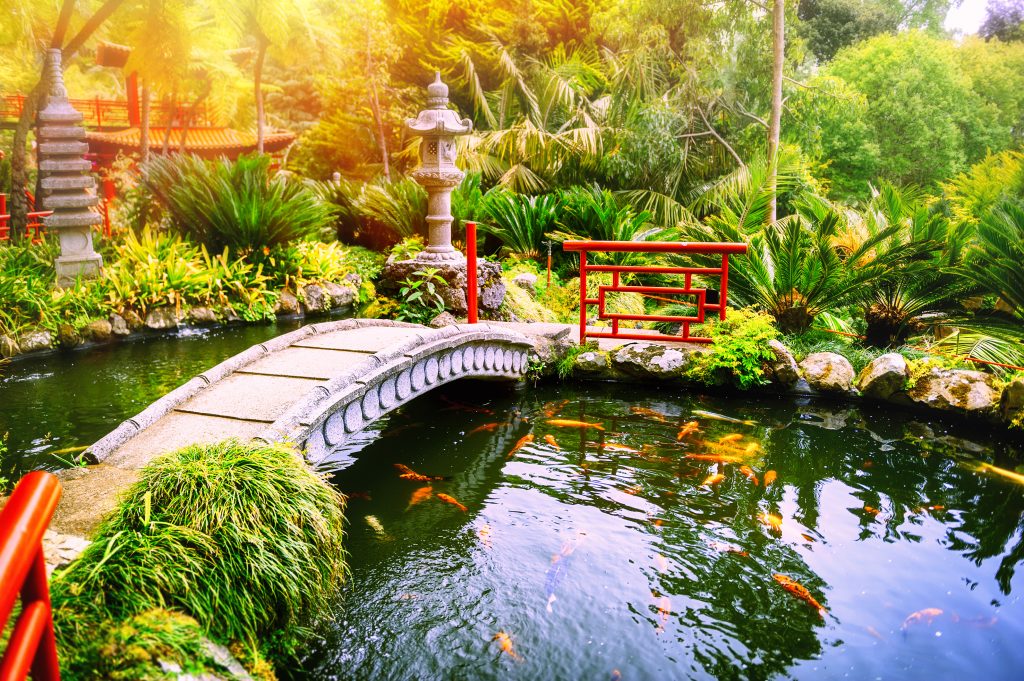
15. Rock Garden with Water Pond and Pitcher
This is basically a simple set-up that is perfect for the center of a small garden or a larger garden. It is also a low-maintenance garden, with minimal preparation time involved.
16. Rock Mulch

This is a great gardening idea with one marvelous additional benefit. It makes use of the principle of mulching to help the soil of your garden retain its moisture and temperature. In addition, the rocks serve as a protective layer over the topsoil rather than being simply for decoration. The layer also promotes better irrigation, which your selection of plants can benefit from.
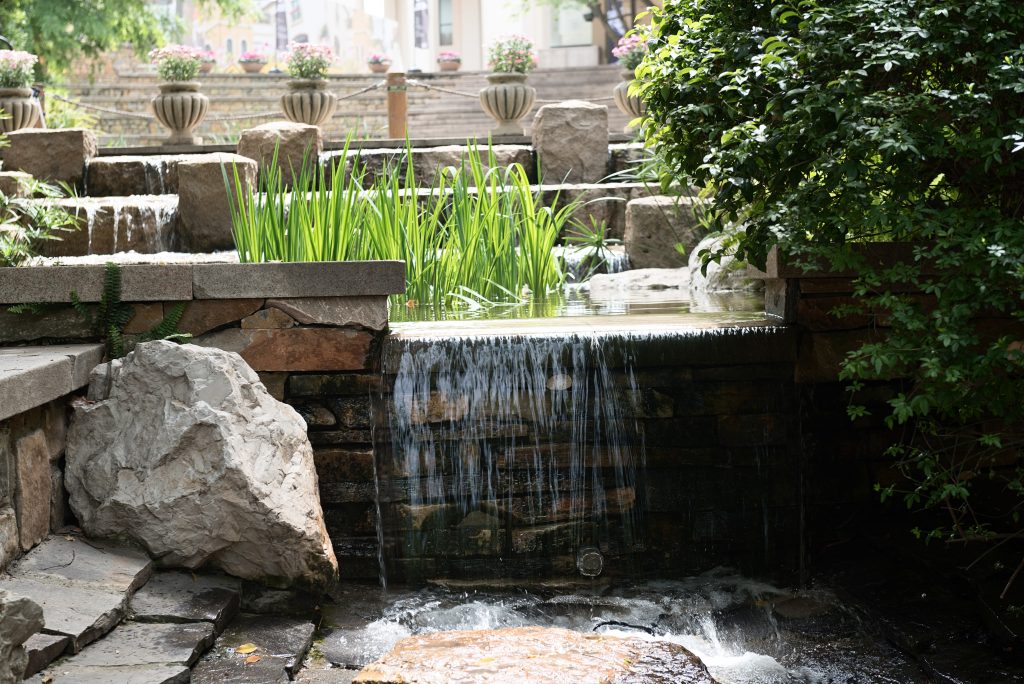
17. Rock Garden with Pond Landscape

This is a gorgeous design that makes use of a combination of cacti, green shrubs, boulders, and pebbles. Also, there is a lovely pond landscape in the design of this garden. If you are keen on having a serene environment where you can relax, then this rock garden is your best bet. The water feature it contains will surely help you rest and relax.
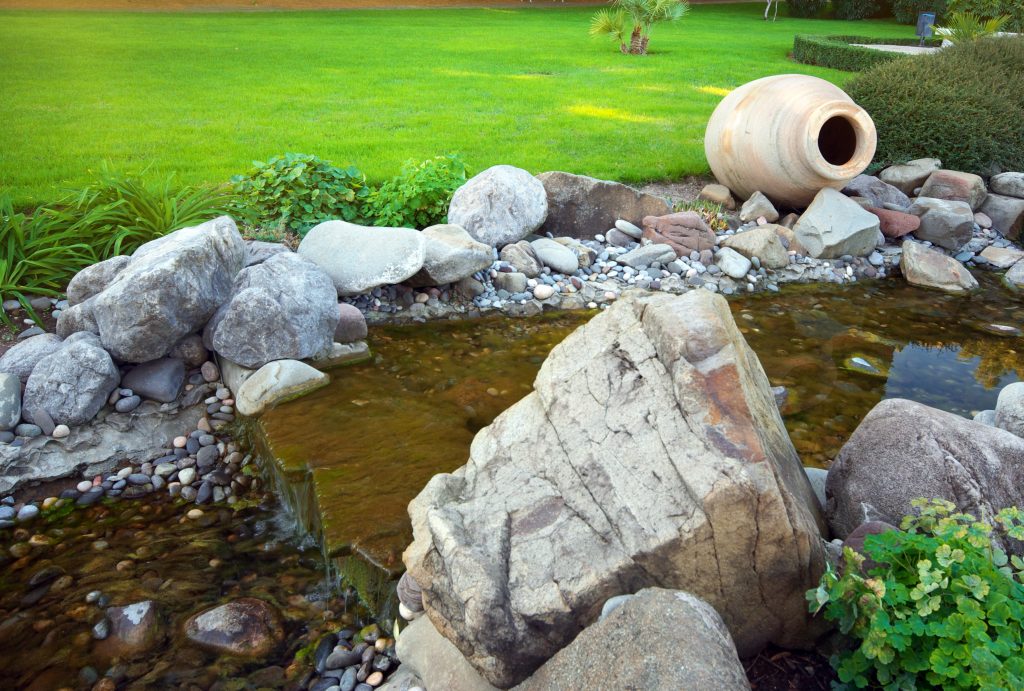
18. Rock Boulder Formation
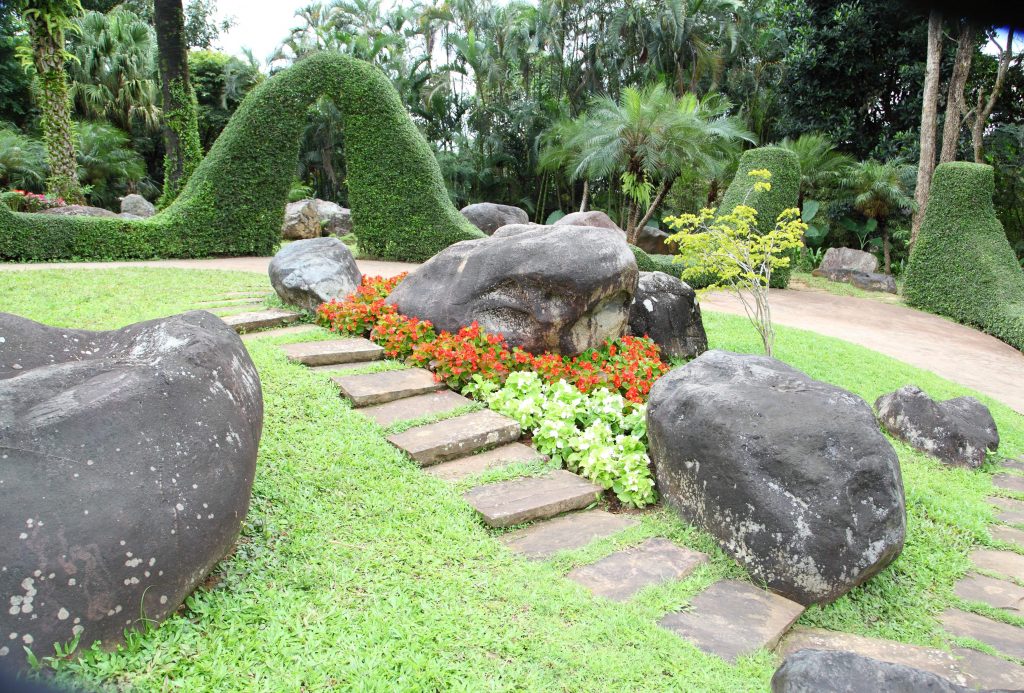
This rock garden comprises three boulders placed at the center. These boulders do not have to be statue-y or shiny to be placed at the center of your garden. Also, the boulders will have to complement one another as no boulder looks great on its own.
19. Rock Garden with Pond in Ornamental Backyard
Contrary to its name, this is a rock garden option that requires you to break your bank before creating it. The arrangement here consists of big boulders that complement a backyard brook. Even though this is not a very cheap option, the sense of serenity it brings to your home far outweighs the high costs needed to create it!
20. Garden Pebble Path
Having a path lined with pebbles in your garden is a beautiful addition to any regular garden. It is even lovelier when you step on these pebbles barefooted, as the amazing sensation it gives your feet is priceless. Also, having your pebble path lined with green shrubs and flowers on both sides is the way to go.
21. Rock Garden with Bushes and Plants
The design of this rock garden requires you to include more boulders. You’ll have to properly tailor-make your soil to suit the plants you’ll grow there. If having different color patches is your thing, you can also scatter flowers of different colors in your garden.
Read more: The Best Plants For A Beautiful Indoor Oasis
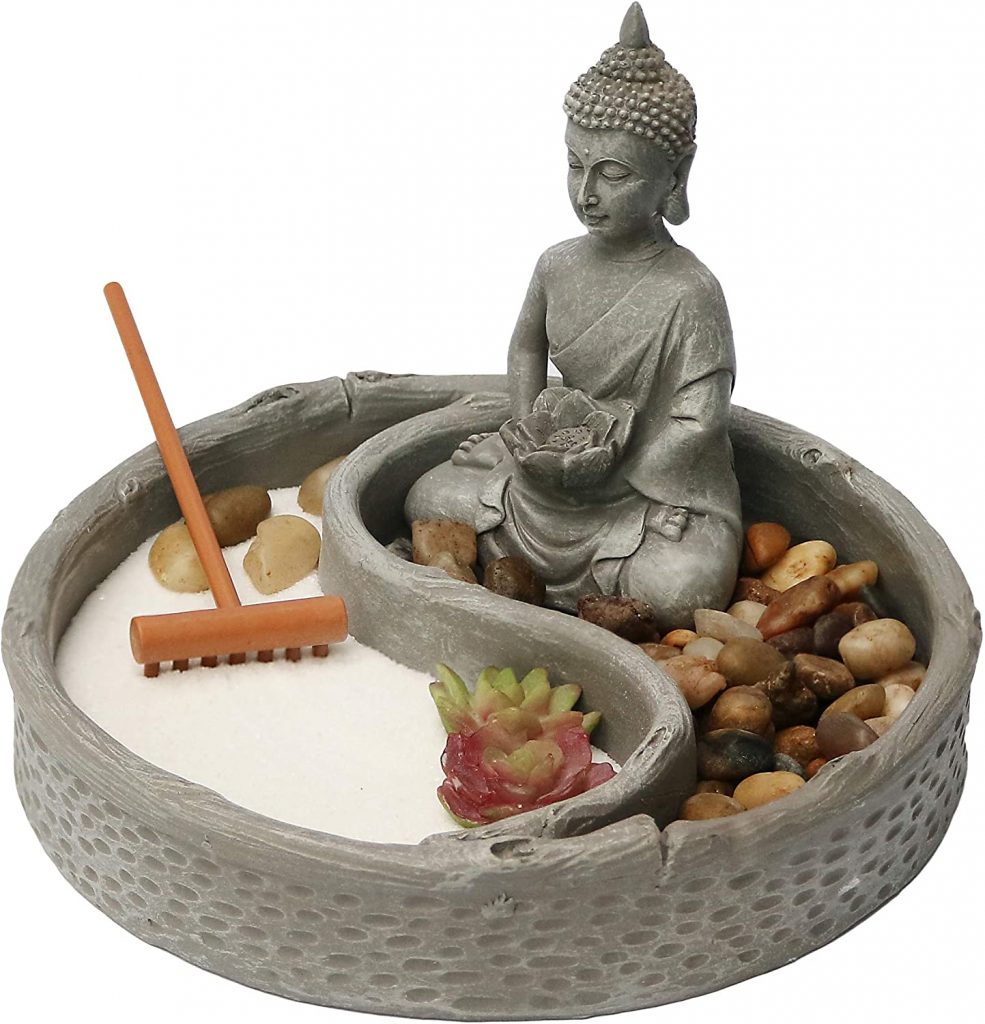
22. Buddha-Inspired Rock Garden
You’ll most likely encounter a challenge building this rock garden without a statue of the Buddha. But not to worry as any statue or centerpiece would get the job done. Although pricey, the excellent sight and incredible feeling it offers will compensate for the cost of setting it up.

23. Rock Garden Terraces
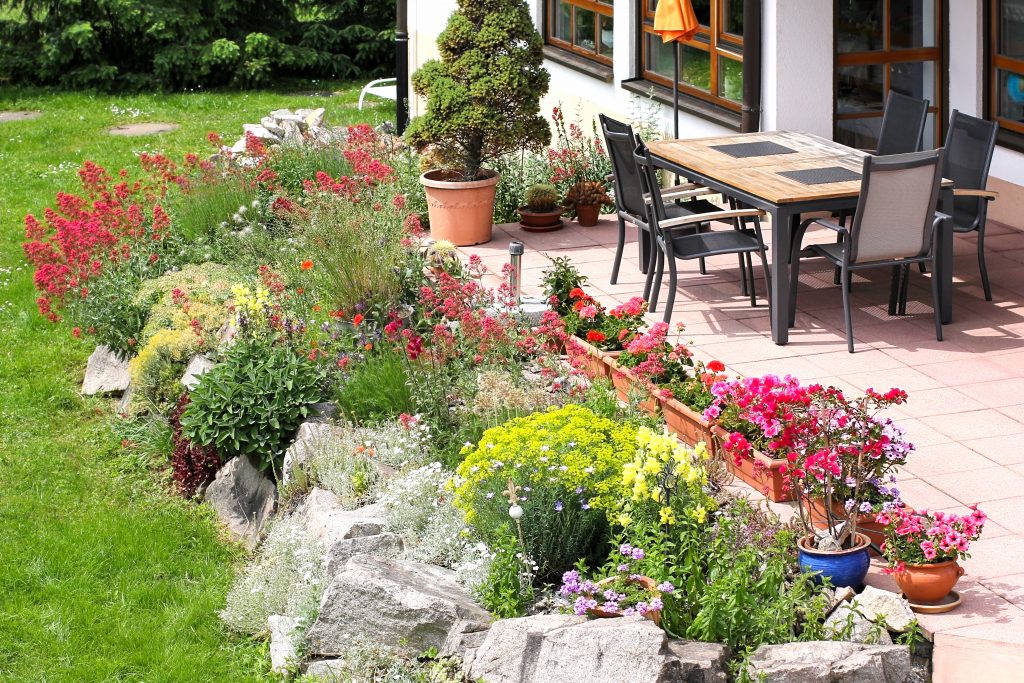
Having rocks as part of your terrace will enhance its beauty. It certainly would be better looking when these rocks are combined with some other factors. These plants can either be the center of attraction in your garden, or they can serve to complement the aesthetics of the stone.
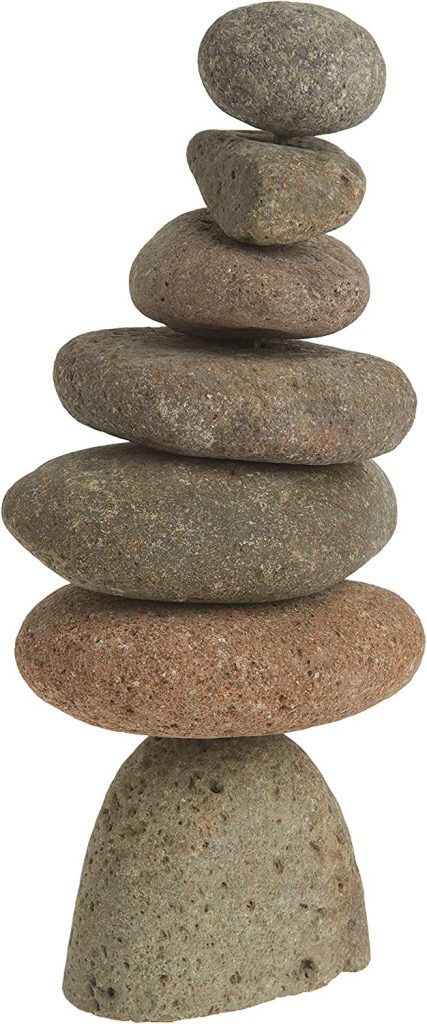
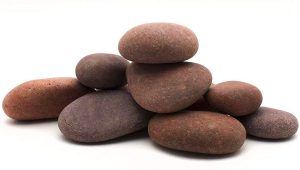
24. Stones in Equilibrium

The stone in equilibrium rock idea is a very straightforward one, at least during its construction. There are some tactics and shortcuts that you’ll have to apply to create this garden. Once you get through with its creation, you’ll have a beautiful stone structure displayed in your garden for all to marvel at.
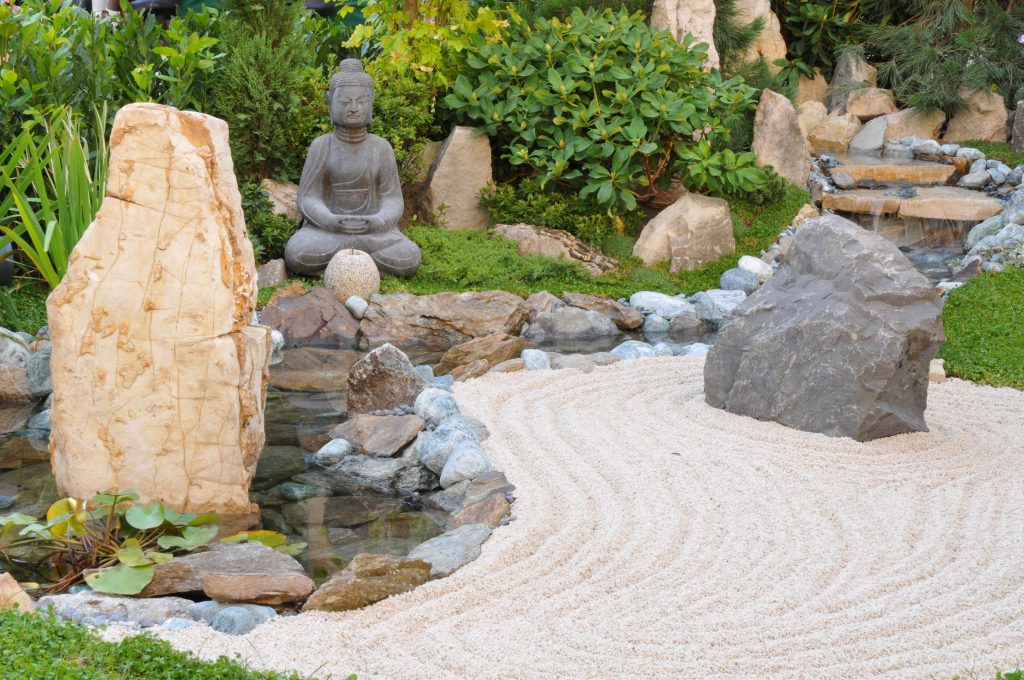
25. Japanese Zen Garden
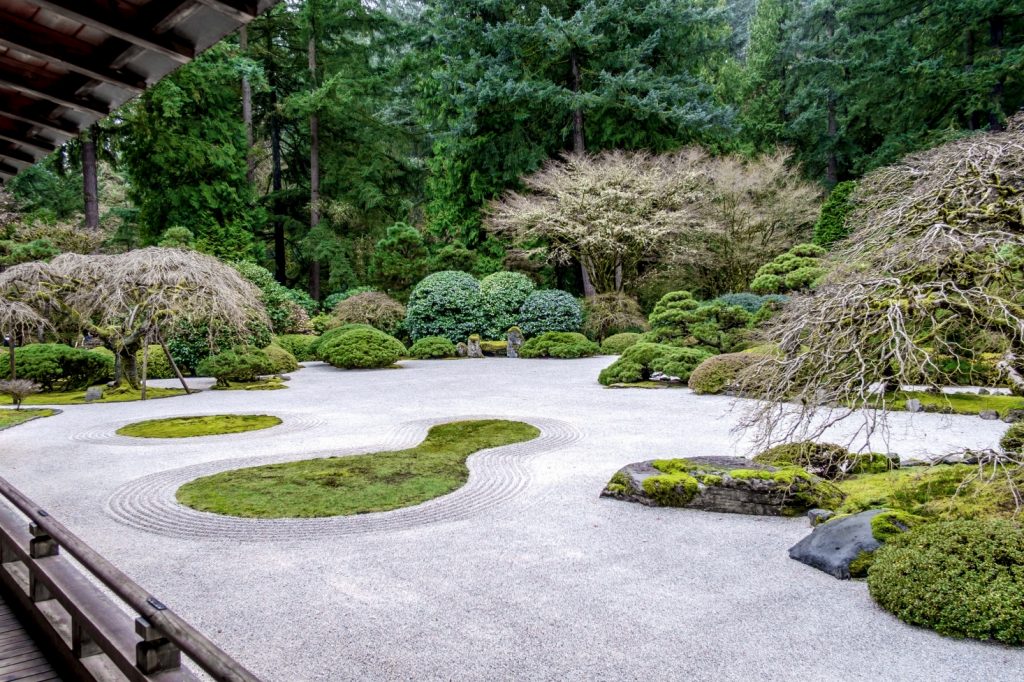
Gardens inspired by the Zen ideology are usually known to incorporate elements of nature, which is the case with this idea. The garden has enough Zen-ness to it – certain rocks similar to huge jades are neatly dispersed on the ground of the garden, and there’s lovely greenery at the sides and in the background.
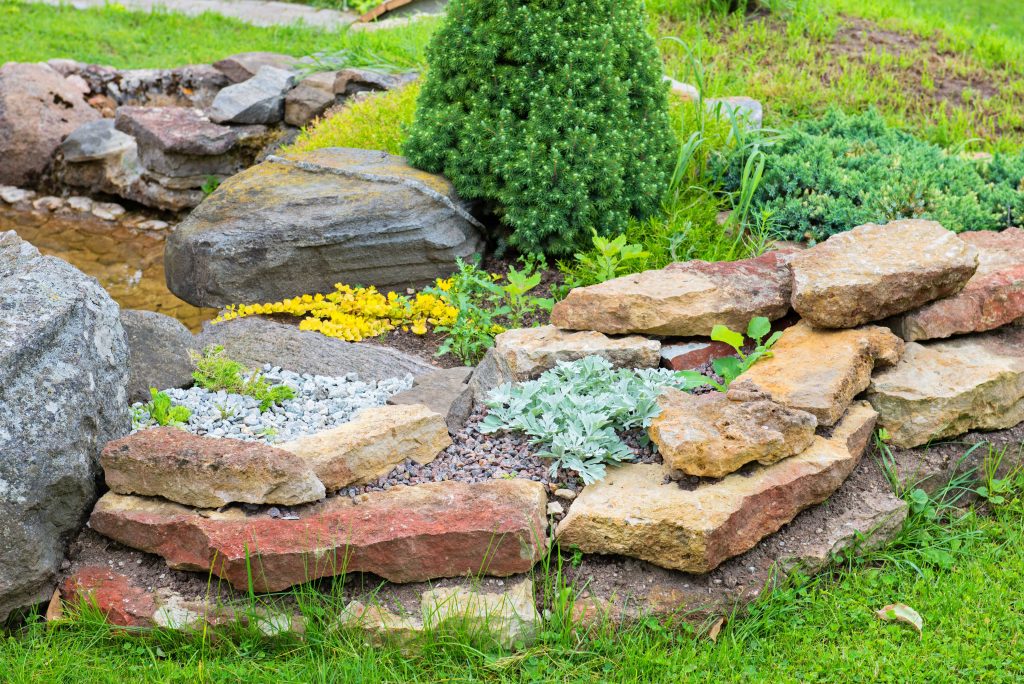
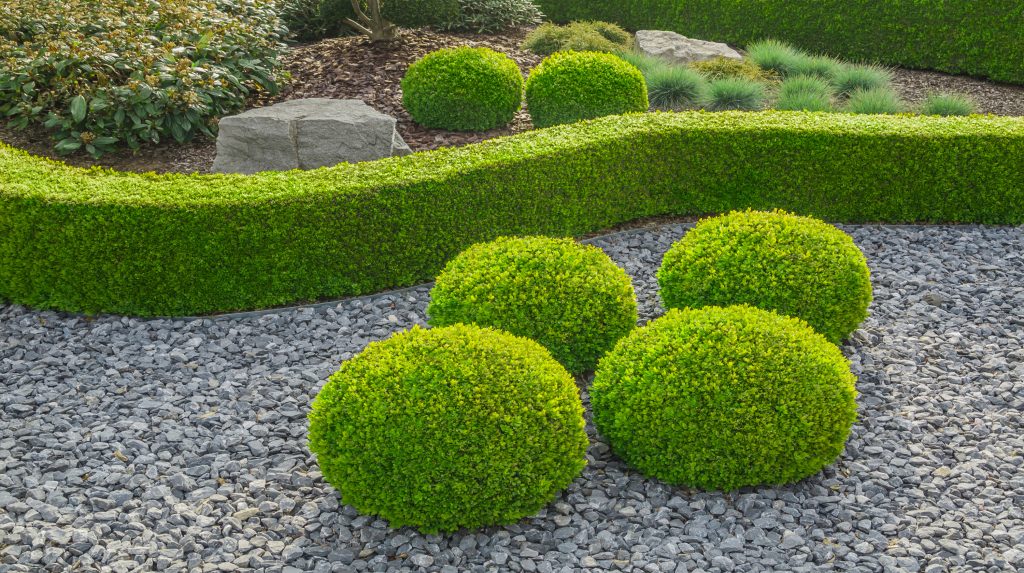
26. Rock Garden Landscaped with Boulders
Confused as to how to set up your garden? Rocks can always work some magic. For this rock garden idea, crevices are shoved with certain plants, and certain large boulders are incorporated for contrast in size.
27. Garden Pond with Rocks

There is no denying the fact that everyone experiences a relaxing feeling when there is a body of water nearby. That is definitely the case with this garden. Making use of smooth stones on any large water body or in the pond of your garden will make it appealing (especially on its banks) as you can only peer over your pond by stepping on them.
28. Rock Dike Pond
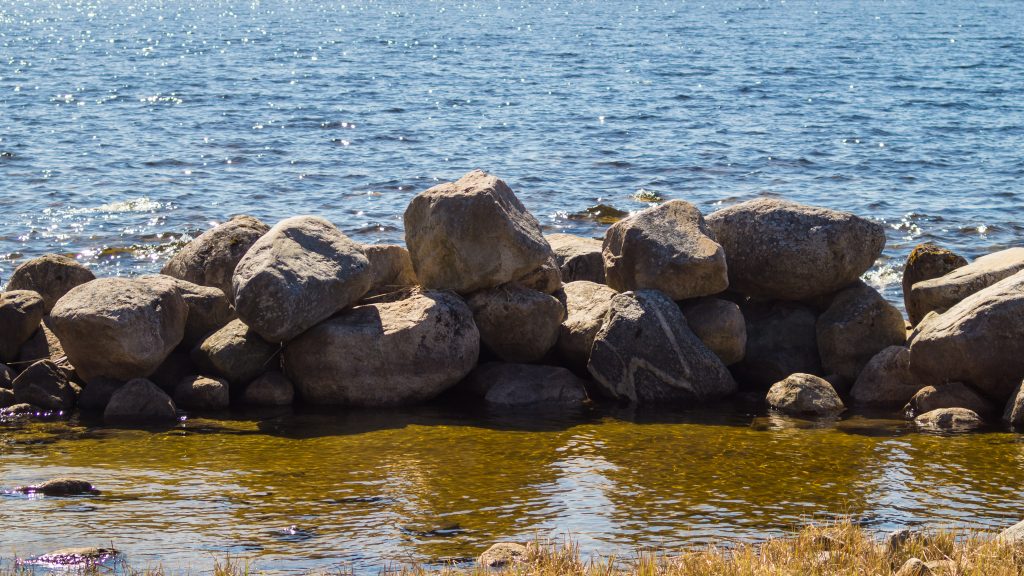
If you enjoy displaying shiny objects, this rock garden solution with a pond is the option for you! The build of this rock garden is such that you cannot pass beyond its borders without experiencing an overwhelming compulsion to complement it. What is even more astonishing is the fact that this rock garden is budget-friendly.
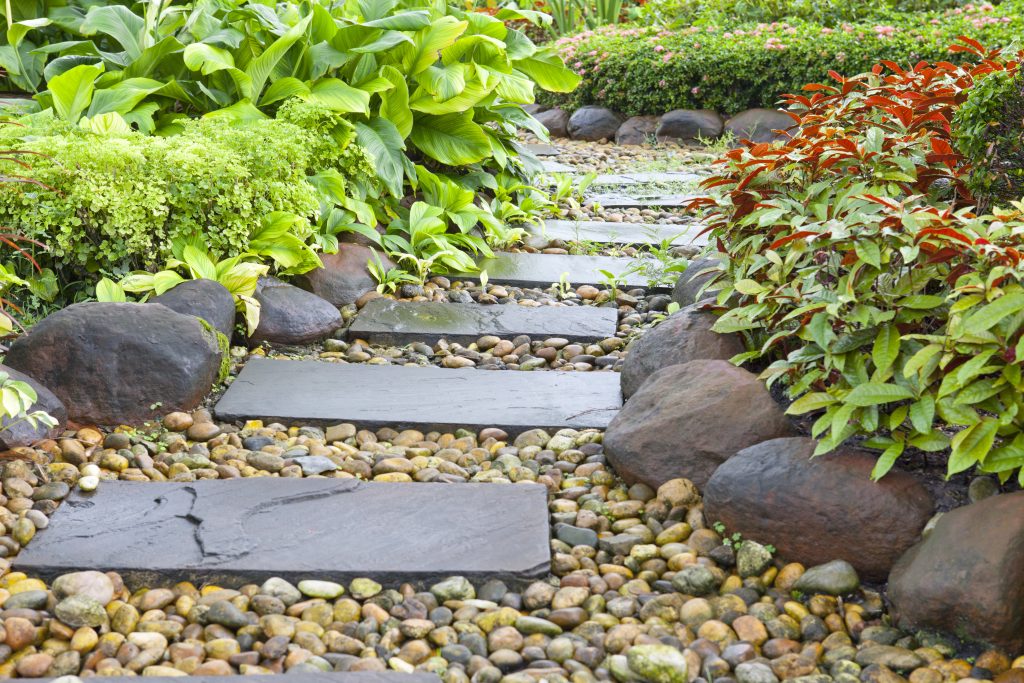
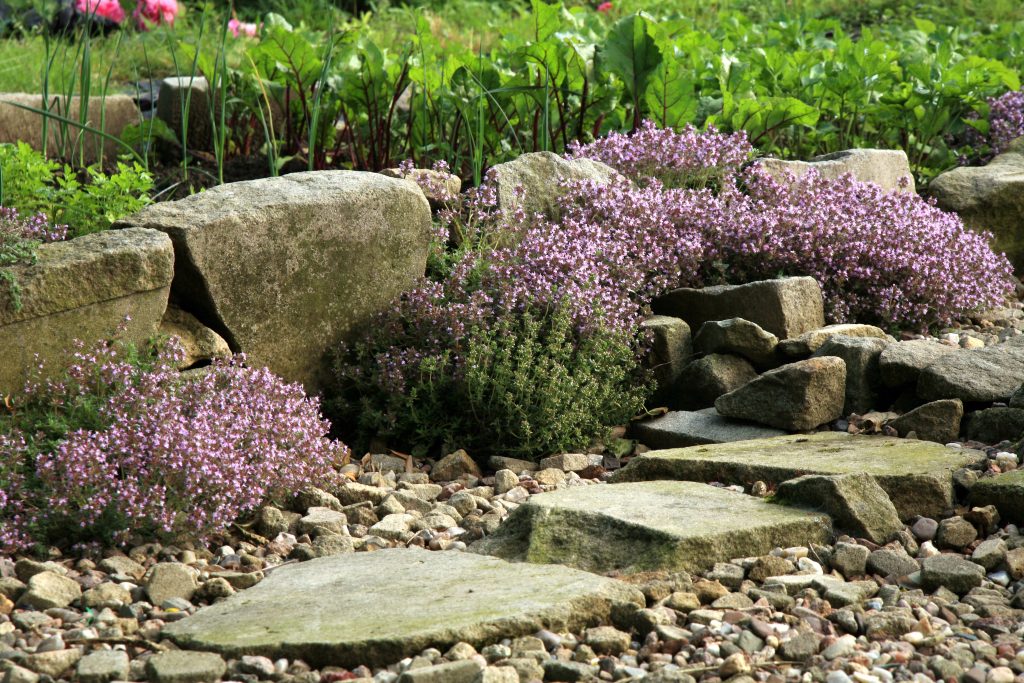
29. Rock Garden with Flat Slabs Walkway
We often neglect the profound effect that nature has on us. It’s easy to overlook the benefits of surrounding ourselves with nature. Utilizing our garden space with a touch of nature is a great source of relaxation. In this type of rock garden, the rock steps lend themselves well to most garden themes and layouts, which other substitutes, like concrete, simply would not cut it. The rocky slabs it features together with some wooden planks are the lovechild of nature and architecture.
30. Rock Garden with Mosaic Design
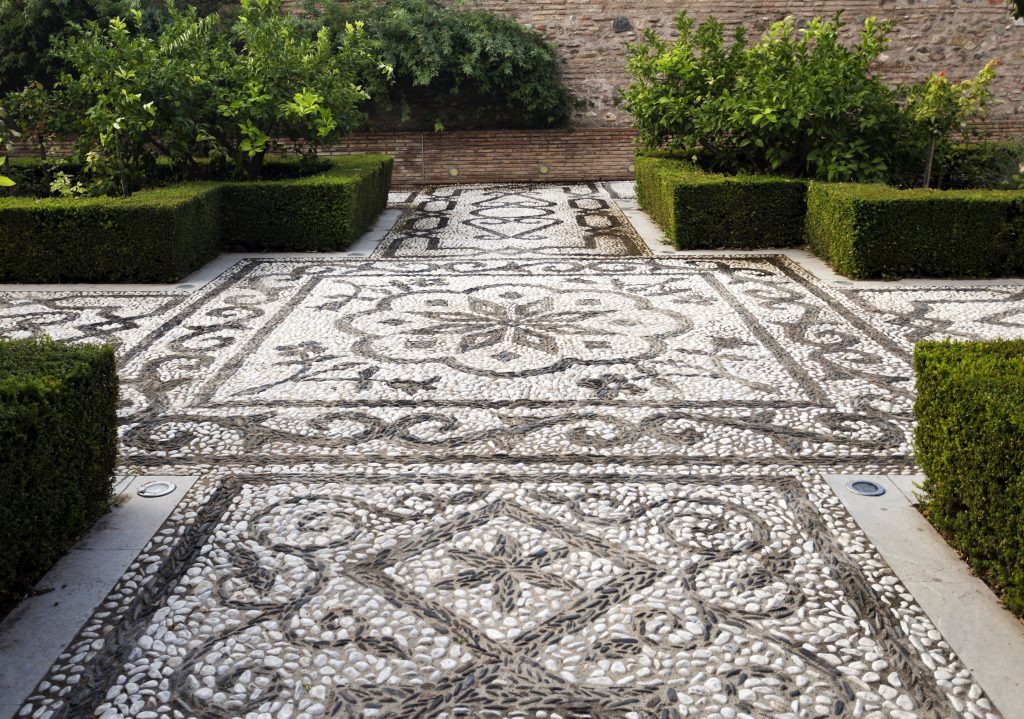
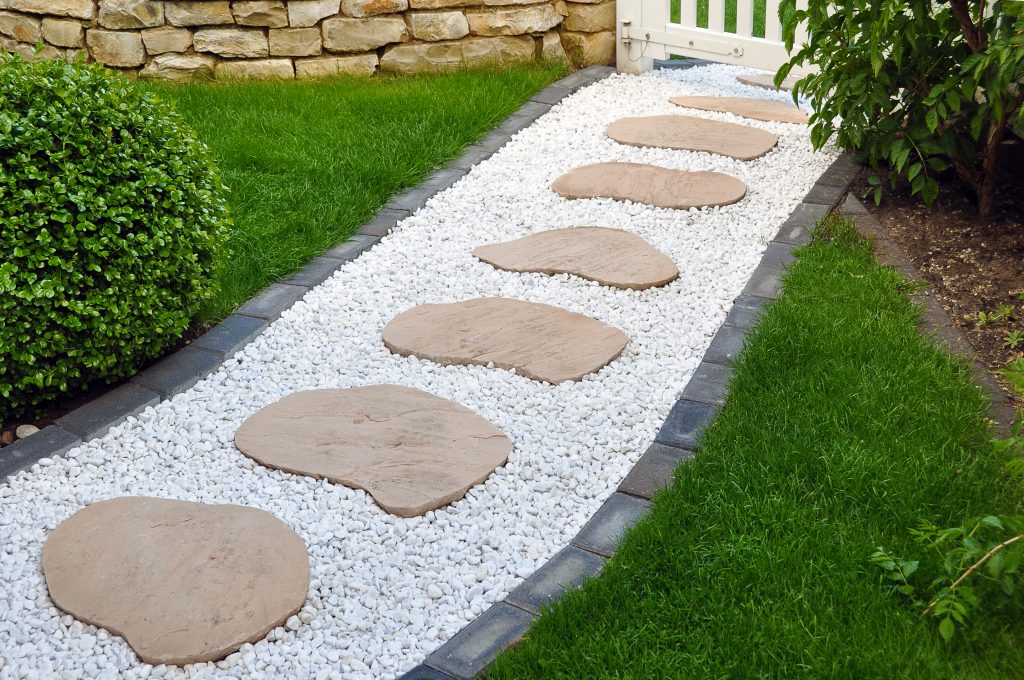
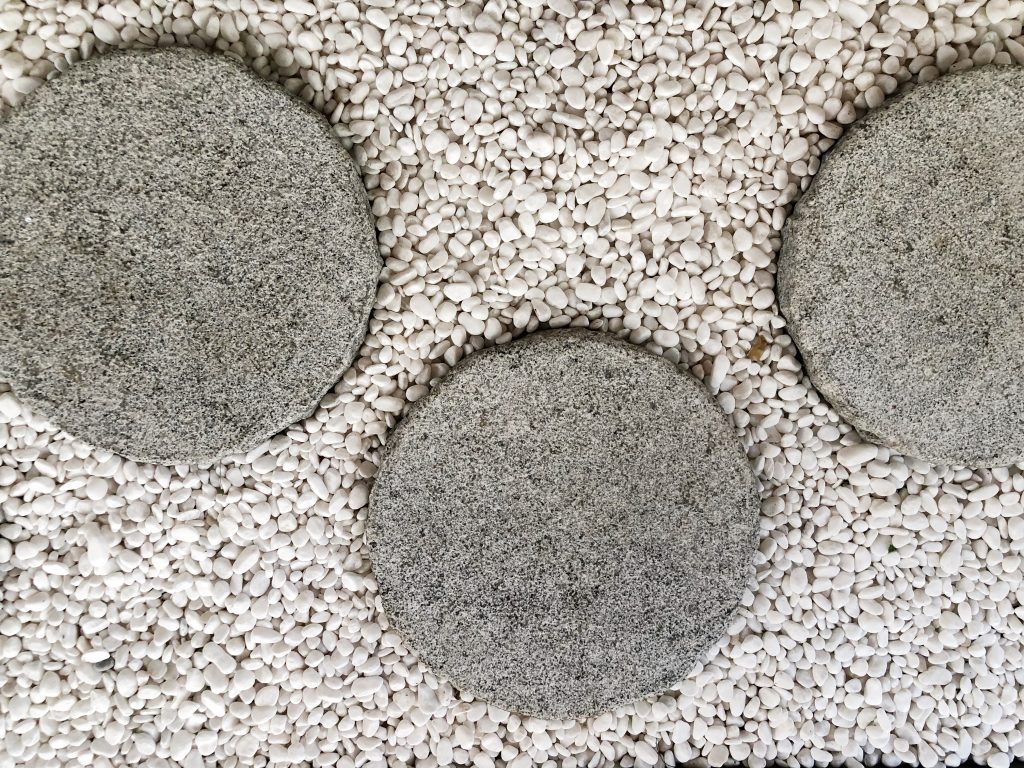
A mosaic design, especially when it has to do with a smooth and consistent surface, is certainly desirable. Naturally, rocks come in different shapes and forms. When you get creative with these rocks in a mosaic fashion, you’ll arrive at a beautiful work of art. This art piece is ideal for adorning the pathway to your home with grace and homeliness, or as designed walkways. Alternatively, how about getting a set of stepping stones to make your walk more comfortable?

31. Rock Pond
Indeed, plenty of rock garden enthusiasts out there may not have what it takes to fulfill their dream of having a large pond. However, all is not lost – some rock gardens are perfect for smaller spaces. You can take some smooth and pretty pebbles and glue them under heat to the inside part of a bowl. Fill the bowl with water. Dig a hole in your lawn that can accommodate the bowl and place it there. Include some fish, and there you go! A quick rock pond.
32. Flat Slab Steps
In this rock garden, there are large flat slabs of durable stones that are all similar in size. You can incorporate these slab steps to create a nice slope. Include some stout greens in the garden, and you will get the ideal hangout spot for a calm afternoon.
33. Contrasting Spiral Rock Garden
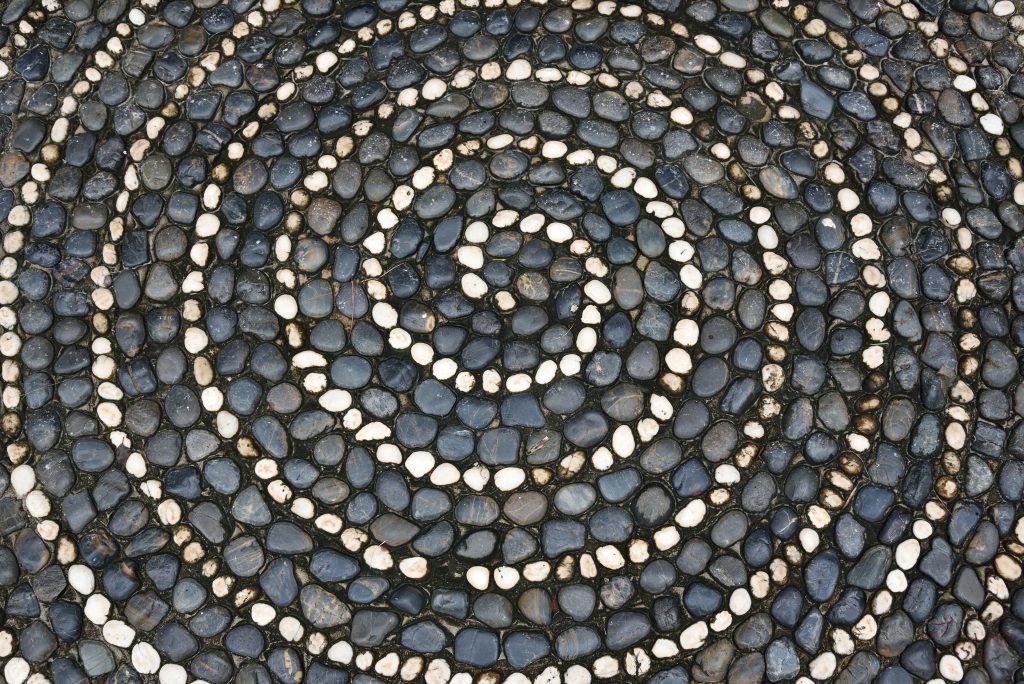
In this idea, dark-colored pebbles can be seen everywhere in the rock garden. Also, there is a need to acquire some white stones from landscaping stores. It may be a bit pricey for most people, but it is also a beautiful sight to behold and is fairly easy to create. The contrasting properties that the pebbles and the stones add to the garden create visual interest.
34. Desert-Inspired Small Rock Garden
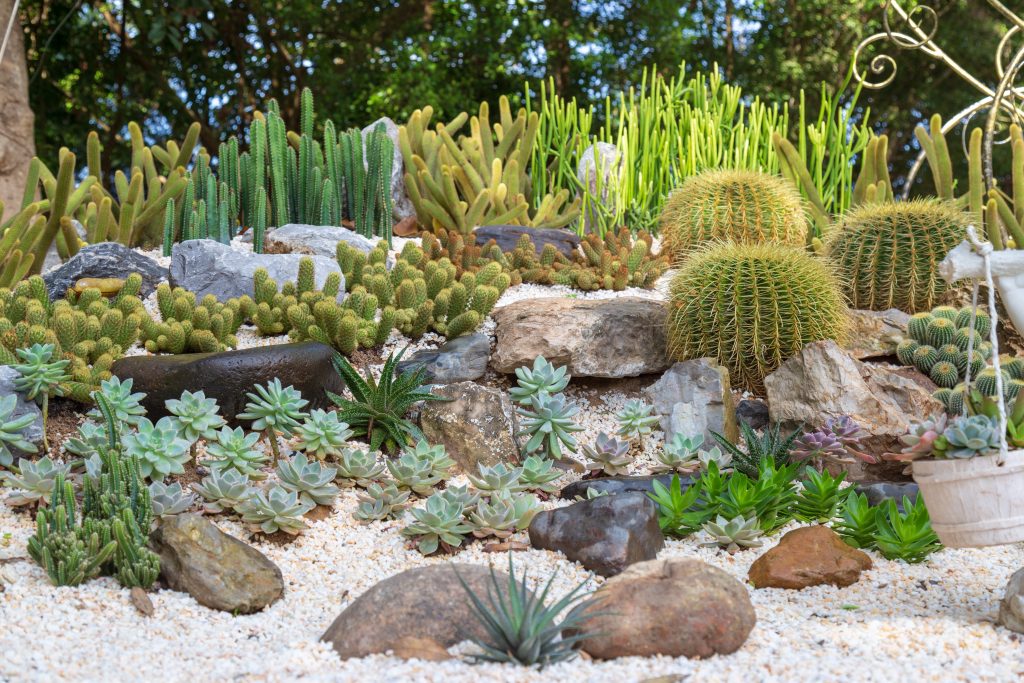
What is the most obvious sign that rocks confer? The barren and tough surface ridden with such appearance, no, something more like a desert! In this rock garden, some succulent plants are fitted in the space between the rocks to make it look like a desert.
35. Small Rock Garden On A Low Hill
Of all sloped rock garden ideas, this is one you must try. Have yourself a small rock garden on a low hill. When you are creating this rock garden, you may like to casually place the plants and the stones and fit them in such a way that the overall appearance looks great.
36. Small Brook Rock Garden
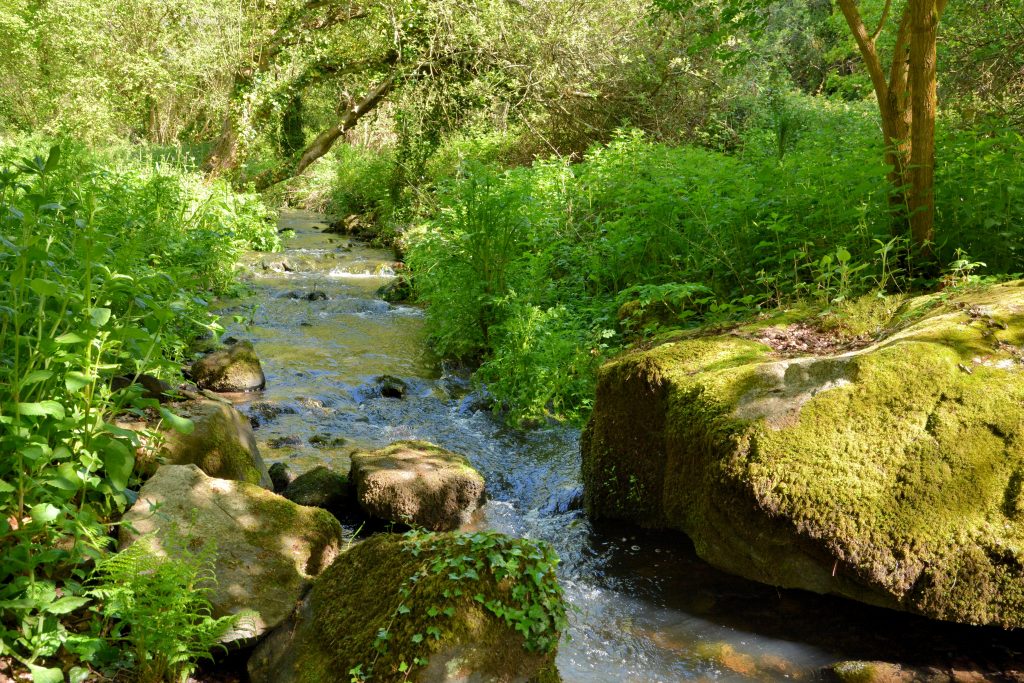
Lots of rock garden fans love to see water in their garden. This rock garden type is ideal for large gardens, plus it also features a small water brook that adds some beauty to your garden. It is also a suitable option for small waterfall style and sloping gardens.
37. A Rocky Entryway
This excellent rock garden idea requires a bit more time and effort than the rest. It is characterized by a rocky entryway that is smooth to the touch. With the help of someone a bit skillful or at best, an expert, you’ll have something nice at the end of it all.
Read more: 5 Simple Ways To Bring Nature Indoors
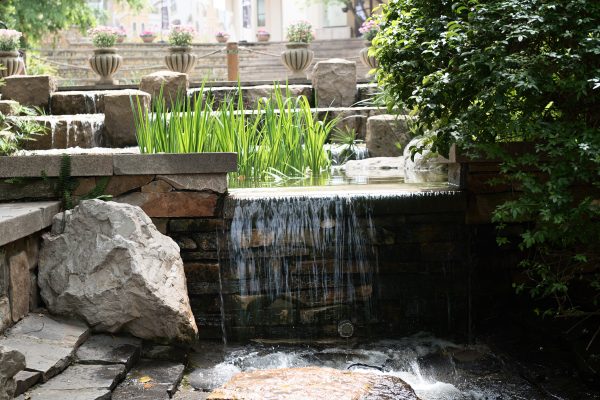
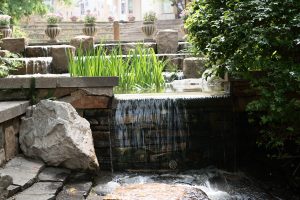
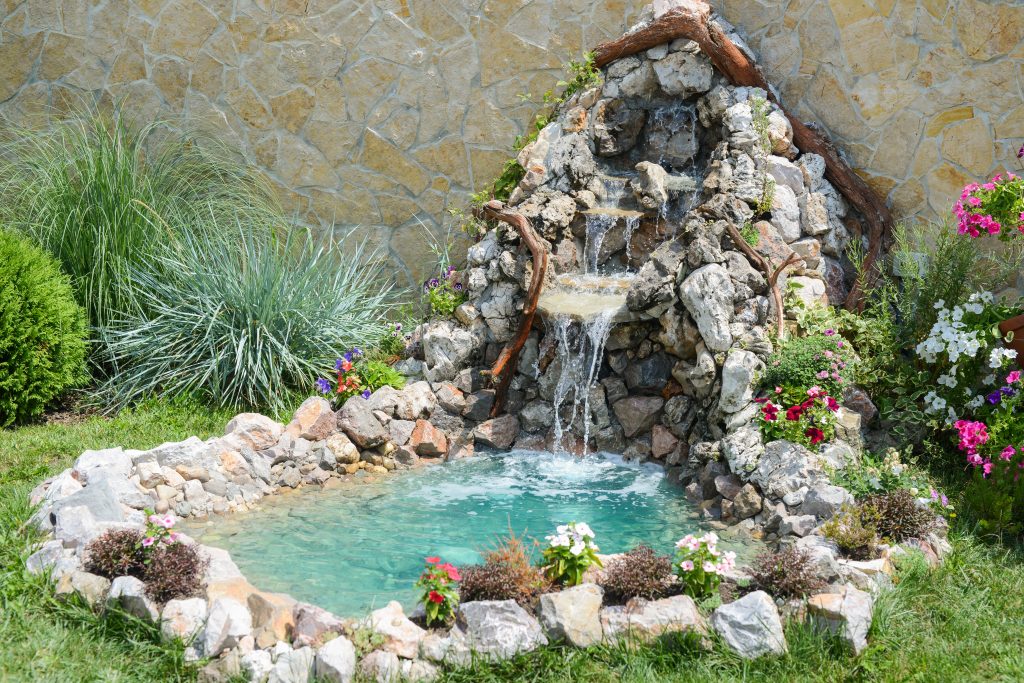
38. Rock Garden with Waterfall
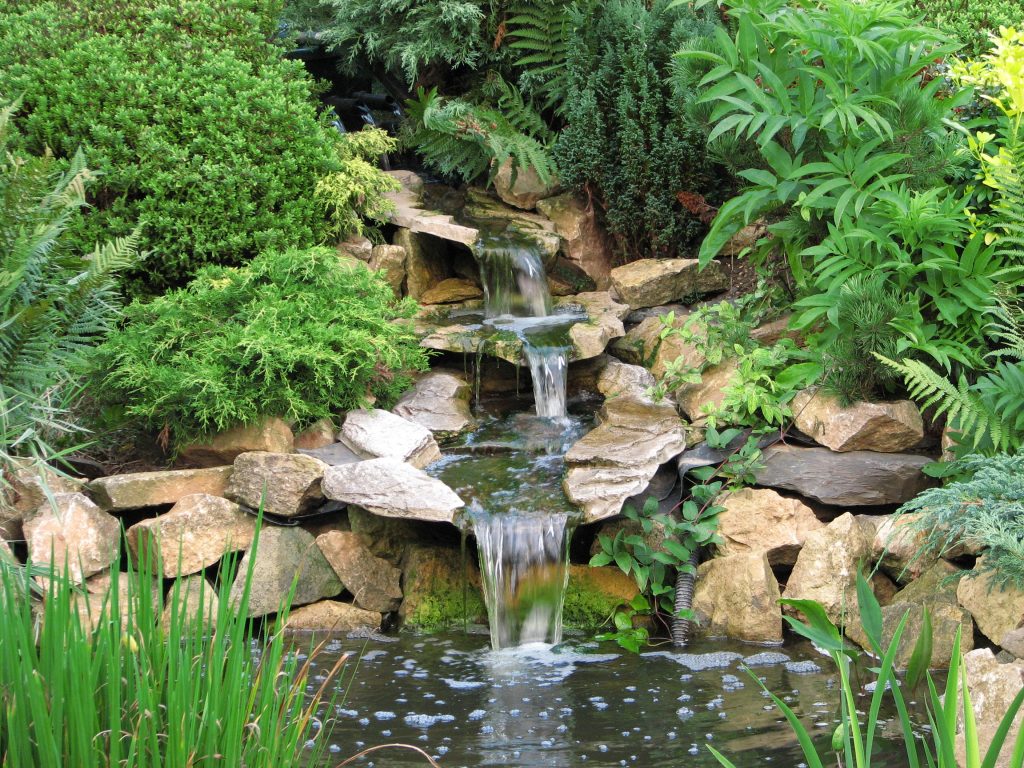
There is no denying the fact that almost everyone on the planet desires something as natural and soothing as seeing a waterfall right by your house. The splashing sound of water as it flows down through the rock formation will definitely amaze you.
39. Rock Garden with Rock-Walled Herb
This rock garden idea is great for even beginners. When you are done constructing this garden, you’ll not only have exceptional scenery to behold but hopefully some shade as well.
40. Japanese Zen Rocks

You don’t always have to stack your rock garden with plants and rocks! In this rock garden design, a zen feeling is created by additional props that enrich the visual sides of the garden without weighing down on its meditative appeal.
What Do You Put In A Rock Garden?
Rock gardens are usually unique in their components, and what would be found in one would not likely be found in another. Some factors determine what would be found in your rock garden. The location of your house and the choice of garden idea you decide to adopt, plus your budget, top the list. Below are some of the materials that feature in a rock garden:
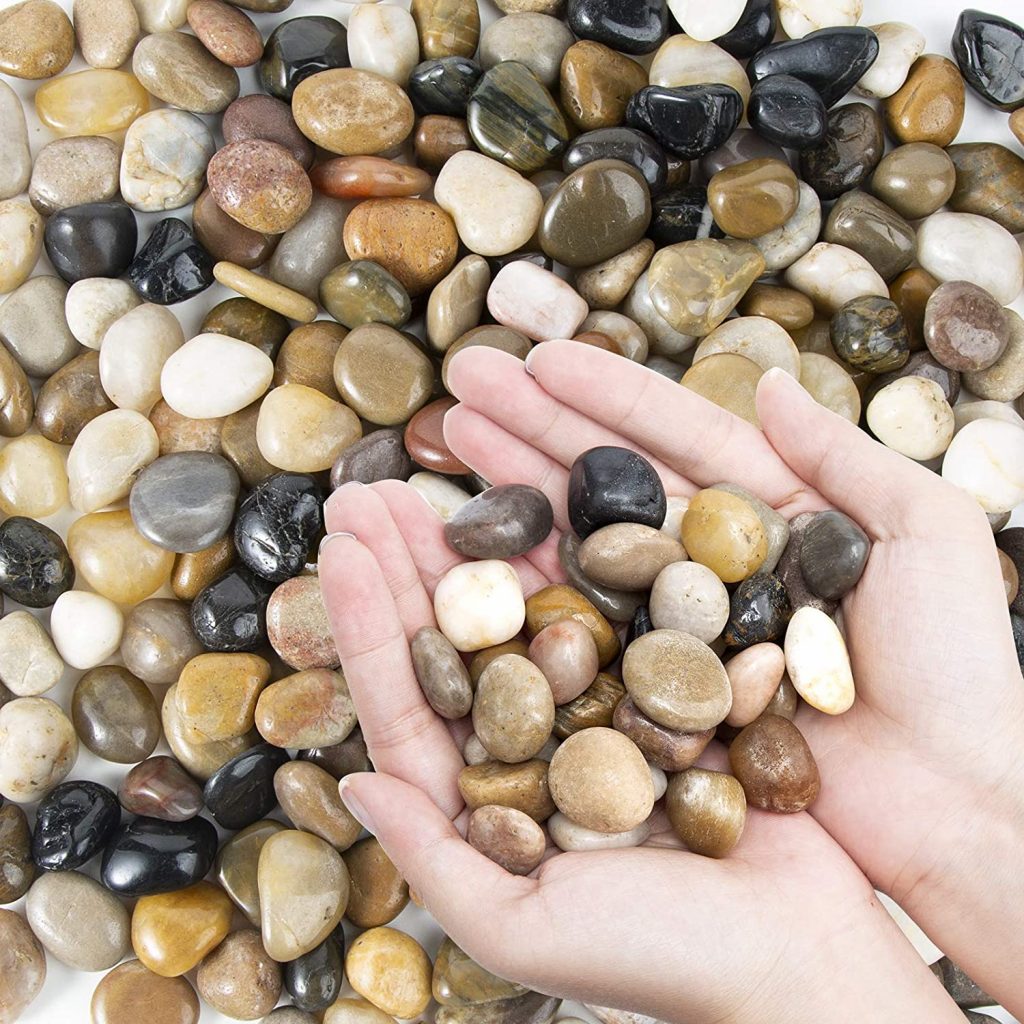
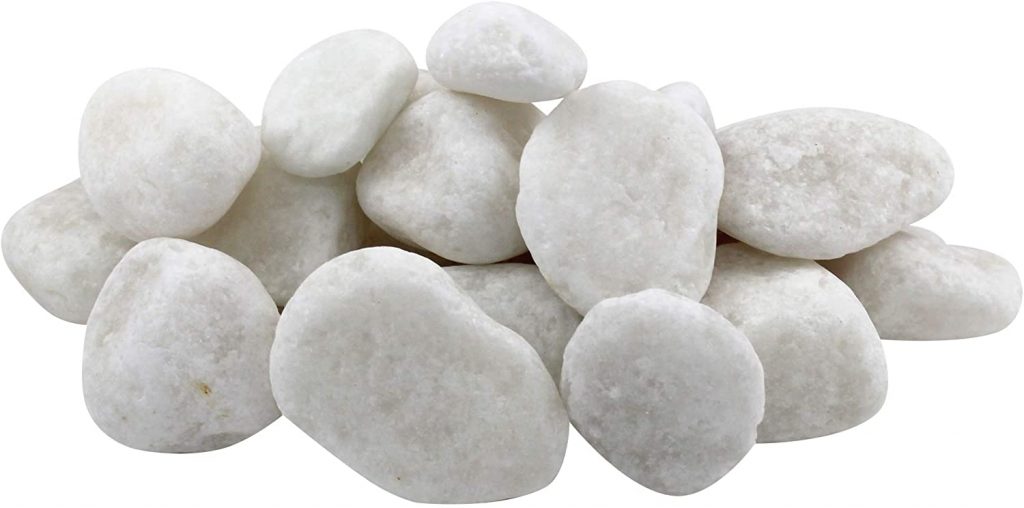
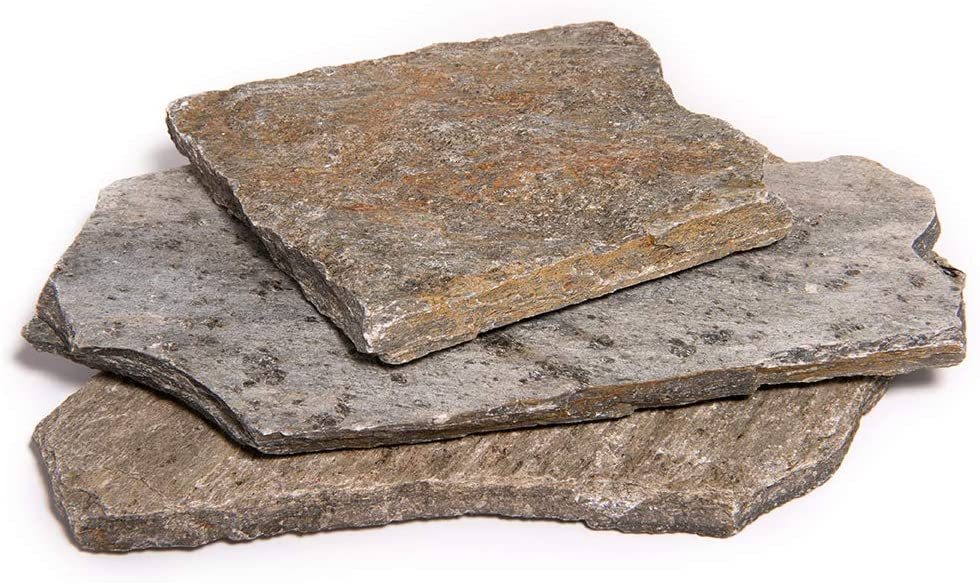
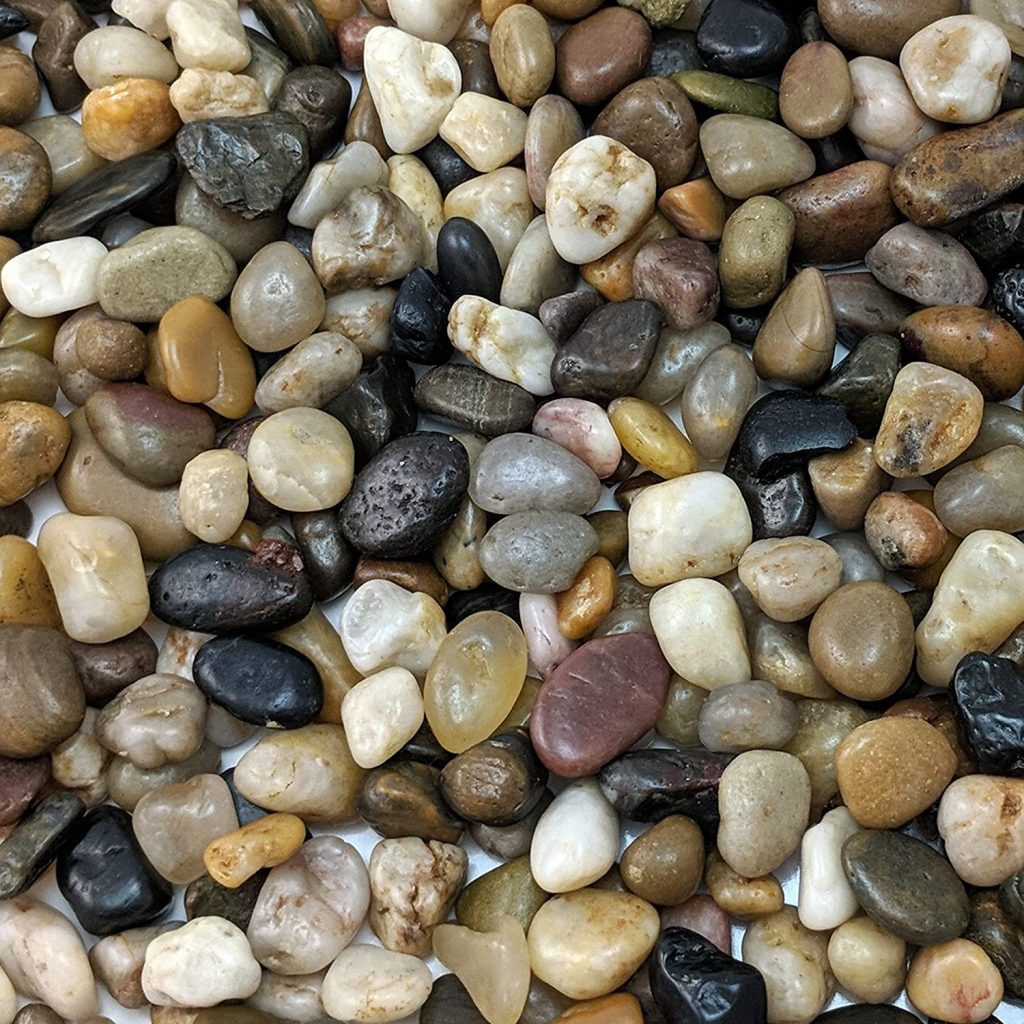
Rocks
Rocks are the most common inclusions in all rock gardens. Boulders are obviously more expensive than pebbles, so when you set out to make a choice, this should also be put into consideration. The rock garden design will help you decide which kinds of rocks you should get.
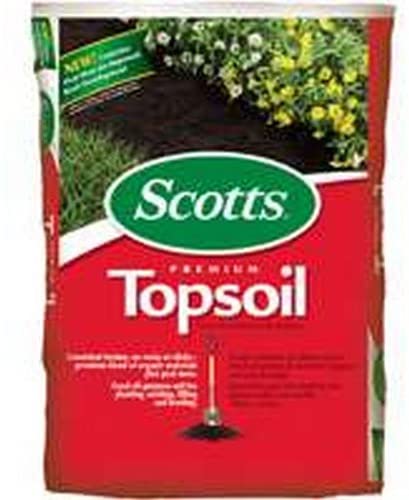
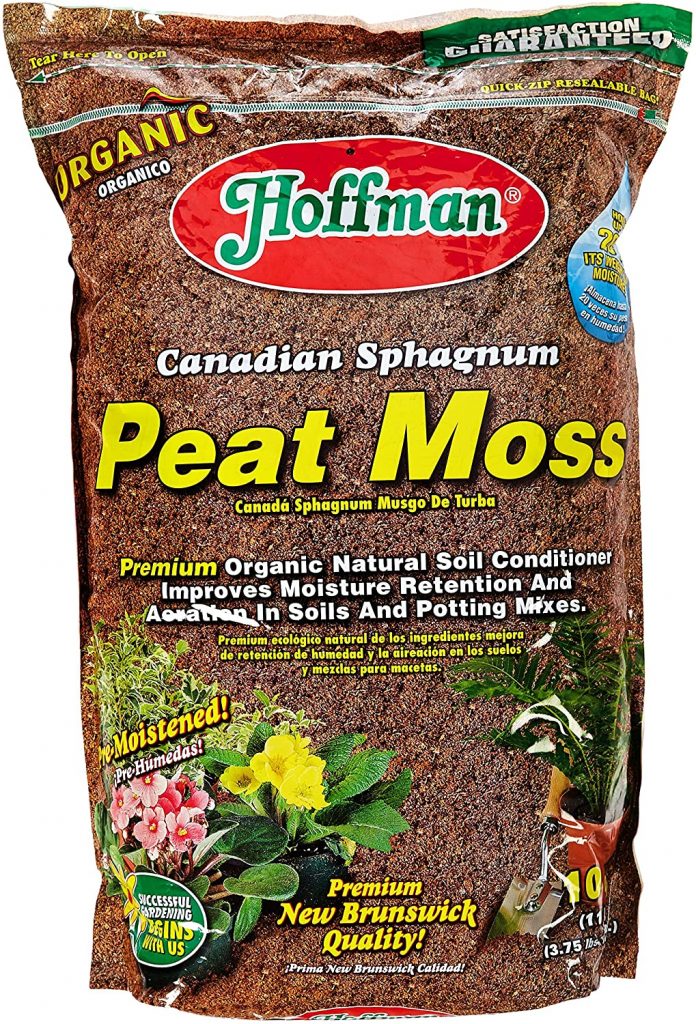
Soil
This is also another common inclusion in a typical rock garden. You will typically need topsoil, pebbles, and peat moss. Soil is not pricey, something that shouldn’t worry you as much because you’ll not break the bank to get it. Also, the quantity of soil you’ll need for your rock garden is dependent on its size and design.
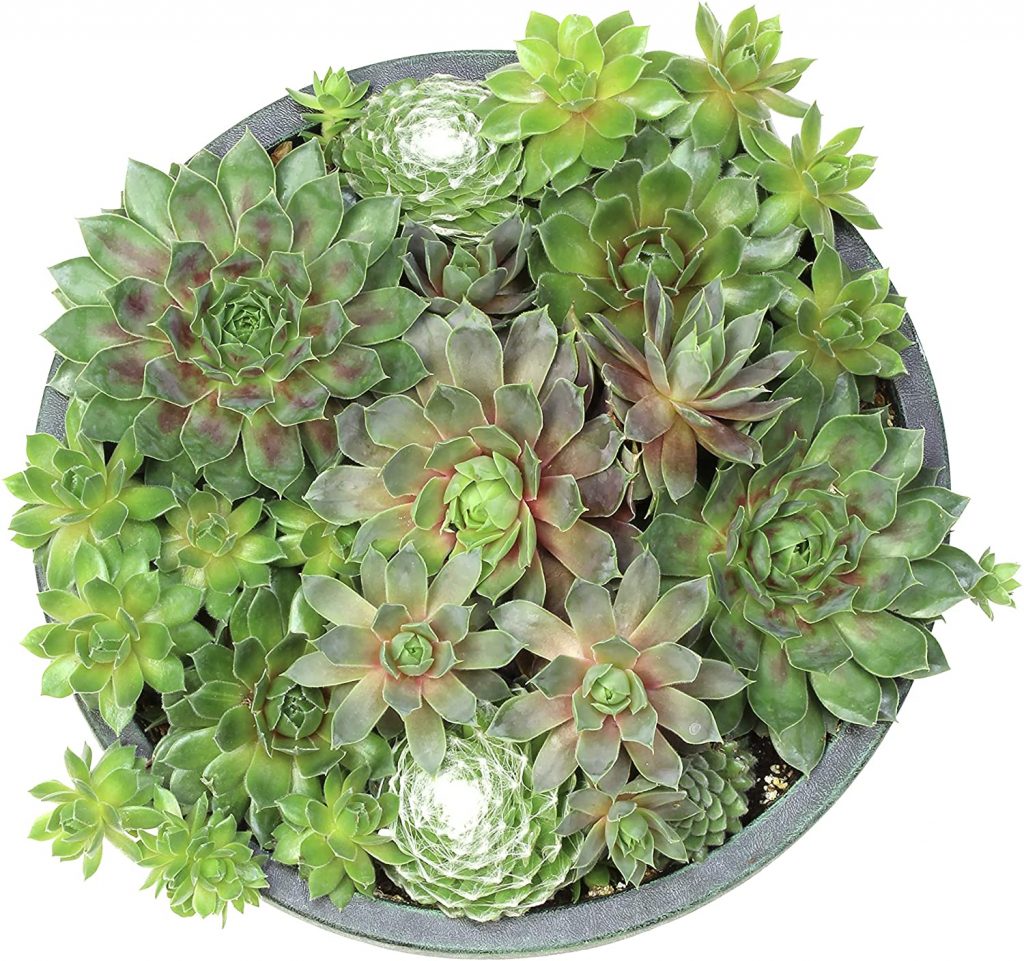
Plants
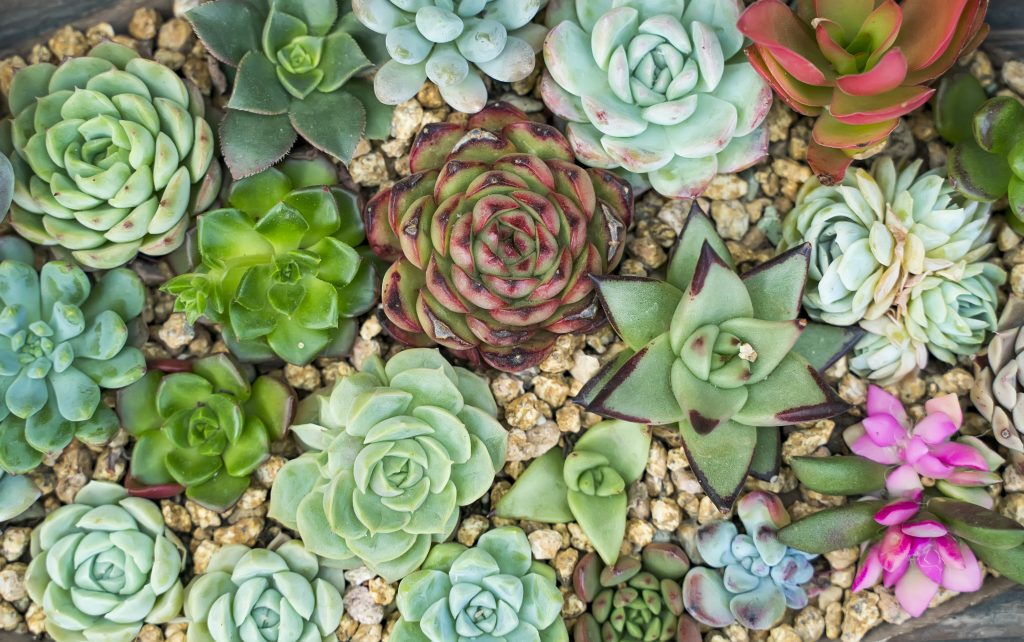
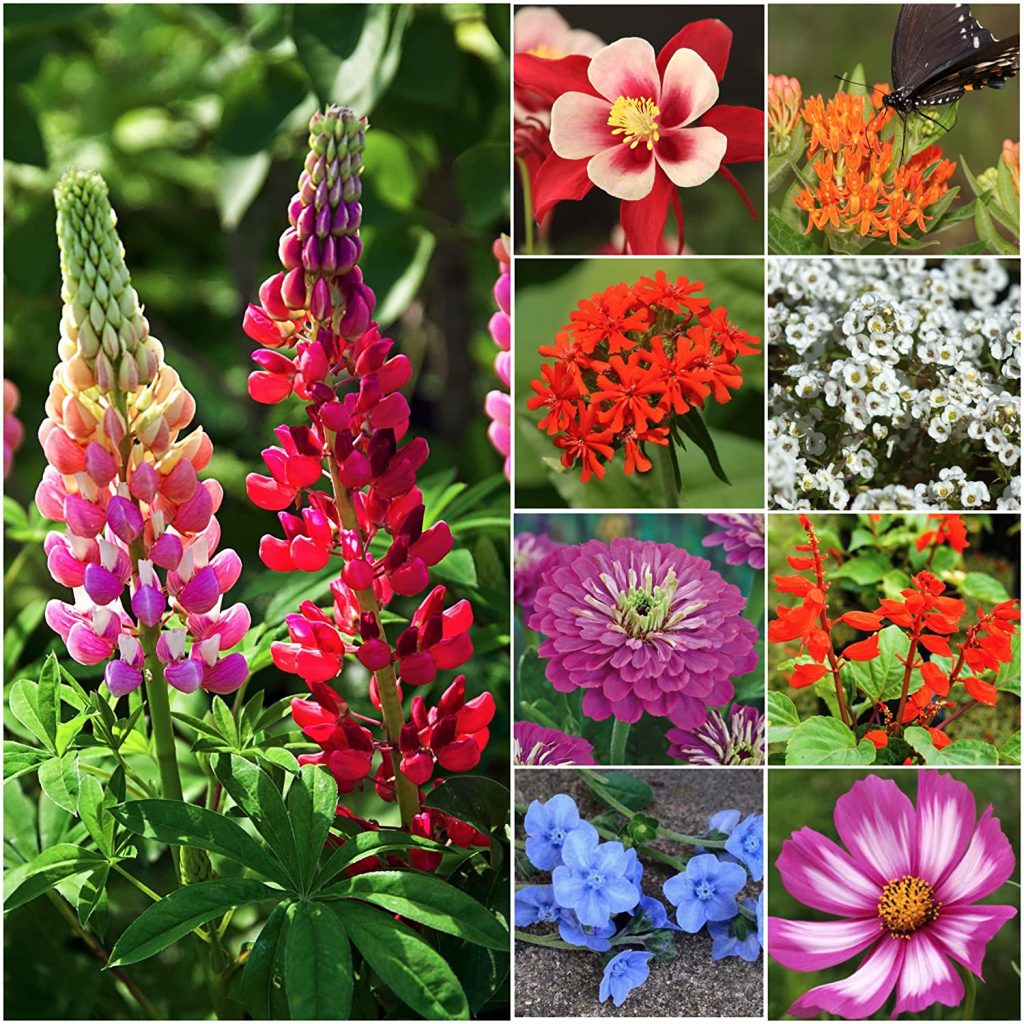
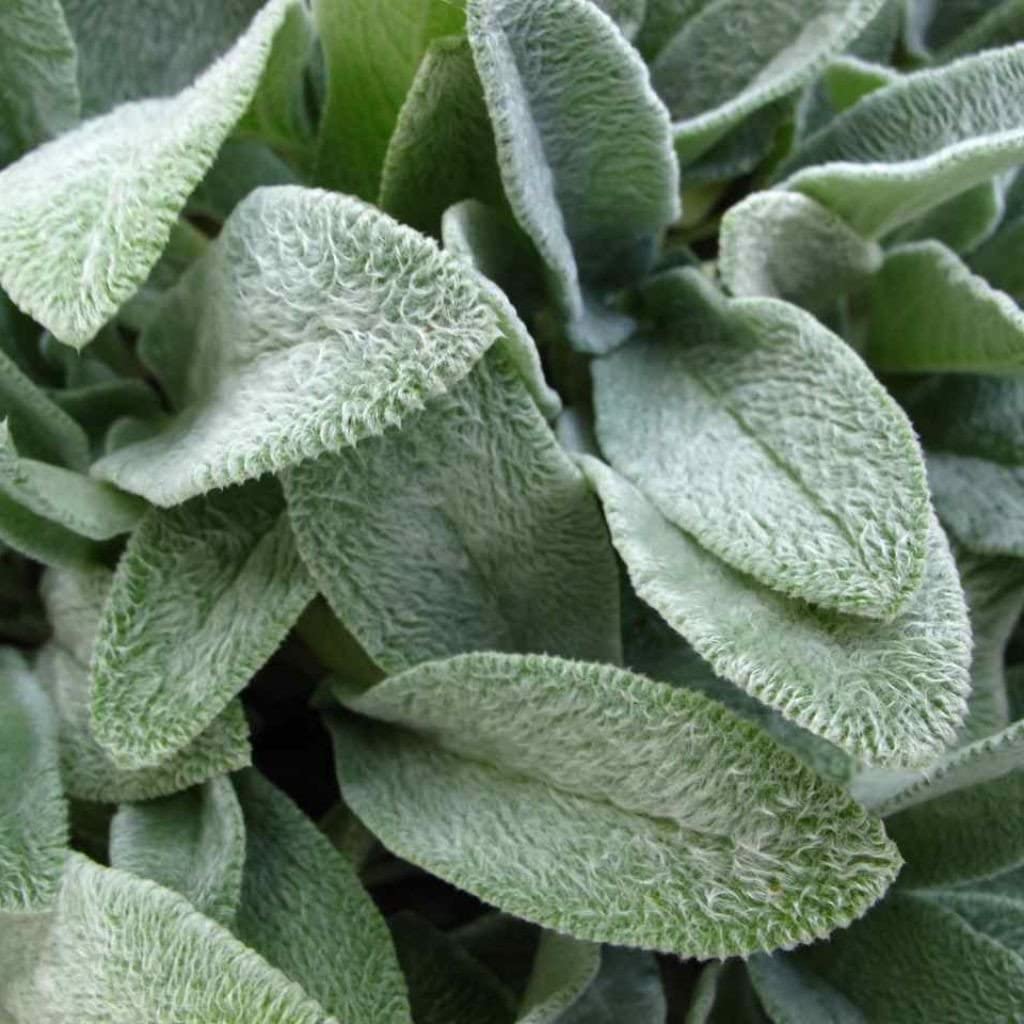
Also, this is another less-pricey inclusion. With a few dollars, you can get a beautiful collection of plants that are rock garden-friendly, for example:

How To Make A Rock Garden
You should realize that creating a rock garden is very much different from a normal garden. It requires more effort and patience, but a well-planned rock garden is a reward in and of itself. A nice rock garden involves carefully-crafted plans and a thorough preparation so that you know what it is that you want and how to position yourself to achieve it.
1. Prepare Your Desired Plot of Land
This is the first step in the preparation of a rock garden. Root out all useless plants from the plot, and effectively mark out your garden area by making deep edges around it.
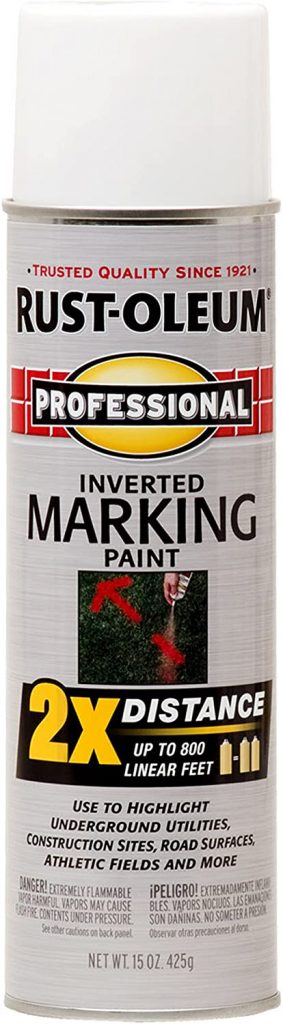
2. Carefully Plot Your Design on The Ground
When you do this, you’ll have an idea of how your rock garden will turn out to be before you actually start doing the main work. Inverted marking spray paint will do the trick. Also, it is important to plan out your soil and rock layers to promote good irrigation. You can also include fabric that is resistant to weeds in the areas that are prone to weed infestation.
3. Make a Choice of Your Desired Rock
There are stones of small sizes available in gardening and landscaping stores that you can buy. If there is a need to acquire larger stones, then you’ll need the services of stone suppliers to get them for you from their quarry. These suppliers frequently have a large collection of boulders to serve your needs, and they are by far a cheaper alternative.
4. Begin With the Large Boulders
This is because these big objects are the most difficult to move around. Setting these up as your foundation to builf upon sets you upd for an easier job. It is ideal to plan their places in your rock garden at the start since it isn’t practical to move them around frequently. Once they’ve been set, your collection of ornaments and the rest of your rock garden material can build upon these large boulders to complete the natural look.
5. Add the Smaller Stones or Plant All the Plants First
This is the very next step. You can use the crevices to fill the soil, or you can press them down to make them appear in a natural form.
As discussed above, the average Joe can create nice-to-behold rocky scenes if they can put in some level of effort and adequate planning. Following the step-by-step process and incorporating some personal touches and creativity, et voilà, you have a beautiful rock garden all to yourself!
How Do You Use Small Rocks In The Garden?

Most of the DIY rock gardens feature small stones as part of their build. The sheer contrast in size and the attractive connotation that small stones provide is worth knowing how to make use of them in your rock garden. After getting them from a landscaping or gardening store, you can seek experts’ help to lend you an assisting hand in placing them correctly in your rock garden. If the rock garden idea you choose to opt for is anything that you can do alone, then proceed to incorporate them at the right spot in your garden.
Location of the Rock Garden
When you set out to create a rock garden for yourself, one thing should be obvious to you. They are usually permanent structures, so you ought to be careful in choosing the proper site to position them. The location of your rock garden can either be at the corners of your house, or in one suitable location in your backyard. If you are confident in yourself that you are ready and have the experience of creating one for yourself, then you may like to try out rock gardens for higher hills and larger spaces, if you have the resources.
Feel of the Rock Garden
A good choice of rocks for your rock garden and where to place them will positively affect the appearance of your garden and the feeling you’ll experience anytime you visit it. For a natural and casual appeal, irregular rocks paired with random groupings of rocks are definitely a suitable option. But then, if you want an elegant and cleaner appeal, rocks or smooth pebbles that come in equally shaped sizes will get the job done perfectly.
Where Can I Get Free Rocks For Landscaping?
Help A Farmer
For farmers, a rocky field can pose a nightmare. To this end, you may like to find any farmer that you can assist in removing the rocks from his field. They would be more than happy to have a helping hand, as it is a win-win situation for both of you. If the odds turn in your favor, you may find the sufficient quantity of rock you need for your garden.
Check Construction Sites
Locate a construction site that is currently being excavated, and try getting some rocks from there. Most construction workers would be happy giving you those rocks because they can sometimes pose as a distraction for them.
Discuss with Road Construction Crews
Do you know any big road construction project where there is an active blasting of rocks? Get in touch with the job foreman and have a chit-chat with him. You may be surprised to see that you’ll get your rocks for free.
Go Shop It
When house owners visit their yard work during the spring, some rocks get hauled into the curb. During a Sunday afternoon drive, you may get to see some rocks that will add beauty to your garden on a lonely site in the neighborhood. While free alternatives are aplenty, quality may vary largely from rock to rock. Paid options, on the other hand, guarantee consistently good quality to make building that perfect garden easier. Here are the best garden rocks you can get today.
Top 3 Garden Rock Choices
Premium CHOICE

Go Rockhounding
This is the hobby of looking for and picking rocks: rockhounding. Even though this hobby is not entertained in national parks, most properties handled by the Bureau of Land Management and most national forests allow it. Without having a permit, it is possible to pick up to 250 pounds of rock in a single day in Utah. Now, that’s a lot of free rocks.
Shop at Craigslist and Freecycle
This store may be the next best alternative for you when you go all out to get some nice free rocks. But you should frequently check both sites, and take proactive steps when the offer presents itself.
Was this page helpful?
At Storables.com, we guarantee accurate and reliable information. Our content, validated by Expert Board Contributors, is crafted following stringent Editorial Policies. We're committed to providing you with well-researched, expert-backed insights for all your informational needs.
0 thoughts on “40 Beautiful Rock Garden Ideas In 2022”