Articles
How To Make A Rock Garden
Modified: August 28, 2024
Learn how to create a beautiful rock garden with expert gardening tips. Transform your outdoor space into a tranquil oasis with our step-by-step guide.
(Many of the links in this article redirect to a specific reviewed product. Your purchase of these products through affiliate links helps to generate commission for Storables.com, at no extra cost. Learn more)
Introduction
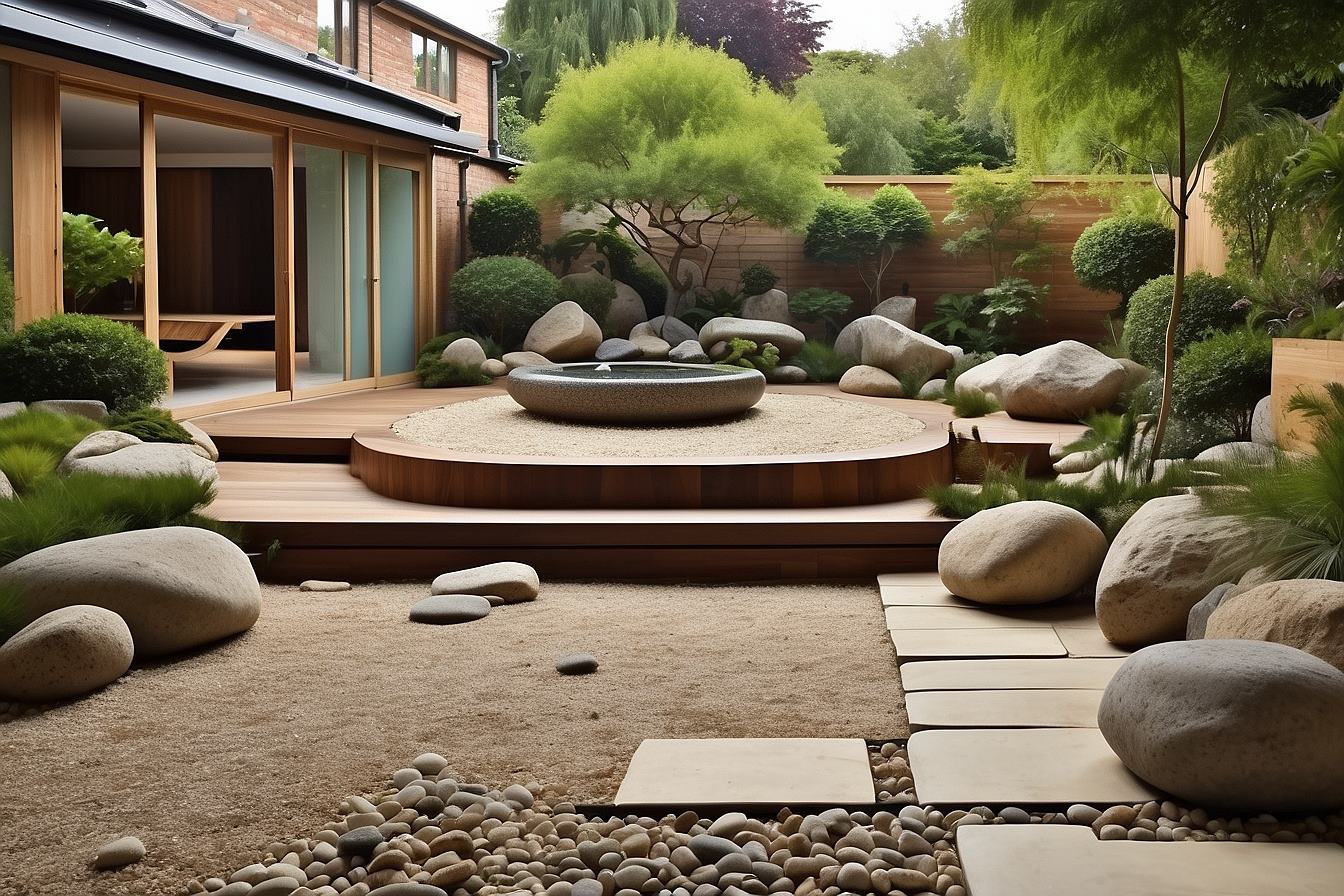
Welcome to the world of rock gardening! Creating a rock garden is an excellent way to add beauty, texture, and interest to your outdoor space. Whether you have a sprawling backyard or a small balcony, a rock garden can be the perfect addition to showcase your gardening skills and create a tranquil oasis.
A rock garden is a unique landscaping feature that incorporates various sizes and shapes of rocks along with carefully selected plants and flowers. This type of garden mimics the natural environment found in rocky landscapes, such as mountainous regions or desert areas. With a little planning, patience, and creativity, you can turn any dull or unused space into a stunning rock garden that will be the envy of your neighbors.
In this article, we will guide you through the process of creating your very own rock garden. From choosing the right location to selecting the perfect rocks and plants, we’ll cover all the necessary steps to ensure your rock garden thrives and becomes a focal point of your outdoor space.
So, grab your gardening gloves and let’s get started on this rockin’ adventure!
Key Takeaways:
- Create a visually stunning rock garden by carefully selecting rocks and plants that complement each other in size, color, and texture. Proper soil preparation, strategic rock placement, and regular maintenance are key to a thriving rock garden.
- Transform your outdoor space into a tranquil oasis with a captivating rock garden. Consider the environment, balance rocks and plants, and maintain regular watering and maintenance to ensure the long-term beauty and health of your garden.
Read more: How To Make A Rock Garden Bed
Choosing the Right Location
When it comes to creating a rock garden, location is key. Before you start digging or placing any rocks, take some time to evaluate your outdoor space and identify the perfect spot for your rock garden.
- Sunlight: Most rock garden plants thrive in full sunlight. Choose an area that receives at least 6-8 hours of direct sunlight per day. Avoid locations that are shaded by trees or structures.
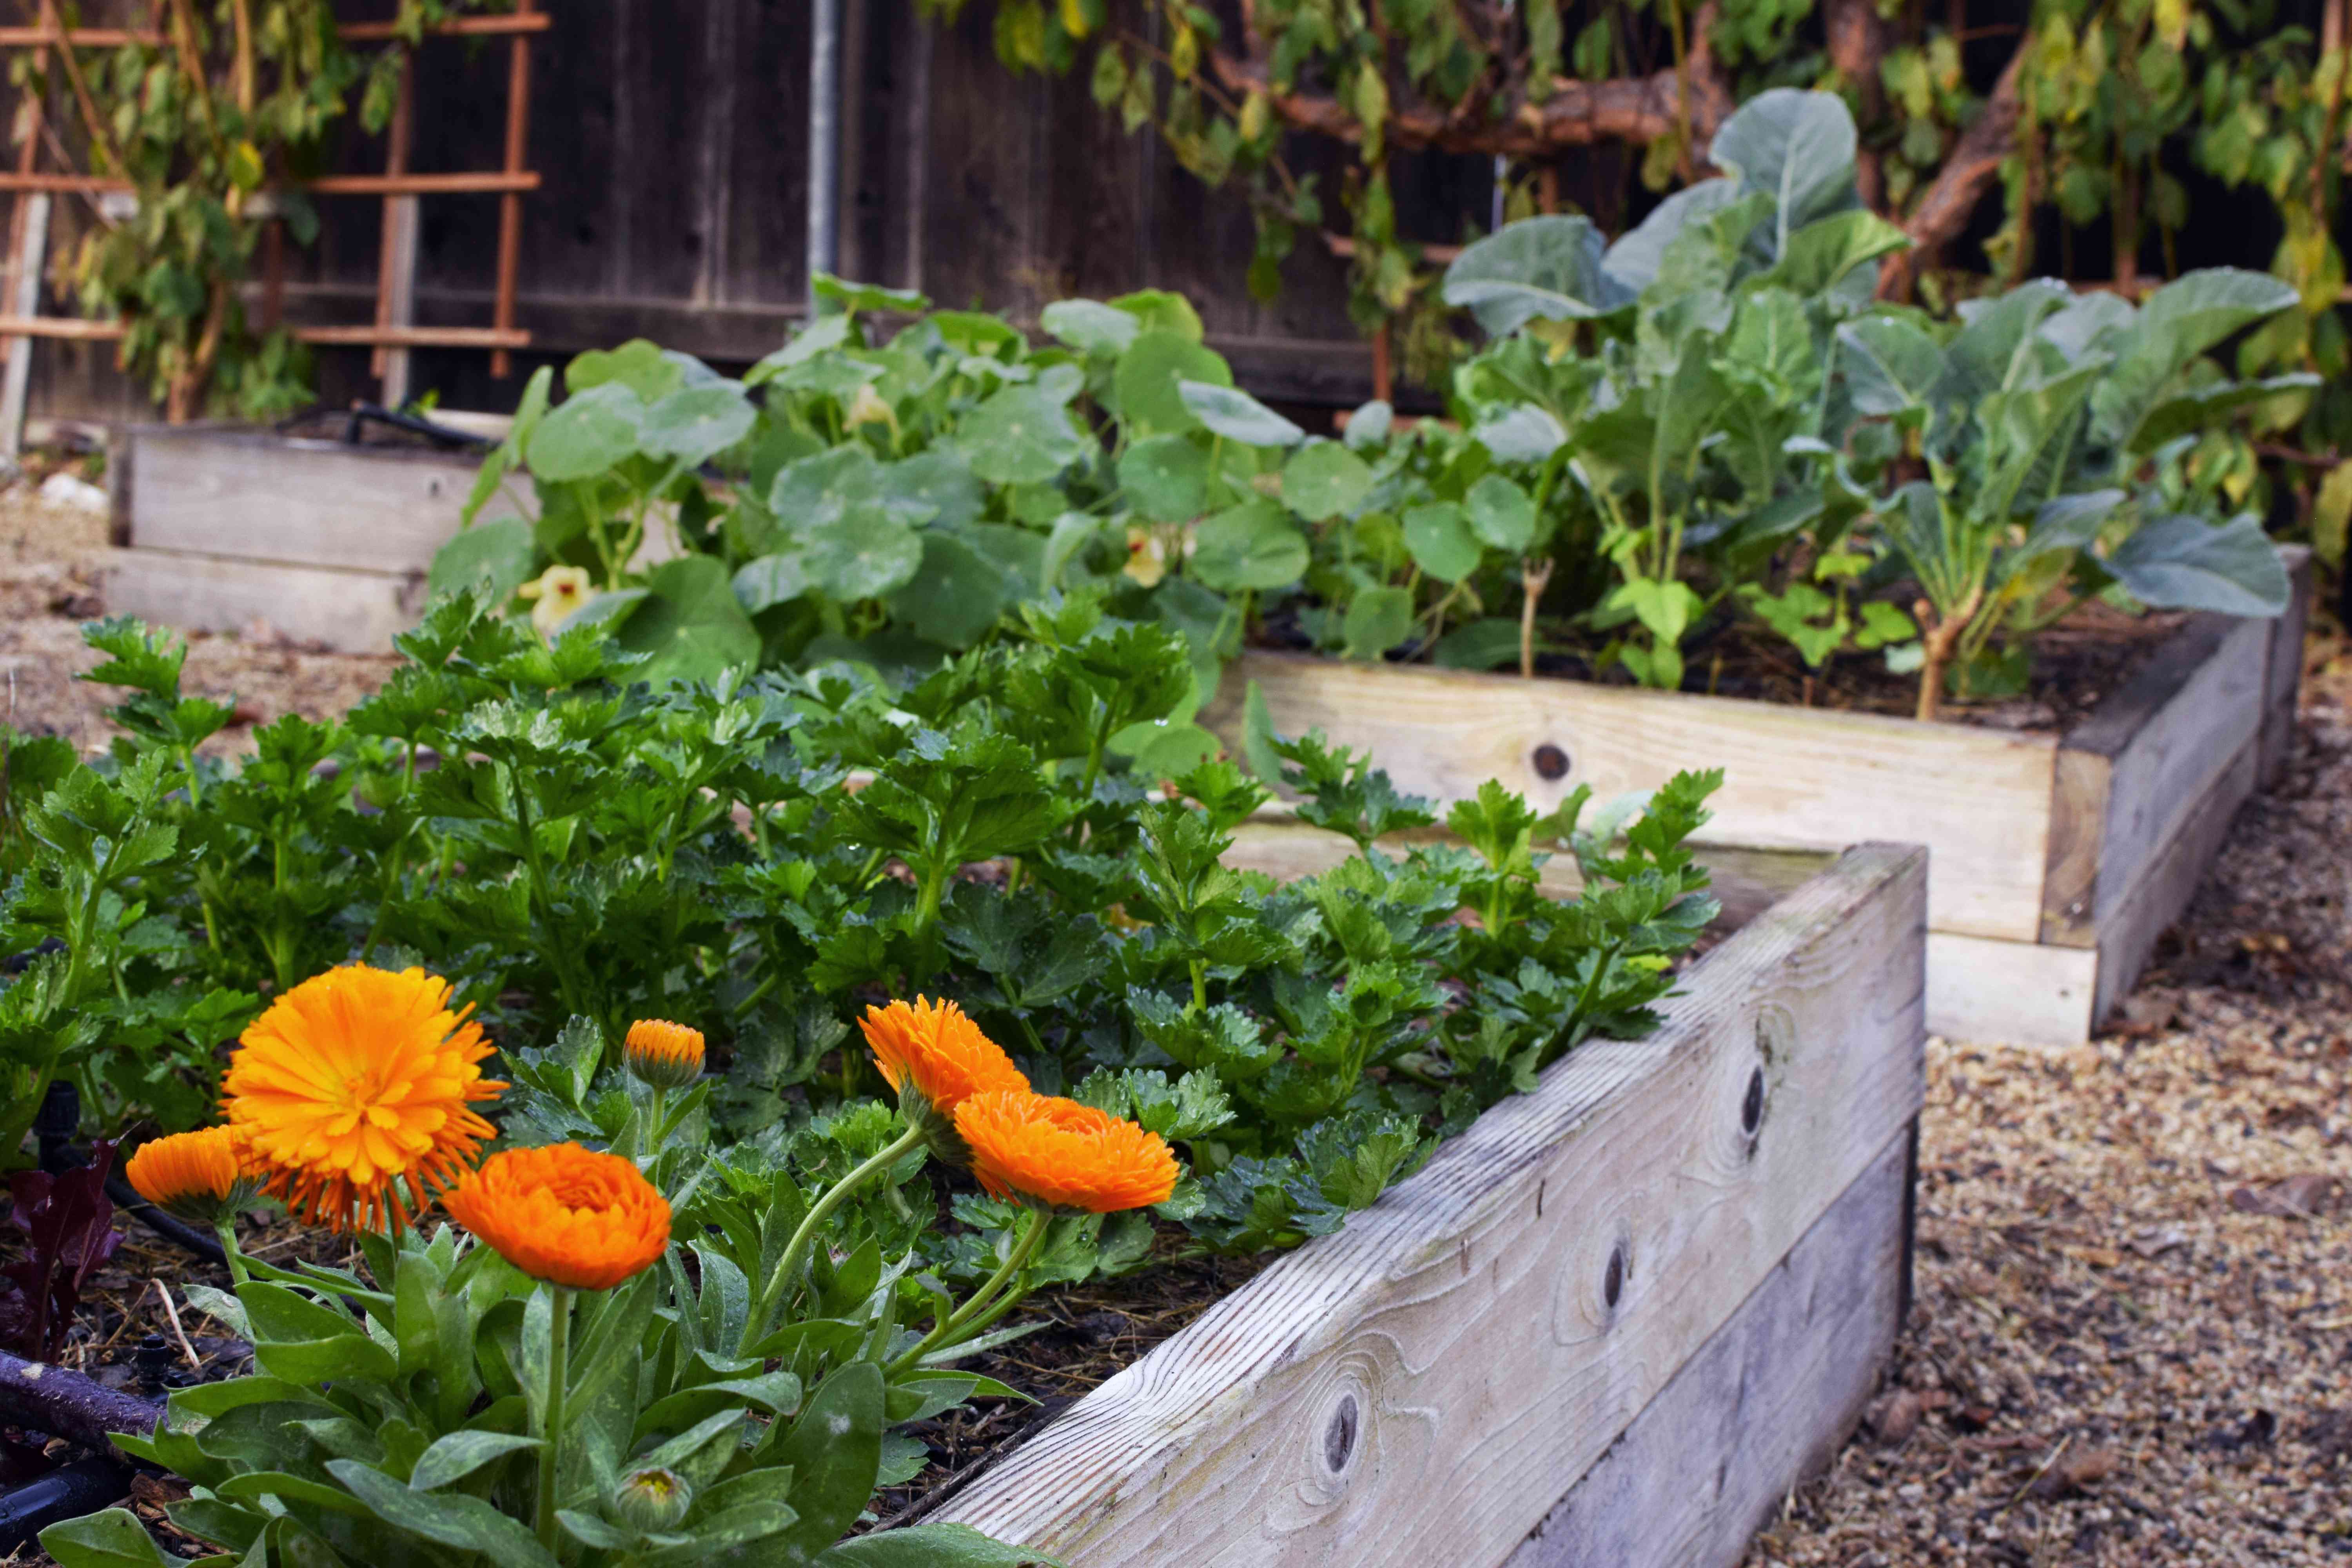
- Drainage: Rock gardens require well-draining soil to prevent waterlogging and root rot. Look for a location with good natural drainage or consider creating raised beds or berms to improve drainage.
- Accessibility: Take into consideration how accessible the location is for maintenance. A rock garden placed too far from your home may become a hassle to maintain, especially when it comes to watering and weeding.
- Views and Focal Points: Think about the views from different angles of your outdoor space. Consider placing your rock garden where it can be enjoyed from various vantage points, such as a patio, deck, or windows.
Additionally, it’s important to assess the existing landscape and vegetation around the potential location. A rock garden should complement the surrounding elements, such as trees, shrubs, or other garden features. Avoid placing your rock garden in an area that clashes with the overall aesthetic of your yard.
Once you have narrowed down a few potential locations, spend some time observing the sunlight patterns throughout the day. Make note of any potential shade or areas that may become excessively hot. This will help you determine the best location that provides the ideal growing conditions for your rock garden plants.
The right location will set the foundation for a successful rock garden, ensuring that your plants thrive and the overall design is visually appealing. Take your time to choose wisely, as this decision will greatly impact the future enjoyment and maintenance of your rock garden.
Clearing the Area
Once you have chosen the perfect location for your rock garden, it’s time to clear the area and prepare it for the transformation. Clearing the area involves removing any existing plants, weeds, debris, or grass to create a clean slate for your rock garden.
Start by removing any larger plants or shrubs in the designated area. Use a shovel or garden spade to dig around the base of the plants and carefully lift them out, ensuring you remove the root system as well. If you have any unwanted perennials or invasive plants, make sure to dispose of them properly to prevent them from regrowing and competing with your rock garden plants.
Next, tackle the weeds. Depending on the size of the area, you can use a manual weeding tool or a garden hoe to loosen and remove any weeds or grass. Make sure to remove the entire root system to prevent their regrowth. This step is crucial to provide a weed-free foundation for your rock garden.
Once the plants and weeds are cleared, it’s time to remove any debris or rocks that may hinder the construction of your rock garden. Collect any fallen branches, stones, or other debris and dispose of them accordingly.
If the soil in the cleared area is compacted or lacks nutrients, consider aerating the soil with a garden fork or a mechanical aerator. This will help improve drainage and allow the plant roots to penetrate more easily.
By clearing the area effectively, you are creating the perfect environment for your rock garden to flourish. It may require some physical effort, but the end result will be a clean and well-prepared space to unleash your creativity in building your rock garden.
Preparing the Soil
Preparing the soil is a crucial step in creating a thriving rock garden. The right soil composition will provide the necessary nutrients, drainage, and aeration for your plants to establish strong roots and grow healthily. Here are some steps to prepare the soil for your rock garden:
1. Test the Soil: Before making any amendments, it’s helpful to test the soil pH and nutrient levels. You can purchase a soil testing kit from a garden center or send a sample to a lab for analysis. This will give you valuable information about the current state of your soil, allowing you to make necessary adjustments.
2. Amend the Soil: Based on the soil test results, you may need to amend the soil to create the ideal conditions for your plants. Most rock garden plants prefer a slightly acidic to neutral pH range. If your soil pH is too high (alkaline), you can lower it by incorporating organic matter like compost or peat moss. This will also improve the soil structure and drainage.
3. Improve Drainage: As mentioned earlier, rock gardens require well-draining soil to prevent waterlogging. If your soil has poor drainage, you can improve it by adding coarse sand or perlite. Mix these materials into the soil thoroughly to allow excess water to flow through more easily.
4. Add Organic Matter: Organic matter, such as compost or well-rotted manure, is essential for enriching the soil and providing nutrients for your plants. Incorporate a generous amount of organic matter into the soil, working it in with a garden fork or tiller. This will improve soil fertility and enhance nutrient availability.
5. Level the Soil: Before placing rocks and plants in your rock garden, make sure the soil surface is level and smooth. Use a garden rake to remove any large clumps or debris and create an even surface for arranging your garden design.
Remember to water the soil lightly after preparing it to promote settling and ensure that the amendments are evenly distributed. Preparing the soil properly will lay the groundwork for a healthy and thriving rock garden, providing a nutrient-rich environment for your plants to grow and flourish.
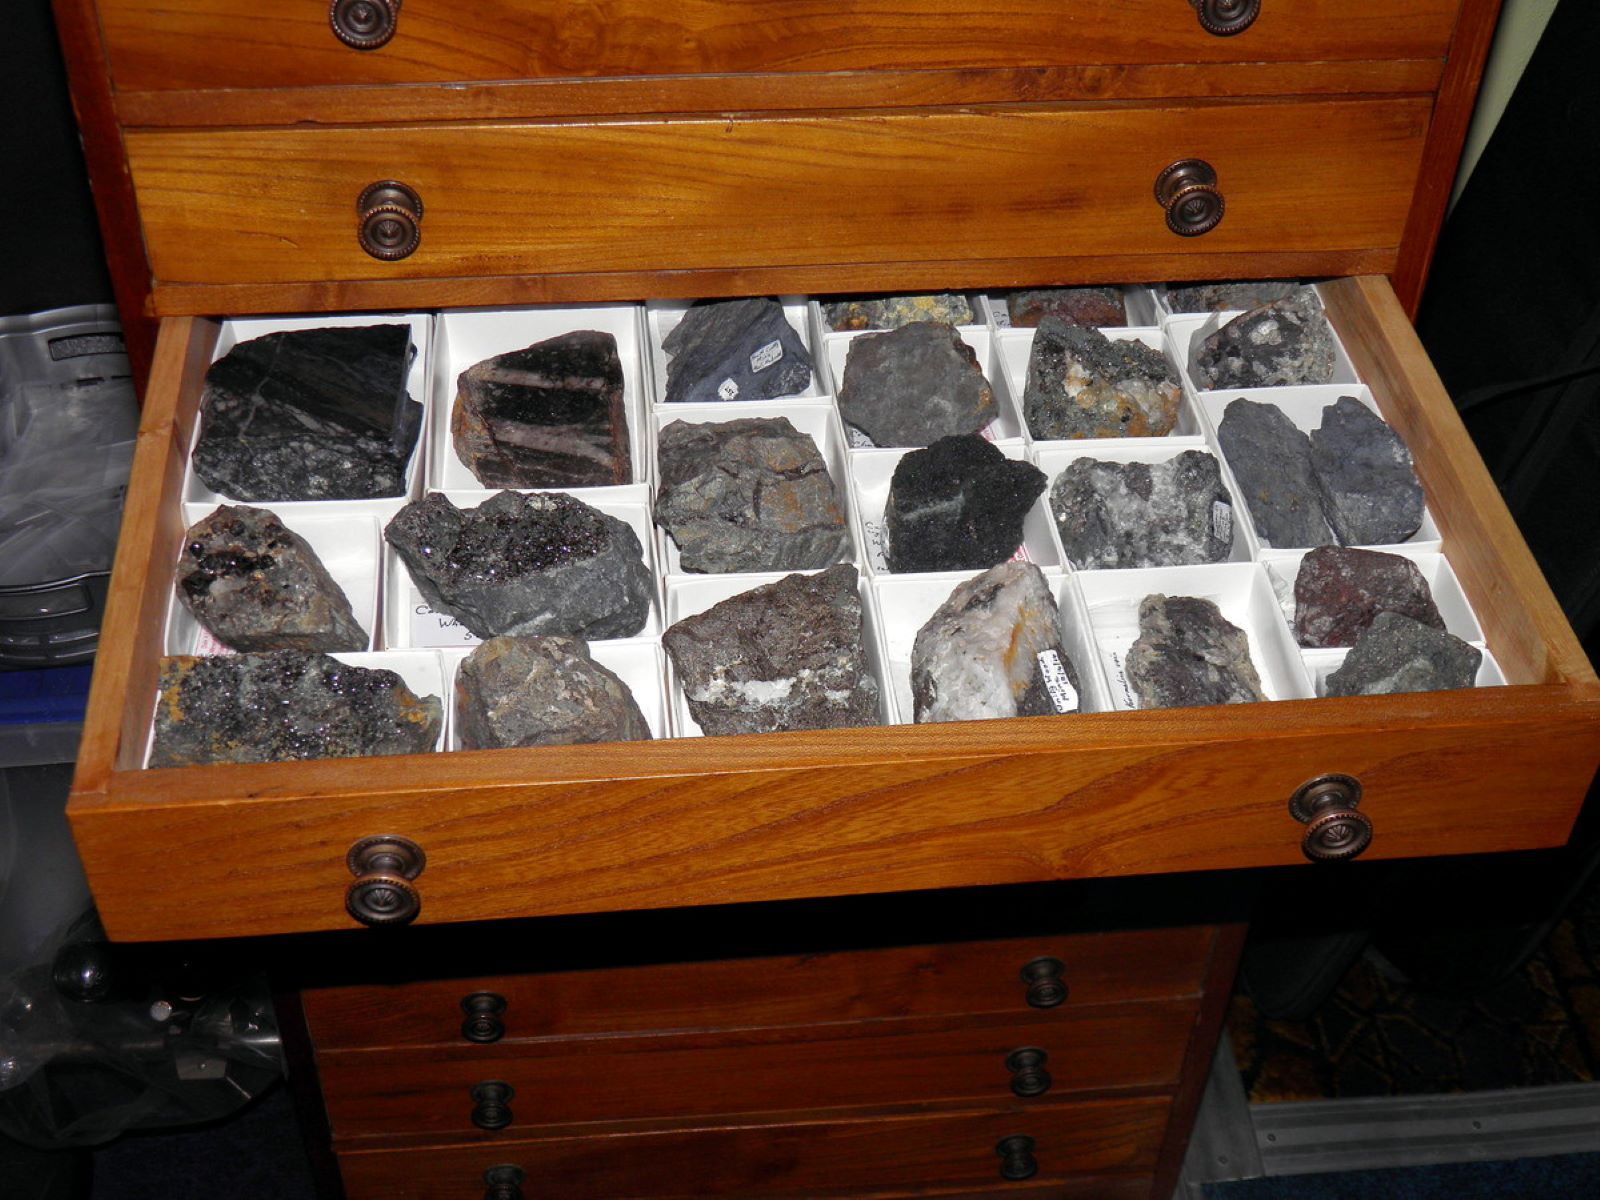
Selecting Rocks
Choosing the right rocks for your rock garden is a key aspect of creating a visually appealing and natural-looking landscape. Rocks not only add texture and dimension to your garden, but they also serve as a backdrop for your plants and flowers. Here are some tips to consider when selecting rocks for your rock garden:
1. Size and Shape: Rocks come in various sizes and shapes, each offering its own unique aesthetic. Consider the overall size of your rock garden and the proportion you want to achieve. Using rocks of different sizes and shapes can create a more natural and dynamic look. Larger rocks can act as focal points, while smaller rocks can be used to fill gaps and provide visual interest.
2. Color and Texture: Rocks come in a range of colors, from earthy browns and grays to vibrant reds and blues. Consider the color scheme of your garden and choose rocks that complement or contrast with the surrounding plants and flowers. Similarly, the texture of the rocks can add visual interest. Smooth rocks can provide a polished and contemporary look, while rough, jagged rocks can create a more rugged and natural appearance.
3. Local Availability: Look for rocks that are local to your area. This not only ensures a more authentic and natural look but also helps support local suppliers and reduces transportation costs. Local rocks are often well-adapted to the local climate and will blend seamlessly with the surrounding environment.
4. Safety and Stability: When selecting rocks, consider their stability and safety. Ensure that the rocks are sturdy and will not easily shift or topple over time. This is especially important if you have children or pets who may be playing in the garden. Avoid using rocks with sharp edges that could pose a safety hazard.
5. Personal Preference: Ultimately, your personal preference and style play a significant role in selecting rocks for your rock garden. Choose rocks that resonate with you and enhance the overall aesthetic you’re aiming for. Your rock garden should reflect your unique taste and personality.
Before placing the rocks in your garden, it’s a good idea to arrange them in different configurations to see how they fit together and create the desired look. Experiment with various combinations to find the arrangement that best suits your vision.
Remember, rocks are the backbone of your rock garden and will provide the foundation for your plants and flowers. Take your time to choose rocks that not only enhance the beauty of your garden but also create a harmonious and natural setting.
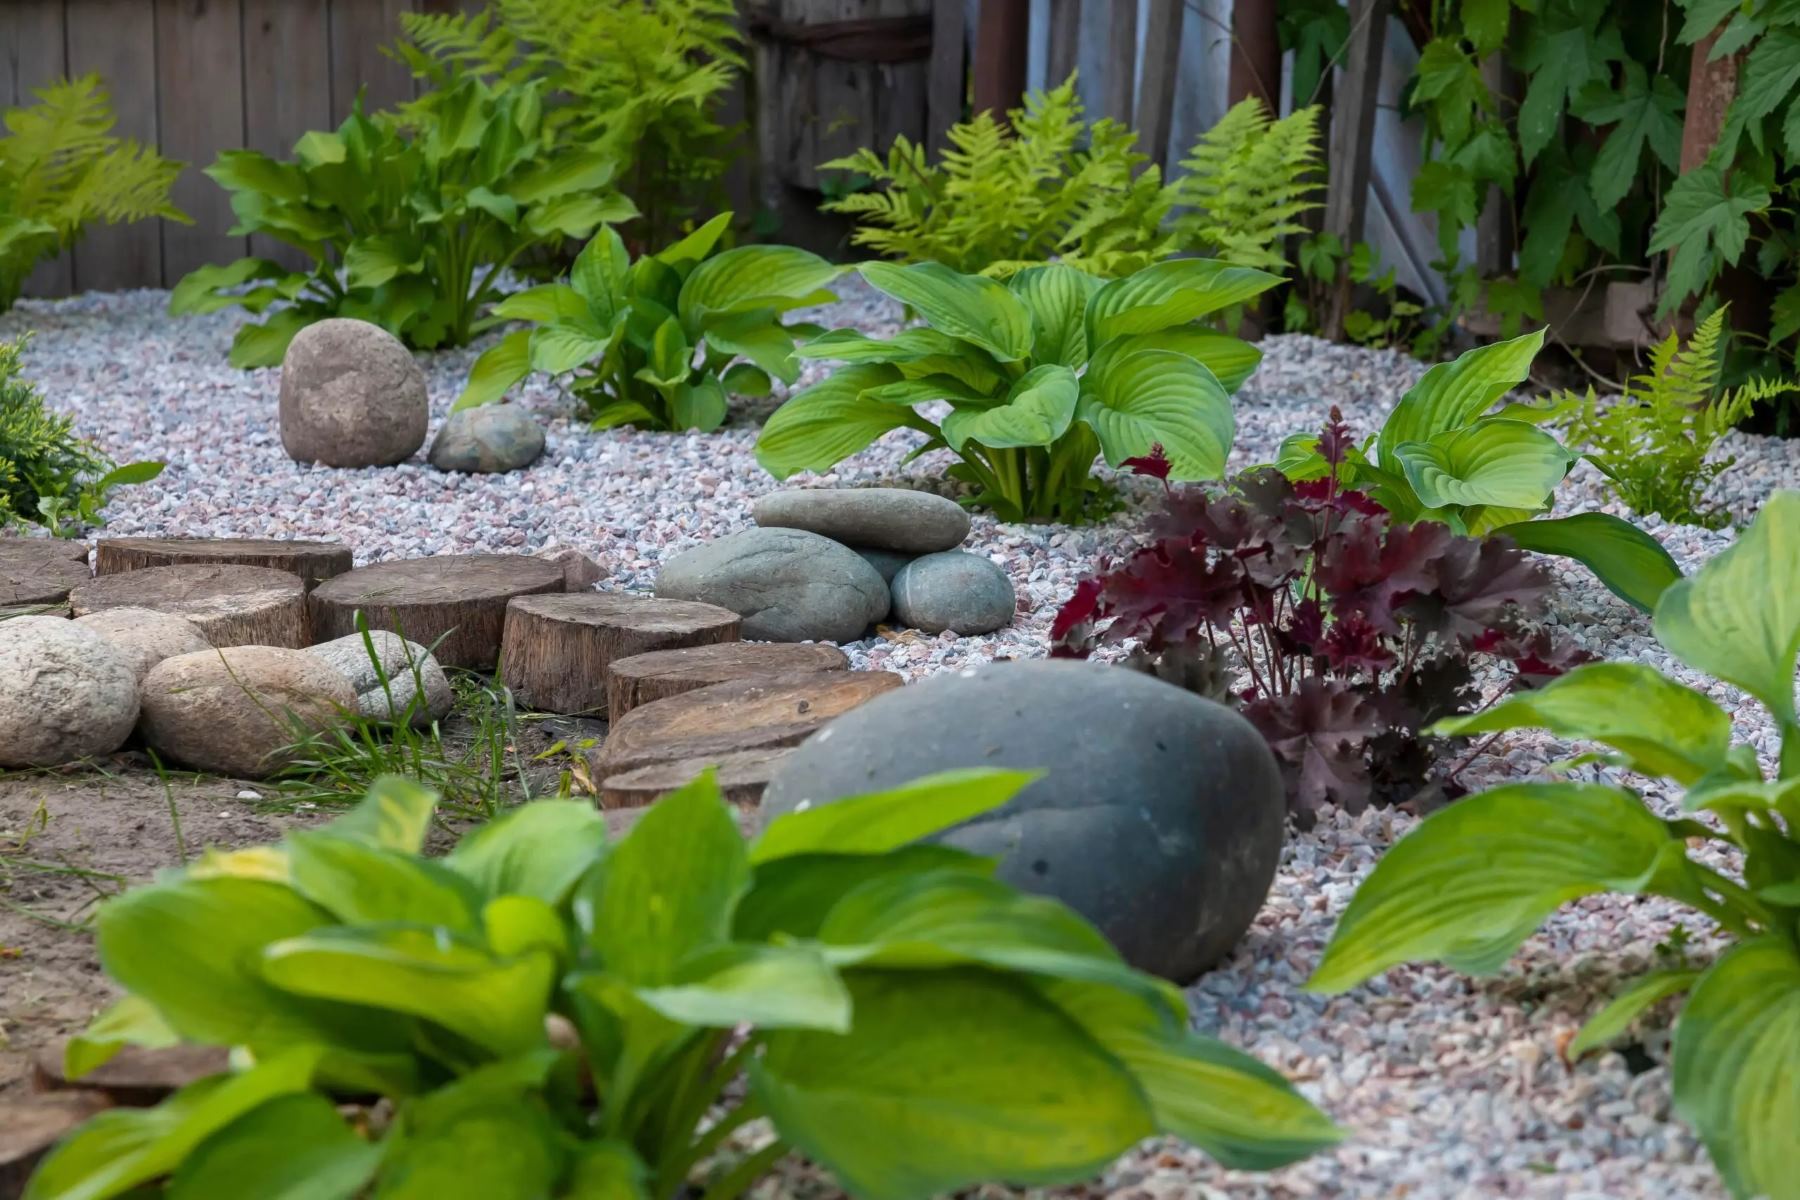
Choose rocks of different sizes, shapes, and colors to create visual interest in your rock garden. This will add texture and variety to your garden design.
Read more: How To Design A Rock Garden
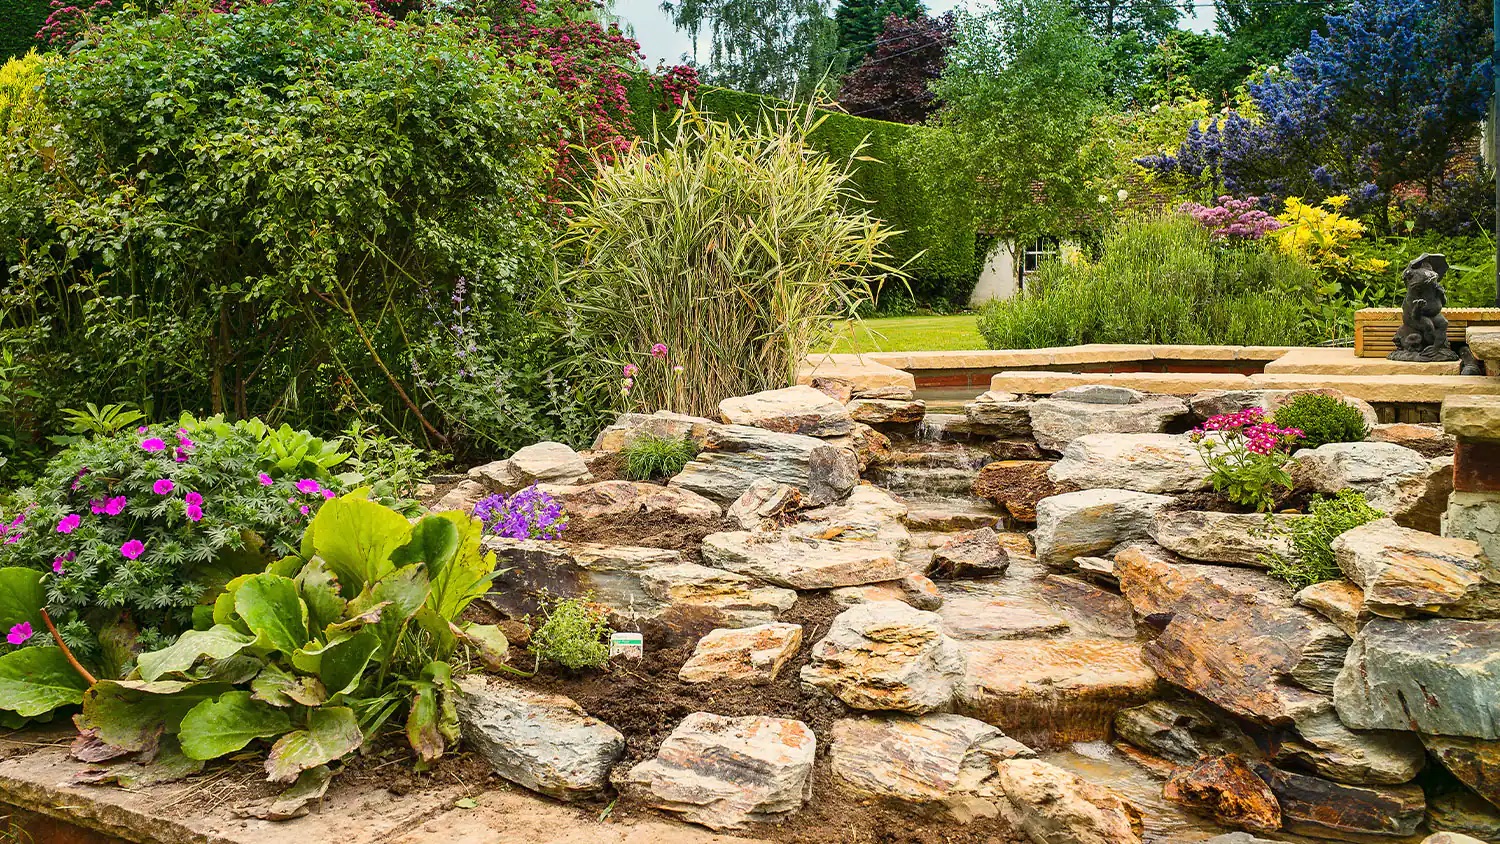
Placing the Rocks
Now that you have selected the perfect rocks for your rock garden, it’s time to bring them to life by placing them strategically in your garden space. The arrangement of rocks is an art form that requires careful consideration of aesthetics, balance, and functionality. Follow these tips to effectively place your rocks in the garden:
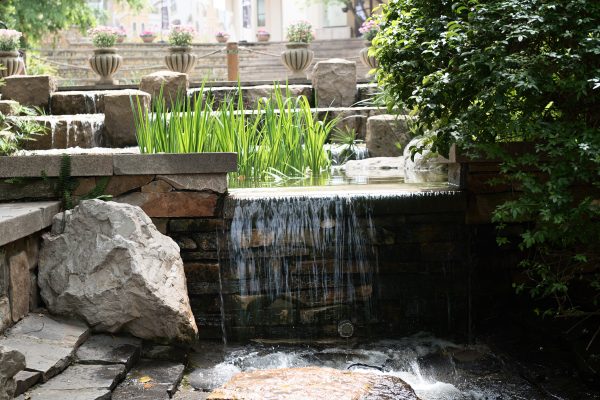
1. Start with the Focal Point: Identify the focal point of your rock garden, which could be a larger rock or a unique feature like a waterfall or sculpture. This focal point will serve as the centerpiece and set the tone for the rest of the design. Place it in a prominent position to draw the attention of viewers.
2. Consider Placement and Balance: When placing rocks, consider how they interact with each other and the surrounding plants. Create a sense of balance by placing larger rocks toward the back or sides of the garden, gradually working your way down to smaller rocks in the front. Distribute the rocks evenly across the space, avoiding a cluttered or overcrowded appearance.
3. Vary the Heights and Angles: To add depth and visual interest, vary the heights and angles of the rocks. Place some rocks vertically or at an angle while others lie flat or slightly tilted. This adds a natural and dynamic feel to the rock garden, mimicking the way rocks would naturally occur in nature.
4. Leave Spaces for Plants: As you place the rocks, leave spaces between them to accommodate plants. These empty spaces will serve as planting pockets for your rock garden plants. Ensure that the rocks are not tightly packed together, as this can hinder plant growth and make maintenance difficult.
5. Incorporate Natural Elements: Integrate other natural elements, such as driftwood, pebbles, or moss, among the rocks to create a more organic and cohesive design. These elements can add texture, color, and a touch of whimsy to your rock garden.
6. Step Back and Assess: Periodically step back and assess the arrangement of the rocks. View your rock garden from different angles and distances to ensure the overall composition is visually appealing and well-balanced. Make adjustments as needed, keeping in mind the overall design goals.
Remember, placing the rocks is a creative process, so trust your instincts and experiment with different arrangements until you achieve the desired look. Don’t be afraid to make changes and reposition rocks if necessary. The goal is to create a visually stunning and harmonious rock garden that showcases the beauty and uniqueness of the rocks.
Adding Plants and Flowers
Adding plants and flowers to your rock garden brings it to life, adding color, texture, and a sense of natural beauty. The right selection of plants can enhance the overall aesthetic and create a harmonious blend with the rocks. Consider these tips when choosing and placing plants in your rock garden:
1. Consider the Environment: Take into account the environmental conditions of your rock garden, such as sunlight exposure, soil type, and moisture levels. Choose plants that are well-suited to these conditions. Rock garden plants typically thrive in well-draining soil and can tolerate periods of drought.
2. Select a Variety: Choose a variety of plants with different colors, heights, and textures to add visual interest and create depth in your rock garden. Include groundcover plants, low-growing perennials, and taller flowering plants to create layers and a dynamic flow of foliage and blooms.
3. Consider Bloom Times: Select plants with staggered bloom times to ensure that your rock garden remains vibrant throughout the growing season. Include early bloomers, mid-season flowers, and those that offer late-season color. This will provide continuous visual interest and keep your rock garden looking beautiful from spring to fall.
4. Scale and Proportion: Take into account the size and scale of your rock garden when choosing plants. Avoid planting oversized plants that may overpower the rocks or create an unbalanced look. Instead, opt for plants that are proportionate to the size of your rocks and the overall space.
5. Create Planting Pockets: As you place the rocks, leave ample space between them to create planting pockets. These pockets will serve as mini-gardens where you can plant your chosen plants. Ensure that each plant has enough room to spread its roots and grow properly.
6. Grouping and Repetition: Group plants together in clusters or drifts for a more cohesive and impactful display. This creates a naturalistic planting scheme and allows the plants to complement each other. Consider repeating certain plants throughout the rock garden to create a sense of unity and cohesion.
7. Consider Rock Texture and Color: Pay attention to the texture and color of the rocks when selecting plants. Choose plants that will complement the rocks and create a harmonious color palette. For example, select plants with silver or gray leaves to contrast with darker colored rocks, or choose vibrant blooms that will pop against lighter-colored rocks.
8. Maintain Balance: Maintain a balance between plants and rocks, ensuring that each element enhances the other rather than competing for attention. The plants should soften the hard edges of the rocks while the rocks provide a backdrop and support for the plants.
Take the time to research the specific needs and care requirements of each plant you choose. Proper watering, fertilizing, and pruning will ensure that your plants thrive and complement the beauty of your rock garden.
By carefully selecting and placing plants in your rock garden, you can create a captivating and picturesque landscape that seamlessly blends with the natural beauty of the rocks.
Mulching the Garden
Mulching plays a crucial role in maintaining the health and beauty of your rock garden. By applying a layer of mulch, you can help retain moisture, suppress weeds, regulate soil temperature, and improve overall soil health. Here’s how to effectively mulch your rock garden:
1. Choose the Right Mulch: Select a mulch material that suits your rock garden’s aesthetic and functional needs. Organic mulches, such as shredded bark, wood chips, or straw, provide nutrients to the soil as they break down. Inorganic mulches, like gravel or pebbles, offer long-lasting weed suppression and add to the overall visual appeal of the garden. Consider the look you want to achieve and the resources available in your area.
2. Prepare the Soil: Before applying mulch, clear any existing weeds, debris, or dead plant material from the rock garden. Smooth the soil surface with a rake to create an even base for the mulch layer.
3. Apply a Weed Barrier: If you’re using organic mulch, consider laying a weed barrier fabric or a layer of newspaper between the soil and the mulch. This helps prevent weed growth and ensures that the mulch doesn’t mix with the soil over time. Cut holes or slits in the barrier to accommodate existing plants.
4. Spread the Mulch: Evenly spread a layer of mulch over the soil surface, taking care not to pile it up against the stems or crowns of the plants. Aim for a thickness of 2-4 inches, as excessive mulch can suffocate the plants and hinder their growth. Leave some space around the base of each plant to allow for proper air circulation and prevent moisture buildup.
5. Maintain Mulch Depth: Over time, the mulch layer may break down or get washed away. Periodically check the mulch depth and replenish it as needed, especially during the spring or fall when mulch decomposition is more rapid. Maintaining a consistent mulch depth helps retain moisture, regulate temperature, and control weed growth more effectively.
6. Monitor Moisture Levels: Mulch helps to conserve moisture in the soil by reducing evaporation. However, it’s important to monitor the moisture levels regularly. Ensure that the soil is adequately damp but not waterlogged. Adjust watering accordingly to prevent over or under-watering.
7. Refresh Mulch Annually: As organic mulches break down, they contribute to improving the soil structure and nutrient content. However, they will need periodic replenishment. Consider refreshing the mulch layer annually or as needed to maintain its benefits and aesthetic appeal.
Mulching your rock garden not only improves its appearance but also provides numerous benefits for the overall health of the garden. It creates a conducive environment for your plants to grow, conserves moisture, minimizes weed competition, and protects the soil from temperature fluctuations.
With proper mulching techniques, you can enhance the longevity and beauty of your rock garden while reducing the need for frequent maintenance.
Watering and Maintenance
Proper watering and maintenance are essential for the ongoing health and beauty of your rock garden. Implementing a regular watering schedule and staying on top of maintenance tasks will ensure that your plants thrive and your rock garden remains visually appealing. Here are some important tips to consider:
1. Watering:
- Establish a watering routine based on the water needs of your plants. Check the moisture level of the soil regularly by inserting your finger into the soil up to the first knuckle. If it feels dry, it’s time to water.
- Water deeply but infrequently to encourage deep root growth. Shallow watering can lead to surface-rooted plants that are more susceptible to drying out.
- Avoid overhead watering, as it can cause fungal diseases and wash away the mulch. Opt for a drip irrigation system or water directly at the base of the plants.
- Consider using a layer of organic mulch to retain moisture and reduce water evaporation from the soil surface.
2. Weeding:
- Regularly inspect your rock garden for any weeds or unwanted plants. Remove them as soon as you spot them to prevent them from competing with your desired plants.
- Hand-pull weeds or use a small gardening tool to carefully remove them, taking care not to disturb the roots of your rock garden plants.
- Mulching helps suppress weed growth, but some weeds may still manage to penetrate through. Stay vigilant and tackle them promptly.
3. Pruning and Trimming:
- Regularly inspect your plants for any dead, damaged, or overgrown branches. Prune these to promote healthy growth and maintain the desired shape of your plants.
- Trim back any plants that have become too large or encroach on neighboring plants to maintain a balanced and harmonious rock garden.
- Avoid pruning during periods of active growth or flowering, as it may affect the overall beauty of your rock garden.
4. Fertilizing:
- Monitor the growth and health of your plants. If you notice signs of nutrient deficiency, such as slow growth or yellowing leaves, consider fertilizing.
- Choose a slow-release or organic fertilizer specifically formulated for rock garden plants. Follow the instructions on the fertilizer packaging and apply it sparingly to avoid over-fertilization.
- Apply fertilizers during the growing season, typically in spring or early summer, to provide the necessary nutrients for healthy plant development.
5. Inspect for Pests and Diseases:
- Regularly inspect your plants for signs of pests, such as aphids or snails, and take appropriate measures to control them.
- Monitor for any signs of diseases, such as leaf spots or powdery mildew. Remove affected plant parts promptly to prevent the spread of diseases.
- Encourage biodiversity and beneficial insects that can naturally help control pests in your rock garden ecosystem.
By implementing a consistent watering schedule, staying on top of maintenance tasks, and addressing any potential issues promptly, you can ensure the long-term health and beauty of your rock garden. Regular care and attention will keep your plants thriving and your rock garden looking its best for years to come.
Read more: How To Design A Low-Maintenance Rock Garden
Conclusion
Congratulations! You have embarked on a journey to create a stunning rock garden that will be a testament to your gardening skills and creativity. By following the steps outlined in this article, you have learned how to choose the right location, clear the area, prepare the soil, select rocks, place them strategically, add plants and flowers, mulch the garden, and maintain its beauty.
A well-designed and well-maintained rock garden can transform any outdoor space into a captivating and tranquil oasis. It brings together the raw beauty of rocks with the delicate elegance of plants, creating a harmonious blend of textures, colors, and natural elements.
Remember, when choosing rocks, consider their size, shape, color, and texture to create a visually appealing arrangement. Plant a variety of plants that thrive in the rock garden environment and complement the rocks in terms of scale and proportion. Mulching the garden and following a regular watering routine will help maintain moisture and suppress weeds, ensuring the health and longevity of your rock garden. Don’t forget to stay on top of maintenance tasks, such as weeding, pruning, and fertilizing, to keep your garden looking its best.
Creating a rock garden requires patience, creativity, and a love for the natural world. Enjoy the process of designing and nurturing your garden, and don’t be afraid to experiment and make adjustments along the way. The result will be a unique and captivating space that reflects your personal style and provides joy and relaxation for years to come.
So, go ahead and let your gardening skills shine as you transform your outdoor space into a rockin’ paradise!
Frequently Asked Questions about How To Make A Rock Garden
Was this page helpful?
At Storables.com, we guarantee accurate and reliable information. Our content, validated by Expert Board Contributors, is crafted following stringent Editorial Policies. We're committed to providing you with well-researched, expert-backed insights for all your informational needs.

0 thoughts on “How To Make A Rock Garden”