Home>Garden Essentials>When To Plant Collard Seeds
Garden Essentials
When To Plant Collard Seeds
Modified: March 15, 2024
Discover when is the best time to plant collard seeds in your garden. Expert tips and advice for successful collard cultivation.
(Many of the links in this article redirect to a specific reviewed product. Your purchase of these products through affiliate links helps to generate commission for Storables.com, at no extra cost. Learn more)
Introduction
Welcome to the wonderful world of gardening! There is nothing quite like the satisfaction of growing your own food and creating a beautiful green space. If you’re new to gardening or looking to expand your garden repertoire, consider planting collard seeds. Collard greens are a nutritious and delicious leafy green vegetable that is easy to grow and packed with health benefits.
Before diving into the process of planting collard seeds, there are a few important factors to consider. In this article, we will explore the best time to plant collard seeds, how to start them indoors, and how to care for your collard plants throughout their life cycle.
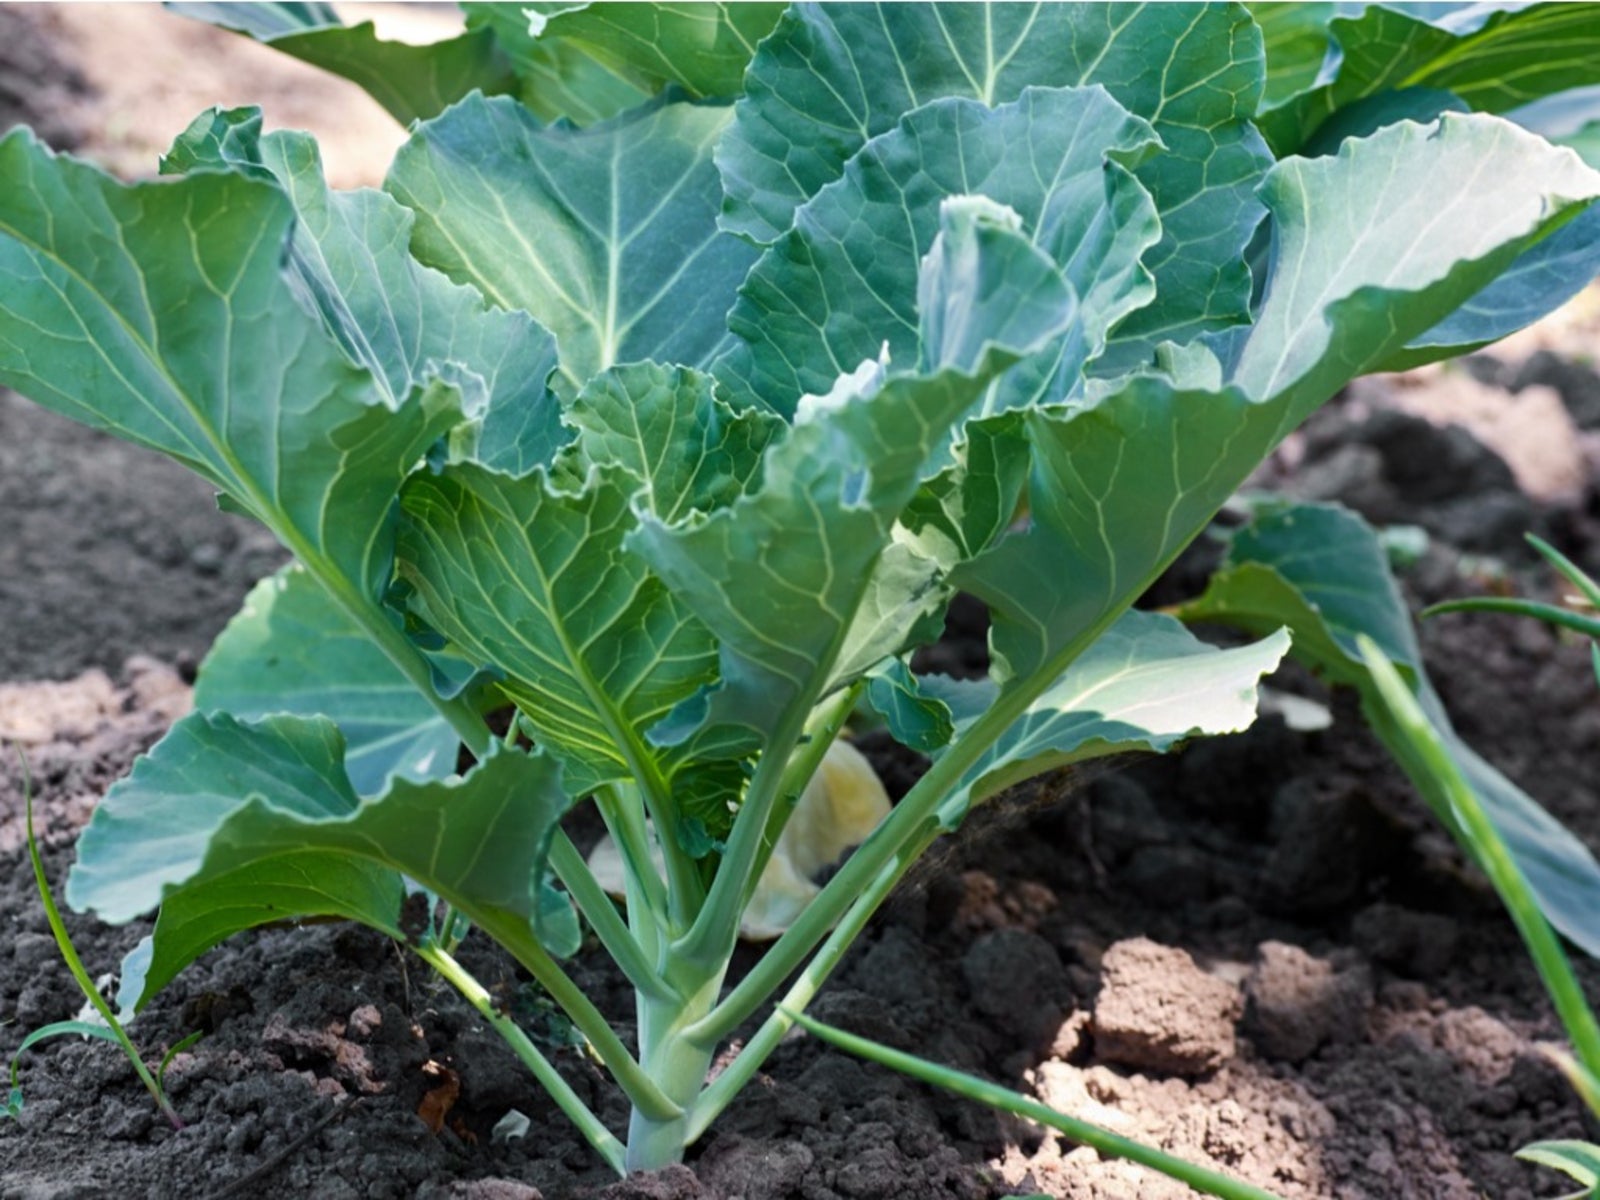
Whether you have a backyard garden or a small balcony, growing collard greens can be a rewarding experience. These robust plants are known for their large, dark green leaves that are rich in vitamins and minerals. They are a versatile vegetable, perfect for sautéing, steaming, or adding to soups and stews.
So, grab your gardening gloves and let’s get started on this exciting journey of growing collard greens!
Key Takeaways:
- Plant collard seeds in early spring or late summer for optimal growth. Consider starting seeds indoors for a head start, and provide consistent care to enjoy a bountiful harvest of nutritious collard greens.
- Harvest collard greens by picking individual leaves, and enjoy them in various dishes. Gardening is a rewarding journey that connects you with nature and provides fresh, homegrown produce.
Read more: When To Plant Borage Seeds
Factors to Consider Before Planting Collard Seeds
Before you begin planting collard seeds, there are a few key factors to consider that will help ensure the success of your plants. Let’s take a look at these factors:
- Climate: Collard greens are cool-season vegetables, meaning they thrive in cooler temperatures. Ideally, the temperature range should be between 60°F (15°C) and 75°F (24°C). If you live in a region with extremely hot summers, it’s best to plant collard seeds in early spring or late summer when the temperatures are milder.
- Sunlight: Collard greens love sunlight and require at least 6-8 hours of direct sunlight each day. Make sure to choose a location in your garden that gets plenty of light. If you have limited space, consider using containers or raised beds that can be placed in sunny spots.
- Soil Quality: Collard plants prefer well-draining soil that is rich in organic matter. Before planting, amend your soil with compost or aged manure to improve its fertility and drainage. The ideal soil pH for collard greens is slightly acidic to neutral, around 6.0 to 7.5.
- Spacing: Collard plants can grow quite large, so it’s important to provide them with adequate space to thrive. Space the plants about 18-24 inches apart to allow for proper air circulation and room for growth.
- Watering: Collard greens require consistent moisture to flourish. Keep the soil evenly moist, but not waterlogged, throughout the growing season. A drip irrigation system or soaker hose can be beneficial in providing consistent watering.
- Pest Control: Collard greens are susceptible to pests such as cabbage loopers, aphids, and cabbage worms. Implementing organic pest control methods like row covers, companion planting, or using natural predators can help protect your plants.
By considering these factors before planting collard seeds, you will set a solid foundation for healthy and thriving plants. Next, let’s dive into the best time to plant collard seeds for optimal growth and harvest.
Best Time to Plant Collard Seeds
The timing of when to plant collard seeds plays a vital role in their growth and productivity. Collard greens are cool-season crops, which means they prefer cooler temperatures and can tolerate mild frosts. Here are some guidelines to help you determine the best time to plant collard seeds:
- Spring Planting: In regions with mild winters, you can sow collard seeds directly in the ground as early as 2 to 4 weeks before the last expected frost. This will give the plant a head start and allow for an extended harvest period.
- Fall Planting: Collard greens thrive in cool weather, so in areas with hot summers, it’s best to wait until late summer or early fall, about 6 to 8 weeks before the first expected frost, to plant collard seeds. The cooler temperatures will promote better growth and enhance the flavor of the leaves.
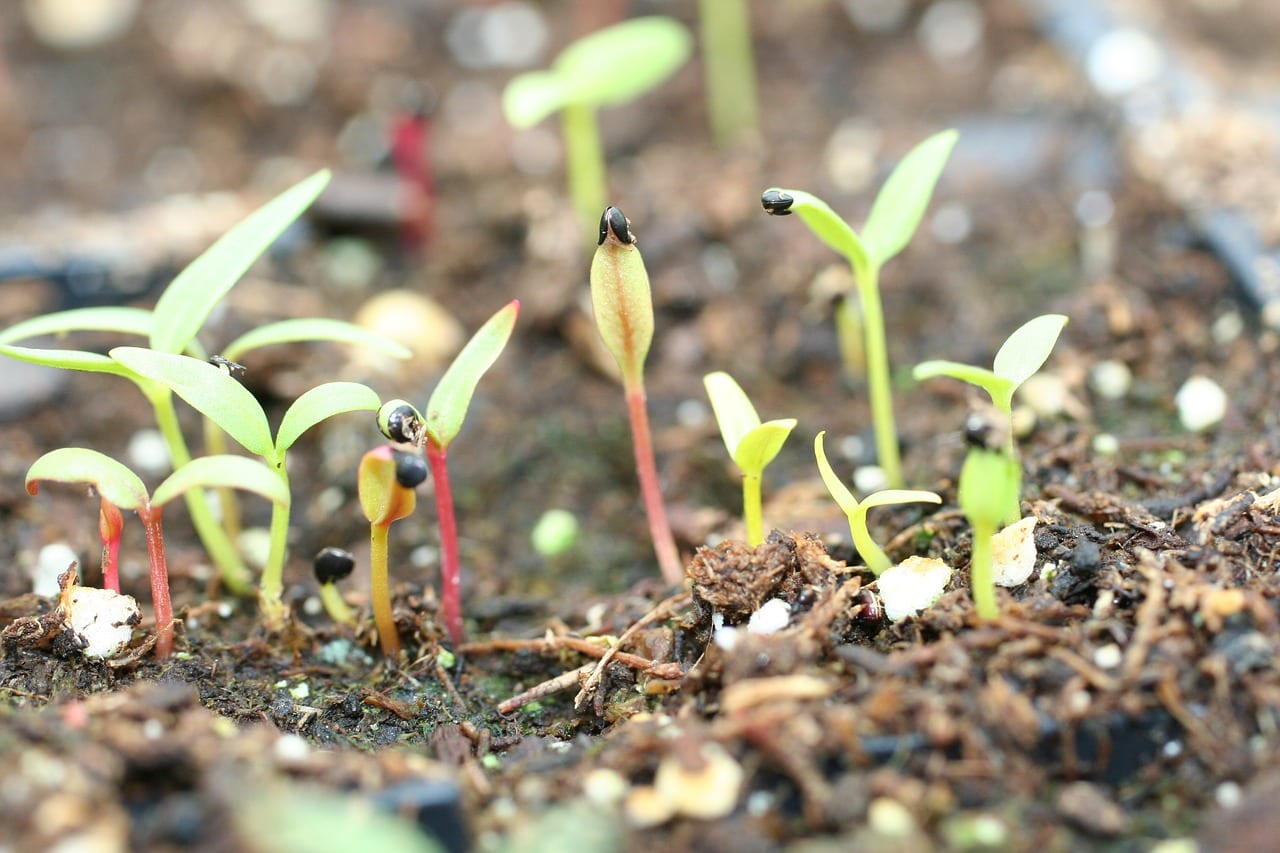
When sowing collard seeds, make sure to follow the spacing guidelines mentioned earlier. Plant the seeds about ½ inch deep in well-prepared soil and water them gently to ensure good seed-to-soil contact. Within a week or two, you should start to see the seedlings emerge.
If you prefer to start your collard seeds indoors, you can do so 4 to 6 weeks before the last expected frost. Use seed trays or small pots with a seed starting mix. Keep the soil moist and provide ample light to ensure strong and healthy seedlings. Once the frost danger has passed, you can transplant the seedlings into your garden.
Now that you know the best times to plant collard seeds, let’s explore the process of starting collard seeds indoors.
Planting Collard Seeds Indoors
If you want to get a jump-start on your collard plants or have limited space, starting collard seeds indoors is a great option. Here’s a step-by-step guide to help you successfully plant collard seeds indoors:
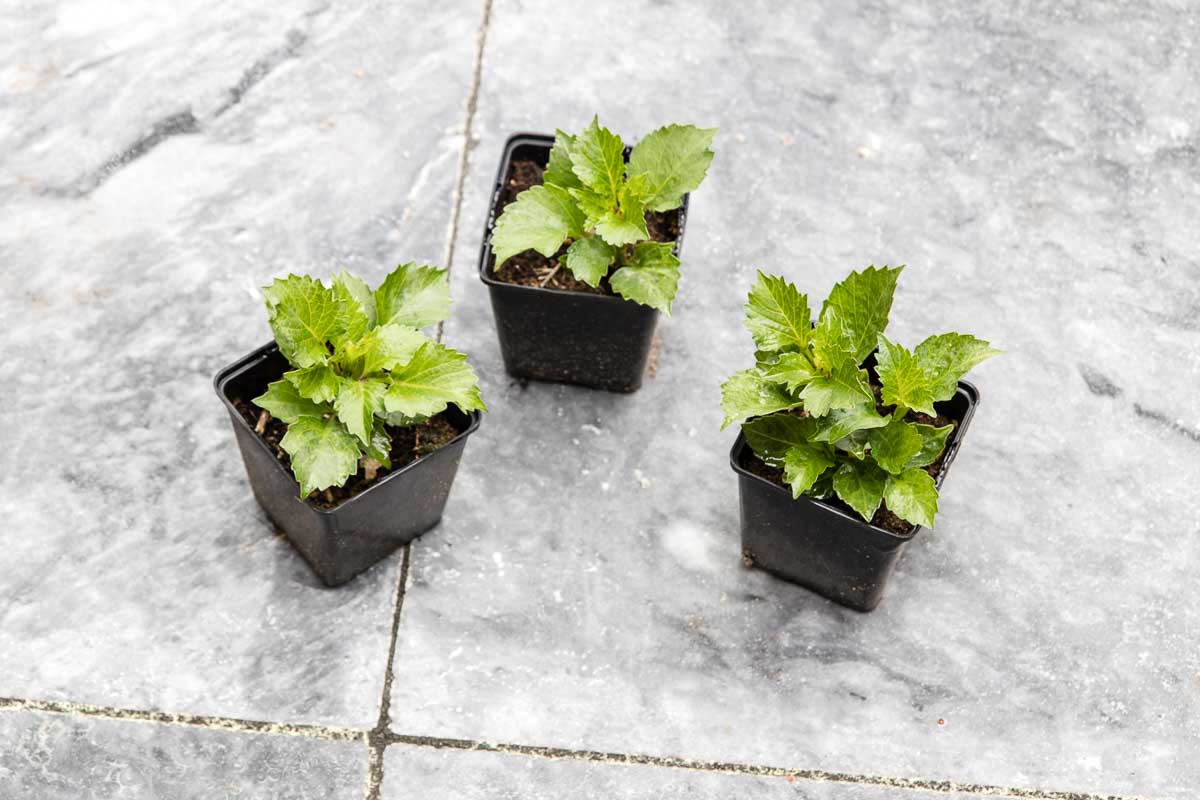
- Selecting Containers: Choose containers with drainage holes to prevent waterlogged soil. Seed trays or small pots work well for starting collard seeds.
- Preparing Seed Starting Mix: Use a high-quality seed starting mix or create your own by combining equal parts of perlite, vermiculite, and peat moss. Moisten the mix with water until it’s evenly damp.
- Sowing the Seeds: Fill each container with the seed starting mix, leaving about 1 inch of space at the top. Sow 2-3 collard seeds per container, pressing them gently into the soil. Cover the seeds with a thin layer of seed starting mix.
- Providing Optimal Conditions: Place the containers in a warm location with a temperature range of 70°F to 85°F (21°C to 29°C). Ensure that the seeds receive plenty of light, either by placing them near a sunny window or using grow lights. Keep the soil consistently moist by misting it with water when needed.
- Thinning the Seedlings: Once the seedlings emerge, thin them by removing the weaker ones, leaving only the strongest and healthiest seedling in each container. This will ensure that the remaining seedling has enough space and nutrients to grow.
- Hardening off: About a week before the last expected frost, gradually acclimate the seedlings to outdoor conditions by exposing them to a few hours of sunlight each day. Start with a couple of hours and gradually increase the time and intensity of sunlight over the course of a week.
Once the last frost has passed, and the seedlings have been hardened off, it’s time to transplant them into your garden. We’ll cover the process of transplanting collard seedlings in the next section.
Starting collard seeds indoors can give you a head start on the growing season and ensure strong and healthy plants. However, if you prefer to sow collard seeds directly in the garden, read on to learn the process of directly sowing collard seeds in the garden.
Transplanting Collard Seedlings
Transplanting collard seedlings into your garden is an important step in their growth journey. It’s crucial to wait until the seedlings are strong and have developed a good root system before moving them outdoors. Here’s a step-by-step guide to help you successfully transplant collard seedlings:
- Choosing the Right Time: The ideal time to transplant collard seedlings is when all chances of frost have passed, and the soil temperature has warmed to at least 45°F (7°C). This is usually around 4 to 6 weeks after starting the seeds indoors.
- Preparing the Soil: Before transplanting, prepare the garden bed by loosening the soil and removing any weeds or debris. Incorporate compost or well-rotted manure to improve the soil’s fertility and drainage.
- Transplanting: Dig holes in the garden bed that are slightly larger than the root ball of the seedlings. Carefully remove the seedlings from their containers, gently separating any entangled roots. Place each seedling in a hole and backfill with soil, ensuring that the base of the plant is level with the soil surface.
- Spacing: Space the collard seedlings about 18-24 inches apart to allow for proper air circulation and room for growth. This spacing will ensure that the plants have enough space to develop a robust leafy structure.
- Watering: After transplanting, thoroughly water the seedlings to help them establish in their new environment. Provide regular watering, keeping the soil consistently moist but not waterlogged.
- Mulching: Apply a layer of organic mulch around the seedlings to help retain soil moisture, suppress weed growth, and regulate soil temperature. Maintain a mulch layer of about 2-3 inches, keeping it a few inches away from the base of the plants.
Transplant shock is common when moving seedlings from an indoor environment to the garden. To minimize transplant shock, try to transplant on a cloudy day or in the late afternoon to reduce the stress on the seedlings. Provide shade or use row covers for a few days after transplanting to protect the seedlings from too much sun or harsh weather.
Once the collard seedlings are transplanted and established in the garden, it’s time to shift our focus to directly sowing collard seeds in the garden. We’ll explore that process in the next section.
Plant collard seeds in early spring, 2-4 weeks before the last frost date. They can also be planted in late summer for a fall harvest. Keep the soil consistently moist for best results.
Read more: When To Plant Vinca Seeds
Directly Sowing Collard Seeds in the Garden
If you prefer to skip the process of starting seeds indoors, you can directly sow collard seeds in your garden. Direct sowing is a simple and straightforward method, especially if you have a suitable outdoor space for planting. Here’s a step-by-step guide to help you successfully sow collard seeds directly in your garden:
- Preparing the Soil: Choose a sunny location in your garden with well-draining soil. Remove any weeds or debris and loosen the soil with a garden fork or tiller. Incorporate compost or organic matter to improve soil fertility and structure.
- Sowing the Seeds: Dig shallow trenches in the prepared soil, around ½ inch deep. Space the trenches 18-24 inches apart to allow for the collard plants’ growth. Sow the collard seeds, spacing them about 2-3 inches apart within each trench. Cover the seeds with soil, gently pressing it down to ensure good seed-to-soil contact.
- Watering: After sowing the seeds, water the area gently and evenly to ensure that the soil is moist. Continue to water as needed to keep the soil consistently moist until the seeds germinate.
- Thinning the Seedlings: Once the seedlings emerge and develop their first true leaves, thin them out by removing the weaker ones, leaving the strongest and healthiest plants spaced about 18-24 inches apart.
- Caring for the Seedlings: Keep an eye on the seedlings and provide regular watering to keep the soil consistently moist. Mulching around the plants can help conserve moisture and keep weeds at bay.
As the collard plants continue to grow, you may need to provide additional care such as regular watering, fertilizing, and pest control measures. Monitor the plants for any signs of pests or diseases and take appropriate action to protect your collard greens.
Now that you know how to directly sow collard seeds in the garden, let’s move on to learn about the essential care tips to ensure the health and productivity of your collard plants.
Caring for Collard Plants
Caring for your collard plants is essential to ensure their health, growth, and productivity. By following some simple care tips, you can enjoy a bountiful harvest of nutritious collard greens. Here are important care guidelines to keep in mind:
- Watering: Collard plants require consistent moisture to thrive. Water the plants deeply and regularly, especially during dry spells. Aim to keep the soil evenly moist, but not waterlogged. Water at the base of the plants to avoid wetting the leaves, as excessive moisture can promote disease development.
- Fertilizing: Collard greens are heavy feeders and benefit from regular fertilization. Apply a balanced organic fertilizer or compost around the base of the plants every four to six weeks. This will provide essential nutrients and promote healthy growth.
- Weeding: Keep the area around your collard plants free from weeds, as they can compete for nutrients and water. Regularly remove any weeds by hand or use mulch to suppress weed growth. Be careful when weeding to avoid damaging the shallow roots of the collard plants.
- Pest Control: Collard plants are susceptible to pests like cabbage loopers, aphids, and cabbage worms. Regularly inspect your plants for any signs of pest infestation. Use organic pest control methods such as handpicking pests, using insecticidal soaps or neem oil, or attracting beneficial insects that prey on pests.
- Supporting the Plants: As collard plants grow, their leaves can become heavy, making them vulnerable to breaking or bending. Consider supporting the plants with stakes or small cages to prevent damage. Secure the plants gently using soft ties to avoid injuring the stems.
- Monitoring for Disease: Keep an eye out for common collard plant diseases such as downy mildew and black rot. Monitor the plants regularly for any signs of discoloration, spots, or wilting. If you detect any disease symptoms, promptly remove and destroy affected plant parts to prevent the spread of the disease.
By providing proper care to your collard plants and addressing any issues promptly, you can ensure their optimal growth and yield. Regularly harvesting the outer leaves when they reach the desired size will encourage the production of new and tender leaves.
Now that you’re well-equipped with the knowledge of caring for collard plants, let’s move on to the exciting part – harvesting collard greens!
Harvesting Collard Greens
Harvesting collard greens is a rewarding experience, as it allows you to enjoy the delicious and nutritious leaves that you’ve nurtured from seed. Collard greens can be harvested at different stages depending on your preference and recipe requirements. Follow these guidelines for a successful harvest:
- Leaf Harvest: Collard greens are typically harvested by picking individual leaves rather than harvesting the entire plant. Start harvesting the outer leaves when they reach about 10-12 inches in length. To harvest, simply use a sharp knife or scissors to cut the leaves at the base of the plant.
- Harvesting Young and Tender Leaves: If you prefer young and tender leaves, harvest them when they are smaller, around 6-8 inches in length. These leaves are more delicate and can be enjoyed raw in salads or lightly cooked.
- Progressive Harvesting: Instead of harvesting all the leaves at once, consider progressive harvesting. This involves harvesting a few leaves at a time from each plant, allowing the central leaves to continue growing. This method ensures a continuous supply of fresh collard greens throughout the growing season.
- Removing Flower Buds: As collard plants mature, they may develop flower buds or bolt. Flowering can cause the leaves to become bitter and tough. To prevent bolting and ensure the best flavor, remove any flower buds as soon as they appear.
Harvested collard greens can be stored in the refrigerator for up to a week. Keep them unwashed in a plastic bag or airtight container with a damp paper towel to maintain moisture. Before using the greens, rinse them thoroughly to remove any dirt or debris.
Remember, harvesting collard greens on a regular basis encourages new growth and prolongs the harvest period. Enjoy the fresh and nutritious flavors of collard greens in various dishes, such as sautés, stir-fries, soups, or as a healthy addition to your favorite recipes.
Now that you’ve learned how to harvest collard greens, it’s time to put your knowledge to practice and savor the fruits of your gardening labor. Happy harvesting!
Conclusion
Congratulations on your journey to becoming a collard greens expert! By understanding the factors to consider before planting collard seeds, the best time to plant them, and the different methods of planting, you are well-equipped to start your own collard garden.
Whether you choose to start the seeds indoors or directly sow them in the garden, remember to provide the ideal growing conditions including adequate sunlight, well-draining soil, and consistent moisture. Caring for your collard plants by watering, fertilizing, and monitoring for pests and diseases will ensure their health and productivity. And when it’s time to harvest, enjoy the satisfaction of picking fresh, nutritious collard greens at their peak.
Gardening is a continuous learning process, so don’t be afraid to experiment and try new techniques. As you gain experience and knowledge, you’ll become more confident in your gardening skills and discover your own tips and tricks for growing collard greens.
Remember, gardening is not only beneficial for providing fresh, homegrown produce, but it’s also a therapeutic and rewarding activity that connects you with nature. So, embrace the joy of tending to your collard plants, and relish in the joy of cultivating your own delicious and nutritious collard greens!
We hope this comprehensive guide has inspired you to embark on your collard growing journey. Happy gardening and enjoy your harvest of vibrant and healthy collard greens!
Frequently Asked Questions about When To Plant Collard Seeds
Was this page helpful?
At Storables.com, we guarantee accurate and reliable information. Our content, validated by Expert Board Contributors, is crafted following stringent Editorial Policies. We're committed to providing you with well-researched, expert-backed insights for all your informational needs.


0 thoughts on “When To Plant Collard Seeds”