Home>Garden Essentials>How To Start Mint Seeds

Garden Essentials
How To Start Mint Seeds
Modified: March 15, 2024
Learn how to start mint seeds and grow a beautiful garden with our helpful gardening tips and techniques. Start your garden journey today!
(Many of the links in this article redirect to a specific reviewed product. Your purchase of these products through affiliate links helps to generate commission for Storables.com, at no extra cost. Learn more)
Introduction
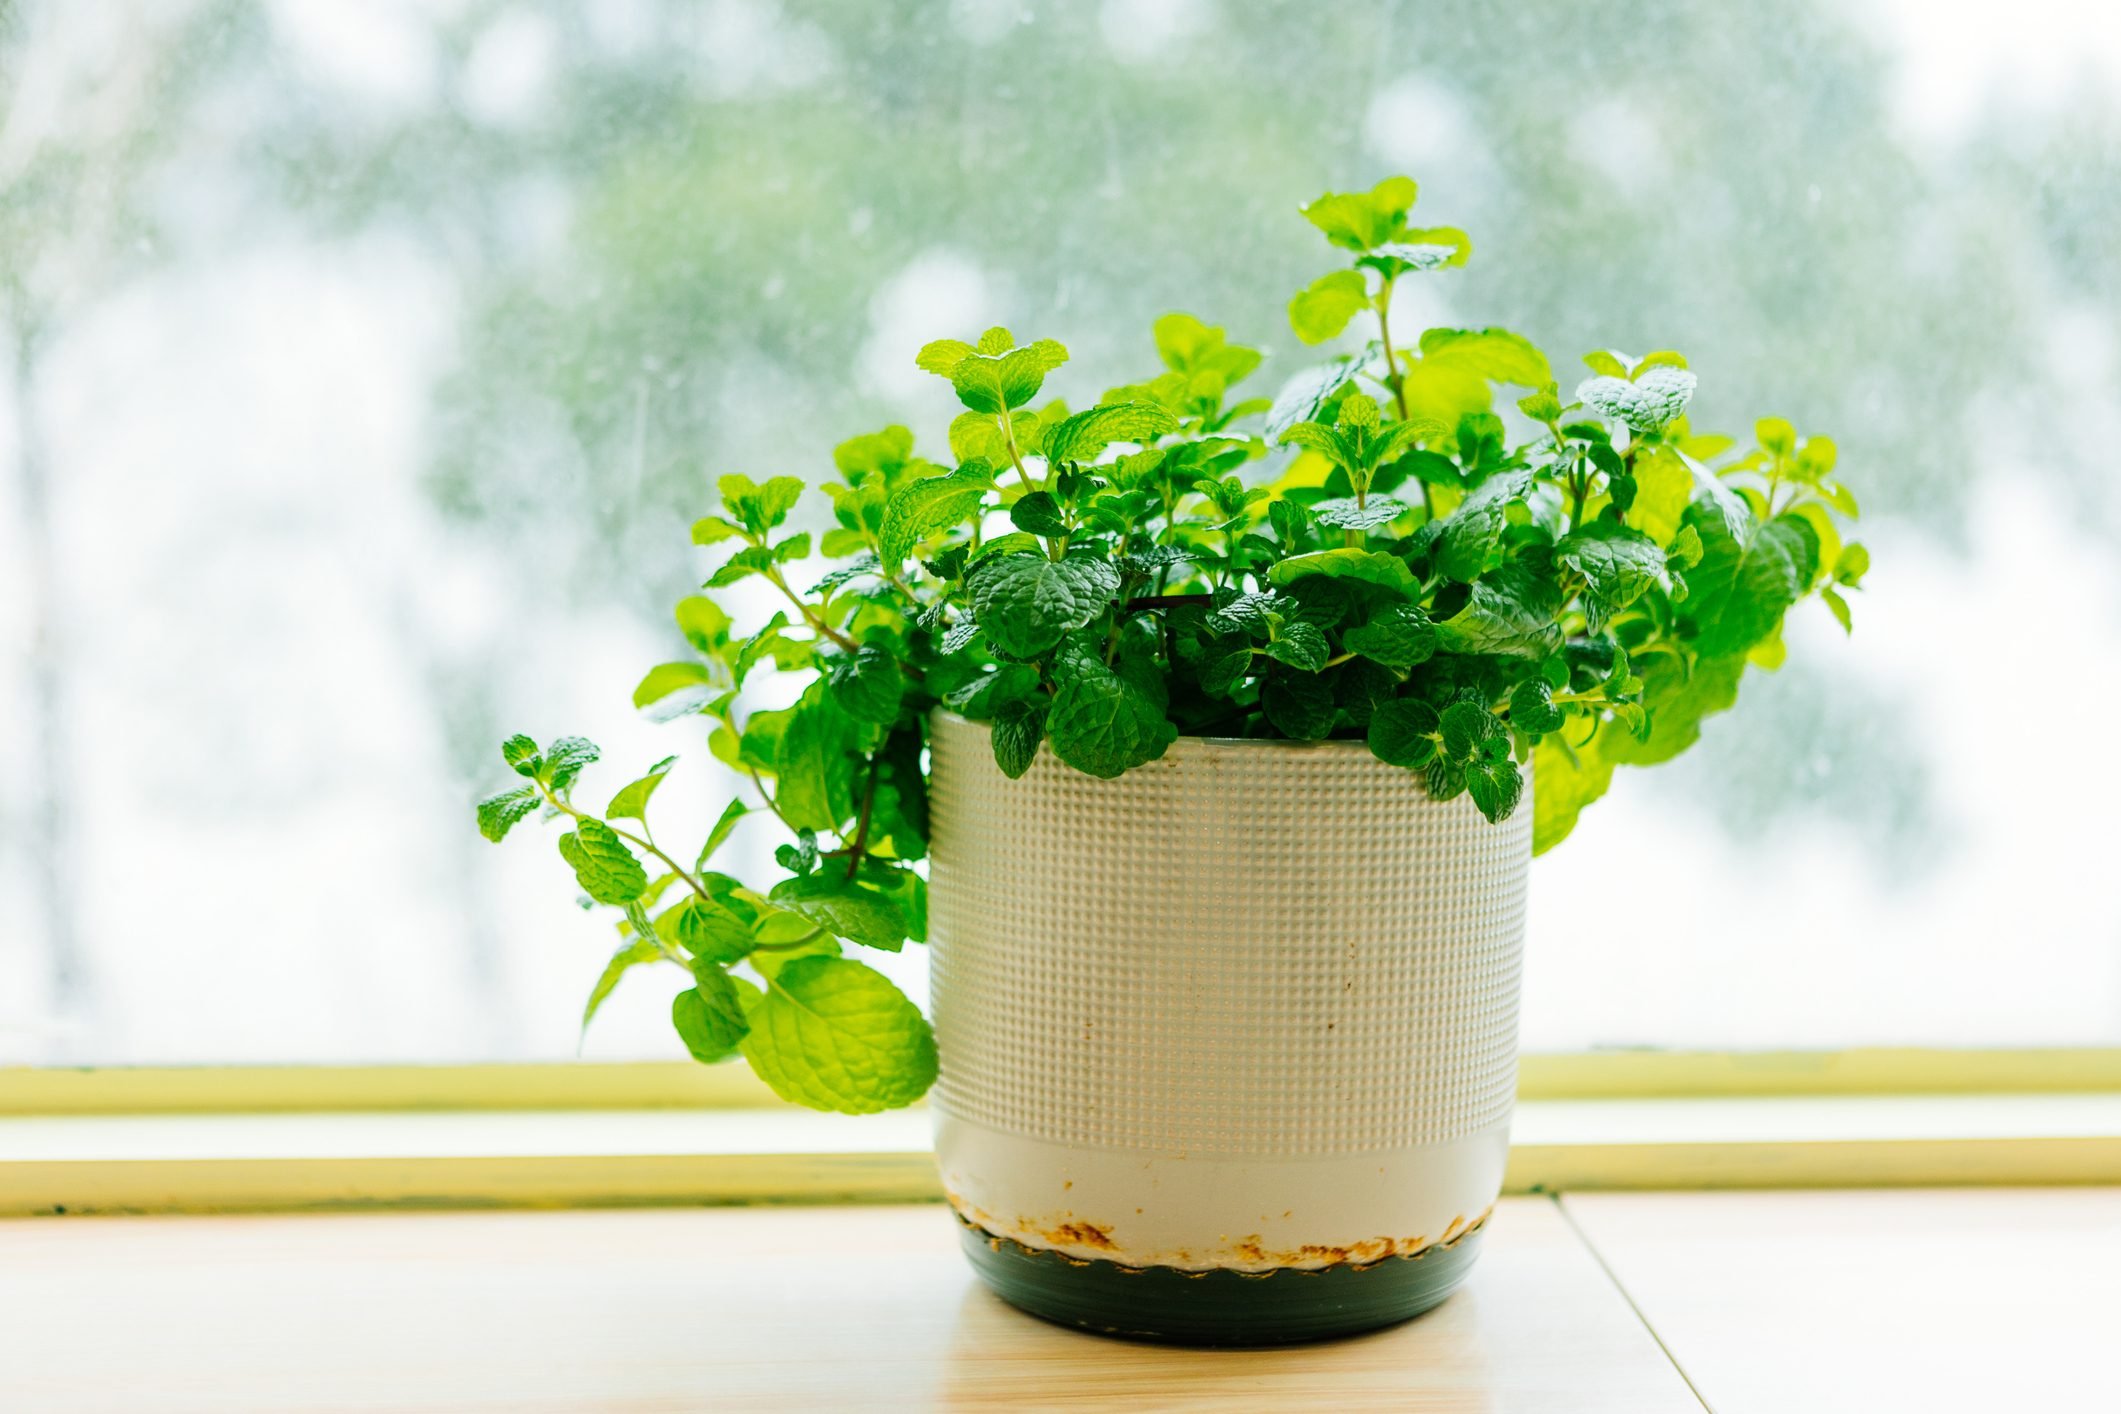
Welcome to the world of mint gardening! Growing mint from seeds can be a rewarding and enjoyable endeavor that allows you to experience the joy of nurturing plants from their infancy to full maturity. Not only is mint a versatile herb that can be used in a variety of culinary dishes and beverages, but it also offers a host of medicinal benefits and aromatic qualities that can enrich your garden and home.
In this article, we will walk you through the step-by-step process of starting mint seeds and cultivating them into thriving plants. Whether you are a seasoned gardener or a novice with a green thumb, this guide is designed to provide you with helpful tips and insights to ensure the success of your mint seeds.
Before we dive into the specific steps, let’s take a moment to familiarize ourselves with the supplies you’ll need to get started. By gathering the necessary tools and materials, you’ll be well-prepared to embark on your mint-growing venture.
Key Takeaways:
- Starting mint seeds requires gathering supplies, preparing the seed tray, sowing the seeds, and providing proper lighting and moisture for germination. With care and maintenance, you can enjoy a bountiful harvest of fresh mint leaves.
- Harvesting mint leaves at the right time and using proper techniques ensures continuous growth and abundant supply. Enjoy the satisfaction of using homegrown mint in culinary creations, teas, and more.
Read more: How Deep To Plant Mint Seeds
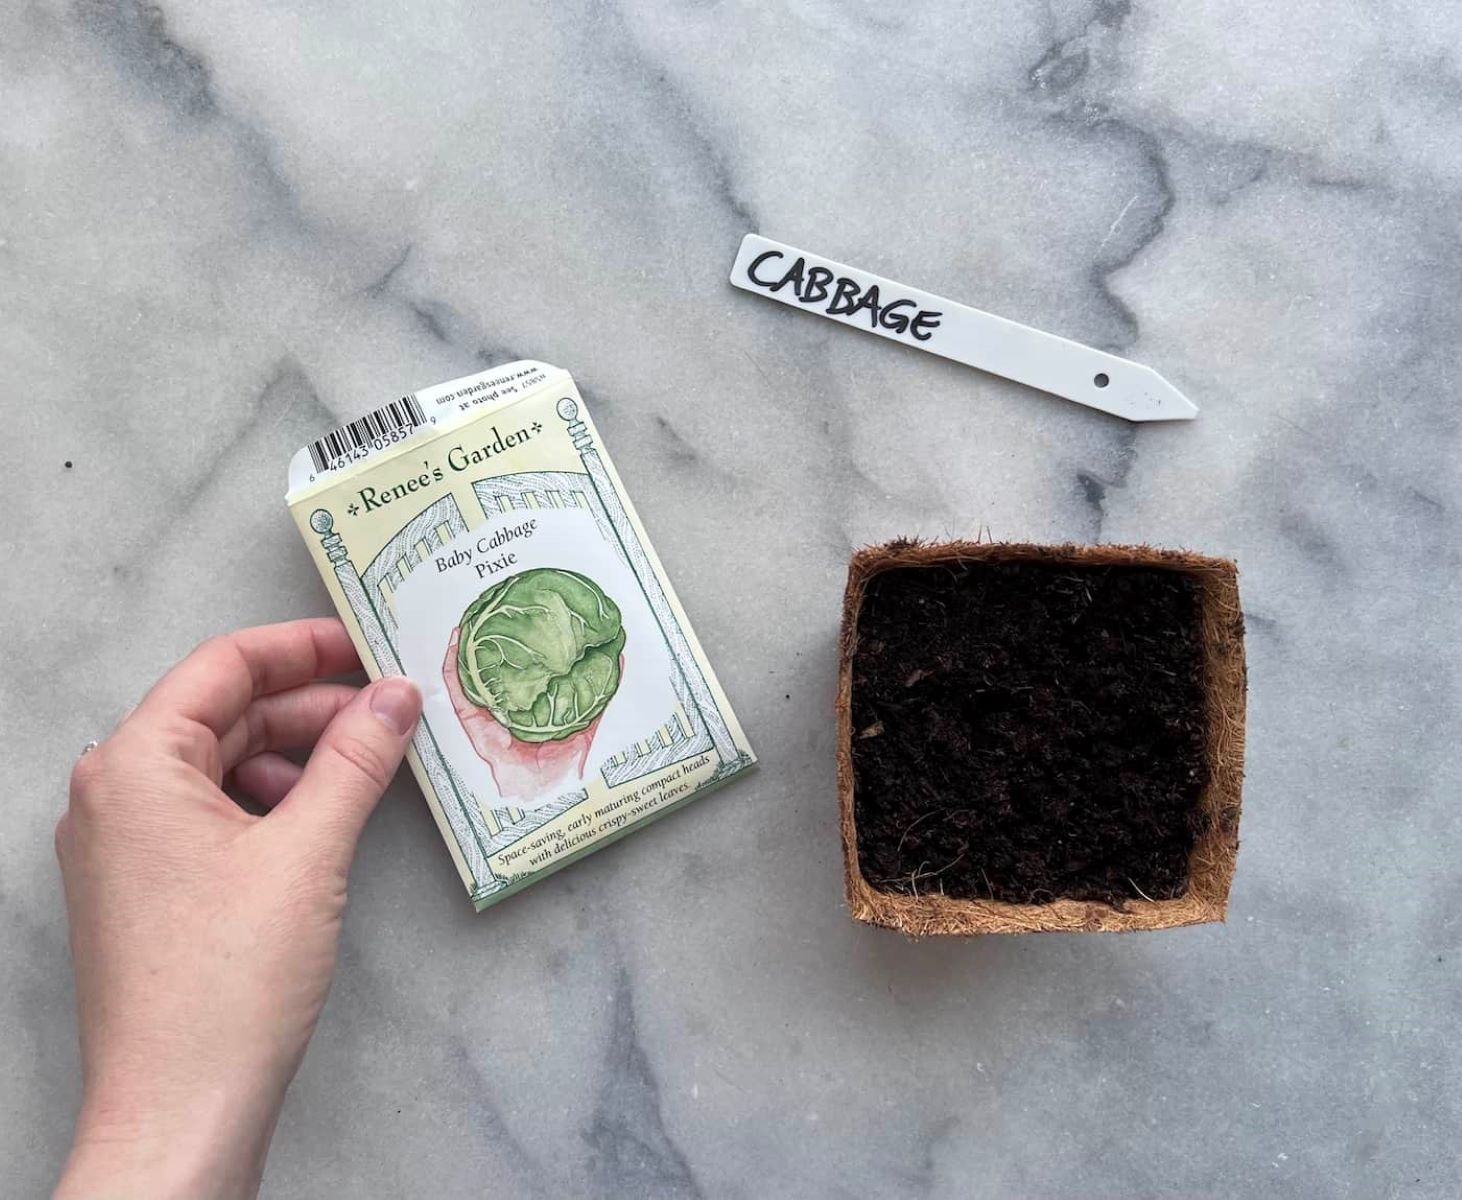
Step 1: Gather Supplies
Before you begin sowing mint seeds, it’s important to gather all the necessary supplies. This will ensure that you have everything you need at your fingertips, making the process more efficient and enjoyable. Here are the essential items you will need:
- Seed Tray or Pots: Choose a seed tray or pots with drainage holes to prevent waterlogging and promote healthy root growth.
- Potting Soil: Opt for a well-draining potting mix that is enriched with organic matter and nutrients.
- Mint Seeds: Select high-quality mint seeds from a reputable source. You can choose from a variety of mint flavors, such as spearmint, peppermint, or chocolate mint.
- Watering Can or Spray Bottle: Use a watering can or spray bottle to provide a gentle and controlled water supply to the seeds.
- Plastic Wrap or Seed Tray Cover: Covering the seed tray or pots with plastic wrap or a seed tray cover helps create a moist and humid environment optimal for germination.
- Plant Labels: It’s important to label your mint seeds to keep track of different varieties and ensure proper care.
- Grow Lights or Sunny Window: Mint seeds require adequate light for germination and growth. If you don’t have access to direct sunlight, consider using grow lights.
- Misting Bottle: A misting bottle is handy for keeping the soil moist without overwatering.
Take a moment to gather these supplies and organize your gardening area. Having all your tools and materials ready will help streamline the process and allow you to focus on enjoying the journey of growing mint from seeds.
Step 2: Prepare the Seed Tray
Now that you have gathered your supplies, it’s time to prepare the seed tray for sowing your mint seeds. Follow these steps to create an optimal environment for seed germination:
- Clean the Seed Tray: Start by cleaning the seed tray or pots with warm water and mild soap. This helps remove any lingering dirt or pathogens that could hinder seed germination.
- Add Drainage Material: To ensure proper drainage, add a layer of small rocks or gravel to the bottom of the seed tray. This prevents water from pooling and causing root rot.
- Fill with Potting Soil: Fill the seed tray with the potting soil, leaving about half an inch of space at the top for watering.
- Evenly Moisturize the Soil: Moisten the soil with water until it is evenly damp. Avoid overwatering, as excessive moisture can lead to fungal issues.
- Prepare Seed Indents: Gently press your finger or the eraser end of a pencil into the soil to create small indents, about 1/4 inch deep. These will serve as the planting holes for the mint seeds.
Once you have completed these steps, your seed tray is now ready for the next exciting phase: sowing the mint seeds. Join us in the next step to learn how to sow the seeds and start the germination process.
Step 3: Sow the Mint Seeds
It’s time to sow the mint seeds and kickstart the germination process. Follow these guidelines to ensure successful and uniform seed placement:
- Place the Seeds: Take the mint seeds and carefully place them into the prepared indents in the soil. Aim for one to two seeds per indent to ensure a higher chance of germination.
- Cover the Seeds: Gently cover the seeds with a thin layer of potting soil. Just a light covering is sufficient to protect the seeds while allowing them to receive the necessary light and moisture for germination.
- Mist the Soil: Use a misting bottle or a gentle spray from a watering can to moisten the soil without disturbing the seeds. This ensures that the seeds are properly hydrated.
- Label the Seeds: Place plant labels next to the planted seeds or create a labeled diagram of the seed tray. This helps you keep track of the mint varieties you have planted.
Once you have sown the mint seeds and labeled your tray, it’s time to create an optimal environment for germination. In the next step, we will discuss the importance of watering and maintaining proper moisture levels for your mint seeds.
Step 4: Watering and Moisture
Proper watering and maintaining the right moisture levels are crucial for the successful germination and growth of your mint seeds. Follow these guidelines to ensure optimal conditions:
- Watering: Shortly after sowing the mint seeds, water the seed tray gently. Avoid overwatering, as excessive moisture can cause the seeds to rot. Aim to keep the soil evenly moist, but not soaking wet.
- Misting: To maintain moisture levels without oversaturating the soil, mist the seed tray daily or as needed. A fine mist helps prevent the disturbance of the seeds while providing adequate moisture.
- Covering: If using a seed tray cover or plastic wrap, be sure to remove it once the seeds begin to sprout. Otherwise, excessive moisture can lead to mold or fungal issues.
- Monitor Moisture Levels: Regularly check the soil’s moisture levels by lightly touching it with your finger. If it feels dry, it’s time to water gently. If it’s still moist, hold off on watering until it dries out a bit.
Remember, mint seeds need consistent moisture to sprout, so it’s crucial to pay attention to watering and maintain a moist environment. In the next step, we will discuss the importance of providing adequate lighting for your mint seeds to thrive.
Read more: How To Plant Mint Seeds
Step 5: Provide Proper Lighting
Proper lighting is essential for the healthy growth and development of your mint seeds. Whether you have access to direct sunlight or are using grow lights, follow these tips to provide the right amount of light:
- Direct Sunlight: If you have a sunny window, place the seed tray in a location that receives at least 6-8 hours of direct sunlight per day. Rotate the tray every few days to ensure even exposure to sunlight.
- Grow Lights: If you don’t have access to natural sunlight, you can use grow lights to provide artificial light. Position the grow lights a few inches above the seed tray and keep them on for 12-16 hours a day.
- Avoid Excessive Heat: While mint seeds love warmth, excessive heat can cause drying or scorching. Ensure that the temperature around the seed tray remains between 65-75°F (18-24°C) for optimal germination.
- Monitor Seedlings: As the mint seeds sprout and grow into seedlings, closely observe their growth patterns. If the seedlings appear weak or elongated, it may indicate insufficient lighting, and you may need to adjust the light source or its intensity.
By providing the proper amount and quality of light, you are setting your mint seeds up for success. In the next step, we will discuss the ideal germination time and temperature for mint seeds.
To start mint seeds, plant them in well-draining soil, keep them moist, and place them in a sunny spot. Once they sprout, thin them to the strongest plants.
Step 6: Germination Time and Temperature
Understanding the ideal germination time and temperature for your mint seeds is crucial for providing the optimal conditions for their growth. Here are some guidelines to help you with this step:
- Germination Time: Mint seeds typically take around 7-14 days to germinate, but it can vary depending on the mint variety and environmental conditions. Be patient and monitor the seed tray regularly for signs of sprouting.
- Temperature: Mint seeds prefer a warm environment for germination. The ideal temperature range for germination is between 65-75°F (18-24°C). You can use a seedling heat mat to maintain a consistent temperature if needed.
- Avoid Extreme Temperatures: While mint seeds thrive in warm conditions, it’s important to avoid exposing them to extreme heat or cold. Sudden changes in temperature can shock the seeds and hinder their germination.
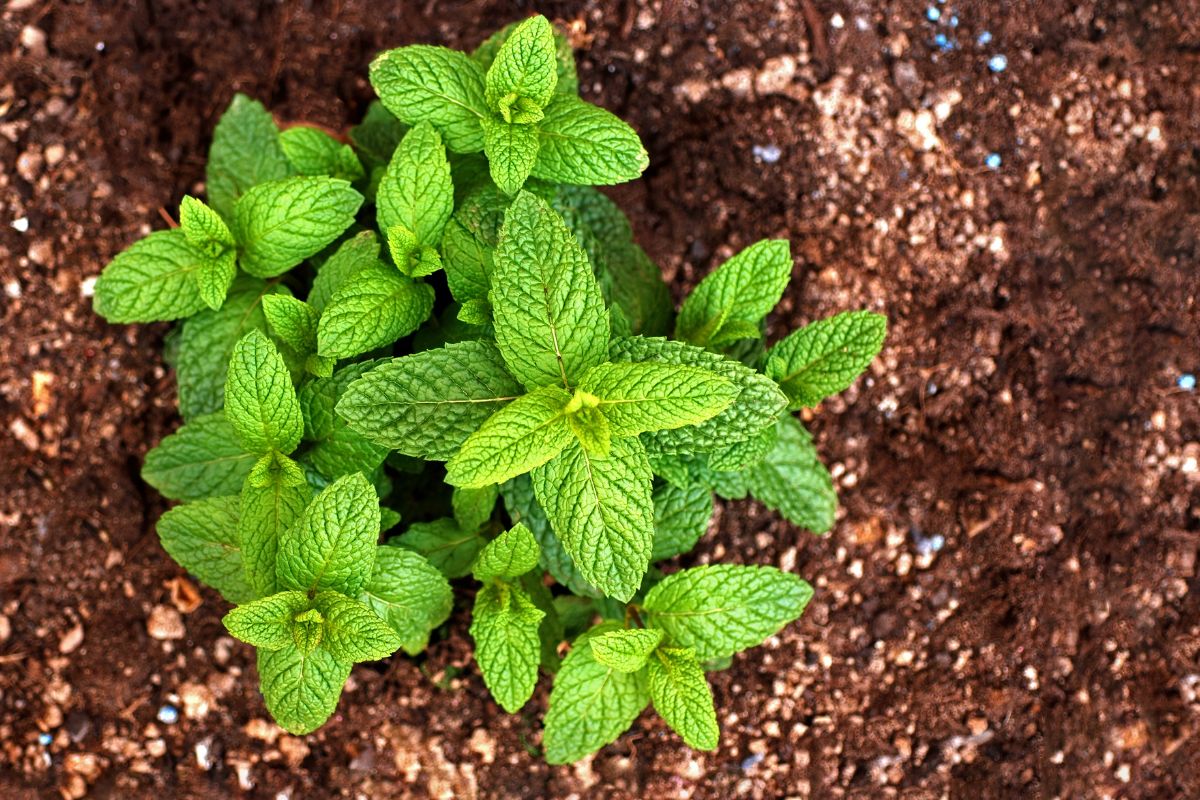
- Germination Indicator: Once your mint seeds have successfully germinated, you will see tiny sprouts emerging from the soil surface. At this point, you can remove any covers or plastic wrap that you may have used during the germination process.
By providing the right germination time and maintaining the ideal temperature range, you are giving your mint seeds the best chance to sprout and thrive. In the next step, we will discuss how to transplant your mint seedlings once they have reached an appropriate size.
Step 7: Transplanting Mint Seedlings
Once your mint seedlings have grown to a suitable size, it’s time to transplant them into larger containers or the garden. Follow these steps to successfully transplant your mint seedlings:
- Select the Container: Choose a pot or container that offers ample space for the root system to grow. Make sure it has drainage holes to prevent waterlogging.
- Prepare the Potting Mix: Fill the container with a well-draining potting mix that is rich in organic matter. This will provide the necessary nutrients for your mint plants.
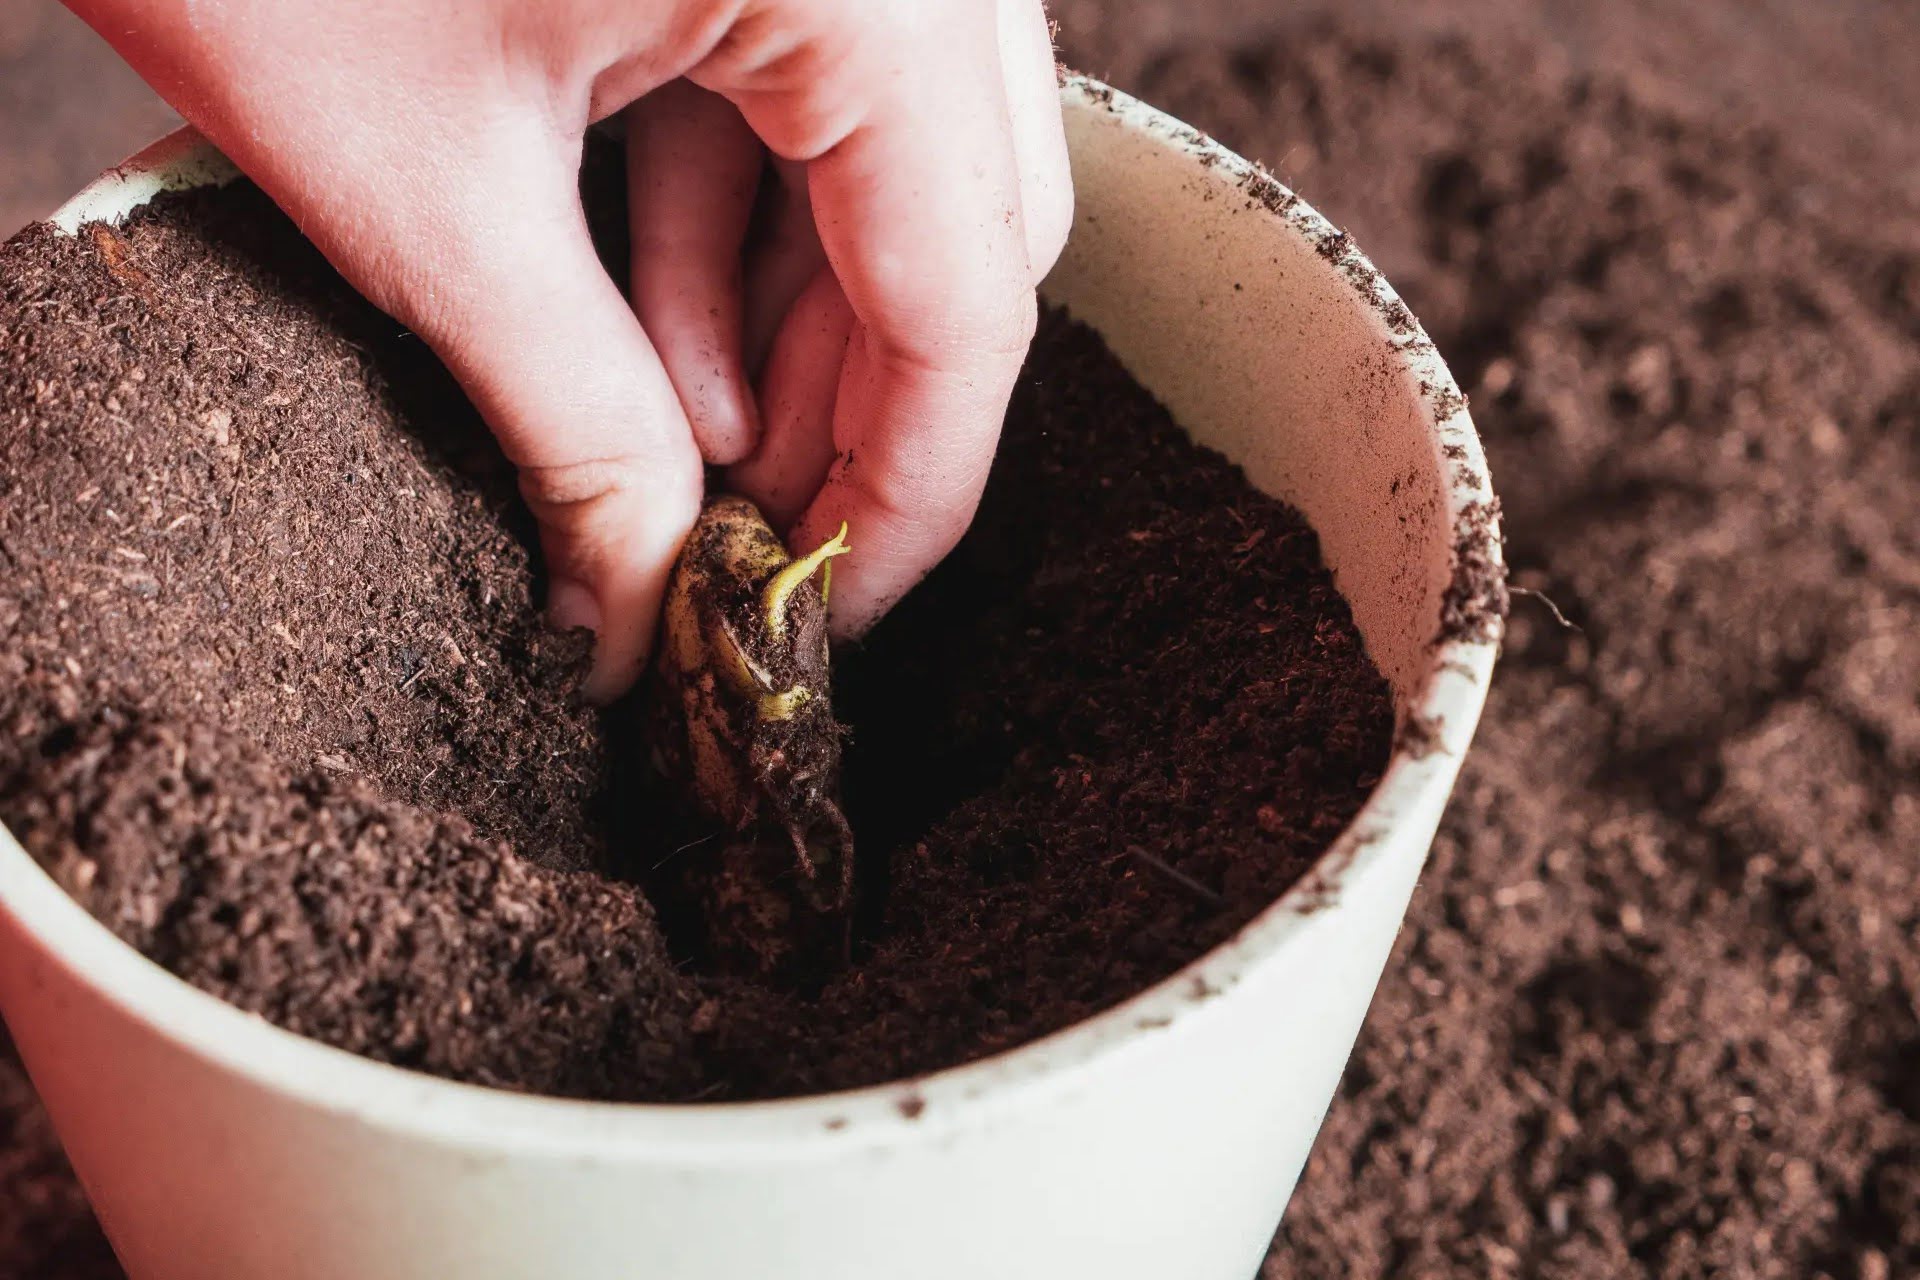
- Water the Seedlings: Before transplanting, gently water the seedlings to loosen the soil and make it easier to remove them from the seed tray.
- Carefully Remove Seedlings: Use a spoon or small gardening trowel to carefully lift the seedlings from the seed tray, holding them by the leaves or base to avoid damaging the delicate roots.
- Plant Seedlings: Dig a hole in the new container and place the mint seedling, ensuring that the top of the soil from the seed tray is level with the soil of the new container. Firmly press the soil around the seedling to secure it in place.
- Water Thoroughly: After transplanting, water the mint seedlings thoroughly to help settle the soil and provide hydration to the roots.
- Place in Ideal Location: Choose a location for the transplanted mint seedlings that receives partial to full sunlight and has good air circulation.
Transplanting mint seedlings gives them more room to grow and allows them to thrive in their new environment. In the next step, we will explore the care and maintenance needed to ensure the health of your mint plants.
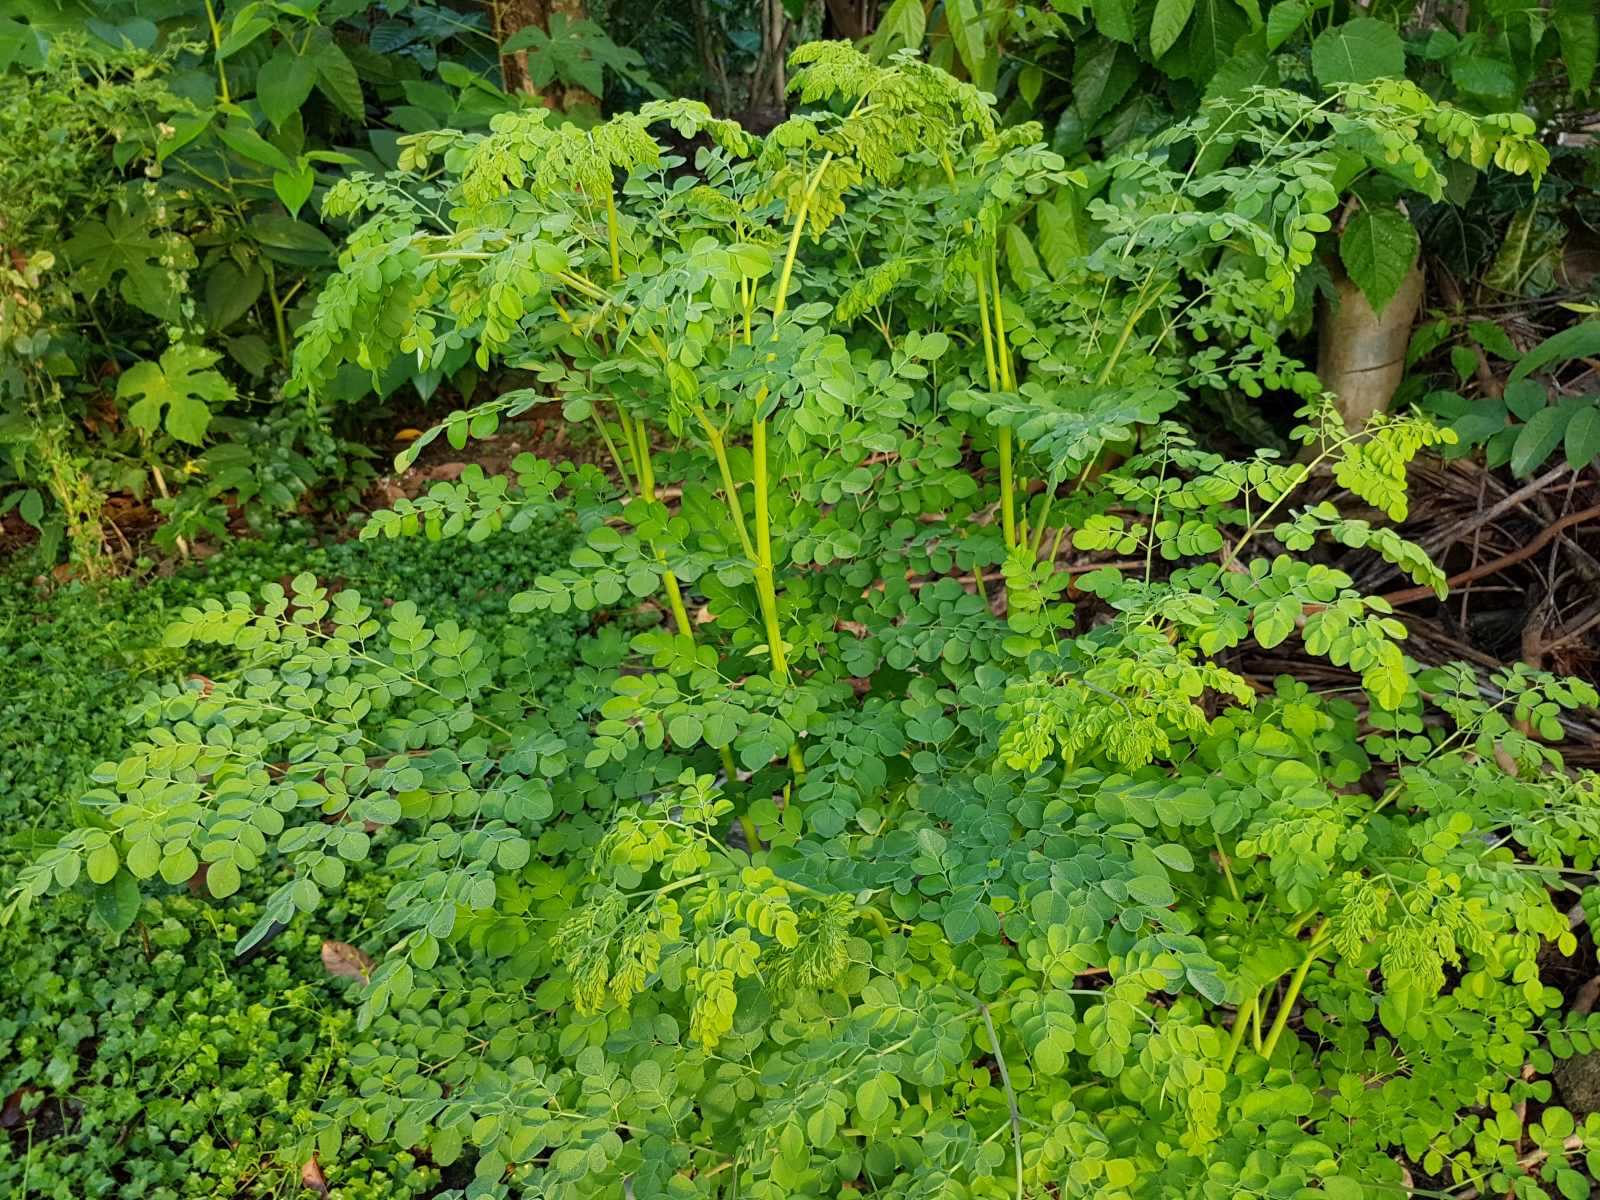
Step 8: Care and Maintenance
Proper care and maintenance are crucial for the healthy growth and longevity of your mint plants. Follow these guidelines to ensure the well-being of your mint garden:
- Watering: Mint plants prefer consistently moist soil. Water them regularly, ensuring that the soil remains evenly moist, but not waterlogged. Avoid allowing the soil to dry out completely between waterings.
- Mulching: Apply a layer of organic mulch, such as straw or wood chips, around the base of the mint plants. This helps retain moisture, suppresses weed growth, and regulates the soil temperature.
- Fertilization: Mint plants are relatively low-maintenance and do not require heavy fertilization. However, you can apply a balanced organic fertilizer once or twice during the growing season to provide essential nutrients.
- Pruning: Regular pruning helps promote bushier growth and prevents mint plants from becoming leggy. Trim back the stems regularly, removing any dead or wilted leaves to maintain the overall health and appearance of the plant.
- Pest Control: Mint plants are generally resistant to pests and diseases. However, keep an eye out for common issues like aphids or spider mites. If necessary, treat affected plants with organic pest control measures like neem oil or insecticidal soap.
- Harvesting: Once your mint plants have matured and reached a sufficient size, you can start harvesting the leaves. Snip off individual leaves or cut entire stems just above a leaf node. This encourages new growth and keeps the plant healthy.
By providing regular watering, occasional fertilization, proper pruning, and monitoring for pests, you can keep your mint plants healthy and thriving. In the next step, we will explore the exciting process of harvesting mint leaves and enjoying the fruits of your labor.
Read more: How Long Does It Take For Mint To Germinate?
Step 9: Harvesting Mint Leaves
Harvesting mint leaves is a satisfying and rewarding part of growing your own mint plants. Follow these steps to ensure a successful harvest and enjoy the delightful flavors and aromas of fresh mint:
- Wait for Maturity: Allow your mint plants to reach a mature stage before starting to harvest. This typically occurs 8-10 weeks after transplanting when the plants are well-established.
- Select the Right Time: Choose a time of day when the leaves are at their peak flavor. Morning, after the dew has dried but before the heat of the day, is often considered the ideal time for harvesting mint leaves.
- Choose the Method: Decide whether you want to harvest individual leaves or entire stems. Both methods are acceptable, depending on your preference and the intended use of the mint leaves.
- Harvest Individual Leaves: To harvest individual leaves, simply pinch or snip off the mature leaves, starting from the top of the stem. This method allows for continuous growth and ensures a fresh supply of mint leaves throughout the growing season.
- Harvest Entire Stems: If you prefer to harvest entire stems, use a sharp pair of garden shears or scissors to cut just above a leaf node. This promotes new growth and encourages bushier, more compact plants.
- Store and Use: After harvesting, gently wash the mint leaves with water to remove any debris or dirt. Pat them dry with a paper towel and use them immediately in your favorite recipes or store them in an airtight container in the refrigerator for up to a week.
Remember to harvest mint leaves regularly to prevent the plants from becoming too leggy and to enjoy the full flavor and aroma of fresh mint. With proper harvesting techniques, your mint plants will continue to provide delectable leaves for all your culinary and beverage needs.
Congratulations! You have successfully completed all the steps necessary to start mint seeds and grow your own vibrant mint garden. By following these guidelines for care, maintenance, and harvesting, you can enjoy an abundant supply of fresh mint leaves throughout the season.
Now it’s time to put your knowledge into practice and savor the joys of growing and harvesting your very own mint leaves. Enjoy the delightful flavors and fragrances that this versatile herb brings to your cooking, beverages, and even aromatherapy. Happy gardening and happy mint harvesting!
Conclusion
Congratulations on completing your journey through the process of starting mint seeds and cultivating your own mint garden. By following the steps outlined in this guide, you have gained the knowledge and skills necessary to successfully grow mint from seeds and enjoy the rewards of a thriving mint patch.
From gathering supplies to transplanting seedlings, providing proper lighting and moisture, and caring for your mint plants, you have learned the essential steps needed for successful mint cultivation. By applying these techniques, you can ensure the health and vitality of your mint plants and enjoy a bountiful harvest of fresh, aromatic leaves.
Remember to continue nurturing your mint plants through regular watering, occasional fertilization, and proper pruning. By maintaining optimal growing conditions and keeping an eye out for potential pests or diseases, you can keep your mint plants vibrant and productive.
When it comes time to harvest, enjoy the process of gathering fresh mint leaves at their peak flavor and aroma. Whether you choose to harvest individual leaves or entire stems, the choice is yours. With each harvest, embrace the satisfaction of using homegrown mint leaves in your culinary creations, teas, cocktails, and even home remedies.
By venturing into the world of mint gardening, you have not only cultivated a useful and versatile herb but also nurtured your own connection to nature. The joy and fulfillment that come from growing your own plants cannot be understated. So take pride in your newfound green thumb and continue exploring the wonders of gardening.
Thank you for joining us on this mint-growing journey. We hope this guide has empowered you with the knowledge and inspiration to start your own mint seeds and experience the joys of a flourishing herb garden. May your mint plants thrive and bring fresh flavors and delightful aromas to your life for years to come.
Frequently Asked Questions about How To Start Mint Seeds
Was this page helpful?
At Storables.com, we guarantee accurate and reliable information. Our content, validated by Expert Board Contributors, is crafted following stringent Editorial Policies. We're committed to providing you with well-researched, expert-backed insights for all your informational needs.


0 thoughts on “How To Start Mint Seeds”