Home>Garden Essentials>When To Plant Creeping Phlox Seeds

Garden Essentials
When To Plant Creeping Phlox Seeds
Modified: May 6, 2024
Looking to enhance your garden? Learn when to plant creeping phlox seeds for a beautiful addition to your outdoor space.
(Many of the links in this article redirect to a specific reviewed product. Your purchase of these products through affiliate links helps to generate commission for Storables.com, at no extra cost. Learn more)
Introduction
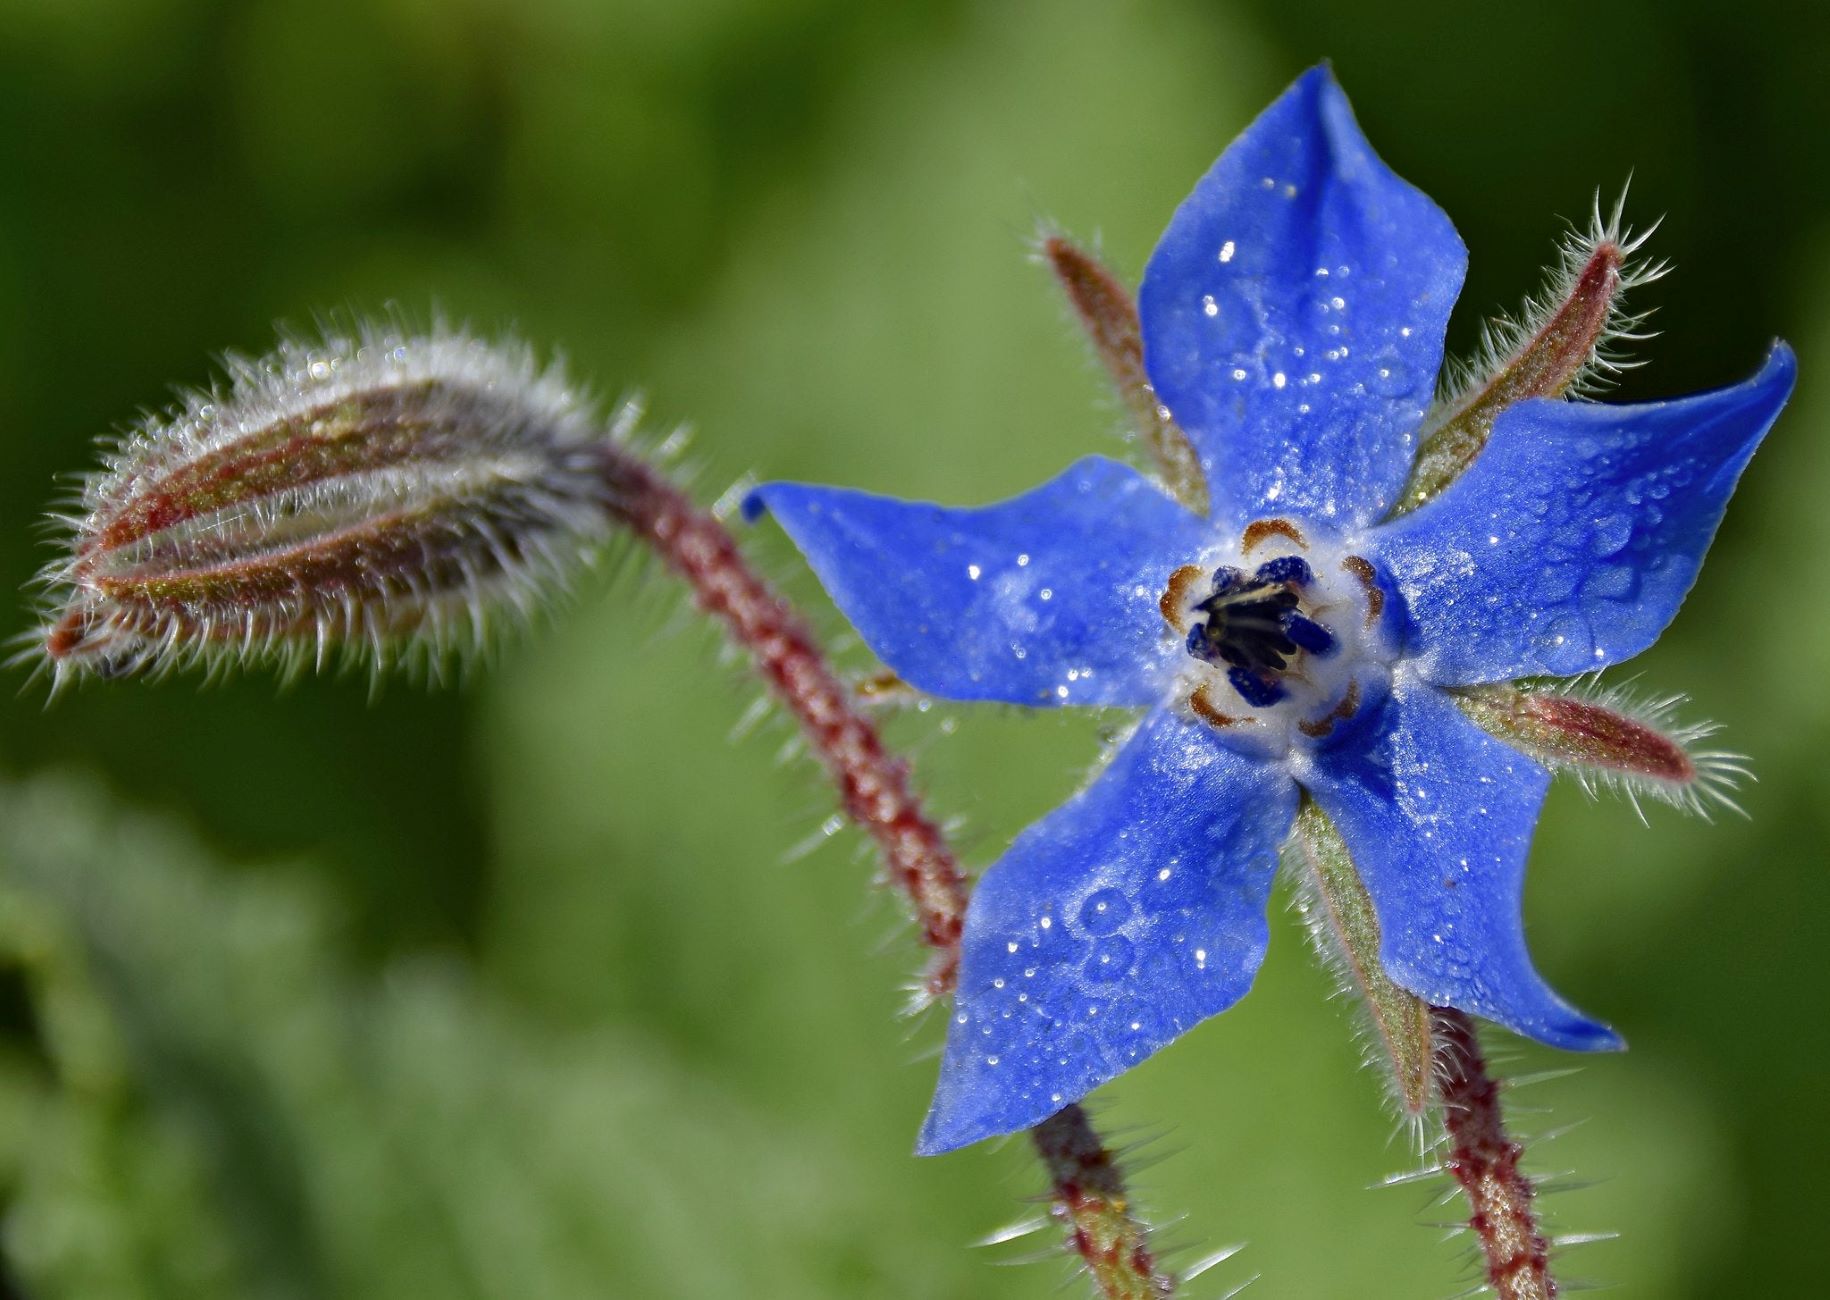
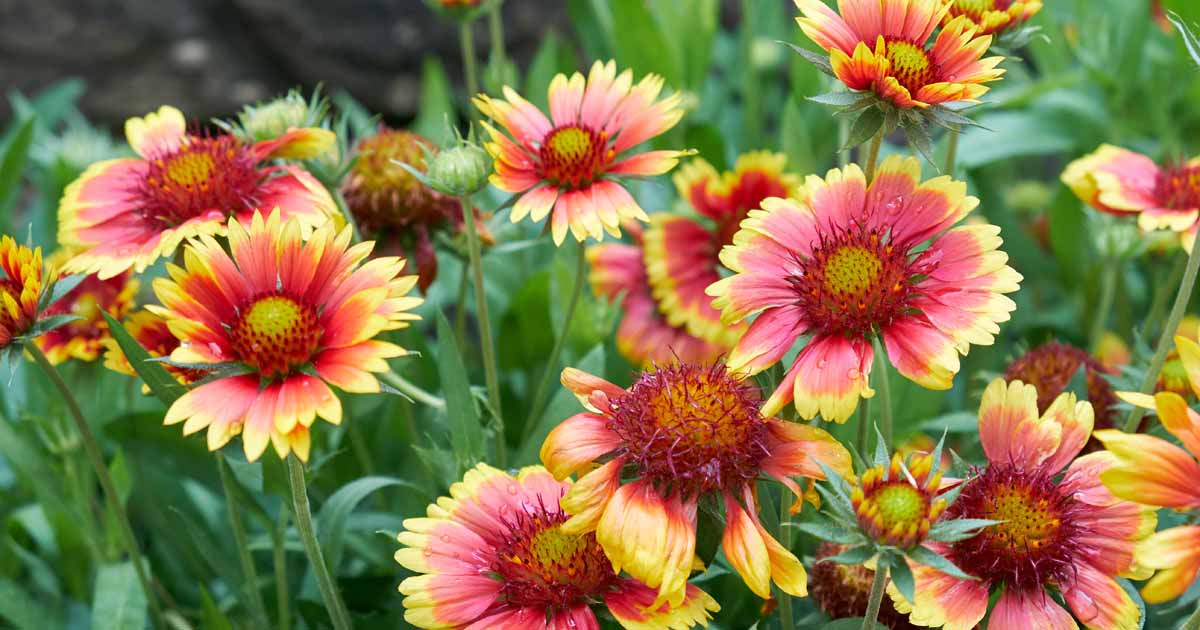
Welcome to the fascinating world of gardening! If you’re looking to add a splash of color and beauty to your garden, then planting creeping phlox seeds is an excellent choice. Creeping phlox, also known as Phlox subulata, is a low-growing perennial flower that creates a stunning groundcover. Its vibrant blooms, which can range from shades of pink, purple, blue, and white, make it a favorite among gardeners.
But before you embark on this gardening adventure, it’s important to understand what creeping phlox is and how to successfully grow it from seeds. In this article, we will guide you through the process of planting creeping phlox seeds, from understanding the basic principles to caring for your seedlings once they sprout.
Creeping phlox is native to North America and is often seen growing in rocky areas, mountainsides, and meadows. It has needle-like foliage that forms a dense mat, and its fragrant flowers attract butterflies and other pollinators. This versatile plant is ideal for covering bare ground, trailing over rocks or walls, and adding a burst of color to garden borders.
Before delving into the specifics of planting creeping phlox seeds, let’s take a closer look at some key factors you need to consider.
Key Takeaways:
- Plant creeping phlox seeds in early spring or fall after cold stratification for stunning, low-maintenance groundcover. Consider sunlight, soil, and moisture for optimal growth.
- Care for creeping phlox seedlings by watering, mulching, and pruning. Watch out for common issues like poor blooming and invasive spreading to ensure healthy, vibrant plants.
Read more: When Do You Plant Phlox Ground Cover
What is Creeping Phlox?
Creeping phlox, scientifically known as Phlox subulata, is a low-growing perennial flower that belongs to the Polemoniaceae family. It is native to the eastern and central United States and is widely admired for its beautiful blooms and ground-hugging growth habit.
This hardy plant features slender, needle-like evergreen foliage that forms a dense mat, making it an excellent choice for groundcover. The foliage remains green throughout the year, adding a touch of color and texture even when the flowers are not in bloom.
One of the standout characteristics of creeping phlox is its vibrant and eye-catching flowers. They come in various shades, including pink, purple, blue, and white. The small, five-petaled flowers are displayed in dense clusters, creating a stunning carpet of color when in full bloom.
Creeping phlox is not just a delight to the eyes; it also appeals to the senses with its sweet fragrance. The flowers release a lovely scent, attracting butterflies, bees, and other beneficial pollinators to your garden.
Creeping phlox is an ideal plant for a wide range of garden settings. It thrives in full sun to partial shade and prefers well-drained soil. It’s often used to fill in gaps between stepping stones or as a border along garden beds. Additionally, it can be grown in rock gardens, slopes, or cascading over walls and containers.
This versatile plant is not only a favorite among gardeners but also a natural choice for landscapes that require low-maintenance and drought-tolerant plants. Once established, creeping phlox is relatively easy to care for and can provide years of stunning displays.
Now that you have a better understanding of what creeping phlox is, let’s delve into the process of growing this beautiful flower from seeds.
Understanding Creeping Phlox Seeds
If you’re considering planting creeping phlox in your garden, it’s important to familiarize yourself with the characteristics of creeping phlox seeds. Understanding the properties of the seeds will help you achieve better germination rates and overall success in growing this charming groundcover.
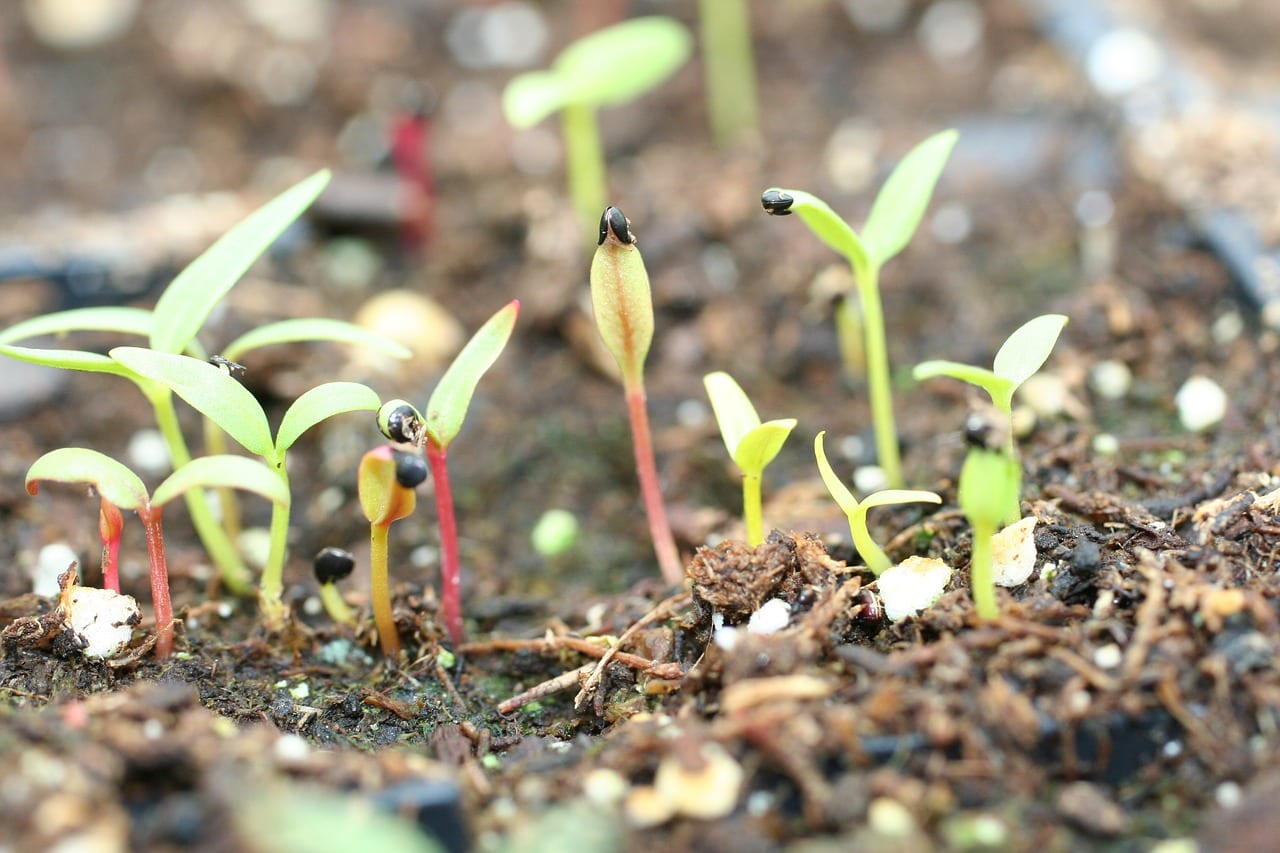
Creeping phlox seeds are tiny, typically measuring around 1-2 millimeters in size. They are typically black or brown, and their small size may make them seem insignificant. However, these tiny seeds hold the potential to produce beautiful, blooming plants.
One important aspect of creeping phlox seeds is that they require a period of cold stratification to break their dormancy and promote germination. This means that the seeds need exposure to cold temperatures for a specific period to mimic the conditions of winter.
To stratify the seeds, you can place them in a sealed plastic bag with some moistened vermiculite or peat moss. Then, store the bag in the refrigerator for about four to six weeks. This cold treatment will help break the seed’s dormancy and enhance germination rates.
Another aspect to consider is the viability of the seeds. Creeping phlox seeds have a relatively short shelf life, typically retaining their viability for about one to three years. It’s best to use fresh seeds whenever possible to maximize germination success rates.
It’s worth noting that creeping phlox also spreads through creeping stems called stolons. While planting seeds allows you to establish new plants, you can also propagate creeping phlox by division or by transplanting stolons from an existing plant.
Now that you have a better understanding of the nature of creeping phlox seeds, let’s explore the factors to consider before planting them in your garden.
Factors to Consider Before Planting Creeping Phlox Seeds
Before you start sowing creeping phlox seeds, it’s essential to consider a few factors to ensure optimal growth and success in your garden. Taking these factors into account will help create a favorable environment for your creeping phlox seedlings to flourish.
1. Sunlight: Creeping phlox thrives in full sun to partial shade. It is important to choose a location in your garden that receives at least six hours of direct sunlight per day. Insufficient sunlight can result in weak growth and reduced blooming.
2. Soil Type: Creeping phlox prefers well-drained soil. It can tolerate a wide range of soil pH, but a slightly acidic to neutral soil (pH 5.5-7.0) is optimal. If your soil is heavy or clay-like, consider amending it with organic matter, such as compost, to improve drainage.
3. Soil Moisture: While creeping phlox is drought-tolerant, it still requires consistent moisture, especially during its establishment phase. Ensure that the soil is consistently moist but not waterlogged. Overly wet conditions can lead to root rot or other fungal diseases.
4. Soil Preparation: Before planting creeping phlox seeds, prepare the soil by removing any weeds, rocks, or debris. Loosen the soil to a depth of about 6-8 inches (15-20 cm) to provide ample space for the roots to spread. Adding organic matter, such as compost, can improve soil fertility and drainage.
5. Spacing: Creeping phlox plants have a spreading habit, so it’s essential to provide enough space between each plant to allow for proper growth. Space the plants about 12-18 inches (30-45 cm) apart to ensure they have enough room to fill in and create a dense groundcover.
6. Climate: Consider your climate zone when planning to grow creeping phlox. This plant is best suited for USDA hardiness zones 3-9, where it can withstand both freezing winters and hot summers. If you live in an area with extreme heat or cold, you may need to provide additional protection or consider alternative groundcover options.
7. Aesthetics and Design: Think about the overall aesthetic and design of your garden. Creeping phlox works beautifully as a groundcover, but it can also cascade over walls, rockeries, or containers, adding visual interest and texture to your landscape. Plan accordingly to maximize the visual impact of this stunning plant.
By considering these factors, you’ll be well-prepared to create a suitable environment for the successful growth of creeping phlox in your garden. Now, let’s explore the best time to plant creeping phlox seeds.
Best Time to Plant Creeping Phlox Seeds
The timing of planting creeping phlox seeds plays a crucial role in their successful germination and establishment. It’s important to choose the right time to ensure optimal conditions for growth and to maximize the chances of your seeds developing into healthy seedlings.
The best time to plant creeping phlox seeds is in the early spring, after the danger of frost has passed and the soil has started to warm up. This is typically around late March to early April, depending on your specific location and climate.
Planting in early spring allows the creeping phlox seeds to benefit from the increasing daylight and moderate temperatures. These conditions promote better germination and help the seedlings establish strong root systems before the heat of summer arrives.
If you live in an area with a mild winter or are in a warmer climate zone, you may also consider planting the seeds in the fall. Planting in the fall gives the seeds a period of cold stratification throughout the winter, which can enhance their germination rates when spring arrives. However, it’s important to note that fall planting may not be suitable for areas with harsh winters or extended periods of freezing temperatures.
It’s worth mentioning that creeping phlox seeds can be challenging to start from scratch, and some gardeners prefer to purchase young plants or divisions rather than sowing seeds. If you opt to purchase already established plants, you can transplant them in spring or fall, following the same guidelines mentioned above.
Regardless of whether you choose to plant in spring or fall, it’s essential to prepare the soil properly to create the ideal growing conditions for your creeping phlox seeds or plants. Let’s explore how to prepare the soil for planting creeping phlox seeds.
Plant creeping phlox seeds in early spring, after the last frost date. Choose a sunny location with well-drained soil. Sow the seeds on the surface of the soil and lightly press them in. Keep the soil consistently moist until the seeds germinate.
Read more: When To Plant Creeping Thyme Ground Cover
How to Prepare the Soil for Planting Creeping Phlox Seeds
Proper soil preparation is key to providing an optimal growing environment for your creeping phlox seeds. By taking the time to prepare the soil correctly, you can improve drainage, fertility, and overall soil health, which will greatly benefit your plants’ growth and development.
Here are the steps to prepare the soil for planting creeping phlox seeds:
1. Clear the Area: Start by clearing the planting area of any weeds, rocks, or debris. Remove any existing vegetation or grass to create a clean space for your creeping phlox seeds.
2. Loosen the Soil: Use a garden fork or a tiller to loosen the soil to a depth of about 6-8 inches (15-20 cm). Loosening the soil helps improve drainage and allows the roots of your creeping phlox plants to penetrate the soil more easily.
3. Amend the Soil: Add organic matter, such as compost, to the soil to improve its fertility and moisture-retention capabilities. Spread a layer of compost about 2-3 inches (5-7.5 cm) thick over the planting area and work it into the soil evenly.
4. Check pH Levels: It’s beneficial to check the pH levels of your soil before planting creeping phlox. The ideal pH range for creeping phlox is slightly acidic to neutral, between 5.5 and 7.0. If your soil pH is outside this range, you can adjust it by adding amendments according to the recommendations provided by a soil test.
5. Ensure Good Drainage: Creeping phlox prefers well-drained soil. If your soil tends to be heavy or clay-like and retains water, consider improving drainage by incorporating coarse sand or perlite into the soil. This will help prevent waterlogging and root rot.
6. Level the Soil: Smooth out the soil surface and create a level planting area. This will help ensure an even distribution of moisture and nutrients to your creeping phlox seedlings.
By following these steps, you’ll create a favorable soil environment that will promote healthy growth for your creeping phlox seeds. Now it’s time to move on to the exciting part – planting the seeds!
Planting Creeping Phlox Seeds
Now that you have prepared the soil, it’s time to sow your creeping phlox seeds. Planting creeping phlox seeds is a straightforward process, but it requires attention to detail and proper technique to ensure successful germination and healthy growth.
Follow these steps to plant your creeping phlox seeds:
1. Sow the Seeds: Sprinkle the creeping phlox seeds evenly over the prepared soil surface. Since the seeds are small, it’s helpful to mix them with a small amount of sand or vermiculite to aid in even distribution. Avoid sowing the seeds too densely, as overcrowding can result in poor airflow and weakened plants.
2. Lightly Cover the Seeds: Gently press the seeds onto the soil surface using your hands or the back of a garden tool. The seeds require light to germinate, so it’s essential not to bury them too deeply. A light covering of soil, about 1/8 inch (3 mm) thick, is sufficient to provide them with the necessary coverage.
3. Water the Seeded Area: After planting the seeds, water the seeded area thoroughly. Use a fine mist or a gentle sprinkler to avoid displacing the seeds. Keep the soil consistently moist but not saturated during the germination process.
4. Provide Proper Care: Place a layer of mulch, such as straw or wood chips, over the seeded area. Mulching helps retain moisture, suppresses weed growth, and provides some protection to the young seedlings. Monitor the moisture levels regularly, watering as needed to keep the soil evenly moist.
5. Patience is Key: Germination may take anywhere from two to four weeks, depending on the conditions and the viability of the seeds. Be patient and provide the optimal conditions required for the seeds to sprout. Once the seedlings emerge, thin them out if necessary, giving them enough space to grow and spread.
Remember that the success of germination can vary, even under ideal conditions. Some seeds may germinate quickly, while others may take longer or have lower germination rates. It’s a good practice to sow more seeds than needed to ensure a higher chance of success.
Now that you have planted your creeping phlox seeds, proper care and maintenance are crucial to help them thrive. Let’s explore how to care for your creeping phlox seedlings in the next section.
Caring for Creeping Phlox Seedlings
Once your creeping phlox seedlings emerge, they require proper care and attention to ensure healthy growth and beautiful blooms. Follow these guidelines to provide the necessary care for your young creeping phlox plants:
1. Watering: Water your creeping phlox seedlings regularly, particularly during dry spells or hot weather. Keep the soil consistently moist, but be cautious not to overwater, as excessive moisture can lead to root rot. Aim for a moderate level of moisture, allowing the top inch (2.5 cm) of soil to dry out slightly between watering sessions.
2. Mulching: Maintain a layer of mulch around your creeping phlox seedlings to help conserve moisture, regulate soil temperature, and suppress weed growth. Apply a 2-3 inch (5-7.5 cm) layer of organic mulch, such as wood chips or straw, making sure to keep the mulch a few inches away from the base of the plants to prevent rot.
3. Fertilizing: Creeping phlox doesn’t require frequent fertilization, but a light feeding in early spring can provide an extra boost. Use a balanced, slow-release fertilizer, following the manufacturer’s instructions. Avoid over-fertilization, as it can lead to excessive foliage growth and fewer blooms.
4. Pruning: Once your creeping phlox plants have finished blooming, you can lightly trim back the stems to encourage bushier growth and promote future blooms. Pruning also helps maintain the plant’s shape and prevent it from becoming overly leggy or floppy. Trim the plants back by about one-third of their height, making clean cuts just above a leaf node.
5. Pest and Disease Control: Creeping phlox is generally resistant to pests and diseases, but it’s still important to monitor your plants for any signs of trouble. Keep an eye out for common garden pests like aphids or slugs and take appropriate measures to control them if necessary. Inspect the plants regularly for any signs of disease, such as powdery mildew or leaf spot, and treat them promptly with organic or chemical interventions if needed.
6. Division and Transplantation: As your creeping phlox plants mature, you may consider dividing them to control their spread or expand their presence in your garden. Division should be done in early spring or early fall, when the plants are not in active growth. Carefully lift the plant clumps, separate them into smaller sections, and replant them in prepared soil, providing adequate spacing between each division.
By following these care practices, you’ll provide your creeping phlox seedlings with the best chances of thriving and adding a gorgeous carpet of color to your garden. However, it’s important to be aware of some common issues that might arise when growing creeping phlox. Let’s explore those in the next section.
Common Issues and Troubleshooting
While creeping phlox is generally a resilient and low-maintenance plant, it can still encounter some common issues. Being aware of these problems and knowing how to troubleshoot them can help address any concerns and ensure the health and vitality of your creeping phlox plants:
1. Poor Bloom or Lack of Blooms: If your creeping phlox is not blooming or producing fewer flowers than expected, it could be due to insufficient sunlight. Make sure the plants are receiving at least six hours of direct sunlight per day. Additionally, if the creeping phlox is growing in overly fertile soil or receiving too much nitrogen-based fertilizer, it may favor foliage growth over blooming. Adjusting the conditions and reducing nitrogen levels should help promote more abundant flowering.
2. Floppy or Leggy Growth: Creeping phlox can become leggy or floppy if it doesn’t receive enough sunlight or if the soil is too rich in nutrients. To address this issue, ensure that the plants are receiving adequate sunlight and consider pruning them back to encourage bushier growth. Additionally, avoid excessive fertilization, as this can contribute to weak, elongated stems.
3. Root Rot or Fungal Diseases: Overly wet or poorly drained soil can lead to root rot or fungal diseases in creeping phlox. To prevent these issues, ensure proper drainage by amending the soil with organic matter and avoid overwatering. If signs of disease appear, promptly remove infected plant parts and apply appropriate fungicides according to the instructions.
4. Pest Infestations: While creeping phlox is relatively resistant to pests, some common garden pests, such as aphids, slugs, or snails, may occasionally attack the plants. Regularly inspect your plants for any signs of pest infestation and use appropriate organic or chemical treatments to control them if necessary.
5. Invasive Spreading: While creeping phlox is valued for its spreading nature, it can become invasive in certain situations. If you find that your creeping phlox is spreading too aggressively and encroaching upon other plants or areas of your garden, consider installing some barriers, such as edging or underground barriers, to control its growth and prevent it from spreading where it is not desired.
6. Winter Damage: In colder areas, creeping phlox may experience winter damage due to freezing temperatures or frost heaving. To protect your plants, apply a thick layer of mulch around the base to insulate the roots. Mulching also helps prevent frost heaving, which occurs when freezing and thawing cycles push the plants out of the ground.
By paying attention to these common issues and implementing proper care and troubleshooting measures, you can ensure that your creeping phlox plants remain healthy and vibrant, creating a stunning display in your garden.
Now that you’re equipped with the knowledge to grow and care for creeping phlox, it’s time to put your green thumb to work and enjoy the beauty and charm these lovely plants bring to your outdoor space.
Read more: How To Plant A Creeping Thyme Lawn
Conclusion
Congratulations! You have now learned the essentials of planting creeping phlox seeds and nurturing them into beautiful, blooming plants. With their vibrant flowers and low-growing habit, creeping phlox can transform your garden into a colorful oasis.
Throughout this article, we explored what creeping phlox is and its standout features. We discussed the characteristics of creeping phlox seeds and the factors to consider before planting them. We also covered the best time to sow the seeds and how to prepare the soil for optimal growth.
Furthermore, we provided guidance on the proper techniques for planting creeping phlox seeds, including watering, mulching, fertilizing, pruning, and handling common issues that may arise. By following these practices, you’ll ensure the health and longevity of your creeping phlox plants.
Remember, the journey of growing creeping phlox from seeds requires patience, attention to detail, and a little bit of nurturing. But the rewards are well worth the effort. Once your creeping phlox seedlings emerge and begin to bloom, you’ll be greeted with a dazzling display of color and fragrance, attracting butterflies and other pollinators to your garden.
Whether you use creeping phlox as a groundcover, cascading over walls, or filling in gaps between stones, its natural beauty and ability to thrive in various conditions make it a versatile and attractive choice for any garden.
So, roll up your sleeves, gather your tools, and get ready to embark on a gardening adventure with creeping phlox seeds. By following the guidance provided in this article and infusing your own creativity and love for gardening, you’ll be well on your way to transforming your outdoor space into an enchanting haven filled with the stunning beauty of creeping phlox.
Happy gardening!
Now that you've got the scoop on planting creeping phlox seeds, why stop there? Dive into our guide on creative garden fence ideas, perfect for sprucing up your outdoor sanctuary. Whether looking for privacy or a touch of whimsy, these ideas will transform any garden into a delightful retreat. Also, if you're curious about other gardening costs, check out our detailed breakdown on the price of various flower seeds. Both reads are packed with tips and insights, ready to make your gardening journey smoother and more enjoyable.
Frequently Asked Questions about When To Plant Creeping Phlox Seeds
Was this page helpful?
At Storables.com, we guarantee accurate and reliable information. Our content, validated by Expert Board Contributors, is crafted following stringent Editorial Policies. We're committed to providing you with well-researched, expert-backed insights for all your informational needs.


0 thoughts on “When To Plant Creeping Phlox Seeds”