Home>Garden Essentials>When To Plant Crimson Clover Seed
Garden Essentials
When To Plant Crimson Clover Seed
Modified: August 20, 2024
Looking to start a garden? Discover when is the best time to plant crimson clover seed for a vibrant and thriving garden.
(Many of the links in this article redirect to a specific reviewed product. Your purchase of these products through affiliate links helps to generate commission for Storables.com, at no extra cost. Learn more)
Introduction
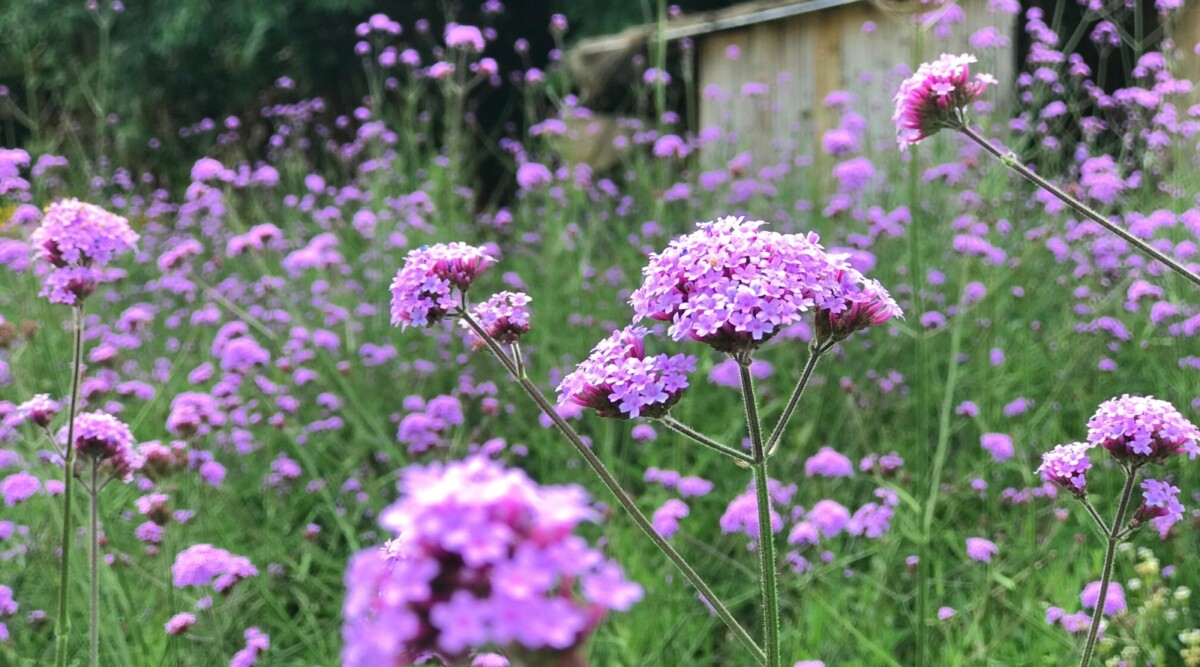
Are you looking to enhance the health and beauty of your garden? Consider planting crimson clover seed! Crimson clover, scientifically known as Trifolium incarnatum, is a stunning and beneficial flower that not only adds a vibrant pop of color to your garden but also benefits the soil and attracts pollinators.
In this article, we will delve into the world of crimson clover and explore the best time to plant crimson clover seed. We will also provide you with a step-by-step guide for planting and caring for this wonderful plant, along with tips to avoid common mistakes.
So, let’s dig deep into the world of crimson clover and discover how it can transform your garden!
Key Takeaways:
- Plant crimson clover in early spring or late fall for vibrant flowers, improved soil health, and weed suppression. Consider climate, soil type, and watering needs for successful growth.
- Avoid common mistakes like overwatering, planting too deep, and skipping soil preparation when planting crimson clover. Enjoy benefits such as moisture retention, erosion control, and pollinator attraction.
Read more: How Long For Crimson Clover To Germinate
Understanding Crimson Clover
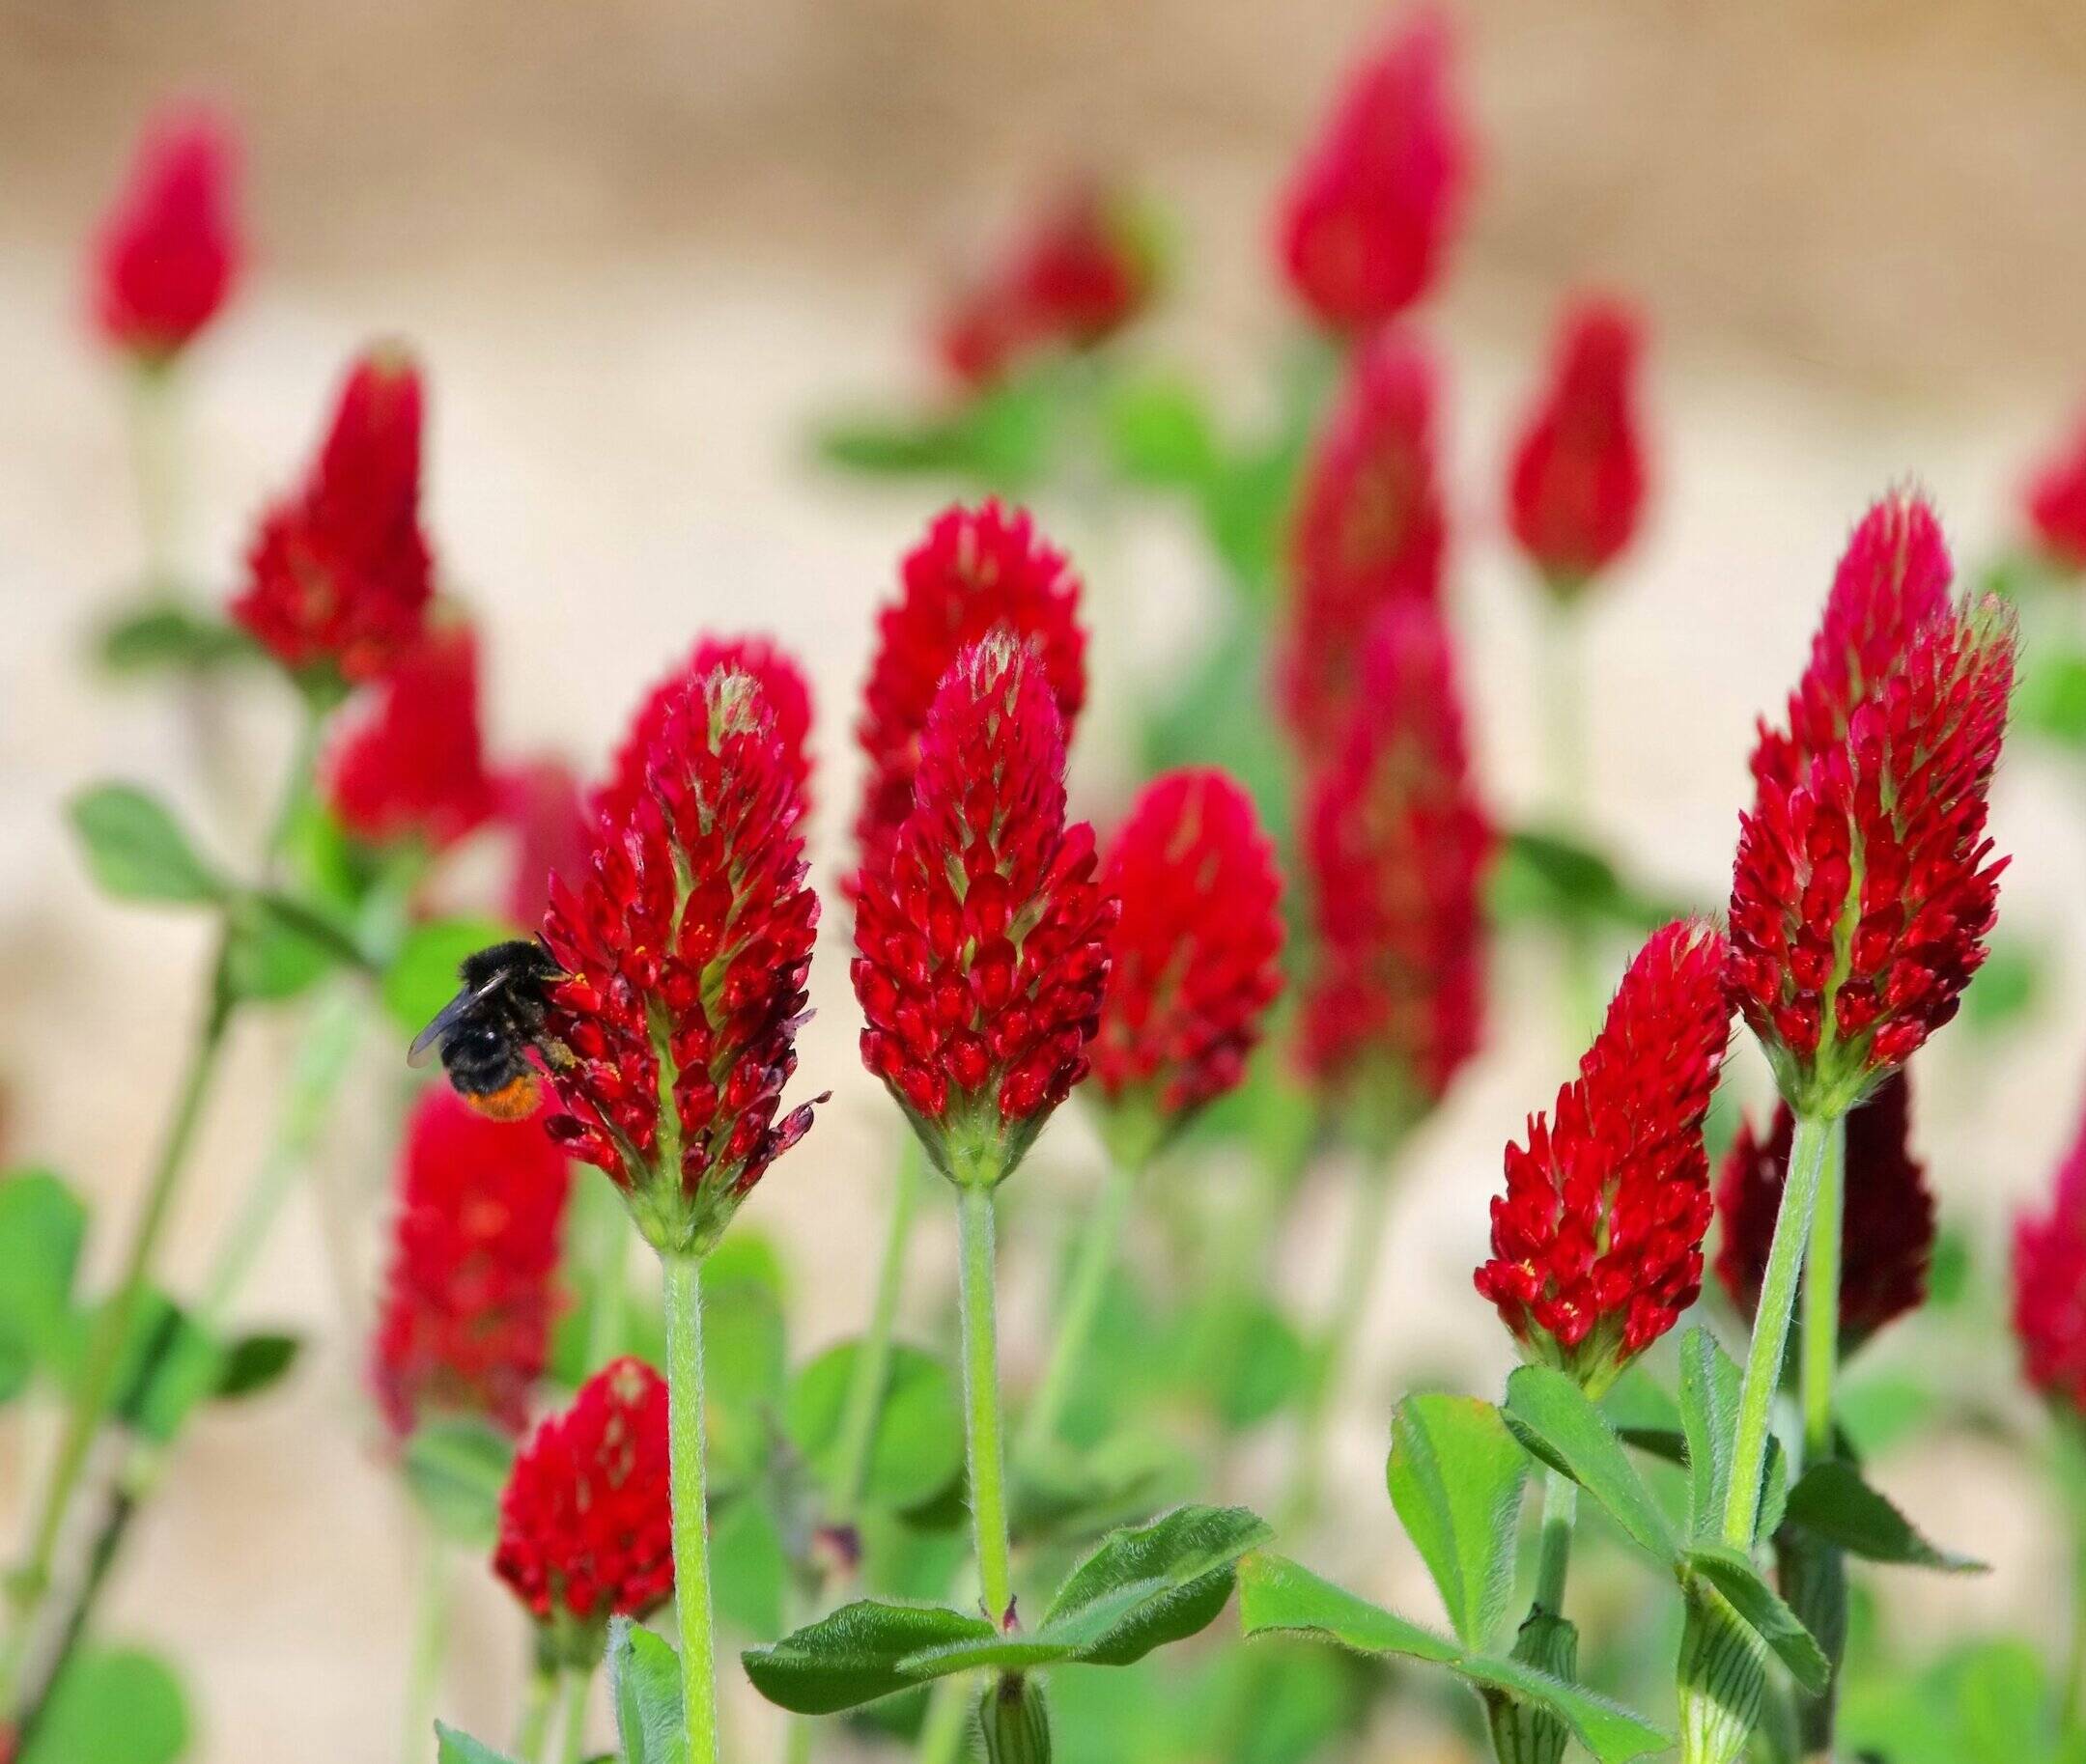
Crimson clover, also commonly known as Italian clover, is an annual flowering plant that belongs to the legume family. It is native to the Mediterranean region but has become popular in gardens and agricultural fields around the world. The plant features vibrant red flowers that bloom in dense clusters, creating a picturesque scene.
One of the notable characteristics of crimson clover is its ability to fix atmospheric nitrogen through a symbiotic relationship with nitrogen-fixing bacteria. This means that it can take nitrogen from the air and convert it into a usable form, enriching the soil with this essential nutrient. This makes crimson clover an excellent choice for improving the health and fertility of the soil.
In addition to its nitrogen-fixing capabilities, crimson clover also serves as a valuable cover crop. Cover crops are planted to cover and protect the soil, reduce erosion, suppress weeds, and improve soil structure. The dense growth of crimson clover helps to prevent weed growth and enhance moisture retention in the soil.
Crimson clover is not just a practical plant; it also adds aesthetic value to any garden. The vibrant red flowers not only attract bees and other pollinators but also create a captivating display. The plant grows to a height of around 1 to 2 feet and has a spreading growth habit, making it an ideal choice for borders, meadows, or even as an ornamental ground cover.
Now that we have a better understanding of crimson clover, let’s explore the factors you need to consider before planting this beautiful flower in your garden.
Factors to Consider
Before you rush to plant crimson clover seed in your garden, there are several important factors to consider. These factors will ensure that you provide the optimal growing conditions for the plant and maximize its benefits. Let’s take a closer look at what you need to consider before planting crimson clover.
- Climate: Crimson clover is a cool-season plant that thrives in mild climates. It prefers temperatures between 60°F (15°C) and 80°F (27°C) and can withstand light frosts. It may struggle in regions with extremely hot summers or bitterly cold winters. Therefore, it is essential to assess your climate to determine if it is suitable for growing crimson clover.
- Soil Type: Crimson clover is adaptable to a wide range of soil types, but it thrives in well-draining soils with a pH level between 6 and 7. The plant can tolerate slightly acidic to slightly alkaline conditions. Conduct a soil test to determine the pH and amend the soil if necessary to create the ideal growing environment for crimson clover.
- Sun Exposure: While crimson clover can tolerate partial shade, it flourishes in full sun. Aim to provide at least 6 to 8 hours of direct sunlight for optimal growth and flowering.
- Companion Plants: Consider the existing plants in your garden and choose companion plants that complement crimson clover. This can help create a visually appealing and ecologically beneficial garden. Some suitable companion plants for crimson clover include daisies, lupines, and yarrow.
- Timing: Choosing the right time to plant crimson clover is crucial for its success. The timing may vary depending on your location and climate. It’s best to plant crimson clover in early spring or late fall, as these seasons offer cooler temperatures and sufficient moisture for germination and establishment.
- Watering: Crimson clover has moderate water requirements. Ensure that the soil remains consistently moist but not waterlogged. Water deeply and infrequently, allowing the top inch of soil to dry out between waterings.
- Weeding: Prior to planting crimson clover, remove any existing weeds or vegetation from the planting area. This will help prevent competition for nutrients and ensure the crimson clover receives the essential resources it needs to thrive.
By considering these factors, you can create an environment that is conducive to the successful growth of crimson clover. Now that we have discussed the key considerations, let’s move on to the best time to plant crimson clover seed.
Best Time to Plant Crimson Clover Seed
The timing of planting crimson clover seed is crucial for successful growth and establishment of the plant. The best time to plant crimson clover seed may vary depending on your location and climate. However, there are general guidelines that can help you determine the optimal planting time.
In most regions, it is recommended to plant crimson clover seed in early spring or late fall. These seasons provide cooler temperatures and sufficient moisture, creating favorable conditions for germination and establishment. The specific timing within these seasons can vary depending on your local climate and frost dates.
In colder regions with harsh winters, it is advisable to plant crimson clover seed in the early spring, once the soil has thawed and the risk of frost has passed. This gives the plant ample time to establish before the onset of hot summer temperatures.
In milder climates, such as coastal areas or areas with mild winters, you have the option to plant crimson clover seed in late fall. The mild temperatures and cooler soil provide an ideal environment for germination and root development. The plant will experience some growth during the fall and early winter, go dormant during the coldest months, and then resume growth in the spring.
Before planting, prepare the soil by removing any weeds or debris and loosening it with a garden fork or tiller. This will create a suitable seedbed for the crimson clover seed. If needed, amend the soil with organic matter or fertilizer to provide additional nutrients.
When sowing the crimson clover seeds, scatter them evenly over the prepared soil surface. Avoid burying the seeds too deep, as crimson clover seeds require exposure to light for germination. Lightly rake the seeds into the top layer of soil, ensuring good seed-to-soil contact.
After planting, water the area thoroughly to ensure that the seeds are moist. Maintain consistent moisture in the soil throughout the germination and establishment period. With proper watering and favorable weather conditions, you should start to see germination and growth within a couple of weeks.
By planting crimson clover seeds at the right time and providing the necessary care, you can enjoy a vibrant and beneficial addition to your garden. In the next section, we will provide you with a step-by-step guide for planting crimson clover seeds.
Step-by-Step Guide for Planting Crimson Clover Seed
If you’re ready to plant crimson clover seed in your garden, follow this step-by-step guide to ensure successful germination and establishment:
- Prepare the Soil: Start by clearing the planting area of any weeds or debris. Loosen the soil using a garden fork or tiller to a depth of about 4 to 6 inches (10 to 15 cm). This will provide a loose and aerated soil for the seeds to establish.
- Amend the Soil (if necessary): Conduct a soil test to check the pH level and nutrient content of the soil. Crimson clover prefers a slightly acidic to slightly alkaline soil with a pH range between 6 and 7. If needed, amend the soil with organic matter or fertilizer to provide the necessary nutrients for healthy growth.
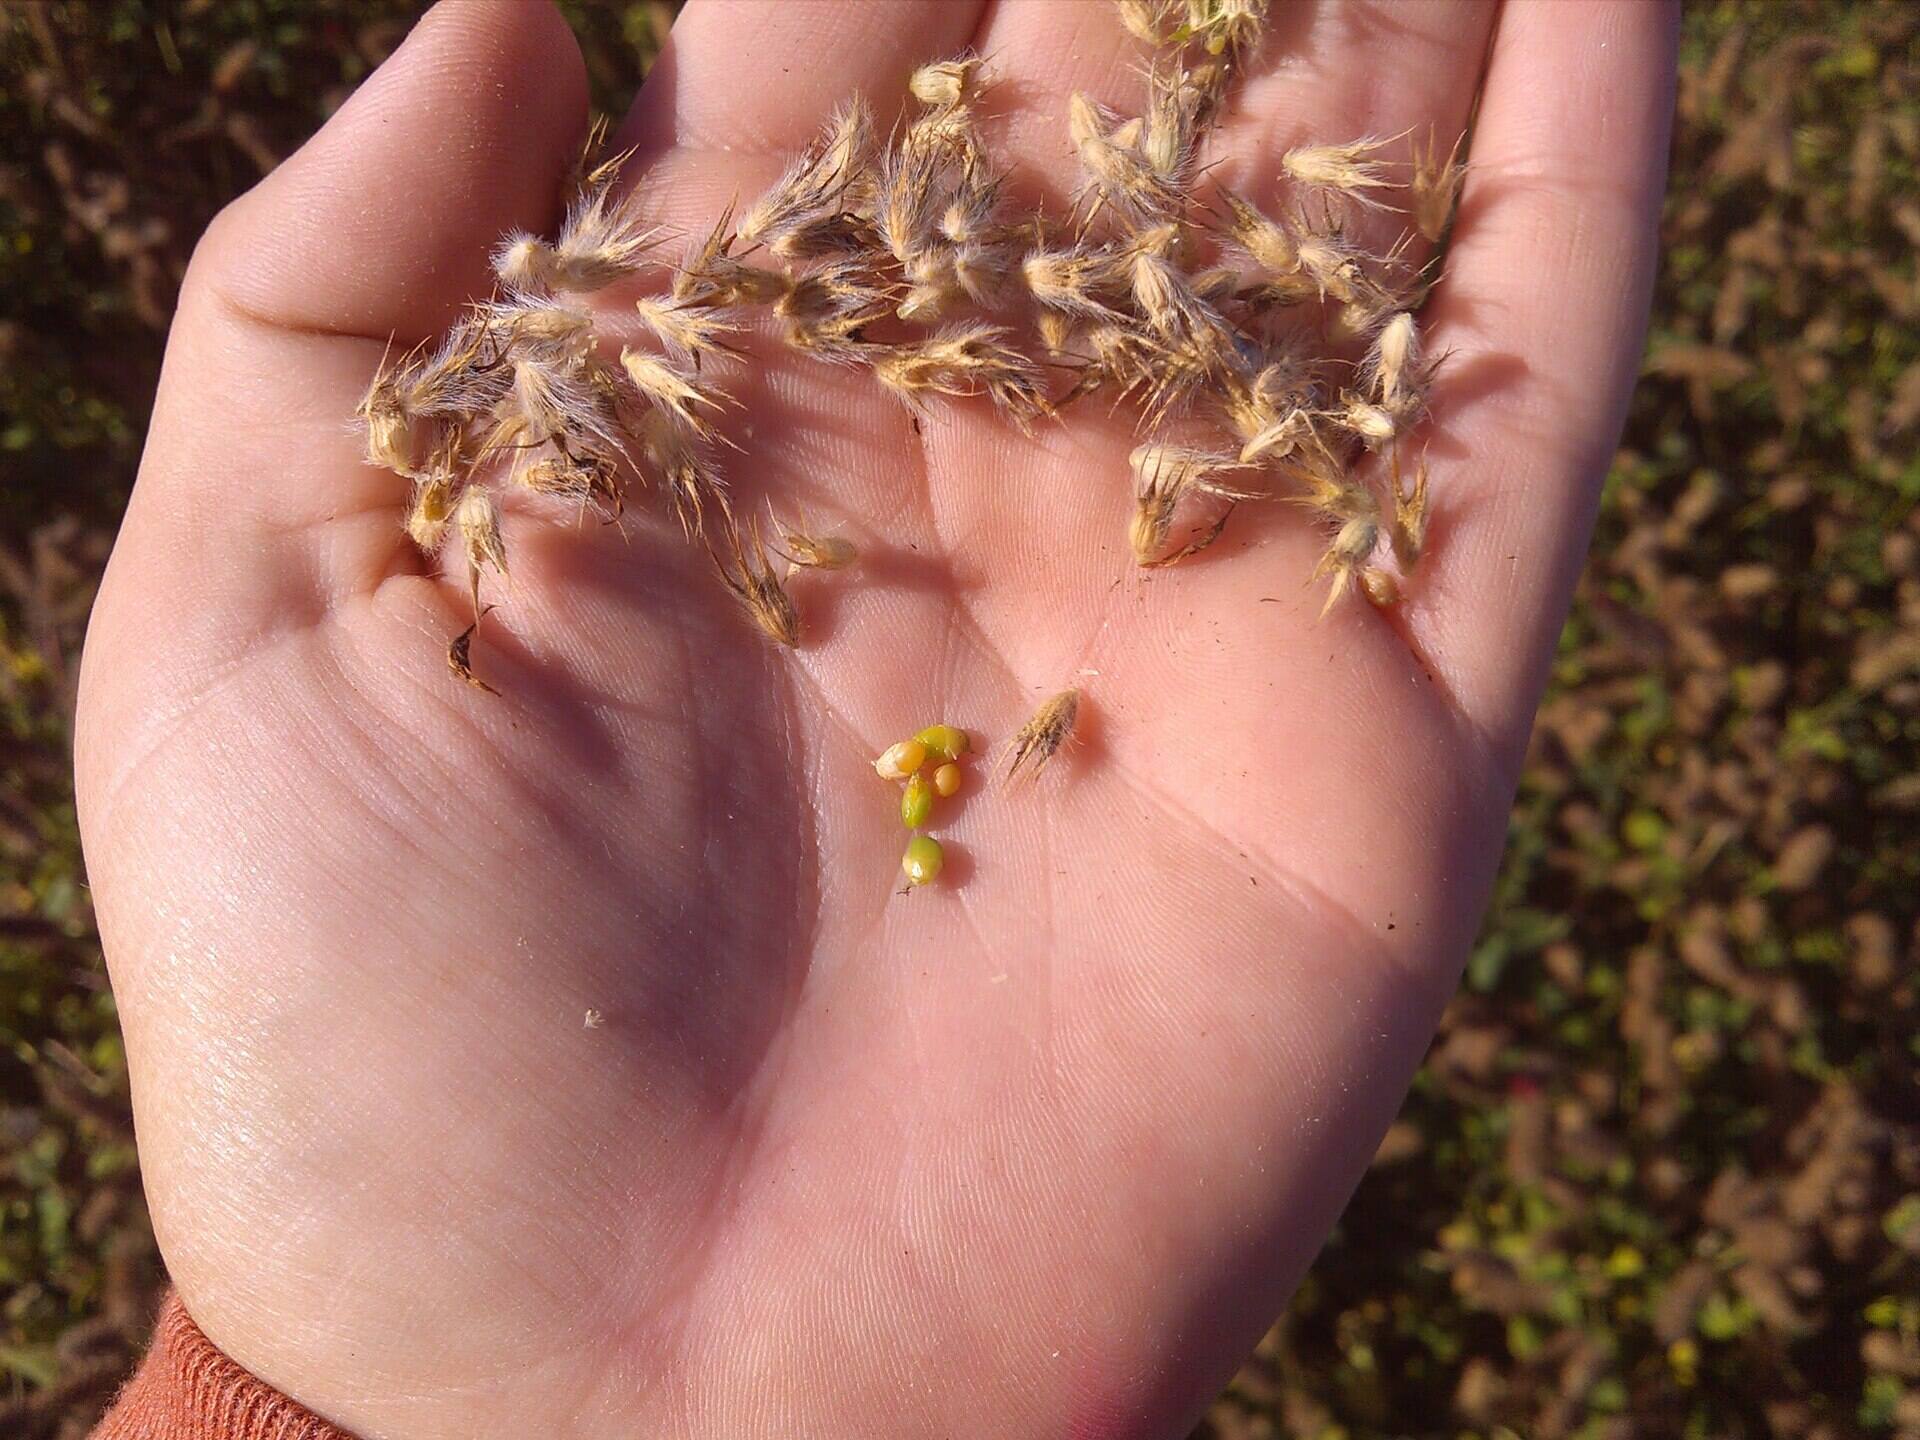
- Sow the Seeds: Scatter the crimson clover seeds evenly over the prepared soil surface. Aim for a seeding rate of around 15 to 20 seeds per square foot. Avoid burying the seeds too deep, as they require exposure to light for successful germination.
- Rake and Press: Lightly rake the seeds into the top layer of soil using a garden rake. This will ensure good seed-to-soil contact, which is essential for optimal germination. After raking, gently press the soil with your hands or with a lawn roller to secure the seeds in place.
- Water Thoroughly: After planting, water the area thoroughly to ensure that the soil is evenly moist. Provide enough water to reach the depth of the root zone. Keep the soil consistently moist until the seeds germinate and establish.
- Maintain Moisture: Throughout the germination and establishment period, make sure to maintain consistent moisture in the soil. Avoid overwatering, as it can lead to soil compaction and root rot. Water deeply and infrequently, allowing the top inch of soil to dry out between waterings.
- Monitor Growth: Keep an eye on the seedling growth and adjust watering as needed. Once the crimson clover seedlings have established and reached a height of a few inches, you can reduce the frequency of watering.
- Provide Support (optional): If you’re growing crimson clover as a vine or in an area with strong winds, consider providing support such as trellises or stakes to help the plants stay upright.
- Control Weeds: Regularly inspect the planting area and remove any weeds that may compete with the crimson clover. Mulching the area with straw or wood chips can also help to suppress weed growth.
By following these steps, you can ensure that your crimson clover seeds have the best chance of germinating and growing into healthy plants. In the next section, we will discuss post-planting care to help your crimson clover thrive.
Read more: When To Plant Clover Seed For Lawn
Preparing the Soil
Preparing the soil properly before planting crimson clover seeds is crucial for providing an ideal growing environment and ensuring successful germination and establishment. Follow these steps to prepare the soil for your crimson clover:
- Clear the Area: Start by removing any existing vegetation, weeds, or debris from the planting area. This will help minimize competition for nutrients and resources.
- Loosen the Soil: Use a garden fork or tiller to loosen the soil to a depth of about 4 to 6 inches (10 to 15 cm). This will help create a loose and aerated soil structure, allowing for better root penetration and water absorption.
- Remove Rocks and Clumps: During the soil preparation process, take the time to remove any rocks, large clumps of soil, or other obstacles that could impede seedling growth and establishment.
- Amend the Soil (if needed): Conduct a soil test to determine the pH level and nutrient content of the soil. Crimson clover prefers a slightly acidic to slightly alkaline soil with a pH range between 6 and 7. If the pH is too low or the soil lacks essential nutrients, you may need to amend it with organic matter or fertilizer to optimize growth.
- Add Organic Matter: Incorporating organic matter, such as compost or well-rotted manure, into the soil prior to planting can help improve soil structure, drainage, and nutrient content. Spread a layer of organic matter over the topsoil and work it into the soil using a garden fork or tiller.
- Level the Soil: After amending the soil, use a rake or garden tool to level the soil surface. This will provide a smooth and even planting area for the crimson clover seeds.
- Water the Soil: Before planting the seeds, water the soil lightly to ensure it is moist but not saturated. This will help create a favorable environment for seed germination.
By taking the time to prepare the soil properly, you set the stage for healthy growth and development of your crimson clover. The next step is to plant the seeds using the appropriate techniques, which we will discuss in the following section.
Plant crimson clover seed in the late summer or early fall, about 6-8 weeks before the first frost. This will give the seeds time to establish and grow before winter.
Planting Techniques
Planting crimson clover seeds using the right techniques is essential for ensuring proper germination and establishment. Follow these steps to plant your crimson clover seeds effectively:
- Choose the Right Time: Determine the best time to plant crimson clover seeds based on your climate and growing conditions. Generally, early spring or late fall is the optimal timing for planting.
- Prepare the Soil: Before planting, prepare the soil by clearing any weeds or debris from the planting area. Loosen the soil to a depth of about 4 to 6 inches (10 to 15 cm) using a garden fork or tiller.
- Sow the Seeds: Scatter the crimson clover seeds evenly over the prepared soil surface. Aim for a seeding rate of around 15 to 20 seeds per square foot. Avoid burying the seeds too deep, as they require light for germination.
- Rake the Seeds: Lightly rake the seeds into the top layer of soil using a garden rake. This helps ensure good seed-to-soil contact, which is crucial for germination. Raking also helps prevent seed displacement by birds or wind.
- Water Thoroughly: After planting, water the area thoroughly. This helps to settle the soil and initiate the germination process. Ensure that the soil remains consistently moist but not waterlogged during the germination and establishment period.
- Protect from Birds: Birds may be attracted to the freshly planted crimson clover seeds. Consider using bird netting or other forms of protection to prevent seed consumption or disturbance.
- Mulch (optional): Applying a thin layer of straw or wood chips as mulch can help retain soil moisture, suppress weeds, and regulate soil temperature. However, make sure not to apply mulch too thickly, as it may inhibit seedling emergence.
- Monitor Germination: Keep a close eye on the planted area for signs of germination. Under ideal conditions, crimson clover seeds typically germinate within a couple of weeks. Be patient and provide the necessary care as the seedlings emerge and grow.
By following these planting techniques, you can increase the likelihood of successful germination and establishment of your crimson clover plants. Now that you have planted the seeds, let’s move on to post-planting care to ensure the ongoing health and growth of your crimson clover.
Post-Planting Care
Providing proper care after planting crimson clover seeds is crucial for the plants to grow and thrive. Follow these post-planting care guidelines to ensure the health and success of your crimson clover:
- Monitor Moisture: Check the soil moisture regularly, especially during the germination and establishment period. Keep the soil consistently moist, but avoid overwatering, as it can lead to root rot. Water deeply and infrequently, allowing the top inch of soil to dry out between waterings.
- Provide Light: Crimson clover seeds require exposure to light for germination. Ensure that the seeds are not buried too deep, allowing them to receive the necessary light to sprout. The ideal depth for crimson clover seeds is about 1/4 to 1/2 inch.
- Protect from Weeds: Regularly inspect the planting area and remove any weeds that may compete with the crimson clover for nutrients and resources. Be careful when weeding around the seedlings to avoid disturbing their delicate root systems.
- Avoid Over-Fertilizing: Crimson clover is capable of fixing atmospheric nitrogen, reducing the need for additional fertilization. Avoid over-fertilizing, as excessive nitrogen can promote lush foliage growth but inhibit flower development.
- Support for Vining Varieties (if applicable): If you are growing vining varieties of crimson clover or planting in an area prone to strong winds, provide support such as trellises or stakes. This helps keep the plants upright and prevents them from sprawling on the ground.
- Monitor Pests and Diseases: Keep an eye out for any signs of pests or diseases that may affect the health of your crimson clover. Common pests include aphids and slugs, while potential diseases include powdery mildew or root rot. Be proactive in addressing any issues to prevent further damage.
- Harvest or Mow (optional): Depending on your intended use, you can choose to harvest the crimson clover flowers for decorative purposes or allow the plants to complete their lifecycle. Alternatively, you may choose to mow the plants after they have finished flowering to promote regrowth and enhance the soil with organic matter.
- Leave in Place (as a cover crop): If you are using crimson clover as a cover crop, allow the plants to grow and gradually incorporate them into the soil before planting your main crops. The decaying plant material will enrich the soil with organic matter and improve its structure.
By providing the necessary post-planting care, you can help your crimson clover plants thrive and enjoy the benefits they provide. In the next section, let’s explore some common mistakes to avoid when planting crimson clover.
Common Mistakes to Avoid
When planting crimson clover, it’s important to avoid common mistakes that can hinder the growth and overall success of the plants. By being aware of these pitfalls, you can ensure a smoother and more productive planting process. Here are some common mistakes to avoid when planting crimson clover:
- Planting Too Deep: Crimson clover seeds require exposure to light for germination. Planting the seeds too deep in the soil can prevent them from receiving the necessary light to sprout. Aim for a seeding depth of about 1/4 to 1/2 inch.
- Planting at the Wrong Time: Timing is crucial when it comes to planting crimson clover seeds. Planting too early or too late in the season can result in poor germination and stunted growth. Take into consideration your local climate and frost dates to determine the best time for planting.
- Overwatering or Underwatering: Achieving the right balance of moisture is critical for seed germination and plant growth. Overwatering can lead to root rot, while underwatering can inhibit germination and stunt plant growth. Keep the soil consistently moist, but not waterlogged, throughout the germination and establishment period.
- Skipping Soil Preparation: Neglecting to properly prepare the soil before planting can hinder the plants’ ability to establish and thrive. Ensure that the soil is well-draining, loose, and amended with organic matter if needed. Clear any weeds or debris and create a favorable growing environment for the crimson clover.
- Over-fertilizing: Crimson clover is a legume that has the ability to fix atmospheric nitrogen. Excessive nitrogen fertilization can lead to an imbalance in plant growth, with lush foliage but limited flower development. Avoid over-fertilizing your crimson clover plants and let them benefit from their nitrogen-fixing abilities.
- Not Providing Support (for vining varieties): If you are growing vining varieties of crimson clover or planting in an area prone to strong winds, failing to provide proper support can cause the plants to flop or break. Install trellises or stakes to keep the plants upright and promote healthy growth.
- Ignoring Pest and Disease Management: Crimson clover is susceptible to certain pests and diseases, such as aphids, slugs, powdery mildew, and root rot. Ignoring the signs of infestation or disease can harm the plants and reduce their overall vigor. Regularly monitor your crimson clover and take prompt action if any issues arise.
- Not Utilizing Crimson Clover’s Benefits: Crimson clover is a beneficial plant that can enhance soil fertility, attract pollinators, and improve overall garden health. Failing to utilize these benefits by simply treating crimson clover as an ornamental plant can be a missed opportunity. Consider incorporating crimson clover in cover cropping, green manure, or companion planting strategies to maximize its advantages.
By avoiding these common mistakes, you can set yourself up for success when planting crimson clover and enjoy the many benefits this plant has to offer. In the next section, let’s delve into the numerous benefits of planting crimson clover.
Read more: How To Plant Clover Seed
Benefits of Planting Crimson Clover
Planting crimson clover in your garden offers a wide range of benefits that can positively impact both the soil health and the overall aesthetics of your outdoor space. Here are some of the key benefits of incorporating crimson clover into your gardening practices:
- Soil Improvement: Crimson clover has the remarkable ability to fix atmospheric nitrogen through a symbiotic relationship with nitrogen-fixing bacteria. This process enriches the soil by converting atmospheric nitrogen into a form that is readily available for plants to utilize. As a result, planting crimson clover can improve soil fertility and promote healthier growth for future crops.
- Moisture Retention: The dense growth habit of crimson clover helps to create a protective cover over the soil surface. This cover acts as a natural mulch, reducing evaporation and aiding in moisture retention. By preventing excessive water loss, crimson clover helps to conserve water and maintain optimal soil moisture levels for plant growth.
- Weed Suppression: When established, crimson clover forms a dense carpet of foliage that helps to suppress weed growth. The vigorous growth of the clover shades the soil, minimizing sunlight availability for weed seeds to germinate. This natural weed suppression can reduce the need for herbicides and manual weeding, saving time and effort in maintaining a weed-free garden.
- Erosion Control: The extensive root system of crimson clover helps to stabilize the soil and prevent erosion. The roots bind the soil particles together, making it less prone to being washed away by heavy rainfall or runoff. Planting crimson clover on slopes or areas vulnerable to erosion can effectively mitigate soil erosion and preserve the integrity of your garden.
- Pollinator Attraction: The vibrant red flowers of crimson clover serve as a rich nectar source, attracting pollinators such as bees, butterflies, and hummingbirds to your garden. These pollinators play a crucial role in the reproduction of many flowering plants, making crimson clover an essential addition for promoting biodiversity and supporting ecosystem health.
- Visual Appeal: Crimson clover adds a burst of color to your garden with its beautiful red flowers. Whether planted as a ground cover or in borders, crimson clover creates a visually striking display that enhances the overall aesthetics of your outdoor space. Its vibrant blooms create a cheerful and inviting atmosphere that can uplift your garden design.
- Green Manure and Organic Matter: Crimson clover can be incorporated into your garden as a green manure or cover crop. When the plants are later turned into the soil, they decompose and add organic matter, enhancing soil structure, moisture retention, and nutrient availability. This process promotes long-term soil health and boosts the overall fertility of your garden.
By planting crimson clover, you not only improve soil health, but you also create a thriving garden ecosystem and enhance the beauty of your outdoor space. harnessing the benefits of this remarkable plant. In the final section, let’s summarize the key points and highlight the importance of planting crimson clover in your garden.
Conclusion
Crimson clover is a versatile and beneficial plant that can transform your garden in numerous ways. From enhancing soil fertility to attracting pollinators and adding visual appeal, crimson clover offers a range of benefits that make it an excellent choice for any garden. By understanding the plant’s characteristics, considering the necessary factors, and following proper planting and care techniques, you can successfully incorporate crimson clover into your gardening practices.
When planting crimson clover, it’s essential to choose the right time based on your climate, prepare the soil adequately, and sow the seeds correctly. Post-planting care involves monitoring moisture levels, controlling weeds, and addressing any potential pest or disease issues. By avoiding common mistakes and harnessing the benefits of crimson clover, you can create a garden that is not only visually stunning but also ecologically beneficial.
The nitrogen-fixing properties of crimson clover improve soil health by enriching it with essential nutrients. Its dense growth helps prevent weed growth and erosion, while attracting pollinators to support biodiversity. The visual appeal of crimson clover’s vibrant red flowers adds a touch of beauty to any garden landscape.
Whether you’re looking to improve the health of your soil, enhance your garden’s aesthetic appeal, or create a habitat for pollinators, planting crimson clover is a smart choice. So, why wait? Start incorporating crimson clover into your garden today and reap the many rewards it brings.
Frequently Asked Questions about When To Plant Crimson Clover Seed
Was this page helpful?
At Storables.com, we guarantee accurate and reliable information. Our content, validated by Expert Board Contributors, is crafted following stringent Editorial Policies. We're committed to providing you with well-researched, expert-backed insights for all your informational needs.


0 thoughts on “When To Plant Crimson Clover Seed”