Home>Garden Essentials>How To Plant Clover Seed

Garden Essentials
How To Plant Clover Seed
Modified: August 28, 2024
Learn how to plant clover seed in your garden and create a lush, vibrant landscape. Our step-by-step guide will help you achieve beautiful, thriving clover plants.
(Many of the links in this article redirect to a specific reviewed product. Your purchase of these products through affiliate links helps to generate commission for Storables.com, at no extra cost. Learn more)
Introduction
Welcome to the world of gardening! If you’re looking to add a beautiful and versatile plant to your garden, then planting clover seed might be just what you need. Clover is not only aesthetically pleasing with its vibrant blooms and lush foliage, but it also offers numerous benefits to your garden ecosystem.
Whether you’re a seasoned gardener or a beginner, this guide will provide you with all the information you need to successfully plant clover seed in your garden. From choosing the right seed to caring for the plants, we’ll walk you through each step, ensuring you achieve a thriving clover patch.
Clover is a member of the legume family known for its nitrogen-fixing abilities. This means that it is capable of extracting nitrogen from the air and converting it into a form that plants can readily use. This natural fertilization process makes clover an excellent companion plant, enriching the soil and benefiting other plants nearby.
Furthermore, clover acts as a living mulch, covering the ground and reducing weed growth. It helps to retain moisture in the soil, preventing soil erosion and reducing the need for frequent watering.
Now, without further ado, let’s dive into the world of clover seed planting and discover the secrets to a successful harvest!
Key Takeaways:
- Clover is a versatile plant that enriches soil, reduces weed growth, and attracts pollinators. Choosing the right seed, preparing the soil, and providing proper care are essential for a thriving clover patch.
- Proper maintenance, including weed control and regular inspections, ensures the health and longevity of your clover patch. Harvesting clover at the right time and storing it properly allows you to enjoy its benefits.
Read more: When To Plant Clover Seed For Lawn
Choosing the Right Clover Seed
When it comes to choosing the right clover seed for your garden, there are a few factors to consider. The type of clover you select will depend on your specific needs and the growing conditions in your area.
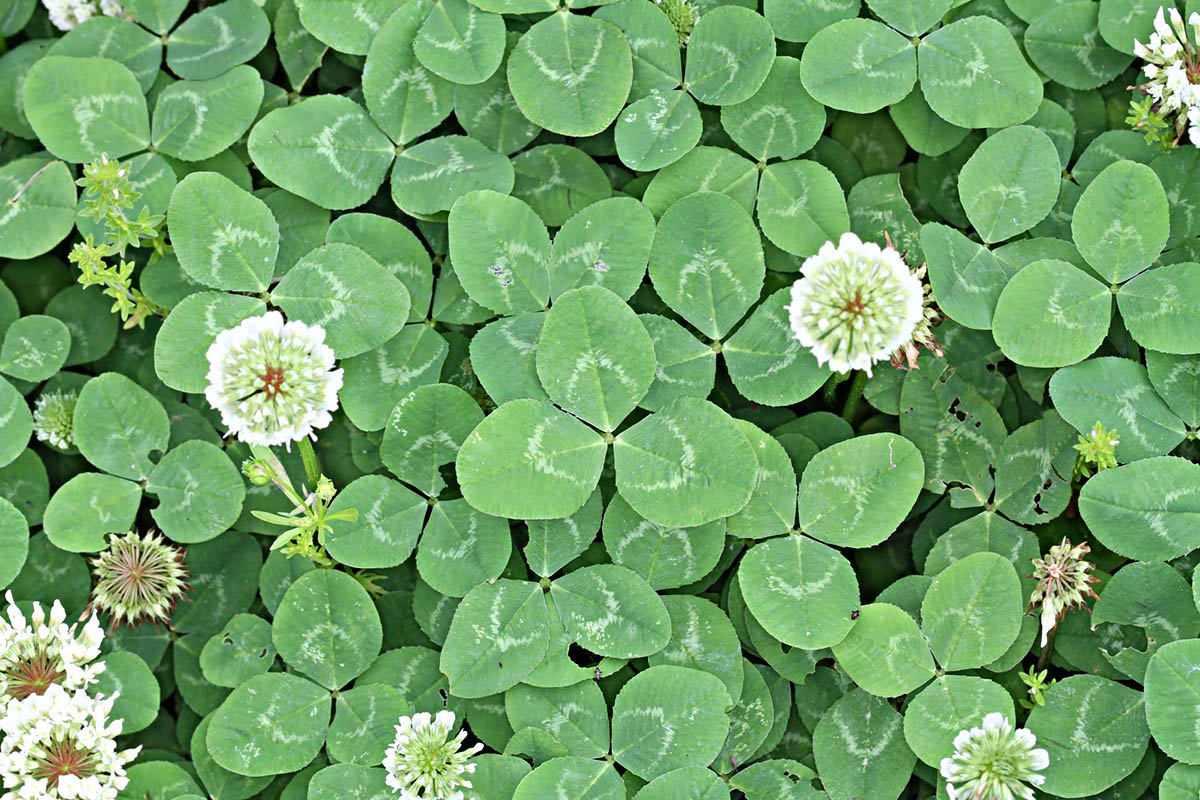
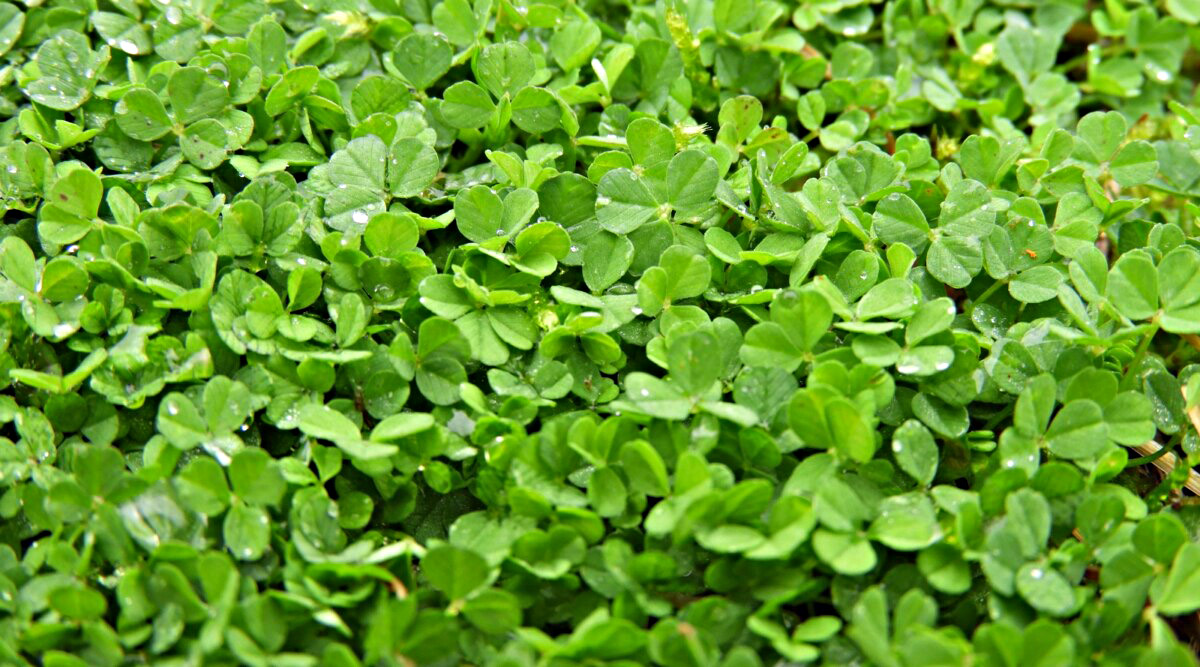
1. White Clover (Trifolium repens): White clover is one of the most common types of clover used in gardens. It is a perennial variety that spreads quickly and forms a dense ground cover. This variety is tolerant of a wide range of climates and soil conditions, making it suitable for many different regions.
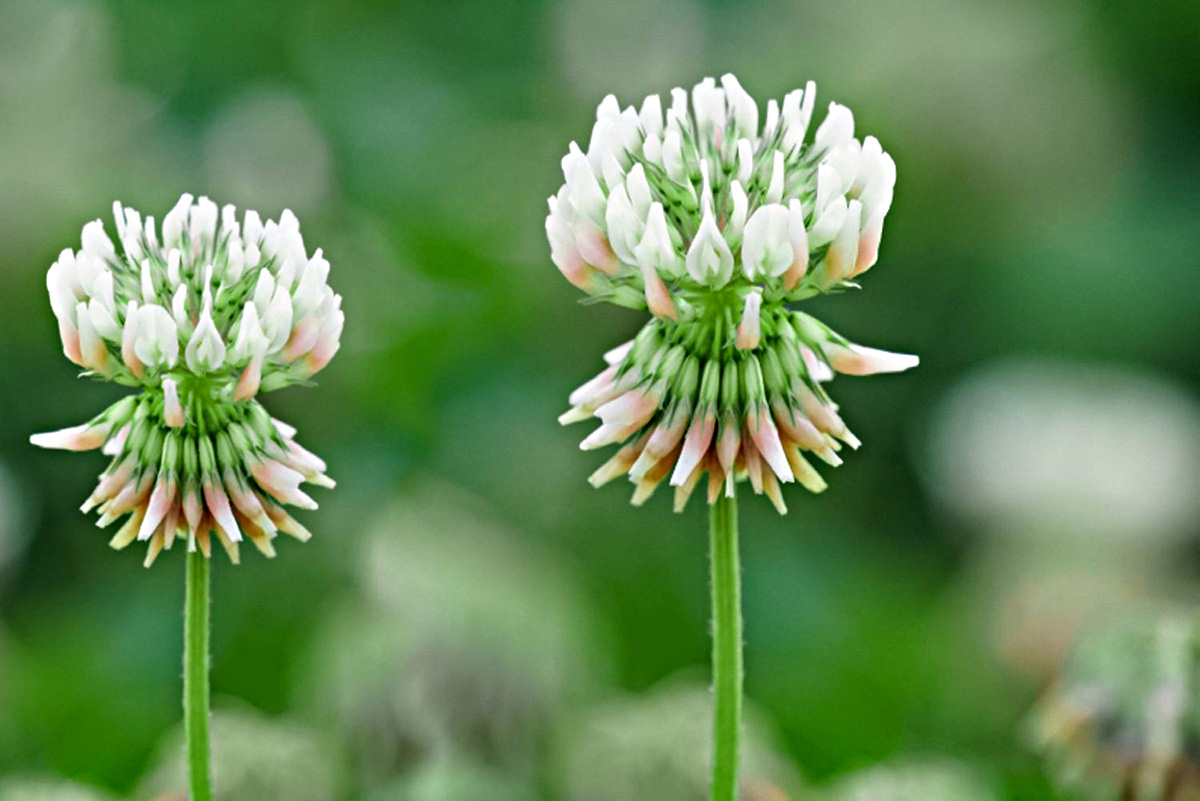
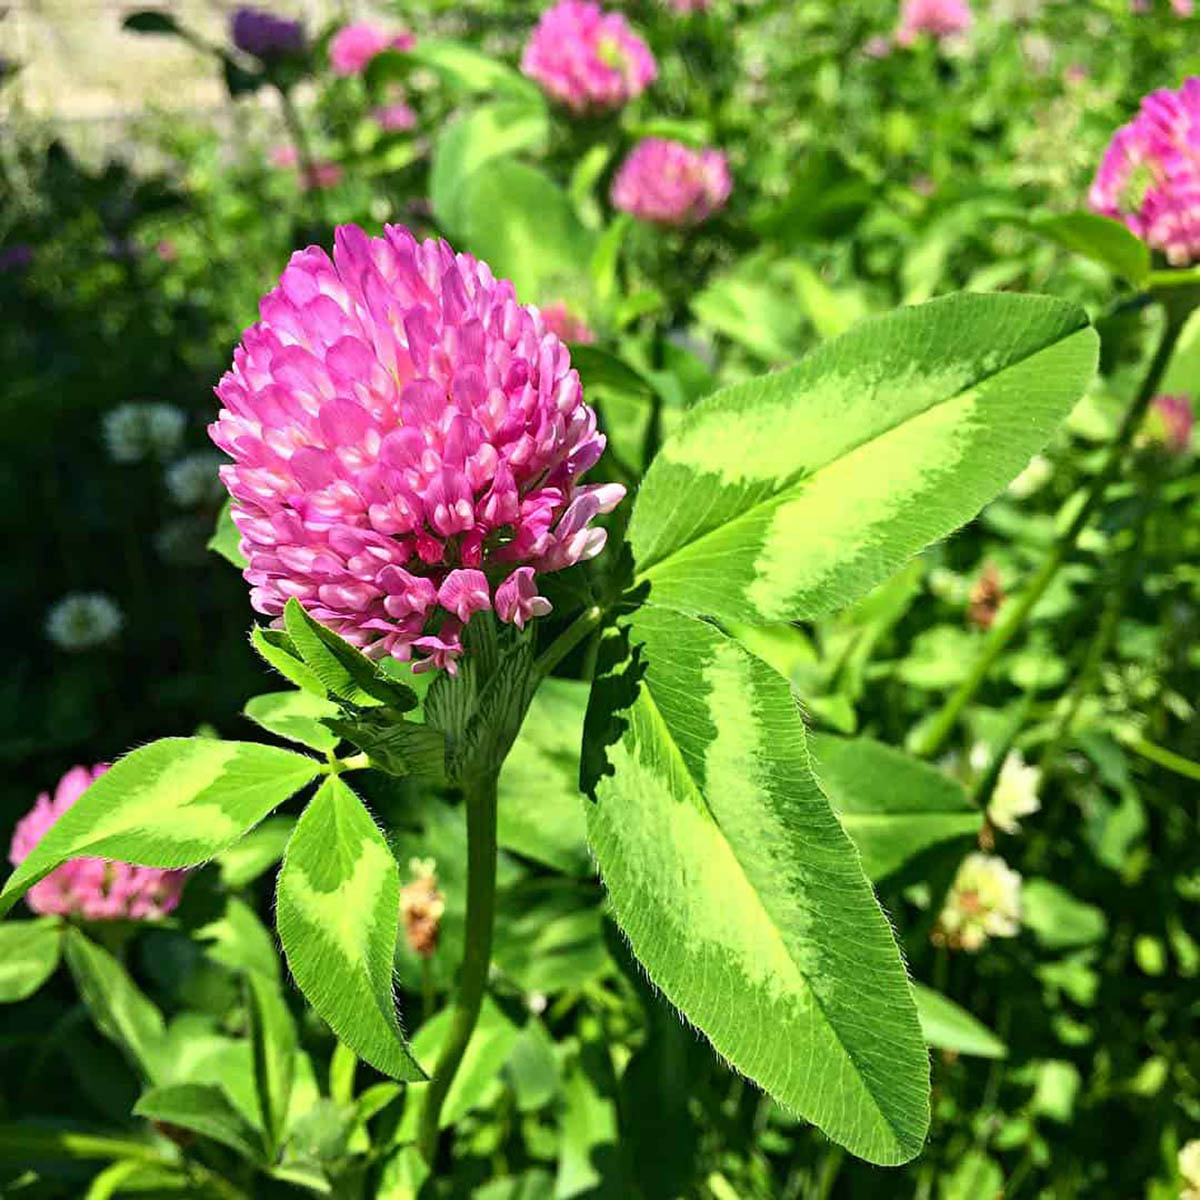
2. Red Clover (Trifolium pratense): Red clover is another popular choice for gardeners. It is a biennial or short-lived perennial that produces beautiful pinkish-red flowers. Red clover thrives in cool, moist climates and prefers well-drained soil. It is often used as a cover crop, forage crop, or green manure.
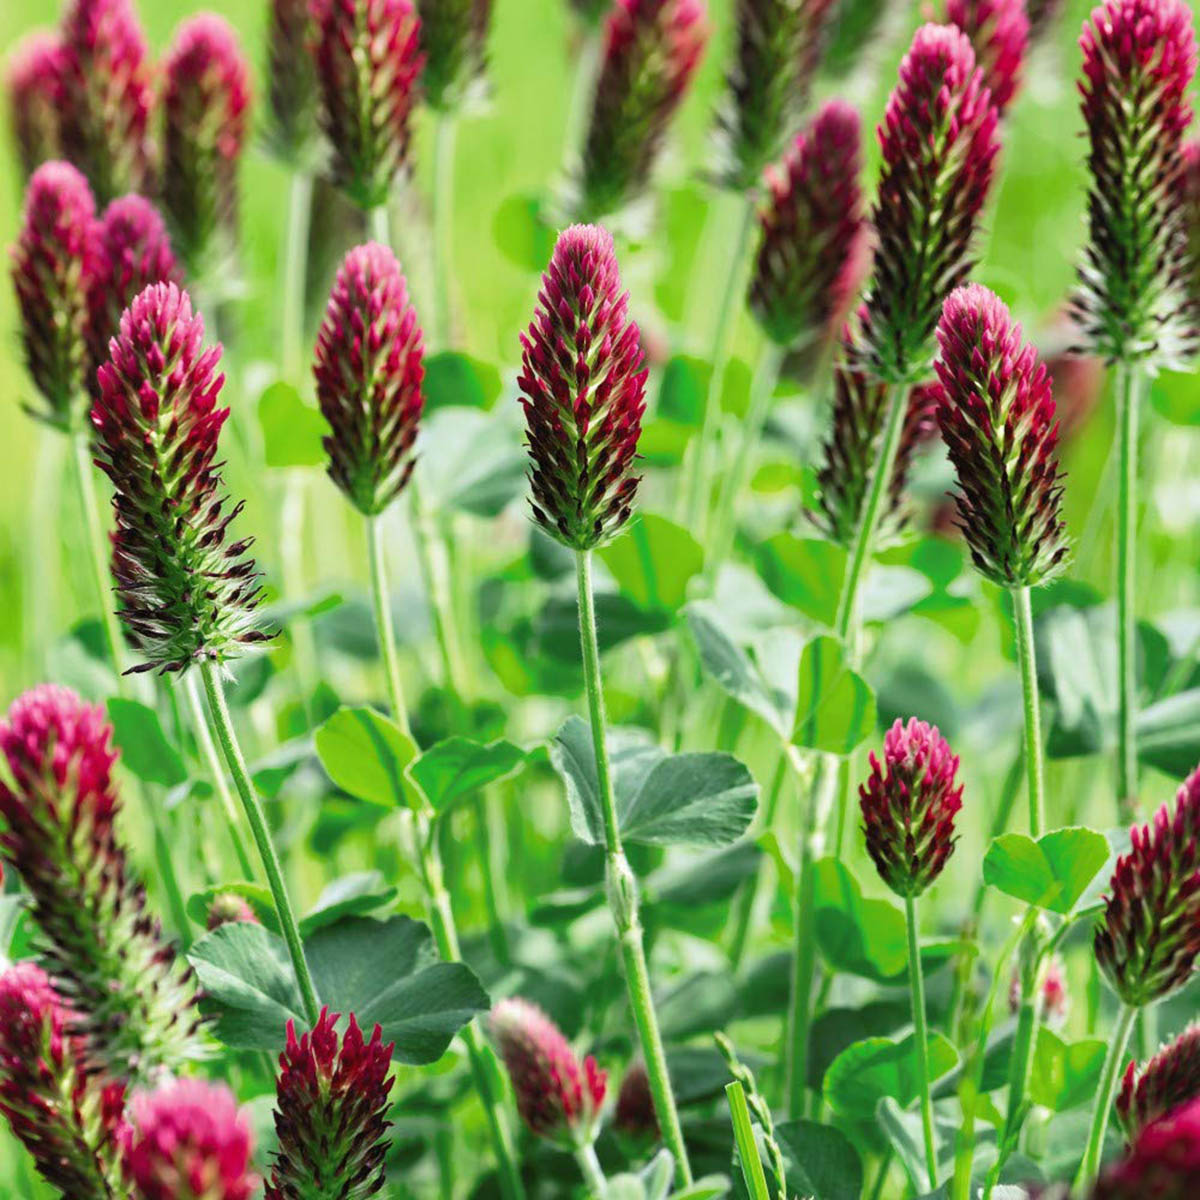
3. Crimson Clover (Trifolium incarnatum): Crimson clover is an annual variety that is often chosen for its stunning bright red flowers. It is well-suited to warmer climates and is known for its rapid growth and ability to tolerate poor soil conditions. Crimson clover is an excellent choice for adding color to your garden or improving soil fertility.
Consider your specific garden requirements when selecting the clover seed variety. If you need a ground cover that can withstand foot traffic, white clover might be the best option. If you’re looking to improve soil quality or attract pollinators, red or crimson clover might be more suitable.
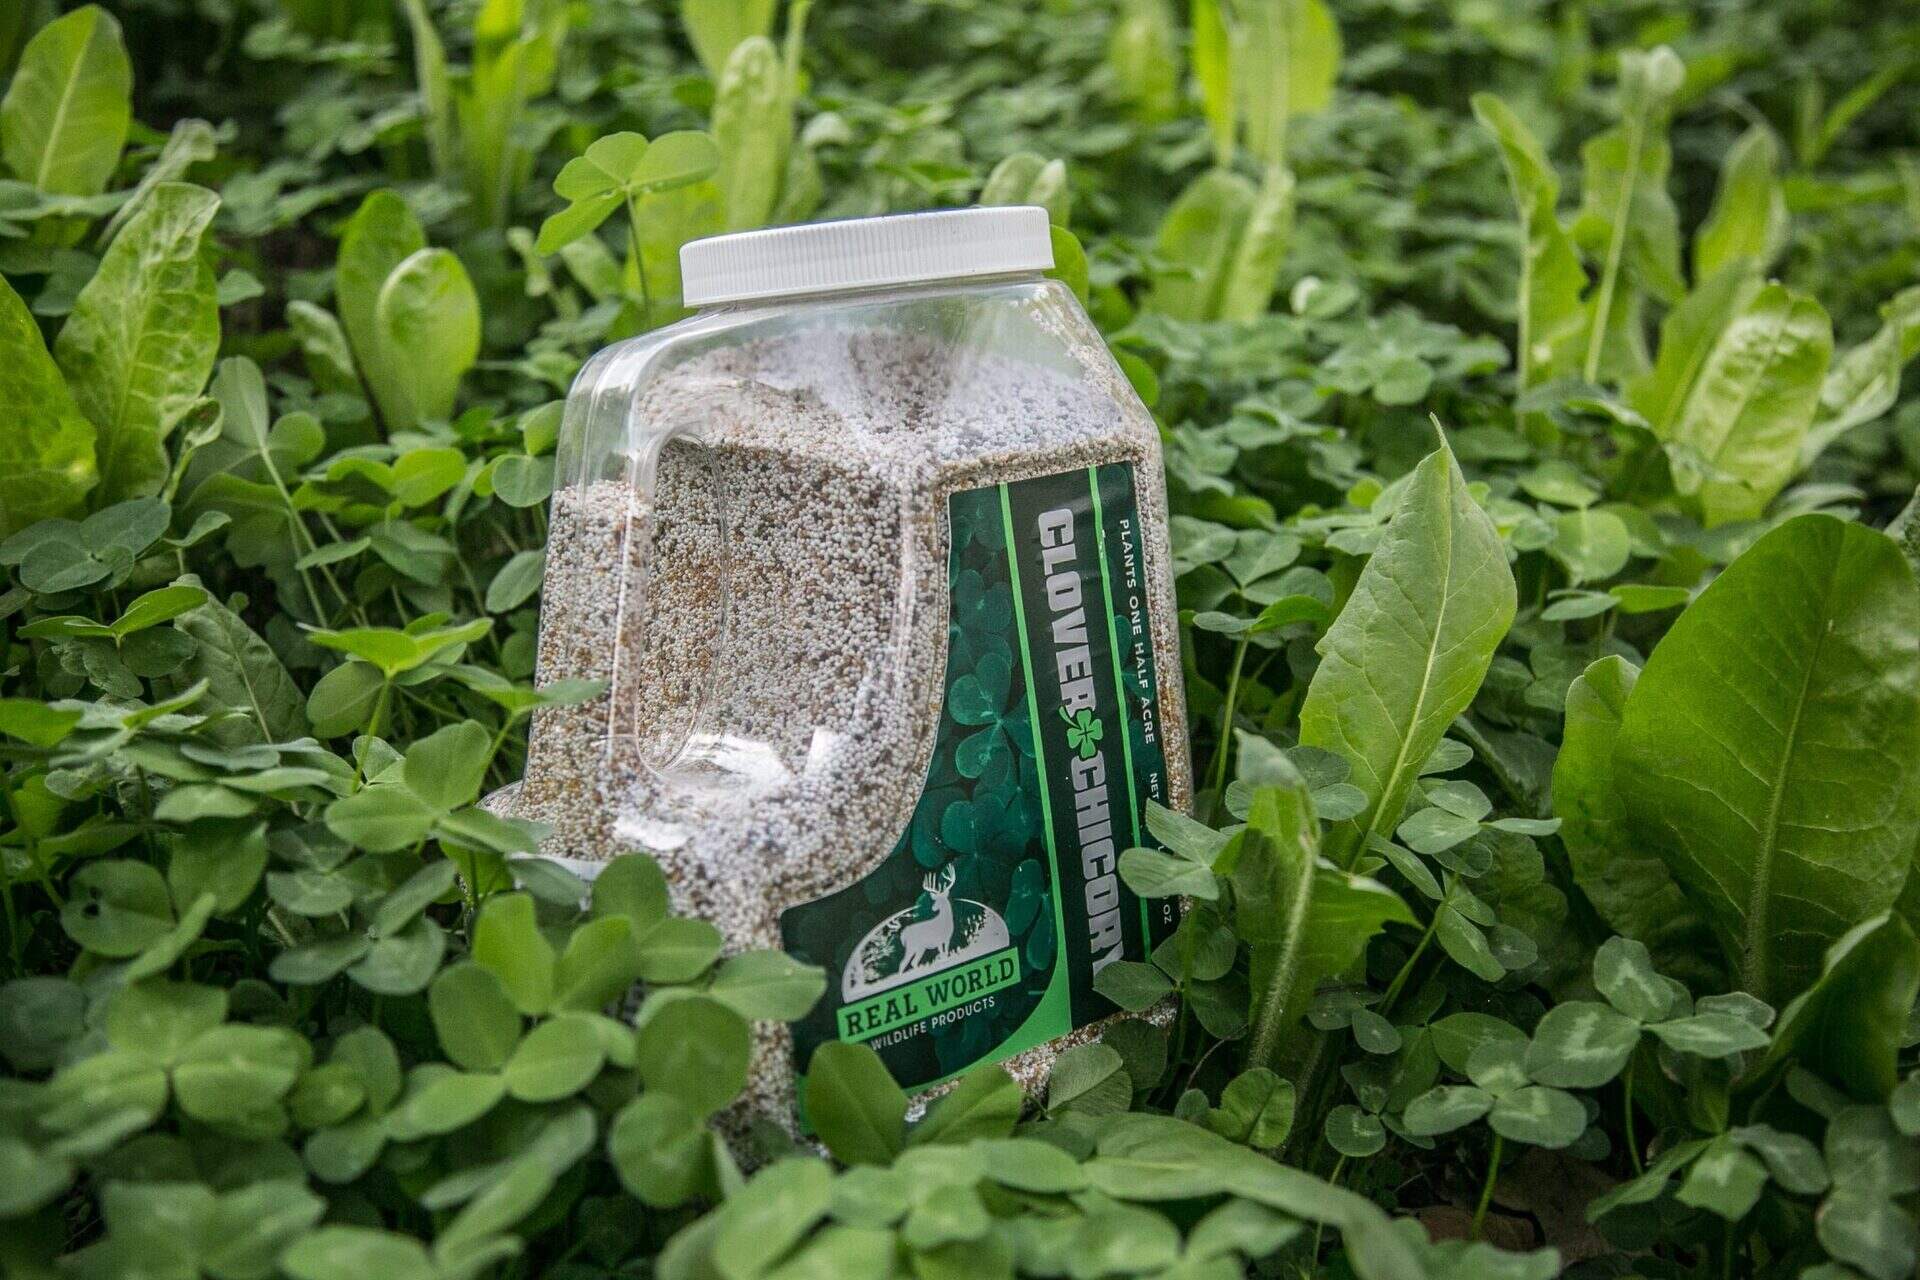
It’s important to purchase high-quality clover seeds from reputable suppliers. Ensure that the seeds are fresh and have a high germination rate. Look for seeds that have been tested for purity and are free from weed seeds or contaminants.
Keep in mind the growing requirements of the clover variety you choose, including sunlight, water, and soil pH. Take the time to research and understand the specific needs of your selected clover variety, as this will greatly contribute to the success of your clover patch.
Now that you know how to choose the right clover seed, let’s move on to preparing the soil for planting.
Soil Preparation
Before planting clover seed, it’s essential to prepare the soil properly to provide optimal conditions for the seeds to germinate and thrive. Here are the steps for soil preparation:
1. Test the Soil: Start by testing the soil pH and nutrient levels. Clover prefers a slightly acidic to neutral pH of around 6.0-7.0. Conduct a soil test and make any necessary adjustments to the pH or nutrient levels based on the test results. This will ensure that the soil provides the ideal environment for clover growth.
2. Clear the Area: Remove any existing weeds, debris, or vegetation from the area where you plan to plant the clover seed. Clearing the area of competing plants will give the clover seedlings a better chance to establish themselves without competition for nutrients and sunlight.
3. Loosen the Soil: Use a garden fork or a tiller to loosen the soil to a depth of 4-6 inches. Breaking up compacted soil allows for better root penetration and drainage, ensuring the clover plants can grow and develop properly.
4. Amend the Soil: If the soil lacks organic matter, incorporate compost or well-rotted manure into the soil. Organic matter improves soil structure, aeration, and water-holding capacity. Work the organic matter into the top few inches of soil to ensure it is evenly distributed.
5. Level the Surface: Smooth out the soil surface with a rake to create a level and even seedbed. This will provide a uniform and stable surface for sowing the clover seeds.
By following these soil preparation steps, you create an ideal foundation for successful clover seed germination and growth. The next step is to prepare the seedbed for planting.
Seedbed Preparation
Creating a well-prepared seedbed is crucial for ensuring successful germination and establishment of clover seeds. Follow these steps to prepare the seedbed:
1.
2. Break up Clumps: If the soil contains clumps or large chunks, break them up with a garden rake or cultivator. Ensure that the soil is fine-textured and free of large clumps to provide a smooth and even surface for sowing the seeds.
3. Level the Soil: Use a rake or garden leveling tool to even out the soil surface. This will help with consistent seed placement and growth of the clover plants.
4. Compact the Soil: Gently tamp down the soil using a roller or by walking over it. This step helps to ensure good seed-to-soil contact and promotes germination.
5. Moisten the Soil: Before sowing the clover seeds, lightly water the soil to provide moisture for germination. Ensure the soil is evenly moist but not saturated.
6. Mark the Rows or Areas: If you prefer to sow the clover seeds in rows or specific areas, mark the rows with stakes or twine. This will help you sow the seeds evenly and keep track of where they are planted.
Remember, achieving a well-prepared seedbed will provide an optimal environment for the clover seeds to germinate and establish themselves. Now that the soil and seedbed are ready, it’s time to sow the clover seeds.
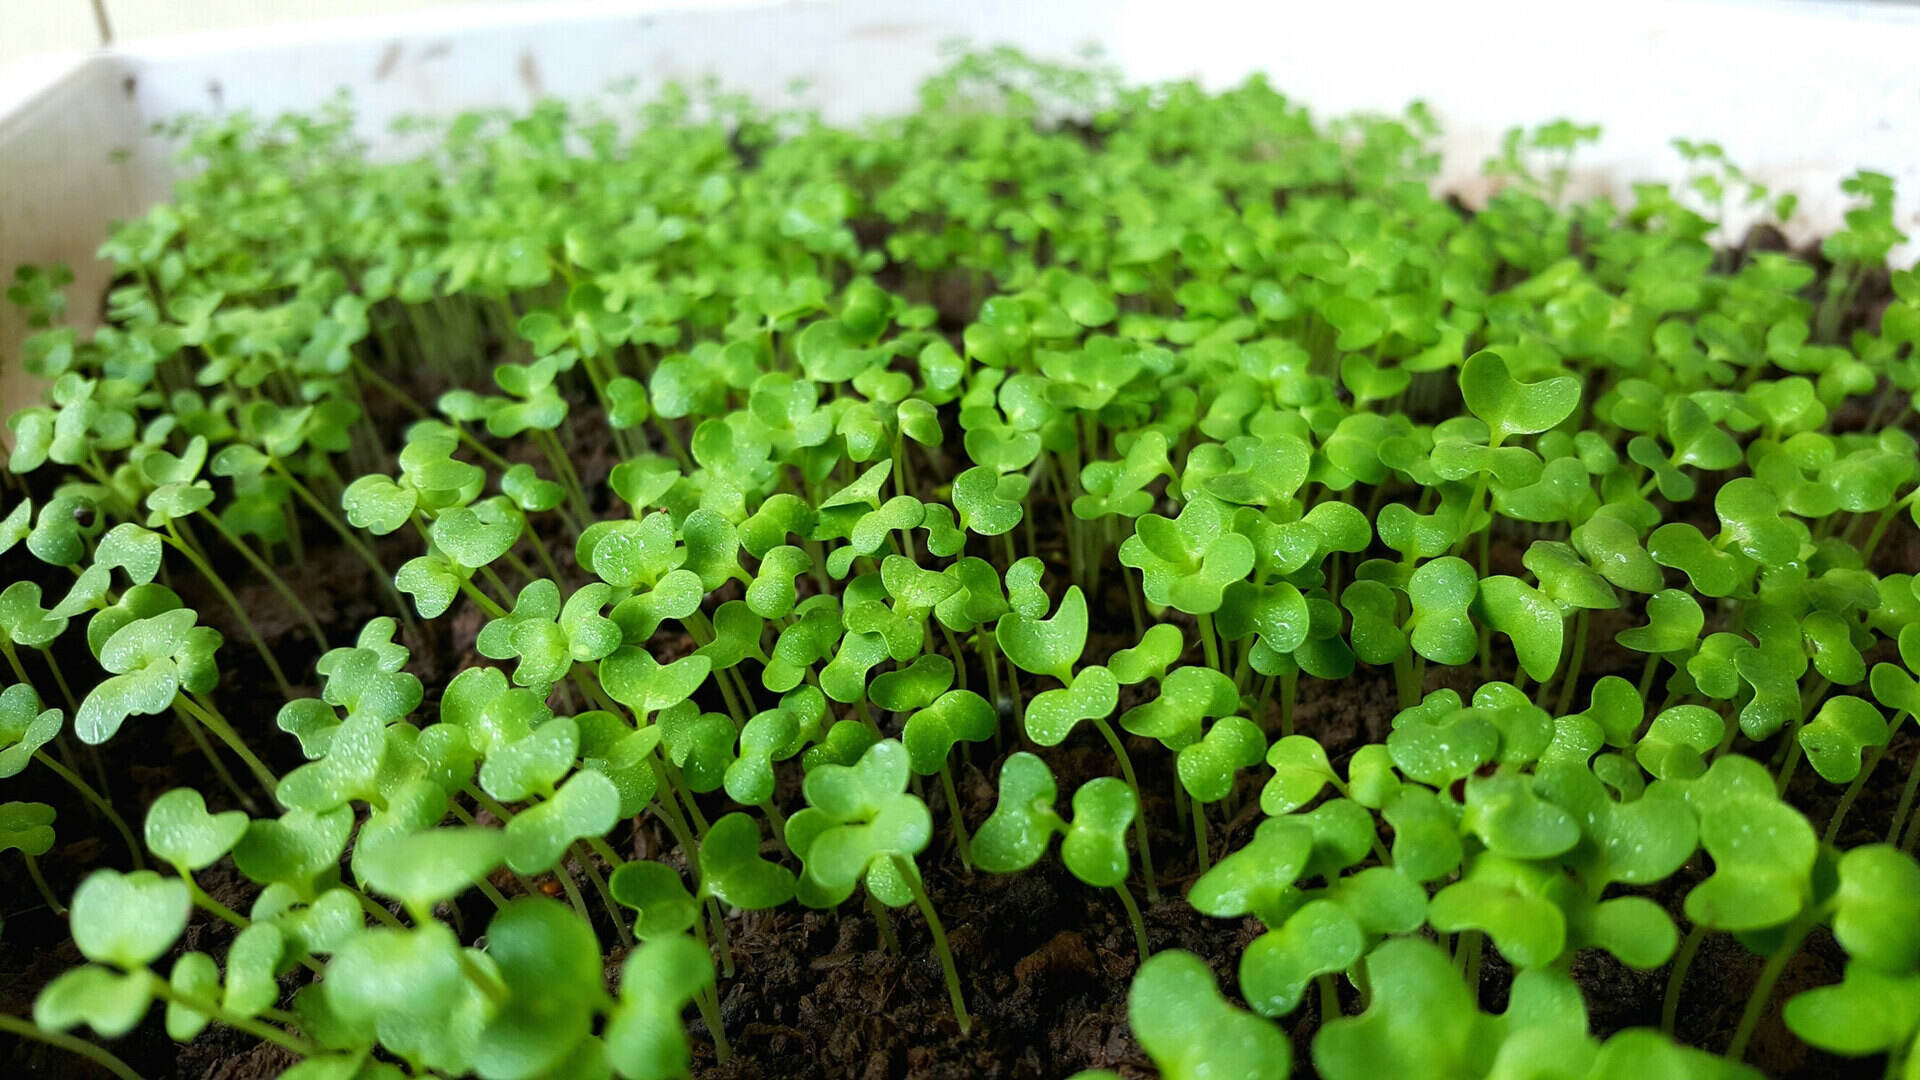
Sowing the Clover Seed
Now that you have prepared the seedbed, it’s time to sow the clover seeds. Follow these steps for successful sowing:
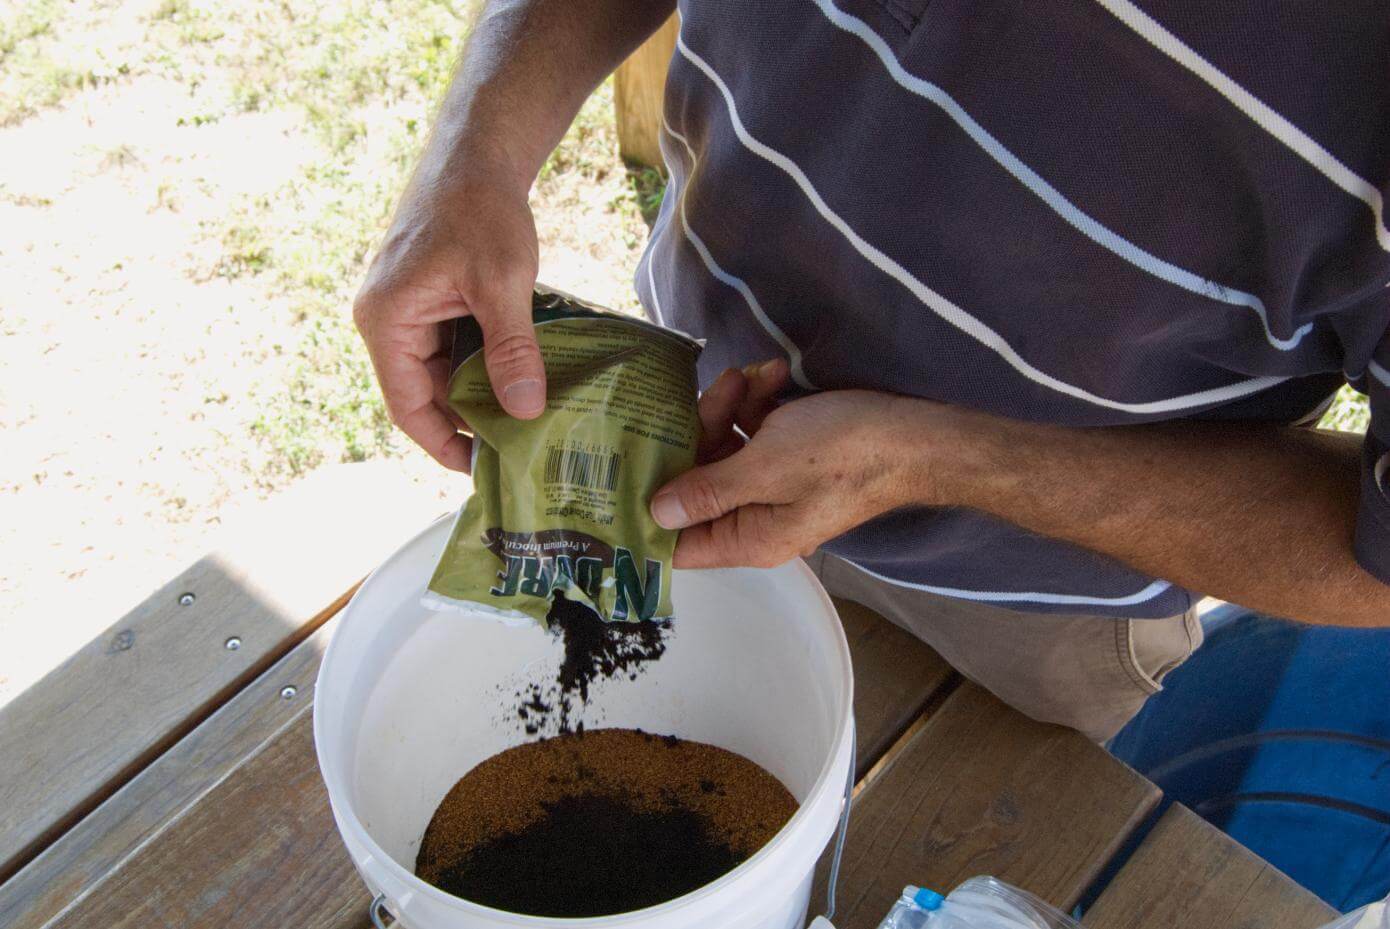
1. Choose the Right Time: The best time to sow clover seeds depends on the specific variety you’re planting and your climate. In general, spring or early fall are ideal for sowing most clover varieties. Check the recommended planting season for your chosen variety and sow accordingly.
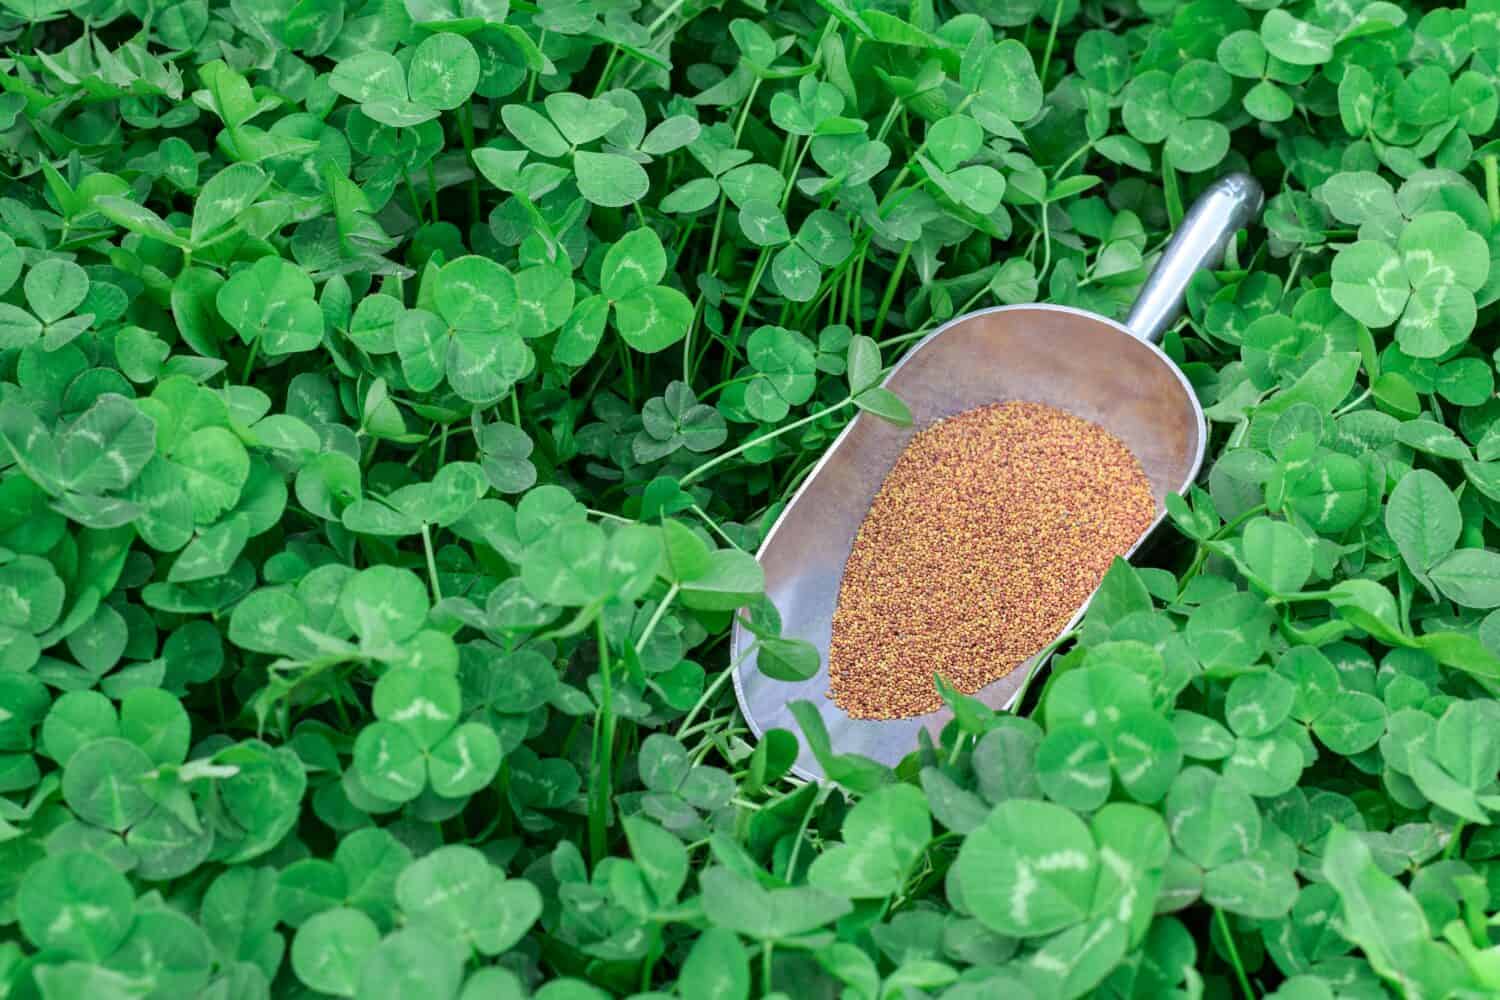
2. Evenly Distribute the Seeds: For even coverage, mix the clover seeds with a small amount of horticultural sand or vermiculite. This will help you see where you have spread the seeds and ensure even distribution. Sow the seeds by hand or use a handheld spreader, starting at one end of the prepared area and working your way across in a back-and-forth motion.
3. Control Seed Depth: Clover seeds are relatively small and should only be planted about ¼ to ½ inch deep. Gently rake the soil after sowing to lightly cover the seeds. Avoid burying them too deep, as this may hinder germination.
4. Water the Seeded Area: After sowing, water the seeded area gently to help settle the soil and ensure good seed-to-soil contact. Be careful not to wash away the seeds or create puddles. Maintain a moist environment for the seeds during the germination period.
5. Keep an Eye on Moisture: Monitor the soil moisture regularly and water as needed to keep it consistently moist until the seeds germinate and establish. Avoid overwatering, as saturated soil can lead to poor seedling growth or fungal diseases.
6. Provide Protection: If necessary, protect the newly sown area from birds or other animals that may disturb or eat the seeds. Consider using netting or a temporary fence until the seeds have germinated and established.
By following these steps, you can ensure that the clover seeds are sown evenly and have the best chance of germinating and establishing themselves. Once the seeds have sprouted, it’s time to focus on providing the right care and maintenance for the growing clover plants.
Before planting clover seed, make sure to prepare the soil by removing any debris and loosening the top layer. Then, evenly spread the clover seed over the soil and lightly rake it in. Water the area regularly to keep the soil moist for germination.
Read more: How To Plant Red Clover Seed
Watering and Fertilizing
Proper watering and fertilizing are essential for the healthy growth and development of clover plants. Here are some guidelines to ensure your clover receives the necessary moisture and nutrients:
Watering:
1. Establishment Phase: During the initial establishment phase after sowing, it’s crucial to keep the soil consistently moist to support germination and early growth. Water the seeded area lightly and frequently, ensuring the soil doesn’t dry out. Use a gentle spray or mister to avoid disturbing the seeds or washing them away.
2. Maintenance Phase: Once the clover plants have established themselves and are actively growing, watering requirements can be reduced. Allow the top inch of soil to dry out slightly between watering to encourage deep root growth. Water deeply and infrequently to promote stronger root systems.
3. Monitor Moisture Levels: Regularly check the moisture levels in the soil by sticking your finger about an inch into the soil. If it feels dry, it’s time to water. However, be cautious not to overwater as excessive moisture can lead to rot or disease issues.
Fertilizing:
1. Natural Nitrogen Fixation: One of the remarkable benefits of clover is its ability to fix nitrogen from the air and convert it into a usable form for plants. This means that clover can supply its nitrogen needs and contribute to the fertility of the soil. Avoid applying excessive nitrogen-based fertilizer as it can disrupt this natural process.
2. Organic Matter: Incorporating organic matter, such as compost or well-rotted manure, into the soil during preparation provides additional nutrients for the clover plants. Organic matter helps maintain soil fertility and improves moisture retention, contributing to healthy and robust clover growth.
3. Soil Testing and Amendments: Periodically test the soil to assess nutrient levels and pH. Based on the test results, you may need to make specific nutrient amendments or adjust the pH. Consult with your local extension service or gardening center for recommendations on the appropriate fertilizers or amendments for your soil conditions.
Remember that clover is generally a low-maintenance plant and may not require extensive fertilization. It’s essential to strike a balance and provide the necessary nutrients without excessive supplementation.
By watering your clover plants appropriately and providing the necessary nutrients, you can ensure healthy growth and vibrant blooms. Next, let’s explore strategies for effective weed control in your clover patch.
Weed Control
Weeds can compete with clover for nutrients, water, and sunlight, affecting its growth and overall health. To maintain a thriving clover patch, here are some effective weed control strategies:
1. Manual Removal: Regularly inspect your clover patch and manually remove any weeds that appear. Use hand tools like a garden trowel or hoe to dig out the weeds, ensuring you remove their roots to prevent regrowth. Take care not to disturb the clover plants while weeding.
2. Mulching: Apply a layer of organic mulch, such as straw or wood chips, around the clover plants. Mulch helps suppress weed growth by blocking sunlight and preventing weed seeds from germinating. Additionally, mulch conserves moisture, reduces soil erosion, and keeps the soil temperature consistent.
3. Mowing: Regular mowing can help control weeds in your clover patch. Set the lawnmower blade at a height that trims the weeds without cutting the clover plants too short. This method prevents weed seed production and allows the clover to grow and fill in any bare areas.
4. Enhanced Competition: Encourage the clover plants to outcompete weeds by ensuring they receive optimal growing conditions. This includes providing adequate water, proper fertilization, and maintaining an optimum pH level in the soil.
5. Pre-emergent Herbicides: If necessary, you can use pre-emergent herbicides to prevent weeds from germinating in your clover patch. Consult with a local gardening expert or check with your extension service to identify herbicides that are safe to use around clover and follow the application instructions carefully.
6. Spot Treatment: For persistent or stubborn weeds, consider spot-treating with selective herbicides that target specific weed species while sparing the clover plants. Use these herbicides cautiously and strictly follow the manufacturer’s instructions to prevent any damage to the desired plants.
Remember to monitor your clover patch regularly for weed growth and take proactive measures to control them. By implementing these weed control strategies, you can maintain a healthy and vibrant clover patch that flourishes without competition from unwanted plants.
Now that we’ve covered weed control, let’s move on to the important topic of maintenance and care for your growing clover plants.
Maintenance and Care
Proper maintenance and care are crucial for the health and longevity of your clover patch. By following these guidelines, you can ensure the optimal growth and beauty of your clover plants:
1. Regular Inspections: Regularly inspect your clover patch for signs of pests, diseases, or any other issues. Catching problems early allows for prompt intervention and prevents them from spreading or causing significant damage.
2. Pruning: Clover generally does not require extensive pruning. However, if you notice any dead or damaged foliage, you can trim it back to promote new growth. Lightly trim the plants to maintain a neat appearance but avoid excessive pruning that could weaken or stress the clover plants.
3. Weed Control: As covered earlier, stay vigilant in removing weeds from your clover patch. Regular weeding helps prevent competition for resources and ensures that the clover plants can thrive without obstruction.
4. Renovation: Over time, clover patches may thin out or become less productive. To rejuvenate the patch, consider overseeding with fresh clover seeds. This helps replenish the plant density and ensures a continued healthy clover cover.
5. Disease and Pest Management: Clover is generally resistant to many pests and diseases. However, keep an eye out for any signs of issues such as aphids, caterpillars or fungal diseases. If necessary, consult with a local gardening expert to identify appropriate treatments for specific problems.
6. Pollinator Support: Clover is highly attractive to bees and other pollinators. To promote pollination and support a healthy ecosystem, avoid using pesticides that may harm beneficial insects. Instead, encourage beneficial insects by planting other pollinator-friendly flowers nearby.
7. Regular Monitoring: Continually monitor the growth and overall health of your clover patch. Look out for signs of nutrient deficiencies, dehydration, or other stressors. Adjust watering, fertilization, or other care practices as needed to provide the best conditions for your clover plants.
8. Enjoy Your Clover Patch: Lastly, take the time to appreciate the beauty and benefits of your clover patch. Whether it’s the lush green foliage, the delicate flowers, or the buzzing sounds of pollinators, clover can bring joy and a sense of tranquility to your garden.
By giving proper attention to maintenance and care, you can ensure that your clover patch remains healthy and vibrant for years to come. Now, let’s delve into the topic of harvesting clover when the time comes.
Harvesting Clover
Harvesting clover is a rewarding process that allows you to enjoy the fruits of your labor and utilize the clover in various ways. Here are some guidelines for harvesting clover:
1. Timing: The timing of harvesting clover depends on your intended use and the specific variety you’re growing. If you’re harvesting for forage or hay, it’s best to cut the clover when it reaches the early flowering stage. This ensures a good balance between nutrient content and yield. If you’re harvesting for dried flowers or decorative purposes, wait until the flowers are fully open for the most vibrant display.
2. Tools: To harvest clover, you will need a pair of sharp pruning shears or a scythe. Ensure that your tools are clean and well-maintained for efficient and precise cuts.
3. Cutting: When cutting clover for forage, aim to cut the plants about 2-3 inches above the ground. This helps to maintain a higher regrowth potential for subsequent harvests. For harvesting flowers, cut the stems at the desired length, taking care not to damage the neighboring plants.
4. Drying: If you’re harvesting clover for drying, bundle the cut stems together and hang them upside down in a cool, dry, and well-ventilated area. Allow the clover to dry completely before storing or using it for decorative purposes. Proper drying helps preserve the color and prevents mold or mildew development.
5. Storing: If you’re harvesting clover for forage or hay, ensure that it is properly stored in a dry location protected from moisture and pests. Baling or using airtight storage containers can help maintain the nutritional quality of the clover. For decorative purposes, store the dried clover in a cool, dark place to prevent fading or deterioration.
6. Seed Harvesting: If you’re interested in collecting clover seeds for future reseeding, allow the clover plants to fully mature and the seed heads to turn brown and dry on the plant. Cut the seed heads and place them in a paper bag. Shake or rub the seed heads to remove the seeds, and store them in a cool, dry place for future use.
Remember, clover is a resilient plant, and regular and proper harvesting can promote regrowth and continued productivity. Enjoy the process of harvesting and utilizing your homegrown clover.
With these guidelines for harvesting clover covered, we reach the end of our comprehensive guide. Congratulations on your journey in planting and caring for clover! May your garden be filled with the beauty and benefits that clover brings. Happy gardening!
Read more: When To Plant Crimson Clover Seed
Conclusion
Throughout this comprehensive guide, we have explored the world of planting and caring for clover. From choosing the right clover seed to harvesting the fruits of your labor, you’ve gained valuable insights into creating a thriving clover patch in your garden.
Clover is not only a beautiful and versatile plant, but it also offers numerous benefits. Its nitrogen-fixing abilities enhance soil fertility, while its ability to act as a living mulch helps to reduce weed growth and conserve moisture. Additionally, the vibrant blooms attract pollinators, making it a valuable asset to any garden ecosystem.
We’ve discussed important aspects of gardening, including soil preparation, seedbed preparation, sowing the clover seed, watering and fertilizing, weed control, and maintenance and care. By following these guidelines, you can ensure that your clover patch remains healthy and vibrant throughout the growing season.
Remember to choose the right clover seed for your specific needs and growing conditions. Proper soil preparation ensures an optimal environment for successful seed germination and growth. Sowing the seeds carefully and providing adequate water and nutrients result in healthy, thriving plants.
We’ve also covered important maintenance tasks such as weed control, disease and pest management, and regular inspections. These practices help maintain the health and longevity of your clover patch, ensuring its continued beauty and productivity.
Harvesting clover allows you to enjoy the benefits it provides, whether it’s for forage, hay, decorative purposes, or seed collection. By following proper techniques for cutting, drying, and storing, you can preserve the quality and usability of the harvested clover.
As you embark on your clover gardening journey, remember to enjoy the process. Gardening is a labor of love, and watching your clover patch thrive and bloom is a rewarding experience. Take the time to appreciate the beauty of nature and the many benefits that clover brings to your garden.
We hope this guide has equipped you with the knowledge and confidence to successfully plant and care for clover in your garden. May your clover patch bring you joy, beauty, and a thriving ecosystem that enhances your gardening experience. Happy gardening!
Frequently Asked Questions about How To Plant Clover Seed
Was this page helpful?
At Storables.com, we guarantee accurate and reliable information. Our content, validated by Expert Board Contributors, is crafted following stringent Editorial Policies. We're committed to providing you with well-researched, expert-backed insights for all your informational needs.


0 thoughts on “How To Plant Clover Seed”