Home>Garden Essentials>When To Frost Seed Clover

Garden Essentials
When To Frost Seed Clover
Modified: March 16, 2024
Learn when the best time to frost seed clover in your garden is to ensure a successful and thriving growth. Discover the right technique and tips here.
(Many of the links in this article redirect to a specific reviewed product. Your purchase of these products through affiliate links helps to generate commission for Storables.com, at no extra cost. Learn more)
Introduction
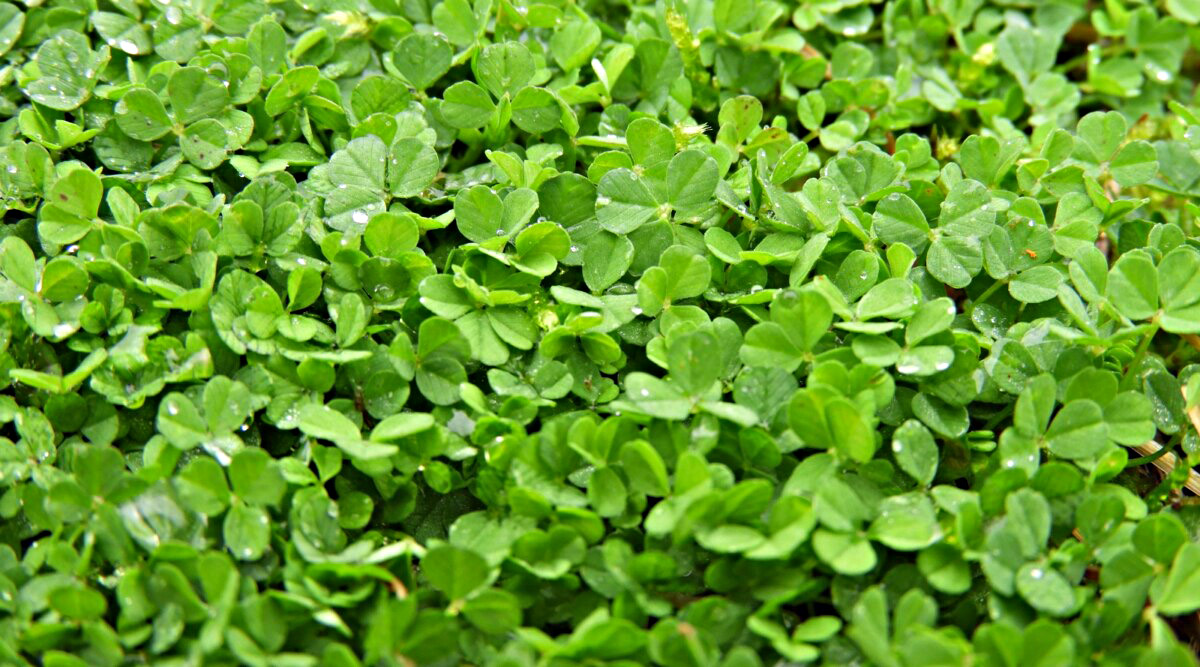
When it comes to maintaining a beautiful garden, the right choice of plants is crucial. One such plant that can greatly enhance the aesthetics and health of your garden is clover. Known for its vibrant green color and versatility, clover is a popular choice for many gardeners.
One interesting technique that can be used to establish clover in your garden is frost seeding. Frost seeding is a method of sowing seeds directly onto the frozen ground during winter, taking advantage of the natural freeze-thaw cycles. It offers numerous benefits and can be an effective way to establish clover in your garden.
In this article, we will explore the benefits of frost seeding clover, the necessary soil preparation, ideal timing, step-by-step instructions for frost seeding, and the maintenance required to ensure the success of your clover plants.
Key Takeaways:
- Frost seeding clover in winter can save money, enrich soil, suppress weeds, control erosion, and attract pollinators, benefiting your garden’s health and appearance while minimizing costs.
- To successfully frost seed clover, prepare soil, choose the right timing, evenly distribute seeds, maintain moisture, and follow proper maintenance practices for a lush and vibrant garden.
Read more: When To Plant Clover Seed For Lawn
Benefits of Frost Seeding Clover
Frost seeding clover offers several advantages that make it a desirable method for establishing this versatile plant in your garden.
1. Cost-effective: Frost seeding is an economical way to introduce clover into your garden. By spreading the seeds directly onto frozen ground, you eliminate the need for expensive equipment and labor-intensive soil preparation.
2. Natural enhancement of soil fertility: Clover is a nitrogen-fixing plant, meaning it has the ability to convert atmospheric nitrogen into a form that can be readily used by other plants. By frost seeding clover, you’re essentially enriching your soil with nitrogen, which can benefit neighboring plants and improve overall soil health.
3. Weed suppression: Once established, clover forms a dense ground cover that effectively suppresses weed growth. Frost seeding gives clover a head start before weeds can take hold, reducing the need for herbicides and manual weeding.
4. Erosion control: The dense root system of clover helps stabilize the soil, making it an excellent choice for preventing erosion. Frost seeding allows the seeds to become firmly embedded in the ground as it thaws, increasing the chances of successful establishment and erosion control.
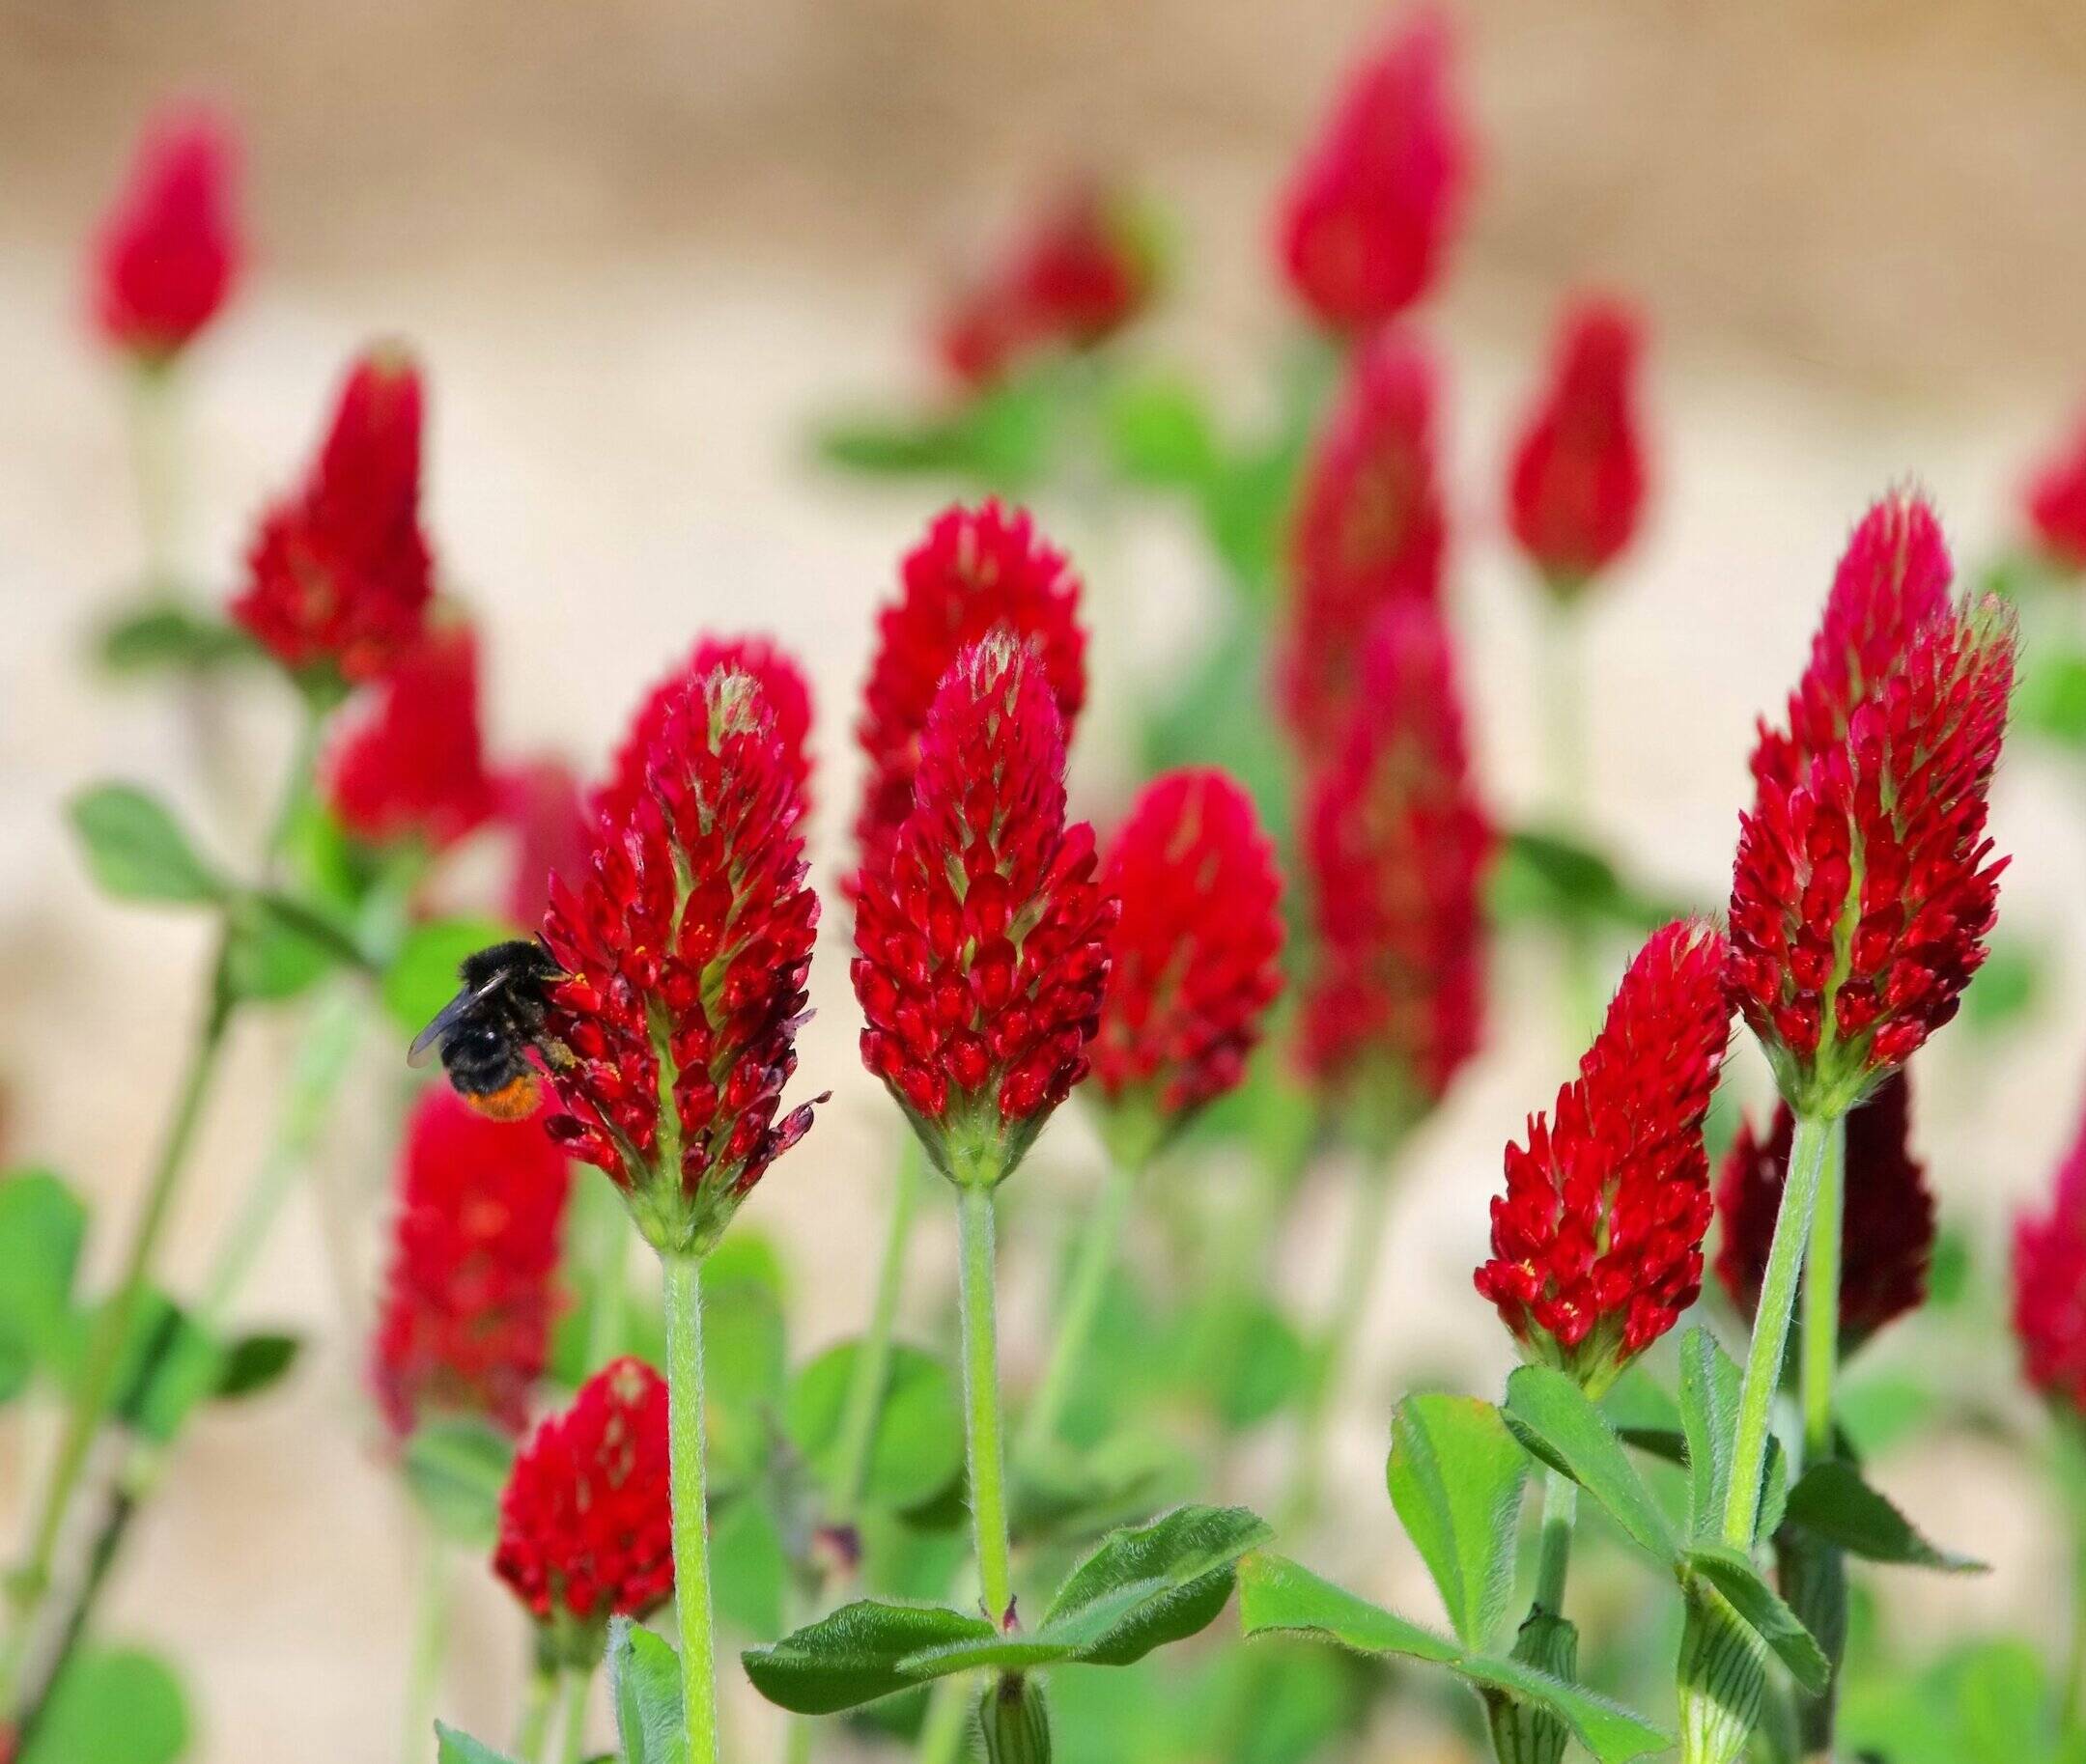
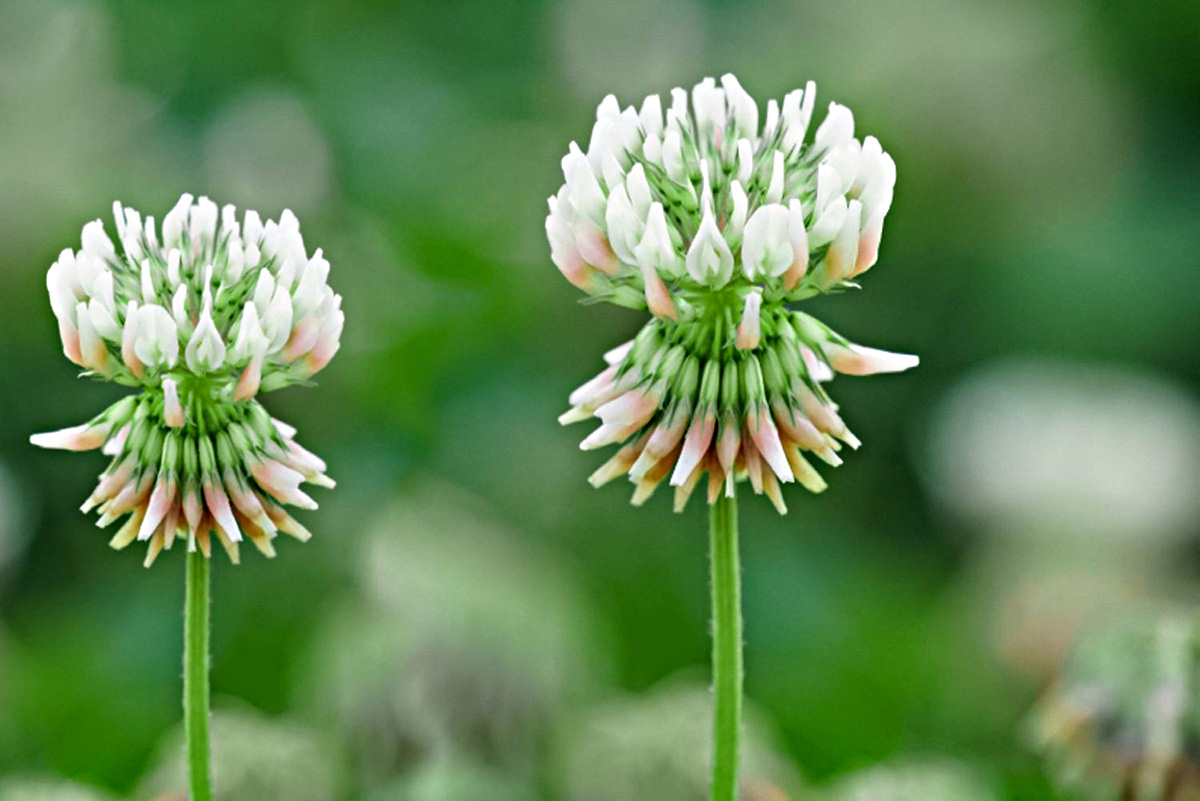
5. Pollinator habitat: Clover flowers are highly attractive to bees and other pollinators. Frost seeding clover can provide a valuable food source for these beneficial insects, supporting the health of your garden ecosystem.
6. Enhanced soil structure: The extensive root system of clover helps improve soil structure, promoting better water infiltration and reducing soil compaction. By frost seeding clover, you can enhance the overall health and fertility of your garden soil.
With these benefits in mind, frost seeding clover can be a wise choice for gardeners looking to improve the health and appearance of their garden while minimizing costs and environmental impact.
Soil Preparation for Frost Seeding Clover
Proper soil preparation is essential to ensure successful frost seeding of clover. Here are some key steps to follow:
- Soil testing: Start by conducting a soil test to determine the pH level and nutrient content of your soil. Clover prefers slightly acidic to neutral soil with a pH range of 6.0 to 7.0. The soil test results will guide you in making any necessary amendments to create an optimal growing environment for clover.
- Weed control: Before frost seeding, it is important to eliminate existing weeds from the area. Remove any large weeds manually or use an appropriate herbicide to ensure that the clover seeds have sufficient space and nutrients to germinate and grow without competition.
- Loosening the soil: Use a garden fork or a tiller to loosen the top layer of soil. This will help improve seed-to-soil contact and aid in the establishment of the clover plants. Avoid excessive tilling, as it can disrupt the soil structure.
- Adding organic matter: Incorporating organic matter into the soil can improve its structure and fertility. Consider adding compost or well-rotted manure to provide essential nutrients and enhance moisture retention capabilities.
- Leveling the area: Ensure that the area where you plan to frost seed clover is relatively level. This will help prevent waterlogging and ensure an even distribution of seeds during the frost seeding process.
It is worth noting that different types of clover may have specific soil requirements. Be sure to research the specific variety of clover you are planting and adjust soil preparation accordingly.
By following these soil preparation techniques, you will create an optimal environment for clover growth and increase the chances of a successful frost seeding process.
Timing for Frost Seeding Clover
The timing plays a crucial role in the success of frost seeding clover. It is essential to choose the right time when the conditions are favorable for seed germination and establishment. Here are some guidelines to consider:
1. Winter Months: Frost seeding should be done during the winter months when the ground is frozen, typically between late December and early March. The freeze-thaw cycles during this period help create small cracks and crevices in the soil, providing a favorable environment for the clover seeds to settle and germinate.
2. Avoid Extremely Cold Temperatures: It is important to avoid extreme cold temperatures, as it can hinder seed germination. Choose a time when the weather is relatively mild, with temperatures above freezing during the day and below freezing at night.
3. Snow Cover: Snow cover can provide protection and insulation to the seeds, improving their chances of germination and survival. Ideally, there should be a light dusting of snow on the ground when you frost seed the clover. However, if the snow cover is too thick, it may prevent the seeds from reaching the soil surface.
4. Moisture Levels: Adequate moisture is crucial for seed germination. If the ground is too dry, the seeds may not have enough moisture to initiate germination. However, excessive moisture can lead to waterlogging and hinder seed establishment. Aim for a moisture level that is optimal for seed germination and root development.
5. Regional Considerations: The best timing for frost seeding clover may vary depending on your region and specific climate conditions. It is advisable to consult with local gardening experts, cooperative extension offices, or experienced gardeners in your area to determine the most suitable timing for frost seeding clover.
By considering these factors and choosing the right timing, you can maximize the success rate of germination and establish a healthy stand of clover in your garden.
Frost seed clover in late winter or early spring when the ground is still frozen at night but thaws during the day. This helps the seeds make good soil contact and germinate well.
Steps to Frost Seed Clover
Frost seeding clover involves a straightforward process that can be easily followed by gardeners of all levels of experience. Here are the steps to frost seed clover:
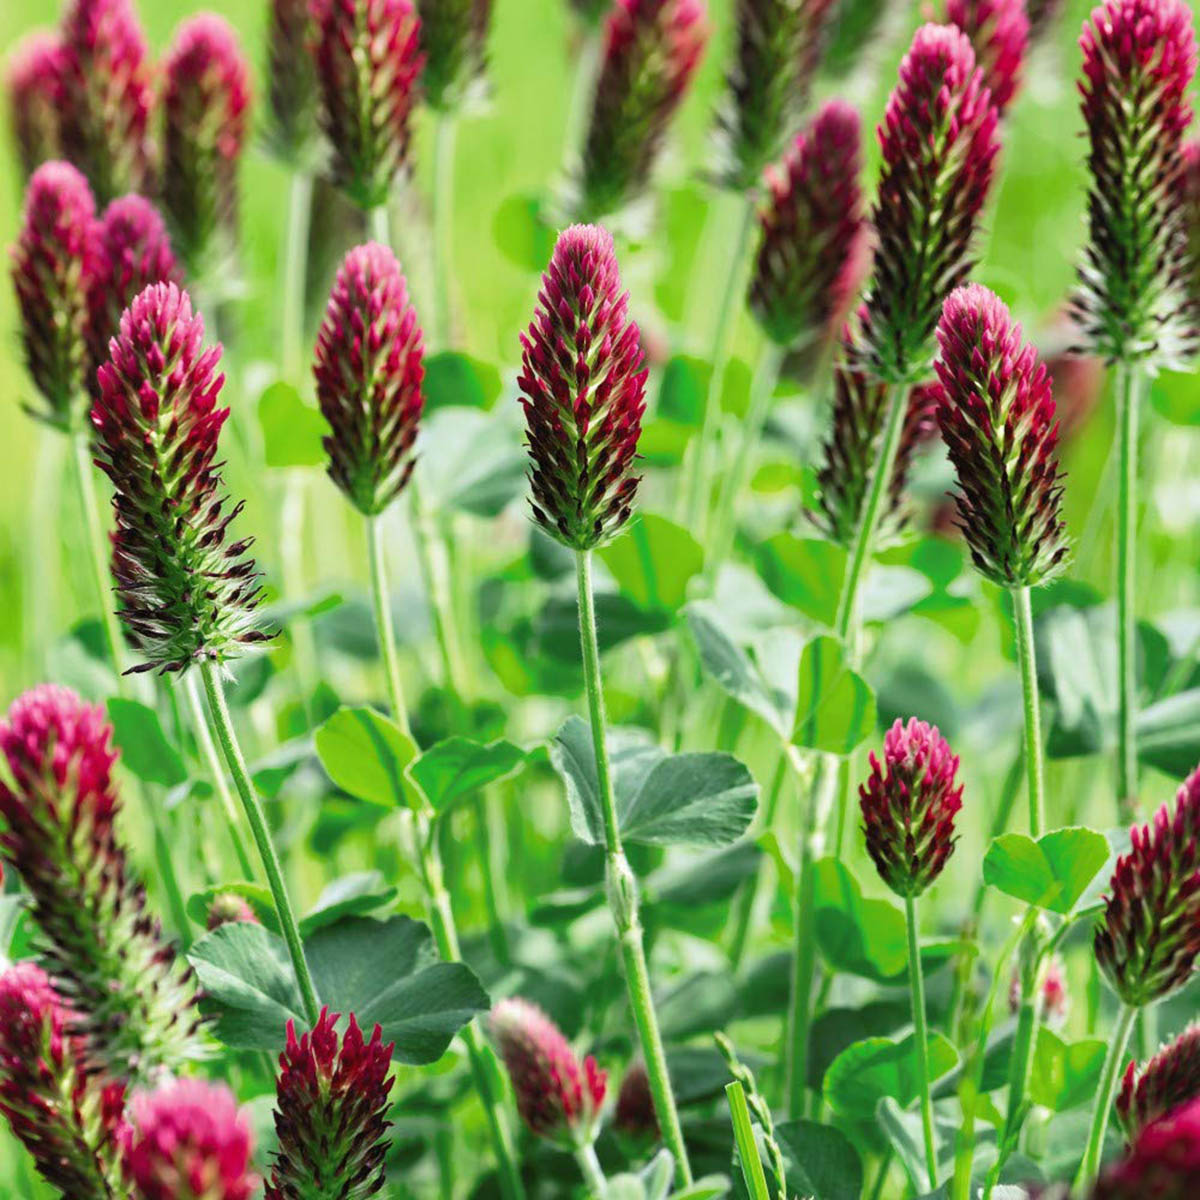
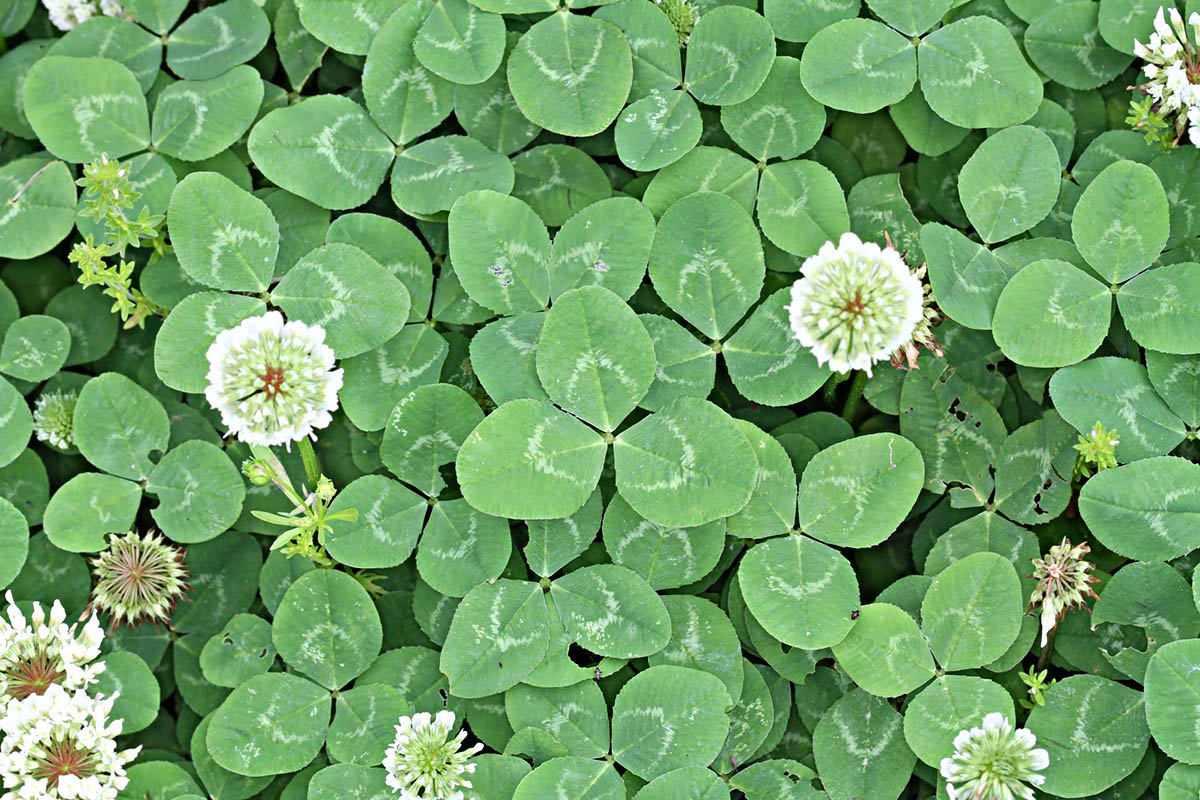
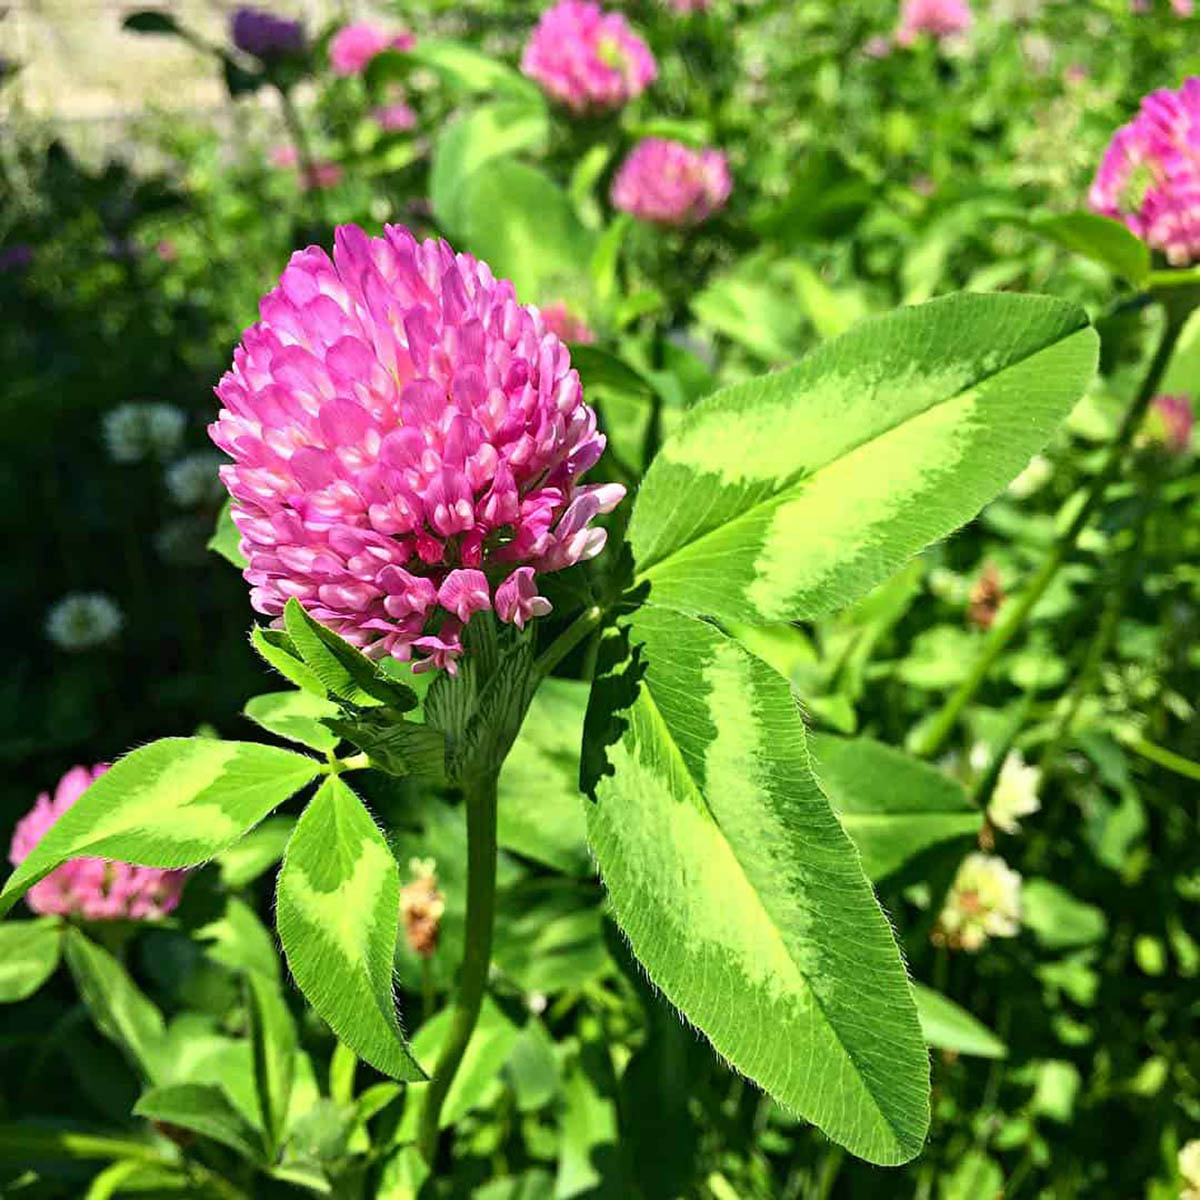
- Choose the appropriate clover variety: There are several types of clover to choose from, including red clover, white clover, and Alsike clover. Select the variety that best suits your garden’s needs and climate conditions.
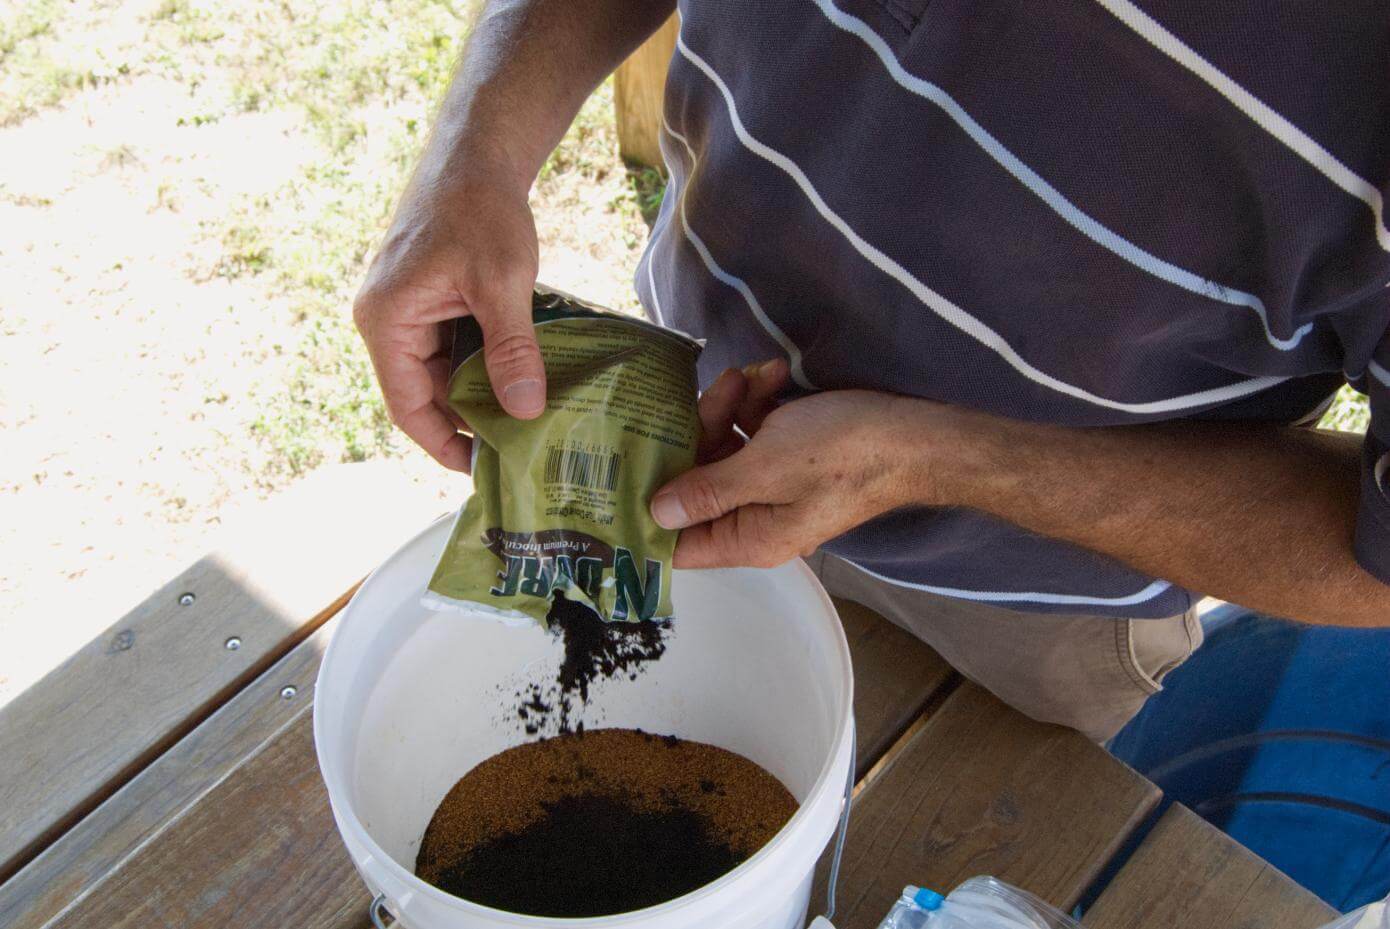
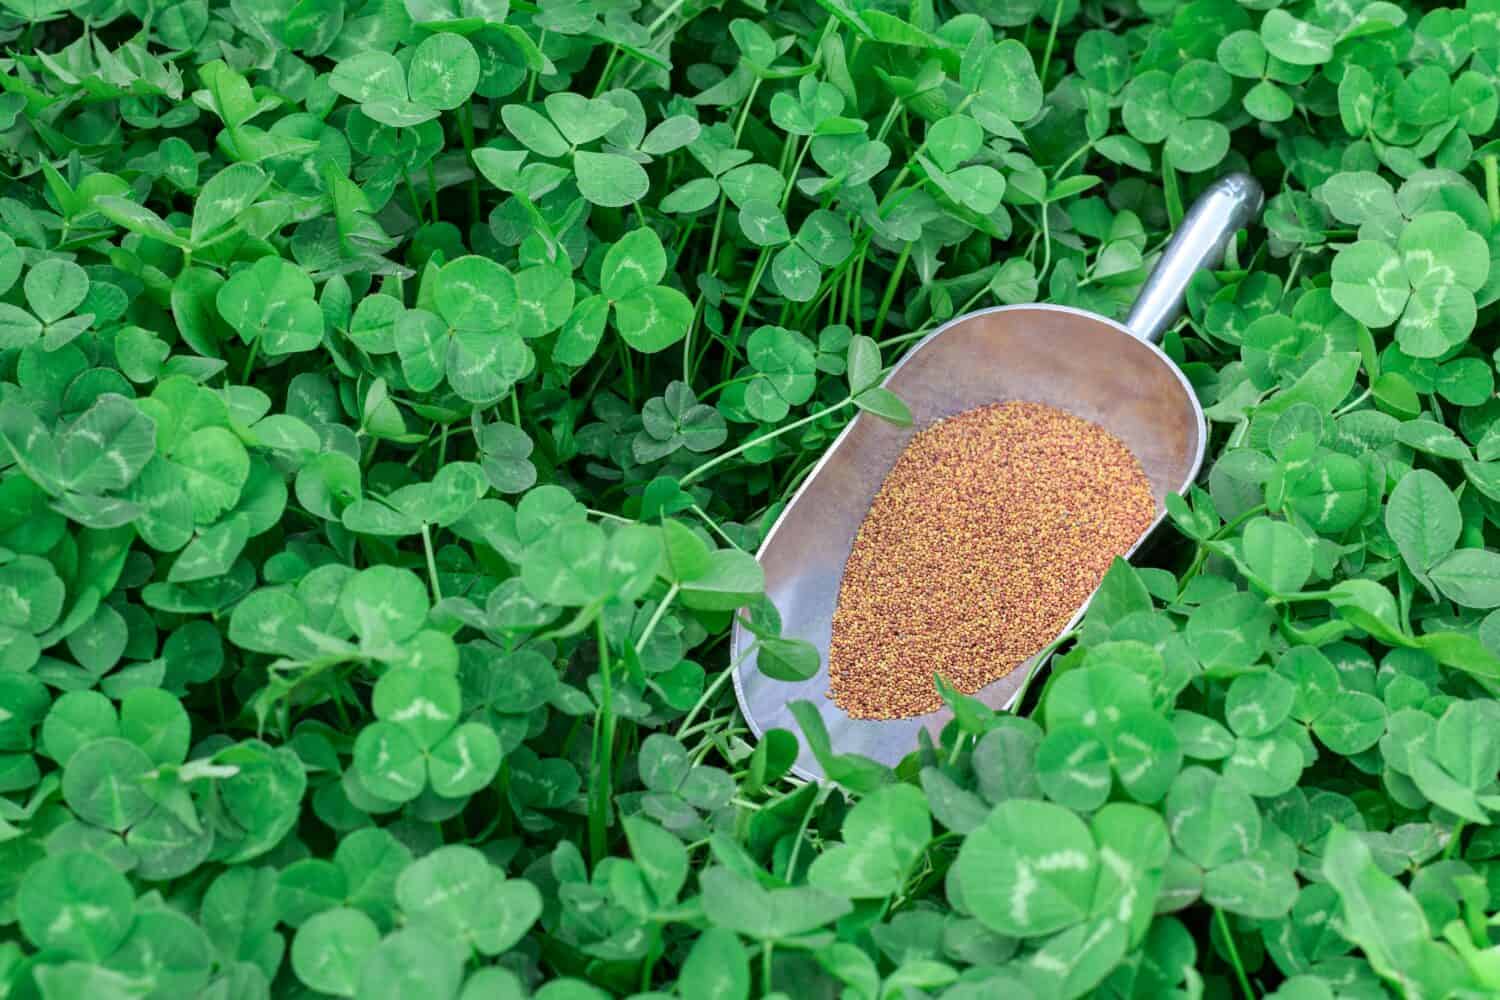
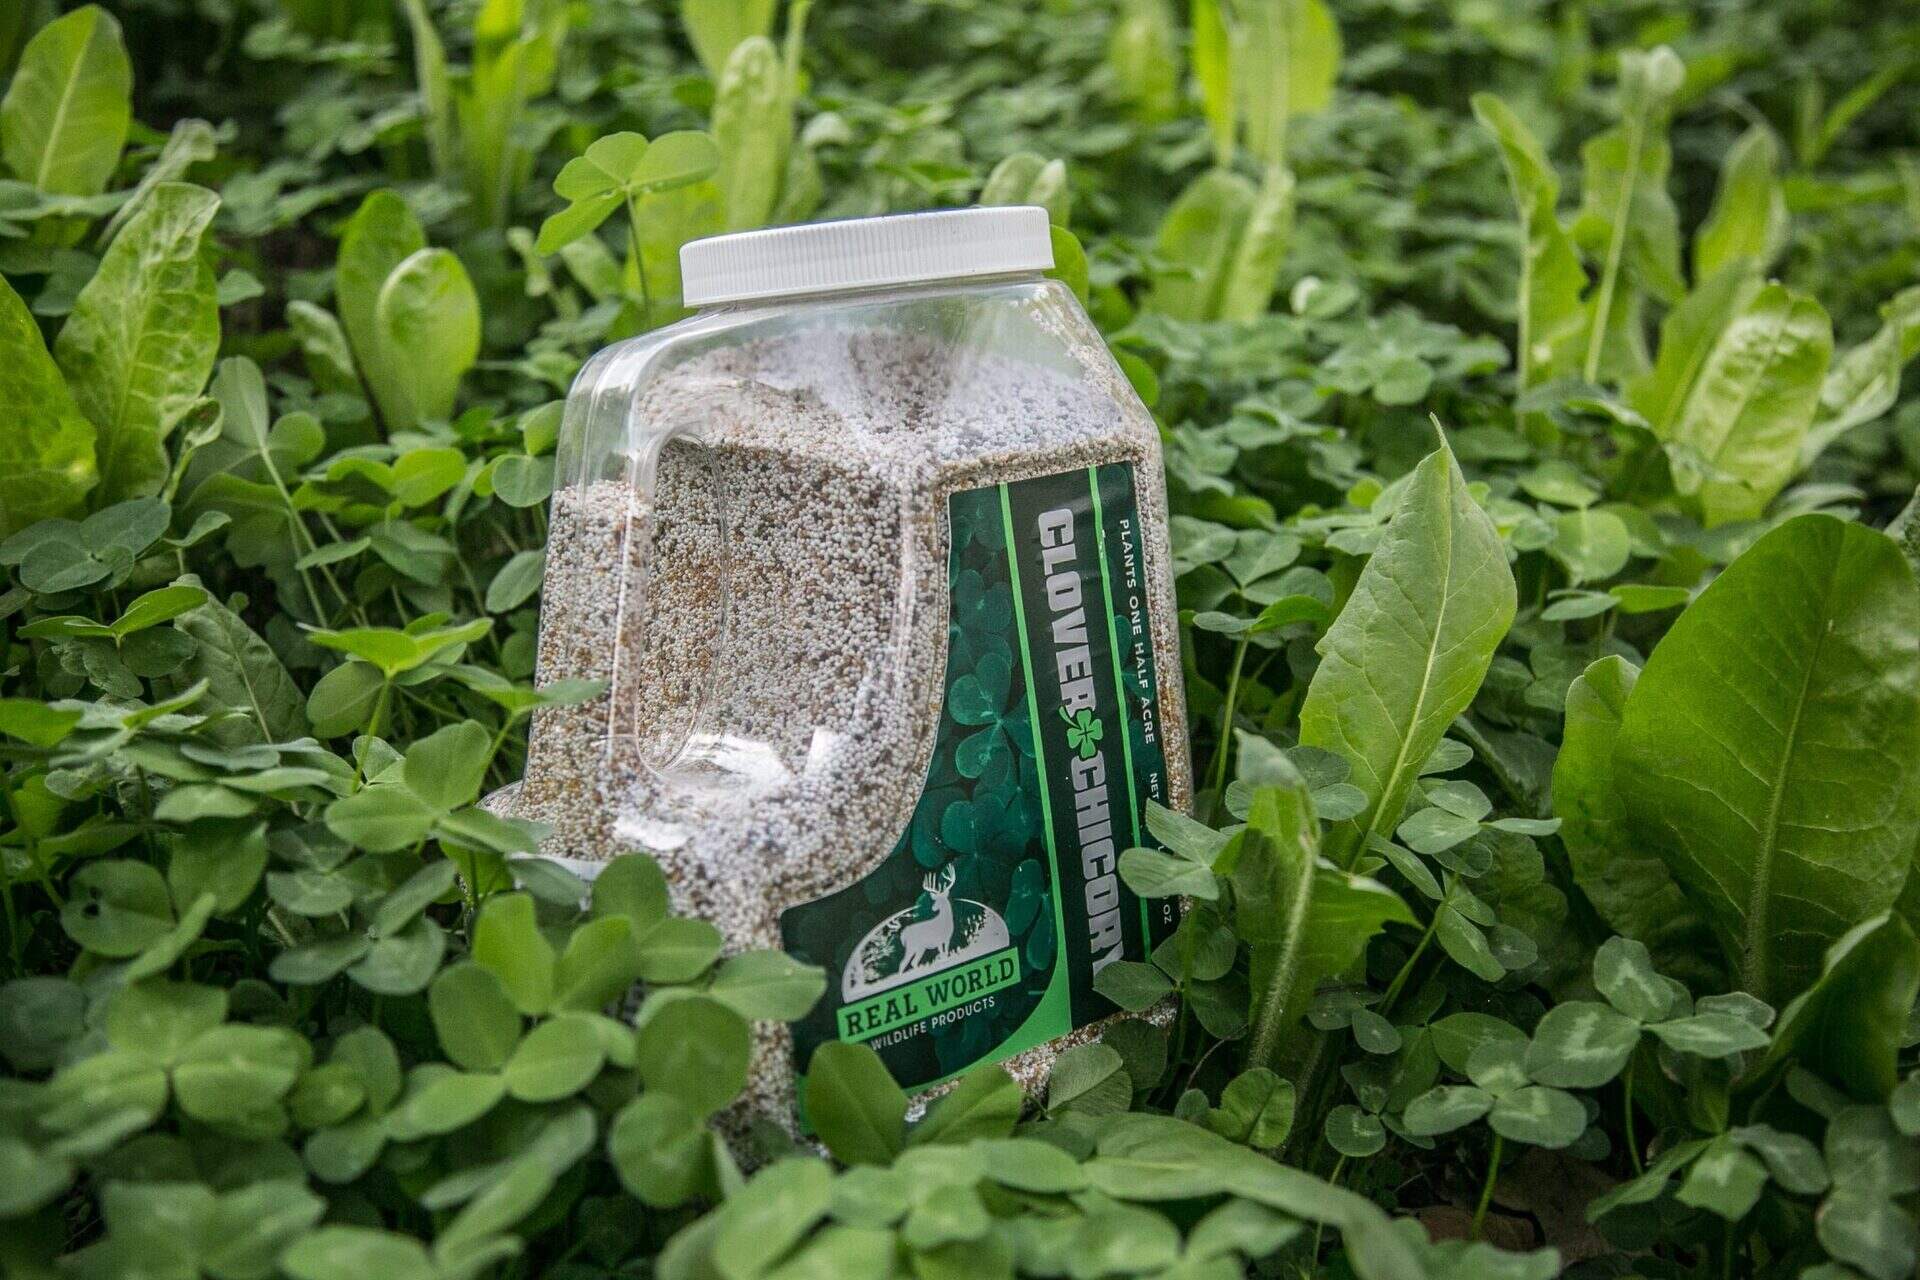
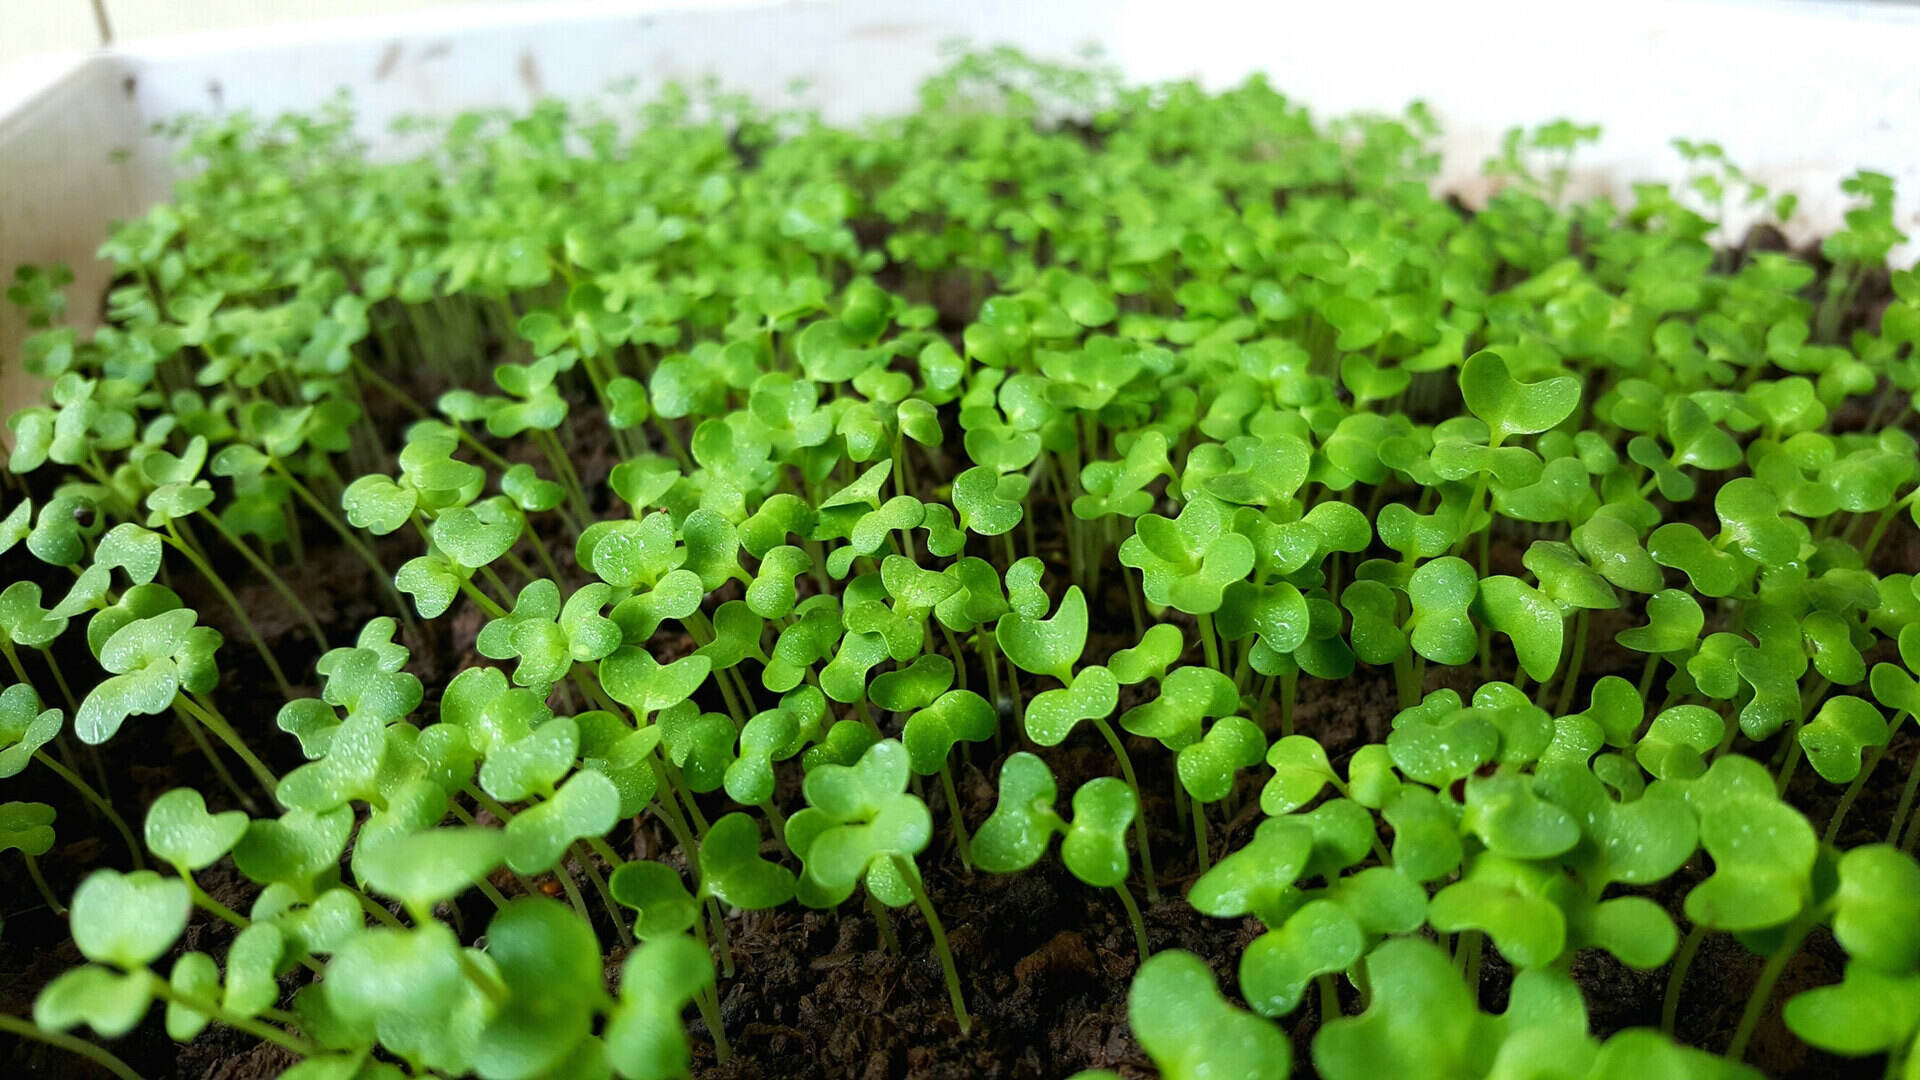
- Prepare the clover seeds: Ensure that the clover seeds you have selected are of good quality and have been properly stored. If necessary, clean the seeds to remove any debris or damaged ones.
- Clear the area: Remove any existing vegetation, debris, or weeds from the area where you plan to frost seed the clover. This will help maximize seed-to-soil contact and minimize competition from other plants.
- Evenly distribute the seeds: Scatter the clover seeds evenly over the prepared area. You can do this by hand or use a spreader for larger areas. Aim for a distribution rate of approximately 1-2 pounds per 1,000 square feet.
- Rake lightly: Use a rake to lightly rake the surface of the soil after seeding. This will help ensure good seed-to-soil contact and increase the chances of successful germination and establishment.
- Let nature take its course: Once the seeds are sown, do not cover them with soil or mulch. Instead, rely on the natural freeze-thaw cycles and seasonal precipitation to settle the seeds into the soil.
- Maintain moisture levels: It is important to keep the seeded area consistently moist to facilitate germination. Monitor the moisture levels and provide irrigation if necessary, especially during dry spells.
- Monitor and maintain: Regularly monitor the progress of the clover seeds and ensure that they are establishing properly. Keep an eye out for any signs of weed competition and take appropriate measures to control them.
By following these steps, you can successfully frost seed clover and enjoy a lush and vibrant garden filled with this beneficial plant.
Read more: When To Plant Crimson Clover Seed
Maintenance and Care of Frost-Seeded Clover
Proper maintenance and care are essential to ensure the health and longevity of your frost-seeded clover. Follow these guidelines to keep your clover thriving:
- Monitor moisture levels: Regularly check the moisture levels in the soil. Clover requires consistent moisture for optimal growth, so water the area if rainfall is insufficient. Be careful not to overwater, as excessive moisture can lead to disease and root rot.
- Mow regularly: Keep your frost-seeded clover well-maintained by mowing it regularly. This will help control weed competition and promote a dense and healthy growth habit. Set the mower to a height of around 3-4 inches to maintain the desired height of the clover plants.
- Avoid excessive foot traffic: Clover is a delicate plant, and excessive foot traffic can damage the plants and compact the soil. Minimize walking or heavy machinery in the area where clover is established to prevent compaction and promote healthy growth.
- Fertilize when needed: While clover is a nitrogen-fixing plant, it may still benefit from occasional fertilization. Conduct regular soil tests to assess nutrient levels and apply a balanced fertilizer as recommended if necessary. Be cautious not to over-fertilize, as excess nutrients can negatively impact the clover’s growth.
- Manage pests and diseases: Monitor your clover for any signs of pests or diseases. Common pests that may affect clover include aphids and clover root weevils. Treat any infestations promptly using natural or chemical control methods to avoid widespread damage. Additionally, practice good garden hygiene to prevent the spread of diseases.
- Perform weed control: While clover helps suppress weed growth, it is still important to manage any weed competition. Regularly inspect the area for weed growth and remove them promptly to prevent them from overtaking the clover plants. You can hand-pull weeds or use appropriate herbicides as needed.
- Rotate grazing and mowing: If you are using clover for grazing or as a forage crop, ensure proper rotational grazing or mowing practices. This will allow the clover plants to recover and regrow, promoting a healthy and sustainable stand of clover.
By following these maintenance and care practices, you can ensure the continued health and vigor of your frost-seeded clover, allowing it to thrive and provide its numerous benefits to your garden or landscape.
Conclusion
Frost seeding clover can be a cost-effective and efficient way to establish this versatile plant in your garden. By taking advantage of the natural freeze-thaw cycles, frost seeding allows for the successful germination and growth of clover, enhancing the beauty and health of your garden.
The benefits of frost seeding clover are plentiful. Not only does it provide a cost-effective solution, but it also improves soil fertility, suppresses weeds, controls erosion, and creates a habitat for pollinators. Additionally, the dense root system of clover enhances soil structure, promoting better water infiltration and reducing soil compaction.
Proper soil preparation, timing, and maintenance are crucial for successful frost seeding of clover. Conduct a soil test, clear the area of weeds, loosen the soil, and incorporate organic matter before seeding. Choose the appropriate time during the winter months when conditions are favorable, such as mild temperatures and some snow cover.
When frost seeding clover, evenly distribute the seeds, lightly rake the soil, and let nature take its course. Maintain adequate moisture levels, mow regularly, and provide fertilization if needed. Manage pests, control weeds, and practice proper rotational grazing if using clover for livestock.
In conclusion, frost seeding clover offers numerous benefits for gardeners. By following the necessary steps and providing proper care, you can establish a thriving stand of clover that enhances the beauty, fertility, and overall health of your garden or landscape. So why wait? Give frost seeding clover a try and enjoy the many benefits it brings to your gardening endeavors.
Frequently Asked Questions about When To Frost Seed Clover
Was this page helpful?
At Storables.com, we guarantee accurate and reliable information. Our content, validated by Expert Board Contributors, is crafted following stringent Editorial Policies. We're committed to providing you with well-researched, expert-backed insights for all your informational needs.


0 thoughts on “When To Frost Seed Clover”