Home>Garden Essentials>When To Plant Gerbera Daisy Seeds

Garden Essentials
When To Plant Gerbera Daisy Seeds
Modified: October 20, 2024
Looking to add vibrant daisies to your garden? Learn when to plant Gerbera Daisy seeds and bring a burst of color to your outdoor space.
(Many of the links in this article redirect to a specific reviewed product. Your purchase of these products through affiliate links helps to generate commission for Storables.com, at no extra cost. Learn more)
Introduction
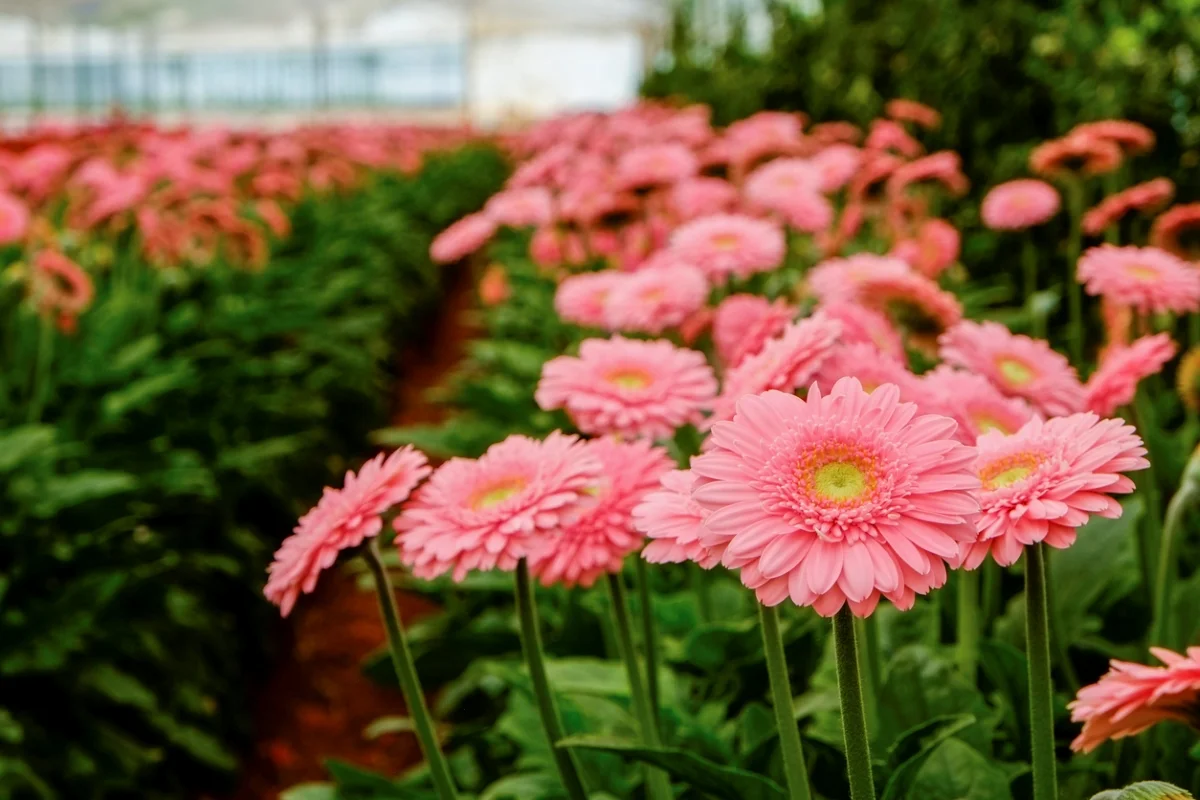
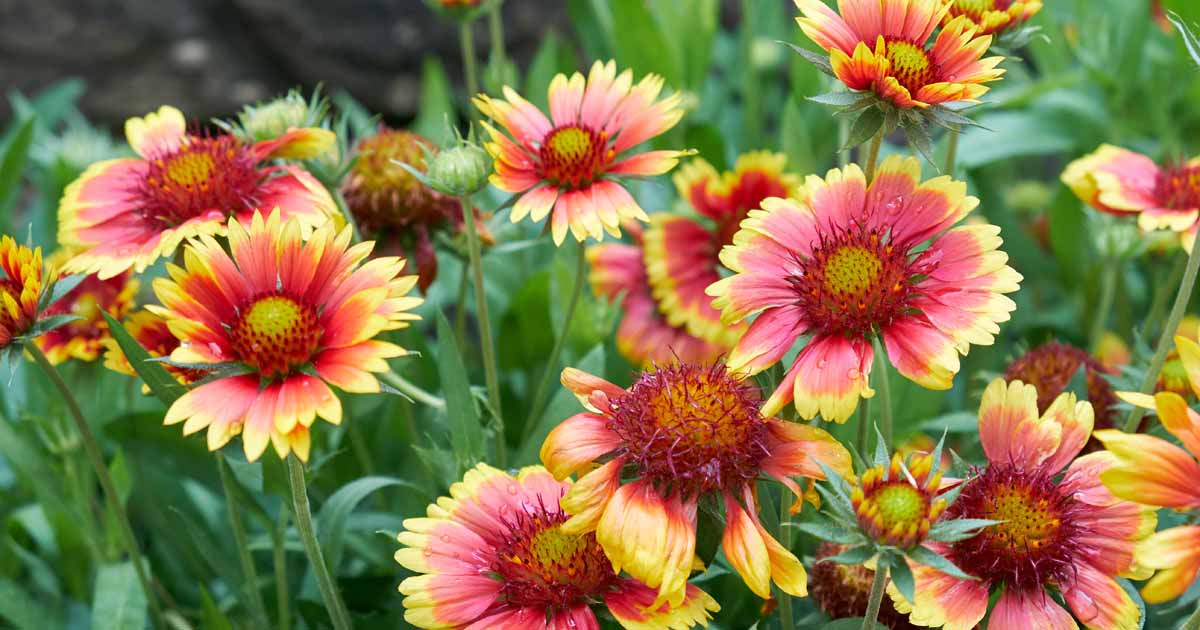
Gerbera daisies are beautiful and vibrant flowering plants that can add a splash of color to any garden or landscape. Known for their large, showy blooms in a wide range of colors, gerbera daisies are a popular choice for both beginner and experienced gardeners alike. One of the best ways to grow gerbera daisies is by planting seeds. Planting gerbera daisy seeds can be a rewarding and exciting experience, as you get to see the process from start to finish. In this article, we will guide you on when to plant gerbera daisy seeds and provide tips on how to ensure their successful growth.
Gerbera daisies are native to South Africa, where they thrive in warm and sunny climates. They are typically grown as annuals or container plants in colder regions. To give your gerbera daisy seeds the best chance of success, it is important to choose the right time to plant them. This will depend on your local climate and the growing season in your area.
Gerbera daisy seeds can be planted either indoors or outdoors, depending on your preferences and the climate in your region. Planting indoors allows you to get a head start on the growing season, as gerbera daisy seeds can be started several weeks before the last frost date. Indoor planting also provides more control over the growing environment, ensuring optimal conditions for seed germination.
If you choose to plant gerbera daisy seeds outdoors, it is important to wait until all danger of frost has passed and the soil has warmed up. Gerbera daisies prefer temperatures between 60 to 75 degrees Fahrenheit (15 to 24 degrees Celsius) for optimal growth. Planting too early can result in slow growth or damage to young seedlings from cold temperatures.
Before planting gerbera daisy seeds, it is essential to prepare the soil properly. Gerbera daisies prefer well-draining soil with a slightly acidic to neutral pH level. Make sure to choose a location in your garden that receives full sun for at least six to eight hours a day. This will ensure that your gerbera daisies receive ample sunlight to promote healthy growth and abundant blooms.
In the next sections, we will delve into the specifics of preparing the soil, germinating gerbera daisy seeds, transplanting seedlings, and providing proper care for your gerbera daisies. We will also discuss common problems that may arise and provide solutions to help you overcome any challenges you may encounter along the way.
By the end of this article, you will have the knowledge and confidence to successfully plant and grow gerbera daisies from seeds. So let’s get started and bring the beauty of gerbera daisies to your garden!
Key Takeaways:
- Choose the right time to plant gerbera daisy seeds based on your local climate and growing season. Consider starting seeds indoors or direct sowing outdoors for successful growth.
- Prepare the soil with proper drainage, acidity, and organic matter to create an ideal environment for gerbera daisy seeds to thrive and bloom beautifully.
Read more: How To Plant Gerbera Daisies Seeds
Choosing the Right Time
Choosing the right time to plant gerbera daisy seeds is crucial for their successful growth and development. The timing will depend on several factors, including your local climate, the length of the growing season, and whether you plan to start the seeds indoors or outdoors.
If you live in an area with colder winters, it is recommended to start gerbera daisy seeds indoors, several weeks before the last frost date. This will give them a head start and a chance to establish strong roots before being transplanted outdoors. Generally, gerbera daisies should be started indoors around 10 to 12 weeks before the expected date of the last frost.
To determine the last frost date in your area, you can consult the USDA Plant Hardiness Zone Map or contact your local extension office. This information is important because gerbera daisies are sensitive to frost and can be damaged or killed by freezing temperatures.
If you live in a region with milder winters or a longer growing season, you may be able to direct sow gerbera daisy seeds outdoors without the need for indoor starting. In this case, it is important to wait until all danger of frost has passed and the soil has warmed up before planting the seeds.
Gerbera daisies thrive in warm weather, with temperatures ranging between 60 to 75 degrees Fahrenheit (15 to 24 degrees Celsius). Planting them too early when the soil is still cold can result in stunted growth or even the death of the seedlings.
It’s also worth noting that gerbera daisies prefer long days and short nights, which makes spring and early summer the ideal time to plant them. Longer daylight hours promote vegetative growth and the development of strong, healthy plants. However, gerbera daisies can also be planted during the fall if you live in a mild climate with cool temperatures.
By considering these factors, you can choose the right time to plant gerbera daisy seeds and create ideal growing conditions for your plants. Whether you decide to start the seeds indoors or sow them directly outdoors, timing is key to ensure successful germination and healthy plant growth.
In the next section, we will discuss how to prepare the soil for planting gerbera daisy seeds, which is essential for creating a favorable growing environment for these beautiful flowers. So let’s move on and get ready to prepare the soil!
Preparing the Soil
Preparing the soil properly is crucial for the successful growth of gerbera daisy seeds. Gerbera daisies prefer well-draining soil with a slightly acidic to neutral pH level. Follow these steps to ensure that your soil is ready for planting:
1. Test the soil: Start by testing the pH level of your soil. Gerbera daisies prefer a pH range of 6.0 to 7.0. You can use a soil testing kit or send a soil sample to a laboratory to determine the pH and nutrient levels of your soil.
2. Amend the soil: If your soil is too alkaline (pH above 7.0), you can lower the pH by adding organic matter such as compost, peat moss, or well-rotted manure. Mix the organic matter into the soil to a depth of 6 to 8 inches. This will improve the soil structure and drainage while providing essential nutrients for the plants.
3. Improve drainage: Gerbera daisies are susceptible to root rot if the soil remains waterlogged. To improve drainage, amend the soil with coarse sand, perlite, or vermiculite. These materials help to break up heavy clay soils and create air pockets for better root development. Aim for a well-draining soil that retains moisture without becoming too saturated.
4. Remove weeds and debris: Before planting gerbera daisy seeds, clear the area of any weeds, grass, or debris. These can compete with the seedlings for nutrients and water. Use a garden hoe or hand tools to remove any unwanted vegetation and ensure a clean planting area.
5. Prepare the bed: Once the soil is amended and free of debris, prepare the planting bed. Loosen the soil to a depth of 6 to 8 inches using a garden fork or tiller. Break up any large clumps of soil and remove rocks or stones. Smooth out the surface of the soil with a rake to create a level planting area.
6. Consider raised beds or containers: If your soil has poor drainage or is of low quality, you may want to consider planting gerbera daisies in raised beds or containers. This allows for better control over the soil composition and drainage. Fill the raised bed or container with a well-draining potting mix specifically formulated for flowers or container gardening.
By following these steps and preparing the soil adequately, you will create an ideal growing environment for gerbera daisy seeds. The well-draining soil with a slightly acidic to neutral pH will promote healthy root development and overall plant growth. In the next section, we will discuss the process of germinating gerbera daisy seeds, so let’s move on!
Germinating Gerbera Daisy Seeds
Germinating gerbera daisy seeds is an exciting process that allows you to witness the transformation from a tiny seed to a seedling. Follow these steps to ensure a successful germination process for your gerbera daisy seeds:
1. Choose quality seeds: Start by selecting high-quality gerbera daisy seeds from a reputable source. Look for fresh seeds that have a high germination rate. Check the seed package or supplier’s information for any specific instructions on germination.
2. Pre-soak the seeds: Some gardeners recommend pre-soaking gerbera daisy seeds before planting to promote faster germination. To do this, place the seeds in a small container or a damp paper towel and let them soak for 24 hours. This can help soften the seed coat and encourage quicker sprouting.
3. Prepare the seed starting mix: Fill a seed tray or small pots with a well-draining seed starting mix. This mix should be lightweight, sterile, and provide good moisture retention. Avoid using regular garden soil, as it may compact and hinder root development.
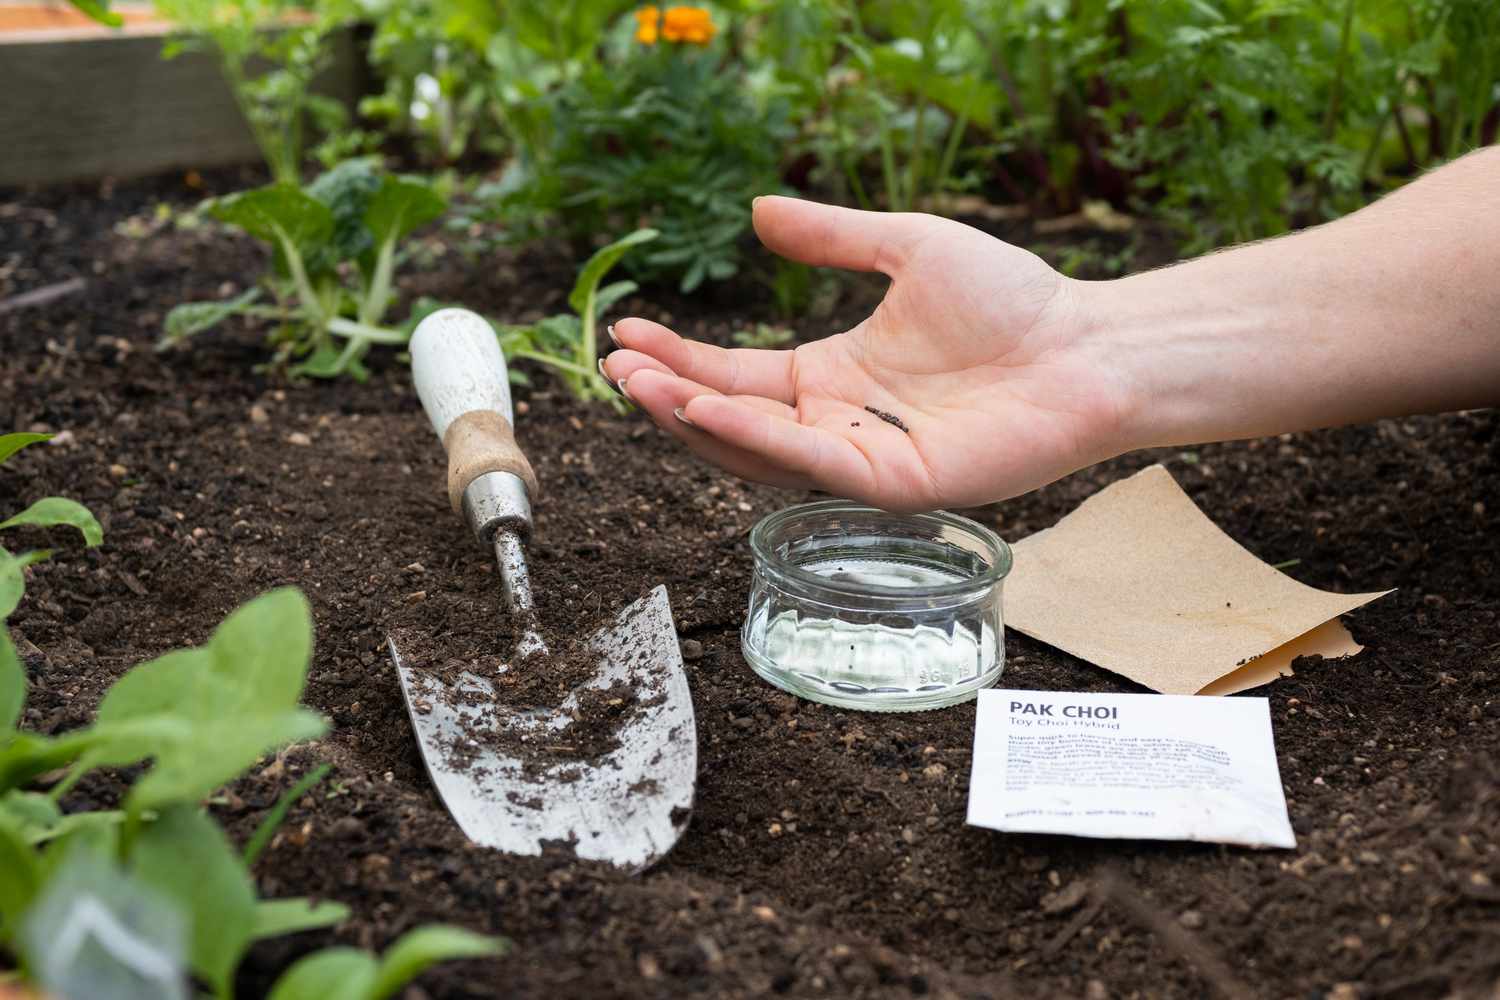
4. Sow the seeds: Make small holes or depressions in the seed starting mix using your finger or a dibber. Place one or two gerbera daisy seeds in each hole, ensuring they are spaced evenly. Gently cover the seeds with a thin layer of the seed starting mix to provide adequate coverage while still allowing for air circulation.
5. Maintain the right temperature and moisture: Gerbera daisy seeds require consistent moisture and warm temperatures for successful germination. Place the seed tray or pots in a warm location, ideally between 70 to 75 degrees Fahrenheit (21 to 24 degrees Celsius). Use a plastic dome or plastic wrap to cover the tray or pots to create a humid environment, retaining moisture.
6. Provide indirect light: Gerbera daisy seeds need light to germinate, but direct sunlight can be too intense and may dry out the soil. Place the seed tray or pots in a location that receives bright but indirect light. You can also use fluorescent grow lights to provide the necessary light intensity.
7. Maintain moisture levels: Check the moisture level of the seed starting mix regularly. It should be consistently moist but not waterlogged. Avoid letting the soil completely dry out or become overly saturated, as this can lead to poor germination or damping-off disease. Use a spray bottle or a misting system to water gently and keep the soil evenly moist.
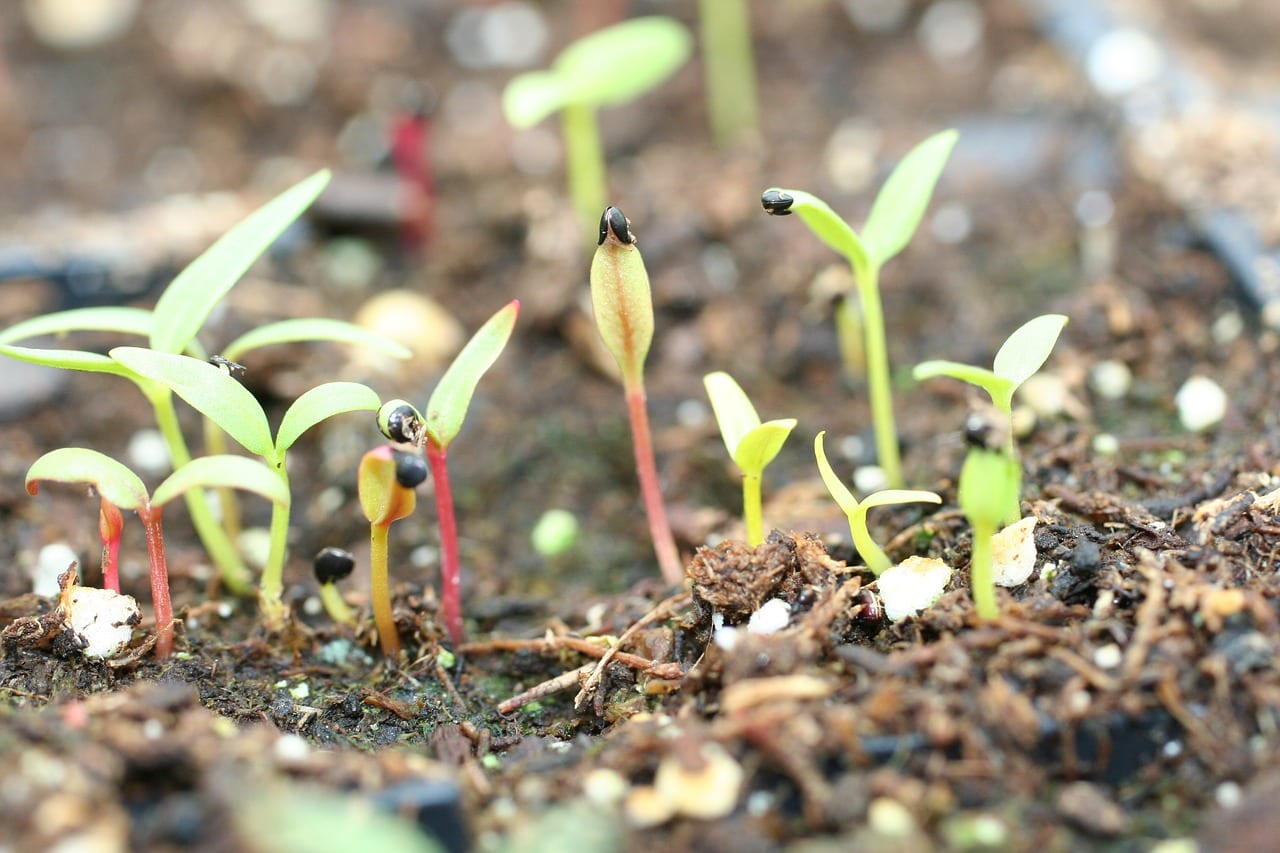
8. Be patient: Gerbera daisy seeds can take anywhere from one to three weeks to germinate, so be patient during this time. Keep a close eye on the seed tray or pots, looking for signs of germination such as the emergence of tiny green seedlings.
By following these steps and providing the right conditions for germination, you will soon see your gerbera daisy seeds sprouting into seedlings. Once the seedlings have emerged and developed a few sets of true leaves, they are ready for the next stage: transplanting. In the next section, we will discuss how to transplant gerbera daisy seedlings, so let’s move on!
Plant gerbera daisy seeds indoors 8-10 weeks before the last frost date in your area. They need warmth to germinate, so use a heating mat if necessary. Transplant outdoors after the last frost.
Transplanting Gerbera Daisy Seedlings
Once your gerbera daisy seedlings have developed a few sets of true leaves and are strong enough to handle, it’s time to transplant them into their permanent growing location. Transplanting gerbera daisy seedlings properly will ensure their continued growth and success. Follow these steps to transplant your gerbera daisy seedlings:
1. Choose the right location: Select a location in your garden that receives full sun for at least six to eight hours a day. Gerbera daisies thrive in bright sunlight and need ample light to produce vibrant blooms. Ensure that the soil in the chosen area is well-draining, as gerbera daisies dislike soggy conditions.
2. Prepare the planting hole: Dig a hole that is slightly larger than the root ball of each seedling. Make sure the hole is deep enough to accommodate the roots without bending or crowding them. Space the holes at least 12 to 18 inches apart, as gerbera daisies can spread out as they grow.
3. Transfer the seedlings: Gently remove the gerbera daisy seedlings from their original containers or trays. Be careful not to damage the delicate roots or break the stems. Hold the seedling by the leaves or root ball, avoiding touching the stem. Place each seedling carefully into the prepared hole, ensuring that it sits at the same depth as it was in the seed tray or pot.
4. Backfill and firm the soil: Fill the hole with soil, gently pressing it around the root ball to eliminate air pockets. Avoid compacting the soil too firmly, as this can hinder water drainage. Ensure that the seedling is secure and upright in the hole.
5. Water thoroughly: After transplanting, give the gerbera daisy seedlings a thorough watering to help settle the soil around the roots. Water gently and deeply, making sure the entire root zone is moistened. This will help the seedlings establish themselves in their new location.
6. Provide ongoing care: After transplanting, continue to provide regular care for your gerbera daisy seedlings. Monitor soil moisture and water as needed to keep the soil evenly moist but not waterlogged. Apply a layer of mulch around the seedlings to help conserve moisture and suppress weeds.
7. Protect from extreme weather conditions: If you transplant your gerbera daisy seedlings during a hot or dry period, it’s important to provide some shade or protection until they become more established. You can use shade cloth, row covers, or even homemade sunshades to shield the seedlings from intense sunlight or strong winds.
By following these steps, you can transplant your gerbera daisy seedlings successfully and ensure their smooth transition into the garden. With proper care, your seedlings will continue to grow and flourish, eventually producing the beautiful blooms that gerbera daisies are known for. In the next section, we will discuss how to care for gerbera daisies, so let’s keep going!
Read more: How To Grow Gerbera Daisy From Seed
Caring for Gerbera Daisies
Gerbera daisies require regular care to ensure their health, growth, and abundant blooming. By following these guidelines, you can provide the necessary care that your gerbera daisies need:
1. Watering: Gerbera daisies prefer moist soil, so regular watering is essential. Water deeply and thoroughly, ensuring the entire root zone is moistened. Avoid overwatering or allowing the soil to become waterlogged, as this can lead to root rot. Aim for consistent moisture, but allow the soil to dry out slightly between waterings.
2. Fertilizing: Gerbera daisies benefit from regular feeding to promote healthy growth and vibrant blooms. Use a balanced, slow-release fertilizer or a water-soluble fertilizer specifically formulated for flowering plants. Follow the product instructions for application rates and frequency. Generally, fertilizing every four to six weeks during the growing season is recommended.
3. Deadheading: To encourage continuous blooming, remove faded flowers through deadheading. This involves cutting or pinching off the spent blooms at the base of the stem. Deadheading redirects the plant’s energy towards new growth and flowering, promoting a longer blooming period.
4. Pruning: Pruning gerbera daisies can help maintain their shape, control their size, and encourage bushier growth. Remove any dead, damaged, or diseased leaves or stems. You can also selectively prune to remove overcrowded or unruly growth. Pruning should be done in early spring or after the main blooming period.
5. Protecting from pests and diseases: Keep an eye out for common pests such as aphids, spider mites, and whiteflies. Regularly inspect your gerbera daisies for any signs of infestation, such as discoloration, distorted leaves, or webbing. Treat pest problems promptly using organic or chemical controls. Additionally, be aware of fungal diseases such as powdery mildew and botrytis. Provide good air circulation and avoid overhead watering to minimize the risk of fungal infections.
6. Providing shade in extreme temperatures: Gerbera daisies prefer moderate temperatures and can struggle in extremely hot or cold conditions. During heatwaves, provide some shade or partial shade using shade cloth or umbrellas. In colder regions, protect the plants from frost by covering them with frost blankets or moving containers indoors.
7. Dividing and repotting: Over time, gerbera daisies may become crowded and benefit from division and repotting. This is typically done every two to three years in early spring. Gently lift the plant from the ground or container, divide the root ball into smaller sections, and replant them in well-draining soil. Repotting can also help rejuvenate the plants and encourage new growth.
8. Winter care: In regions with cold winters, gerbera daisies are often grown as annuals or container plants. If you want to overwinter them, bring potted plants indoors before the first frost and place them in a cool, bright location. Reduce watering and allow the plants to go into a dormant state. Resume regular care in the spring when temperatures warm up.
By providing proper care, your gerbera daisies will reward you with stunning blooms and vibrant colors throughout the growing season. Regular watering, fertilizing, deadheading, and controlling pests and diseases are key practices to keep your gerbera daisies thriving. In the next section, we will discuss common problems that you may encounter while growing gerbera daisies and provide solutions to address them. Stay with us!
Common Problems and Solutions
While gerbera daisies are relatively easy to grow, they can face some common problems. By being aware of these issues and implementing appropriate solutions, you can help your gerbera daisies thrive. Let’s explore some common problems and their solutions:
1. Fungal diseases: Gerbera daisies are susceptible to fungal diseases such as powdery mildew and botrytis. To prevent these diseases, provide good air circulation by spacing the plants adequately and avoiding overcrowding. Water at the base of the plants to keep the foliage dry. If fungal diseases do occur, treat them early with appropriate fungicides following the product instructions.
2. Insect infestations: Aphids, spider mites, and whiteflies can occasionally infest gerbera daisies. Regularly inspect the plants for signs of pests such as distorted leaves, webbing, or tiny insects. Use insecticidal soaps or neem oil to control these pests, applying them directly to the affected areas.
3. Root rot: Overwatering or poorly-draining soil can lead to root rot in gerbera daisies. To prevent this, ensure that the soil is well-draining and that water does not collect around the roots. Allow the soil to dry out slightly between watering and avoid letting the plants sit in standing water.
4. Poor blooming: If your gerbera daisies are not producing abundant blooms, it could be due to inadequate sunlight, insufficient nutrients, or overcrowding. Ensure that the plants receive at least six to eight hours of full sun per day. Fertilize regularly with a balanced fertilizer to provide the necessary nutrients. If overcrowding is an issue, consider dividing and repotting the plants or providing more space in the garden.
5. Yellowing leaves: Yellowing leaves can be a sign of various issues, including overwatering, underwatering, or nutrient deficiencies. Check the soil moisture level and adjust your watering accordingly. Ensure that the plants are receiving enough sunlight and that the soil is well-draining. If nutrient deficiencies are suspected, consider using a balanced fertilizer or supplementing with micronutrients specific to gerbera daisies.
6. Poor growth: Slow or stunted growth can be caused by several factors, including inadequate light, poor soil quality, or planting in unsuitable conditions. Ensure that the plants are receiving enough sunlight and that the soil is well-prepared with organic matter. Check the pH level of the soil and adjust if necessary. Consider planting in raised beds or containers if the soil quality is poor.
7. Lack of blooms: If your gerbera daisies are not blooming, it could be due to insufficient sunlight, improper pruning, or nutrient deficiencies. Ensure that the plants receive enough sunlight and prune them appropriately to encourage bushier growth and bud formation. Fertilize with a bloom-boosting fertilizer high in phosphorus to promote flower production.
By addressing these common problems and implementing the appropriate solutions, you can overcome challenges and help your gerbera daisies thrive. Regular monitoring, proper care, and timely intervention will ensure that your plants stay healthy and vibrant. In the next section, we will wrap up our discussion and summarize the key points. Stay tuned!
Conclusion
Growing gerbera daisies from seeds can be a rewarding and enjoyable experience. By following the right techniques and providing proper care, you can watch these beautiful flowers bloom and brighten up your garden. Here’s a recap of the key points to remember:
– Choose the right time to plant gerbera daisy seeds based on your local climate and growing season. Consider starting seeds indoors or direct sowing outdoors.
– Prepare the soil by ensuring it is well-draining, slightly acidic to neutral in pH, and rich in organic matter.
– Germinate gerbera daisy seeds by soaking them, using a well-draining seed starting mix, and providing proper temperature, light, and moisture conditions.
– Transplant seedlings into a sunny location with well-draining soil, giving them enough space to grow.
– Care for gerbera daisies by watering consistently, fertilizing regularly, deadheading spent blooms, and addressing common problems such as pests, diseases, and poor growth.
– Lastly, enjoy the beauty of your gerbera daisies and the vibrant blooms they produce throughout the growing season.
Remember, gardening is a learning experience, and each season provides opportunities to improve your skills and knowledge. Experiment with different techniques, varieties, and growing conditions to find what works best for your garden.
Whether you choose to grow gerbera daisies in the ground or in containers, their cheerful colors and charming blooms will undoubtedly bring joy and beauty to your outdoor space. So, roll up your sleeves, get your hands dirty, and embark on the journey of growing gerbera daisies from seeds. Happy gardening!
Ready to spruce up your garden even further? After mastering the art of planting Gerbera daisies, why not enhance your outdoor space with some creative boundaries? Whether you're looking for privacy, beauty, or both, our guide on unique garden fence options will offer inspiration and practical advice. With designs ranging from classic to contemporary, find fencing ideas that not only secure your space but also complement its beauty. Dive into our suggestions and transform your garden into a well-defined paradise.
Frequently Asked Questions about When To Plant Gerbera Daisy Seeds
Was this page helpful?
At Storables.com, we guarantee accurate and reliable information. Our content, validated by Expert Board Contributors, is crafted following stringent Editorial Policies. We're committed to providing you with well-researched, expert-backed insights for all your informational needs.

0 thoughts on “When To Plant Gerbera Daisy Seeds”