Home>Garden Essentials>How To Plant Gerbera Daisies Seeds
Garden Essentials
How To Plant Gerbera Daisies Seeds
Modified: August 28, 2024
Learn how to plant Gerbera daisies seeds in your garden and enjoy vibrant blooms all season. Step-by-step guide and expert tips for successful gardening.
(Many of the links in this article redirect to a specific reviewed product. Your purchase of these products through affiliate links helps to generate commission for Storables.com, at no extra cost. Learn more)
Introduction
Welcome to the wonderful world of gardening! If you are looking to add a burst of color and beauty to your garden, planting gerbera daisies from seeds is an excellent choice. Gerbera daisies are known for their vibrant petals and long-lasting blooms, making them a favorite among gardeners.
In this article, we will guide you through the process of planting gerbera daisy seeds, from choosing the right seeds to harvesting and storage. Whether you are a seasoned gardener or a beginner, these tips and techniques will help you successfully grow these stunning flowers in your own backyard.
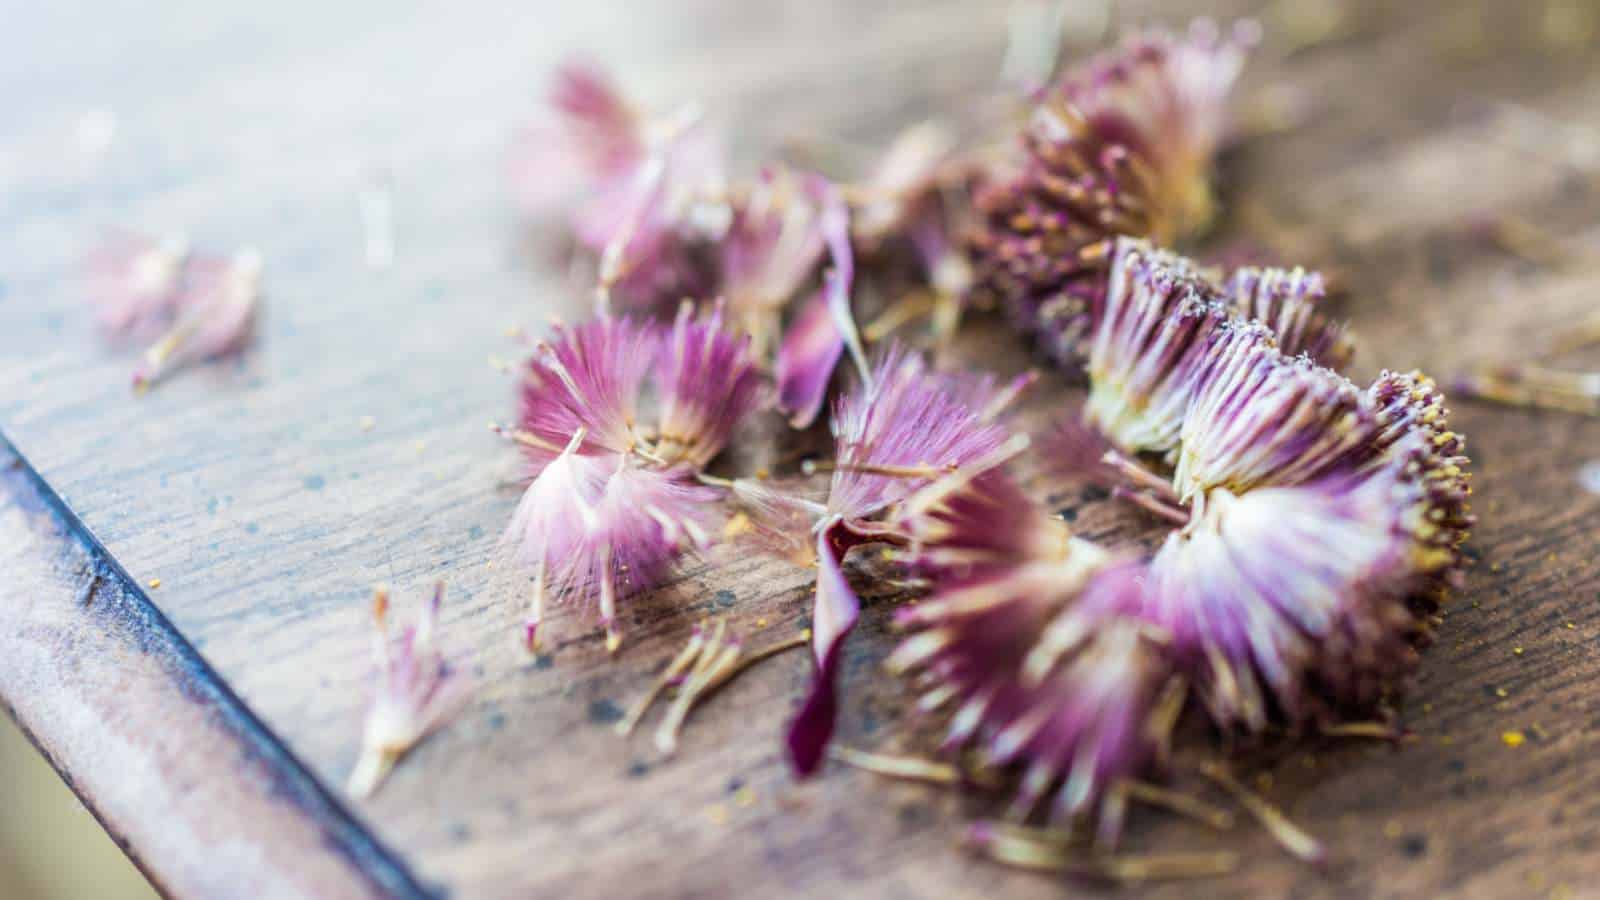
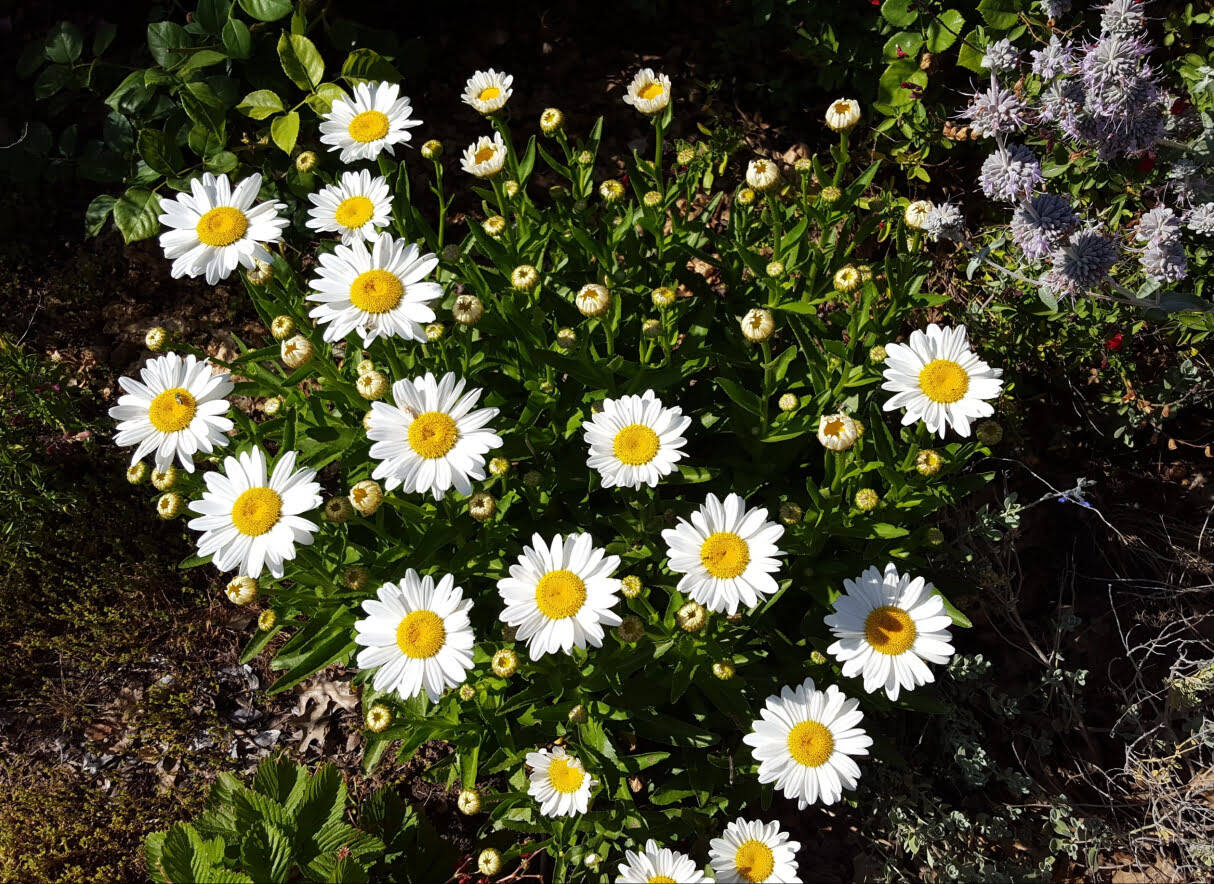
Before we dive into the steps, let’s learn a bit more about gerbera daisies. These flowering plants belong to the Asteraceae family and are native to South Africa. They come in a wide range of colors, including red, pink, yellow, orange, and white. Gerbera daisies are known for their large, daisy-like blooms with a prominent central disk of tiny florets.
Growing gerbera daisies from seeds can be a rewarding experience, as it allows you to witness the entire life cycle of these beautiful flowers. It also gives you the opportunity to experiment with different varieties and colors.
Now that we have piqued your interest, let’s get started on the journey of planting gerbera daisy seeds!
Key Takeaways:
- Choose high-quality gerbera daisy seeds based on variety, freshness, and germination rate for successful growth. Consider pelleted seeds for easier handling and precise sowing.
- Provide optimal growing conditions for gerbera daisies, including sunlight, watering, fertilizing, and protection against pests and diseases, to ensure vibrant blooms and plant longevity.
Read more: When To Plant Gerbera Daisy Seeds
Choosing the Right Seeds
The first step to successfully grow gerbera daisies from seeds is to select high-quality seeds. With so many varieties available, it’s important to choose seeds that are well-suited for your gardening needs.
When selecting gerbera daisy seeds, consider the following factors:
- Variety: Gerbera daisies come in a wide range of colors and petal forms. Decide on the specific variety you want to grow, whether it’s a single-flowered or double-flowered type, and choose the seeds accordingly.
- Source: Purchase seeds from a reputable supplier or nursery to ensure their quality and viability.
- Freshness: Check the packaging for the seed’s freshness date. Fresh seeds have a higher germination rate compared to older ones.
- Germination rate: Look for seeds with a high germination rate. This information is typically indicated on the seed packet. Higher germination rates increase your chances of successful seedling establishment.
Additionally, you can consider buying pelleted seeds. Pelleted seeds have a clay or other protective coating that makes them larger and easier to handle. This coating also allows for more precise sowing, which can be beneficial if you’re new to seed starting.
Once you have your gerbera daisy seeds ready, it’s time to prepare the soil for planting. Creating the right environment for your seeds will give them the best chance of germinating and growing into healthy, vibrant plants.
Preparing the Soil
Before sowing gerbera daisy seeds, it’s crucial to prepare the soil properly. Gerbera daisies thrive in well-draining soil that is rich in organic matter. Follow these steps to ensure your soil is ready for planting:
- Choose the right location: Gerbera daisies prefer full sun or partial shade, so select a location that receives at least 6 hours of direct sunlight per day.
- Clear the area: Remove any weeds, rocks, or debris from the planting area. This will give your gerbera daisies a clean start and prevent competition for nutrients.
- Loosen the soil: Use a garden fork or tiller to loosen the soil to a depth of about 6 inches. This will improve drainage and allow the roots to penetrate easily.
- Amend the soil: Mix in organic matter such as compost or well-rotted manure to improve the soil’s fertility and structure. This will provide essential nutrients and enhance moisture retention.
- Adjust pH if necessary: Gerbera daisies prefer slightly acidic to neutral soil with a pH range of 6.0 to 7.0. Test the soil pH using a soil testing kit and make adjustments if needed.
Once the soil is prepared, it’s time to sow the gerbera daisy seeds and give them the optimal growing conditions.
Sowing Gerbera Daisy Seeds
Now that your soil is prepared, it’s time to sow the gerbera daisy seeds. Follow these steps to ensure successful germination:
- Timing: Gerbera daisy seeds are typically sown in early spring, but you can also start them indoors 10-12 weeks before the last frost date. Check the specific recommendations on the seed packet for the best timing in your region.
- Prepare seed trays: Fill seed trays or containers with a well-draining seed starting mix. Moisten the mix slightly before sowing the seeds.
- Sow the seeds: Place the gerbera daisy seeds on the surface of the soil. Lightly press them down with your fingers, but do not bury them as they require light for germination.
- Mist the seeds: Use a spray bottle to mist the seeds with water. This will settle them into the soil and provide the necessary moisture for germination.
- Cover the trays: Cover the seed trays with a clear plastic lid or a plastic wrap to create a greenhouse-like environment. This will help retain moisture and promote germination.
- Provide warmth and light: Place the seed trays in a warm location with a temperature of around 70-75°F (21-24°C). Gerbera daisy seeds require warmth to germinate. You can also use a seedling heat mat to provide consistent bottom heat.
- Monitor moisture: Check the seed trays regularly and mist them with water as needed to keep the soil consistently moist, but not waterlogged.
- Be patient: Gerbera daisy seeds can take anywhere from 10 days to several weeks to germinate. Be patient and continue to provide the optimal growing conditions.
Once the seedlings have emerged and have grown a few sets of leaves, it’s time to transplant them into individual pots or directly into the garden. We will discuss the proper growing conditions in the next section.
Providing the Perfect Growing Conditions
Gerbera daisies thrive when provided with the right growing conditions. Here are some essential factors to consider:
- Sunlight: Gerbera daisies require full sun to partial shade, with at least 6 hours of direct sunlight per day. Ensure they are placed in a location that receives adequate sunlight for optimal growth and blooming.
- Temperature: Gerbera daisies prefer mild temperatures between 65-75°F (18-24°C). Protect them from extreme heat or cold, as they are sensitive to temperature fluctuations.
- Soil: Gerbera daisies thrive in well-draining soil rich in organic matter. Ensure the soil pH is between 6.0 to 7.0. Use a soil testing kit to monitor and adjust the pH if necessary.
- Watering: Keep the soil consistently moist, but not waterlogged. Water the plants deeply when the top inch of soil feels dry. Avoid overhead watering to prevent diseases.
- Fertilization: Feed the gerbera daisies with a balanced, water-soluble fertilizer every 4-6 weeks during the growing season. Follow the package instructions for proper application rates.
- Air circulation: Ensure adequate air circulation around the plants to reduce the risk of fungal diseases. Avoid overcrowding and provide space between the plants.
- Deadheading: Regularly remove faded blooms by deadheading. This will encourage continuous blooming and prevent seed formation.
- Mulching: Apply a layer of organic mulch around the base of the plants to help conserve moisture, suppress weed growth, and regulate soil temperature.
- Support: As the plants grow, provide support with stakes or a trellis to prevent leaning or breakage, especially in areas with strong winds.
By providing the perfect growing conditions, you can ensure that your gerbera daisies will thrive and reward you with their stunning blooms throughout the growing season. Up next, we will discuss the importance of watering and fertilizing.
Plant gerbera daisy seeds in well-draining soil, keep them moist but not waterlogged, and place them in a sunny spot. Gerbera daisies prefer temperatures around 70-75°F for optimal growth.
Read more: How To Grow Gerbera Daisy From Seed
Watering and Fertilizing
Proper watering and fertilizing are essential for the healthy growth and blooming of gerbera daisies. Here are some guidelines to follow:
Watering:
Gerbera daisies require consistent moisture, but it’s important to avoid overwatering, as it can lead to root rot. Here are some watering tips:
- Water deeply: Ensure that water penetrates the root zone by watering the plants deeply. This encourages the roots to grow deeper and promotes plant stability.
- Check soil moisture: Regularly check the soil moisture by inserting your finger into the soil. Water only when the top inch of soil feels dry. Avoid letting the soil become overly dry or waterlogged.
- Morning watering: Water the plants in the morning to allow any excess moisture on the leaves to dry off during the day. This helps prevent fungal diseases.
- Avoid overhead watering: Water the base of the plants, avoiding overhead watering whenever possible. Wet foliage can increase the risk of diseases.
- Use mulch: Apply a layer of mulch around the plants to help retain moisture in the soil and reduce the frequency of watering.
Fertilizing:
Gerbera daisies benefit from regular fertilization to promote healthy growth and abundant blooms. Here are some fertilizing tips:
- Use a balanced fertilizer: Choose a balanced, water-soluble fertilizer with equal ratios of nitrogen (N), phosphorus (P), and potassium (K). This provides essential nutrients for overall plant health.
- Follow package instructions: Read and follow the instructions on the fertilizer package for application rates and frequency. Over-fertilization can cause damage to the plants, so apply the fertilizer as directed.
- Apply during the growing season: Fertilize gerbera daisies every 4-6 weeks during the active growing season, typically spring through summer. This provides a continuous source of nutrients for optimal growth and blooming.
- Avoid fertilizing in winter: Avoid fertilizing in the winter months when the plants are dormant.
- Water after fertilizing: After applying fertilizer, water the plants thoroughly to ensure the nutrients are evenly distributed and absorbed by the roots.
By watering your gerbera daisies appropriately and providing them with the necessary nutrients, you will help them thrive and produce vibrant, long-lasting blooms. Next, we will discuss how to protect your plants from pests and diseases.
Protecting Against Pests and Diseases
Just like any other plant, gerbera daisies can be susceptible to pests and diseases. It’s important to be proactive in protecting your plants to ensure their health and longevity. Here are some tips:
Pest Prevention:
- Aphids: Monitor your plants regularly for aphids, small insects that feed on the sap of the plant. If infested, use insecticidal soap or a strong stream of water to wash them off the leaves.
- Slugs and snails: These garden pests can damage the foliage of gerbera daisies. Set up beer traps or use organic slug pellets to control their population.
- Spider mites: These tiny pests can cause yellowing and webbing on the leaves. Regularly mist the foliage with water to increase humidity and discourage spider mites.
- Thrips: Thrips are small insects that feed on the petals and leaves, causing damage. Use sticky traps or introduce natural predators like ladybugs to control their population.
Disease Prevention:
- Powdery mildew: Powdery mildew is a common fungal disease that appears as a white powdery coating on the leaves. Provide good air circulation around the plants and avoid overhead watering to reduce the risk of powdery mildew.
- Botrytis blight: Botrytis blight, or gray mold, can affect the flowers and leaves of gerbera daisies. Remove any infected plant material and ensure proper spacing between plants to improve air circulation.
- Crown rot: Crown rot is a fungal disease that affects the base of the plant. Avoid overwatering and provide well-draining soil to prevent the development of crown rot.
- Leaf spot: Leaf spot appears as small, dark spots on the leaves. Remove any infected leaves and avoid overhead watering to minimize leaf spot development.
Regularly inspect your gerbera daisies for signs of pests or diseases. Early detection and prompt action can help prevent major damage to your plants. In case of severe infestations or infections, consult a local garden center or a plant professional for appropriate treatment.
Now that you are equipped with the knowledge to protect your gerbera daisies, let’s move on to the next step: harvesting and storage.
Harvesting and Storage
Harvesting gerbera daisies at the right time will ensure you enjoy their fresh blooms for longer. Here’s how to properly harvest and store them:
Harvesting:
- Blooming stage: Wait until the gerbera daisy blooms are fully open and at their peak before harvesting. This ensures that you will have the most vibrant and long-lasting flowers.
- Choose the right time of day: Harvest in the morning or evening when the temperatures are cooler. Avoid harvesting in the hot afternoon sun to prevent wilting.
- Use sharp, clean tools: Use sharp pruning shears or a knife to cut the stems at a 45-degree angle. Ensure your tools are clean to prevent the spread of diseases.
- Cut long stems: Cut the stems where they join the main plant, ensuring that you have a good length for arranging them in bouquets or displays.
- Remove excess foliage: Strip off any leaves that would be below the water level when placing the cut stems in a vase. This prevents the foliage from decomposing and prolongs the lifespan of the flowers.
Storage:
- Prepare a vase: Fill a clean vase with fresh water and add floral preservative to prolong the vase life of your gerbera daisies.
- Trim the stems: Trim the bottom of the stems at a 45-degree angle before placing them in the vase. This allows for better water absorption.
- Change the water regularly: Refresh the water in the vase every two to three days to prevent bacterial growth and maintain the flowers’ freshness.
- Keep away from direct sunlight and drafts: Place the vase in a cool, well-ventilated area away from direct sunlight and drafts that can cause the flowers to wilt prematurely.
- Consider drying or pressing: If you want to preserve your gerbera daisy blooms for crafts or decorations, you can dry them by hanging them upside down in a dry, dark place, or press them between heavy books.
With proper harvesting and storage, you can enjoy the beauty of gerbera daisies for an extended period, whether in a fresh arrangement or as dried flowers.
Congratulations on successfully growing and harvesting your gerbera daisies! These stunning blooms will surely brighten up your garden and bring joy to your home. Remember to save some seeds from your mature plants to continue the cycle of growth and beauty in future seasons.
Happy gardening!
Conclusion
Congratulations on completing your journey to learn how to plant gerbera daisy seeds and successfully grow these beautiful flowers in your garden. From choosing the right seeds to providing the perfect growing conditions, you have gained valuable knowledge to ensure the health and vibrancy of your gerbera daisies.
By carefully selecting high-quality seeds, preparing the soil adequately, and sowing the seeds at the right time, you set the foundation for successful germination. Providing optimal growing conditions, including sunlight, proper watering, and regular fertilizing, helped your gerbera daisies thrive and bloom magnificently.
You also learned about the importance of protecting your plants from pests and diseases through preventative measures and early intervention. By monitoring your gerbera daisies regularly and taking appropriate action when needed, you ensured the longevity and beauty of your plants.
Harvesting your gerbera daisies at the right time and properly storing them allowed you to enjoy their vibrant blooms for longer. Whether adorning your garden or brightening up your home with fresh bouquets, these eye-catching flowers have surely brought joy and visual delight.
As a gardener, your journey doesn’t end here. Take the time to appreciate the fruits of your labor, and continue to nurture your gerbera daisies to keep them healthy and thriving. Remember to save seeds from mature plants for future growing seasons and share the beauty of gerbera daisies with others.
Thank you for joining us on this gardening adventure. We hope you found this guide informative and inspiring. May your garden continue to flourish with the colorful and captivating presence of gerbera daisies.
Happy gardening!
Frequently Asked Questions about How To Plant Gerbera Daisies Seeds
Was this page helpful?
At Storables.com, we guarantee accurate and reliable information. Our content, validated by Expert Board Contributors, is crafted following stringent Editorial Policies. We're committed to providing you with well-researched, expert-backed insights for all your informational needs.


0 thoughts on “How To Plant Gerbera Daisies Seeds”