Home>Garden Essentials>When To Plant Seeds Outside

Garden Essentials
When To Plant Seeds Outside
Modified: March 15, 2024
Wondering when to plant seeds outside in your garden? Find out the optimal time and best practices for successful seed planting in your outdoor garden.
(Many of the links in this article redirect to a specific reviewed product. Your purchase of these products through affiliate links helps to generate commission for Storables.com, at no extra cost. Learn more)
Introduction
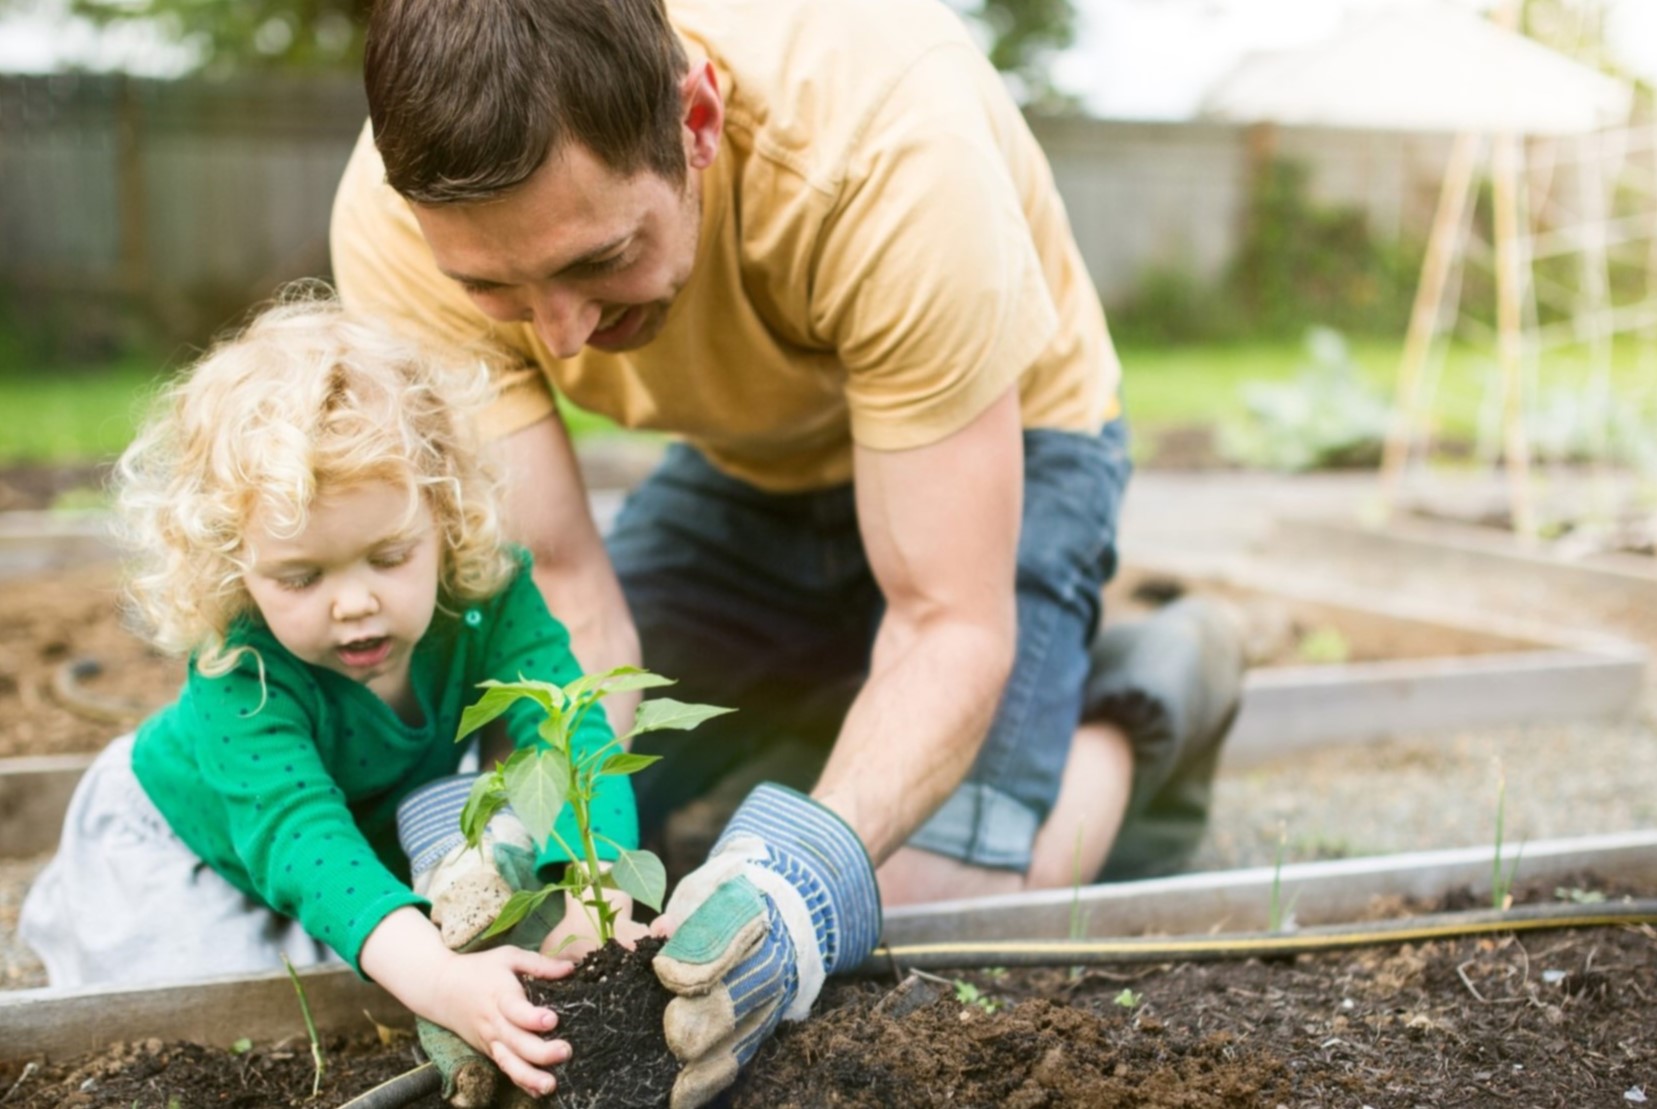
Planting seeds outside is an exciting and rewarding endeavor for any gardening enthusiast. It allows you to witness the beauty of nature firsthand and experience the joy of growing your own plants, flowers, or vegetables. However, successful outdoor seed planting requires careful planning and consideration of various factors to ensure optimal growth and yield.
In this article, we will explore the important factors to consider before planting seeds outside, including temperature and weather conditions, frost dates, soil preparation, seed selection, planting techniques, caring for outdoor seedlings, and protection from pests and diseases. By understanding these key elements, you can increase your chances of a successful outdoor gardening experience.
So, whether you are a novice gardener or an experienced green thumb, let’s delve into the world of planting seeds outside and discover the secrets to a thriving garden.
Key Takeaways:
- Timing is crucial for outdoor seed planting. Consider factors like sunlight, soil quality, and frost dates to create an optimal environment for your seeds to flourish.
- Proper soil preparation and seed selection are key for successful outdoor seed planting. Understanding the needs of your seeds and providing the right conditions will lead to a thriving garden.
Read more: When To Plant Cosmos Seeds Outside
Factors to consider before planting seeds outside
Before sowing seeds directly into the ground, it’s crucial to consider several factors that can impact the growth and success of your plants. By taking these factors into account, you can create an optimal environment for your seeds to flourish.
1. Sunlight: Most plants require a minimum of six hours of direct sunlight per day. Observe the location where you plan to plant your seeds and ensure it receives adequate sunlight. Additionally, take note of any potential shade from nearby structures or trees that could obstruct sunlight.
2. Soil quality: The quality of your soil greatly affects plant growth. Conduct a soil test to determine its pH level and nutrient content. Based on the results, amend the soil with organic matter, such as compost or well-rotted manure, to improve its fertility and drainage.
3. Water drainage: Ensure that the area where you plant your seeds has proper water drainage. Excessive water accumulation can lead to rotting and other issues. If the soil is overly compacted or clayey, consider improving drainage by incorporating organic matter or creating raised beds.
4. Air circulation: Adequate air circulation is essential for preventing the buildup of moisture and reducing the risk of fungal diseases. Avoid planting seeds in areas with poor air circulation, such as low-lying pockets or spots surrounded by dense vegetation.
5. Microclimates: Microclimates are localized climate conditions within a larger area. Observe your garden for different microclimates that may exist due to factors such as sun exposure, wind patterns, or proximity to buildings. Consider these microclimates when selecting plants and their optimal planting locations.
6. Planting techniques: Different plants have different requirements for seed planting. Some seeds need to be soaked or scarified before planting, while others require stratification or specific planting depths. Research the specific needs of the seeds you intend to plant and follow the recommended planting techniques.
By carefully considering these factors, you will create a favorable environment for your seeds to germinate and grow into healthy plants. Taking the time to prepare and plan will greatly increase your chances of a successful gardening season.
Ideal temperature and weather conditions
The success of outdoor seed planting greatly depends on the temperature and weather conditions. Different plants have different temperature preferences, and understanding these preferences is crucial for proper germination and growth.
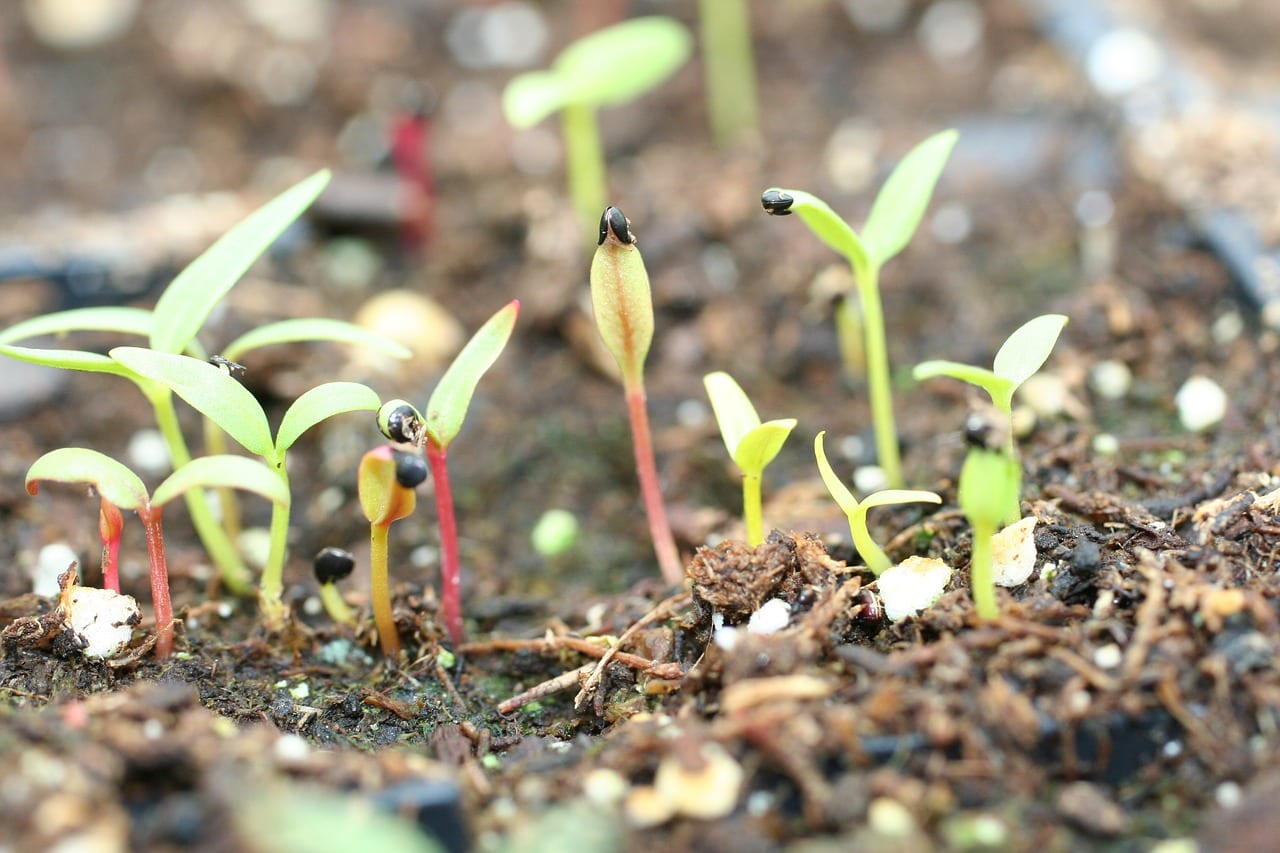
1. Minimum soil temperature: It’s important to know the minimum soil temperature required for seed germination. Planting seeds when the soil is too cold can result in poor germination or even failure. Consult the seed packet or do some research to determine the optimal soil temperature for the seeds you plan to plant.
2. Air temperature: In addition to soil temperature, consider the air temperature when planting seeds. Some plants thrive in cooler temperatures, while others require warmth. For instance, cool-season crops like lettuce and peas prefer temperatures around 55°F (13°C), while warm-season crops like tomatoes and peppers require temperatures above 70°F (21°C).
3. Frost: Frost is a concern for many gardeners, as it can damage or kill young seedlings. Knowing the average last frost date in your region is crucial for planting seeds outside. The last frost date is the approximate date when the risk of frost has passed, and it’s safe to plant tender seedlings outdoors. Consult frost date charts or contact your local agricultural extension office for accurate information.
4. Weather conditions: Pay attention to the weather forecast and avoid planting seeds during extreme weather events like heavy rains, hailstorms, or strong winds. These conditions can damage the delicate seedlings and hinder their growth. Ideally, choose a period with relatively stable weather conditions for successful seed germination and establishment.
It’s worth mentioning that different regions or climates have varying temperature and weather patterns. What may be considered ideal conditions for planting seeds in one area may not be the same for another. Therefore, it’s essential to research and understand the specific requirements for your region or microclimate.
By ensuring the ideal temperature and weather conditions for your seeds, you are setting them up for success right from the start. This attention to detail will help your seeds germinate, establish strong roots, and grow into healthy, thriving plants.
Frost dates
Frost dates play a crucial role in determining the appropriate time to plant seeds outside. Understanding the average last frost date and first frost date in your region will help you plan and maximize the success of your garden.
1. Last frost date: The last frost date refers to the final date when temperatures are expected to drop below freezing in the spring. Planting tender seedlings or sowing seeds outdoors before the last frost date can result in frost damage or even death of the plants. It’s important to wait until after the last frost to ensure safe planting.
2. First frost date: The first frost date indicates the approximate date when temperatures typically drop below freezing in the autumn. Knowing the first frost date is essential for determining when to harvest crops or protect sensitive plants from the cold. It gives you an idea of the growing season length and helps in planning accordingly.
To find out the average frost dates for your specific location, you can consult various resources such as local gardening authorities, agricultural extension offices, or online tools that provide frost date calculators. These resources will provide you with accurate information based on historical data and climate patterns.
It’s important to note that frost dates are averages and may vary from year to year. Weather patterns can fluctuate, and unexpected late frosts or early frosts can occur. Monitoring the weather and being prepared to protect your plants during frosty periods is important for the success of your garden.
Once you have determined the last frost date for your region, you can use it as a guideline for starting seeds indoors or directly sowing seeds outdoors. Counting back from the last frost date, you can calculate the recommended time to start seeds indoors or begin preparing your garden for outdoor planting.
By understanding and adhering to frost dates, you can ensure that your plants have the best chance of thriving. Waiting until after the danger of frost has passed will help you avoid stress, damage, or loss of your precious seedlings, and allow your garden to flourish throughout the growing season.
Soil preparation
Proper soil preparation is vital for creating a nutrient-rich and well-drained environment that will support healthy plant growth. Here are some essential steps to prepare your soil before planting seeds outside:
- Remove weeds and debris: Begin by clearing the area of any weeds, rocks, or debris. Weeds compete with your plants for nutrients and can hinder their growth, so it’s important to remove them before sowing seeds.
- Loosen the soil: Use a garden fork or a tiller to loosen the soil. This will improve aeration and drainage, and make it easier for young roots to penetrate the soil. Avoid over-tilling, as excessive disruption can harm beneficial soil organisms.
- Amend the soil: Assess the quality of your soil by performing a soil test. This will provide information about the pH level and nutrient content. Based on the results, amend the soil with organic matter like compost, well-rotted manure, or peat moss to improve fertility, water retention, and drainage.
- Add nutrients: Depending on the soil test results, you may need to add specific nutrients to create an optimal growing environment. Organic fertilizers or amendments like bone meal, blood meal, or fish emulsion can be used to boost nutrient levels as needed.
- Level and smooth the soil surface: Once the amendments are added, use a rake to level and smooth the soil surface. This will provide an even planting bed for your seeds and promote uniform germination and growth.
Additionally, it’s important to note that different plants have different soil requirements. Some prefer acidic soil, while others thrive in alkaline or neutral soil. Research the specific soil preferences of the seeds you plan to plant and adjust the pH level of your soil accordingly.
By taking the time to prepare your soil properly, you create an optimal foundation for your seeds to grow into healthy plants. The enriched soil will provide the necessary nutrients and a well-drained environment, giving your seeds the best chance for successful germination and robust growth.
Tip: Plant seeds outside after the last frost date for your area. Check the USDA Plant Hardiness Zone map to find your zone and determine the best time to plant.
Read more: How To Plant Poppy Seeds Outside
Choosing the right seeds
Choosing the right seeds is a crucial step in achieving a successful garden. Selecting seeds that are well-suited to your climate, growing conditions, and personal preferences will greatly increase your chances of a bountiful harvest. Here are some factors to consider when choosing seeds:
- Climate suitability: Consider the climate of your region before selecting seeds. Certain plants thrive in specific climates, so choose seeds that are known to perform well in your area. Pay attention to the recommended planting zone information provided on seed packets or consult local gardening resources for guidance.
- Plant type: Determine whether you want to grow flower plants, vegetables, herbs, or a combination of them. This will help you narrow down your options and choose seeds accordingly.
- Growing space: Assess the available space in your garden, whether it’s a small plot, containers, or raised beds. This will help you determine the types and quantities of seeds to purchase. Consider space-saving varieties or compact plants for limited growing areas.
- Growing season: Be aware of the length of your growing season. Some seeds require a longer growing season to reach maturity, so choose varieties that can realistically thrive within the available time frame.
- Disease resistance: Look for seeds that are resistant to common diseases in your area. This will help minimize the risk of plant damage and crop loss.
- Preferred taste and appearance: Consider your personal preferences when choosing seeds. Select varieties that appeal to your taste buds, whether it’s a specific vegetable known for its flavor or a flower with vibrant colors that catch your eye.
- Heirloom vs. hybrid: Decide whether you want to grow heirloom or hybrid seeds. Heirloom seeds are open-pollinated and passed down through generations, while hybrid seeds are a result of controlled crosses between different varieties. Both options have their advantages, so choose according to your preferences.
When purchasing seeds, choose reputable seed suppliers to ensure the quality and authenticity of the seeds. Read reviews, check for certifications, and consider joining local gardening communities for recommendations and seed swaps.
Remember, selecting the right seeds is the foundation of a thriving garden. By considering your climate, available space, personal preferences, and other factors, you set yourself up for a successful growing season and enjoy the fruits (or vegetables!) of your labor.
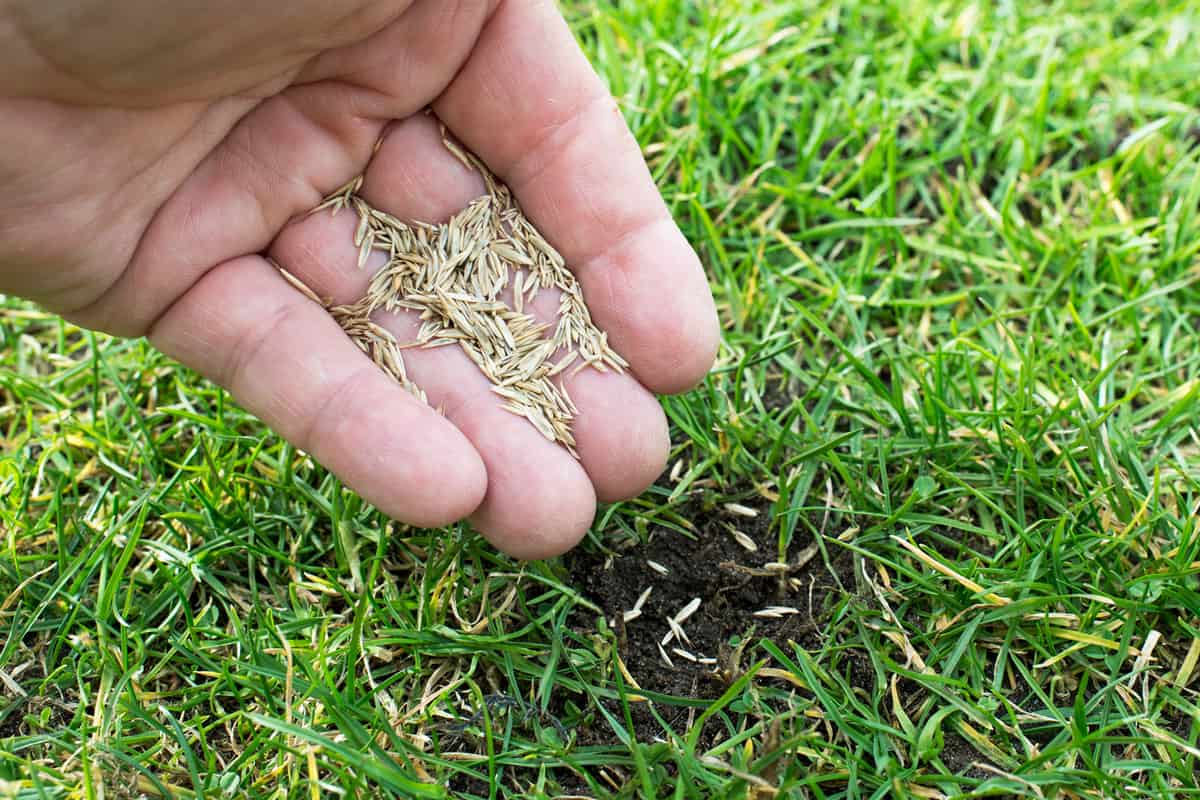
Planting techniques
Proper planting techniques are essential to ensure successful germination and healthy growth of your seeds. Follow these guidelines to maximize the potential of your plants:
- Read seed packets: Carefully read the information provided on the seed packets. It typically includes planting depth, spacing, and specific instructions for each type of seed. Follow these guidelines for optimal results.
- Prepare the planting area: Clear the planting area of any debris, weeds, or rocks. Use a garden fork or a tiller to loosen the soil, allowing for easy root penetration.
- Plant seeds at the right depth: Plant seeds at the recommended depth specified on the seed packet. As a general rule, small seeds are sown shallowly, while larger seeds are planted deeper. Gently pat the soil over the seeds to ensure good seed-to-soil contact.
- Spacing: Provide adequate spacing between seeds or seedlings to allow for proper air circulation and growth. Crowded plants can compete for nutrients and become more susceptible to disease and pests.
- Watering: After planting, water the seeds or seedlings thoroughly to ensure moisture reaches the root zone. Use a gentle spray or a watering can to avoid dislodging the seeds. Keep the soil consistently moist during the germination period.
- Mulching: Applying a layer of organic mulch around your plants helps conserve moisture, suppress weeds, and regulate soil temperature. Mulch also prevents soil compaction and erosion. Use materials like straw, wood chips, or compost as mulch.
- Provide support (if needed): Some plants, such as tomatoes or climbing vines, benefit from support structures like stakes, trellises, or cages. Install these structures at the time of planting to provide support as the plants grow.
It’s important to note that different plants have different planting requirements. Some plants prefer to be started indoors and transplanted later, while others thrive when sown directly in the garden. Research the specific needs of the seeds you’re planting to ensure the appropriate technique.
Finally, keep a record of your planting dates and any observations throughout the growing season. This will help you learn and improve your techniques year after year.
By following proper planting techniques, you provide the best conditions for your seeds to germinate and grow into healthy, productive plants.
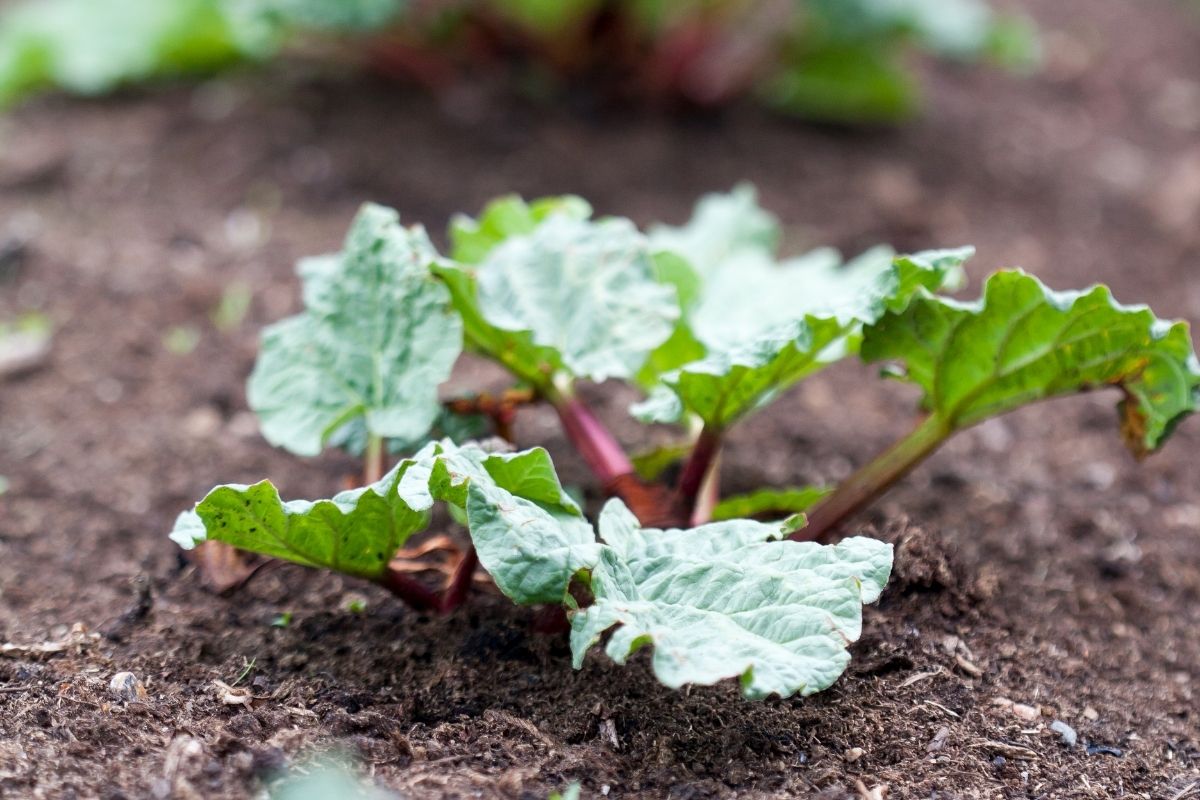
Watering and care for outdoor seedlings
Proper watering and care are essential for the healthy development of outdoor seedlings. Here are some tips to help you maintain optimal moisture levels and provide the necessary care for your young plants:
- Watering: Regular watering is crucial for seedlings as they establish their roots. Water deeply to encourage deep root growth, rather than light, frequent watering that only wets the surface. Aim to keep the soil consistently moist but not waterlogged. Check the moisture level by sticking your finger into the soil about an inch deep. If it feels dry, it’s time to water.
- Morning watering: Watering your seedlings in the morning allows the foliage to dry off during the day, reducing the risk of fungal diseases. It also ensures that the plants are adequately hydrated before the heat of the day.
- Avoid overwatering: Overwatering can lead to root rot and other issues. Always avoid standing water or soggy soil. If the soil is consistently wet, adjust your watering frequency to prevent waterlogged conditions.
- Mulching: Apply mulch around your seedlings to help retain moisture in the soil and prevent weed competition. Mulch also acts as an insulator, protecting the roots from temperature fluctuations.
- Provide shade (if necessary): If seedlings are exposed to intense sunlight or heat, providing temporary shade using shade cloths, row covers, or even umbrellas can help protect them. Gradually remove the shade as the seedlings acclimate to the outdoor conditions.
- Thin seedlings: If your seedlings are too crowded, provide enough space for them to grow. Thin out weaker or excess seedlings according to the recommended spacing on the seed packet. This allows better air circulation and reduces competition for nutrients and sunlight.
- Fertilization: Seedlings may benefit from a diluted organic fertilizer or liquid fertilizer specifically formulated for seedlings. Follow the package instructions and apply fertilizer sparingly to avoid burning the delicate roots.
- Pest and disease control: Monitor your seedlings regularly for signs of pests or diseases. Remove any affected leaves or plants promptly and consider natural pest control methods like hand-picking insects or using organic pest repellents.
- Protection from extreme weather: During severe weather conditions like heavy rain, strong winds, or hail, provide temporary protection for your seedlings using row covers, plastic sheeting, or garden cloches. This will help prevent damage to the young plants.
Observation and attention to your seedlings’ needs are key. Adjust your watering and care routines based on the specific requirements of the plants you are growing and the weather conditions in your area.
By providing proper watering, care, and protection, you are giving your outdoor seedlings the best chance to thrive and grow into strong, healthy plants.
Protection from pests and diseases
Protecting your outdoor seedlings from pests and diseases is crucial for their growth and overall health. Here are some effective methods to keep your plants safe:
- Identify common pests: Research and familiarize yourself with the common pests in your area. Recognize the signs of pest infestations, such as chewed leaves, holes, or small insects on your plants.
- Handpicking: Inspect your seedlings regularly and remove any pests you find by handpicking them off the plants. This method works well for larger pests, such as caterpillars or slugs, that can be easily spotted and removed manually.
- Introduce beneficial insects: Encourage beneficial insects like ladybugs, lacewings, or parasitic wasps, which are natural predators of pests. Planting flowers or herbs that attract these beneficial insects can help establish a balance in your garden ecosystem.
- Use organic pest repellents: Employ natural pest repellents to deter pests from attacking your seedlings. Some commonly used options include neem oil, insecticidal soap, or homemade garlic and chili pepper sprays. Follow the instructions on the product label or make your own natural repellents.
- Netting and barriers: Protect your seedlings from flying insects, birds, or larger pests by covering them with netting, row covers, or plant cages. These physical barriers prevent pests from accessing the plants while still allowing airflow and sunlight to reach them.
- Practice crop rotation: Rotate your crops each year to prevent the buildup of pests and diseases in the soil. This helps disrupt their life cycle and reduces the risk of repeated infestations.
- Healthy soil and plants: Maintain healthy soil and strong plants by providing proper nutrition and watering. Healthy plants are more resistant to pests and diseases. Avoid over-fertilization, which can attract pests and promote excessive plant growth.
- Regular cleaning: Remove any fallen leaves or plant debris from the garden bed, as they can harbor pests and diseases. Proper garden hygiene reduces the chances of infestation and limits the spread of diseases.
- Early detection and prompt action: Regularly inspect your seedlings for any signs of disease, such as spots, wilting, or abnormal growth. If you notice any issues, identify the disease and take appropriate action, such as removing infected plants or applying organic disease control methods.
Remember, prevention is key when it comes to pests and diseases. Creating a healthy and balanced environment for your seedlings will help them withstand potential threats and thrive throughout the growing season.
By implementing these protection strategies, you can minimize the impact of pests and diseases on your seedlings and enjoy a vibrant and productive garden.
Read more: How To Plant Milkweed Seeds Outside
Conclusion
Planting seeds outside is a rewarding experience that allows you to witness the transformation of a tiny seed into a thriving plant. By considering the various factors before planting, such as sunlight, soil quality, watering, and protection from pests and diseases, you can create an optimal environment for your seeds to flourish.
Understanding the ideal temperature and weather conditions, along with frost dates specific to your region, is essential for determining the appropriate timing to plant seeds outdoors. By waiting until after the last frost date and providing the right growing conditions, you give your seeds the best chance of success.
Preparing the soil properly ensures that it is nutrient-rich, well-drained, and conducive to root development. By amending the soil with organic matter and maintaining proper pH levels, you create an optimal foundation for your seeds to grow into healthy plants.
Choosing the right seeds, based on climate suitability, plant type, and personal preferences, sets you on the path to a successful garden. Understanding the specific needs of your selected seeds, such as planting depth and spacing, allows for proper planting techniques and promotes optimal germination and growth.
Providing adequate watering and care is essential for the health of your outdoor seedlings. By watering properly, mulching, thinning seedlings if necessary, and protecting them from extreme weather conditions, you create an environment that supports their growth and development.
Lastly, protecting your seedlings from pests and diseases ensures their overall health and helps maintain a thriving garden. By implementing pest control methods, practicing good garden hygiene, and promoting a balanced ecosystem, you can minimize the impact of pests and diseases on your plants.
In conclusion, successful outdoor seed planting requires attention to detail, proper planning, and consistent care. By considering the factors outlined in this article and following the recommended guidelines, you can set yourself up for a fruitful and beautiful garden. Enjoy the journey from seed to plant, and may your garden flourish with an abundance of vibrant colors, delicious flavors, and an everlasting sense of accomplishment.
Frequently Asked Questions about When To Plant Seeds Outside
Was this page helpful?
At Storables.com, we guarantee accurate and reliable information. Our content, validated by Expert Board Contributors, is crafted following stringent Editorial Policies. We're committed to providing you with well-researched, expert-backed insights for all your informational needs.


0 thoughts on “When To Plant Seeds Outside”