Home>Garden Essentials>When To Plant Pumpkins Seeds
Garden Essentials
When To Plant Pumpkins Seeds
Modified: March 16, 2024
Learn the perfect time to plant pumpkin seeds in your garden and ensure a bountiful harvest. Discover expert tips and advice for successful pumpkin cultivation.
(Many of the links in this article redirect to a specific reviewed product. Your purchase of these products through affiliate links helps to generate commission for Storables.com, at no extra cost. Learn more)
Introduction
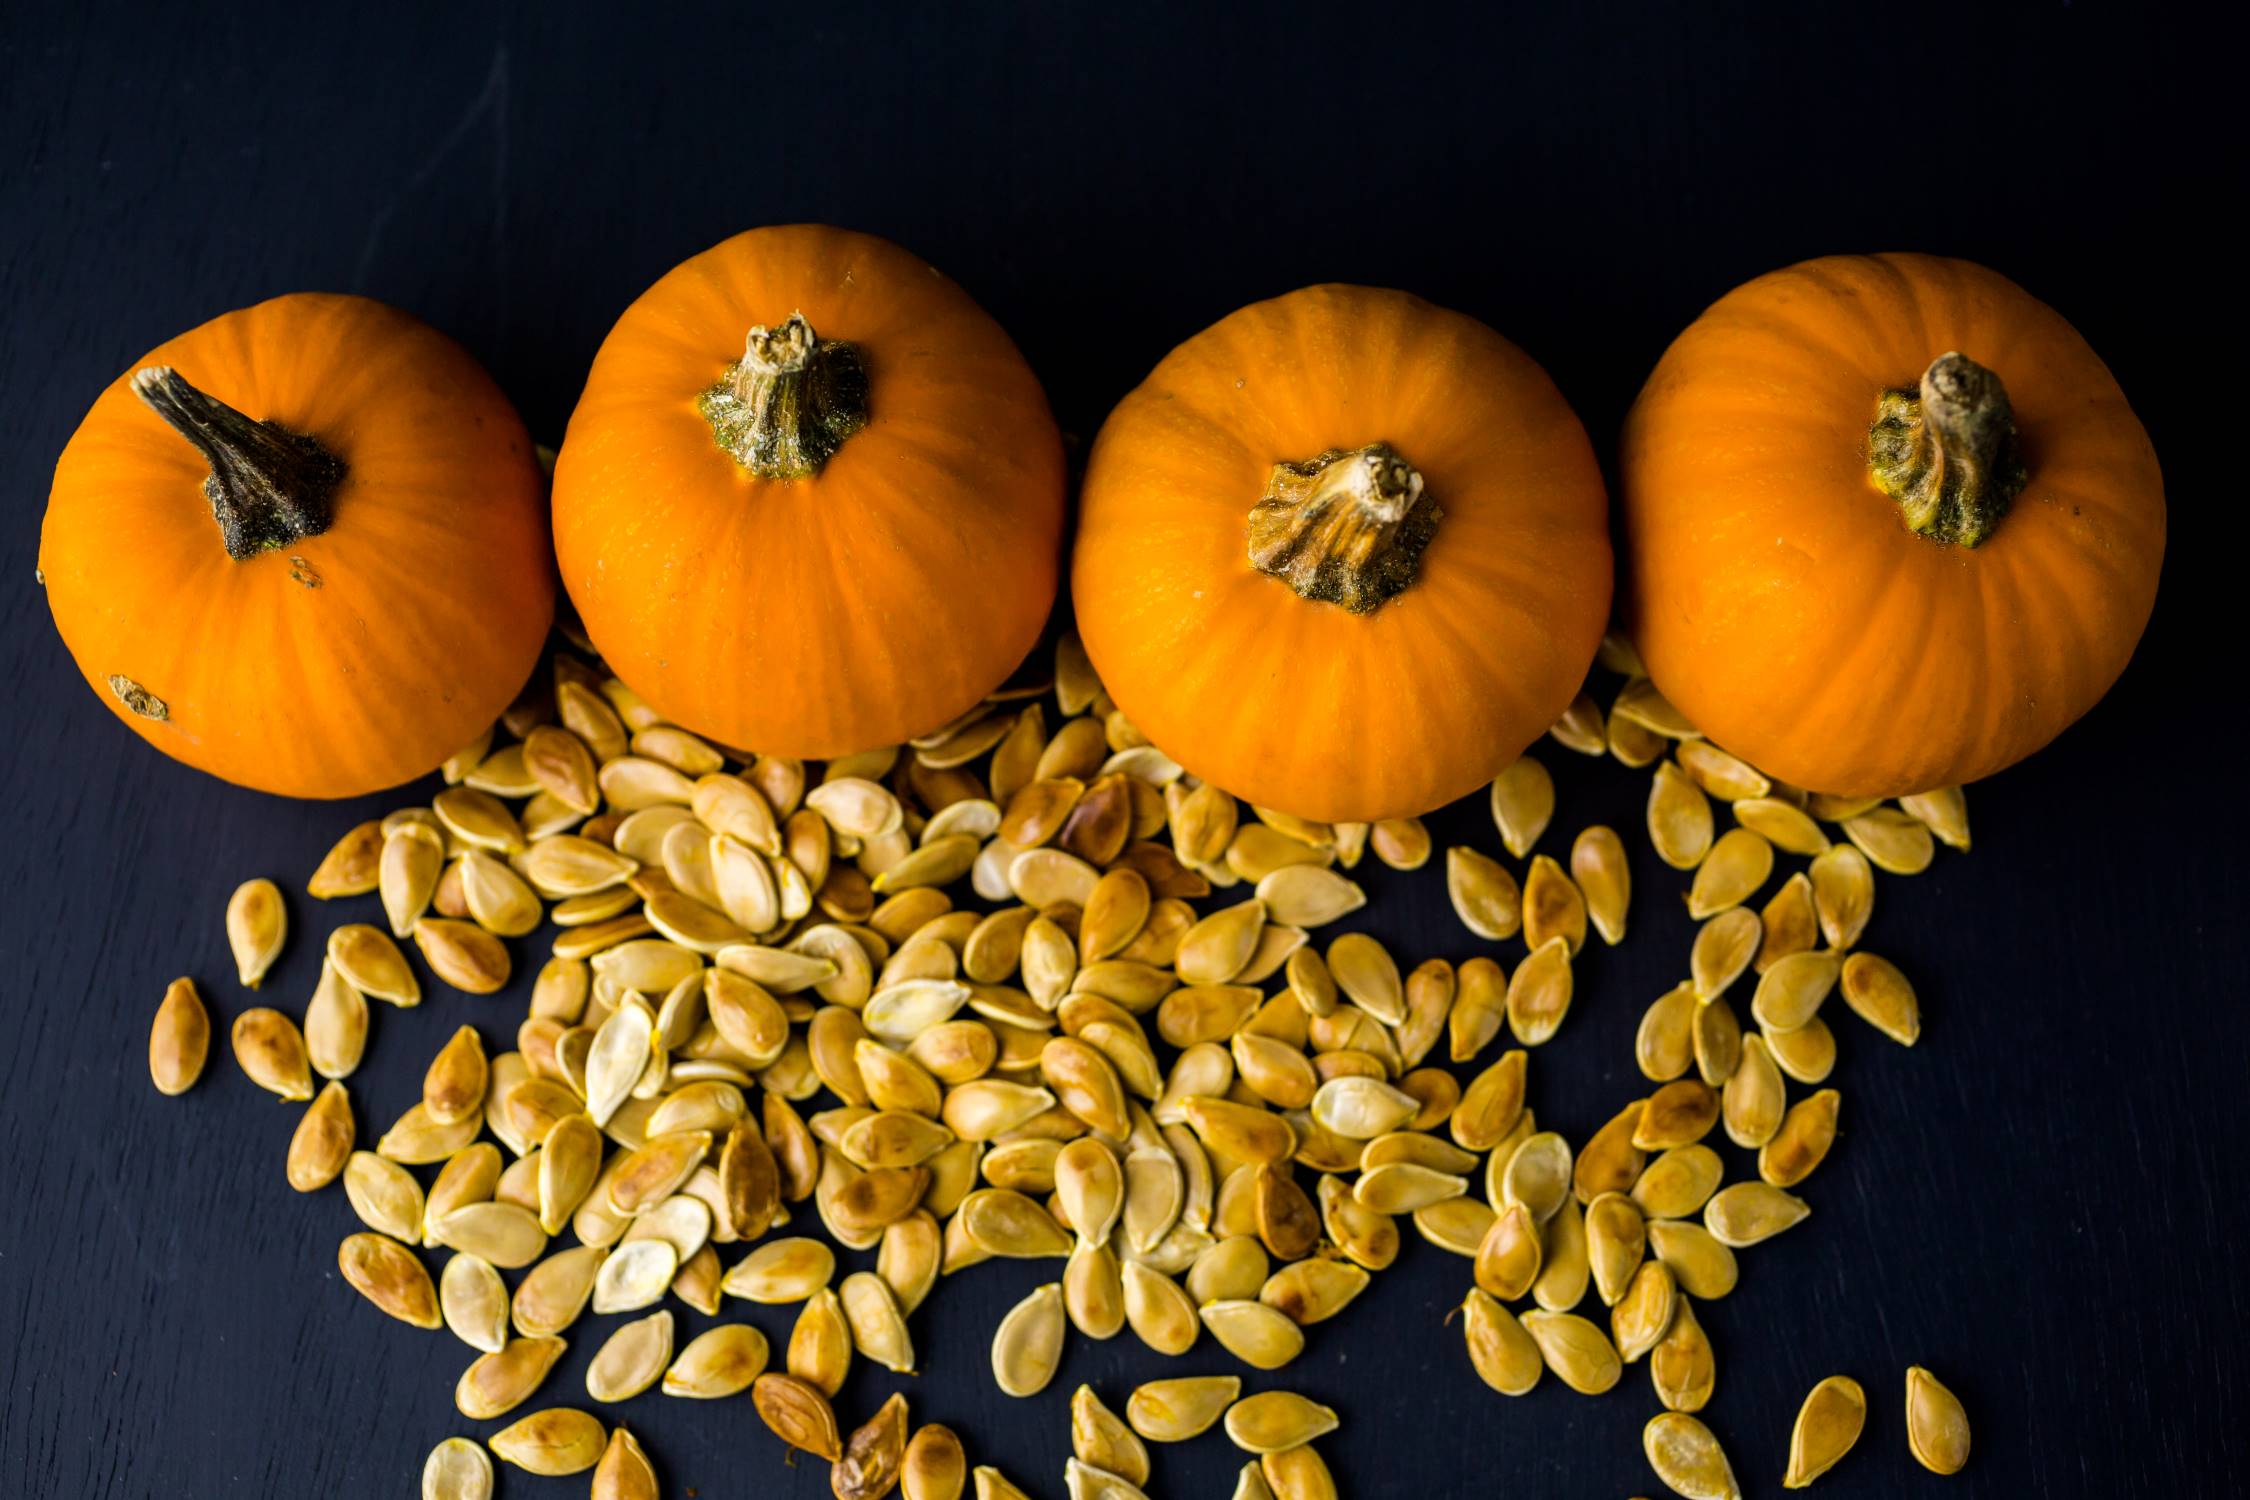
Planting pumpkin seeds is an exciting endeavor for any gardener, whether you’re a seasoned pro or just starting out. Pumpkins not only add a vibrant pop of color to your garden, but they also offer a wealth of culinary possibilities, from delicious pumpkin pies to hearty soups.
However, successfully growing pumpkins from seeds requires careful planning and attention to detail. Timing is crucial, as pumpkins thrive in specific weather conditions and require ample time to mature before harvest. In this article, we will explore the factors you should consider before planting pumpkin seeds, the optimal time for planting, and the steps to prepare the soil and care for your pumpkin plants. Let’s dive in!
Key Takeaways:
- Timing is crucial for planting pumpkins. Wait until the soil is warm, consider the growing season length, and aim for 7-10 days of germination time for successful pumpkin growth.
- Proper care, including watering, weeding, and pest control, is essential for healthy pumpkin plants. Harvest at the right time, cure, and store pumpkins in a cool, dry place for extended enjoyment.
Read more: When To Plant Pumpkin Seeds
Factors to Consider Before Planting Pumpkin Seeds
Before you start planting pumpkin seeds, there are several key factors that you should take into consideration to ensure successful growth and a bountiful harvest. Let’s take a closer look at these factors:
1. Climate and Weather Conditions
Pumpkins thrive in warm weather, so it’s important to consider your local climate and weather conditions. Ideally, pumpkins need a minimum soil temperature of 60°F (15.5°C) before planting to encourage proper germination and growth. Frost and cold temperatures can be detrimental to pumpkin plants, so it’s best to wait until the danger of frost has passed before planting.
2. Sunlight Exposure
Pumpkins are sun-loving plants and require at least 6-8 hours of direct sunlight each day for optimal growth. Ensure that the planting area receives ample sunlight and is not shaded by nearby structures or trees that can obstruct sunlight.
3. Soil Quality and Drainage
Creating the right environment for your pumpkin plants starts with the soil. Pumpkins prefer well-draining soil that is rich in organic matter. Before planting, assess the soil quality and make any necessary amendments. You can improve the soil’s fertility by adding compost or well-rotted manure to enhance nutrient availability and moisture retention.
Read more: When To Plant Giant Pumpkin Seeds
4. Space and Support
Pumpkin plants are notorious for their sprawling vines and can take up a significant amount of space in your garden. Ensure that you have enough room for the pumpkin vines to spread out. Additionally, consider providing support for the heavy fruit by using trellises or stakes to prevent them from sitting directly on the ground.
5. Pests and Diseases
Pumpkins can be susceptible to various pests and diseases, including squash bugs, powdery mildew, and vine borers. Take preventative measures, such as practicing crop rotation, providing proper spacing between plants, and monitoring for any signs of infestation. Applying organic pest control methods can also help protect your pumpkin plants.
By considering these factors beforehand, you can ensure that your pumpkin seeds will have the best chance of thriving and producing healthy and vibrant pumpkins. Now let’s move on to the optimal time for planting pumpkins.
Choosing the Right Time for Planting Pumpkins
Timing is crucial when it comes to planting pumpkins. Selecting the right time ensures that the seeds have ideal growing conditions and sufficient time to mature before harvest. The specific timing will depend on your location, but the general guidelines below can help you determine the optimal planting window:
1. Last Frost Date
It’s important to consider the average date of the last frost in your region. Planting pumpkins too early in cold weather can lead to poor germination and potentially kill the seedlings. Wait until the danger of frost has passed and the soil has warmed up before planting, typically when temperatures consistently reach above 60°F (15.5°C).
Read more: How To Plant Pumpkin Seeds
2. Soil Temperature
Checking the soil temperature is another way to gauge the readiness for pumpkin seed planting. Ideally, the soil temperature should be around 60-70°F (15.5-21°C). You can use a soil thermometer to measure the temperature at a depth of 2-3 inches.
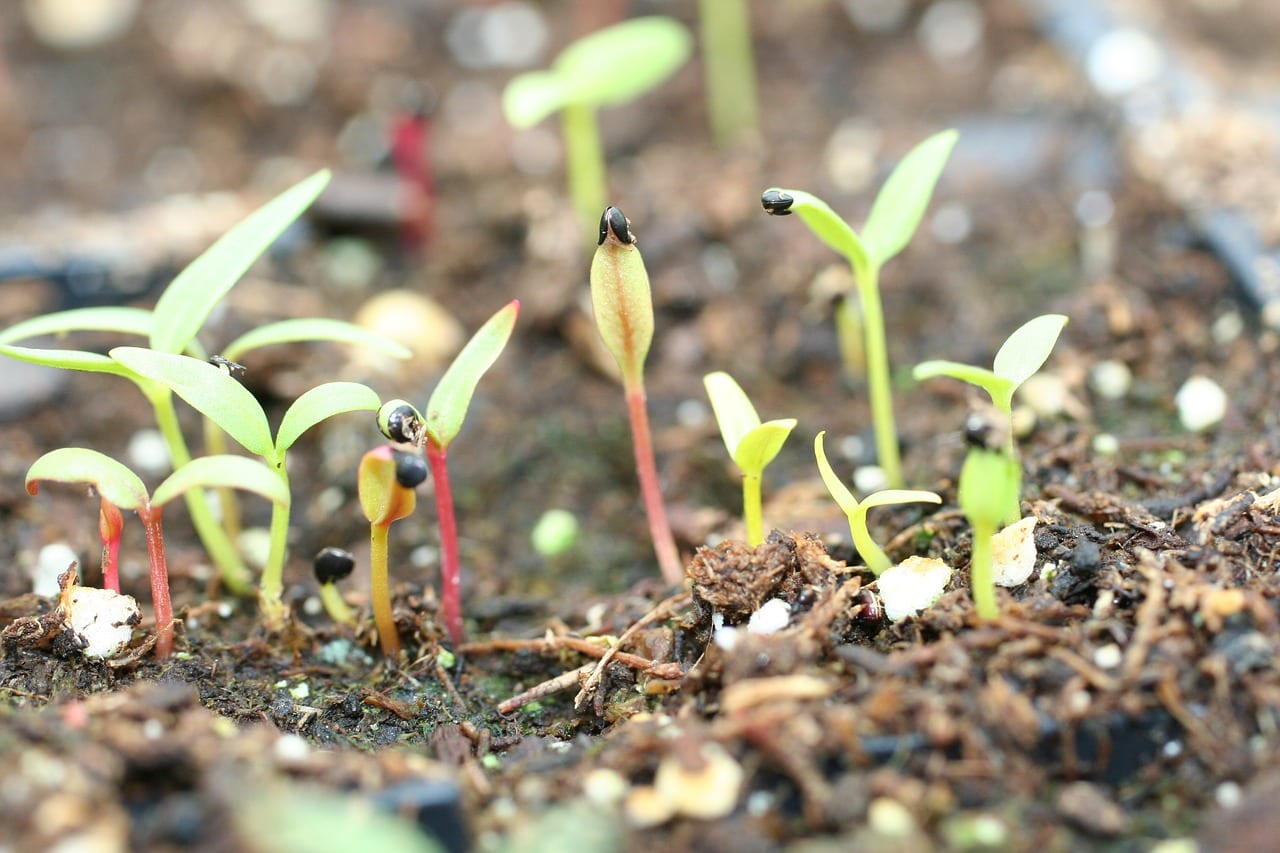
3. Seed Germination Time
Pumpkin seeds typically take 7-10 days to germinate, so keep this in mind when planning your planting timeline. If you have a specific date in mind for harvesting pumpkins, work backward and calculate the ideal planting time based on the average germination period.
4. Growing Season
Consider the length of your growing season, which is the time between the last frost in spring and the first frost in fall. Pumpkins require approximately 75-100 days to fully mature, depending on the variety. Choose a pumpkin variety that suits your growing season length, ensuring that you have enough time for the fruits to ripen before the first frost arrives.
By taking these factors into account, you can determine the best time to plant pumpkin seeds in your specific area. Remember, precise timing is key to maximize your chances of a successful pumpkin harvest. In the following section, we will discuss how to prepare the soil for planting pumpkins.
Preparing the Soil for Planting
Creating a fertile and healthy growing environment is crucial for the success of your pumpkin plants. Here are the steps to prepare the soil before planting:
Read more: How To Plant Pumpkin Seed
1. Clear the Area
Start by clearing the planting area of any weeds, rocks, or debris. It’s important to provide a clean and clear space for your pumpkin plants to thrive.
2. Loosen the Soil
Use a garden fork or a tiller to loosen the soil to a depth of at least 12 inches. This helps to improve drainage and allows the pumpkin roots to penetrate the soil easily.
3. Amend the Soil
Add organic matter such as well-rotted manure or compost to enrich the soil. Pumpkin plants benefit from nutrient-rich soil, and organic matter helps improve fertility, moisture retention, and overall soil structure.
4. Test the Soil pH
It’s a good practice to test the soil pH to ensure it is within the optimal range for pumpkins, which is around 6.0-7.0. You can use a soil testing kit or send a soil sample to a local agricultural extension for analysis. If the pH is too acidic, you can raise it by adding lime, and if it’s too alkaline, you can lower it with the addition of sulfur.
Read more: When To Grow Pumpkin Seeds
5. Incorporate Fertilizer
Based on the soil test or general recommendations, incorporate a balanced fertilizer or a slow-release organic fertilizer into the soil. This provides the necessary nutrients for healthy plant growth and development. Follow the instructions on the fertilizer packaging for proper application rates.
6. Smooth and Level the Soil
After incorporating amendments and fertilizers, rake the soil surface to create a smooth and level bed for planting. This ensures even water distribution and promotes uniform germination and growth of your pumpkin seeds.
By following these steps, you’ll create a nutrient-rich and well-prepared soil bed that will provide an excellent foundation for your pumpkin plants. In the next section, we will discuss how to plant pumpkin seeds for optimal results.
How to Plant Pumpkin Seeds
Planting pumpkin seeds properly is essential for healthy seedling development and robust pumpkin production. Follow these steps to ensure optimal results:
1. Choose the Right Location
Select a sunny area in your garden with well-draining soil. Pumpkins require at least 6-8 hours of direct sunlight daily for optimal growth.
Read more: When To Take Pumpkin Seed Oil
2. Create Mounds or Hills
To improve soil drainage and promote better root growth, create mounds or hills in your garden bed. Make sure each mound is about 2-3 feet in diameter and 6-8 inches high. Space the mounds 4-6 feet apart to allow ample room for the pumpkin vines to spread.
3. Sow the Seeds
Plant the pumpkin seeds 1 inch deep into the center of each mound. Place 3-4 seeds about 2 inches apart in a circle. This increases the chances of successful germination as each mound will have multiple seedlings. You can thin the seedlings later, keeping only the strongest ones.
4. Water Thoroughly
After planting, water the mounds thoroughly to ensure good seed-to-soil contact. This promotes quick germination. Avoid overwatering, as saturated soil can lead to rot. Maintain moist soil throughout the germination and growth process.
5. Provide Support
If you’re growing a larger variety of pumpkin or if space is limited, consider placing a sturdy trellis or support structure near each mound. This helps support the heavy fruit and keeps it off the ground, reducing the risk of rot or pest infestation.
Read more: How Do I Plant Pumpkin Seeds
6. Mulch the Soil
Apply a layer of organic mulch, such as straw or wood chips, around the base of the plants. This helps retain moisture, suppresses weed growth, and moderates soil temperature. Keep the mulch a few inches away from the seedlings to prevent rotting.
7. Thin the Seedlings
Once the seedlings have emerged and developed their first set of true leaves, thin them by removing the weaker seedlings, leaving only the healthiest and most vigorous ones. This ensures that each plant has enough space and resources to grow into a mature pumpkin plant.
By following these steps, you’ll give your pumpkin seeds the best chance of germination, growth, and a fruitful harvest. In the next section, we will explore the essential care practices for your pumpkin plants.
Caring for Pumpkin Plants
Proper care and maintenance are vital for the healthy growth and development of pumpkin plants. Here are some essential practices to ensure your pumpkin plants thrive:
1. Watering
Water your pumpkin plants deeply and regularly, especially during dry spells. Aim to keep the soil consistently moist but not waterlogged. Avoid wetting the leaves to prevent the development of fungal diseases. Water at the base of the plants in the morning to allow leaves to dry before evening.
Read more: When To Plant Seeds For Garden
2. Weeding
Regularly weed the pumpkin patch to eliminate competition for nutrients and sunlight. Be careful not to disturb the shallow roots of the pumpkin plants while weeding, as they are relatively delicate.
3. Fertilizing
Feed your pumpkin plants with a balanced fertilizer or a slow-release organic fertilizer to provide essential nutrients throughout the growing season. Follow the recommended dosage and application instructions on the fertilizer packaging. Be cautious not to over-fertilize, as it can lead to excessive foliage growth with fewer fruits.
4. Pollination
Pumpkin flowers require pollination to set fruit. Bees and other pollinators are the primary agents of pollination. To encourage their visitation, avoid using pesticides that may harm pollinators. You can also manually pollinate by transferring pollen from the male flowers to the female flowers using a small brush or cotton swab.
5. Pest and Disease Control
Monitor your plants regularly for any signs of pest or disease infestation. Common pumpkin pests include squash bugs, vine borers, and powdery mildew. If pests are present, remove them by hand or use organic pest control methods. Applying natural fungicides can help prevent and manage fungal diseases.
Read more: When To Plant Gaillardia Seeds
6. Training and Pruning
As your pumpkin plants grow, gently train the vines to keep them within the designated area or direct them towards the trellis or support structure. Prune off any excess foliage or lateral vines that may shade the developing fruits. This helps improve air circulation and reduces the risk of disease.
7. Harvesting
Harvest your pumpkins when the fruits have reached their full color and the stems start to dry. Use a sharp knife or pruning shears to cut the stem, leaving a few inches attached to the pumpkin. Harvest before the first frost, as cold temperatures can damage the fruits.
By following these care practices, you’ll give your pumpkin plants the best chance at producing healthy foliage and bountiful pumpkins. In the next section, we will discuss the harvesting and storage of pumpkins.
Harvesting and Storage of Pumpkins
Knowing when and how to harvest your pumpkins is essential to ensure that they are at their peak flavor and quality. Here are some guidelines for harvesting and storing pumpkins:
1. Harvesting
Monitor your pumpkins regularly as they approach maturity. Harvesting times can vary depending on the pumpkin variety. Generally, pumpkins are ready for harvest when they have reached their full color, the skin is hard, and the stem starts to dry and turn brown. Use a sharp knife or pruning shears to cut the pumpkin from the vine, leaving a few inches of stem attached.
It’s important to handle the pumpkins with care during harvest, avoiding any damage to the skin or stem. Damaged pumpkins are more prone to rot and won’t store well.
Read more: When To Plant Daisy Seeds
2. Curing
After harvesting, it’s beneficial to cure the pumpkins for about 10-14 days. Place them in a warm, well-ventilated area with temperatures between 75-85°F (24-29°C) and relative humidity of around 80%. This process helps harden the skin, heal any minor wounds, and improve storage longevity.
3. Cleaning
Before storing the pumpkins, gently wipe off any dirt or debris from the skin. Avoid using water unless necessary, as excess moisture can promote rotting.
4. Storage
Choose the best storage location for your pumpkins. Ideally, it should be a cool, dry, and well-ventilated area with temperatures between 50-55°F (10-13°C). Avoid direct sunlight and areas with excessive humidity, as they can accelerate rotting.
If you have harvested pumpkins with intact stems, you can also create a hanging storage system using string or fabric bags. This helps improve air circulation and prevents any potential rotting from contact with a surface.
5. Regular Inspection
Periodically check your stored pumpkins for any signs of damage or rot. Remove any pumpkins showing signs of decay to prevent the spread to other stored pumpkins.
Read more: When To Plant Yarrow Seeds
6. Usage
Use your stored pumpkins for cooking and baking throughout the winter months. They can be transformed into delicious pies, soups, and roasted dishes. Remember to properly discard any pumpkins that show signs of spoilage.
By following these guidelines, you can prolong the storage life of your pumpkins and enjoy their delicious flavors well into the winter season. Now that you know how to harvest and store your pumpkins, let’s conclude this article.
Conclusion
Planting and growing pumpkins from seeds can be a rewarding experience for gardeners of all levels. By considering factors such as climate, sunlight exposure, soil quality, and space requirements, you can create an ideal environment for your pumpkin plants to thrive. Choosing the right time for planting, preparing the soil with organic matter, and implementing proper planting techniques are crucial steps in ensuring successful growth.
Caring for pumpkin plants involves regular watering, weeding, fertilizing, and pest control measures. By providing the necessary care, you can encourage healthy foliage growth, optimal pollination, and minimize the risk of disease. Harvesting pumpkins at the right time, curing them, and storing them in suitable conditions will enable you to enjoy their beauty and flavors for an extended period.
As you embark on your pumpkin-growing journey, remember to have fun and experiment with different pumpkin varieties. Whether you’re looking to carve spooky Jack-o’-lanterns or create mouthwatering pumpkin dishes, the possibilities are endless.
So, roll up your sleeves, get your hands dirty, and start planting those pumpkin seeds. With proper care and attention, you’ll soon be rewarded with a bountiful harvest of vibrant and delicious pumpkins to enjoy throughout the year.
Frequently Asked Questions about When To Plant Pumpkins Seeds
Was this page helpful?
At Storables.com, we guarantee accurate and reliable information. Our content, validated by Expert Board Contributors, is crafted following stringent Editorial Policies. We're committed to providing you with well-researched, expert-backed insights for all your informational needs.


0 thoughts on “When To Plant Pumpkins Seeds”