Home>Garden Essentials>When To Grow Pumpkin Seeds
Garden Essentials
When To Grow Pumpkin Seeds
Modified: March 15, 2024
Learn when is the best time to grow pumpkin seeds in your garden and get expert tips for a successful harvest in this comprehensive guide.
(Many of the links in this article redirect to a specific reviewed product. Your purchase of these products through affiliate links helps to generate commission for Storables.com, at no extra cost. Learn more)
Introduction
Welcome to the world of pumpkin gardening! Growing your own pumpkins from seeds is not only a rewarding experience but also an opportunity to indulge in the beauty and abundance of nature. Whether you’re a seasoned gardener or just starting out, this article will guide you on choosing the right time to plant pumpkin seeds and provide valuable insights on cultivation techniques to help you achieve a bountiful pumpkin harvest.
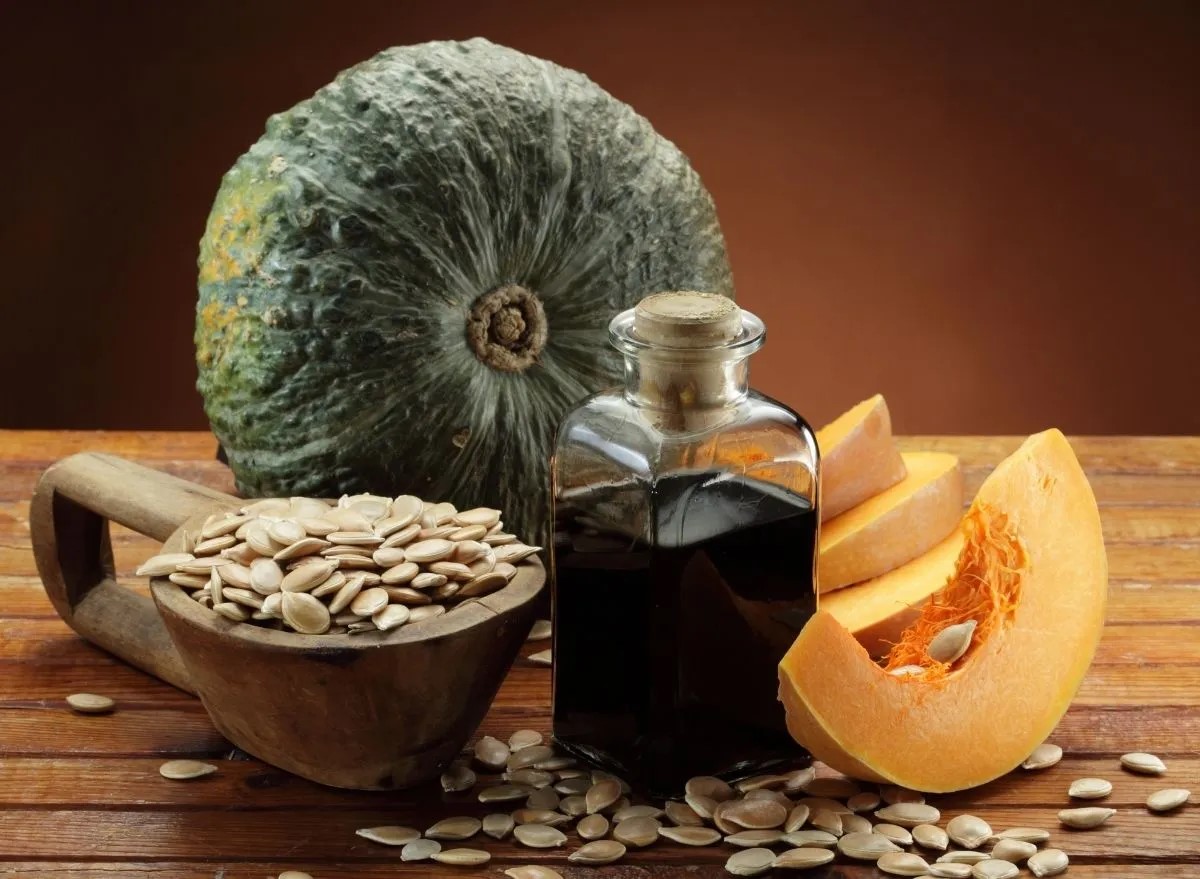
Pumpkins are not just for Halloween decorations; they are versatile vegetables that can be used for cooking, baking, and crafting. From pies to soups, from roasted seeds to delicious pumpkin bread, these vibrant and nutrient-rich fruits have a place in numerous culinary delights. But before you can enjoy the fruits of your labor, you need to start with the foundation: planting pumpkin seeds at the right time.
When it comes to planting pumpkin seeds, timing is crucial. The success of your pumpkin plants depends on various factors such as weather conditions, soil temperature, and the specific variety of pumpkin you are growing. In this article, we will delve into the factors that should be considered when determining the ideal time for planting pumpkin seeds, as well as provide you with tips on caring for your pumpkin seedlings throughout their growth.
Are you ready to embark on your pumpkin-growing journey? Let’s dive into the details and uncover the secrets to successfully planting and nurturing your pumpkin seeds.
Key Takeaways:
- Choose the right time to plant pumpkin seeds by waiting until after the last frost date and ensuring soil temperature is around 60°F to 70°F for optimal growth.
- Whether planting pumpkin seeds indoors or outdoors, provide proper care, including watering, fertilizing, and pest control, to ensure a successful harvest.
Read more: When To Plant Pumpkin Seeds
Choosing the Right Time to Plant Pumpkin Seeds
When it comes to planting pumpkin seeds, timing is everything. Pumpkins are warm-season crops that thrive in temperatures between 75°F and 85°F (24°C and 29°C). Therefore, it is crucial to wait until the risk of frost has passed and the soil has warmed up before planting your pumpkin seeds.
The general rule of thumb is to plant pumpkin seeds outdoors after the last frost date in your area. This differs depending on your geographical location, so be sure to check with your local agricultural extension office or consult a gardening calendar to determine the average last frost date in your region. Planting too early can result in cold damage, stunted growth, or even the death of your pumpkin seedlings.
In many regions, the ideal time for pumpkin seed planting falls between late spring and early summer. This allows the seeds to germinate and develop into strong seedlings before the heat of summer sets in. Aim to plant your pumpkin seeds when the soil temperature reaches around 60°F to 70°F (15°C to 21°C) for optimal germination and growth.
It’s important to note that while pumpkins love warm weather, they also require a sufficient growing season to mature and ripen before the first frost in the fall. Most pumpkin varieties take around 85 to 125 days to reach maturity, so consider the length of your growing season when determining the best time to plant.
Additionally, if you live in a region with a shorter growing season, you can start your pumpkin seeds indoors to get a head start. This allows you to provide the right growing conditions and extend the growing season for your pumpkins. We’ll discuss indoor seed starting in more detail later in this article.
By carefully selecting the right time to plant your pumpkin seeds, you give your plants the best chance to thrive and produce a bountiful harvest. Next, let’s explore the various factors to consider when determining the ideal timing for pumpkin seed planting.
Factors to Consider for Timing
When it comes to planting pumpkin seeds, there are several factors to consider when determining the ideal timing. By taking these factors into account, you can ensure optimal growing conditions for your pumpkin plants.
Climate: The climate in your region plays a significant role in determining when to plant pumpkin seeds. Pay attention to the average temperatures and frost dates in your area. If you live in a colder climate, you may need to wait longer to plant your seeds or start them indoors to extend the growing season.
Variety of Pumpkin: Different pumpkin varieties have varying maturation times. Some varieties may mature in as little as 85 days, while others can take up to 125 days or longer. Consider the specific variety you are growing and check the seed packet or consult a gardening resource to determine the approximate maturation time. This will help you gauge when to plant your seeds to ensure they have enough time to grow and ripen before the end of the season.
Soil Temperature: Pumpkin seeds germinate best when the soil temperature is between 60°F and 70°F (15°C and 21°C). Investing in a soil thermometer is a great way to monitor the temperature and ensure optimal conditions for seed germination. Start monitoring the soil temperature a few weeks before your intended planting time to get a sense of when the temperature is consistently within the ideal range.
Growing Season: The length of your growing season is an important consideration when planting pumpkin seeds. Make sure you have enough time for your chosen pumpkin variety to mature and ripen before the first frost in the fall. The number of frost-free days in your area will impact the length of your growing season, so take this into account when determining the timing for planting.
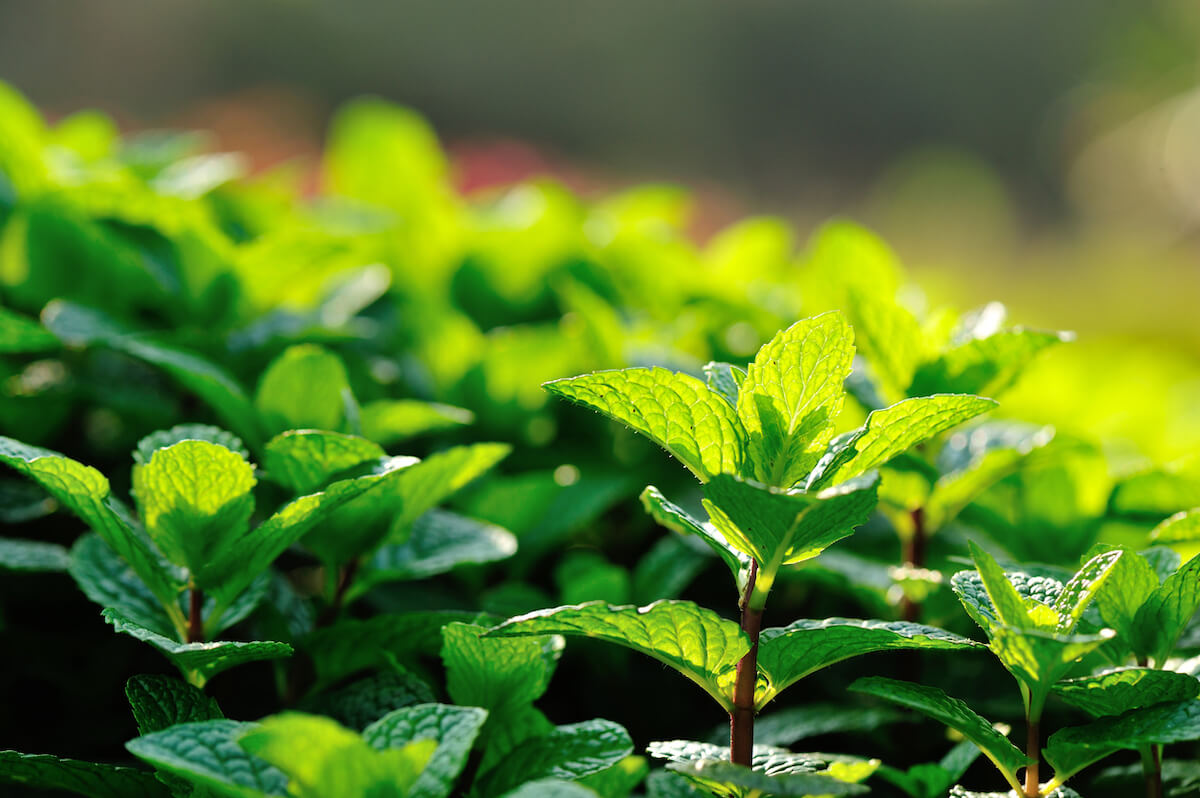
Companion Planting: Companion planting is a gardening technique that involves planting compatible plants alongside your pumpkin plants to enhance growth and deter pests. Consider the companion plants you plan to incorporate into your garden and the timing requirements for those plants. You’ll want to choose companion plants that can be planted around the same time as your pumpkin seeds to ensure harmonious growth and avoid any overcrowding issues.
By considering these factors, you can strategically plan the timing of your pumpkin seed planting and create optimal growing conditions for your plants. Next, let’s dive into the ideal soil conditions for planting pumpkin seeds to give your plants the best start.
Ideal Soil Conditions for Pumpkin Seed Planting
Creating the right soil conditions is essential for the successful growth of pumpkin seeds. Pumpkins thrive in loose, well-drained soil that is rich in organic matter. Here are some factors to consider when preparing your soil for planting:
Soil Type: Pumpkins prefer soil that is sandy or loamy. These soil types provide good drainage and allow the roots to access the necessary oxygen for healthy growth. Avoid heavy clay soils that can retain excessive moisture and lead to root rot.
pH Level: The ideal pH range for pumpkin plants is slightly acidic to neutral, between 6.0 and 7.5. Conduct a soil test to determine the pH level of your soil. If it falls outside of this range, you can make adjustments by adding amendments such as lime to raise the pH or sulfur to lower it.
Fertility: Pumpkins require nutrient-rich soil to support their vigorous growth. Before planting, amend your soil with organic matter such as compost or well-rotted manure. This will improve the soil’s fertility, drainage, and moisture-holding capacity, providing a favorable environment for your pumpkin plants.
Moisture: While pumpkins prefer well-drained soil, they also require consistent moisture, especially during the germination and early growth stages. Water your pumpkin seeds deeply and regularly, aiming for about 1-2 inches of water per week. Mulching around the base of the plants can help retain moisture and suppress weed growth.
Sunlight: Pumpkins are sun-loving plants and require at least 6-8 hours of direct sunlight each day. Choose a location in your garden that receives ample sunlight and provides the plants with the necessary warmth and light for optimal growth.
Warmth: As mentioned earlier, pumpkins thrive in warm temperatures. Make sure the soil has warmed up to around 60°F to 70°F (15°C to 21°C) before planting your pumpkin seeds. Using black plastic mulch can help warm the soil faster, especially in cooler climates or early in the growing season.
Preparing the soil beforehand and ensuring it meets these ideal conditions will provide your pumpkin seeds with the best start and help them develop into healthy and robust plants. Now that we”ve covered the ideal soil conditions, let’s explore two methods for planting pumpkin seeds – indoors and outdoors.
Planting Pumpkin Seeds Indoors
If you live in a region with a short growing season or want to get a head start on your pumpkin plants, starting your seeds indoors is a great option. Here’s a step-by-step guide on how to plant pumpkin seeds indoors:
- Choose the Right Container: Select biodegradable pots or seed trays that are at least 3-4 inches deep. These containers will provide enough space for the pumpkin seedlings to grow their roots before transplanting them outdoors.
- Fill the Containers: Fill the containers with a high-quality seed starting mix. This mix is lighter and provides better drainage than garden soil, promoting healthy root development.
- Sow the Seeds: Plant 2-3 pumpkin seeds about 1 inch deep in each container. Ensure the seeds are evenly spaced and cover them with a thin layer of seed starting mix.
- Moisten the Soil: Gently water the containers to moisten the soil, but do not soak it. Ensure the soil remains consistently moist, but not soggy, throughout the germination and seedling stages.
- Provide Heat: Place the containers in a warm location with temperatures around 75°F to 85°F (24°C to 29°C). Use a seedling heat mat if necessary to maintain the warm temperatures, which will help promote faster germination.
- Ensure Adequate Light: Once the seedlings emerge, move them to a bright location with natural sunlight or provide artificial light with fluorescent grow lights. Aim for 14-16 hours of light per day.
- Thin the Seedlings: When the seedlings have grown their first set of true leaves, thin them out by gently removing the weaker seedlings, leaving the strongest one in each container.
- Harden Off Seedlings: About a week before you plan to transplant your seedlings outdoors, gradually expose them to outdoor conditions. Start by placing them outside for a few hours a day, gradually increasing their exposure time over the course of a week. This helps acclimate them to the outdoor environment.
- Transplanting: Once the soil has warmed up and the risk of frost has passed, transplant the hardened-off seedlings into your garden. Choose a sunny location with well-drained soil and provide adequate spacing according to the requirements of the specific pumpkin variety.
By starting your seeds indoors, you give your pumpkin plants a head start and can enjoy earlier harvests. However, keep in mind that pumpkin seedlings can be sensitive to transplanting, so handle them gently and avoid disturbing the roots as much as possible.
Now that we’ve covered indoor seed starting, let’s explore the process of directly planting pumpkin seeds outdoors.
Plant pumpkin seeds in late spring or early summer, when the soil temperature is consistently above 60°F. This will give the seeds the best chance to germinate and grow into healthy plants.
Read more: How Long To Grow A Pumpkin From Seed
Directly Planting Pumpkin Seeds Outdoors
If you prefer to sow pumpkin seeds directly in your garden, here’s a step-by-step guide on how to do it:
- Prepare the Soil: Choose a sunny location in your garden with well-drained soil. Remove any weeds or large rocks and loosen the soil to a depth of about 12 inches.
- Amend the Soil: Incorporate organic matter such as compost or well-rotted manure into the soil to improve its fertility, drainage, and moisture-holding capacity. This step will provide a nutrient-rich environment for your pumpkin plants.
- Check Soil Temperature: Ensure that the soil temperature has warmed up to around 60°F to 70°F (15°C to 21°C). This is the optimal temperature range for pumpkin seed germination.
- Plant the Seeds: Make small mounds or hills about 3-6 feet apart, depending on the variety of pumpkin you’re growing. Each hill should be around 1-2 feet wide and 2-3 inches high. Plant 3-4 seeds in each hill, spacing them evenly. Place the seeds about 1 inch deep in the soil.
- Water the Seeds: Water the hills thoroughly after planting the seeds to ensure good soil-to-seed contact. This will promote germination and help the seedlings establish themselves in the soil.
- Thin the Seedlings: Once the seedlings have emerged and grown their first set of true leaves, thin them out to leave only the healthiest and strongest plant in each hill. This will ensure enough space for the pumpkin plants to grow and mature.
- Maintain Consistent Moisture: Water the pumpkin plants regularly, aiming for about 1-2 inches of water per week. Keep the soil consistently moist but not waterlogged. Mulching around the plants can help retain moisture and suppress weed growth.
- Provide Support: If you’re growing larger pumpkin varieties or if you anticipate heavy fruit, consider providing support such as trellises, cages, or straw bales to help support the weight of the pumpkins and prevent them from touching the ground.
- Fertilize as Needed: Monitor the growth of your pumpkin plants and fertilize as needed. Apply a balanced, slow-release fertilizer about a month after planting and continue to follow the instructions on the fertilizer package throughout the growing season.
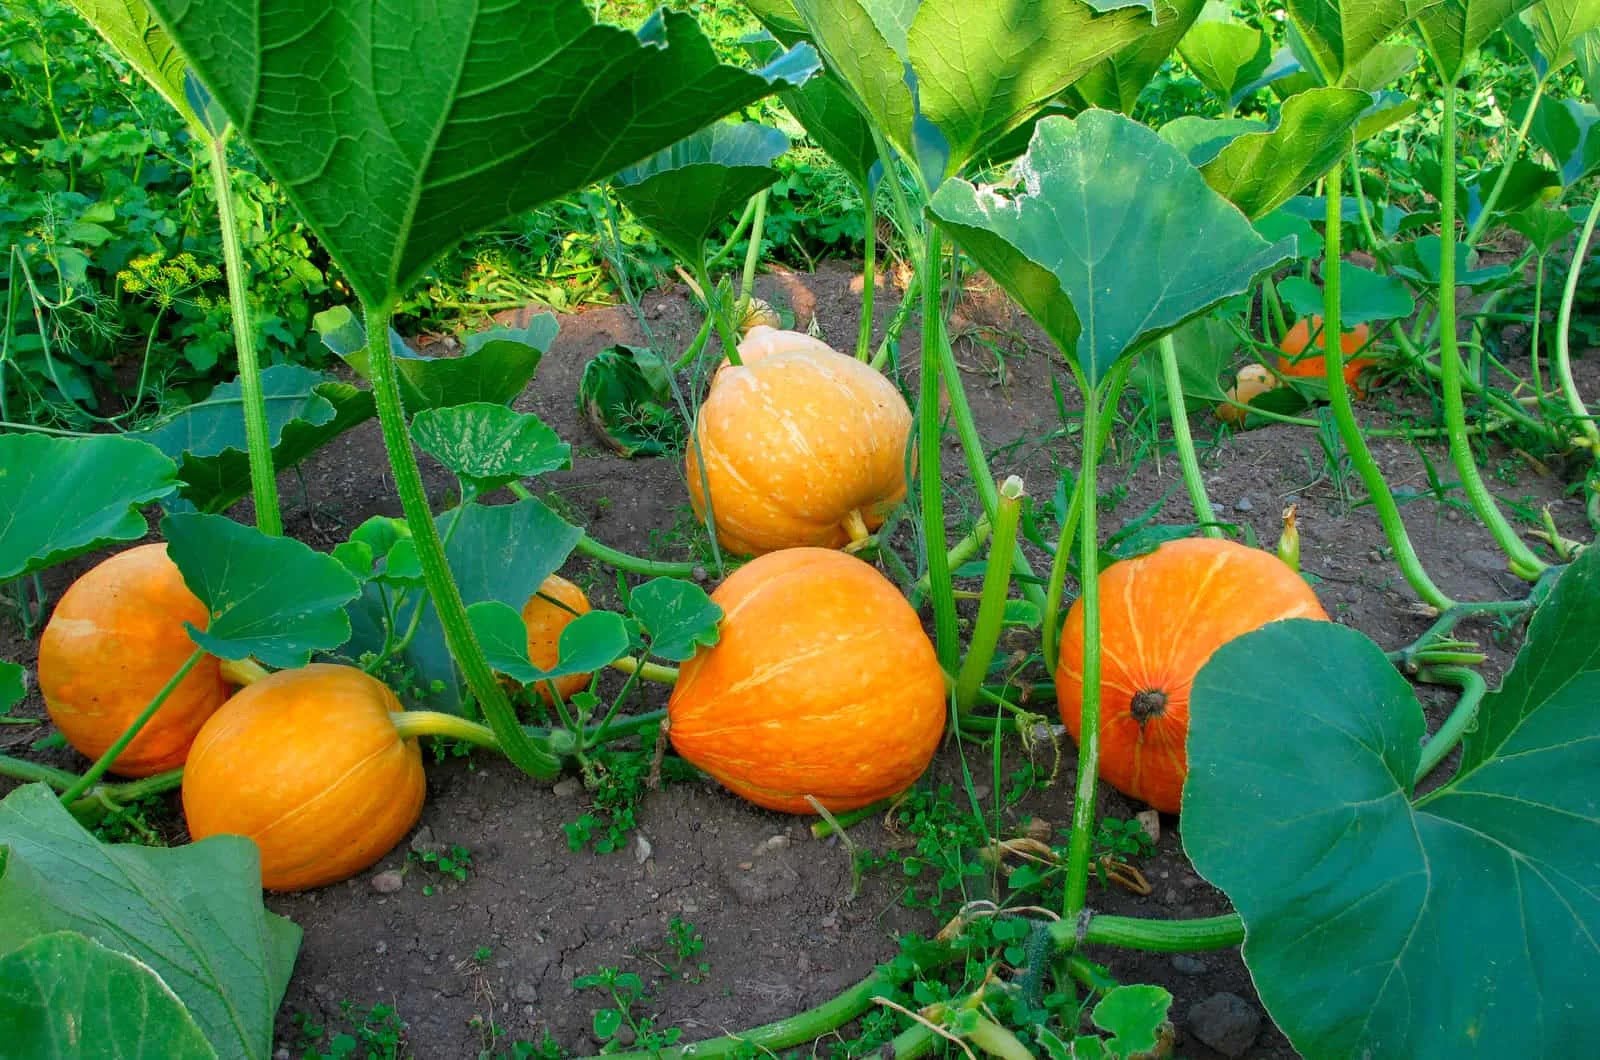
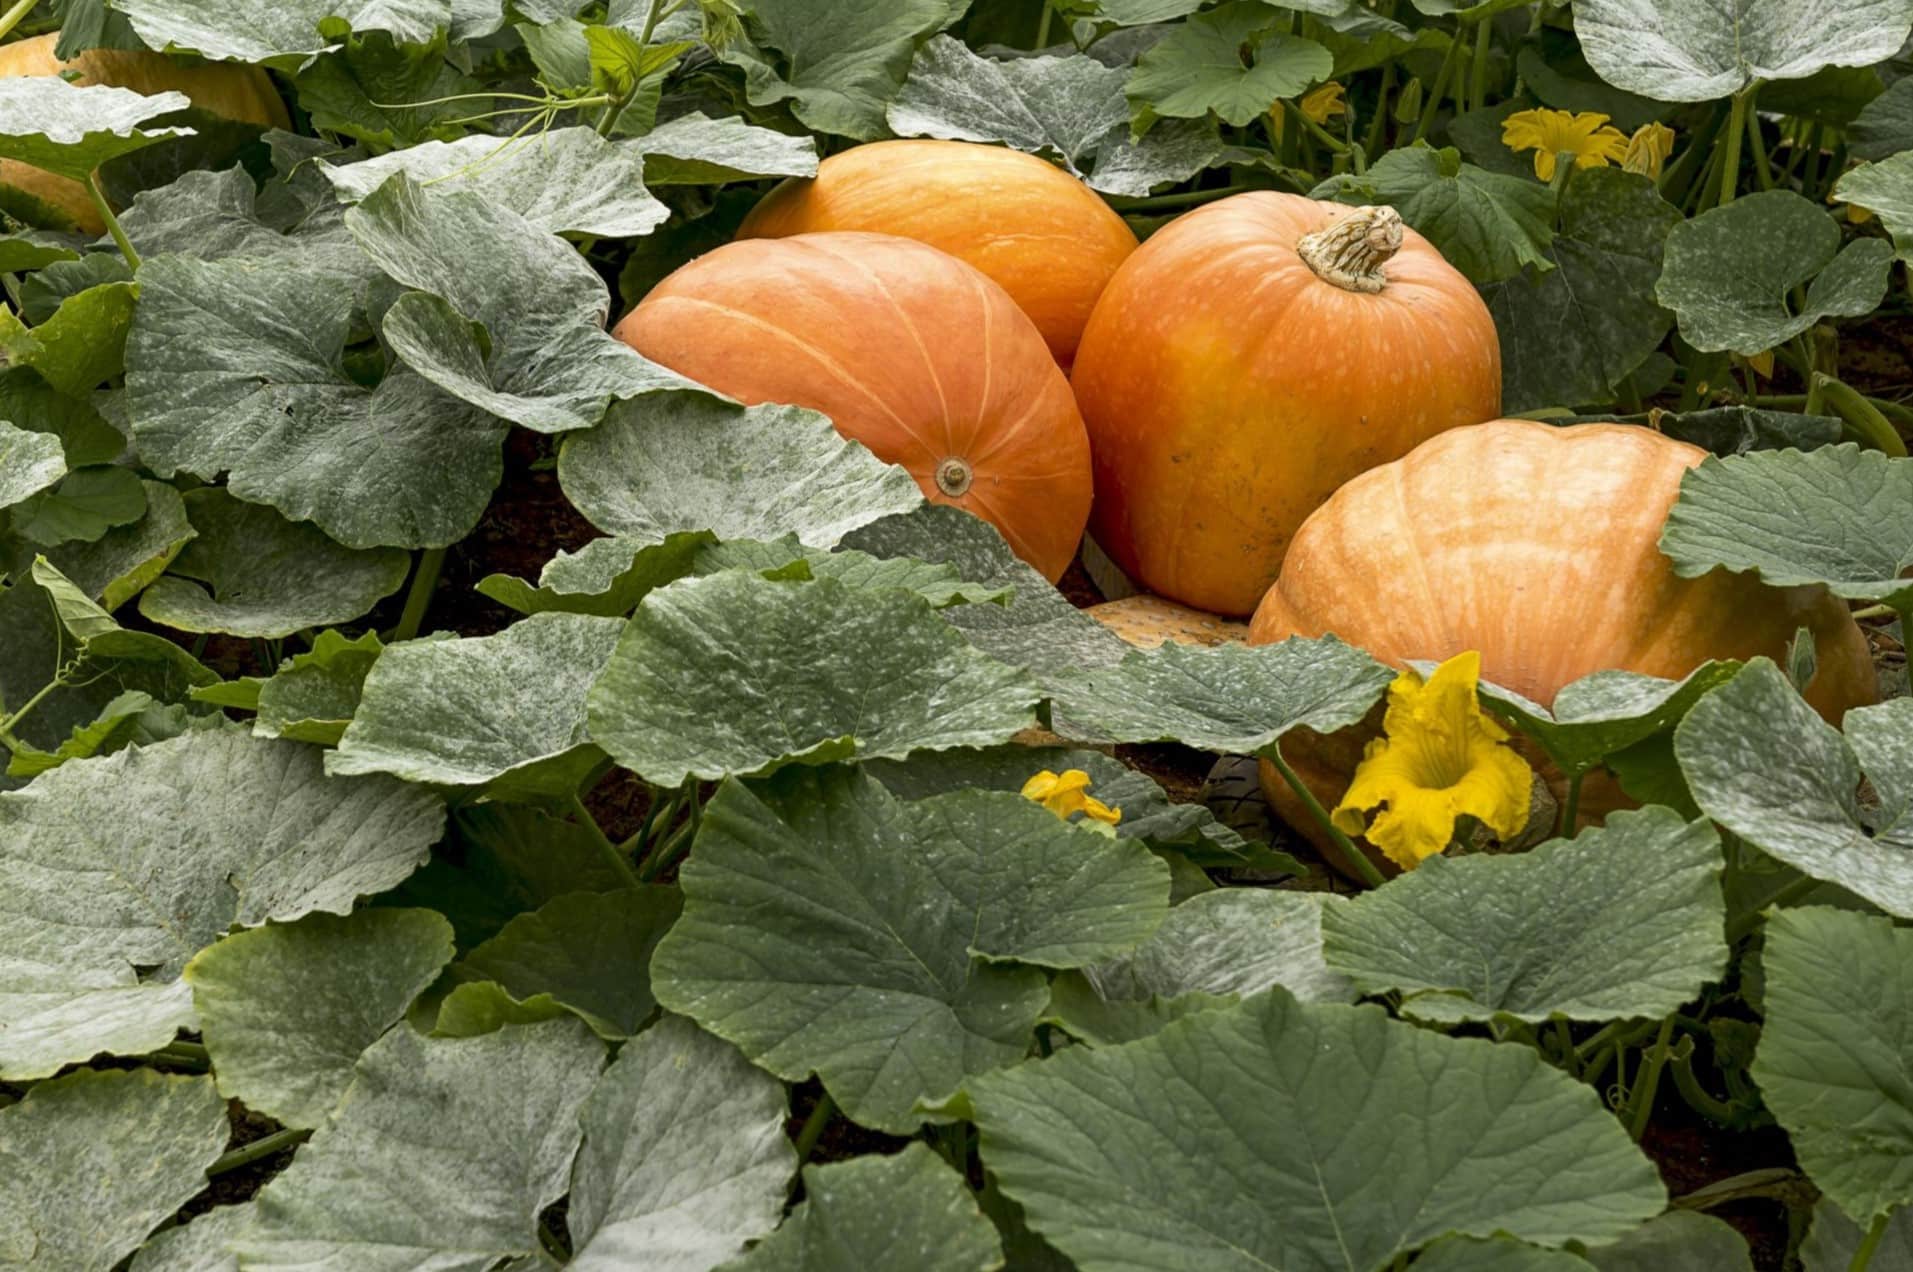
Directly planting pumpkin seeds outdoors offers a straightforward and natural approach to growing your pumpkin plants. It allows them to establish their root systems in the garden soil from the beginning. Remember to provide proper care and maintenance, including consistent watering and weed control, to ensure the health and productivity of your pumpkin plants.
Now that you know how to plant pumpkin seeds both indoors and outdoors, let’s explore some essential tips for caring for your pumpkin seedlings as they grow.
Caring for Pumpkin Seedlings
Once your pumpkin seedlings have sprouted and are growing, it’s important to provide them with proper care to ensure healthy development and a bountiful harvest. Here are some essential tips for caring for your pumpkin seedlings:
Watering: Pumpkins require consistent moisture, especially during the early stages of growth. Water the seedlings regularly, keeping the soil consistently moist but not waterlogged. Deep watering is preferred to encourage strong root development. Avoid overhead watering, as wet leaves can invite diseases. Mulching around the base of the plants can help retain moisture and reduce weed growth.
Fertilizing: As your pumpkin plants grow, they will benefit from regular fertilization. Apply a balanced, slow-release fertilizer around a month after planting, and follow the instructions on the fertilizer package for subsequent applications. This will ensure that your plants have access to the necessary nutrients for healthy growth.
Weed Control: Keep the area around your pumpkin plants free from weeds. Weeds can compete with the pumpkin plants for water, nutrients, and sunlight. Regularly inspect the area and remove any weeds by hand or use mulch to suppress weed growth.
Training Vines: If you’re growing vining pumpkin varieties, you may need to train the vines to prevent them from spreading too far or invading other parts of your garden. Gently guide the vines in the desired direction or use a trellis or support system to help manage the growth.
Pollination: Pumpkins require pollination to produce fruits. Bees and other pollinators play a critical role in this process. Encourage pollinators to visit your garden by planting flowers nearby or providing a water source. If you notice a lack of bees, you can hand-pollinate your pumpkin plants by transferring pollen from male to female flowers using a small brush or cotton swab.
Pest and Disease Management: Keep an eye out for common pumpkin pests such as aphids, squash bugs, and powdery mildew. Regularly inspect your plants and take appropriate measures to control pests and diseases, such as using organic insecticides or fungicides, if necessary.
Supporting Pumpkins: As the fruit begins to develop, it’s a good idea to provide support for larger pumpkin varieties. This helps prevent the pumpkins from sitting directly on the ground, reducing the risk of rot and pest damage. You can use straw, cardboard, or wooden slats to elevate the pumpkins, or create a support structure using trellises or cages.
By providing proper care and attention to your pumpkin seedlings, you’ll create favorable growing conditions that will result in healthy plants and a successful pumpkin harvest. Now, let’s move on to the exciting stage of harvesting pumpkins and saving seeds for future plantings.
Harvesting Pumpkins and Saving Seeds
Harvesting pumpkins is an exciting and satisfying moment in your gardening journey. Here’s what you need to know about harvesting pumpkins and saving seeds for future plantings:
Harvesting Time: The exact time to harvest your pumpkins will vary depending on the variety and intended use. Most pumpkins are ready for harvest when the rinds are fully colored and hard. The stems should be dry and shriveled. You can also perform the thumbnail test by pressing your thumbnail into the skin – if it doesn’t puncture easily, the pumpkin is likely ripe and ready for harvest.
Harvesting Technique: To harvest your pumpkins, use a sharp knife or pruning shears to cut the fruit from the vine, leaving a few inches of stem attached. Be careful not to damage the pumpkin or the vine. It’s best to harvest pumpkins on a dry day to reduce the risk of rotting.
Curing: After harvest, it’s important to cure your pumpkins to improve their storage life. Cure them in a warm, dry location with good air circulation for about 10 to 14 days. This process helps harden the skin, extend the shelf life, and enhance the flavor of the pumpkin flesh.
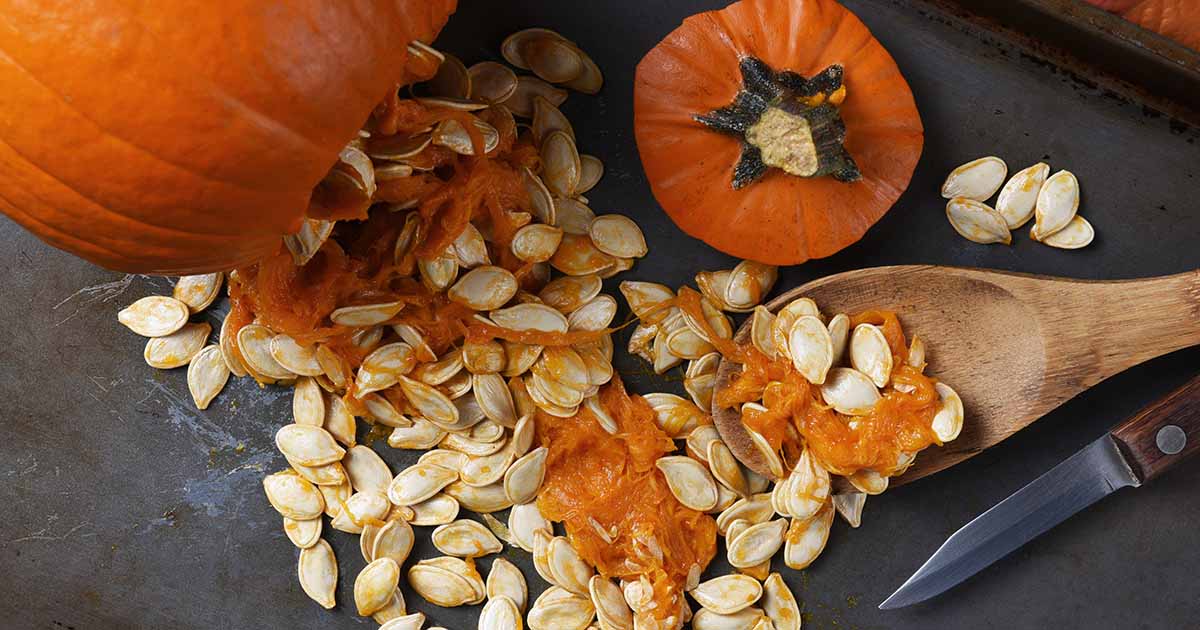
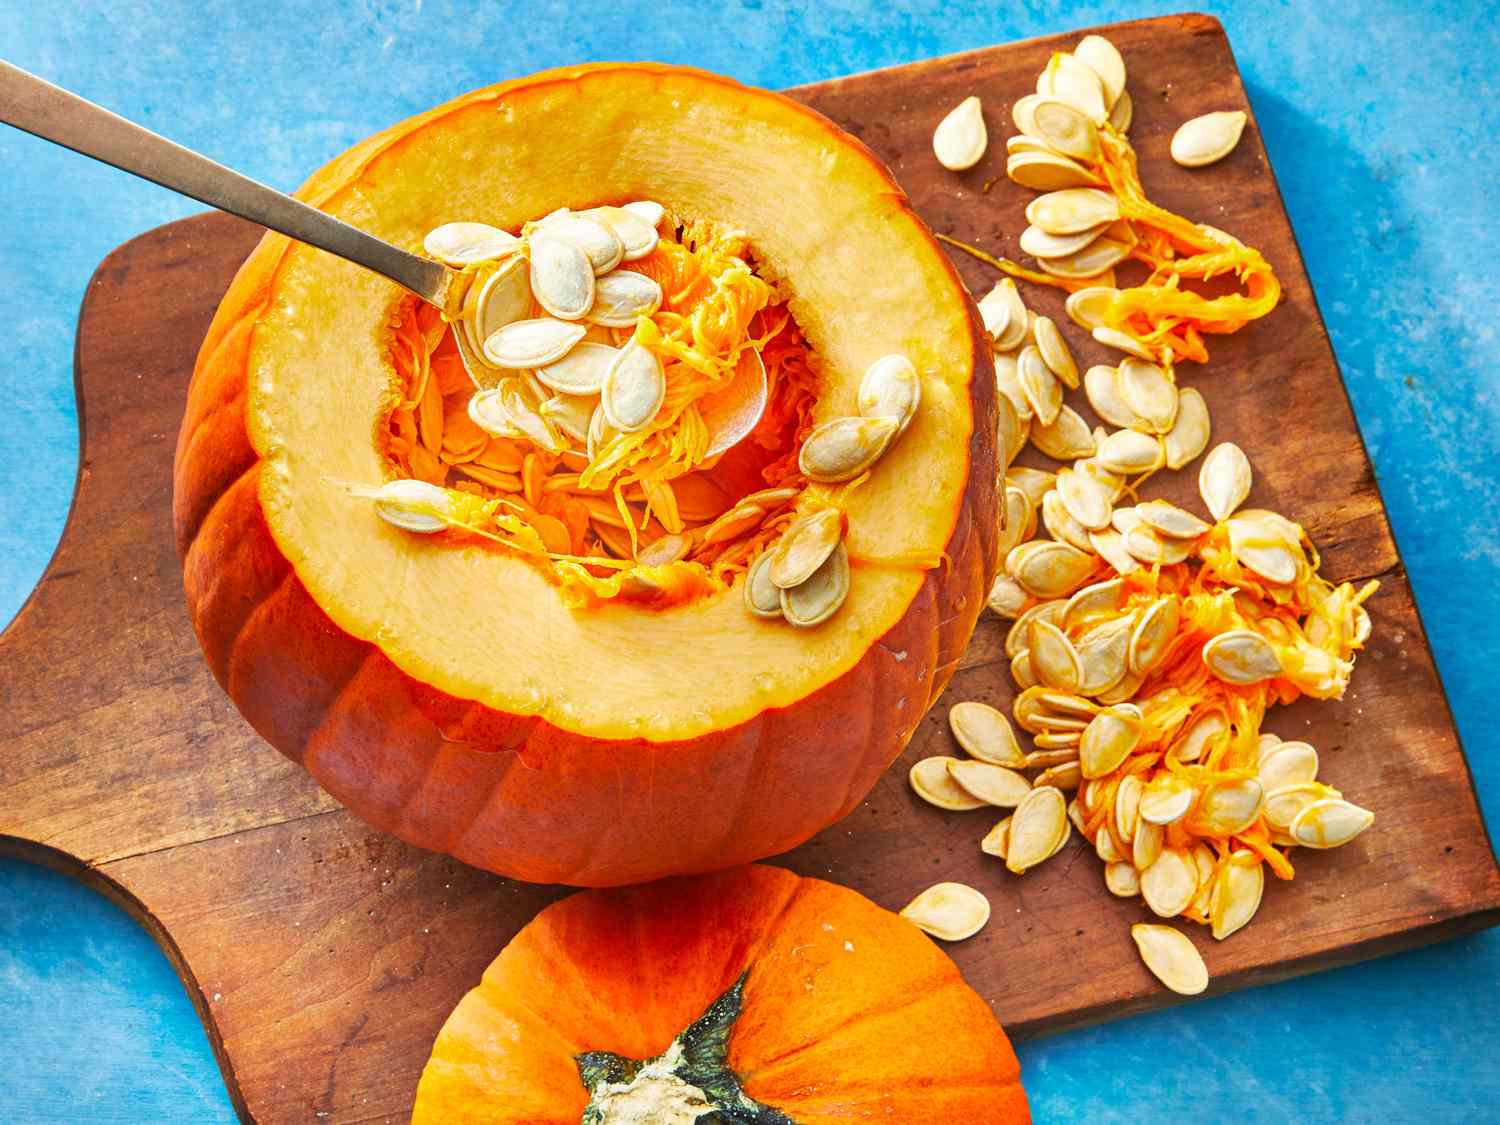
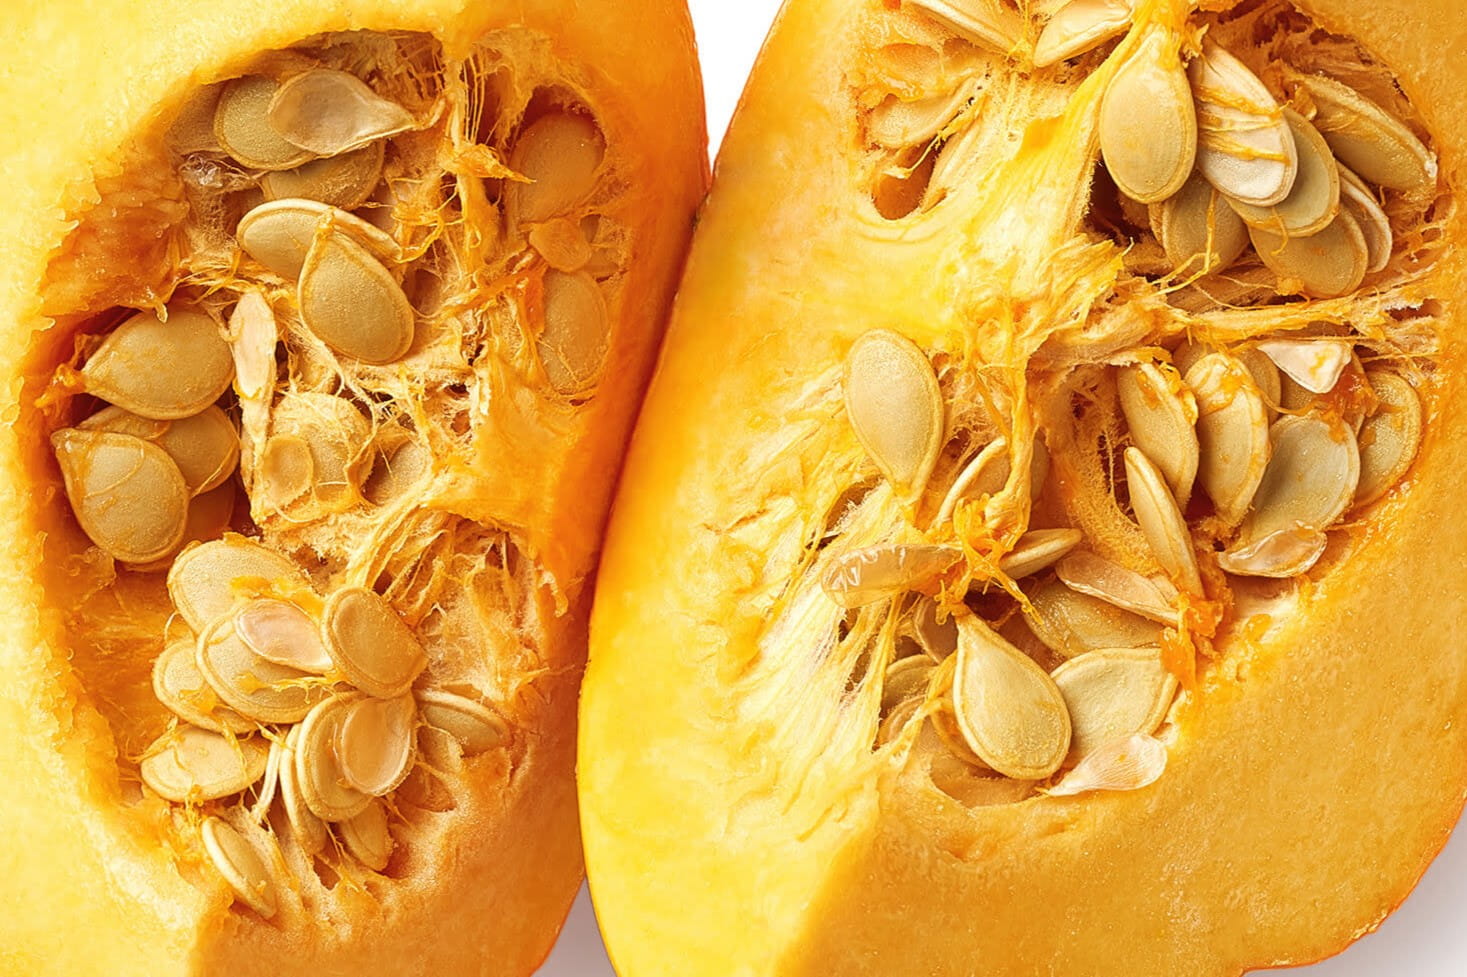
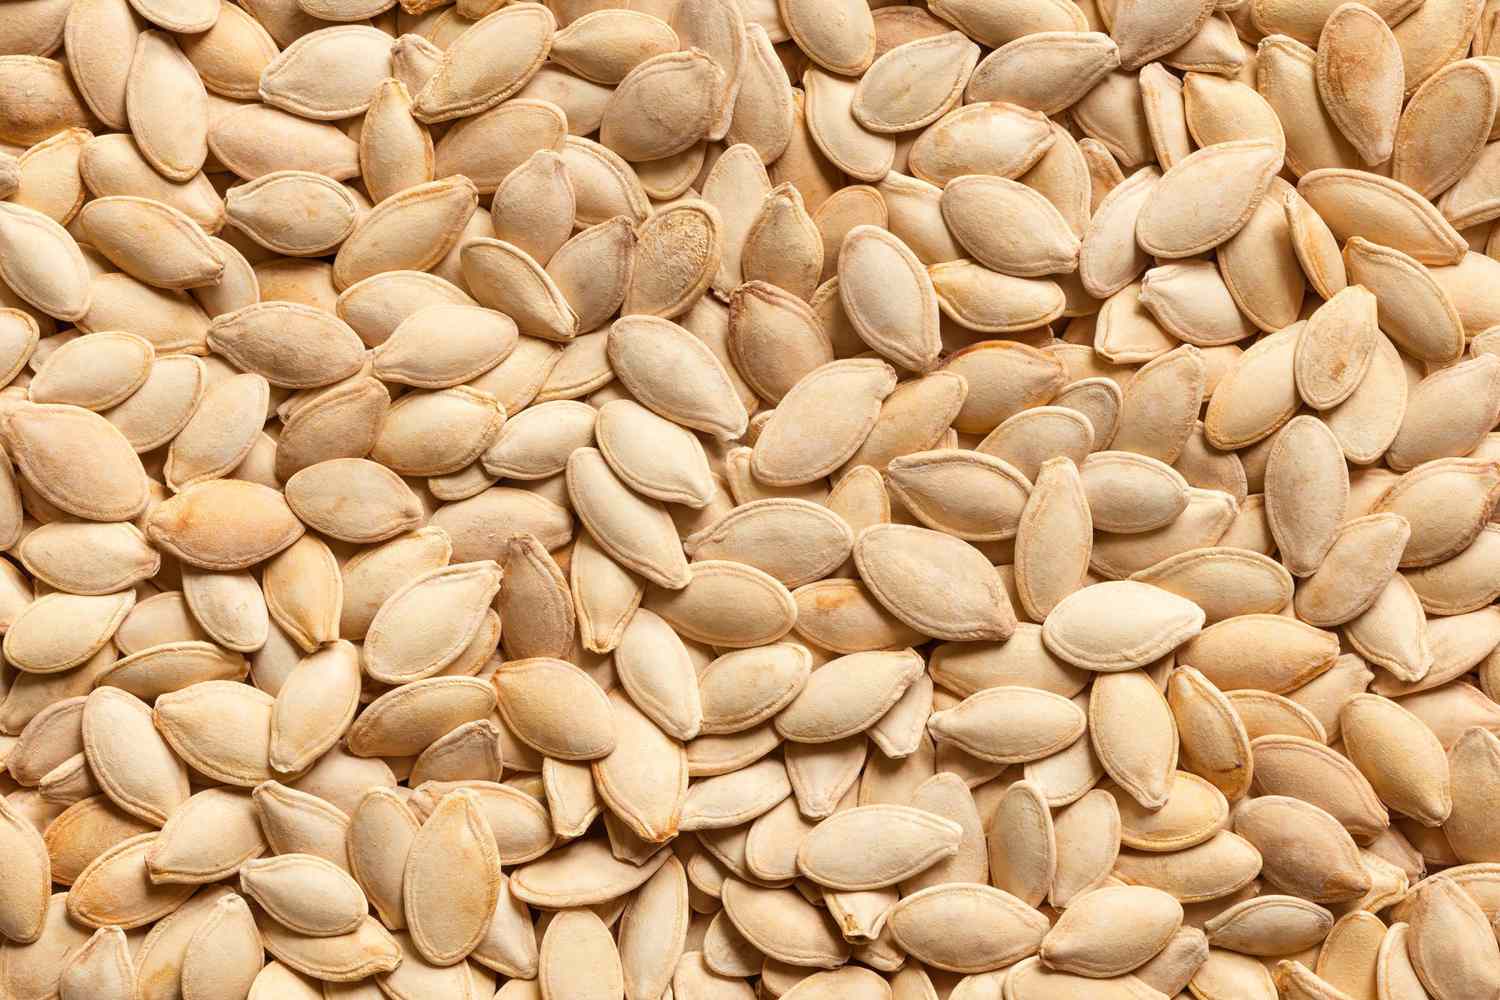
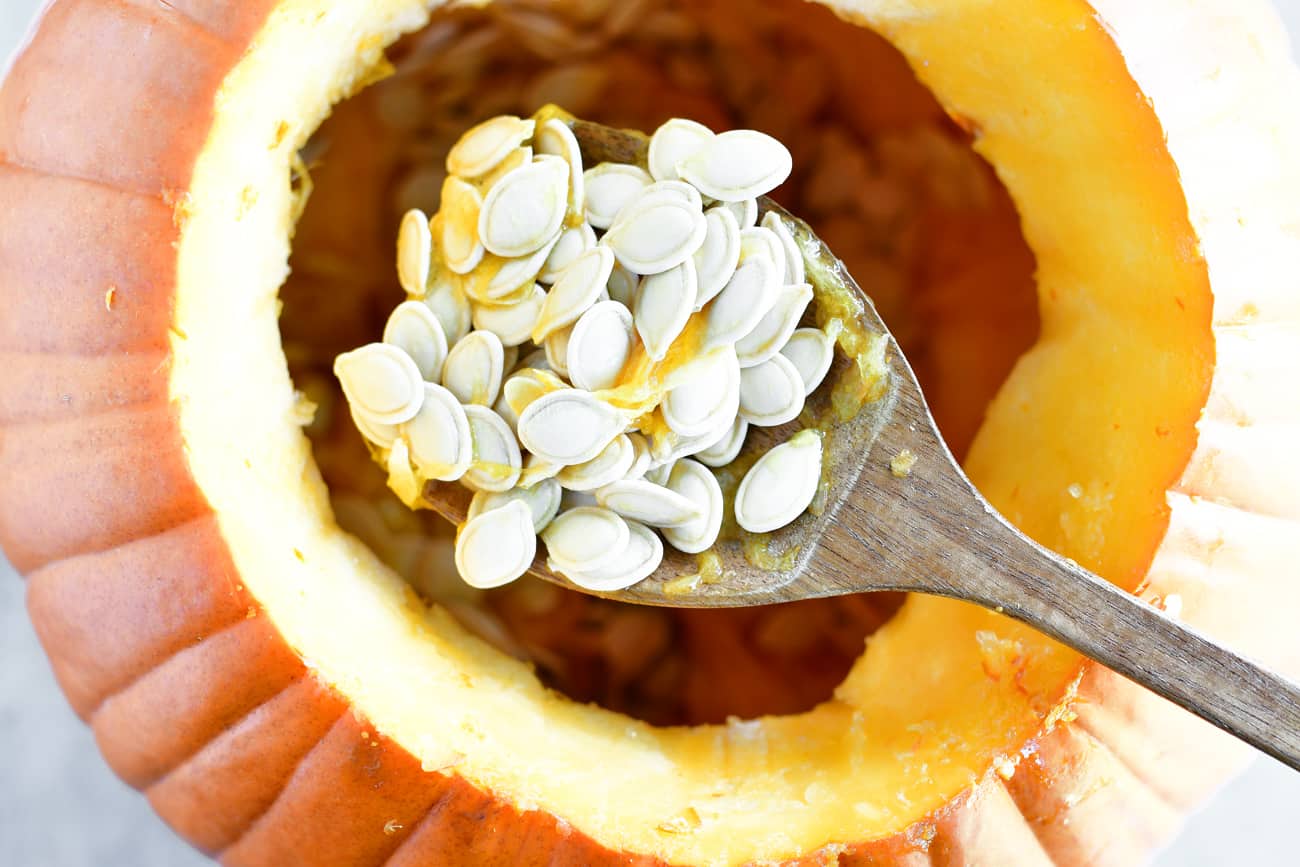
Seed Removal: Once your pumpkins are fully cured, it’s time to prepare the seeds for saving. Carefully cut open the pumpkin and scoop out the seeds using a spoon or your hands. Separate the seeds from the flesh and place them in a bowl or colander.
Cleaning Seeds: Rinse the pumpkin seeds thoroughly under running water to remove any clinging pulp or debris. You can also use a fine mesh sieve to help with the cleaning process. Make sure to remove any seeds that appear damaged or diseased.
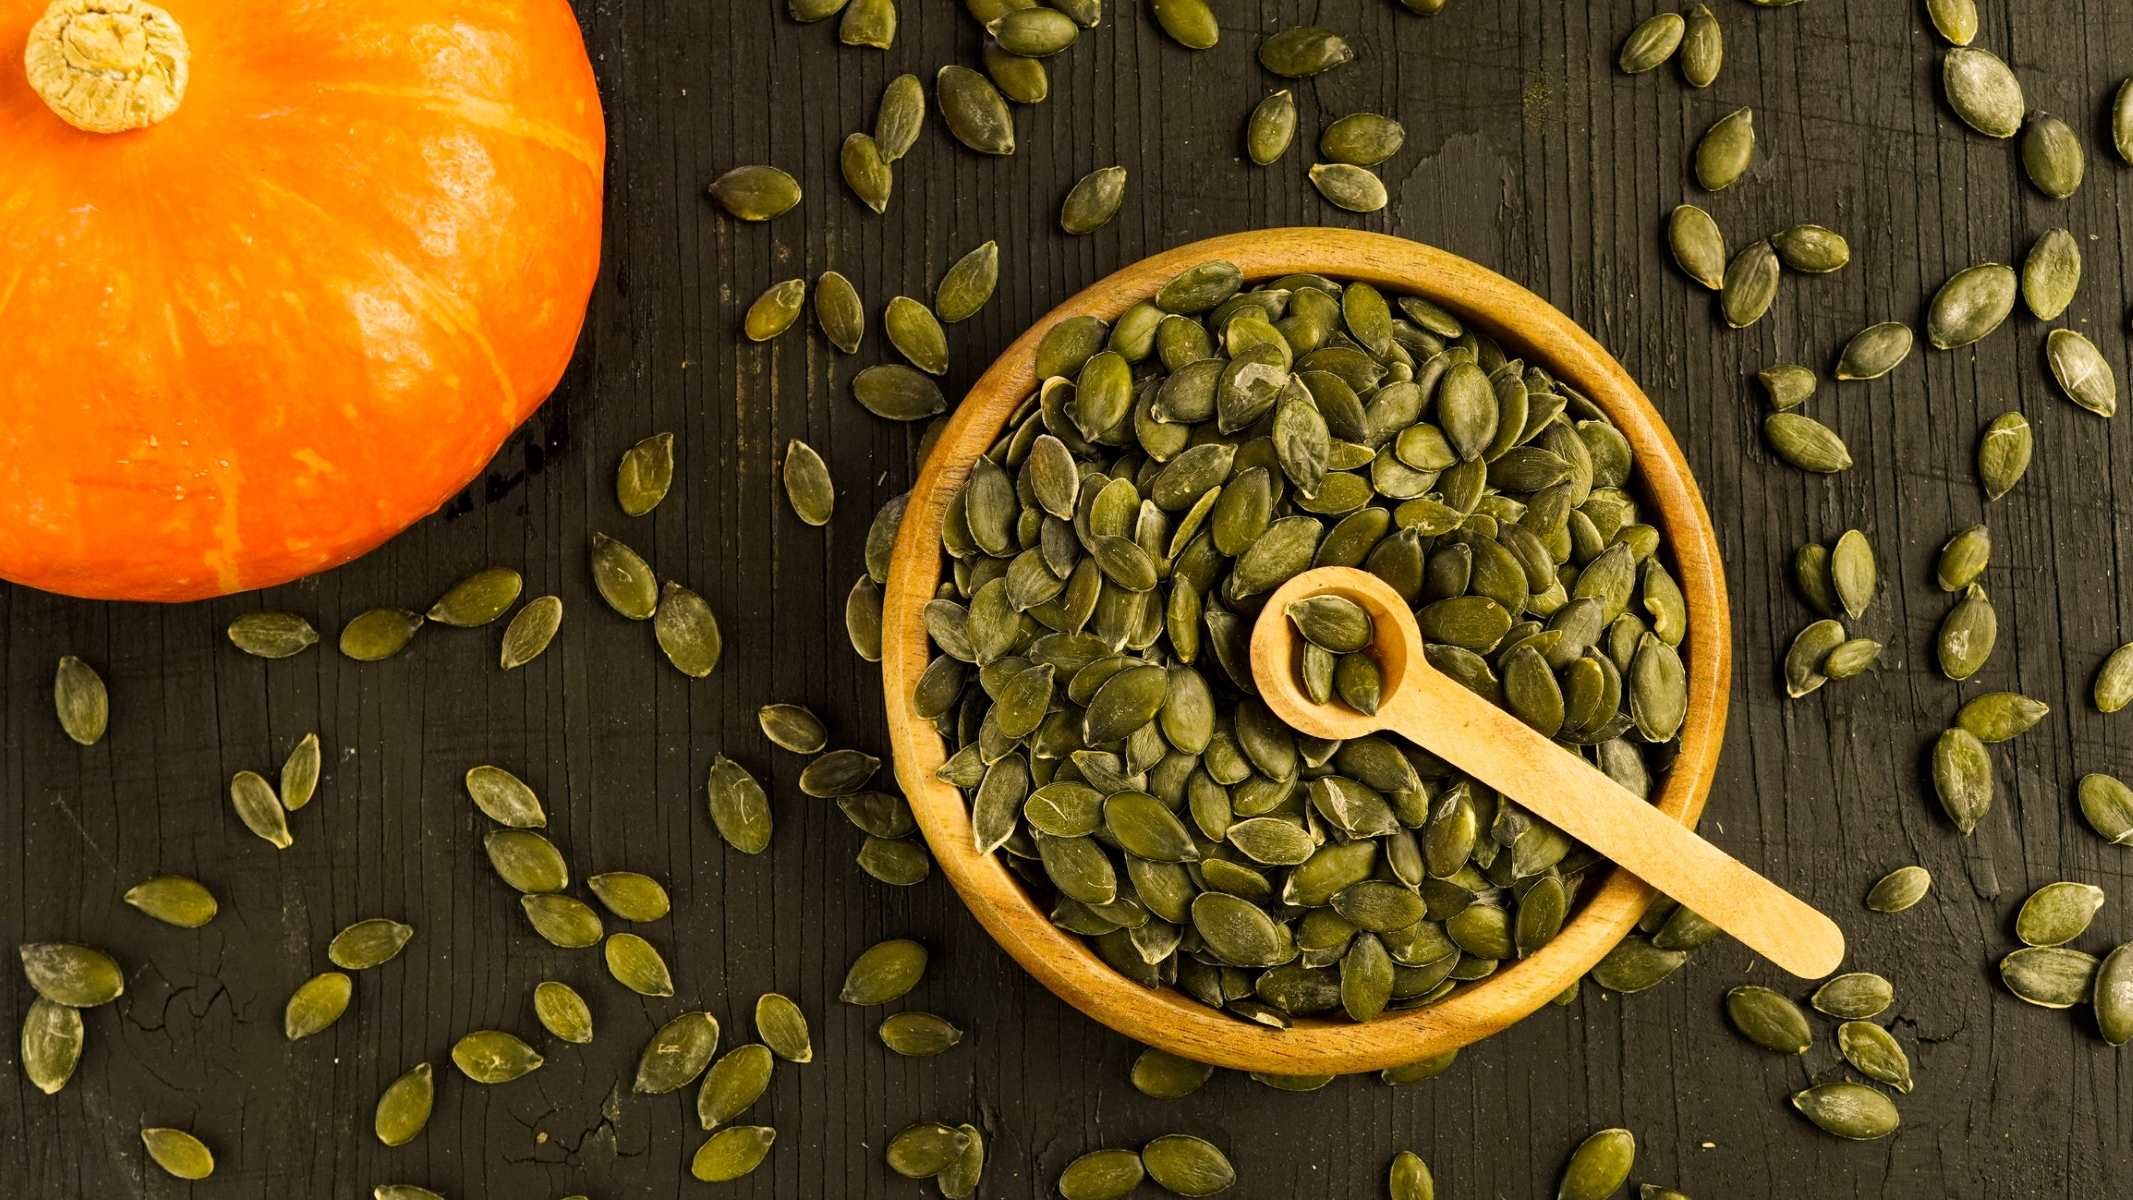
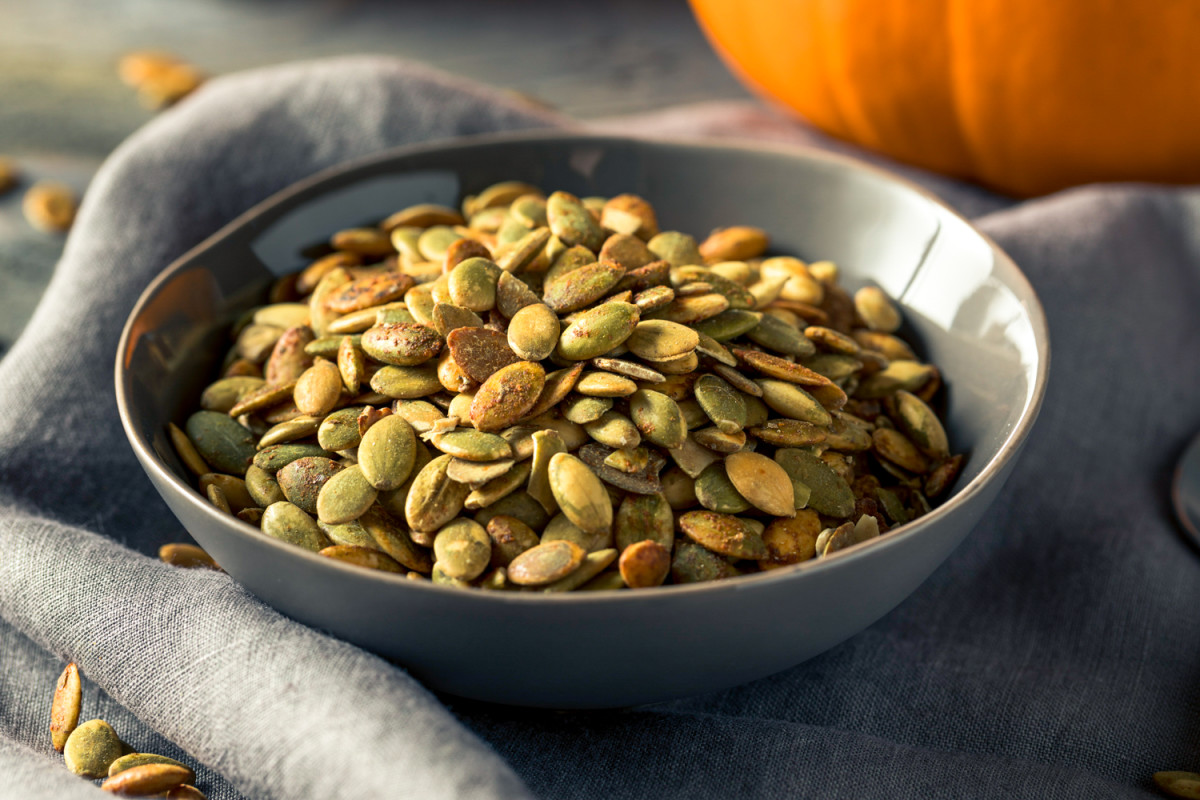
Drying Seeds: After cleaning, spread the pumpkin seeds out on a flat surface, such as a baking sheet or a mesh drying rack. Allow them to air dry in a cool, well-ventilated area for about a week or until they are completely dry. Stir or turn the seeds occasionally to ensure even drying.
Storage: Once the pumpkin seeds are dry, store them in a cool, dry place. You can use paper envelopes or small glass jars to keep the seeds. Label each container with the pumpkin variety and the year of harvest. Properly stored pumpkin seeds can remain viable for several years.
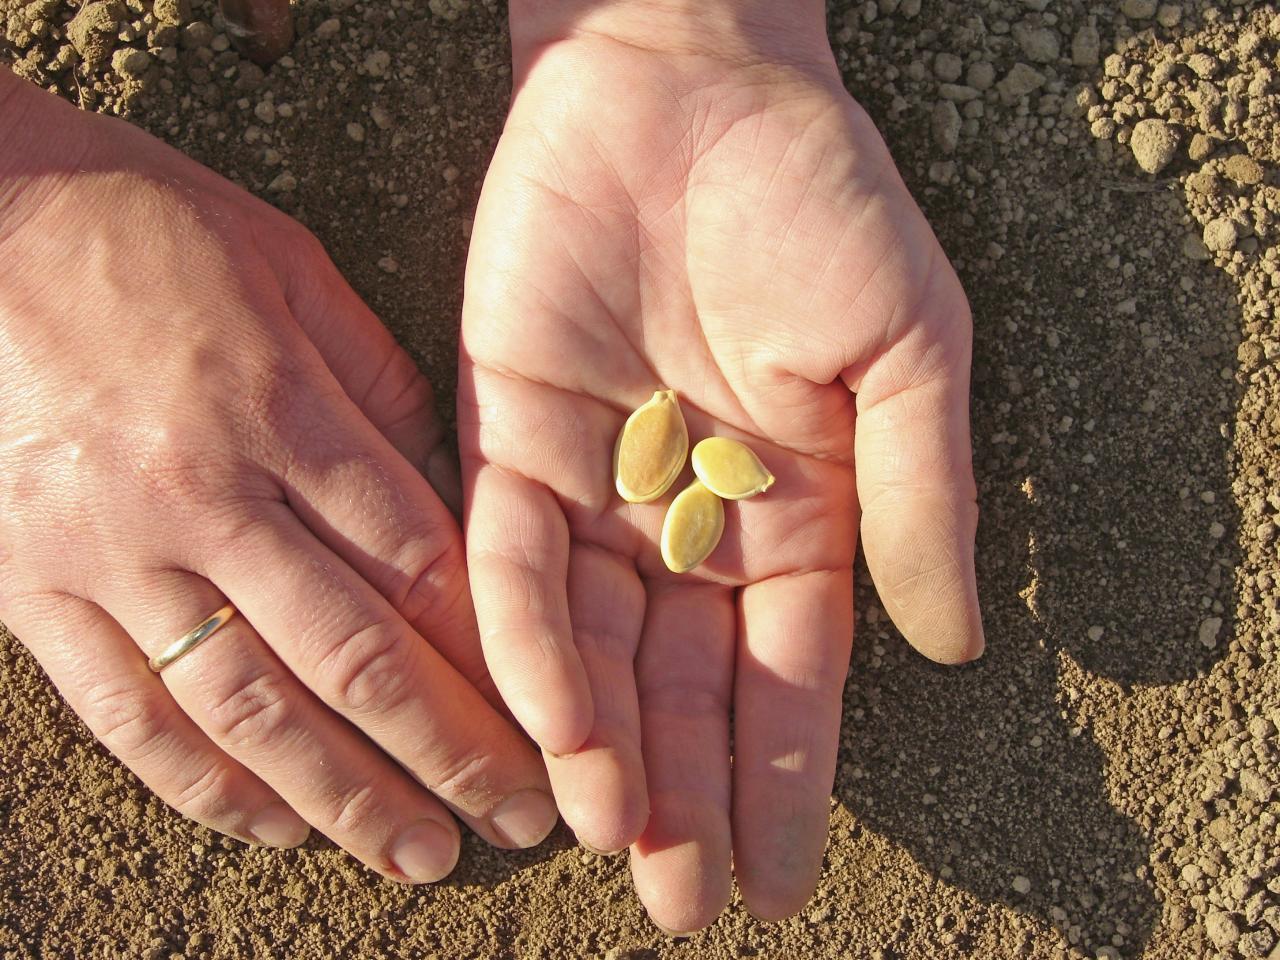
Planting Saved Seeds: When you’re ready to use your saved pumpkin seeds for planting, choose the healthiest and largest seeds for the best germination rates. Start them indoors or directly sow them in the garden according to the planting guidelines for your specific pumpkin variety.
By harvesting and saving pumpkin seeds, you can continue to grow and enjoy your favorite pumpkin varieties year after year. Remember to observe any specific instructions for saving seeds from hybrid pumpkins, as they may not produce true-to-type offspring. Enjoy the process of seed saving and the anticipation of growing your own pumpkins from saved seeds.
Now that you know how to harvest and save pumpkin seeds, it’s time to wrap up our comprehensive guide to growing pumpkins. Happy gardening and may your pumpkin harvest be plentiful!
Conclusion
Congratulations on completing our comprehensive guide to growing pumpkins! By understanding the right time to plant pumpkin seeds, considering factors such as climate and soil conditions, and implementing proper care techniques, you are well-equipped to embark on a successful pumpkin-growing journey.
Whether you choose to plant pumpkin seeds indoors to extend the growing season or directly in your garden, remember to provide adequate water, nutrients, and sunlight to your seedlings. Keep an eye out for pests and diseases, and take necessary steps to mitigate any issues that may arise.
As your pumpkins mature, enjoy the satisfaction of harvesting fully ripe fruits. Take the time to cure your pumpkins to enhance their flavor and extend their storage life. And don’t forget to save the seeds from your favorite pumpkins for future plantings, ensuring a continuous cycle of growth and harvest for years to come.
Growing your own pumpkins allows you to experience the joy of cultivating a versatile and delicious vegetable, from its humble seed to the beautiful, vibrant fruit. Whether you use your pumpkins for cooking, baking, or decorative purposes, the journey of tending to your plants and witnessing the fruits of your labor is truly rewarding.
As you embark on your pumpkin-growing adventure, remember to adapt the information provided to your specific location, climate, and variety of pumpkin. Experiment, have fun, and learn from your experiences. Gardening is a continuous learning process, and each season presents new opportunities for growth and discovery.
We hope this guide has equipped you with the knowledge and confidence to grow your own pumpkins successfully. Now, it’s time to get your hands dirty, sow those seeds, and watch as your pumpkin patch flourishes with lush green vines and vibrant orange fruits. Enjoy the journey and the bountiful harvest that awaits you.
Happy pumpkin gardening!
Frequently Asked Questions about When To Grow Pumpkin Seeds
Was this page helpful?
At Storables.com, we guarantee accurate and reliable information. Our content, validated by Expert Board Contributors, is crafted following stringent Editorial Policies. We're committed to providing you with well-researched, expert-backed insights for all your informational needs.


0 thoughts on “When To Grow Pumpkin Seeds”