Home>Garden Essentials>How To Plant Pumpkin Seeds
Garden Essentials
How To Plant Pumpkin Seeds
Modified: August 28, 2024
Learn how to plant pumpkin seeds in your garden and enjoy the satisfaction of growing your own delicious pumpkins. Follow our step-by-step guide for a successful harvest.
(Many of the links in this article redirect to a specific reviewed product. Your purchase of these products through affiliate links helps to generate commission for Storables.com, at no extra cost. Learn more)
Introduction
Welcome to the world of gardening, where you can cultivate a myriad of beautiful plants and create your own little oasis of greenery. One plant that holds a special fascination for many gardeners is the pumpkin. With its vibrant orange color, unique shape, and delicious flavor, pumpkins have become a symbol of fall and harvest season. Whether you want to carve a spooky Jack-o’-lantern for Halloween or harvest your own fresh pumpkins for cooking, planting pumpkin seeds is the first step towards a bountiful crop.
In this article, we will guide you through the process of planting pumpkin seeds and provide valuable tips to ensure your success. From selecting the right seeds to caring for the young plants and protecting them from pests and diseases, we’ve got you covered.
Before we dive into the details, it’s important to note that pumpkins are warm-weather plants that thrive in full sun and require fertile soil. They typically take around 90-120 days to mature, so it’s essential to plan your planting accordingly.
So, let’s roll up our sleeves and get started on this exciting gardening journey, shall we? With a little preparation and care, you’ll be enjoying your own homegrown pumpkins in no time!
Key Takeaways:
- Selecting the right pumpkin seeds is crucial for a successful harvest. Consider size, maturity, flavor, and growing conditions when choosing your seeds. Take your time and enjoy the process of researching and selecting the perfect varieties for your garden!
- Proper soil preparation is essential for healthy pumpkin plants. Clear the area, loosen the soil, add organic matter, test the pH, and work in fertilizer to create an optimal growing environment. Healthy soil sets the stage for healthy plants and a bountiful harvest!
Read more: How To Plant Pumpkin Seed
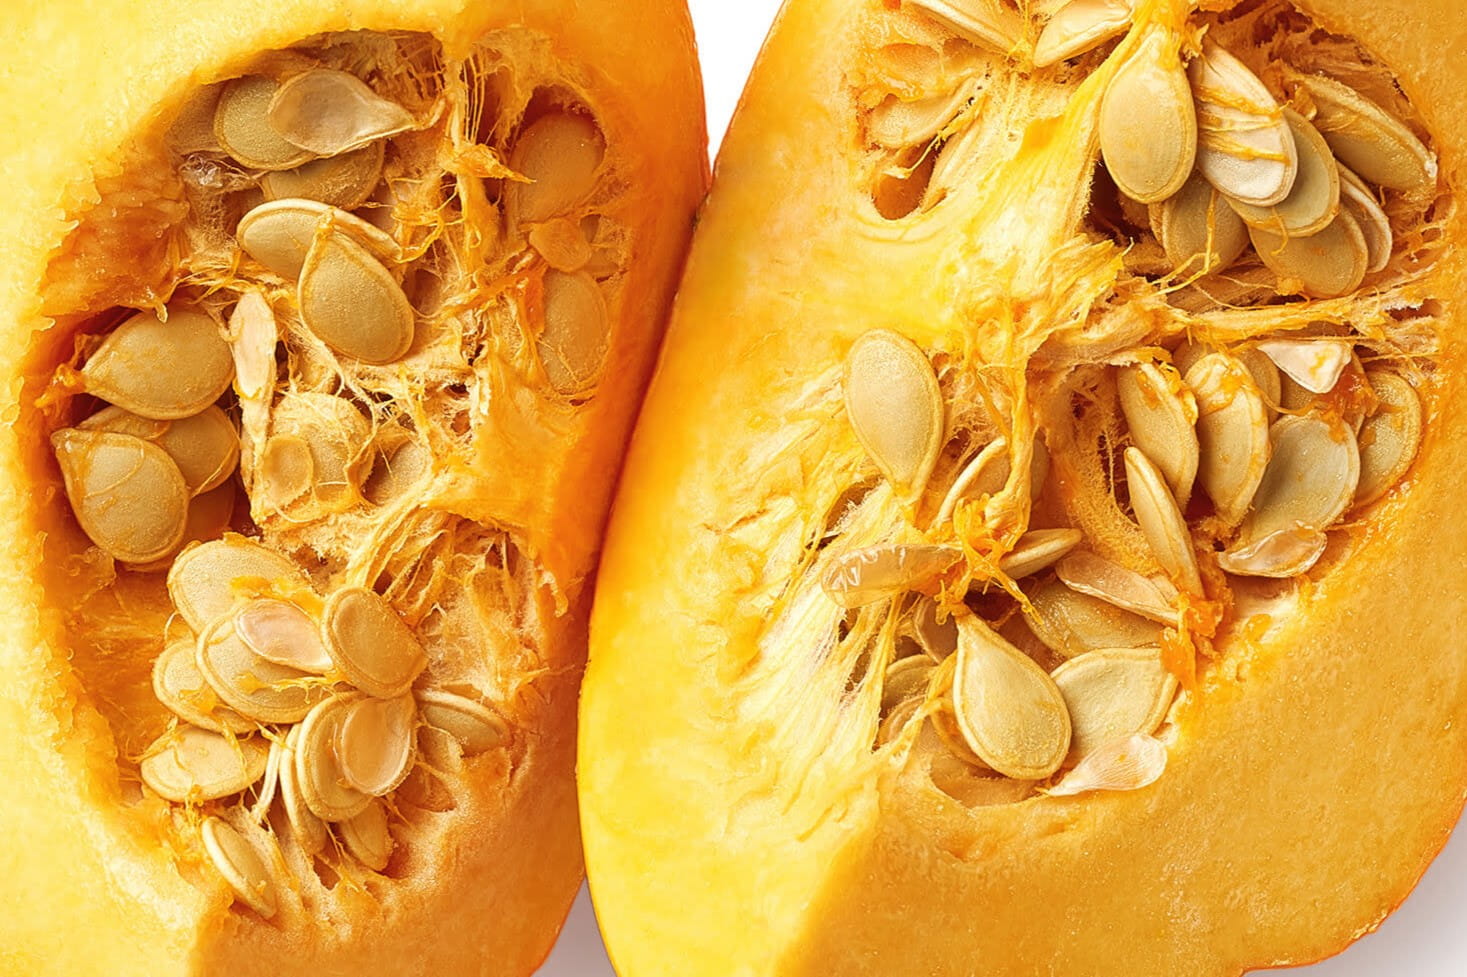
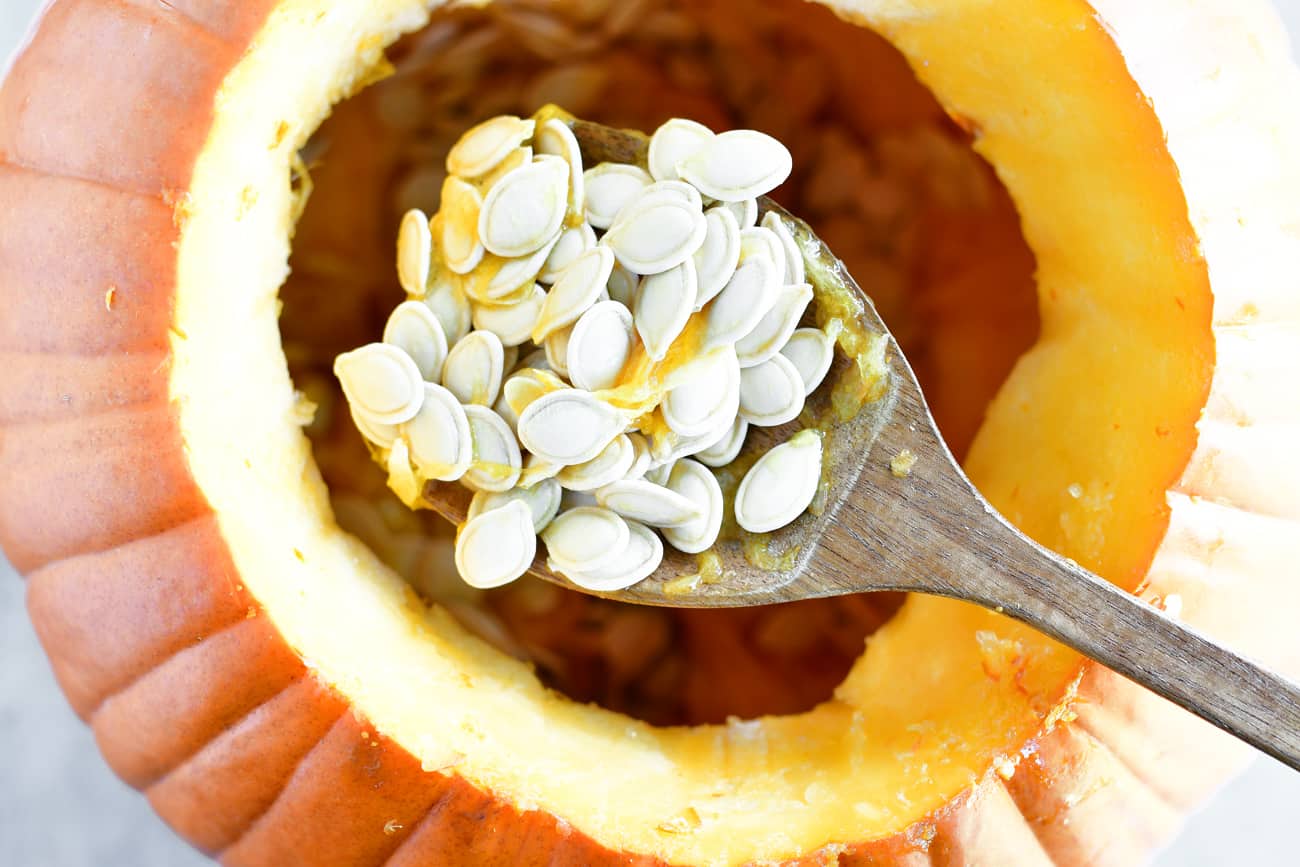
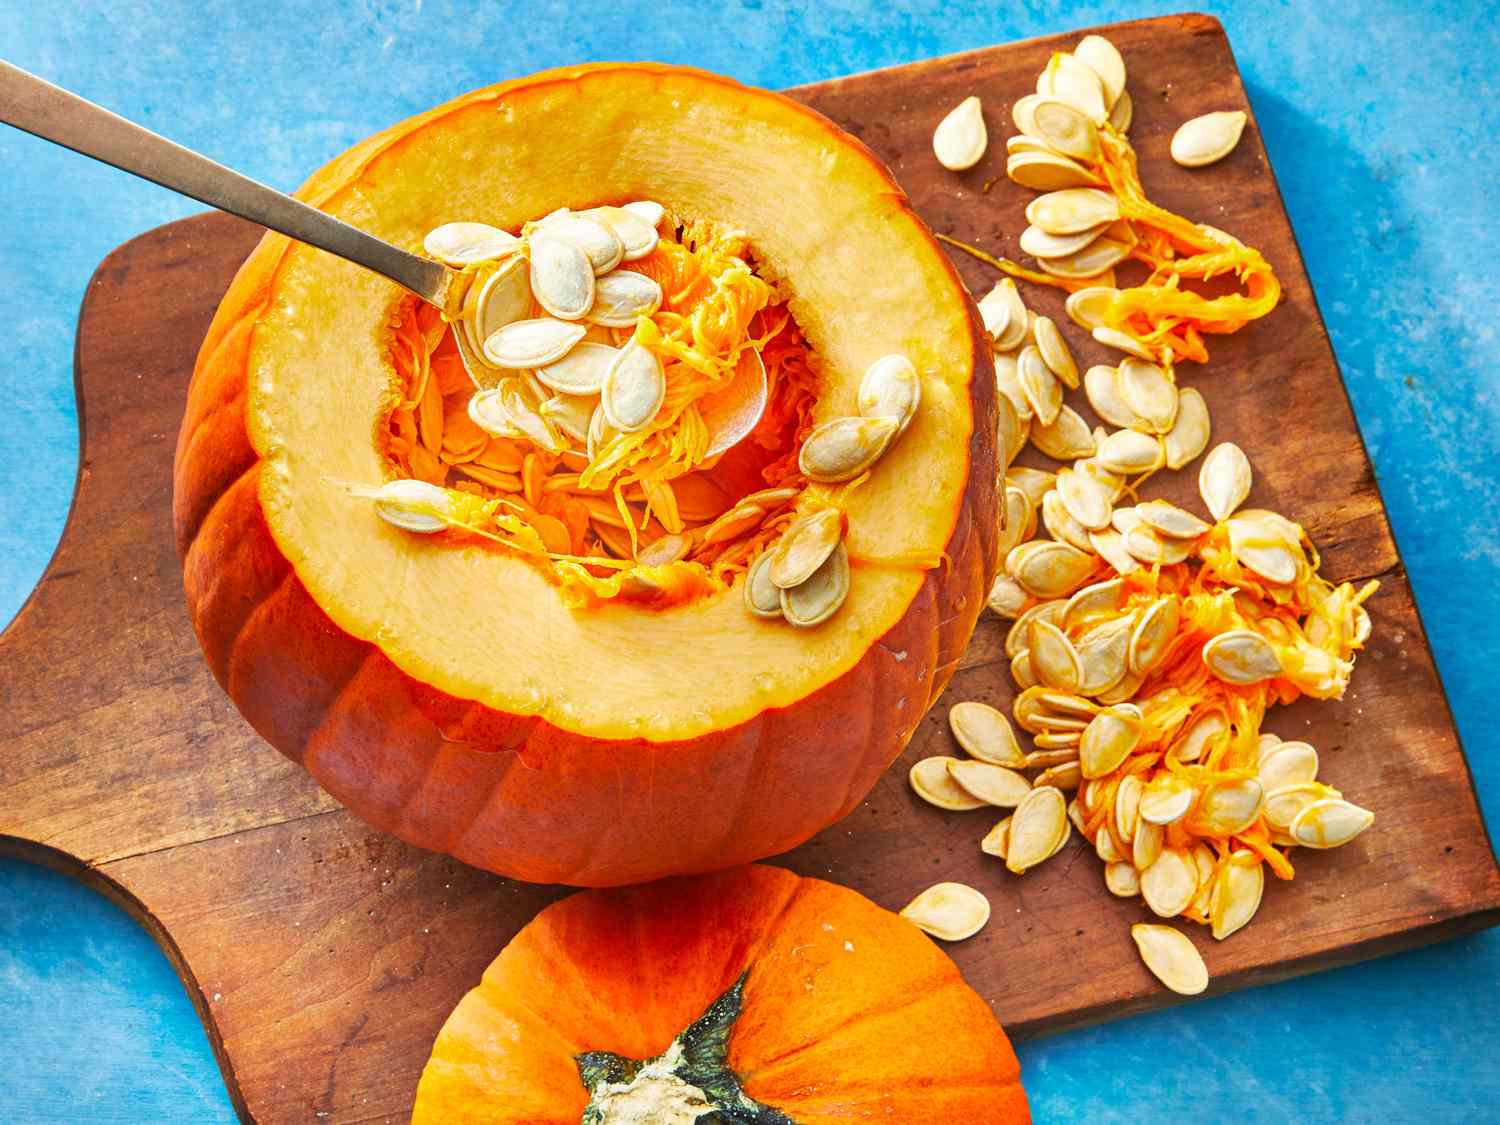
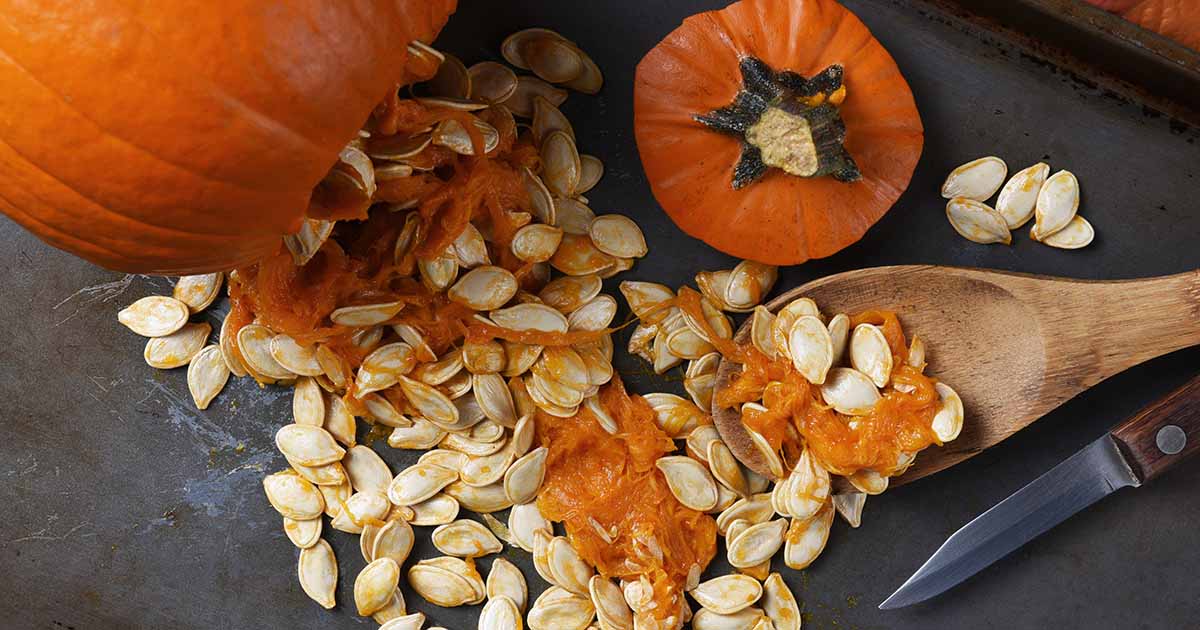
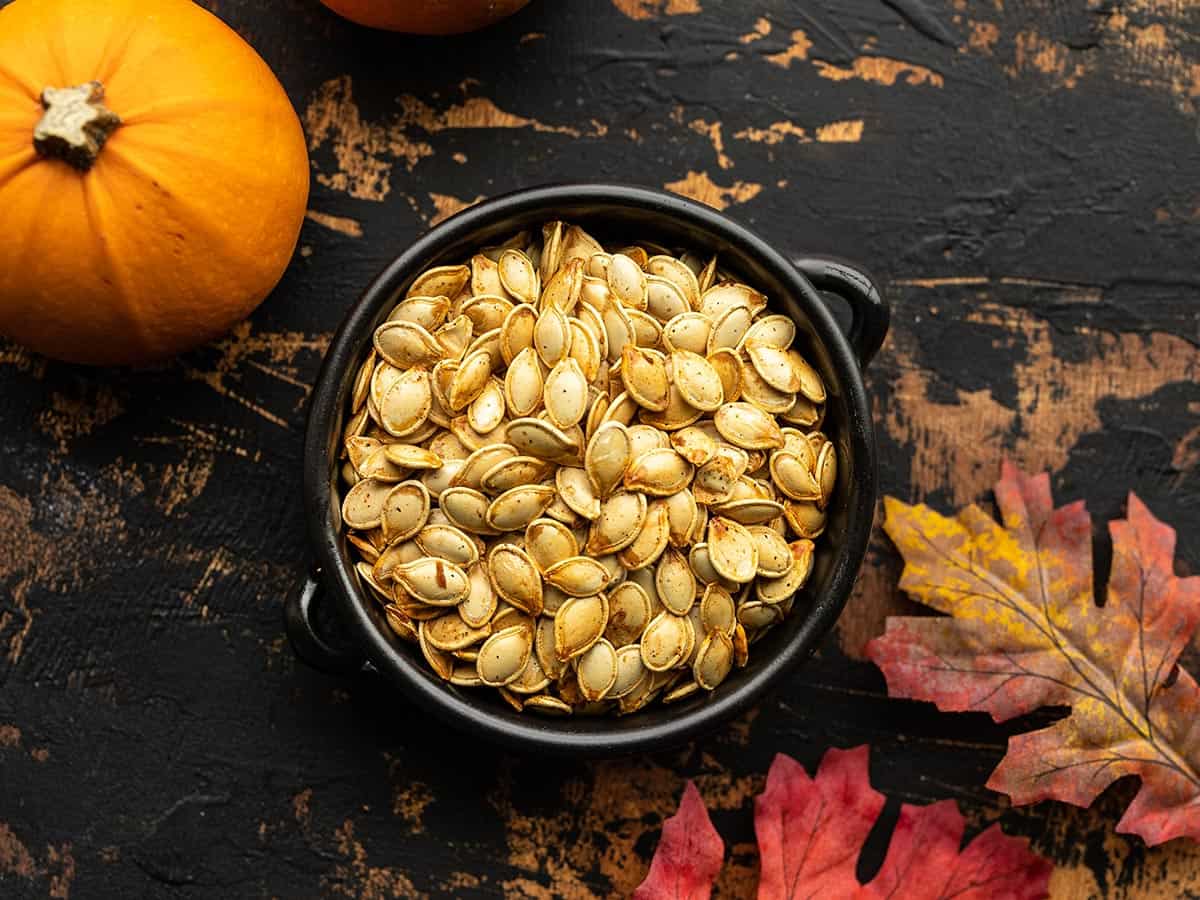
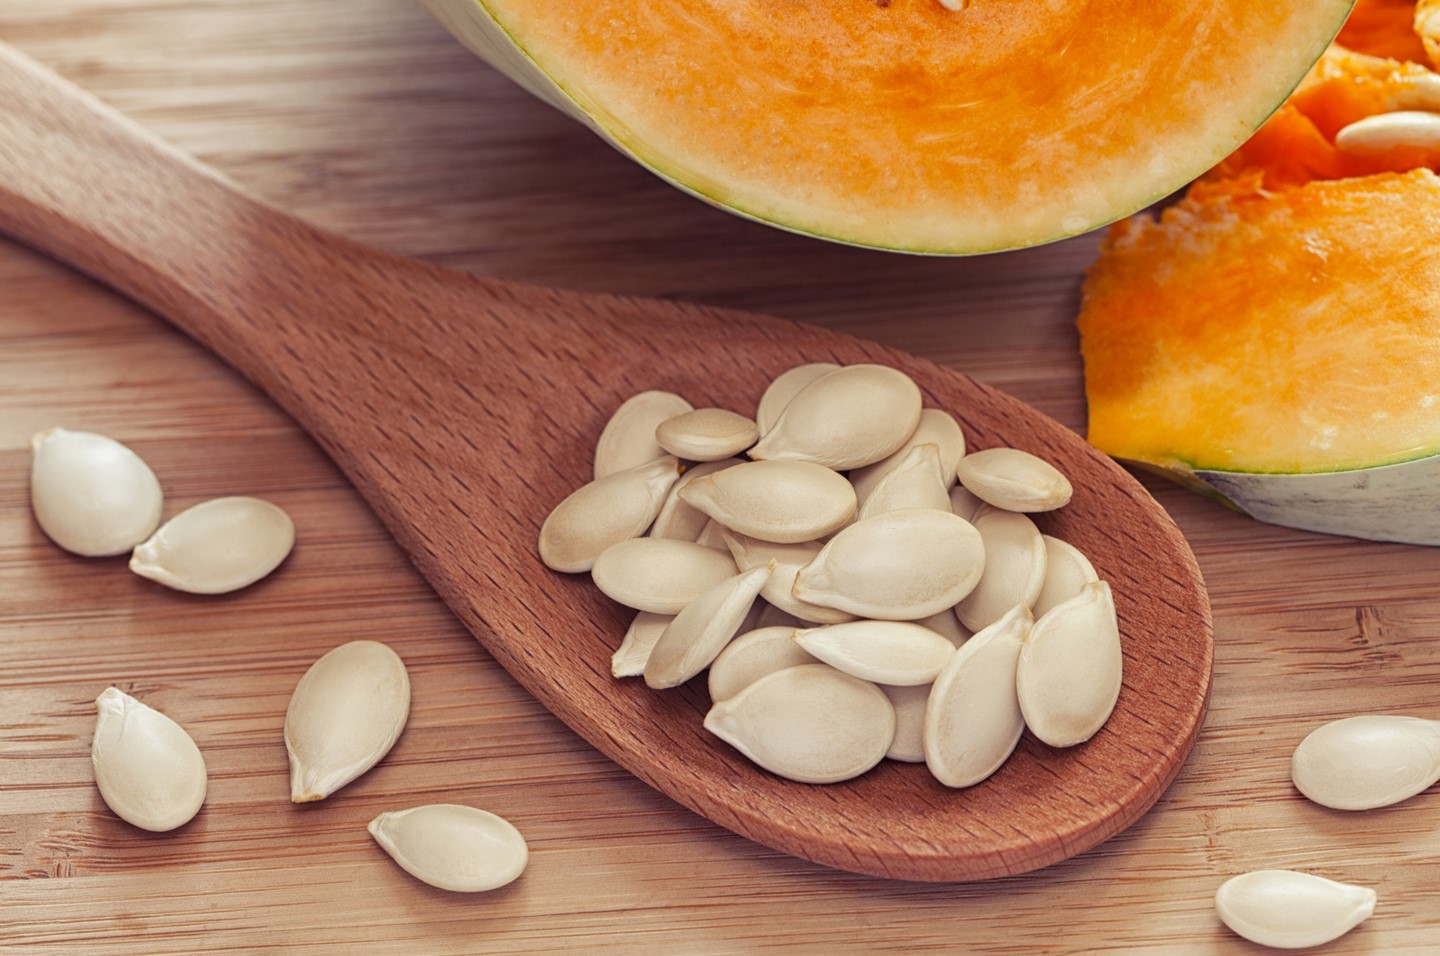
Selecting the Right Pumpkin Seeds
When it comes to selecting pumpkin seeds, you are spoilt for choice with the wide variety available. From small pie pumpkins to giant showstoppers, there’s a pumpkin variety to suit every gardener’s preference. Here are a few factors to consider when choosing the right seeds for your garden:
- Size: Consider the size of the pumpkins you want to grow. If you’re looking to carve jack-o’-lanterns, go for larger varieties such as ‘Atlantic Giant’ or ‘Big Max.’ For cooking purposes, smaller pie pumpkin varieties like ‘Baby Pam’ or ‘Sugar Pie’ are ideal.
- Maturity: Pay attention to the maturity time listed on the seed packet. Different pumpkin varieties have varying maturity periods, ranging from 90 to 120 days. Choose seeds that align with your desired harvest time and growing season length.
- Flavor and Texture: Some pumpkin varieties are bred specifically for their culinary qualities. If you’re planning to use your pumpkins for baking pies, soups, or other delicious recipes, look for varieties known for their excellent flavor and smooth texture.
- Growing Conditions: Consider your garden’s growing conditions. If you have limited space, opt for compact or bush varieties that sprawl minimally. Alternatively, if you have ample space, you can go for sprawling or vine varieties.
When purchasing pumpkin seeds, it’s crucial to buy from a reputable seed supplier to ensure quality and germination rates. Look for reputable seed companies that offer a wide selection of pumpkin seeds and have positive customer reviews. You can also explore local gardening centers or nurseries, as they often carry a diverse range of pumpkin seeds.
Remember, selecting the right pumpkin seeds is the foundation of a successful harvest. Take your time to research different varieties and choose ones that align with your gardening goals and preferences. With the right seeds in hand, you’re ready to move on to the next step: preparing the soil!
Preparing the Soil
A healthy and nutrient-rich soil is essential for the successful growth of pumpkin plants. Before you start planting your seeds, it’s important to prepare the soil to create an optimal growing environment. Here’s how to get your soil ready for planting:
- Clear the Area: Start by clearing the area where you plan to plant your pumpkins. Remove any weeds, rocks, or debris that may hinder the growth of your plants.
- Loosen the Soil: Use a garden fork or tiller to loosen the soil. This will improve aeration, drainage, and root penetration. Avoid working the soil when it’s too wet, as this can lead to compacted soil.
- Add Organic Matter: Incorporating organic matter into the soil is crucial for providing essential nutrients. Spread a layer of well-rotted compost, aged manure, or leaf mold over the soil surface. This will enhance fertility and improve moisture retention.
- Test the pH: It’s a good idea to test the pH level of your soil. Pumpkins prefer slightly acidic to neutral soil, with a pH level between 6.0 and 7.0. Based on the test results, you may need to amend the soil by adding lime to raise the pH or sulfur to lower it.
- Work in Fertilizer: Pumpkin plants are heavy feeders, so it’s beneficial to incorporate a balanced organic fertilizer into the soil. Look for a fertilizer with a higher phosphorus and potassium content, as this will promote root development and fruit production.
Once you have completed these steps, use a rake or garden hoe to level the soil and remove any large clumps or debris. Your soil is now primed and ready for planting!
Remember, healthy soil sets the stage for healthy plants. By taking the time to prepare and enrich your soil, you are providing a strong foundation for your pumpkin plants to thrive. The next step is the exciting part: planting the pumpkin seeds!
Planting Pumpkin Seeds
Now that you have selected the perfect pumpkin seeds and prepared the soil, it’s time to start planting! Follow these steps to ensure a successful planting process:
- Choose the Right Time: Wait until all danger of frost has passed before planting pumpkin seeds. The soil should be warm, with temperatures consistently above 60°F (15°C). Depending on your location, this is usually around late spring or early summer.
- Select the Planting Method: Pumpkin seeds can be directly sown into the garden or started indoors. Direct sowing is a common method but requires a longer growing season. If you are in a region with a shorter growing season, starting seeds indoors and transplanting seedlings outdoors later can be a better option.
- Sow the Seeds: If planting directly in the garden, create small mounds or hills of soil that are about 2 feet apart. Each mound should be around 12 inches in diameter and 6 inches high. Plant 2-3 seeds per mound, spacing them evenly in the center.
- Seed Depth and Covering: Sow the seeds at a depth of about 1 inch. Cover the seeds with soil and gently firm it down to ensure good seed-to-soil contact.
- Watering: After planting the seeds, give the soil a thorough watering. This will help to settle the seeds and initiate germination. Keep the soil consistently moist during the germination period, which typically takes 7-10 days.
If you choose to start seeds indoors, use seed trays or containers filled with seed starting mix. Plant the seeds at a depth of 1 inch and provide moisture and warmth for germination. Once the seedlings have developed their second set of true leaves, they can be transplanted into the garden.
When it comes to spacing, ensure there is enough room between plants to allow for proper growth and airflow. Vining varieties may require more space, while compact bush varieties can be planted closer together.
Remember to label your pumpkin plants to keep track of the different varieties. This will help you identify and appreciate the uniqueness of each pumpkin as they start to grow.
With your pumpkin seeds safely planted, it’s time to move on to the next steps: watering and mulching.
Watering and Mulching
Proper watering is crucial for the healthy growth of your pumpkin plants. Here are some guidelines to keep in mind when it comes to watering:
- Consistent Moisture: Pumpkins require consistent moisture throughout their growing season. Keep the soil evenly moist, but not soggy. Avoid overwatering, as this can lead to root rot and other problems. Aim for about 1 inch of water per week, either from rainfall or supplemental watering.
- Water at the Base: When watering, direct the water towards the base of the plant, avoiding the foliage as much as possible. This helps prevent fungal diseases and ensures that the water reaches the plant’s roots effectively.
- Early Morning Watering: Water your pumpkin plants early in the morning, allowing the foliage to dry out during the day. Avoid watering in the evening, as damp conditions overnight can encourage the development of fungal diseases.
In addition to proper watering, mulching is an effective practice that can benefit your pumpkin plants in several ways:
- Moisture Retention: Mulching helps to retain moisture in the soil, reducing the need for frequent watering. Apply a layer of organic mulch, such as straw or shredded leaves, around the base of the plants, taking care not to mound it against the stems.
- Weed Control: Mulch acts as a barrier, preventing weeds from growing and competing with your pumpkin plants for nutrients and water. Keep the area around your plants weed-free to reduce competition and ensure optimal growth.
- Temperature Regulation: Mulching helps to regulate soil temperature, keeping it cooler in hot summer months and warmer in cooler weather. This creates a more favorable environment for pumpkin plant roots.
- Reduced Soil Erosion: Mulch protects the soil from erosion caused by heavy rainfall or strong winds, preventing valuable topsoil from being washed away.
Remember to regularly monitor the soil moisture levels and adjust your watering schedule accordingly. As the plants grow and spread, make sure to water the entire root zone and avoid excessive wetting of the foliage, which can contribute to disease development.
By implementing proper watering techniques and mulching practices, you will provide optimal growing conditions for your pumpkins, ensuring healthy and robust plants. In the next section, we will discuss the importance of providing the right amount of sunlight for your pumpkin plants.
Plant pumpkin seeds in well-draining soil, 1 inch deep and 2-3 feet apart. Water regularly and provide plenty of sunlight. Watch for pests and diseases.
Read more: When To Plant Pumpkin Seeds
Providing the Right Amount of Sunlight
Sunlight is vital for the growth and development of pumpkin plants. They thrive in full sun, which means they need at least 6-8 hours of direct sunlight each day. Here are some essential points to consider when it comes to providing the right amount of sunlight for your pumpkins:
- Choosing the Right Location: Select a planting location that receives ample sunlight throughout the day. Ideally, this should be an area with unobstructed exposure to the sun, away from tall trees or buildings that may cast shadows.
- Orientation: When planting pumpkin seeds, take note of the orientation of your garden rows. Position the rows in a north-south direction to maximize sunlight exposure for each plant.
- Avoid Shading: Ensure that neighboring plants or structures do not shade your pumpkin plants. Overhead shading can hinder their growth and limit fruit production.
- Monitor for Sunburn: In some regions, where intense sunlight and high temperatures are common, pumpkins can be susceptible to sunburn. To protect your plants, provide some temporary shade during the hottest part of the day using shade cloth or by placing umbrellas or other coverings.
While pumpkins love sun, it’s important to strike a balance. Extreme heat and prolonged exposure to intense sunlight can cause stress to the plants. Therefore, proper watering and adequate mulching are essential to help regulate soil temperature and maintain moisture levels.
By ensuring that your pumpkin plants receive the right amount of sunlight, they will thrive and develop strong vines, lush foliage, and ultimately, an abundance of healthy pumpkins.
Now that you understand the importance of sunlight, let’s move on to the next section, which covers taking care of young pumpkin plants and promoting their growth.
Taking Care of Young Pumpkin Plants
Young pumpkin plants require proper care and attention to ensure their healthy growth and development. Here are some essential tips to help you take care of your young pumpkin plants:
- Thinning: Once your pumpkin seedlings have emerged, it’s important to thin them out. Remove the weaker seedlings, leaving only the healthiest and most vigorous ones in each planting mound. This allows the remaining plants to have ample space, nutrients, and light to grow.
- Sprinkle Some Epsom Salt: Epsom salt, rich in magnesium and sulfur, can benefit pumpkin plants. Sprinkle a tablespoon of Epsom salt around each plant, then lightly water it in. This can promote healthy foliage growth and enhance overall plant vitality.
- Keep the Soil Moist: Proper watering is essential during the early stages of pumpkin plant growth. Monitor the soil moisture levels and keep the soil consistently moist, but not waterlogged. Avoid letting the soil dry out completely, as this can inhibit the plants’ growth.
- Provide Support: As the pumpkin plants grow, they may need support for their sprawling vines and heavy fruit. Place a stake or trellis near each plant and gently guide the vines to grow along the support. This helps to keep the foliage off the ground, reduces the risk of pests and diseases, and promotes good air circulation.
- Feeding: Pumpkin plants are heavy feeders and benefit from regular feeding throughout the growing season. Apply a balanced fertilizer about once a month, following the manufacturer’s instructions. This will provide essential nutrients for strong plant growth and fruit development.
- Pruning: While not necessary, lightly pruning the pumpkin plants can help manage their growth and improve air circulation. Remove any excessive foliage or lateral vines that are overcrowding or covering the main vines. This promotes better sunlight penetration and reduces the risk of disease development.
Regularly inspect your pumpkin plants for any signs of pests or diseases. Early detection allows for prompt intervention to mitigate any damage that may occur. Additionally, be on the lookout for powdery mildew, a common fungal disease that affects pumpkin plants. If detected, applying a fungicide specifically formulated for powdery mildew can help control its spread.
By providing proper care, support, and attention to your young pumpkin plants, you set the stage for healthy growth, strong vines, and robust fruit production. As your plants continue to flourish, they may face potential threats from pests and diseases. In the next section, we will discuss how to protect your pumpkin plants from these challenges.
Protecting Pumpkin Plants from Pests and Diseases
Pumpkin plants can be susceptible to various pests and diseases that can hinder their growth and diminish their harvest. By implementing preventive measures and practicing regular monitoring, you can protect your pumpkin plants and ensure their health and productivity. Here are some tips to help you safeguard your plants:
- Pest Identification: Familiarize yourself with common pests that affect pumpkin plants, such as aphids, cucumber beetles, and squash bugs. Regularly inspect your plants for any signs of pest activity, including feeding damage, eggs, or insect presence.
- Natural Predators: Encourage natural predators, such as ladybugs and praying mantises, to inhabit your garden. These beneficial insects help control pest populations by consuming them. Avoid using broad-spectrum pesticides that can harm both pests and beneficial insects.
- Companion Planting: Planting certain companion plants can help deter pests and attract beneficial insects. For instance, planting marigolds or nasturtiums near your pumpkin plants can repel pests and enhance pollination.
- Row Covers: Use lightweight row covers to physically protect your young pumpkin plants from insect infestations. This barrier allows sunlight, air, and water to pass through while preventing pests from directly accessing the plants.
- Neem Oil: Neem oil, a natural organic insecticide, can be used to control pests on pumpkin plants. Dilute the neem oil according to the package instructions and spray your plants, focusing on the undersides of leaves and along the stems.
- Fungal Diseases: Fungal diseases such as powdery mildew can affect pumpkin plants. To prevent these diseases, provide adequate spacing between plants to allow for good air circulation. Water the plants at the base and avoid wetting the foliage excessively. Applying a fungicide specifically formulated for powdery mildew can also help control its spread.
- Healthy Soil and Plants: Maintaining healthy soil and plants can make them more resistant to pests and diseases. Ensure proper soil fertility by regularly amending with organic matter and providing balanced nutrition. Strong and healthy plants are better equipped to withstand and recover from pest and disease challenges.
Regular monitoring is essential to catch any pest or disease issues early on. By promptly addressing them, you can minimize the damage and prevent potential infestations from spreading. Remember to dispose of any infected plant material to prevent further contamination.
With proper pest and disease management, you can protect your pumpkin plants and ensure they stay robust and productive throughout the growing season. As your pumpkins continue to grow and mature, it’s important to know when and how to harvest them. We will explore this topic in the next section.
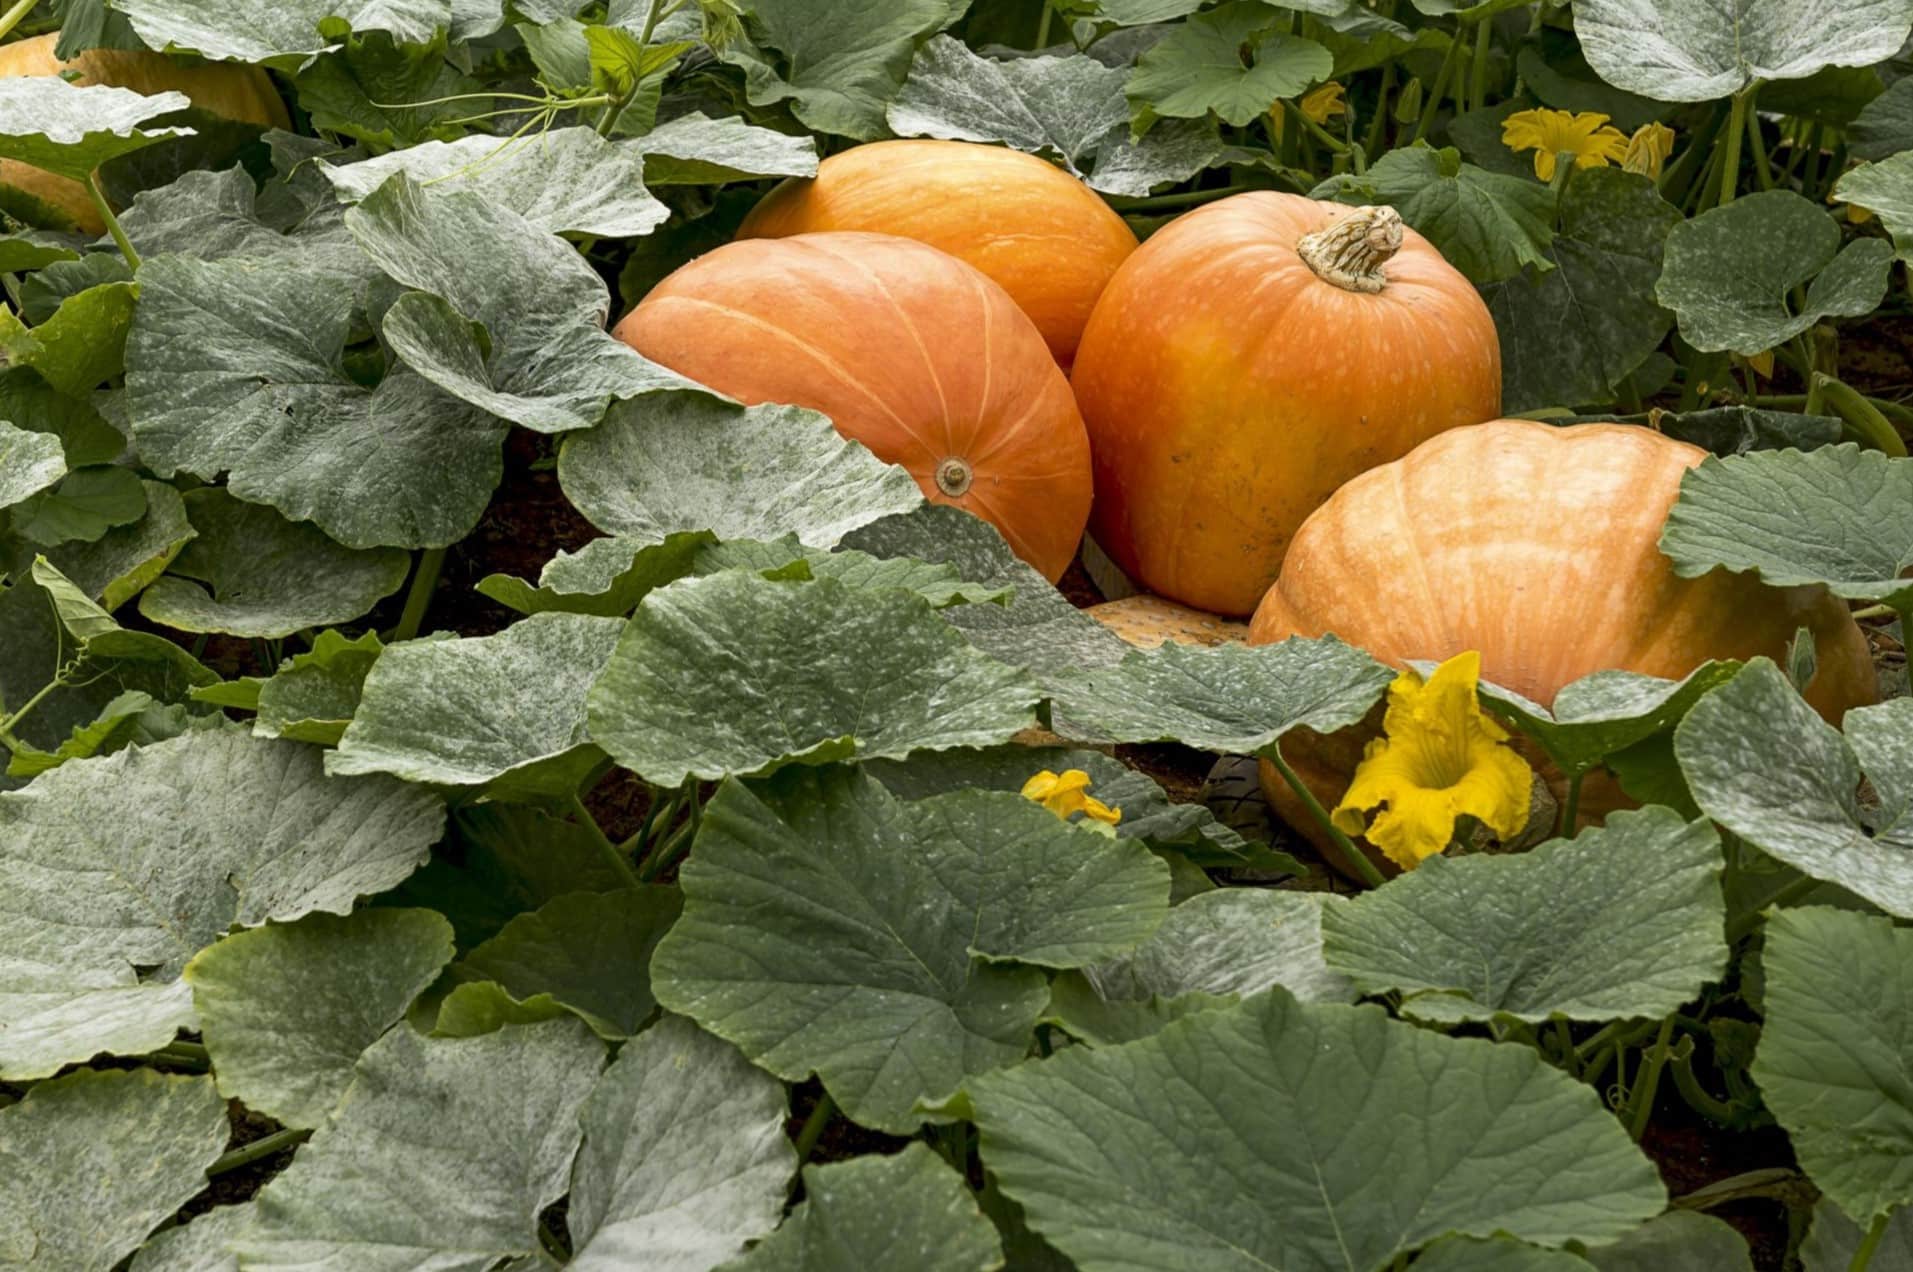
Harvesting Pumpkins
The time has finally come to enjoy the fruits of your labor and harvest your pumpkins! Here are some guidelines to help you determine when and how to harvest your pumpkins:
- Maturity: Pumpkins are ready for harvesting when their skin has hardened and reached its full color. The stem should also be dry and starting to shrivel. Depending on the variety, this typically occurs around 90-120 days after planting.
- Size: Harvest pumpkins when they have reached their desired size. Different varieties have different size ranges, so refer to the seed packet or variety-specific information for guidance. Use a tape measure or estimate the size by visual comparison.
- Tap Test: To check for maturity, gently tap the pumpkin with your knuckles. If it produces a deep, hollow sound, it is likely ripe and ready for harvest. If the sound is dull or muffled, the pumpkin may still be immature.
- Handle with Care: Handle pumpkins carefully during harvesting to avoid damaging the vines or stems. It’s best to use pruners or garden shears to cut the stems about 2-3 inches above the pumpkin, leaving a short stub. This helps to prevent rotting and extends their shelf life.
- Curing: After harvesting, it’s recommended to cure the pumpkins in a dry, well-ventilated area for about two weeks. This process helps toughen the skin and extend their storage life. Keep the pumpkins off the ground by placing them on a straw or wooden surface.
- Storage: Once properly cured, store the pumpkins in a cool, dry place with good airflow. Ideal temperatures range from 50-55°F (10-13°C). Avoid storing them near fruits that produce ethylene gas, such as apples, as this can speed up their decay.
Remember, pumpkins can be quite heavy, so take care when lifting and moving them to prevent any strain or injury.
If you plan to use your pumpkins for carving or decorative purposes, you can preserve them by scrubbing the outer surface with a diluted bleach solution (1 part bleach to 10 parts water) to prevent mold development. Allow them to dry thoroughly before displaying or carving.
By following these harvesting guidelines, you can enjoy the bountiful harvest of your pumpkins and use them in various culinary or decorative endeavors.
As we conclude this article on planting and caring for pumpkins, we hope you have found the information valuable and inspiring. Gardening is a rewarding journey, and growing pumpkins adds a delightful touch to any garden or autumn celebration. Happy harvesting!
Conclusion
Congratulations on completing this comprehensive guide on planting and caring for pumpkins! Whether you’re a seasoned gardener or a beginner, this knowledge will empower you to successfully grow your own pumpkins and enjoy a bountiful harvest.
From selecting the right pumpkin seeds to preparing the soil, planting, and providing proper care, you now have a solid foundation for cultivating healthy pumpkin plants. Remember the importance of watering, mulching, and providing the right amount of sunlight for optimal growth. Protecting your plants from pests and diseases ensures their well-being and productivity. And finally, harvesting your pumpkins at the right time and handling them with care will allow you to savor the fruits of your labor.
As you embark on your pumpkin-growing journey, don’t forget to infuse your own creativity and personal touch. Pumpkins lend themselves to endless possibilities, whether it’s carving intricate Jack-o’-lanterns, cooking up delicious seasonal recipes, or using them as unique decorative elements.
Gardening is a continuous learning experience, so don’t be afraid to experiment, adapt, and try new techniques. Learn from each season and apply your newfound knowledge to future pumpkin-growing endeavors. Over time, you’ll develop your own gardening expertise and find joy in nurturing your plants from seeds to harvest.
Remember, gardening is not just about the final result; it’s also about the journey. Take the time to appreciate the beauty of your pumpkin plants as they grow, observe the intricate details of their foliage, and witness the transformation from tiny seeds to vibrant, fruitful plants.
We hope this guide has inspired and equipped you to embark on your pumpkin-growing adventure. May your garden be filled with vibrant orange pumpkins, the essence of fall, and the source of delightful moments shared with friends and family.
Happy pumpkin gardening!
Frequently Asked Questions about How To Plant Pumpkin Seeds
Was this page helpful?
At Storables.com, we guarantee accurate and reliable information. Our content, validated by Expert Board Contributors, is crafted following stringent Editorial Policies. We're committed to providing you with well-researched, expert-backed insights for all your informational needs.


0 thoughts on “How To Plant Pumpkin Seeds”