Home>Garden Essentials>When To Plant Stinging Nettle Seeds
Garden Essentials
When To Plant Stinging Nettle Seeds
Modified: May 6, 2024
Discover the best time to plant stinging nettle seeds in your garden and ensure a bountiful harvest. Expert tips and guidance for successful cultivation.
(Many of the links in this article redirect to a specific reviewed product. Your purchase of these products through affiliate links helps to generate commission for Storables.com, at no extra cost. Learn more)
Introduction
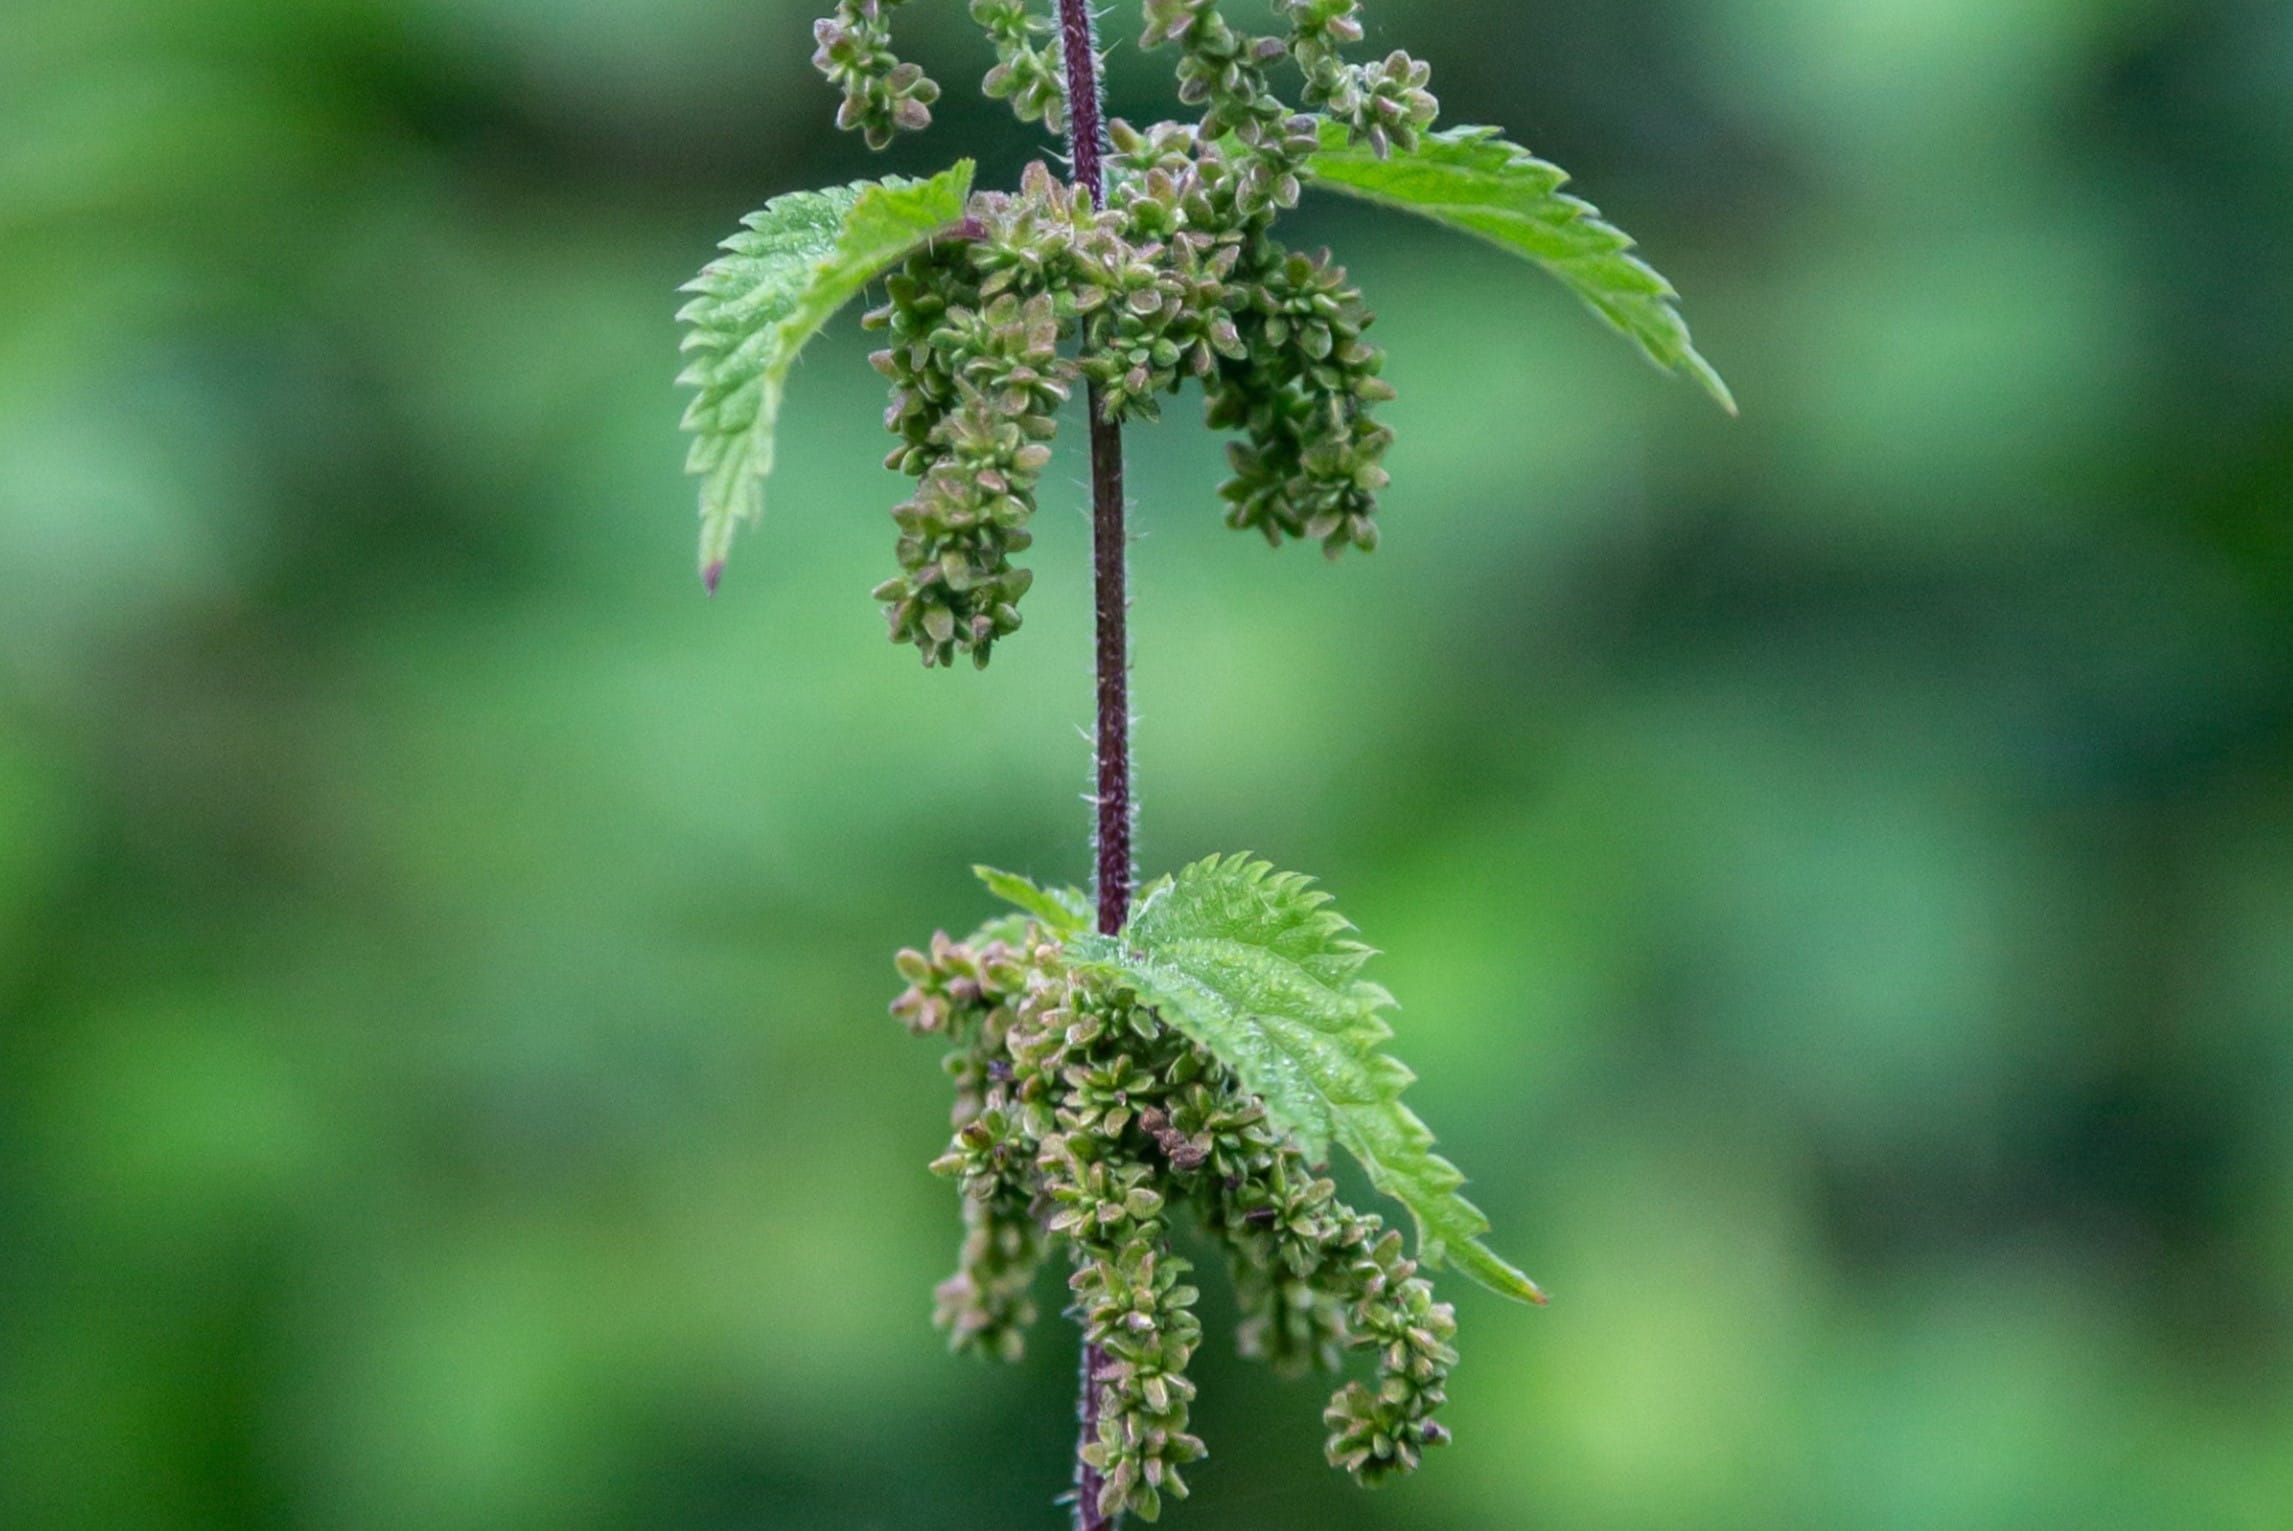
Stinging nettle, scientifically known as Urtica dioica, is a versatile and beneficial plant that has been used for centuries for its medicinal properties and as a culinary ingredient. While it may be notorious for its stinging hairs, this plant has many benefits and can be a valuable addition to any garden or backyard.
If you’re considering growing stinging nettle from seeds, it’s important to understand the planting process and the optimal time to do so. By following the right steps and considering a few factors, you can successfully cultivate this beneficial plant and enjoy its many uses.
In this article, we will delve into the world of stinging nettle seeds and guide you on when and how to plant them. We will also provide helpful insights on caring for the plants and troubleshooting common problems.
So, let’s get started and learn how to embark on a journey of growing your own stinging nettle plants!
Key Takeaways:
- Plant stinging nettle seeds in early spring or late summer for best results. Provide proper care and harvest in early spring for culinary and medicinal use.
- Growing stinging nettle from seeds is rewarding. Follow planting guidelines, care for the plants, and harvest in early spring for various uses.
Read more: When To Plant Borage Seeds
Understanding Stinging Nettle Seeds
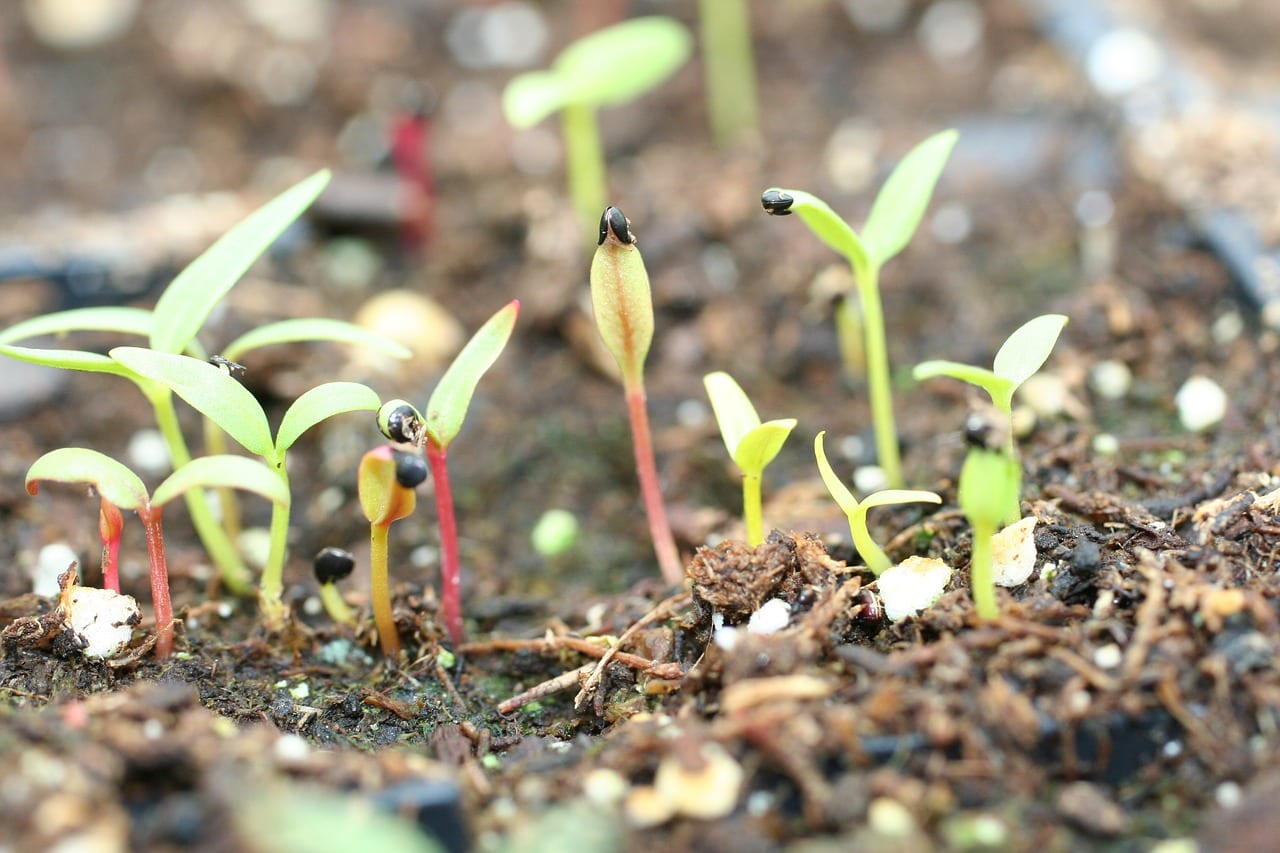
Before diving into the planting process, it’s important to understand the nature of stinging nettle seeds. Stinging nettle seeds are small, brown to black in color, and somewhat resemble poppy seeds. They are encased in a thin seed coat that protects the embryo within.
Stinging nettle seeds have a relatively short shelf life, as they gradually lose their viability over time. Freshly harvested seeds have the highest chances of germination, so it’s best to obtain them from a reliable source or harvest them when they are ripe.
It’s worth mentioning that stinging nettle is a perennial plant, which means it goes through a life cycle of over two years. Seeds play a crucial role in the propagation of stinging nettle, as they give rise to new plants that will continue the cycle.
Stinging nettle is known for its ability to spread rapidly through its rhizomes, underground stems that produce new shoots and roots. However, growing the plant from seeds provides a more controlled and intentional approach to cultivating the plant.
Now that we have a basic understanding of stinging nettle seeds, let’s move on to the factors you should consider before planting them.
Factors to Consider Before Planting
Before you start planting stinging nettle seeds, there are a few important factors to consider. These factors will help ensure successful germination and healthy growth of your stinging nettle plants. Let’s take a closer look at each one:
- Temperature and Climate: Stinging nettle is a hardy plant that can tolerate a wide range of temperatures and climates. However, it’s important to note that the optimum temperature for germination is between 60-70°F (15-21°C). While stinging nettle can grow in both cool and warm climates, it prefers mild to moderate temperatures.
- Soil Conditions: Stinging nettle thrives in moist, fertile soil. The soil should be well-draining and rich in organic matter. A pH level of 6-7 is considered ideal for stinging nettle growth. If your soil is sandy or clay-heavy, consider amending it with compost or well-rotted manure to improve its fertility and texture.
- Sunlight: Stinging nettle prefers partial shade to full sun. While it can tolerate some shade, it may not grow as vigorously in areas with limited sunlight. Choose a planting spot that receives at least 4-6 hours of direct sunlight per day for optimal growth.
- Watering: Stinging nettle requires regular watering to maintain moisture levels in the soil. While it prefers moist soil, ensure that the area is not waterlogged, as excessive moisture can lead to root rot. Water your stinging nettle plants consistently, especially during dry periods.
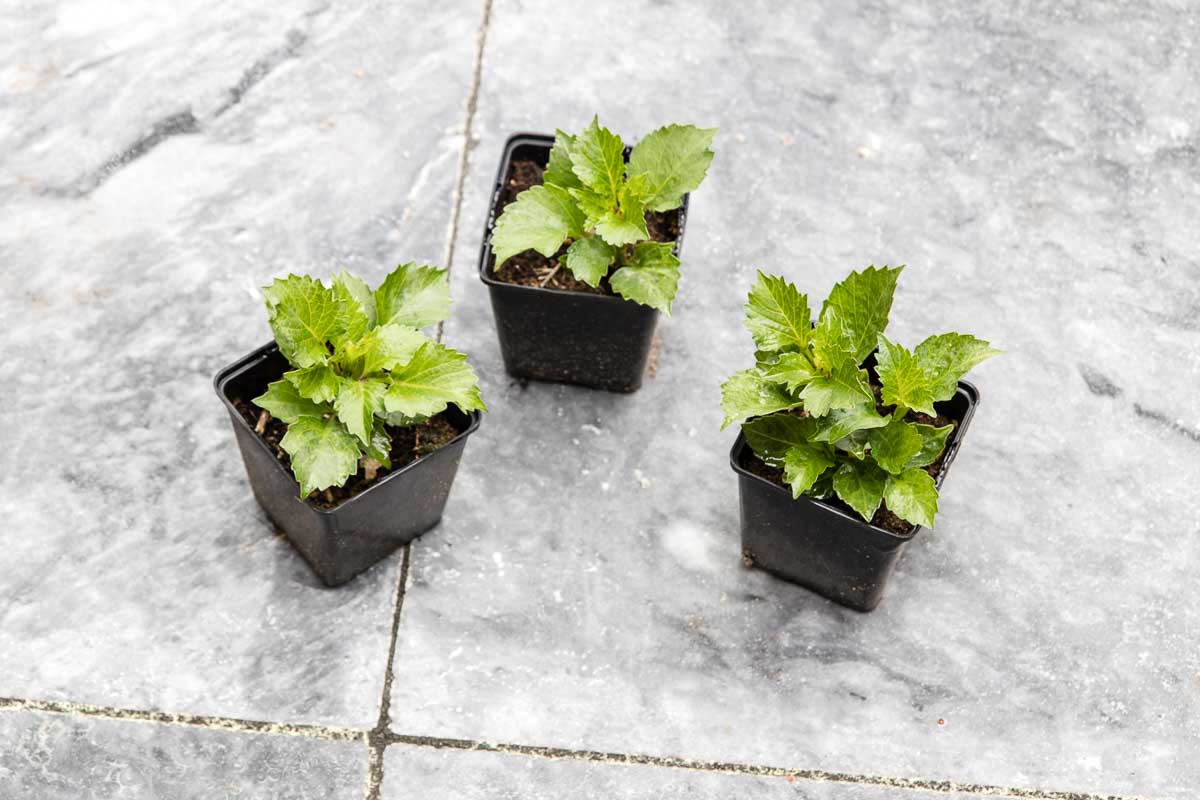
- Space: Stinging nettle can grow quite tall and spread wide, so make sure you have enough space in your garden or planting area to accommodate its growth. Give each plant enough room to flourish and prevent overcrowding, as this can hinder proper airflow and encourage disease.
By considering these factors and making necessary adjustments, you can create the ideal growing conditions for your stinging nettle plants. Now that we have a good understanding of what the plant requires, let’s move on to the best time to plant stinging nettle seeds.
Best Time to Plant Stinging Nettle Seeds
Choosing the right time to plant stinging nettle seeds is crucial for successful germination and growth. Stinging nettle seeds prefer cooler temperatures and moist soil, which makes early spring and late summer the ideal times to plant them. Let’s explore these seasons in more detail:
Early Spring: Planting stinging nettle seeds in early spring allows the plants to establish a strong root system and grow throughout the growing season. As the soil begins to warm after the winter months, it creates the perfect environment for seed germination. However, avoid planting the seeds too early, as they may be subject to frost damage. Wait until the soil temperature reaches around 50°F (10°C) before planting.
Late Summer: Another opportune time to plant stinging nettle seeds is in late summer. This period offers cooler temperatures and generally more consistent rainfall, providing the conditions necessary for successful germination. By planting in late summer, the young plants will have time to establish themselves before the arrival of frost in the fall.
Regardless of the season you choose, ensure that the soil is well-prepared and enriched with organic matter before planting. This will provide the necessary nutrients for the seeds to germinate and the young plants to thrive. Additionally, keep in mind the temperature and moisture requirements mentioned earlier to create a favorable environment for your stinging nettle plants.
Now that you know the best times to plant stinging nettle seeds, let’s move on to the step-by-step guide for planting them.
Step-by-Step Guide to Planting Stinging Nettle Seeds
Planting stinging nettle seeds is a straightforward process that requires a few simple steps. By following this step-by-step guide, you’ll be on your way to cultivating healthy stinging nettle plants in no time:
- Prepare the soil: Choose a planting spot with well-draining soil and remove any weeds or debris. Loosen the soil to a depth of about 6 inches and incorporate organic matter, such as compost or well-rotted manure, to improve fertility.
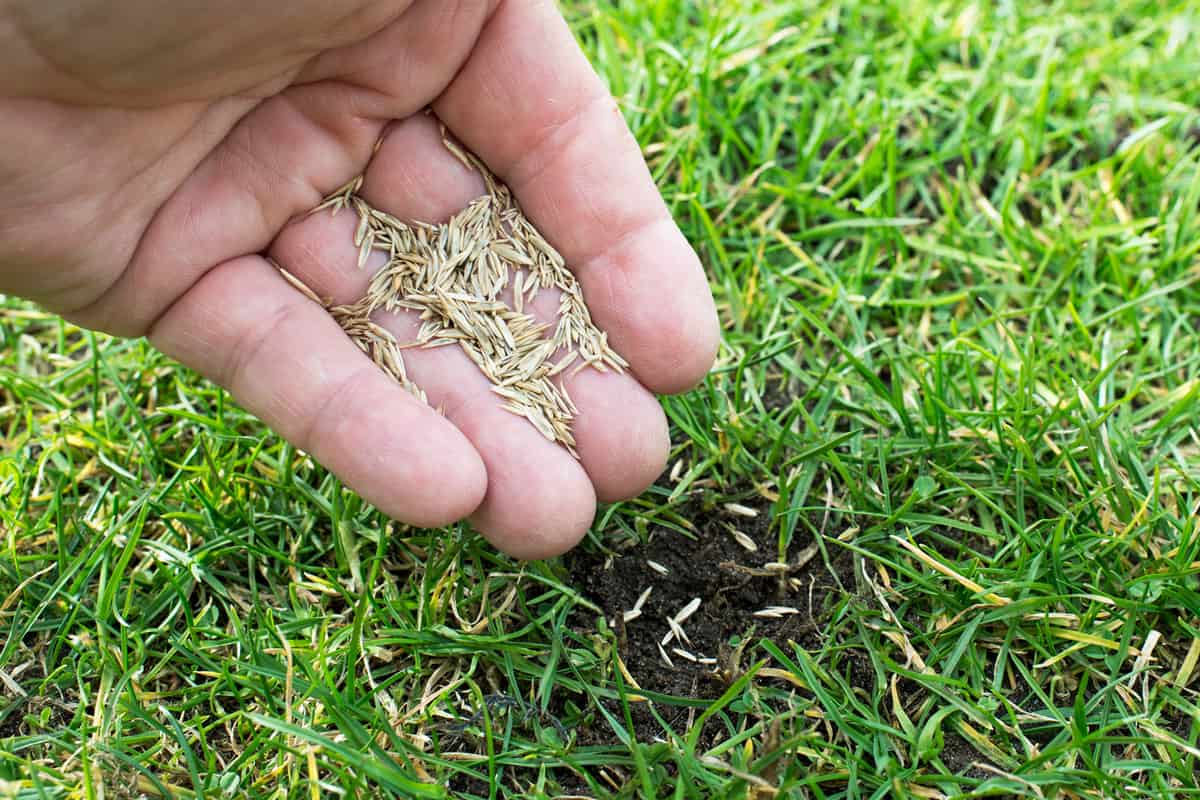
- Sow the seeds: Scatter the stinging nettle seeds evenly over the prepared soil. Aim for a spacing of about 12-18 inches between each seed to allow room for growth. Lightly press the seeds into the soil surface, ensuring they make good contact with the soil.
- Water thoroughly: After sowing the seeds, water the area gently but thoroughly to moisten the soil. Be careful not to overwater, as excessive moisture can lead to rotting. Maintain consistent moisture levels throughout the germination and early growth stages.
- Provide shade (optional): If you’re planting stinging nettle seeds during a hot period, consider providing some shade to protect the young plants. You can use a shade cloth or plant them in an area that receives partial shade during the hottest parts of the day.
- Keep the area weed-free: Regularly monitor the planting area and remove any weeds that may compete with the stinging nettle seedlings for nutrients and space.
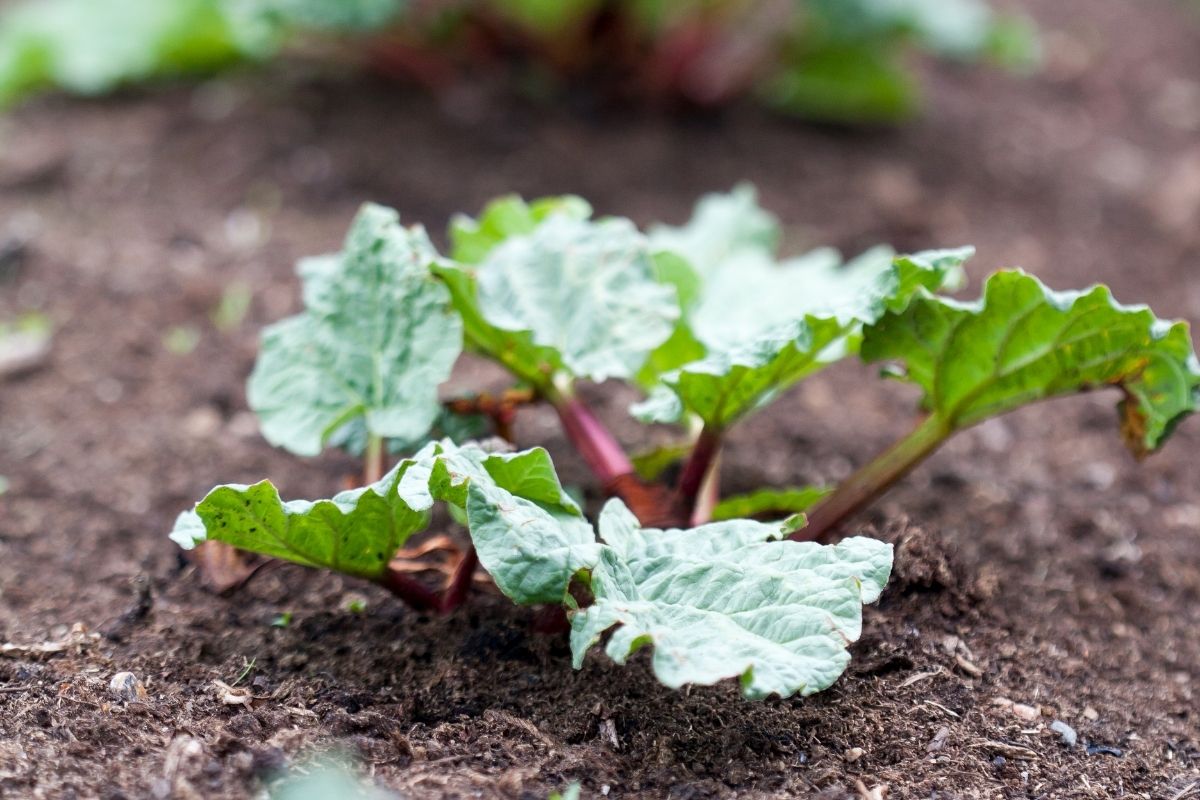
- Monitor growth and thin if necessary: As the stinging nettle seedlings emerge, monitor their growth and thin them out if they become overcrowded. This will help maintain proper airflow and prevent the spread of diseases.
- Continue to care for the plants: After the seedlings have established, continue to provide adequate water, weed control, and monitor for any pest or disease issues. Stinging nettle plants typically don’t require much additional fertilization if the soil is properly prepared.
By following these steps and providing the necessary care, you’ll soon have a flourishing bed of stinging nettle plants. But don’t stop here! Let’s move on to the next section, where we’ll discuss how to care for stinging nettle plants in more detail.
Stinging nettle seeds should be planted in the early spring or late fall. They prefer moist, rich soil and partial shade. Sow the seeds 1/8 inch deep and keep the soil consistently moist until the seeds germinate.
Read more: When To Plant Vinca Seeds
Caring for Stinging Nettle Plants
Caring for stinging nettle plants is relatively low-maintenance, but a few essential tasks will help ensure their health and productivity. Here’s a comprehensive guide on how to care for your stinging nettle plants:
- Watering: Stinging nettle plants thrive in moist soil, so regular watering is essential, especially during dry periods. Aim to keep the soil consistently moist but avoid waterlogging, as overly saturated soil can cause root rot. Water at the base of the plants, directing the water towards the soil rather than wetting the foliage.
- Mulching: Applying a layer of organic mulch, such as compost or straw, around the base of the stinging nettle plants can help retain moisture, suppress weeds, and regulate soil temperature. Mulching also adds organic matter to the soil as it breaks down, further enriching it and promoting healthy growth.
- Pruning: Occasional pruning of stinging nettle plants can help promote a bushier growth habit. Cut back any excessive growth or leggy stems to encourage new growth from the base. Pruning is best done in early spring before the plant begins actively growing.
- Fertilization: Stinging nettle plants generally do not require much fertilization if the soil is well-prepared. However, if your plants show signs of nutrient deficiency or slow growth, you can apply a balanced organic fertilizer once or twice during the growing season. Follow the package instructions for proper application rates.
- Support: As stinging nettle plants grow tall, some may require support to prevent them from toppling over. Use stakes or trellises to provide support and keep the plants upright. This is particularly important if you’re growing stinging nettle for its fiber content or ornamental purposes.
- Monitor for pests and diseases: Stinging nettle plants are generally resilient and have natural defenses against pests and diseases. However, it’s still important to regularly monitor your plants for any signs of pests, such as aphids or caterpillars, or disease symptoms like leaf spotting or wilting. If necessary, take immediate action to control the issue through organic methods like removing infested leaves or using insecticidal soap.
By following these care practices, you’ll ensure the health and vitality of your stinging nettle plants, resulting in a bountiful harvest and thriving garden.
But what if you encounter common problems while caring for your stinging nettle plants? Don’t worry, the next section will cover common problems and their solutions, so keep reading!
Common Problems and Solutions
While stinging nettle plants are generally resilient, they can still face a few common problems. Here are some of the issues you may encounter while caring for your stinging nettle plants, along with their solutions:
- Pests: Stinging nettle plants can attract pests like aphids, caterpillars, and slugs. To control these pests, manually remove them or use organic insecticidal soaps or neem oil sprays. Encouraging natural predators like ladybugs can also help keep pest populations in check.
- Fungal Diseases: Stinging nettle plants can be susceptible to fungal diseases, such as powdery mildew or rust. To prevent these diseases, ensure adequate airflow by spacing the plants properly and avoid overhead watering. If you notice signs of disease, remove and destroy the affected plant parts, and use organic fungicides if necessary.
- Yellowing Leaves: Yellowing leaves can be a sign of nutrient deficiency or overwatering. Ensure that your stinging nettle plants are receiving enough sunlight and water them appropriately. If the issue persists, consider fertilizing the soil with an organic, balanced fertilizer to replenish any nutrient deficiencies.
- Wilting: Wilting is usually a sign of underwatering or root rot due to overwatering. Adjust your watering schedule to maintain consistent moisture levels in the soil. If the wilting continues, check for proper drainage and consider improving the soil structure.
- Spread of Rhizomes: Stinging nettle plants can spread rapidly through their rhizomes, sometimes becoming invasive. To control their spread, regularly monitor the area and remove any new shoots or rhizomes that appear outside of the desired planting area.
By staying vigilant and addressing these common problems promptly, you can ensure the health and vitality of your stinging nettle plants. Now, let’s move on to the exciting part: harvesting your stinging nettle plants.
Harvesting Stinging Nettle Plants
Harvesting stinging nettle plants is an exciting step as it allows you to enjoy the many benefits this versatile plant has to offer. Here’s everything you need to know about harvesting stinging nettle:
Timing is crucial when it comes to harvesting stinging nettle. The best time to harvest is typically in early spring when the plants are young and vibrant. At this stage, the leaves are tender and packed with nutrients.
When harvesting, it’s important to protect yourself from the stinging hairs. Wear gloves and long sleeves to avoid direct contact with the plant. Use scissors or shears to cut the top 4-6 inches of the plant, including the leaves and young stems.
As you harvest, be mindful of the plant’s growth and harvest in moderation. Leave some foliage behind to ensure the plant can continue to grow and regenerate. This practice not only promotes the health of the plant but also allows for multiple harvests throughout the growing season.
After harvesting, you have several options for utilizing stinging nettle:
- Culinary Use: Stinging nettle leaves can be used as a nutritious ingredient in various dishes. They can be steamed, sautéed, used in soups, or blended into smoothies. The stinging hairs are neutralized through cooking or drying, making the leaves safe to consume.
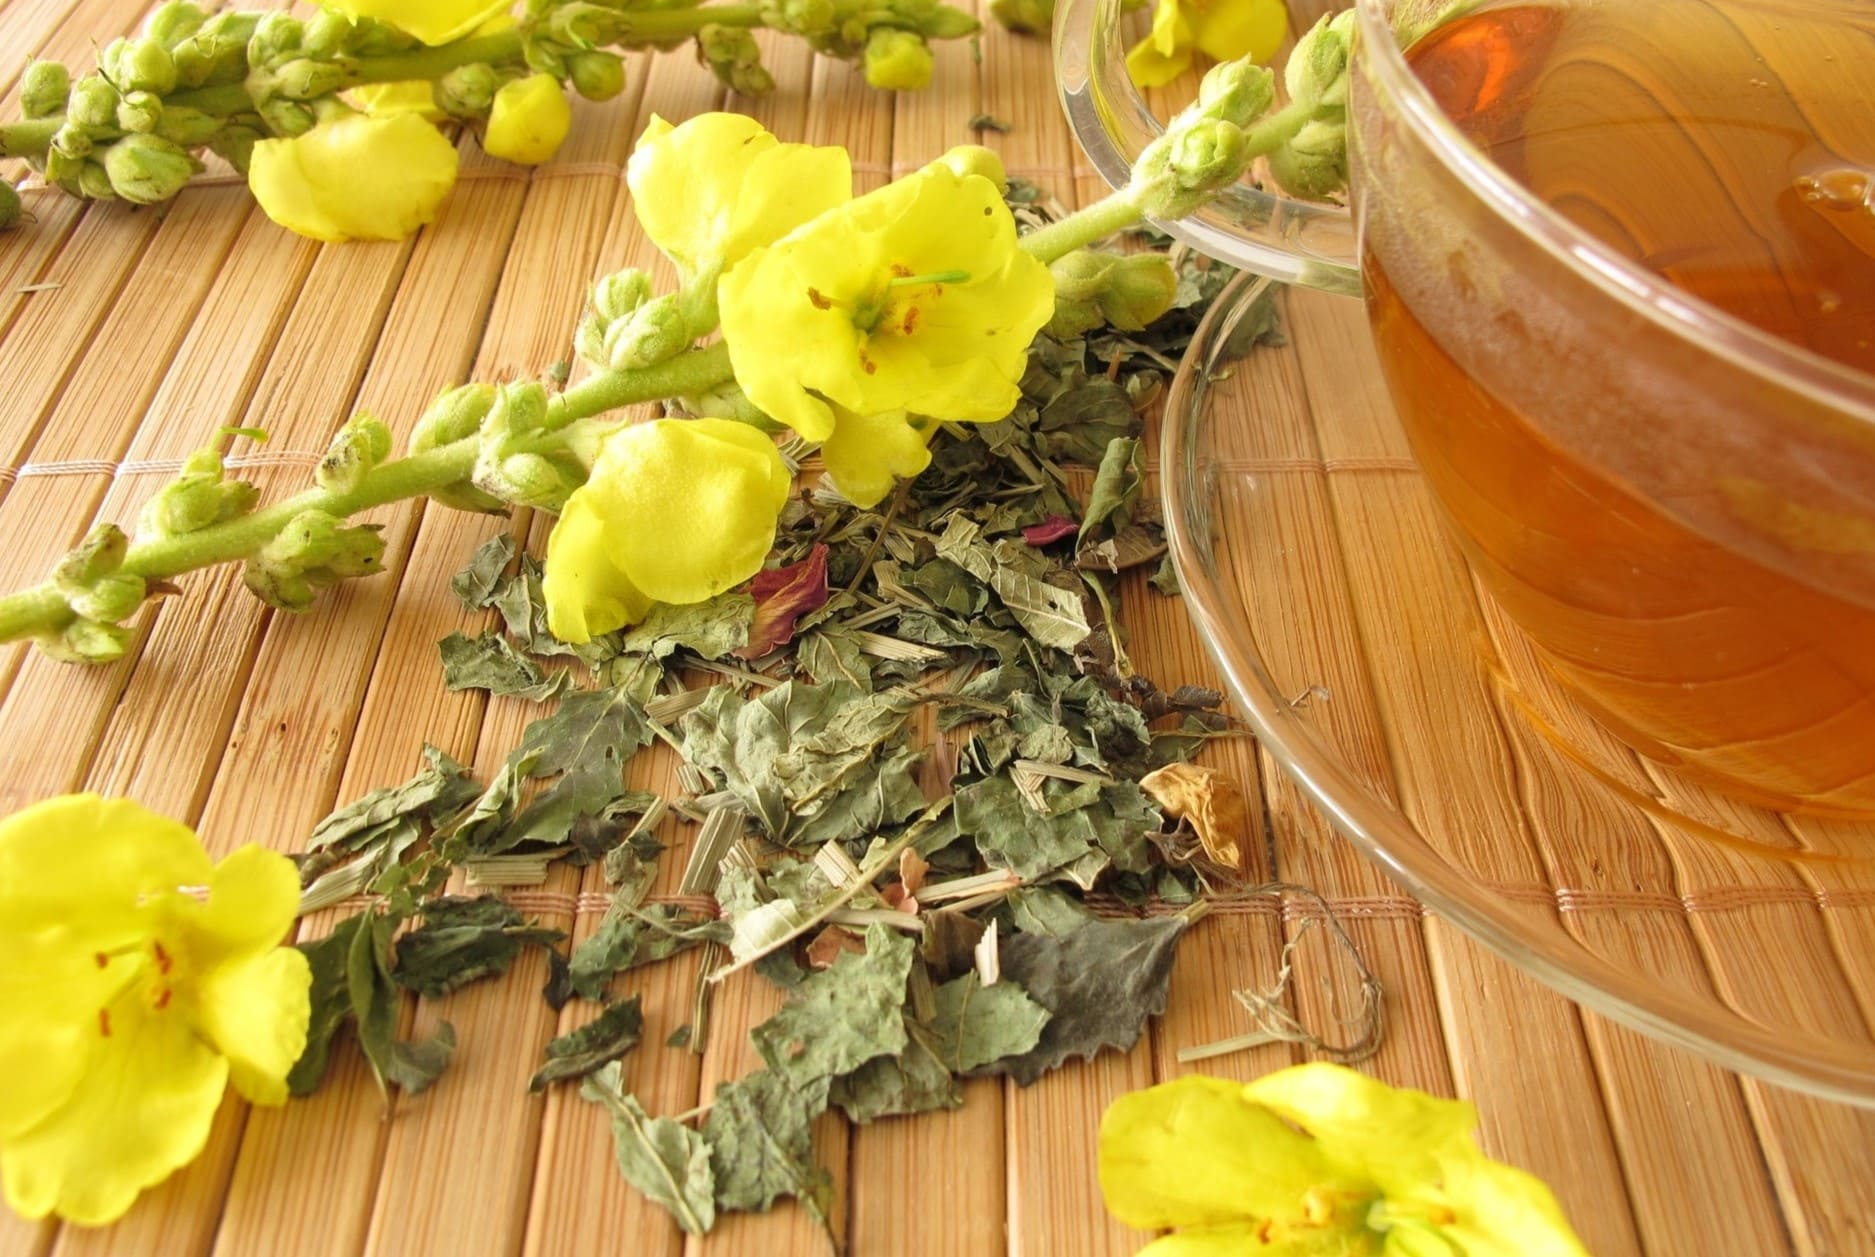
- Medicinal teas and infusions: Stinging nettle is known for its medicinal properties and can be used to make herbal teas or infusions. The leaves are rich in vitamins, minerals, and antioxidants, and are believed to have anti-inflammatory and diuretic effects.
- Herbal remedies: Stinging nettle is also used in various herbal remedies, such as tinctures, extracts, and creams. Its potential health benefits include relieving allergies, promoting healthy skin, and supporting joint health.
- Compost or fertilizer: If you have excess stinging nettle or parts that aren’t suitable for consumption, you can utilize them as a nutrient-rich addition to your compost pile. The plant material will break down and enrich your compost, making it even more beneficial for your garden.
Remember to wash the harvested stinging nettle leaves thoroughly before using them to remove any dirt or debris. Store them in the refrigerator or use them immediately for the best flavor and nutritional value.
Now that you know how to harvest stinging nettle, it’s time to enjoy the fruits of your labor! But before we conclude, let’s summarize the key points we’ve covered throughout this article.
Conclusion
Growing stinging nettle from seeds can be a rewarding and beneficial addition to your garden. With the proper understanding of stinging nettle seeds, consideration of important factors, and following the right planting techniques, you can cultivate healthy and thriving stinging nettle plants.
Remember to choose the best time to plant stinging nettle seeds, such as early spring or late summer, and provide them with the appropriate growing conditions, including proper soil preparation, adequate sunlight, and regular watering.
Caring for stinging nettle plants involves basic tasks like watering, mulching, pruning, and monitoring for pests and diseases. By following these care practices, you can ensure the health and productivity of your plants.
Should you encounter any common issues, such as pests or diseases, address them promptly using organic methods to prevent further complications.
When it’s time to harvest your stinging nettle plants, do so during the early spring when the leaves are young and vibrant. Remember to protect yourself from the stinging hairs and utilize the harvested leaves in culinary dishes, medicinal teas, or herbal remedies.
Whether you’re interested in the culinary uses, medicinal benefits, or simply enjoy the beauty of this versatile plant, growing stinging nettle from seeds is a rewarding endeavor. By following the guidelines provided in this article, you’ll be equipped with the knowledge and techniques to successfully cultivate and enjoy the benefits of stinging nettle plants.
So, roll up your sleeves, grab your gardening tools, and embark on the journey of growing your own stinging nettle plants. Happy gardening!
Now that you've got the scoop on planting stinging nettle seeds, why not spruce up your garden's boundaries? Our next feature offers creative and stylish garden fence ideas that are perfect for any home. Whether you're looking to add a touch of elegance or simply aiming to enhance your garden's security, these fencing solutions cater to all tastes and budgets. Dive into our collection of designs to transform your outdoor space into a charming, secure haven.
Frequently Asked Questions about When To Plant Stinging Nettle Seeds
Was this page helpful?
At Storables.com, we guarantee accurate and reliable information. Our content, validated by Expert Board Contributors, is crafted following stringent Editorial Policies. We're committed to providing you with well-researched, expert-backed insights for all your informational needs.


0 thoughts on “When To Plant Stinging Nettle Seeds”