Home>Garden Essentials>When To Plant Thyme Seeds

Garden Essentials
When To Plant Thyme Seeds
Modified: August 20, 2024
Looking to start a garden? Learn when to plant thyme seeds and get your garden off to a fragrant and flavorful start.
(Many of the links in this article redirect to a specific reviewed product. Your purchase of these products through affiliate links helps to generate commission for Storables.com, at no extra cost. Learn more)
Introduction
Gardening enthusiasts and herb lovers alike can find great joy in growing their own thyme plants. Thyme is a versatile herb that adds flavor and aroma to a variety of dishes, from soups and stews to marinades and sauces. But before you can enjoy the fresh and fragrant thyme leaves in your cooking, you need to start from the very beginning – planting thyme seeds.
Understanding the process of planting thyme seeds is essential to ensure a successful and thriving garden. In this article, we will delve into the details of when to plant thyme seeds and the necessary factors to consider throughout the planting process. By the end, you will have the knowledge and confidence to grow your own thyme plants from seed.
But first, let’s get acquainted with the nature of thyme seeds themselves.
Key Takeaways:
- Thyme seeds need warm temperatures, well-draining soil, and plenty of sunlight to grow. Plant them in spring for best results, and be patient as they take 2-3 weeks to sprout.
- Choose high-quality thyme seeds, prepare the soil, and care for the seedlings by watering, fertilizing, and pruning. Transplant them after the last frost, and enjoy flavorful thyme in your cooking!
Read more: When To Plant Creeping Thyme Ground Cover
Understanding Thyme Seeds
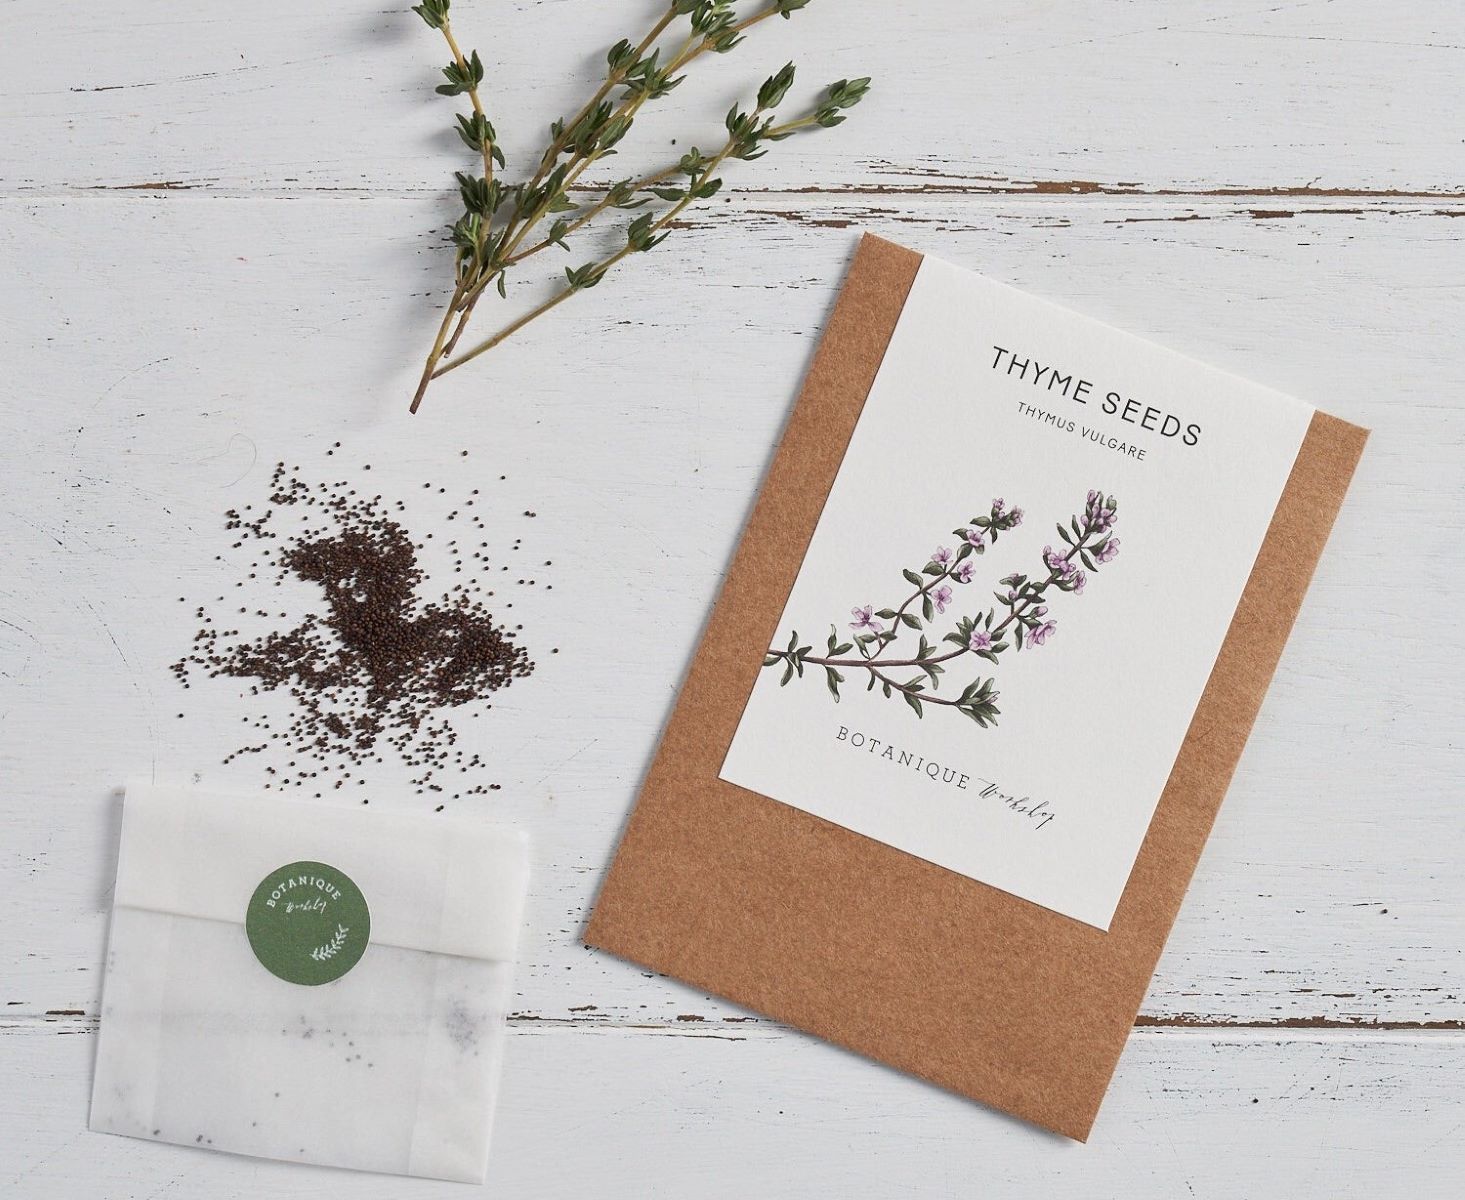
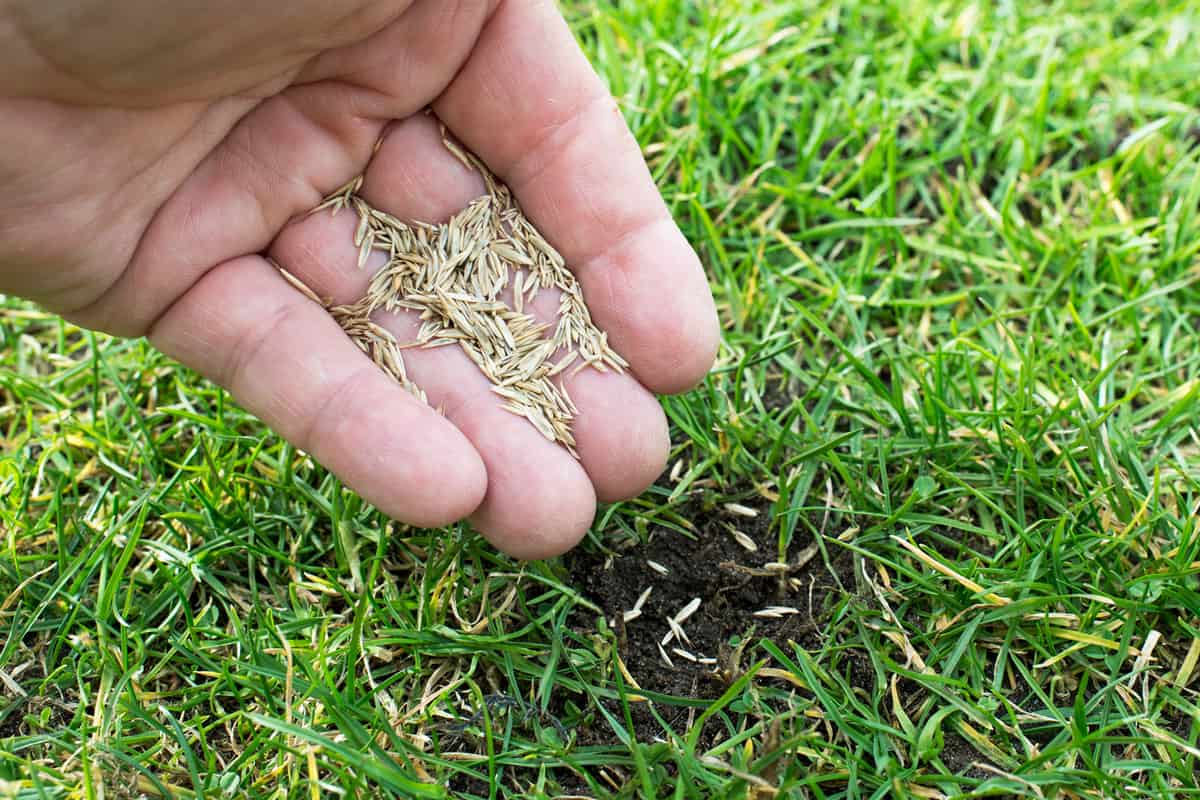
Thyme seeds are small, brown or black in color, and have a slightly oblong shape. Each seed contains all the genetic material necessary to grow into a thyme plant, including its leaves, stems, and flowers. These tiny seeds are packed with potential and can be the starting point for a beautiful thyme garden.
Thyme seeds have a hard protective coating that can sometimes make germination a bit challenging. To maximize the chances of successful germination, it’s important to understand the specific requirements of thyme seeds and provide the optimal conditions for their growth.
When properly cared for, thyme seeds can germinate within two to three weeks. However, it’s worth noting that not all seeds may germinate, and it’s common to have a germination rate of around 50% to 70%. This is why it’s recommended to sow a few more seeds than you actually need, to account for any potential failures.
Now that we have a basic understanding of thyme seeds, let’s explore the factors to consider before planting them.
Factors to Consider Before Planting
Before you begin planting thyme seeds, there are several important factors to consider to ensure the success of your garden. These factors include climate and temperature requirements, soil conditions, sunlight requirements, watering and drainage, as well as timing and season.
Climate and Temperature Requirements: Thyme is a resilient herb that can tolerate a wide range of climates, but it thrives best in temperate regions. It prefers moderate temperatures between 60°F and 75°F (15°C to 24°C) and can survive light frosts. If you live in a colder climate, it’s advisable to start thyme seeds indoors or cover them with a protective layer until the weather warms up.
Soil Requirements: Thyme plants prefer well-draining soil with a pH level between 6.0 and 8.0. The soil should be loamy and rich in organic matter. Before planting thyme seeds, prepare the soil by removing any weeds or debris and adding compost or well-rotted manure to improve its fertility and texture.
Sunlight Requirements: Thyme is a sun-loving herb and requires at least six to eight hours of direct sunlight per day. Choose a planting location that receives ample sunlight throughout the day to ensure proper growth and development of the plants.
Watering and Drainage: Thyme plants prefer slightly dry conditions and are drought-tolerant once established. It’s crucial to avoid overwatering thyme, as it can lead to root rot. Water the plants deeply and allow the soil to dry out before watering again. Additionally, ensure that the soil has good drainage to prevent waterlogged roots.
Timing and Season: The optimal time to plant thyme seeds depends on your location and the specific climate conditions. In general, it’s recommended to sow thyme seeds in the spring after the risk of frost has passed. This allows the plants to establish before the hot summer months. However, if you live in a warmer climate, you can sow thyme seeds in the fall for a winter harvest.
By considering these factors before planting thyme seeds, you can create the ideal growing conditions for your herb garden. Next, let’s delve into choosing the right thyme seeds for your needs.
Choosing the Right Thyme Seeds
When it comes to choosing thyme seeds for your garden, there are a few key factors to consider. Selecting the right seeds will not only ensure a successful germination process but also determine the flavor and characteristics of your thyme plants. Here are some points to keep in mind when choosing thyme seeds:
Variety: Thyme comes in various cultivars, each with its own unique flavor profile and growth habits. Common varieties include common thyme (Thymus vulgaris), lemon thyme (Thymus citriodorus), and creeping thyme (Thymus serpyllum). Consider the flavor you desire and the intended use of the thyme leaves when selecting the variety.
Quality: It’s important to choose high-quality seeds from reputable suppliers. Look for seeds that are fresh, viable, and labeled with the variety information. This will increase the chances of successful germination and ensure healthier and more vibrant plants.
Organic or Non-GMO: Opting for organic or non-genetically modified organism (non-GMO) seeds ensures that your thyme plants are grown naturally without the use of synthetic chemicals or genetically modified traits. This can be advantageous if you prefer an organic gardening approach and want to avoid potential harmful substances.
Seed Packet Information: Read the information provided on the seed packet carefully. It will usually include details about the germination time, ideal soil conditions, and specific growing requirements for the thyme variety. This information will help you plan and prepare for the successful growth of your thyme plants.
Local Adaptation: Consider choosing thyme seeds that have been locally adapted or recommended for your specific region. These seeds are often well-suited to the local climate conditions and have a higher chance of thriving in your garden.
By taking these factors into account, you can choose thyme seeds that align with your preferences and ensure a successful and flavorful garden. Now that you have your thyme seeds ready, let’s explore the preparation needed before planting.
Preparation for Planting
Before you plant your thyme seeds, it’s essential to prepare them and the soil to create the optimal environment for seed germination and plant growth. Proper preparation will increase the chances of successful seedling establishment. Let’s explore three key steps in preparing for thyme seed planting: seed treatment, seed starting containers, and soil preparation.
Seed Treatment: While thyme seeds generally have a good germination rate, some gardeners opt for seed treatment methods to enhance germination. One common method is stratification, which mimics the natural process of seed dormancy breakage. Place the thyme seeds in a sealed plastic bag with a moistened paper towel and refrigerate for one to two weeks before sowing. This period of cold stratification can improve germination rates.
Seed Starting Containers: Thyme seeds can be started indoors in seed starting containers before being transplanted outdoors. Use shallow trays or seedling pots with good drainage to prevent waterlogging. Fill the containers with a seed-starting mix, which is lighter and looser than regular garden soil. You can also use peat pellets or peat pots as they provide a convenient and biodegradable option.
Soil Preparation: Whether you’re planning to sow thyme seeds directly in the ground or in containers, soil preparation is crucial. Thyme plants thrive in well-draining soil with a slightly alkaline to neutral pH range of 6.0 to 8.0. Prepare the soil by removing any weeds, rocks, or debris. Loosen the soil with a garden fork or tiller and incorporate organic matter like compost or well-rotted manure to improve fertility and drainage.
By giving attention to these preparation steps, you’ll set the stage for successful thyme seed germination and healthy plant growth. With everything ready, it’s time to plant your thyme seeds and watch them sprout into beautiful plants.
Plant thyme seeds in early spring after the last frost, in well-drained soil and full sun. Thyme is a hardy herb that can tolerate dry conditions, making it a great addition to any garden.
Read more: When To Plant Borage Seeds
Planting Thyme Seeds
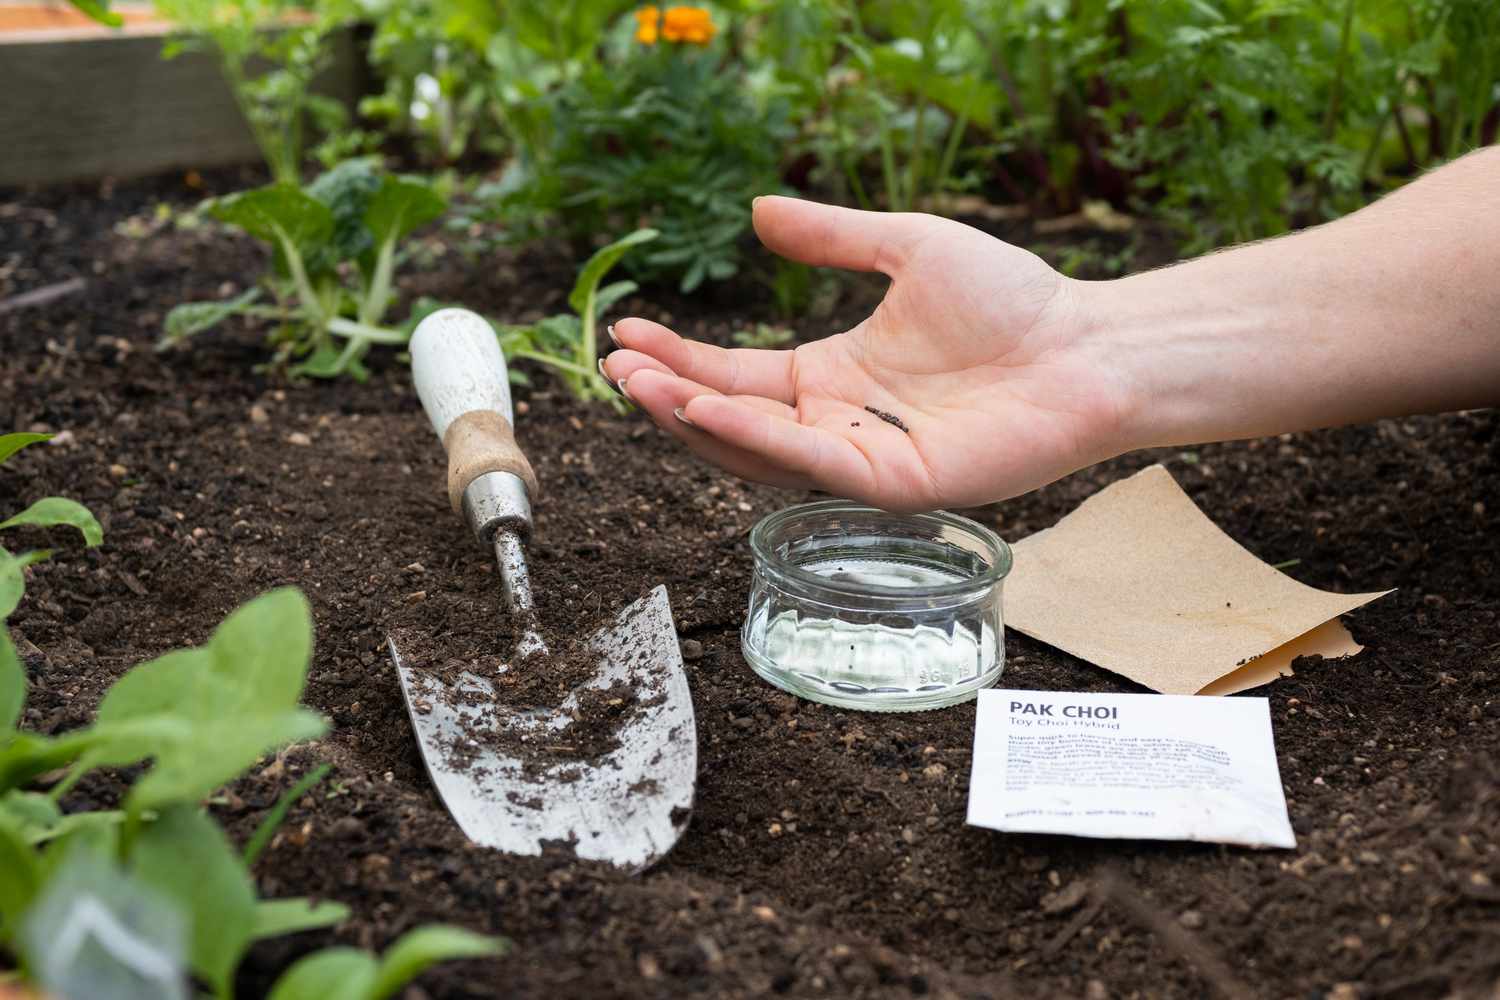
Now that you have prepared your thyme seeds and the planting area, it’s time to move on to the actual planting process. There are two main methods for planting thyme seeds: direct sowing and indoor seed starting. Let’s explore both methods in detail.
Direct Sowing: Direct sowing involves planting thyme seeds directly in the garden or desired outdoor location. This method is best suited for regions with a long growing season and mild climate. Here’s how to do it:
- Choose a sunny area in your garden with well-draining soil.
- Loosen the top layer of soil using a rake or garden fork.
- Sow the thyme seeds evenly, spacing them about 12 inches apart.
- Lightly cover the seeds with a thin layer of soil, around 1/4 inch deep.
- Water the area gently to ensure the soil is moist but not soaked.
Indoor Seed Starting: Indoor seed starting is a preferred method in regions with shorter growing seasons or colder climates. It allows you to start the seeds indoors, providing a controlled environment for germination before transplanting the seedlings outdoors. Here’s how to do it:
- Fill seedling trays or small pots with a seed-starting mix.
- Moisten the soil to ensure good moisture retention.
- Place 2-3 thyme seeds in each container, spacing them evenly.
- Lightly cover the seeds with a thin layer of soil, approximately 1/8 inch deep.
- Place the trays or pots in a warm location with indirect sunlight or under grow lights.
- Keep the soil consistently moist, but not overly wet.
- Once the seedlings have emerged and are about 2-3 inches tall, you can transplant them outdoors.
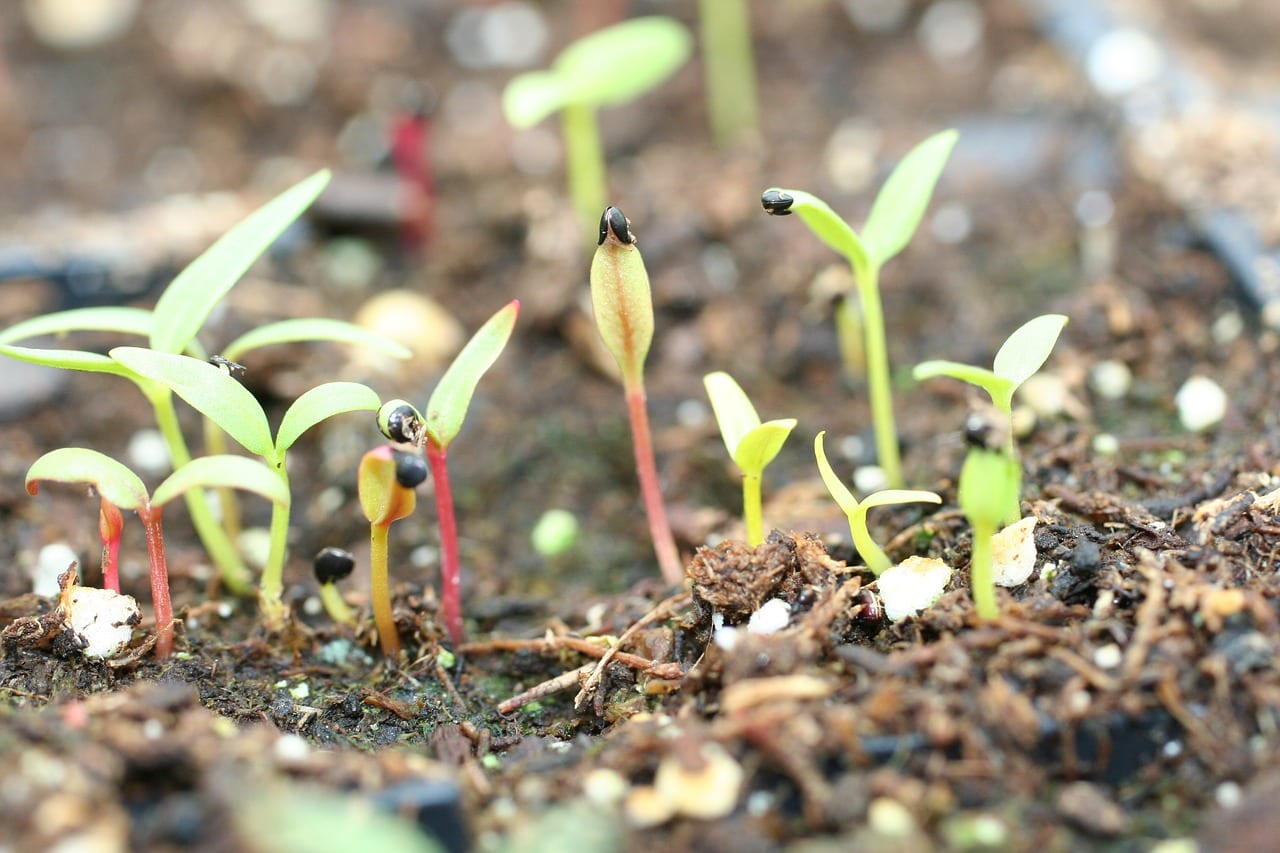
Whether you choose to direct sow or start seeds indoors, it’s important to remain patient during the germination process. Thyme seeds typically take around 2-3 weeks to germinate, so be sure to provide adequate moisture and maintain the desired temperature.
Now that your thyme seeds are planted, let’s move on to caring for the seedlings as they grow.
Caring for Thyme Seedlings
Once your thyme seedlings have emerged and started to grow, it’s essential to provide them with proper care to ensure their health and development. Here are some key aspects to consider when caring for thyme seedlings: watering, fertilizing, and pruning and maintenance.
Watering: Thyme seedlings require regular watering to establish a strong root system. Water the seedlings whenever the top inch of soil feels dry, being careful not to overwater as thyme prefers slightly dry conditions. It’s best to water deeply and infrequently, allowing the soil to dry out between waterings. Avoid overhead watering as it can promote the growth of fungal diseases. Instead, water at the base of the plants.
Fertilizing: Thyme is not a heavy feeder and generally doesn’t require excessive fertilization. However, you can provide a gentle boost of nutrients to support healthy growth. About four weeks after planting, you can apply a balanced organic fertilizer. Follow the instructions on the fertilizer package and avoid over-fertilizing, as this can negatively impact the flavor of the thyme leaves.
Pruning and Maintenance: Pruning is an essential part of caring for thyme plants. Regular pruning helps maintain their shape, promotes bushier growth, and encourages healthy foliage. Once the thyme seedlings have grown a few inches tall, pinch or trim off the top two sets of leaves. This will encourage branching and result in a fuller plant. Additionally, remove any dead or yellowing leaves to maintain the overall health of the plant.
Thyme is a relatively low-maintenance herb, but it’s important to keep an eye out for any signs of pests or diseases. Common pests that may affect thyme include aphids, spider mites, and thrips. If you notice any signs of pest damage, use organic pest control methods or insecticidal soaps to mitigate the issue.
By providing proper watering, occasional fertilization, and regular pruning, you will ensure that your thyme seedlings grow into strong and healthy plants in no time.
Next, let’s explore the process of transplanting thyme seedlings to their final growing location.
Transplanting Thyme Seedlings
Transplanting thyme seedlings is an important step in the growth process, as it allows the young plants to establish themselves in their permanent growing location. Transplanting is usually done when the seedlings have grown several inches tall and have developed a strong root system. Here’s how to successfully transplant your thyme seedlings:
- Choose the right time: Transplant thyme seedlings after the last frost date in your area, when the soil has warmed up and the risk of cold temperatures has passed.
- Prepare the planting area: Select a sunny location with well-draining soil. Amend the soil with organic matter, such as compost, to improve fertility and drainage.
- Water the seedlings: Before transplanting, water the thyme seedlings thoroughly to ensure the soil around their roots is moist.
- Carefully remove the seedlings: Gently loosen the soil around the seedlings to avoid damaging the roots. Use a small trowel or your fingers to carefully lift the seedlings from the container or garden bed.
- Plant the seedlings: Dig a hole in the prepared planting area that is slightly larger than the root ball of the seedling. Place the seedling in the hole, making sure it is at the same depth it was growing previously.
- Backfill and firm the soil: Fill the hole with soil, gently firming it around the base of the seedling. Avoid compacting the soil too much, as this can hinder water and air circulation.
- Water thoroughly: After transplanting, give the thyme seedlings a generous watering. This will help settle the soil around the roots and promote proper establishment.
- Mulch and protect: Apply a layer of organic mulch around the base of the seedlings to conserve moisture and suppress weed growth. Use a lightweight mulch like straw or shredded leaves to avoid smothering the plants. Consider using row covers or protective netting to ward off pests.
After transplanting, continue to care for the thyme seedlings by providing regular watering, monitoring for pests and diseases, and ensuring they receive adequate sunlight. With proper care, the transplanted thyme seedlings will acclimate to their new environment and continue to grow into mature, flavorful plants.
Congratulations! You’ve successfully learned how to transplant thyme seedlings. Now all that’s left is to patiently watch your thyme plants flourish and enjoy the rewards of your efforts in the kitchen and garden.
Conclusion
Congratulations! You’ve reached the end of our comprehensive guide on planting thyme seeds. By now, you have gained a deep understanding of the process, from understanding thyme seeds themselves to caring for the seedlings and transplanting them to their final growing location.
Thyme is a delightful herb that can add a burst of flavor and aroma to a wide range of culinary creations. By starting your thyme plants from seeds, you have the opportunity to witness their journey from tiny seeds to flourishing plants that yield a bounty of fresh, aromatic leaves.
Remember to consider the important factors before planting, including climate and temperature requirements, soil conditions, sunlight exposure, watering and drainage, as well as the timing and season for optimal growth. Selecting the right thyme seeds, preparing them, and providing proper care will set you up for success in your gardening endeavors.
Whether you choose to directly sow your thyme seeds in the garden or start them indoors, ensure you provide the necessary care such as watering, fertilizing, and pruning. Stay vigilant for any signs of pests or diseases and take appropriate action to protect your thyme seedlings.
When the seedlings have grown strong and sturdy, transplant them to their permanent growing location, ensuring they receive adequate sunlight, proper soil conditions, and regular watering. Finally, enjoy the journey as your thyme plants mature and reward you with aromatic leaves that infuse your culinary creations with flavor and fragrance.
With your newfound knowledge and dedication to thyme gardening, you are well-equipped to embark on this rewarding journey. So, roll up your sleeves, grab your gardening tools, and let the adventure begin. Happy planting!
Frequently Asked Questions about When To Plant Thyme Seeds
Was this page helpful?
At Storables.com, we guarantee accurate and reliable information. Our content, validated by Expert Board Contributors, is crafted following stringent Editorial Policies. We're committed to providing you with well-researched, expert-backed insights for all your informational needs.

0 thoughts on “When To Plant Thyme Seeds”