Home>Gardening & Outdoor>Garden Tools & Equipment>How To Balance A Lawnmower Blade


Garden Tools & Equipment
How To Balance A Lawnmower Blade
Modified: February 18, 2024
Learn how to balance a lawnmower blade for optimal performance and safety with our expert tips and techniques. Get the best results from your garden tools and equipment.
(Many of the links in this article redirect to a specific reviewed product. Your purchase of these products through affiliate links helps to generate commission for Storables.com, at no extra cost. Learn more)
Introduction
Read more: How To Replace A Lawnmower Blade
Safely Balancing Your Lawnmower Blade for Optimal Performance
Maintaining a healthy, vibrant lawn requires regular mowing, and a well-maintained lawnmower is essential for achieving a clean, even cut. One crucial aspect of lawnmower maintenance is ensuring that the blade is properly balanced. A balanced lawnmower blade not only enhances the quality of the cut but also prolongs the life of the lawnmower itself. In this comprehensive guide, we will walk you through the step-by-step process of balancing a lawnmower blade, providing valuable insights and tips along the way.
Properly balancing a lawnmower blade is a fundamental aspect of lawnmower maintenance, yet it is often overlooked by many homeowners. Unbalanced blades can cause uneven cuts, put unnecessary strain on the lawnmower's engine, and compromise the overall health of the grass. By taking the time to balance your lawnmower blade, you can ensure that your lawnmower operates at peak efficiency and delivers a pristine, professional-looking lawn.
Whether you're a seasoned lawn care enthusiast or a novice homeowner looking to take charge of your lawn maintenance, this guide will equip you with the knowledge and confidence to tackle this essential task. So, let's dive in and discover the art of balancing a lawnmower blade to elevate the performance of your trusty lawn companion.
Safety Precautions
Before embarking on the task of balancing your lawnmower blade, it is crucial to prioritize safety. Working with lawnmower blades can be hazardous, so taking the necessary precautions is paramount to prevent accidents and injuries. Here are some essential safety measures to observe:
Key Takeaways:
- Balancing your lawnmower blade is crucial for a clean, even cut and prolonged lawnmower life. Prioritize safety, gather the right tools, and follow step-by-step instructions for optimal performance.
- After balancing, reattaching, and testing the blade, ensure a smooth, vibration-free mowing experience. Thorough maintenance leads to a professional-looking lawn and efficient lawnmower operation.
Personal Protective Equipment (PPE)
Prior to handling the lawnmower blade, ensure that you are equipped with the appropriate personal protective equipment. This includes heavy-duty gloves to protect your hands from sharp edges, safety goggles to shield your eyes from any debris, and sturdy footwear for added protection.
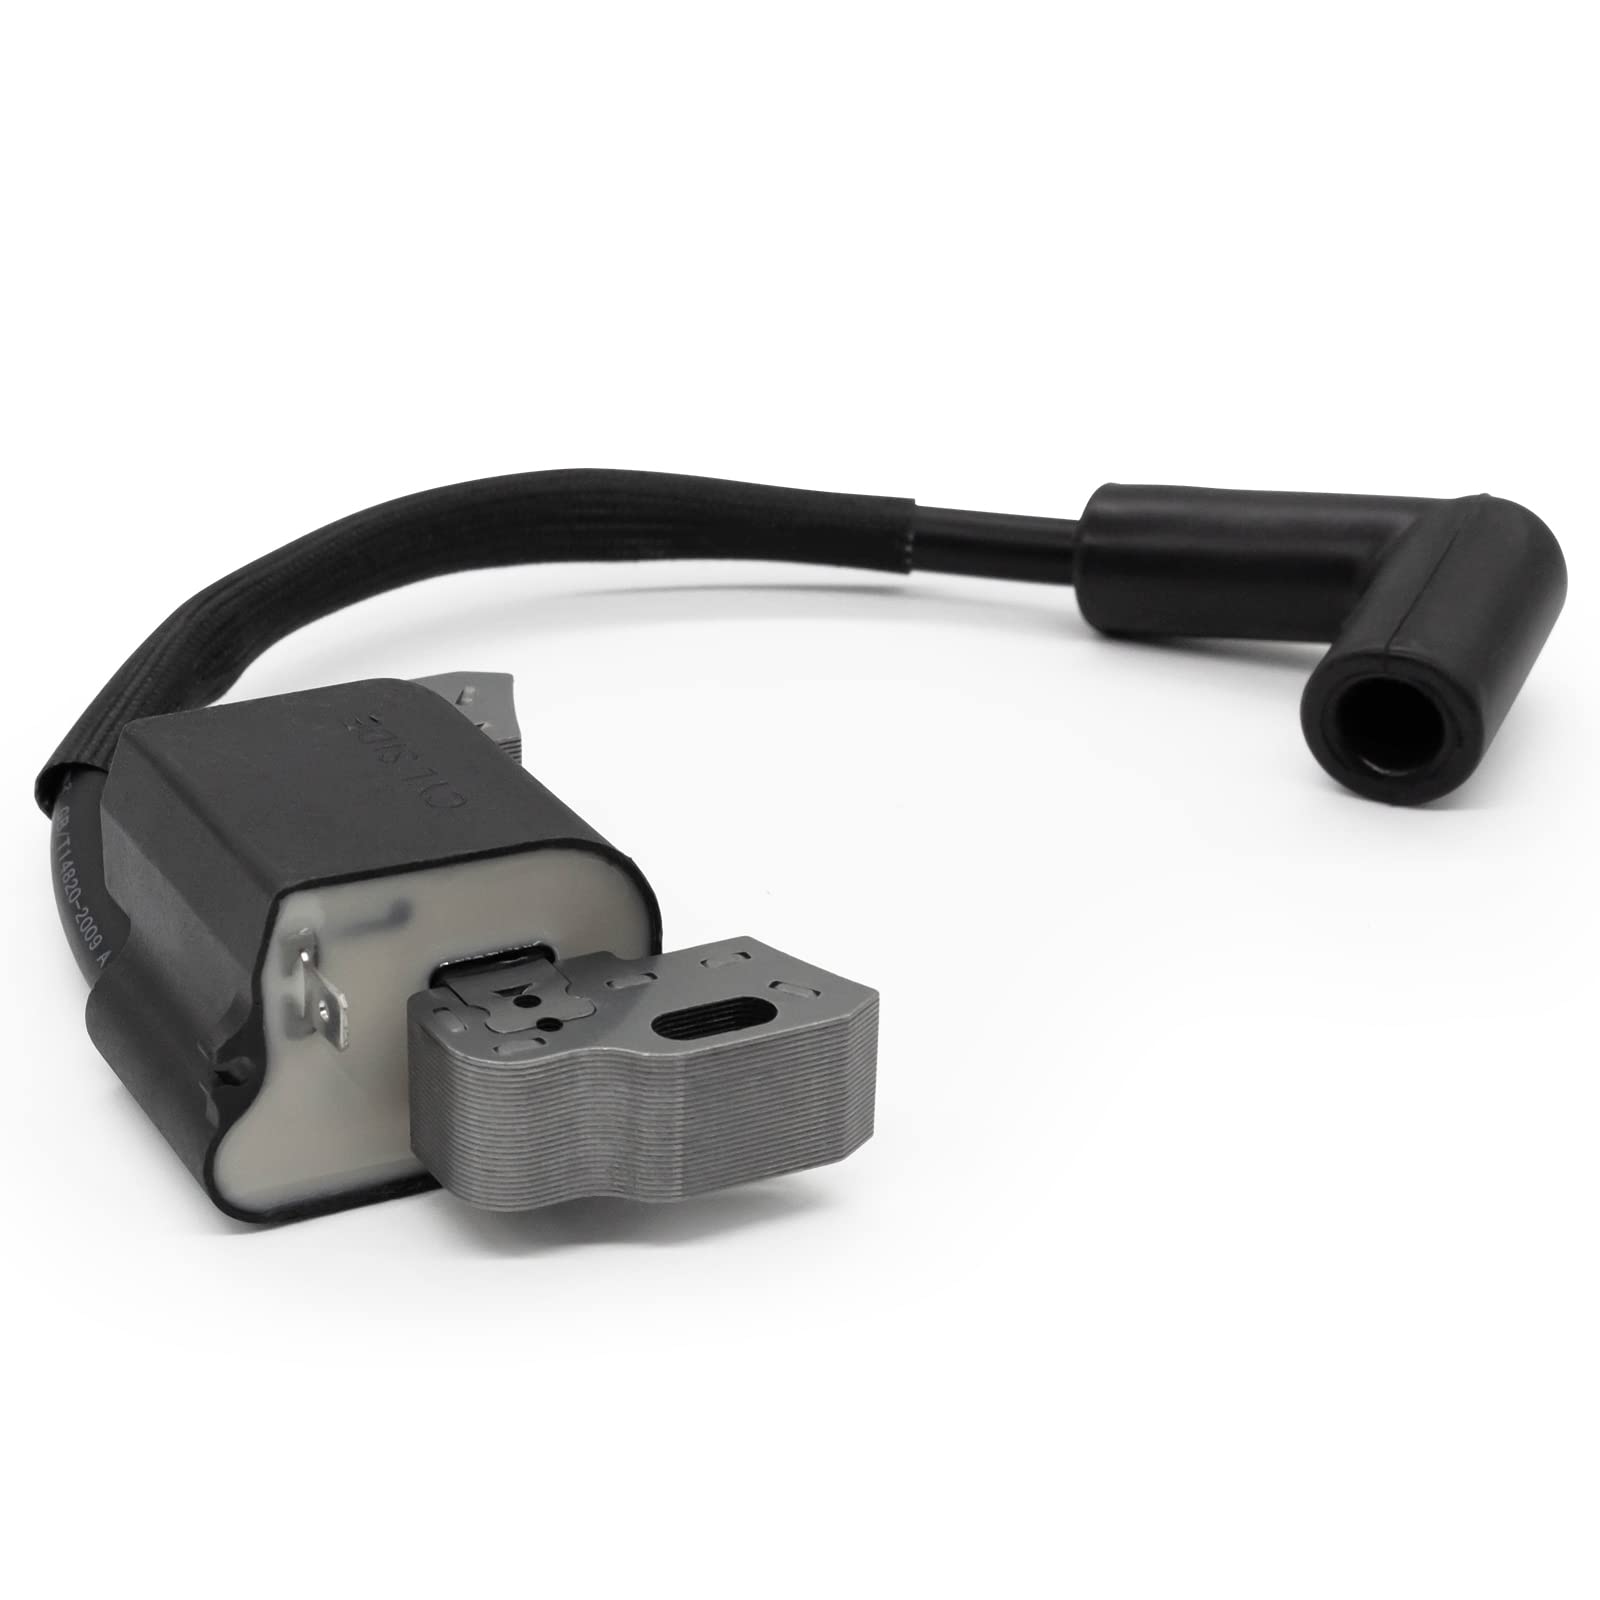
Disconnect the Spark Plug
Before starting any maintenance on your lawnmower, always disconnect the spark plug to prevent accidental engine ignition. This step is crucial in ensuring that the lawnmower cannot start while you are working on the blade, minimizing the risk of serious injury.
Read more: How To Fix A Bent Lawnmower Blade
Stabilize the Lawnmower
Prior to removing the blade, ensure that the lawnmower is placed on a flat, stable surface. This will prevent the lawnmower from tipping over during the blade removal process, reducing the risk of injuries and accidents.
Secure the Blade Properly
When removing, inspecting, or balancing the blade, use the appropriate tools to secure it in place. Mishandling a lawnmower blade can lead to severe cuts or lacerations, so exercising caution and using the right equipment is essential.
Mind Your Surroundings
Work in a well-lit, uncluttered area to ensure that you have ample space and visibility during the blade maintenance process. Keep pets and children away from the work area to minimize distractions and potential safety hazards.
Follow Manufacturer Guidelines
Always refer to the lawnmower’s manual for specific safety instructions and guidelines related to blade maintenance. Different lawnmower models may have unique requirements, so familiarizing yourself with the manufacturer’s recommendations is crucial.
By adhering to these safety precautions, you can mitigate the inherent risks associated with working on lawnmower blades and create a secure environment for carrying out the necessary maintenance tasks. Prioritizing safety not only protects you from harm but also ensures a smooth and incident-free blade balancing process.
Read more: Where To Get Lawnmower Blades Sharpened
Tools and Equipment Needed
Before beginning the process of balancing your lawnmower blade, it’s essential to gather the necessary tools and equipment to facilitate a smooth and efficient maintenance procedure. Here’s a comprehensive list of the items you will need:
Socket Wrench
A socket wrench is essential for loosening the bolt that secures the lawnmower blade in place. Ensure that you have the correct socket size that matches the bolt on your lawnmower.
Heavy-Duty Gloves
Protect your hands with a sturdy pair of heavy-duty gloves to shield against sharp edges and potential injuries while handling the lawnmower blade.
Safety Goggles
Invest in a pair of safety goggles to safeguard your eyes from debris and prevent any potential eye injuries during the blade maintenance process.
Read more: Which Way Does A Lawnmower Blade Go On
Workbench or Clamp
A stable workbench or a clamp is necessary to secure the lawnmower blade during the inspection and balancing stages. This ensures stability and reduces the risk of accidents while working on the blade.
Blade Balancer
A blade balancer is a specialized tool designed to check the balance of the lawnmower blade. It is a crucial instrument for ensuring that the blade is properly balanced, contributing to a smooth and even mowing experience.
File or Bench Grinder
A file or bench grinder is required for sharpening the lawnmower blade if it shows signs of dullness or damage. Properly sharpening the blade is an integral part of the maintenance process.
Cleaning Brush or Cloth
Having a cleaning brush or cloth on hand allows you to remove any accumulated grass clippings, dirt, or debris from the lawnmower blade and its housing, ensuring optimal performance.
Read more: How Fast Do Lawnmower Blades Spin
Torque Wrench (Optional)
A torque wrench may be necessary for accurately tightening the blade bolt to the manufacturer’s specifications, ensuring the blade is securely fastened to the lawnmower.
By assembling these essential tools and equipment, you can effectively prepare for the task of balancing your lawnmower blade and addressing any maintenance requirements that may arise during the process. Having the right tools at your disposal sets the stage for a successful and thorough blade maintenance endeavor.
Removing the Lawnmower Blade
Before delving into the process of balancing the lawnmower blade, it is necessary to safely remove the blade from the lawnmower. Follow these steps to ensure a smooth and efficient blade removal:
Preparation
Start by disconnecting the spark plug to prevent the lawnmower from accidentally starting. This crucial step ensures your safety during the blade removal process.
Read more: How To Fix A Bent Lawnmower Blade
Stabilize the Lawnmower
Place the lawnmower on a flat, level surface to provide stability during the blade removal. If possible, use a sturdy workbench or block of wood to elevate the lawnmower for easier access to the blade.
Read more: How To Winterize A Lawnmower
Secure the Blade
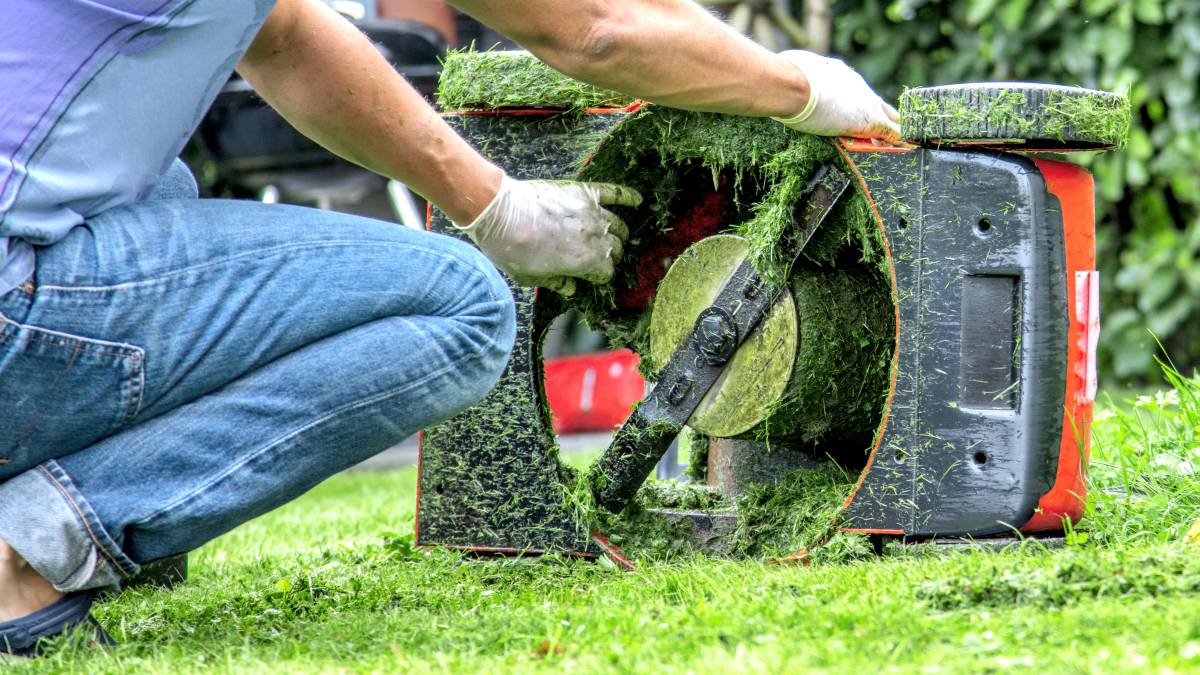
Using a clamp or a block of wood, secure the lawnmower blade to prevent it from rotating while you loosen the blade bolt. This step ensures that the blade remains stationary, allowing for safe and efficient removal.
Loosen the Blade Bolt
Locate the center bolt that secures the blade to the lawnmower deck. Using a socket wrench, carefully loosen the bolt by turning it counterclockwise. If the bolt is particularly tight, you may need to use a breaker bar for additional leverage.
Remove the Blade
Once the bolt is loosened, carefully slide the blade off the spindle, taking note of the orientation of the blade to ensure correct reinstallation later. Exercise caution when handling the blade to avoid any accidental cuts or injuries.
Inspect the Blade and Housing
With the blade removed, take the opportunity to inspect both the blade and the housing for any signs of damage, wear, or excessive debris accumulation. Cleaning the blade and the surrounding area will contribute to optimal performance and longevity of the lawnmower.
Read more: How To Clean A Lawnmower
Store the Blade Safely
Once removed, store the lawnmower blade in a safe location, away from high-traffic areas, and out of reach of children and pets. This ensures that the blade is securely stored until it is ready for inspection, sharpening, and balancing.
By following these steps, you can safely and effectively remove the lawnmower blade in preparation for the inspection, sharpening, and balancing processes. Prioritizing safety and thoroughness during the blade removal sets the stage for a successful maintenance endeavor.
Inspecting and Sharpening the Blade
Once the lawnmower blade has been safely removed, it’s essential to conduct a thorough inspection to assess its condition and address any potential issues. Follow these steps to inspect and sharpen the blade as necessary:
Visual Inspection
Begin by visually examining the blade for signs of wear, damage, or dullness. Look for nicks, dents, or any irregularities along the cutting edge. Additionally, check for any bending or warping of the blade, which can affect its performance.
Addressing Damage
If the blade exhibits significant damage or deformation, it may be necessary to replace it with a new one. Cracks, severe bending, or extensive wear can compromise the blade’s effectiveness and safety, warranting a replacement for optimal mowing performance.
Read more: How To Turn On A Lawnmower
Sharpening the Blade
If the blade shows signs of dullness or minor nicks, it can be sharpened to restore its cutting efficiency. Utilize a file or a bench grinder to carefully sharpen the cutting edge, maintaining the original angle and bevel to ensure optimal cutting performance.
Balancing Considerations
During the sharpening process, be mindful of maintaining the blade’s balance. Removing excess material from one area of the blade can affect its equilibrium. If substantial material needs to be removed during sharpening, it may impact the blade’s balance, necessitating thorough rebalancing before reinstallation.
Cleaning and Final Inspection
After sharpening the blade, thoroughly clean off any metal shavings, debris, or residual grime. Inspect the blade again to ensure that the cutting edge is uniformly sharp and free from any irregularities that could affect its performance.
Balancing Assessment
Prior to reattaching the blade, it’s crucial to assess its balance using a specialized blade balancer. This step ensures that the blade is evenly weighted and poised, contributing to a smooth, vibration-free mowing experience.
By meticulously inspecting and, if necessary, sharpening the lawnmower blade, you can optimize its cutting efficiency and extend its operational lifespan. Additionally, addressing any blade-related issues during the inspection process sets the stage for a successful blade balancing and reinstallation.
Read more: How To Start A Lawnmower
Balancing the Blade
Ensuring that your lawnmower blade is properly balanced is essential for achieving a smooth and even cut while minimizing stress on the lawnmower’s engine. Follow these steps to effectively balance the lawnmower blade:
Blade Balancer Setup
Begin by setting up the blade balancer on a stable, level surface. The balancer should allow the blade to pivot freely, providing accurate feedback on its balance.
Before removing the lawnmower blade, mark the side facing up. When balancing, add small amounts of metal to the lighter side until it stays level.
Positioning the Blade
Place the lawnmower blade onto the balancer, ensuring that it is positioned horizontally across the balancer’s fulcrum. The blade should remain level and stable, allowing for precise balance assessment.
Observing the Blade’s Tilt
Observe the blade’s position on the balancer. If one side of the blade tilts downward, it indicates an imbalance. Note the heavier side of the blade, as this will require adjustment to achieve equilibrium.
Read more: How To Balance Kegerator
Correcting Imbalance
To address the imbalance, carefully remove small amounts of material from the heavier side of the blade using a file or grinder. Take gradual, measured steps to avoid overcorrecting the balance, ensuring that the blade remains symmetrical and maintains its structural integrity.
Reassessing Balance
After making adjustments, reposition the blade on the balancer and observe its stability. Continue fine-tuning the balance until the blade rests level on the balancer without any noticeable tilt, indicating that it is properly balanced.
Verifying Balance Consistency
Rotate the blade to different positions on the balancer to confirm that it maintains consistent balance across various orientations. This step ensures that the blade’s equilibrium is uniform, contributing to a vibration-free mowing experience.
Final Inspection
Once the blade is balanced, conduct a final visual inspection to ensure that the blade’s cutting edge remains intact and sharp. Additionally, remove any residual metal shavings or debris from the blade to prepare it for reinstallation.
By meticulously balancing the lawnmower blade, you can optimize its performance, minimize vibration, and promote a more efficient mowing process. A balanced blade contributes to a cleaner, more professional-looking lawn while reducing wear and tear on the lawnmower’s components.
Read more: How Loud Is A Lawnmower
Reattaching the Blade
After inspecting, sharpening, and balancing the lawnmower blade, it’s time to reattach it to the lawnmower. Follow these steps to ensure a secure and precise reinstallation of the blade:
Before removing the lawnmower blade, mark the side facing up. When balancing, add small amounts of metal to the lighter side until it stays level.
Positioning the Blade
Carefully position the balanced and sharpened blade onto the spindle, ensuring that it aligns with the mounting holes on the lawnmower deck. Take note of any directional indicators or markings to ensure the correct orientation of the blade.
Securing the Blade
Slide the blade onto the spindle, ensuring that it fits snugly against the blade adapter. Align the mounting holes with the spindle and insert the blade bolt, threading it by hand to prevent cross-threading.
Tightening the Bolt
Using a socket wrench, tighten the blade bolt securely, following the manufacturer’s recommended torque specifications. A torque wrench may be used to achieve the precise tightness required for the specific lawnmower model.
Read more: How To Balance Chemicals In A Swimming Pool
Blade Stability Check
After tightening the bolt, gently attempt to wiggle the blade to confirm that it is securely fastened. There should be minimal to no movement, indicating that the blade is properly attached and ready for operation.
Reconnecting the Spark Plug
Prior to testing the lawnmower, reconnect the spark plug to restore power to the engine. This step ensures that the lawnmower can be started for the final testing phase.
Final Inspection
Perform a final visual inspection of the blade and its mounting to confirm that everything is securely in place. Ensure that no tools or debris are left in the vicinity of the lawnmower, providing a safe and unobstructed environment for testing.
Testing the Blade
Start the lawnmower and allow it to run for a few moments, observing the blade for any irregular vibrations or sounds. A properly installed and balanced blade should contribute to a smooth, even mowing operation without excessive noise or noticeable vibration.
By meticulously reattaching the lawnmower blade and conducting a thorough inspection, you can ensure that the blade is securely fastened and ready to deliver optimal mowing performance. A securely installed and balanced blade is essential for achieving a pristine, professional-looking lawn while promoting the longevity of the lawnmower.
Read more: How To Use A Lawnmower
Testing the Lawnmower
After completing the process of inspecting, sharpening, balancing, and reattaching the lawnmower blade, it’s crucial to conduct a comprehensive testing phase to ensure that the lawnmower operates optimally. Follow these steps to test the lawnmower and verify the effectiveness of the maintenance procedures:
Initial Inspection
Prior to starting the lawnmower, visually inspect the blade and its housing to confirm that everything is in place and that there are no obstructions or potential safety hazards in the vicinity of the lawnmower.
Starting the Engine
Start the lawnmower’s engine and allow it to warm up for a few moments. Listen for any irregular sounds or vibrations that may indicate issues with the blade or its installation.
Engaging the Blade
Engage the blade by activating the cutting mechanism. Observe the blade in action, ensuring that it rotates smoothly and without any noticeable wobbling or imbalance. A properly balanced and installed blade should contribute to a steady, even cutting motion.
Read more: What Is The Best Lawnmower
Mowing Test
Proceed to mow a small section of grass to test the lawnmower’s cutting performance. Observe the quality of the cut, ensuring that the blade delivers a clean, consistent mowing pattern without leaving behind uneven patches or signs of inadequate cutting.
Vibration and Noise Assessment
While mowing, pay attention to any excessive vibrations or unusual noises coming from the lawnmower. A well-maintained and balanced blade should contribute to a smooth, vibration-free mowing experience without generating excessive noise or disruptive vibrations.
Maneuverability Check
Assess the lawnmower’s maneuverability and responsiveness during the mowing test. Confirm that the lawnmower moves smoothly and effortlessly across the lawn, allowing for precise and controlled mowing operations.
Final Visual Inspection
Once the testing phase is complete, conduct a final visual inspection of the blade, its housing, and the surrounding area. Ensure that the blade remains securely fastened and that there are no signs of abnormal wear or damage resulting from the testing process.
By meticulously testing the lawnmower after blade maintenance, you can confirm that the blade operates smoothly and contributes to a pristine, professional-looking lawn. A thorough testing phase ensures that the lawnmower is in optimal condition, ready to tackle lawn maintenance tasks with efficiency and precision.
Frequently Asked Questions about How To Balance A Lawnmower Blade
Was this page helpful?
At Storables.com, we guarantee accurate and reliable information. Our content, validated by Expert Board Contributors, is crafted following stringent Editorial Policies. We're committed to providing you with well-researched, expert-backed insights for all your informational needs.


0 thoughts on “How To Balance A Lawnmower Blade”