Home>Gardening & Outdoor>Garden Tools & Equipment>How To Fix A Bent Lawnmower Blade
Garden Tools & Equipment
How To Fix A Bent Lawnmower Blade
Modified: February 18, 2024
Learn how to fix a bent lawnmower blade easily with our expert tips. Keep your garden tools and equipment in top shape for a healthy lawn.
(Many of the links in this article redirect to a specific reviewed product. Your purchase of these products through affiliate links helps to generate commission for Storables.com, at no extra cost. Learn more)
Introduction
Maintaining a well-manicured lawn requires the use of a reliable lawnmower with sharp and properly aligned blades. However, over time, these essential blades can become bent due to various factors, such as hitting rocks, roots, or other hard objects hidden within the grass. A bent lawnmower blade not only compromises the quality of the cut but also puts unnecessary strain on the lawnmower's engine, potentially leading to costly repairs.
Fortunately, fixing a bent lawnmower blade is a task that can be accomplished with the right tools, a bit of know-how, and a systematic approach. In this guide, we will walk you through the step-by-step process of straightening a bent lawnmower blade, ensuring that your lawnmower operates at peak performance and delivers the pristine cut your lawn deserves.
So, grab your tools, roll up your sleeves, and let's get started on restoring your lawnmower blade to its optimal condition.
Key Takeaways:
- Safety first! Always disconnect the spark plug before fixing a bent lawnmower blade to prevent accidental engine ignition and ensure a secure working environment.
- Straightening a bent lawnmower blade requires precision and patience. By following the step-by-step process, you can restore the blade’s cutting efficiency and ensure a well-manicured lawn.
Read more: How To Replace A Lawnmower Blade
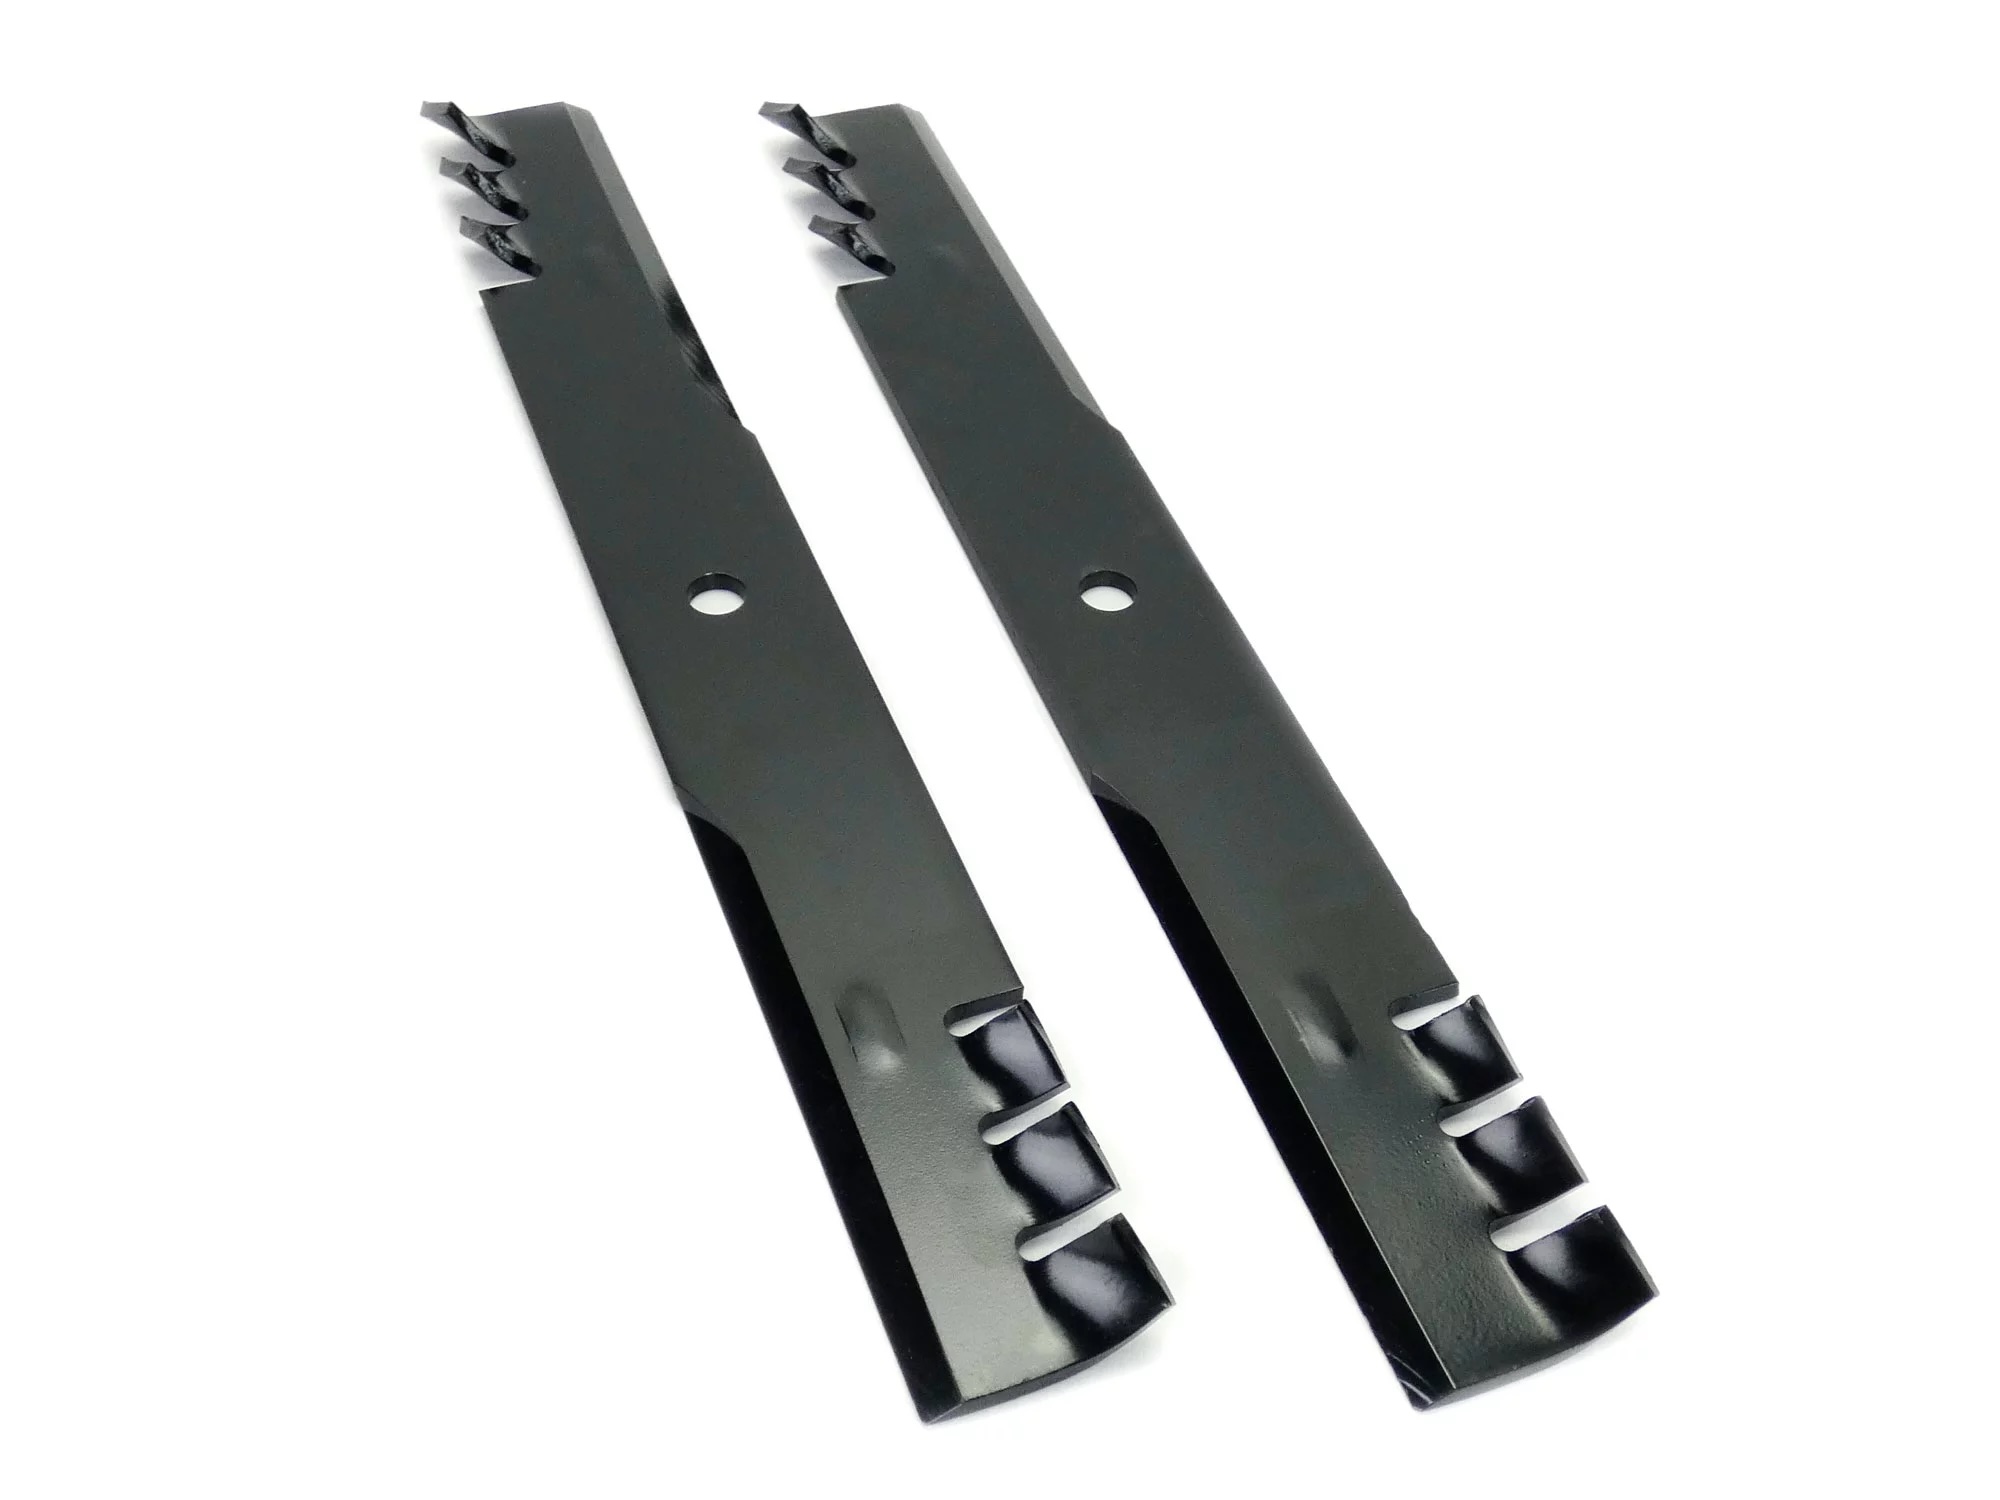
Tools and Materials Needed
Before embarking on the task of fixing a bent lawnmower blade, it’s important to gather the necessary tools and materials to ensure a smooth and efficient process. Here’s what you’ll need:
- Safety Gear: Safety goggles, work gloves, and sturdy footwear to protect yourself from debris and sharp edges.
- Socket Wrench: To loosen the nut holding the lawnmower blade in place.
- Bench Vise: A sturdy vise to secure the blade during the straightening process.
- Hammer: A ball-peen hammer or rubber mallet for carefully straightening the bent blade.
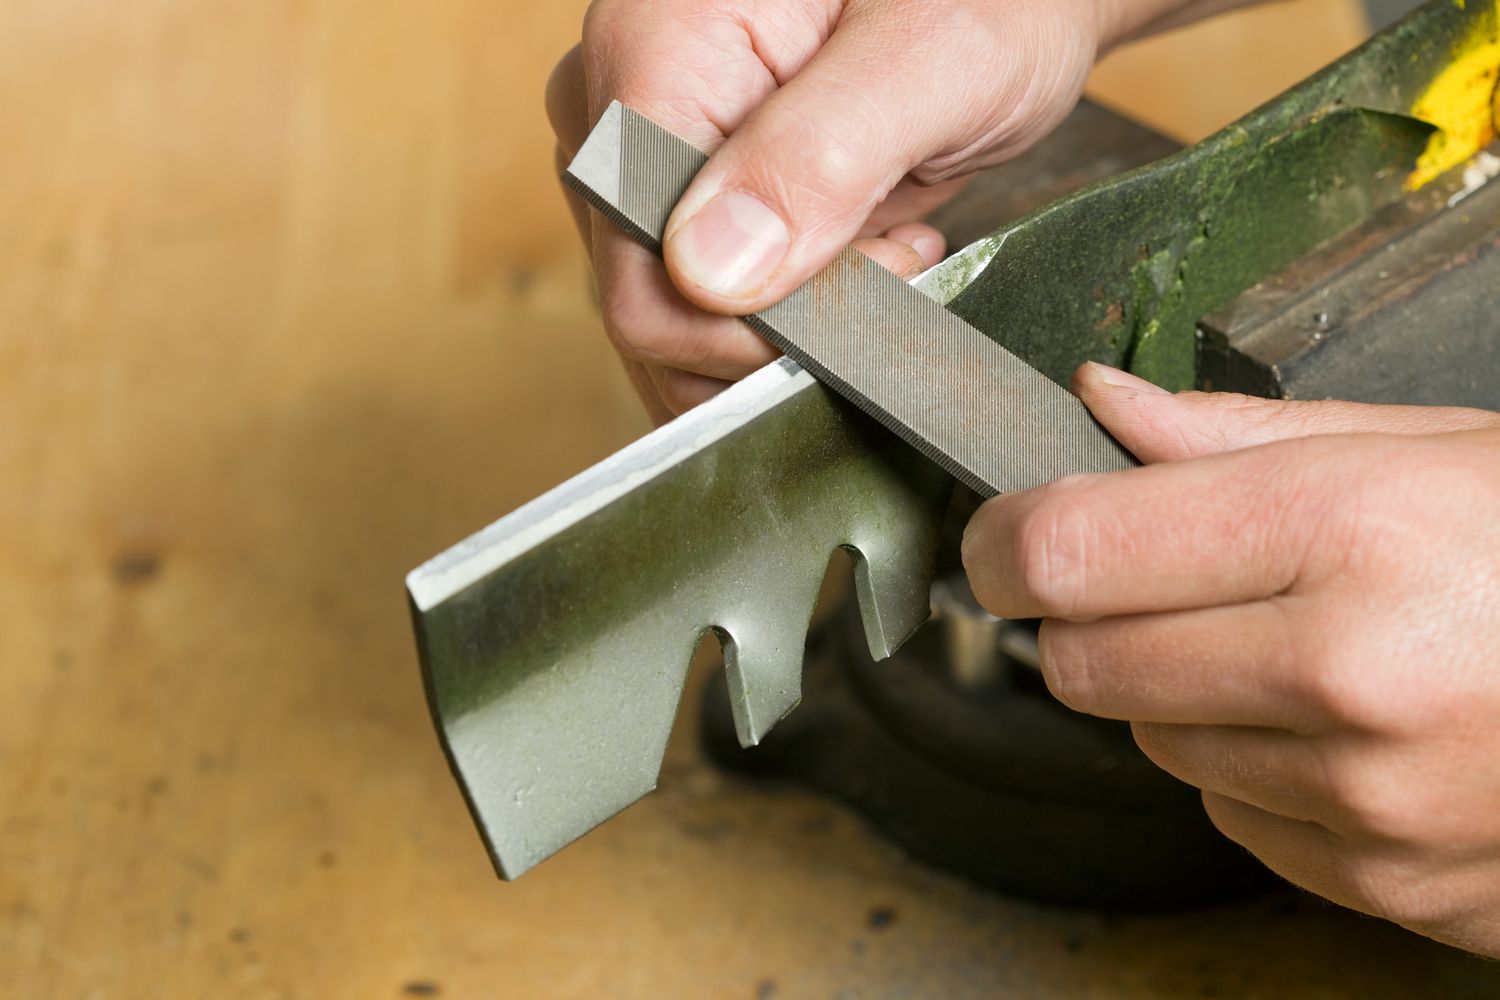
- File or Grinder: For removing any burrs or rough edges from the blade after straightening.
- Replacement Hardware: If the blade or any hardware is damaged beyond repair, have replacement parts on hand.
- Clean Cloth: To wipe down the blade and remove any dirt or debris.
- Workbench: A stable surface to work on, providing ample space for the blade and tools.
By ensuring that you have these tools and materials at the ready, you’ll be well-prepared to tackle the task of fixing your lawnmower blade with confidence and precision.
Step 1: Disconnect the Spark Plug
Prior to any work on the lawnmower blade, it’s crucial to prioritize safety. The first step is to disconnect the spark plug to prevent accidental engine ignition while performing maintenance. This precautionary measure ensures that the engine won’t start unexpectedly, reducing the risk of injury.
Begin by locating the lawnmower’s spark plug. It’s typically situated near the engine and is connected to a thick, rubber-coated wire. Carefully pull off the spark plug wire from the tip of the spark plug to disconnect it. This action effectively cuts off the electrical supply to the engine, rendering it unable to start.
With the spark plug disconnected, you can confidently proceed with the subsequent steps of removing and straightening the lawnmower blade, knowing that you’ve taken a vital safety measure to protect yourself from potential harm.
Remember, safety should always be the top priority when working with power tools and machinery. By disconnecting the spark plug, you’re taking a proactive step to ensure a secure working environment as you attend to your lawnmower’s maintenance needs.
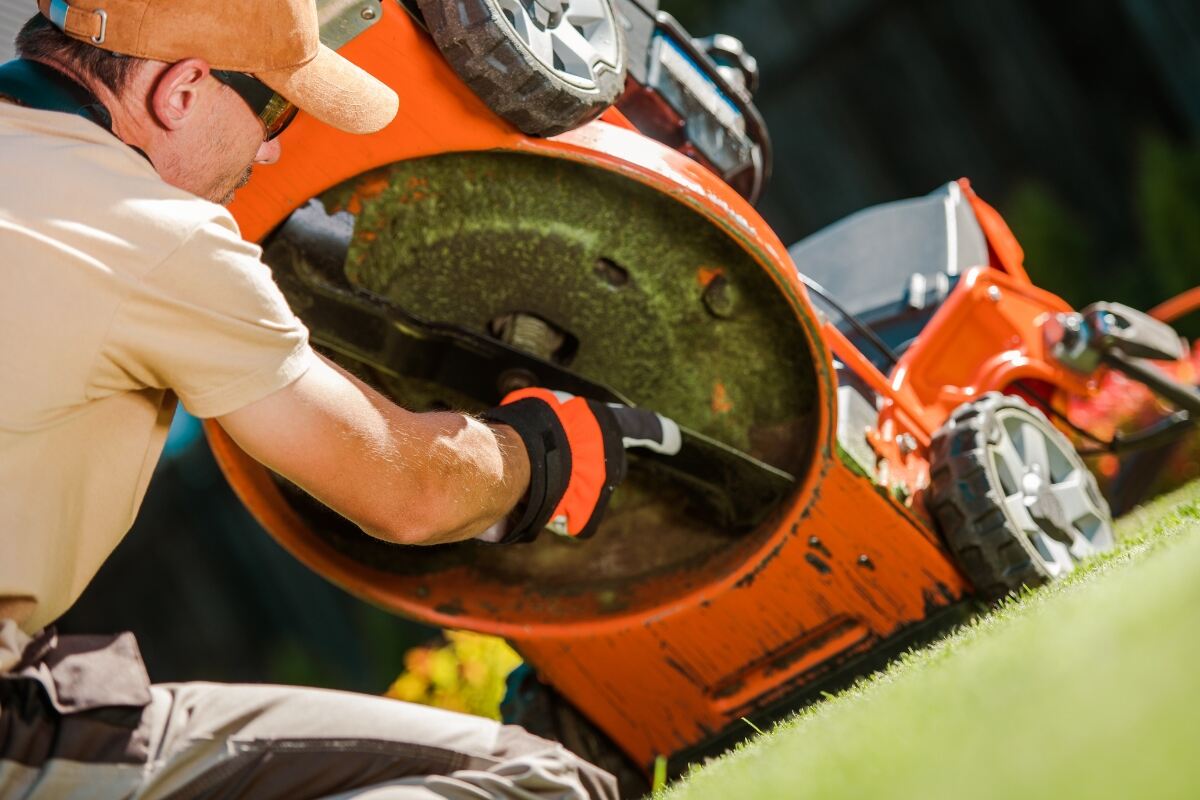
Step 2: Remove the Blade
With the spark plug safely disconnected, you can proceed to remove the lawnmower blade. This step allows for easier access to inspect and straighten the blade without the constraints of the lawnmower’s deck.
Start by positioning the lawnmower on a stable surface, ensuring that it’s securely supported to prevent any accidental movement during the blade removal process. If necessary, use wooden blocks or a sturdy jack to elevate the lawnmower, providing better access to the blade assembly.
Using a socket wrench, carefully loosen and remove the nut or bolts that secure the lawnmower blade to the engine’s driveshaft. It’s important to note the orientation of the blade during removal to ensure proper reinstallation later. As you remove the hardware, keep track of any washers or spacers that may be present between the blade and the mounting point.
Once the hardware is removed, carefully slide the lawnmower blade out from the mounting point, taking care not to damage the blade or the surrounding components. Place the hardware and blade in a safe location, such as a designated tray or container, to prevent misplacement.
With the lawnmower blade successfully removed, you’re now ready to proceed with the inspection and straightening process, confident in the knowledge that you’ve effectively prepared the blade for maintenance without the constraints of the lawnmower’s deck.
Before attempting to fix a bent lawnmower blade, always disconnect the spark plug to prevent accidental starting. Use a vice and a hammer to carefully straighten the blade, or replace it if the damage is severe.
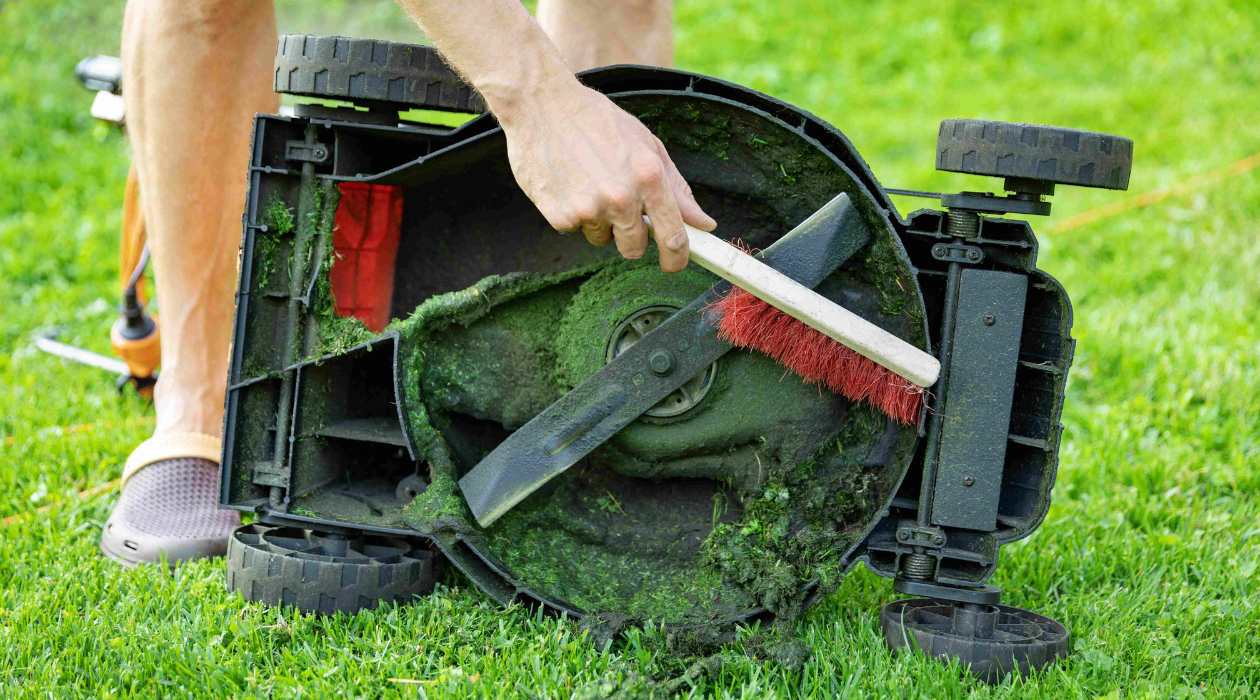
Step 3: Inspect the Blade
Now that the lawnmower blade has been safely removed, it’s time to thoroughly inspect it for signs of damage and assess the extent of the bending. A meticulous inspection is crucial to identify any hairline cracks, severe bends, or other issues that may compromise the blade’s structural integrity.
Begin by carefully examining the entire length of the blade, paying close attention to the cutting edge and the area around the center mounting hole. Look for any visible signs of deformation, such as twists or bends, and inspect for hairline fractures or deep gouges that may render the blade unsafe for use.
If the blade exhibits minor bending without any significant damage, it may be suitable for straightening. However, if you notice extensive bending, cracks, or other structural issues, it’s advisable to replace the blade with a new one to maintain optimal cutting performance and safety.
During the inspection, also check for excessive wear, such as uneven blade edges or deep nicks, which can affect cutting efficiency. Additionally, ensure that the center mounting hole is free from any deformities or elongation that could hinder proper reinstallation.
By conducting a thorough inspection, you’ll gain a clear understanding of the blade’s condition, enabling you to make an informed decision regarding the feasibility of straightening or replacing the blade. This careful assessment is essential for ensuring the safe and effective operation of your lawnmower.
Read more: How To Balance A Lawnmower Blade
Step 4: Straighten the Blade
Once you’ve assessed the condition of the lawnmower blade and determined that it’s suitable for straightening, it’s time to carefully reshape the blade to restore its original form and cutting efficiency. Straightening a bent lawnmower blade requires precision and patience to ensure that it retains its balance and cutting integrity.
Begin by securing the blade in a sturdy bench vise, ensuring that it’s clamped tightly to prevent movement during the straightening process. Position the blade so that the bent section is easily accessible and visible, allowing you to work on it effectively.
Using a ball-peen hammer or rubber mallet, gently tap the bent portion of the blade in the opposite direction of the bend. Apply gradual pressure and make small adjustments, periodically checking the blade’s alignment to ensure that it’s gradually returning to its original shape.
It’s important to exercise caution and avoid applying excessive force, as this can lead to overcorrection and potential damage to the blade. Take your time and work methodically, focusing on achieving a gradual and uniform straightening of the affected area.
Periodically release the blade from the vise to assess the progress and make any necessary adjustments. Continue the straightening process until the blade is restored to a uniformly straight profile, free from any visible bends or deformities.
After straightening the blade, use a file or grinder to remove any burrs or rough edges that may have formed during the straightening process. This step ensures that the blade’s cutting edge is smooth and sharp, optimizing its cutting performance.
By methodically straightening the blade with precision and care, you’ll effectively restore its functionality and cutting efficacy, ensuring that your lawnmower delivers a pristine and uniform cut across your lawn.
Step 5: Reinstall the Blade
With the lawnmower blade successfully straightened and restored to its optimal condition, it’s time to reattach it to the lawnmower, ensuring that it’s securely positioned for efficient and safe operation. Proper reinstallation of the blade is essential for maintaining the balance and cutting precision of the lawnmower.
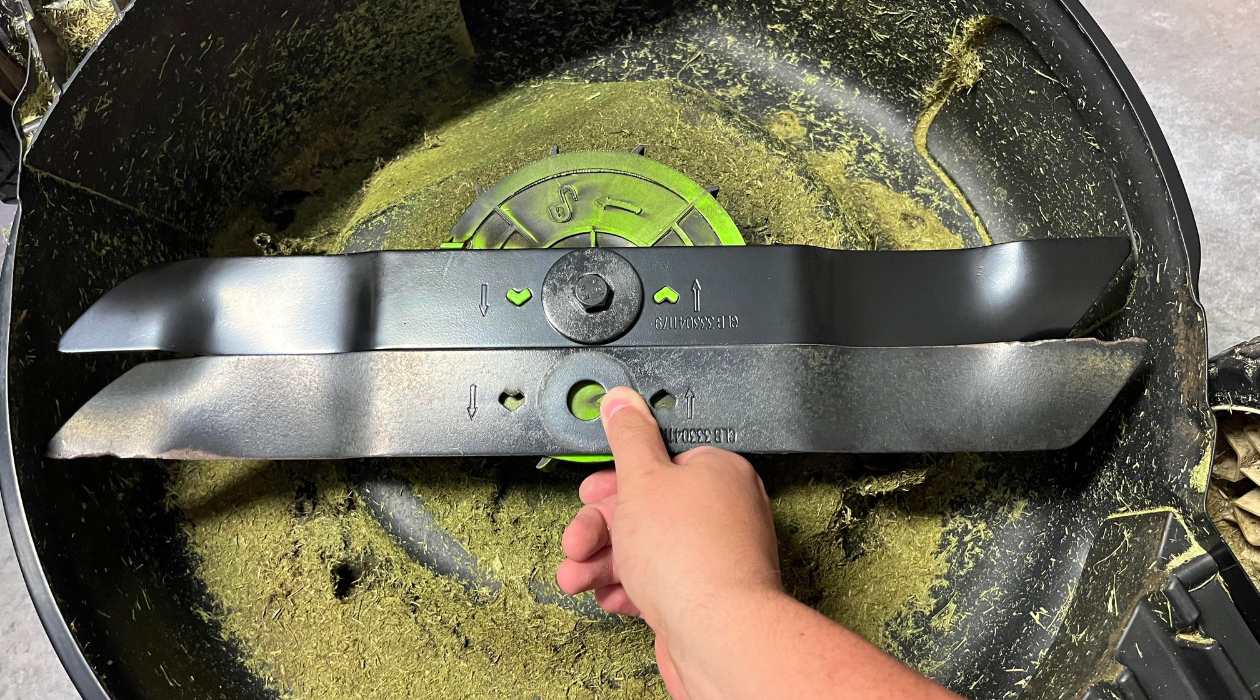
Begin by carefully aligning the blade with the mounting point on the lawnmower, ensuring that it’s oriented correctly to match its original position. If applicable, place any washers or spacers in their designated locations to maintain the proper spacing and alignment of the blade.
Next, carefully slide the blade onto the engine’s driveshaft, ensuring that it sits flush against the mounting point. Reinsert the nut or bolts that secure the blade, tightening them with a socket wrench to the manufacturer’s recommended torque specifications. This step ensures that the blade is firmly secured and prevents any potential issues during operation.
As you tighten the hardware, ensure that the blade remains aligned and centered, maintaining its balance within the lawnmower’s cutting deck. This attention to detail is crucial for preventing vibration and ensuring a smooth and consistent cutting performance.
After securing the blade, double-check the tightness of the hardware to confirm that it’s properly fastened. Ensure that the blade spins freely without any obstructions and that it’s securely mounted to the lawnmower.
Finally, reconnect the spark plug wire to the spark plug, restoring the electrical supply to the engine. With the blade successfully reinstalled and secured, you’re now ready to test the lawnmower’s operation, confident in the knowledge that the blade is primed for delivering a precise and uniform cut across your lawn.
By diligently following the reinstallation process, you’ll ensure that the lawnmower blade is securely positioned, allowing for optimal cutting performance and safe operation of your lawnmower.
Conclusion
Fixing a bent lawnmower blade is a task that demands attention to detail, precision, and a commitment to maintaining the optimal performance of your lawnmower. By following the step-by-step process outlined in this guide, you’ve taken the proactive approach to restore your lawnmower blade to its original condition, ensuring that it delivers a pristine cut and operates efficiently.
Throughout the repair process, you’ve prioritized safety by disconnecting the spark plug, allowing you to work on the blade with confidence and peace of mind. By carefully removing the blade and conducting a thorough inspection, you’ve gained valuable insights into its condition, enabling you to make informed decisions regarding its maintenance or replacement.
With meticulous attention to detail, you’ve straightened the bent blade, ensuring that it’s free from deformities and capable of delivering a uniform and precise cut. The reinstallation process has allowed you to securely position the blade, maintaining its balance and cutting efficiency within the lawnmower’s deck.
As you reconnect the spark plug and prepare to test the lawnmower’s operation, you can take pride in the knowledge that your diligent efforts have contributed to the optimal performance of your lawnmower, ensuring that it continues to uphold the beauty and health of your lawn.
Remember, regular maintenance and care for your lawnmower, including blade inspection and straightening when necessary, are essential for preserving its longevity and cutting efficacy. By incorporating these maintenance tasks into your routine, you’ll enjoy a well-manicured lawn and the reliable performance of your lawnmower for years to come.
So, as you stand back and admire your beautifully mowed lawn, take a moment to appreciate the dedication and craftsmanship that went into straightening your lawnmower blade, knowing that your efforts have contributed to the overall health and aesthetics of your outdoor space.
Frequently Asked Questions about How To Fix A Bent Lawnmower Blade
Was this page helpful?
At Storables.com, we guarantee accurate and reliable information. Our content, validated by Expert Board Contributors, is crafted following stringent Editorial Policies. We're committed to providing you with well-researched, expert-backed insights for all your informational needs.


0 thoughts on “How To Fix A Bent Lawnmower Blade”