Home>Gardening & Outdoor>Garden Tools & Equipment>How To Replace The Pull Rope On A Lawnmower
Garden Tools & Equipment
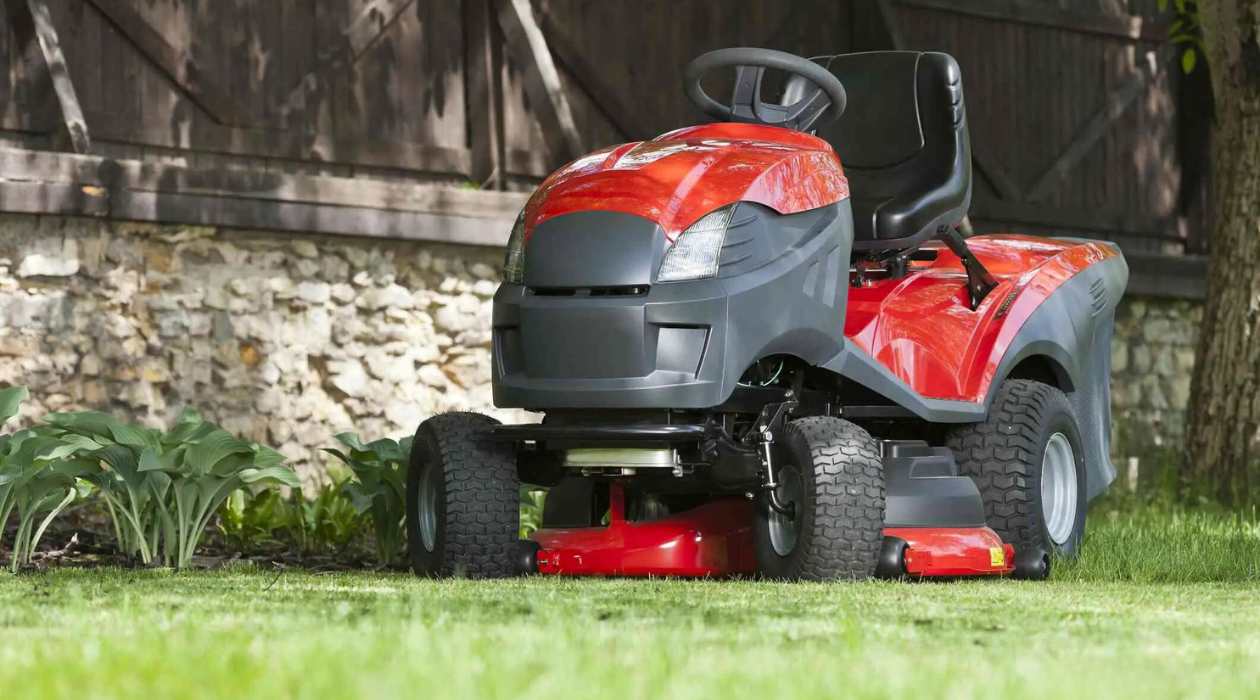
How To Replace The Pull Rope On A Lawnmower
Published: January 21, 2024
Learn how to easily replace the pull rope on your lawnmower with our step-by-step guide. Keep your garden tools and equipment in top condition with this simple maintenance task.
(Many of the links in this article redirect to a specific reviewed product. Your purchase of these products through affiliate links helps to generate commission for Storables.com, at no extra cost. Learn more)
Introduction
Maintaining a well-groomed lawn requires the use of reliable and efficient garden tools, and a key player in this lineup is the lawnmower. Over time, the pull rope on a lawnmower may wear out or break, necessitating a replacement to ensure seamless operation. Fortunately, with the right tools, materials, and a systematic approach, you can easily replace the pull rope on your lawnmower, saving both time and money.
In this comprehensive guide, we will walk you through the step-by-step process of replacing the pull rope on a lawnmower, providing valuable insights and expert tips along the way. Whether you are a seasoned DIY enthusiast or a novice looking to tackle your first lawnmower repair, this article will equip you with the knowledge and confidence to successfully complete this task.
So, gather your tools, roll up your sleeves, and let's dive into the world of lawnmower maintenance as we embark on the journey of replacing the pull rope on a lawnmower.
Key Takeaways:
- Replacing the pull rope on a lawnmower is a DIY task that can save time and money. With the right tools and materials, anyone can rejuvenate their lawnmower’s starting mechanism.
- Proper maintenance, like replacing a worn pull rope, keeps lawnmowers efficient and reliable. Embracing DIY repairs not only saves money but also deepens understanding of equipment functionality.
Read more: How To Replace A Lawnmower Blade
Tools and Materials Needed
Before embarking on the pull rope replacement process, it’s essential to gather the necessary tools and materials to ensure a smooth and efficient repair. Here’s a comprehensive list of what you’ll need:
Tools:
- Socket Wrench Set: A socket wrench set will be essential for removing the components of the lawnmower housing.
- Needle-Nose Pliers: These will come in handy for manipulating small components and securing the new pull rope in place.
- Flat-Head Screwdriver: To assist in prying open the lawnmower housing and accessing the pull rope assembly.
- Scissors: For cutting the new pull rope to the required length.
- Ratchet: A ratchet will aid in loosening and tightening bolts during the repair process.
- Work Gloves: To protect your hands during the repair and prevent injuries from sharp edges.
Materials:
- New Pull Rope: Ensure that the replacement pull rope is of the appropriate thickness and length for your specific lawnmower model.
- Replacement Handle: If the existing handle is damaged, a new one may be required for the replacement process.
- Replacement Pull Rope Handle: If the pull rope handle is worn or broken, a new one will be necessary.
- Safety Glasses: To protect your eyes from any debris or particles that may be dislodged during the repair.
- Clean Cloth: For wiping any dirt or grime from the lawnmower housing and components.
- Lubricating Oil: A small amount of lubricating oil will help ensure smooth reassembly of the lawnmower components.
By ensuring that you have all the required tools and materials at your disposal, you can proceed with confidence, knowing that you are well-prepared to tackle the pull rope replacement on your lawnmower.
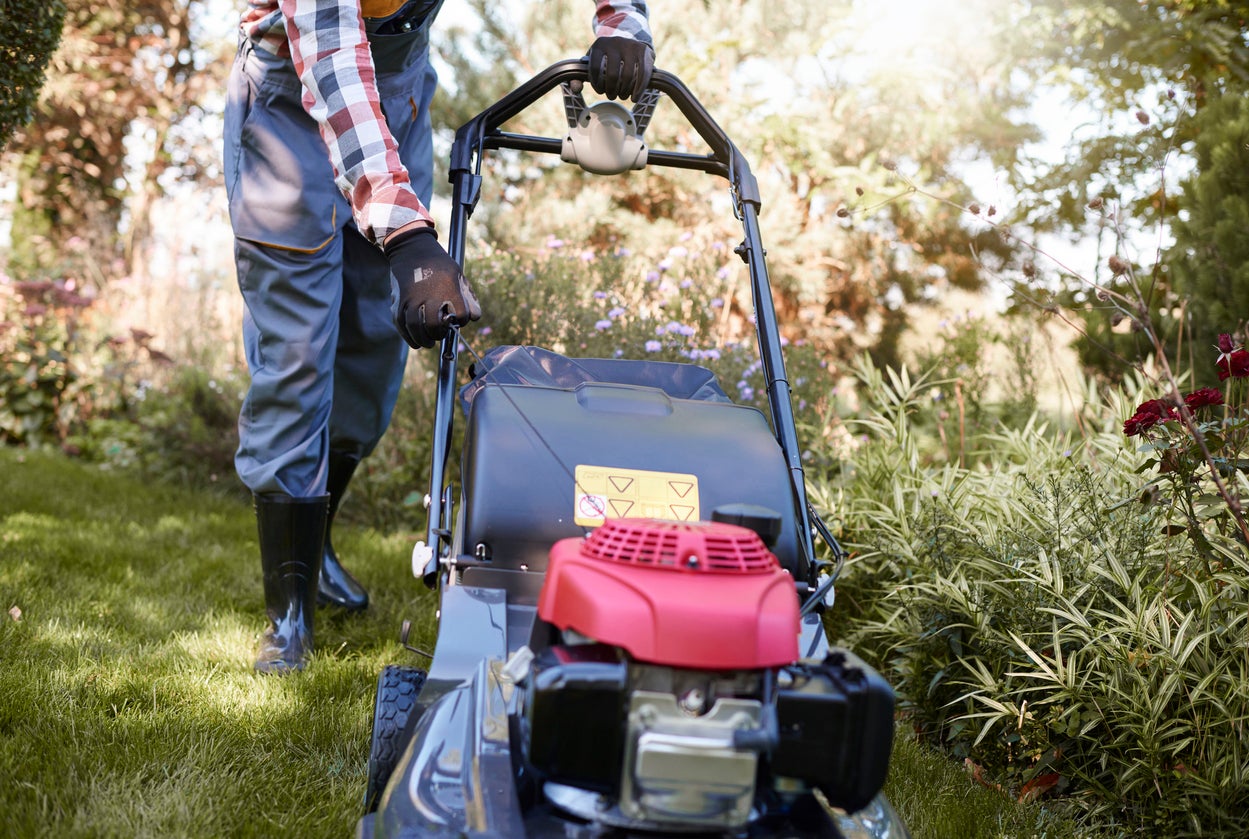
Step 1: Prepare the Lawnmower
Before delving into the intricacies of replacing the pull rope, it’s crucial to prepare the lawnmower for the repair process. This involves ensuring the safety of the work environment and gaining access to the pull rope assembly. Here’s how to get started:
1.1 Clear the Work Area: Begin by positioning the lawnmower on a flat and stable surface, ensuring that there is ample space to maneuver around the machine. Clear any debris or obstacles that may impede the repair process, creating a safe and uncluttered work environment.
1.2 Disconnect the Spark Plug: As a safety precaution, disconnect the spark plug wire from the spark plug to prevent accidental engine ignition during the repair. This step is crucial in ensuring your safety while working on the lawnmower.
1.3 Access the Pull Rope Assembly: Depending on the lawnmower model, you may need to remove the engine cover or housing to access the pull rope assembly. Refer to the manufacturer’s manual for specific instructions on accessing the pull rope assembly for your lawnmower model.
1.4 Inspect the Pull Rope Assembly: Once the pull rope assembly is accessible, inspect the existing pull rope, handle, and associated components for any signs of damage or wear. This visual inspection will provide valuable insight into the condition of the pull rope assembly and guide the subsequent steps in the replacement process.
By meticulously preparing the lawnmower and gaining access to the pull rope assembly, you are laying the groundwork for a successful pull rope replacement. With the work area cleared and safety measures in place, you are ready to proceed with removing the old pull rope and installing the new one.
Read more: How To Store A Rope
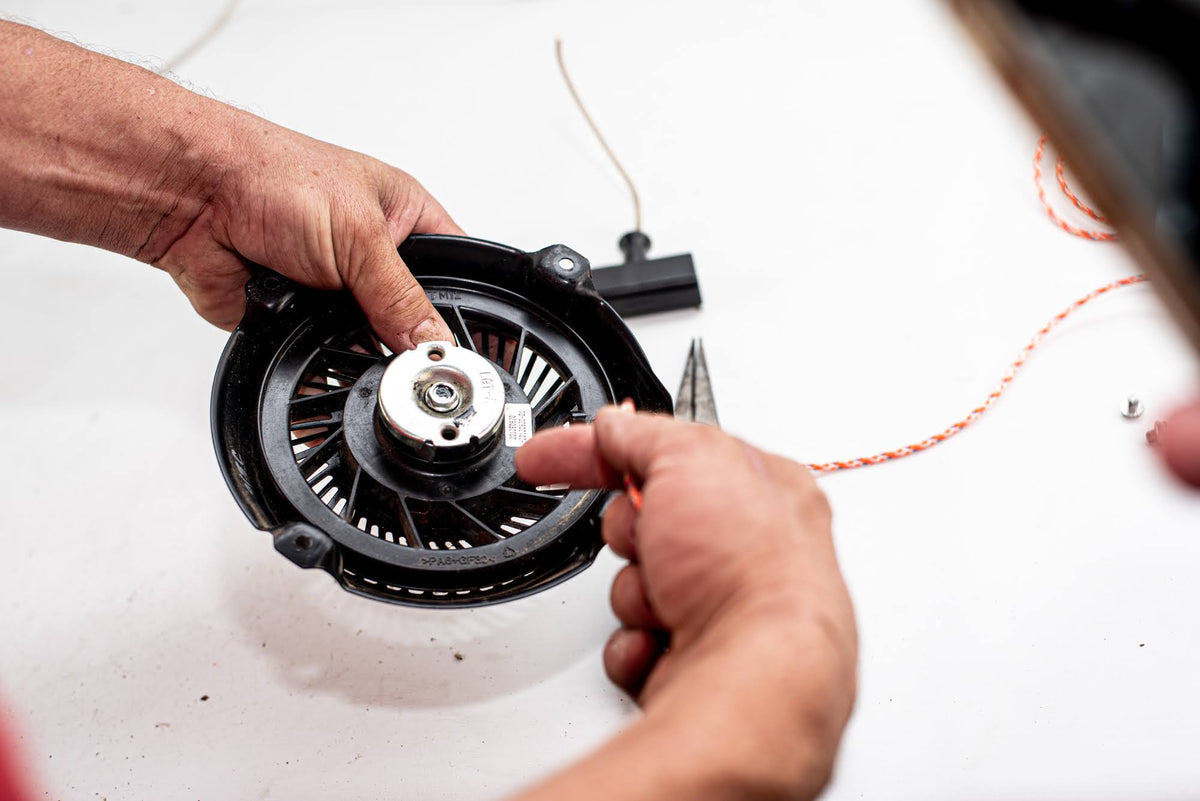
Step 2: Remove the Old Pull Rope
With the lawnmower prepared and the pull rope assembly accessible, the next step is to remove the old pull rope in preparation for the installation of a new one. This process involves careful manipulation of the existing components to facilitate the seamless extraction of the old pull rope. Here’s a detailed guide on how to accomplish this step:
2.1 Assess the Pull Rope Housing: Begin by examining the configuration of the pull rope housing and identifying the mechanism that secures the pull rope in place. This may involve removing screws or bolts that hold the housing together, allowing you to access the pull rope assembly.
2.2 Release Tension from the Pull Rope: If the pull rope is still intact, gently pull it out to release any tension, and then allow it to retract back into the housing. This step is crucial in preparing the pull rope for removal and minimizing resistance during the extraction process.
2.3 Remove the Pull Rope Handle: Locate the handle end of the pull rope and carefully detach it from the housing, ensuring that any retaining mechanisms or knots are undone to free the handle from the assembly.
2.4 Extract the Old Pull Rope: With the pull rope handle removed, carefully extract the old pull rope from the housing, taking note of its path and any specific routing within the assembly. Exercise caution to prevent any remaining sections of the old pull rope from becoming entangled within the housing.
2.5 Clear Any Residual Components: After removing the old pull rope, inspect the housing for any residual fragments or debris that may impede the installation of the new pull rope. Clear any obstructions and ensure that the path for the new pull rope is unobstructed and free from debris.
By meticulously following these steps, you can effectively remove the old pull rope from the lawnmower, setting the stage for the subsequent installation of a new pull rope. With the old pull rope extracted and the housing cleared, you are ready to embark on the next phase of the replacement process.
Step 3: Install the New Pull Rope
With the old pull rope successfully removed, the time has come to install a new pull rope, rejuvenating the starting mechanism of your lawnmower. This phase of the process involves precision and attention to detail to ensure that the new pull rope is seamlessly integrated into the assembly, ready to power up your lawnmower with ease. Here’s a comprehensive guide on how to install the new pull rope:
3.1 Prepare the New Pull Rope: Begin by examining the length and thickness of the new pull rope, ensuring that it matches the specifications recommended for your lawnmower model. If necessary, trim the new pull rope to the appropriate length using scissors, taking care to achieve a clean and fray-free cut.
3.2 Thread the New Pull Rope: Starting from the handle end of the pull rope assembly, carefully thread the new pull rope through the designated pathway within the housing, following the original routing of the old pull rope. Pay close attention to any guides or pulleys that may assist in directing the pull rope to its intended position.
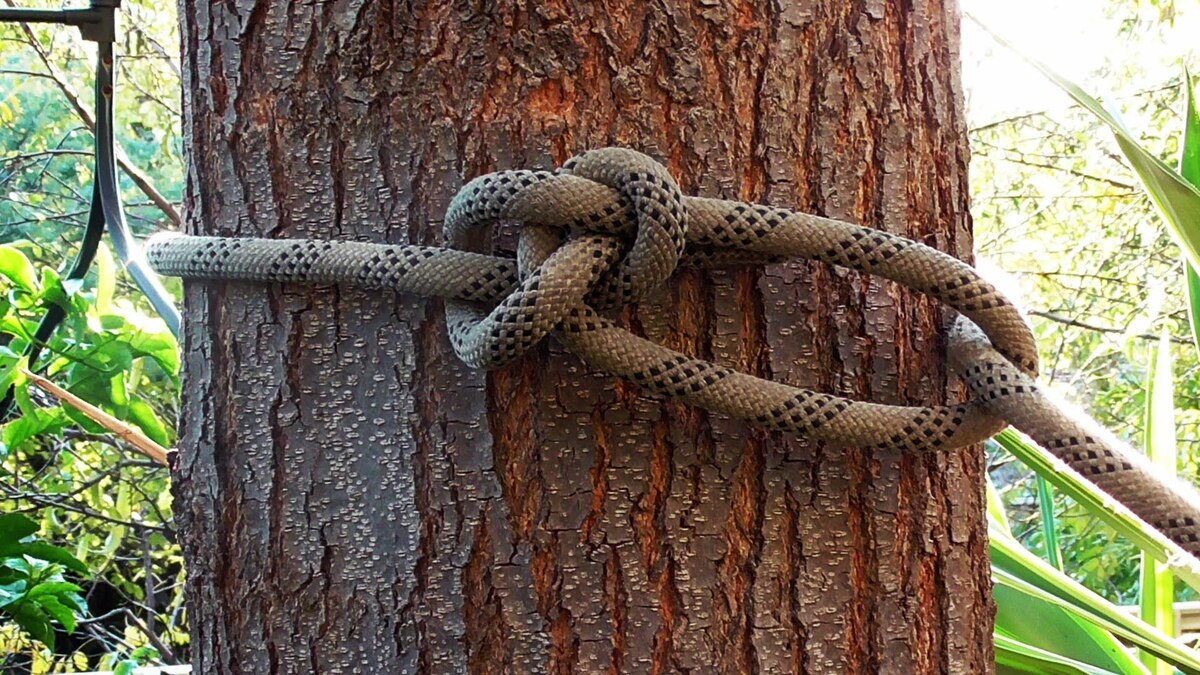
3.3 Secure the Pull Rope Handle: Once the new pull rope is threaded through the housing, securely fasten the pull rope handle to the exposed end of the pull rope, ensuring a firm and reliable attachment. This may involve tying a secure knot or utilizing any provided mechanisms for handle retention.
3.4 Tension the Pull Rope: If necessary, carefully tension the pull rope to remove any slack, ensuring that the handle end maintains a taut and manageable length. This step is crucial in optimizing the functionality and responsiveness of the pull rope when initiating the lawnmower’s engine.
3.5 Reassemble the Pull Rope Housing: With the new pull rope successfully installed and secured, reassemble the pull rope housing, ensuring that any screws, bolts, or fasteners are tightened to the manufacturer’s specifications. This will encase the pull rope assembly, providing protection and stability for the newly installed pull rope.
By meticulously following these steps, you can effectively install a new pull rope, revitalizing the starting mechanism of your lawnmower and ensuring reliable performance. With the new pull rope seamlessly integrated into the assembly, you are one step closer to completing the pull rope replacement process.
When replacing the pull rope on a lawnmower, make sure to disconnect the spark plug to prevent accidental starting. Remove the old rope, thread the new one through the handle and the mower, and tie a secure knot. Reconnect the spark plug and test the new rope.
Step 4: Reassemble the Lawnmower
As the final phase of the pull rope replacement process, reassembling the lawnmower is a critical step that consolidates the repair and prepares the machine for seamless operation. This phase involves carefully restoring the components of the lawnmower to their original configuration, ensuring that the pull rope assembly is securely housed and ready for action. Here’s a detailed guide on how to reassemble the lawnmower:
4.1 Position the Engine Cover or Housing: If the removal of the engine cover or housing was necessary to access the pull rope assembly, carefully position and align it with the corresponding mounting points on the lawnmower. Ensure that any alignment tabs or protrusions are correctly engaged to facilitate a secure fit.
4.2 Secure the Engine Cover or Housing: Using the appropriate fasteners, such as screws or bolts, secure the engine cover or housing in place, ensuring that it is firmly affixed to the lawnmower’s chassis. Tighten the fasteners to the manufacturer’s specifications to prevent any potential loosening during operation.
4.3 Reconnect the Spark Plug Wire: As a safety precaution, reconnect the spark plug wire to the spark plug, restoring the electrical connection and enabling the engine to receive the necessary ignition signal. This step is crucial in preparing the lawnmower for starting and operation.
4.4 Test the Pull Rope Mechanism: Before fully reassembling the lawnmower, perform a preliminary test of the pull rope mechanism to ensure that it operates smoothly and effectively. Gently pull the new rope to engage the starting mechanism, verifying that it retracts and extends without any hindrance.
4.5 Lubricate Moving Parts: If applicable, apply a small amount of lubricating oil to any moving parts or mechanisms associated with the pull rope assembly. This will promote smooth operation and reduce friction, enhancing the overall functionality of the pull rope mechanism.
4.6 Final Inspection: Conduct a thorough visual inspection of the lawnmower, ensuring that all components are securely reassembled and that there are no loose or protruding parts. Verify that the pull rope handle is easily accessible and that the pull rope assembly is housed within the engine cover or housing without obstruction.
By meticulously following these steps, you can effectively reassemble the lawnmower, completing the pull rope replacement process and preparing the machine for reliable and efficient operation. With the components securely restored and the pull rope mechanism tested, your lawnmower is now equipped with a rejuvenated pull rope, ready to tackle the challenges of lawn maintenance with ease.
Conclusion
Congratulations! You have successfully navigated the process of replacing the pull rope on your lawnmower, equipping it with a revitalized starting mechanism that ensures reliable performance. By following the systematic steps outlined in this guide, you have demonstrated your ability to undertake essential lawnmower maintenance with confidence and precision.
As you reflect on the journey of pull rope replacement, it’s important to recognize the value of regular maintenance in preserving the functionality and longevity of your garden tools and equipment. By addressing issues such as worn pull ropes in a timely manner, you contribute to the overall efficiency and effectiveness of your lawnmower, enabling it to continue serving as a dependable ally in maintaining a well-groomed lawn.
It’s essential to remember that the successful replacement of the pull rope is a testament to your dedication to proper equipment care and your willingness to take on DIY repair projects. By embracing these qualities, you not only save on repair costs but also gain a deeper understanding of the inner workings of your lawnmower, empowering you to tackle future maintenance tasks with ease.
As you stand back and admire your newly rejuvenated lawnmower, take pride in the knowledge that you have enhanced its functionality and prolonged its lifespan through your proactive approach to maintenance. Whether it’s the satisfying pull of the rope or the smooth hum of the engine, your lawnmower is now poised to tackle the challenges of lawn care with renewed vigor, thanks to your dedication and expertise.
So, as you prepare to embark on your next mowing endeavor, take a moment to appreciate the impact of your efforts in ensuring that your lawnmower is always ready to rise to the occasion, powered by a robust and reliable pull rope mechanism.
Happy mowing!
Frequently Asked Questions about How To Replace The Pull Rope On A Lawnmower
Was this page helpful?
At Storables.com, we guarantee accurate and reliable information. Our content, validated by Expert Board Contributors, is crafted following stringent Editorial Policies. We're committed to providing you with well-researched, expert-backed insights for all your informational needs.


0 thoughts on “How To Replace The Pull Rope On A Lawnmower”