Home>Gardening & Outdoor>Garden Tools & Equipment>How To Fix A Lawnmower
Garden Tools & Equipment
How To Fix A Lawnmower
Modified: February 18, 2024
Learn how to fix a lawnmower with our comprehensive guide. Get your garden tools and equipment running smoothly again with our expert tips.
(Many of the links in this article redirect to a specific reviewed product. Your purchase of these products through affiliate links helps to generate commission for Storables.com, at no extra cost. Learn more)
Introduction
Welcome to the world of lawn care, where the hum of a lawnmower and the scent of freshly cut grass are the hallmarks of a well-maintained yard. However, even the most reliable lawnmowers can encounter issues, leading to frustration and interruptions in your lawn maintenance routine. Fear not, as understanding how to troubleshoot and fix common lawnmower problems can save you time and money, and ensure that your trusty machine continues to keep your lawn looking its best.
In this comprehensive guide, we will delve into the essential steps for fixing a lawnmower. Whether it's a clogged air filter, a worn-out spark plug, dull blades, or other common issues, we've got you covered. By following these instructions, you can breathe new life into your lawnmower and get back to enjoying the satisfaction of a well-groomed lawn.
So, grab your toolbox and let's get started on the journey to reviving your lawnmower and reclaiming your yard's pristine appearance. But before we roll up our sleeves and dive into the troubleshooting process, it's crucial to prioritize safety.
Let's ensure that both you and your lawnmower emerge from this maintenance adventure unscathed. Safety first, always!
Key Takeaways:
- Regular maintenance, such as cleaning the air filter and replacing the spark plug, can revitalize your lawnmower and ensure a well-groomed lawn, while also preventing unexpected breakdowns and costly repairs.
- Prioritizing safety and following the manufacturer’s guidelines are crucial for maintaining a reliable lawnmower, allowing you to effortlessly transform your yard into a well-manicured masterpiece.
Read more: How To Fix A Bent Lawnmower Blade
Safety Precautions
Before embarking on any maintenance or repair work on your lawnmower, it’s paramount to prioritize safety. Here are some crucial safety precautions to adhere to:
- Power Down: Always turn off the lawnmower and disconnect the spark plug before performing any maintenance. This prevents accidental starts and ensures your safety.
- Cool Down: If the lawnmower has been in use, allow it to cool down before beginning any work. Hot components can cause burns or other injuries.
- Protective Gear: Wear appropriate protective gear, including gloves and safety goggles, to shield yourself from debris and sharp edges.
- Stable Surface: Work on a flat and stable surface to prevent the lawnmower from tipping over during maintenance.
- Proper Ventilation: When working in enclosed spaces, ensure adequate ventilation to disperse any fumes from the lawnmower’s engine.
- Follow the Manual: Consult the manufacturer’s manual for specific safety instructions and guidelines related to your lawnmower model.
By adhering to these safety precautions, you can minimize the risk of accidents and ensure a secure environment for performing maintenance on your lawnmower. Now that safety is at the forefront, let’s move on to troubleshooting the common issues that may be hindering your lawnmower’s performance.
Troubleshooting
When your lawnmower starts acting up, it’s essential to diagnose the problem accurately before diving into repairs. Here are some common issues to look out for when troubleshooting your lawnmower:
- Starting Problems: If your lawnmower refuses to start, it could be due to a clogged air filter, a faulty spark plug, or old fuel. Inspect these components to identify the root cause.
- Uneven Cutting: When the mower leaves patches of uncut grass or cuts unevenly, it may indicate dull or damaged blades. Additionally, an unbalanced deck or worn-out belt could be the culprit.
- Engine Stalling: If the engine stalls during operation, it could be a result of a dirty air filter, a clogged carburetor, or insufficient fuel supply. These issues can disrupt the engine’s performance.
- Excessive Vibration: Excessive vibration while mowing can be a sign of unbalanced or damaged blades, a bent crankshaft, or loose engine mounting bolts.
- Smoke or Overheating: Smoke or excessive heat emanating from the engine signals potential problems such as an overfilled oil reservoir, a clogged cooling system, or a malfunctioning carburetor.
By identifying these symptoms, you can narrow down the potential causes of your lawnmower’s malfunction. Once you’ve pinpointed the issue, it’s time to take the necessary steps to rectify it. We’ll start with one of the most common culprits of poor lawnmower performance: the air filter.
Now that you’ve identified the symptoms of your lawnmower’s troubles, let’s move on to the first step in our troubleshooting process: cleaning the air filter.
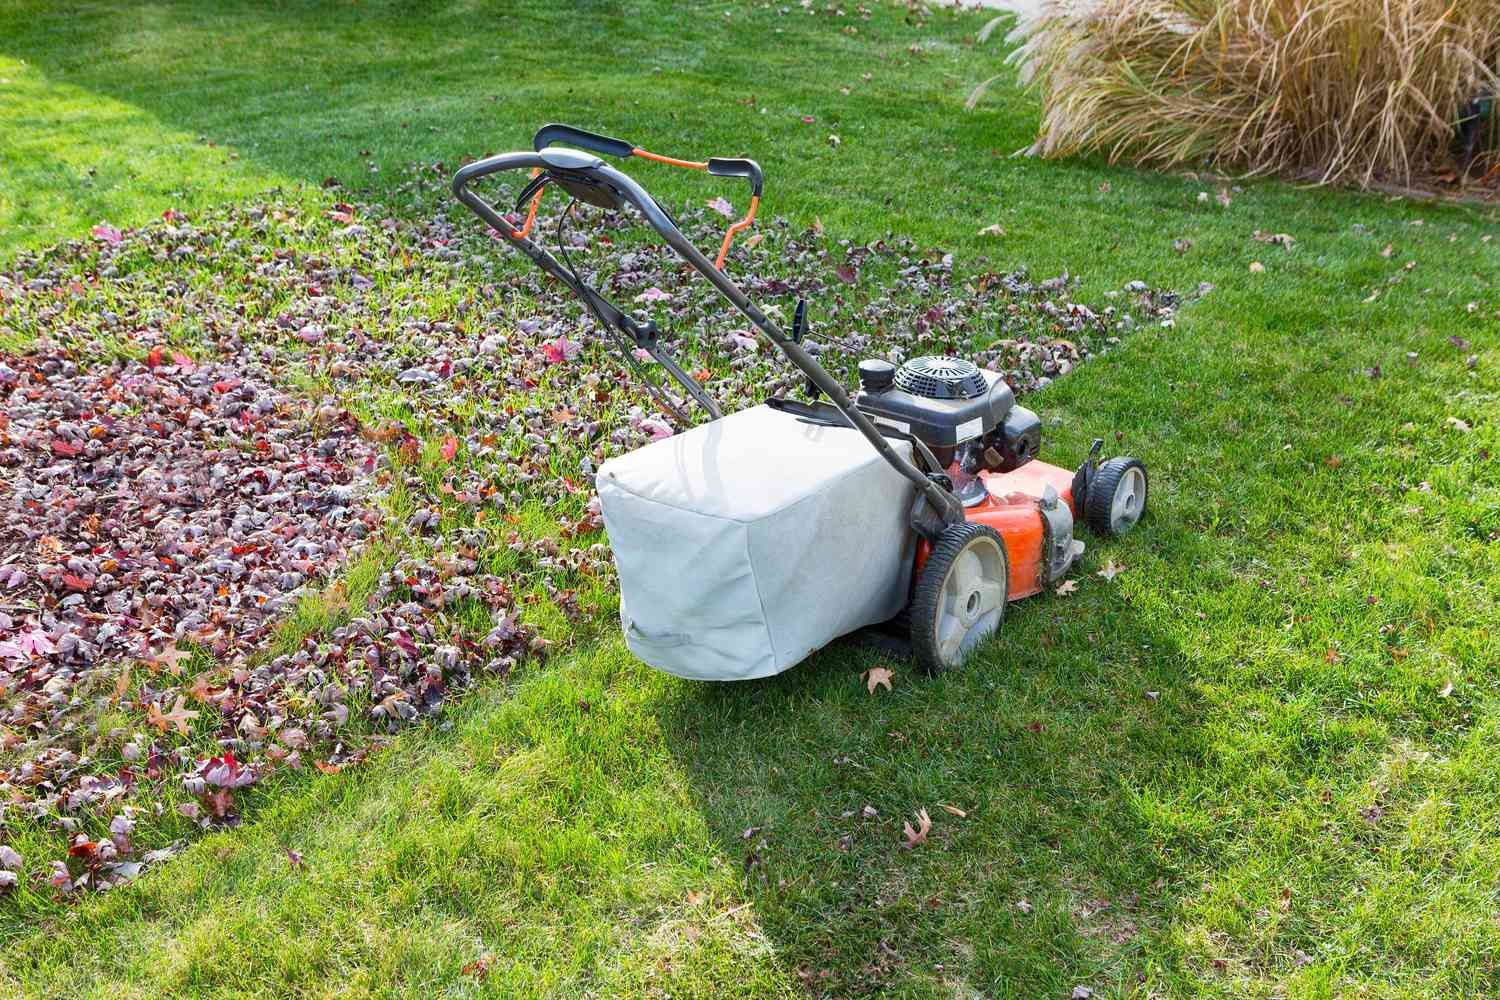
Cleaning the Air Filter
The air filter plays a crucial role in preventing dirt, debris, and other contaminants from entering the lawnmower’s engine. Over time, the filter can become clogged, hindering airflow and leading to reduced engine performance. Here’s how you can clean the air filter to restore optimal functionality:
- Locate the Air Filter: Refer to your lawnmower’s manual to find the air filter. It is typically housed in a plastic or metal casing near the carburetor or the engine’s intake.
- Remove the Filter: Carefully detach the air filter from its housing. Inspect the filter for excessive dirt, debris, or damage. If it appears excessively dirty or clogged, it’s time for a thorough cleaning.
- Clean the Filter: Depending on the type of filter (foam, paper, or mesh), use an appropriate cleaning method. For foam filters, wash with mild soap and water, then thoroughly dry before reinstallation. Paper filters can be gently tapped to dislodge debris or replaced if heavily soiled. Mesh filters can be cleaned with compressed air or a gentle brush.
- Inspect the Housing: While the filter is removed, inspect the housing for any accumulated debris or dirt. Clean the housing if necessary, ensuring that no contaminants remain that could compromise the filter’s effectiveness.
- Reinstall the Filter: Once the filter and housing are clean and dry, reinsert the filter into its housing. Ensure a secure fit to prevent unfiltered air from entering the engine.
By regularly cleaning and maintaining the air filter, you can promote optimal airflow to the engine, resulting in improved combustion and overall performance. With the air filter in top condition, let’s move on to another critical component: the spark plug.
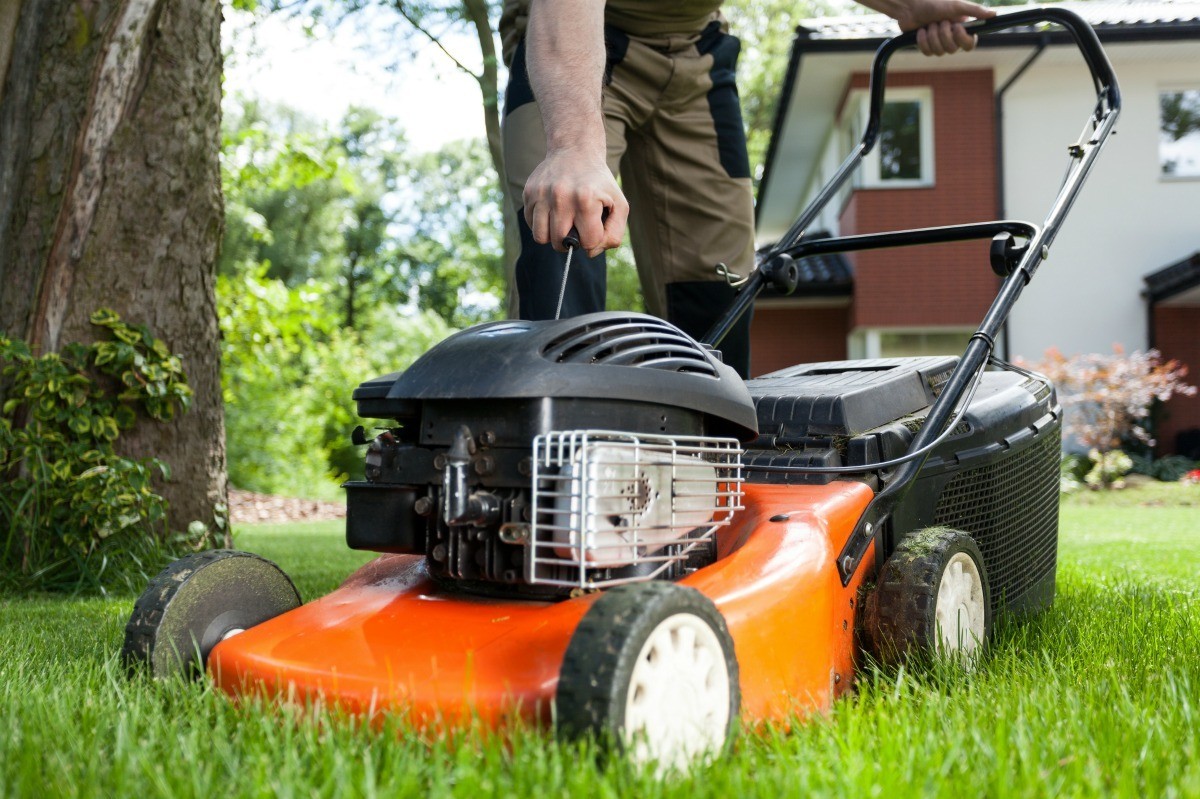
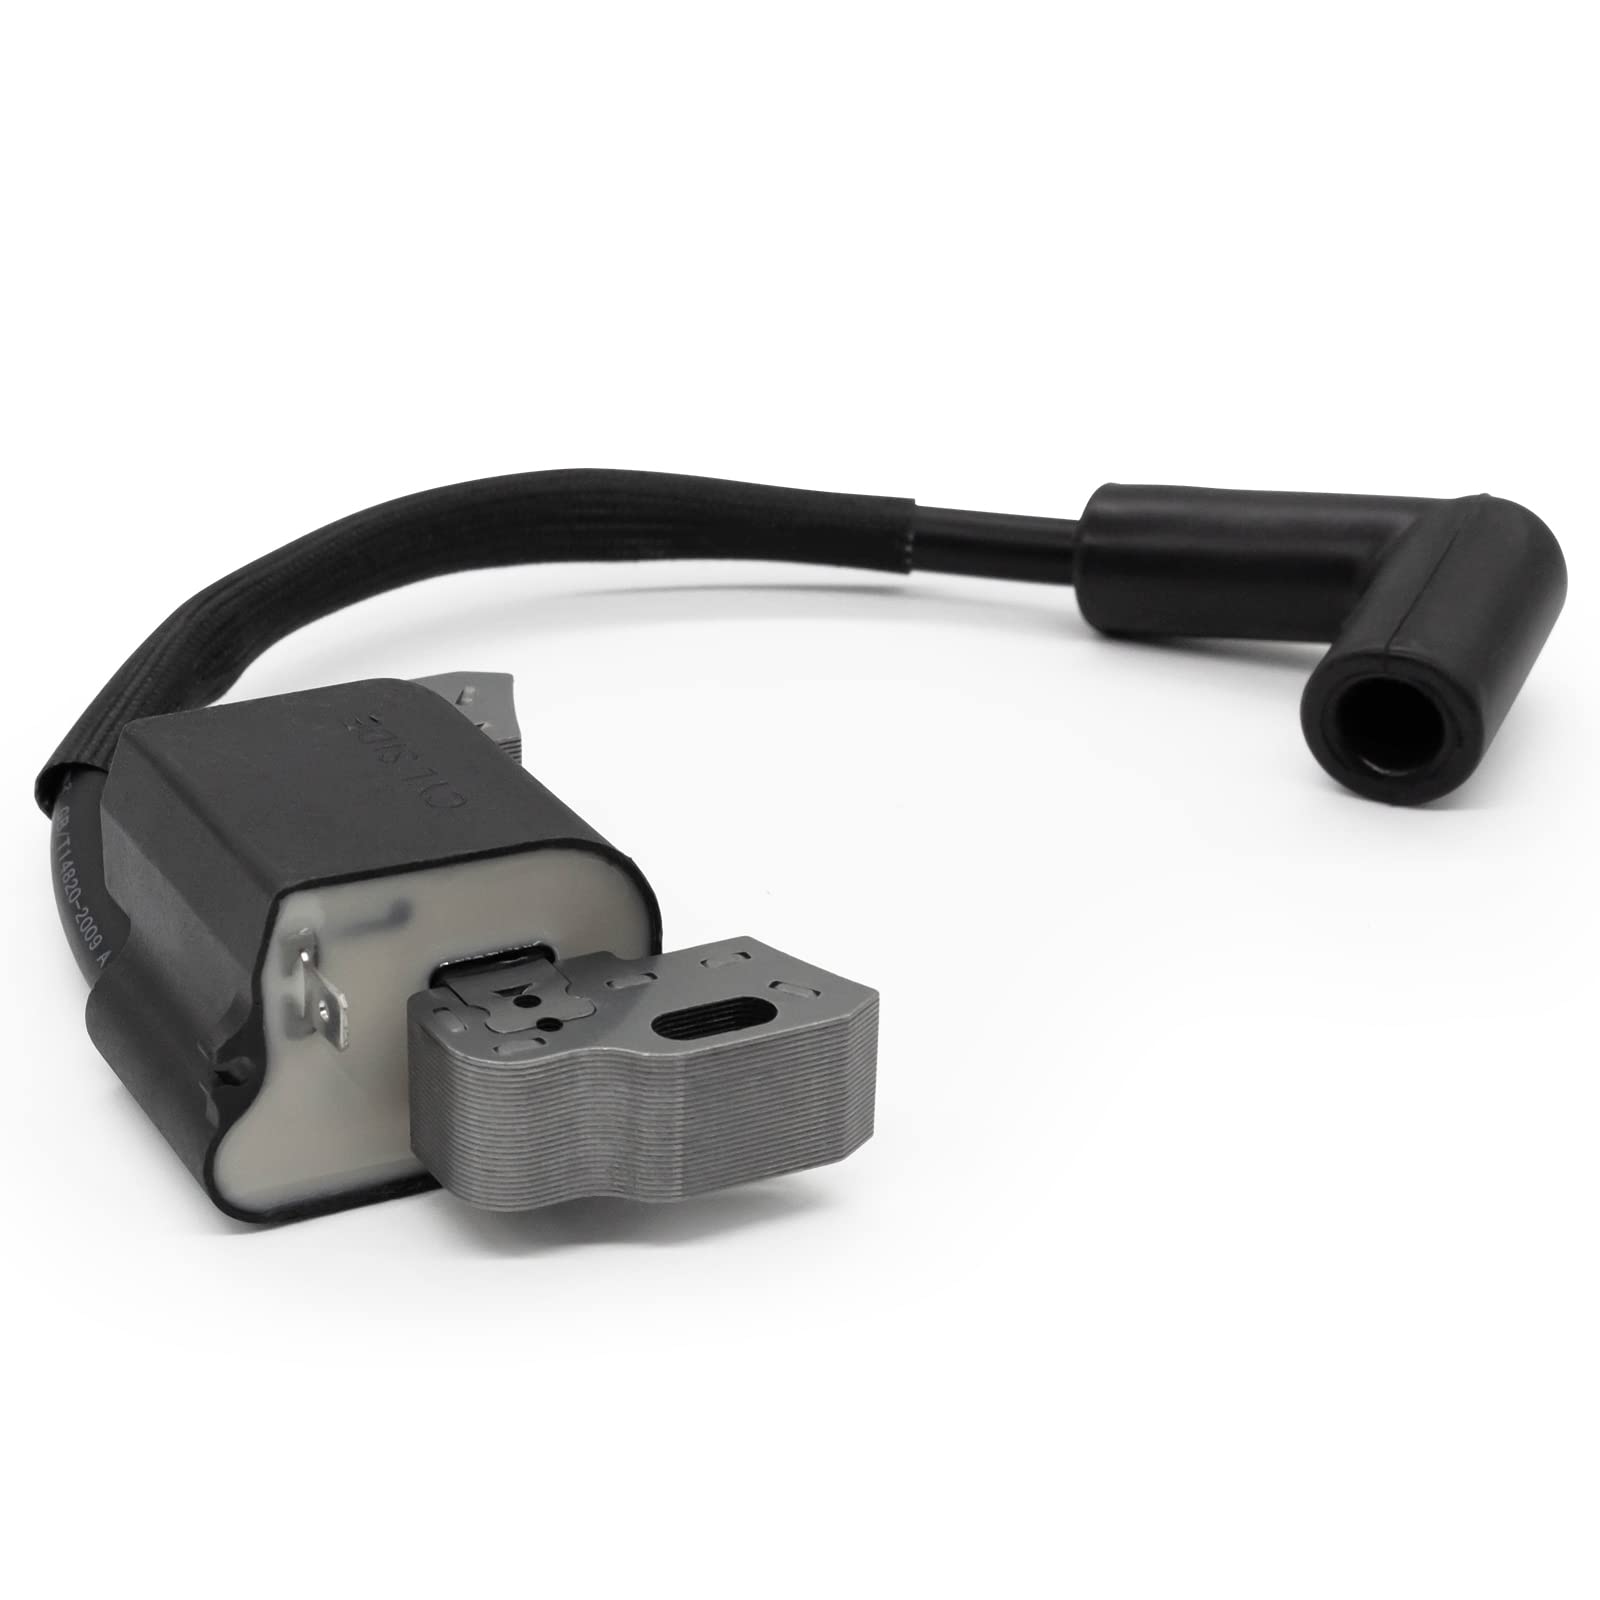
Replacing the Spark Plug
The spark plug is a vital component that ignites the air-fuel mixture in the engine’s combustion chamber, enabling the lawnmower to start and run smoothly. Over time, spark plugs can become fouled, corroded, or worn, leading to poor ignition and engine performance. Here’s a step-by-step guide to replacing the spark plug:
- Locate the Spark Plug: Refer to your lawnmower’s manual to locate the spark plug. It is typically situated at the top of the engine, connected to a thick wire or ignition coil.
- Prepare the Area: Before removing the spark plug, clean the area around it to prevent debris from falling into the combustion chamber when the plug is removed.
- Remove the Old Spark Plug: Using a spark plug socket wrench, carefully loosen and remove the old spark plug. Inspect the plug for signs of fouling, corrosion, or damage, indicating the need for replacement.
- Check the Gap: If the new spark plug is not pre-gapped, use a gapping tool to ensure the electrode gap matches the manufacturer’s specifications. This is crucial for optimal ignition performance.
- Install the New Spark Plug: Carefully thread the new spark plug into the engine by hand to avoid cross-threading. Once snug, use the spark plug socket wrench to tighten it to the manufacturer’s recommended torque specifications.
- Reconnect the Wire: If the spark plug wire was disconnected, ensure it is securely reattached to the new spark plug.
By replacing the spark plug at regular intervals or when signs of wear are evident, you can ensure consistent ignition and efficient engine operation. With a fresh spark plug in place, let’s turn our attention to another critical aspect of lawnmower maintenance: changing the oil.
Regularly clean and replace the air filter in your lawnmower to ensure proper air flow and prevent engine damage. This simple maintenance task can help keep your lawnmower running smoothly.
Read more: How To Winterize A Lawnmower
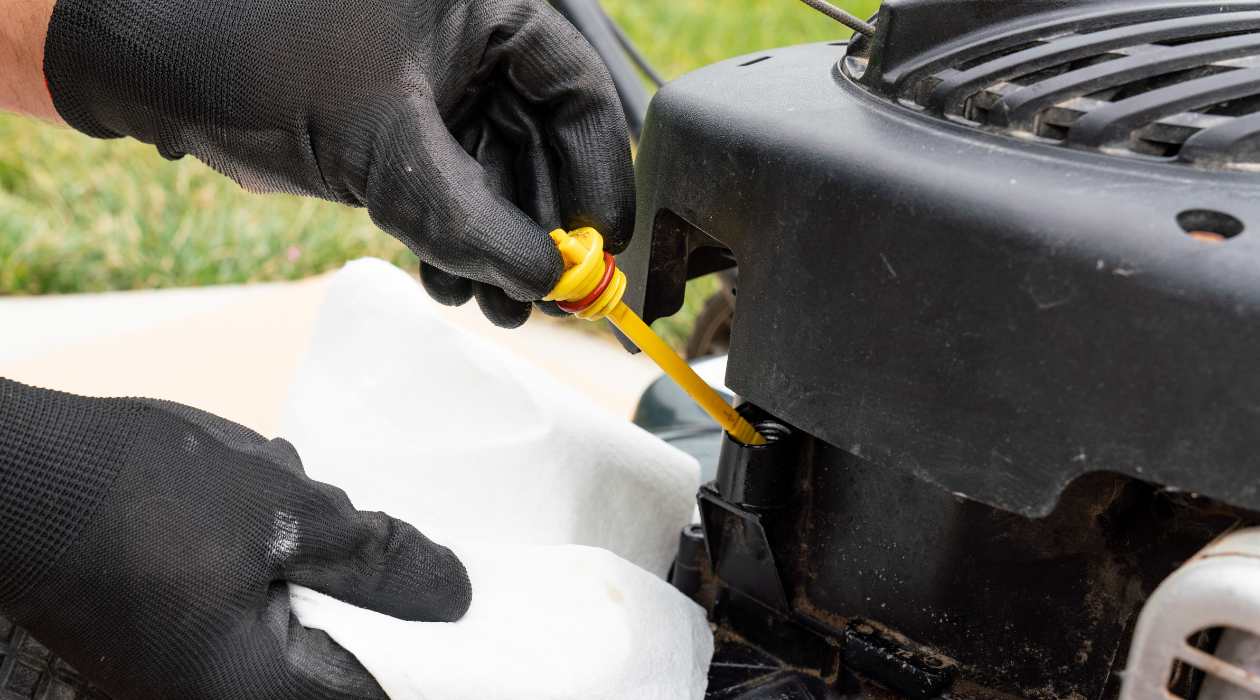
Changing the Oil
Regular oil changes are essential for maintaining the health and longevity of your lawnmower’s engine. Over time, oil can become contaminated with dirt, debris, and combustion by-products, leading to increased friction and reduced lubrication. Here’s a guide to changing the oil in your lawnmower:
- Prepare the Mower: Position the lawnmower on a flat, level surface. Ensure the engine is cool to prevent burns and allow for thorough drainage.
- Locate the Drain Plug: Refer to the owner’s manual to locate the oil drain plug on the engine. Place a drain pan beneath the plug to collect the old oil.
- Drain the Oil: Carefully loosen the drain plug using a wrench and allow the old oil to drain completely into the pan. Once drained, securely reattach the drain plug.
- Replace the Oil Filter (if applicable): If your lawnmower is equipped with an oil filter, remove and replace it according to the manufacturer’s instructions. This helps ensure optimal oil filtration and engine protection.
- Refill with Fresh Oil: Using a funnel, add the appropriate type and amount of fresh, high-quality oil recommended by the manufacturer. Refer to the manual for the correct oil viscosity and capacity for your lawnmower.
- Check the Oil Level: After adding the new oil, use the dipstick to verify that the oil level falls within the recommended range. Add more oil if necessary, but avoid overfilling.
- Dispose of the Old Oil: Properly dispose of the old oil by taking it to a recycling center or an approved oil collection facility. Do not discard it with regular household waste.
By adhering to a regular oil change schedule and using the recommended oil type, you can safeguard your lawnmower’s engine against premature wear and maintain optimal performance. With fresh oil coursing through the engine, let’s shift our focus to another critical aspect of lawn maintenance: sharpening or replacing the blades.
Sharpening or Replacing the Blades
The cutting blades of your lawnmower play a pivotal role in achieving a clean, precise cut across your lawn. Over time, these blades can become dull, nicked, or bent, leading to ragged grass edges and an uneven appearance. Here’s how you can ensure your blades are in top cutting condition:
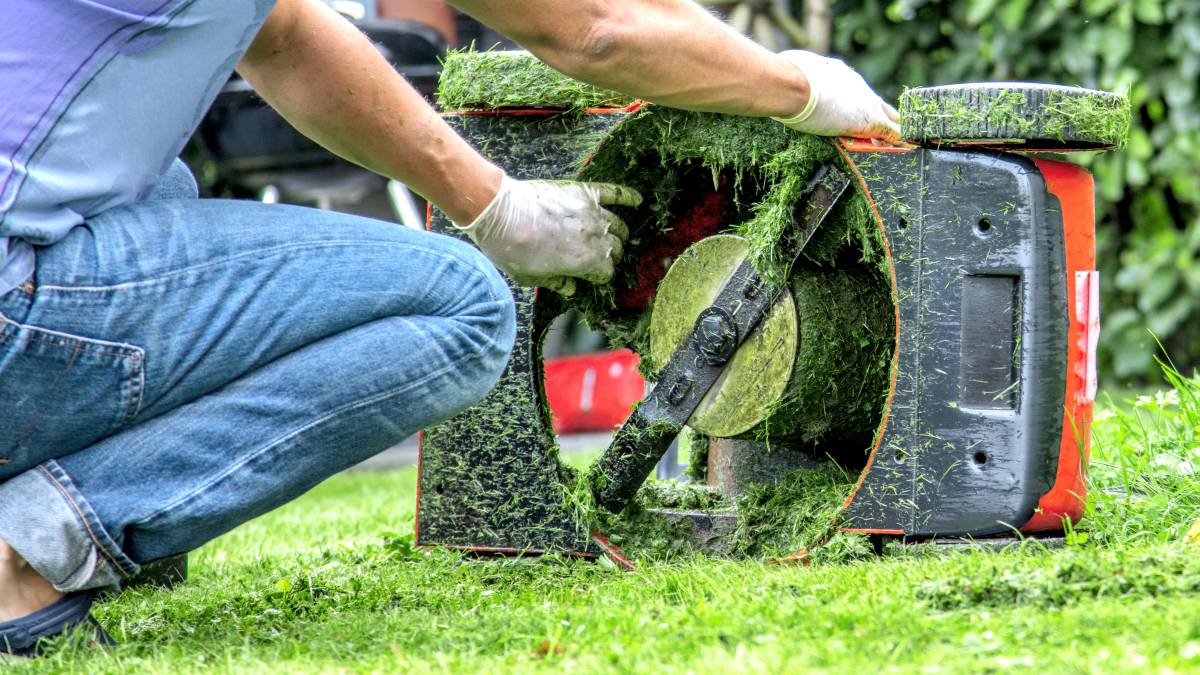
- Inspect the Blades: With the lawnmower turned off and the spark plug disconnected, visually inspect the cutting blades for signs of wear, dullness, nicks, or deformation. If the blades are excessively worn or damaged, replacement may be necessary.
- Remove the Blades: Following the manufacturer’s guidelines, carefully remove the cutting blades from the mower deck. Take note of the orientation and positioning of the blades for reinstallation.
- Sharpen the Blades: If the blades are dull but in good condition, use a file or grinder to sharpen the cutting edges. Maintain the original blade angle and ensure even sharpening across the entire length of the blade.
- Balance the Blades: After sharpening, it’s essential to balance the blades to prevent vibration and ensure smooth operation. A blade balancer can help identify any imbalance and guide adjustments as needed.
- Replace the Blades: If the blades are excessively worn, bent, or damaged beyond repair, it’s best to replace them with new, high-quality blades recommended by the manufacturer. Ensure the new blades are securely attached to the mower deck.
- Reinstall the Blades: Carefully reattach the sharpened or new blades to the mower deck, following the specific instructions provided in the manual. Tighten the blade mounting hardware to the manufacturer’s recommended torque specifications.
By maintaining sharp and balanced cutting blades, you can achieve a clean and uniform cut, promoting the overall health and appearance of your lawn. With the blades in prime cutting condition, let’s move on to another critical aspect of lawnmower maintenance: adjusting the carburetor.
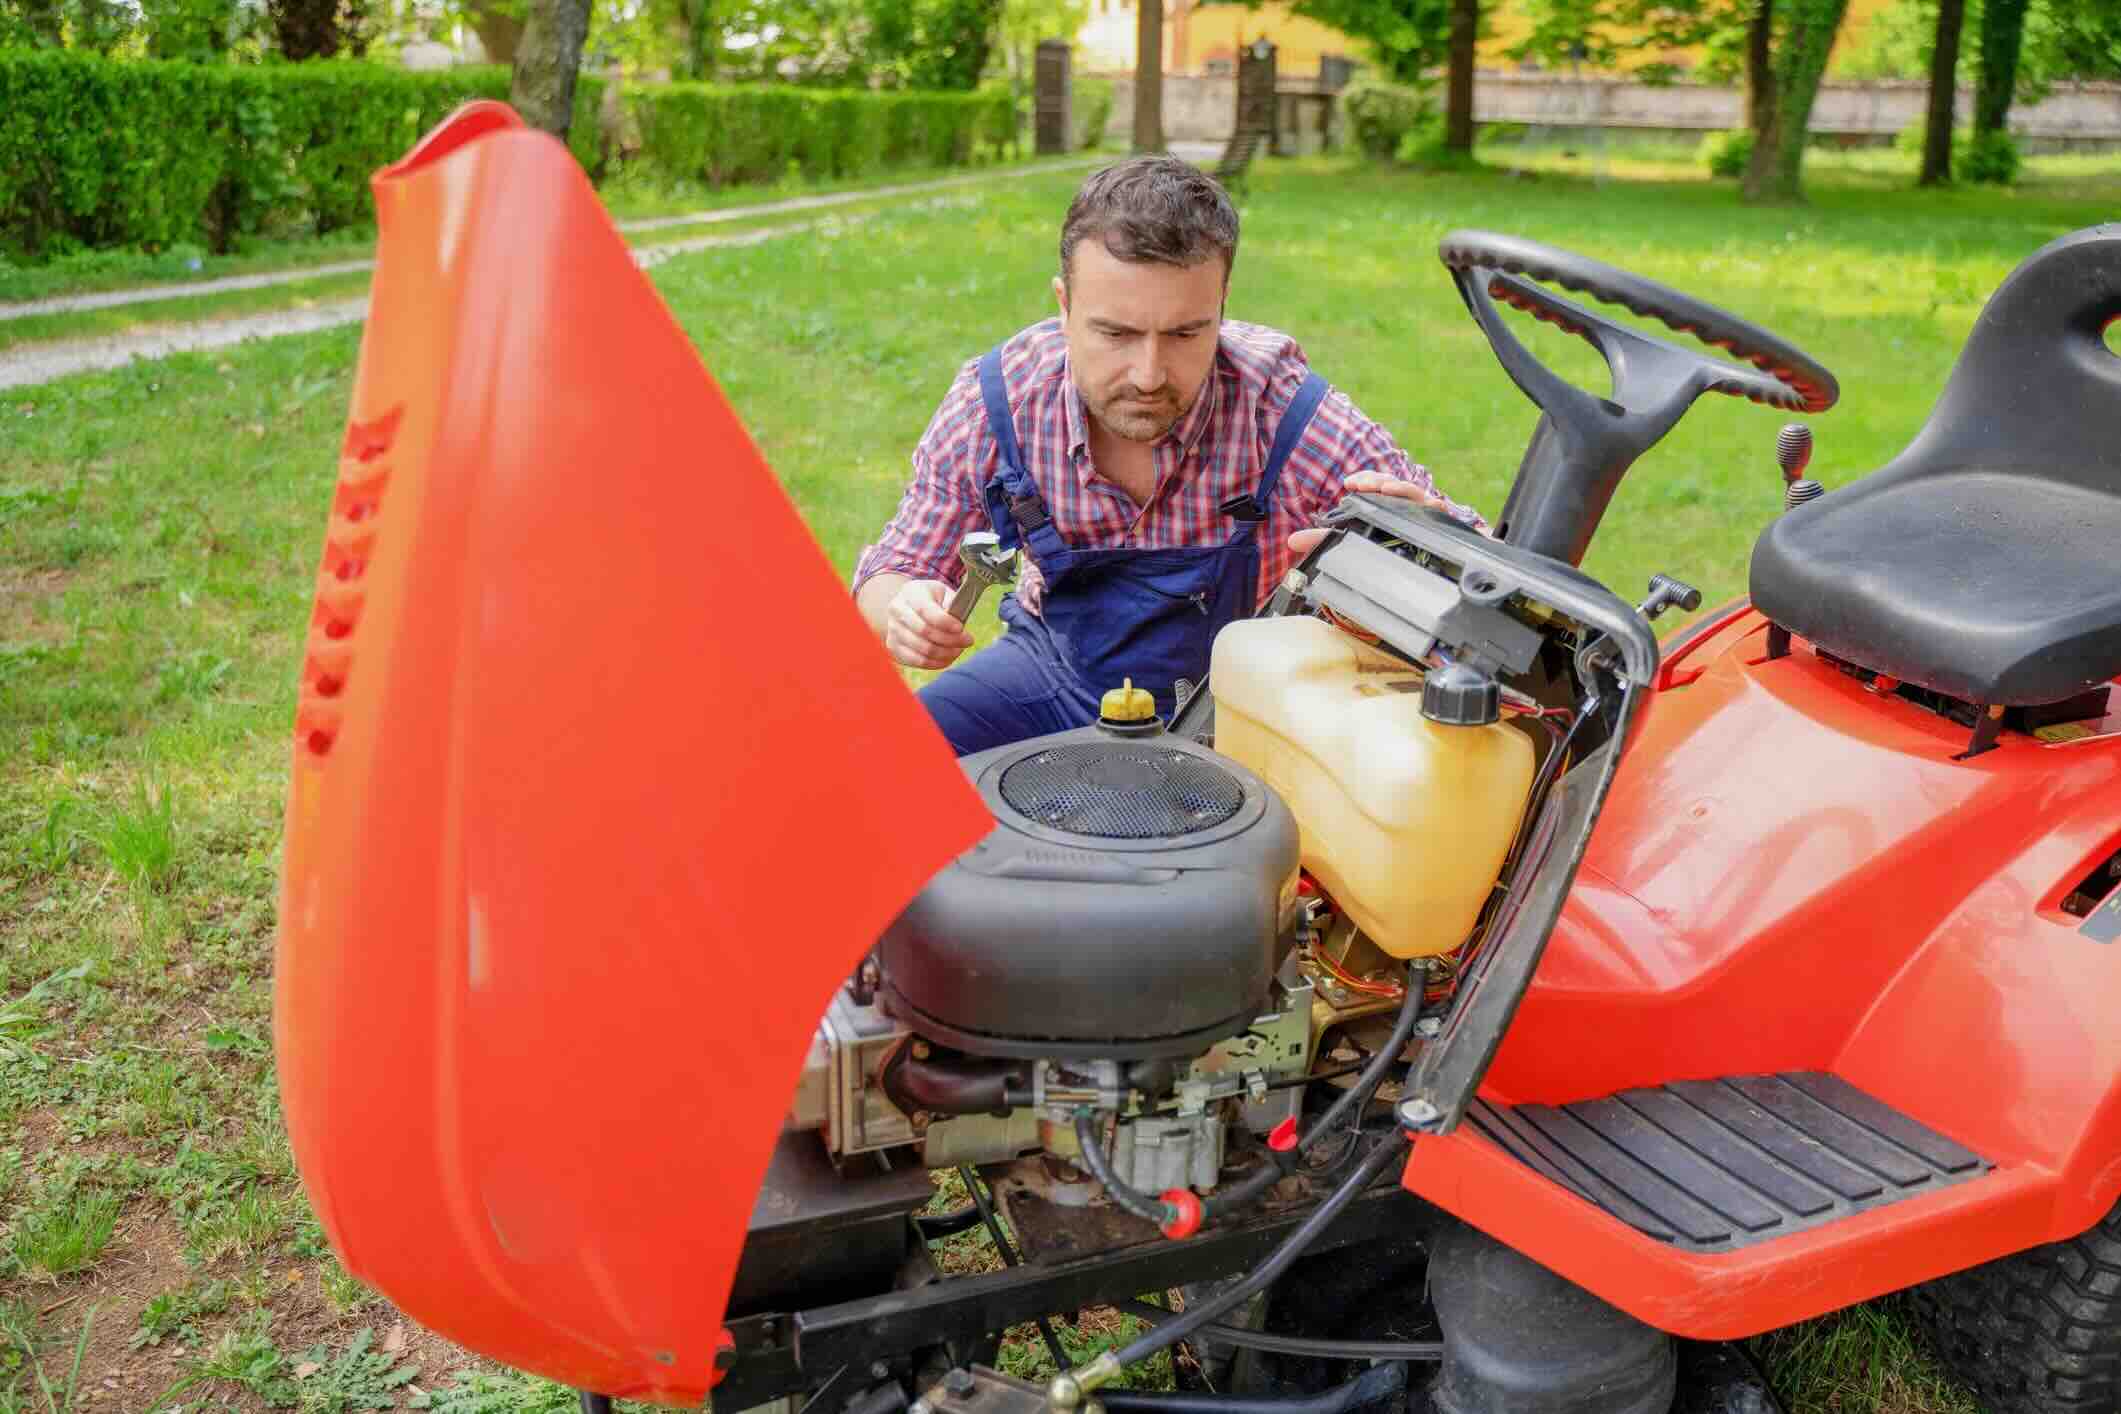
Adjusting the Carburetor
The carburetor is a vital component of the lawnmower’s engine, responsible for mixing air and fuel to facilitate combustion. Over time, the carburetor can become misaligned or clogged, leading to poor engine performance and erratic operation. Here’s a guide to adjusting the carburetor for optimal functionality:
- Locate the Carburetor: Refer to the lawnmower’s manual to locate the carburetor, typically positioned near the engine and air filter housing.
- Identify the Adjustment Screws: The carburetor is equipped with adjustment screws for fine-tuning the air-fuel mixture. These screws are often labeled as the idle speed screw, the low-speed fuel mixture screw, and the high-speed fuel mixture screw.
- Check the Manual: Consult the manual for the manufacturer’s recommended settings and adjustments for the carburetor. These specifications are crucial for optimizing engine performance and fuel efficiency.
- Adjust the Idle Speed: Using a screwdriver, carefully adjust the idle speed screw to achieve the manufacturer’s specified idle RPM. This ensures smooth idling and prevents stalling.
- Fine-Tune the Fuel Mixture: With the engine running, make slight adjustments to the low and high-speed fuel mixture screws to achieve the optimal air-fuel ratio. This promotes efficient combustion and consistent power output.
- Observe Engine Performance: After making adjustments, observe the engine’s performance, paying attention to idling smoothness, acceleration, and overall power delivery. Fine-tune the adjustments as needed to achieve optimal operation.
By correctly adjusting the carburetor according to the manufacturer’s specifications, you can optimize engine performance, fuel efficiency, and overall reliability. With the carburetor fine-tuned, let’s proceed to the final checks and maintenance to ensure your lawnmower is in top condition.
Final Checks and Maintenance
Before wrapping up the maintenance process, it’s essential to perform a series of final checks and ensure that your lawnmower is in optimal working condition. Here’s a comprehensive rundown of the final checks and maintenance tasks:
- Check Belt Tension: Inspect the drive belt for proper tension and signs of wear. Adjust or replace the belt if necessary to maintain efficient power transmission.
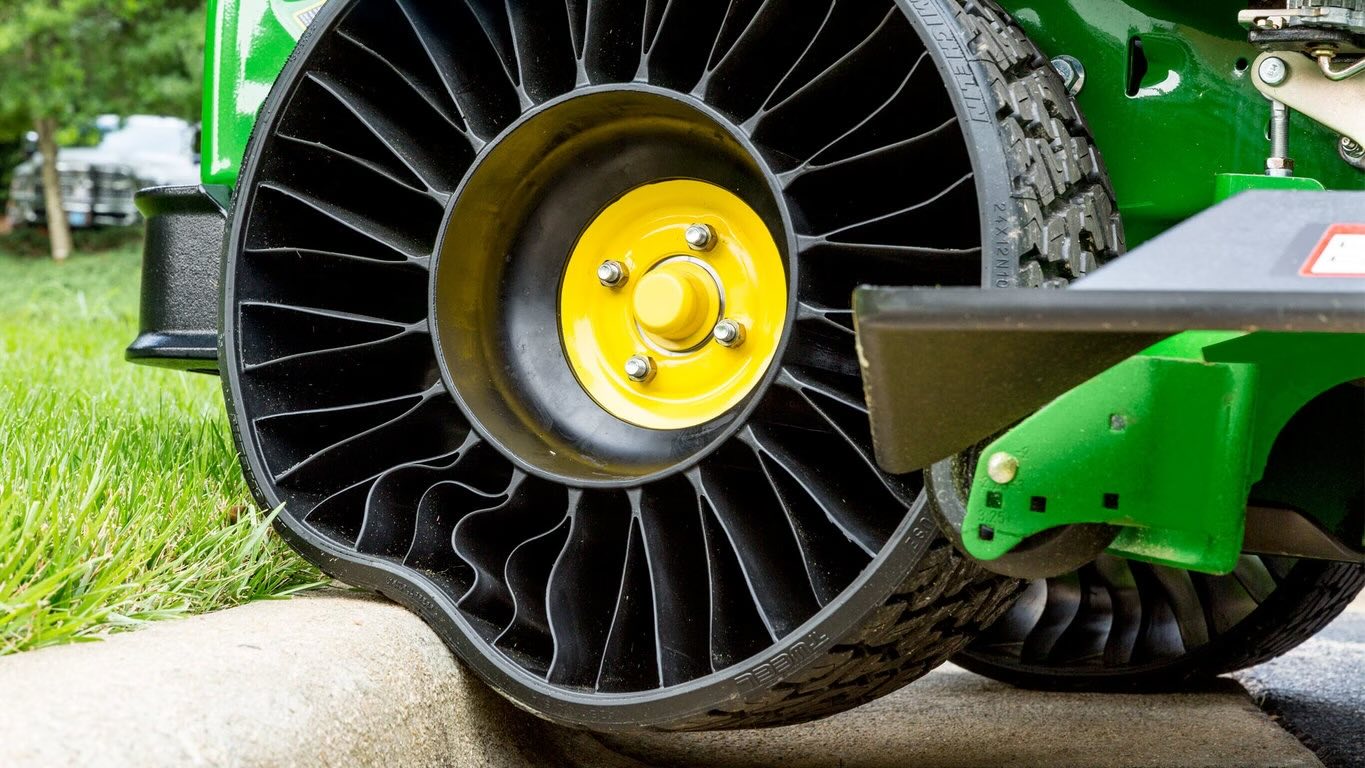
- Inspect Wheels and Axles: Ensure that the lawnmower’s wheels and axles are free from excessive wear, damage, or debris. Lubricate wheel bearings if required to maintain smooth operation.
- Verify Safety Features: Test the lawnmower’s safety features, including the blade engagement lever and the operator presence control system, to ensure they function correctly and promote safe operation.
- Check Fuel System: Inspect the fuel lines, tank, and fittings for leaks, cracks, or damage. Replace any compromised components to prevent fuel system issues during operation.
- Inspect Cables and Controls: Verify that the throttle, choke, and other control cables operate smoothly and are free from kinks or damage. Lubricate pivot points as needed for optimal control functionality.
- Test Engine Start: Reconnect the spark plug and start the engine to verify that it runs smoothly, idles consistently, and responds to throttle inputs without hesitation.
- Perform Test Cut: Engage the blades and perform a test cut on a small patch of grass to ensure that the lawnmower cuts evenly and effectively. Make any necessary adjustments to the cutting height or blade engagement mechanism.
- Apply a Protective Coating: Consider applying a rust-resistant coating to the lawnmower’s deck and other exposed metal surfaces to protect against corrosion and extend the lifespan of the equipment.
By conducting these final checks and maintenance tasks, you can ensure that your lawnmower is primed for reliable and efficient operation. With these steps completed, you can look forward to enjoying a well-maintained and high-performing lawnmower for all your lawn care needs.
Read more: How To Clean A Lawnmower
Conclusion
Congratulations on successfully navigating the intricacies of lawnmower maintenance! By following the comprehensive troubleshooting and maintenance steps outlined in this guide, you’ve taken proactive measures to revitalize your lawnmower and ensure its continued reliability. From diagnosing common issues to performing essential maintenance tasks, you’ve demonstrated a commitment to preserving the performance and longevity of your trusty lawn-taming companion.
Remember, a well-maintained lawnmower not only enhances the appearance of your lawn but also minimizes the likelihood of unexpected breakdowns and costly repairs. By incorporating these maintenance practices into your routine, you’re investing in the sustained health of your lawnmower and the overall aesthetic appeal of your outdoor space.
As you embark on your lawn care journey, keep in mind that regular attention to your lawnmower’s vital components, such as the air filter, spark plug, oil, blades, and carburetor, is key to sustaining peak performance and operational efficiency. Additionally, adhering to safety precautions and consulting the manufacturer’s manual for specific guidelines will further ensure a seamless maintenance process.
With your lawnmower now in prime condition, you can look forward to effortlessly transforming your yard into a well-manicured masterpiece. The satisfaction of a neatly trimmed lawn awaits, thanks to your dedication to maintaining your lawnmower with precision and care.
So, as you stand back and admire the lush, perfectly mowed expanse of green, take pride in knowing that your lawnmower is primed and ready for the challenges of lawn maintenance. Here’s to many more seasons of pristine lawns and the reliable performance of your rejuvenated lawnmower!
Frequently Asked Questions about How To Fix A Lawnmower
Was this page helpful?
At Storables.com, we guarantee accurate and reliable information. Our content, validated by Expert Board Contributors, is crafted following stringent Editorial Policies. We're committed to providing you with well-researched, expert-backed insights for all your informational needs.


0 thoughts on “How To Fix A Lawnmower”