Home>Gardening & Outdoor>Landscaping Ideas>How To Make A Putting Green In Your Backyard With Real Grass
Landscaping Ideas
How To Make A Putting Green In Your Backyard With Real Grass
Modified: August 27, 2024
Transform your backyard with our expert landscaping ideas and learn how to create a stunning putting green with real grass. Enhance your outdoor space today!
(Many of the links in this article redirect to a specific reviewed product. Your purchase of these products through affiliate links helps to generate commission for Storables.com, at no extra cost. Learn more)
Introduction
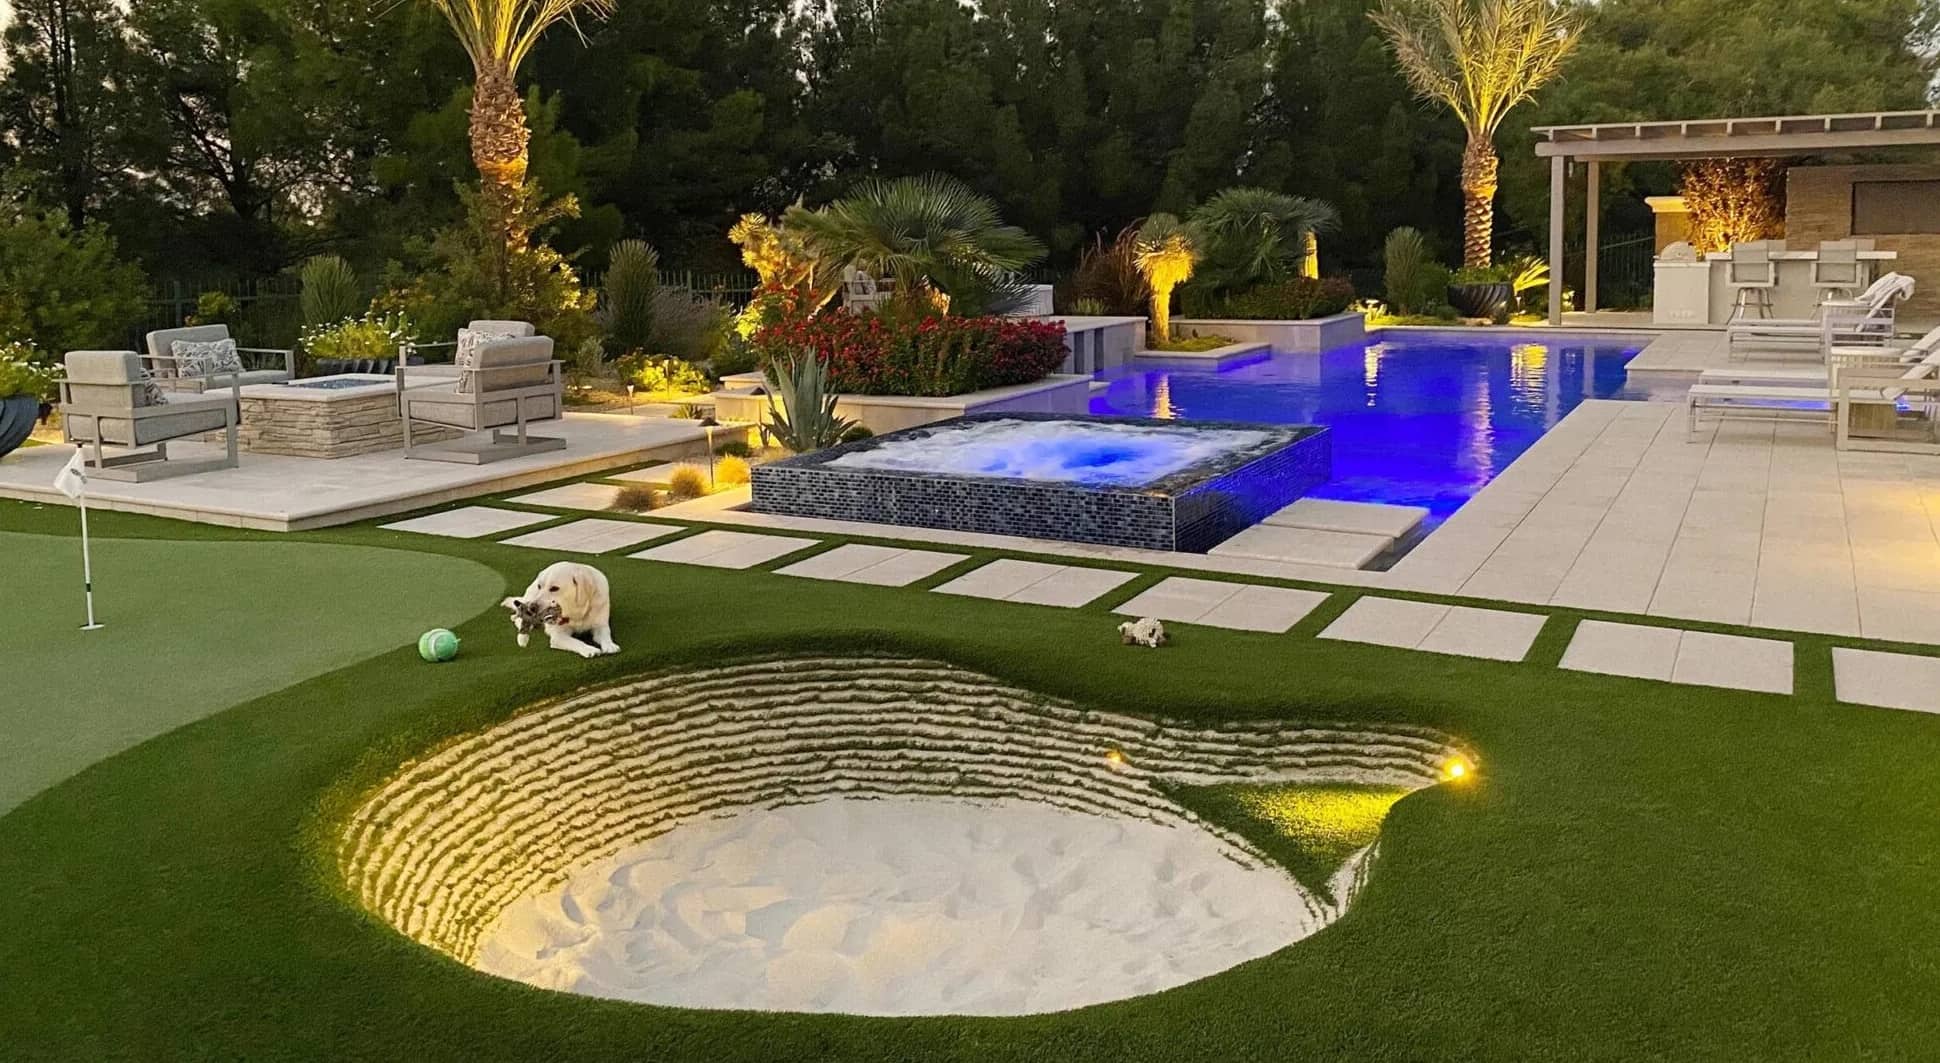
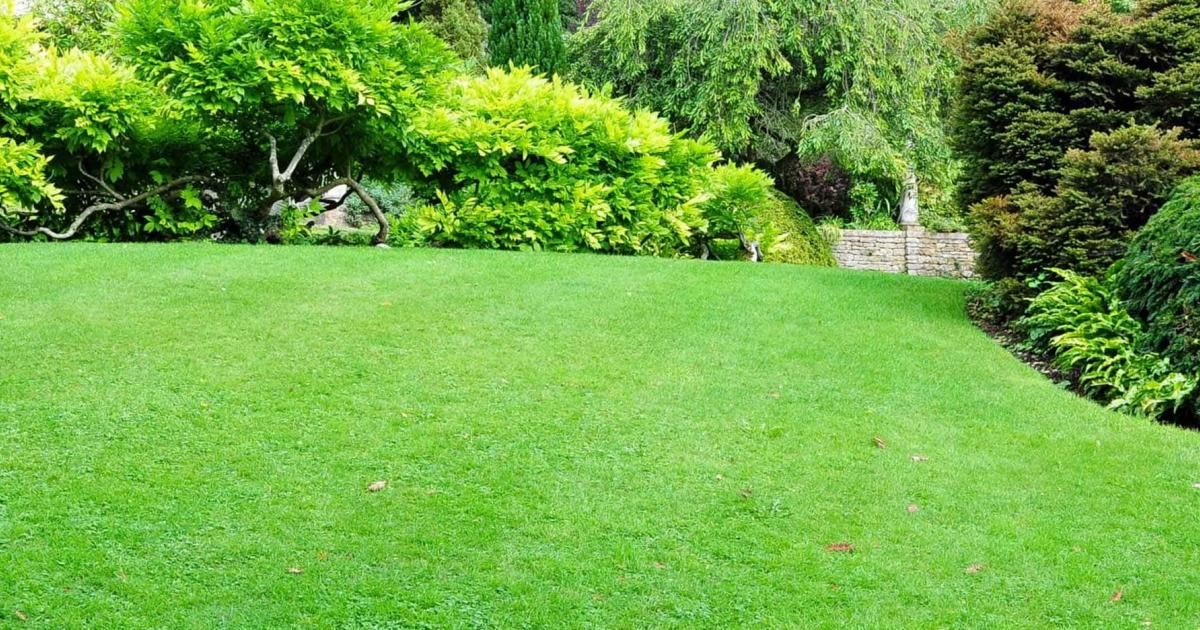
Transforming your backyard into a personal putting green can bring the joy of golf right to your doorstep. Imagine the convenience of practicing your putting skills at any time, without having to leave the comfort of your home. Creating a putting green in your backyard is a rewarding project that not only adds value to your property but also provides a space for leisure and entertainment.
In this comprehensive guide, we will walk you through the step-by-step process of creating a putting green using real grass. From selecting the ideal location to maintaining the green, we will cover all the essential aspects to help you achieve a professional-quality putting surface. Whether you are a golf enthusiast looking to refine your game or someone seeking to enhance their outdoor space, this guide will equip you with the knowledge and confidence to bring your backyard putting green to life.
Key Takeaways:
- Transform your backyard into a personal putting green for convenient golf practice and leisure. Carefully select the location, prepare the ground, install high-quality turf, and maintain it for a professional-grade green.
- Creating a backyard putting green with real grass adds value to your property and provides a space for relaxation and recreation. Follow the steps to bring the joy of golf to your doorstep with a meticulously crafted putting green.
Read more: How To Build A Putting Green With Real Grass
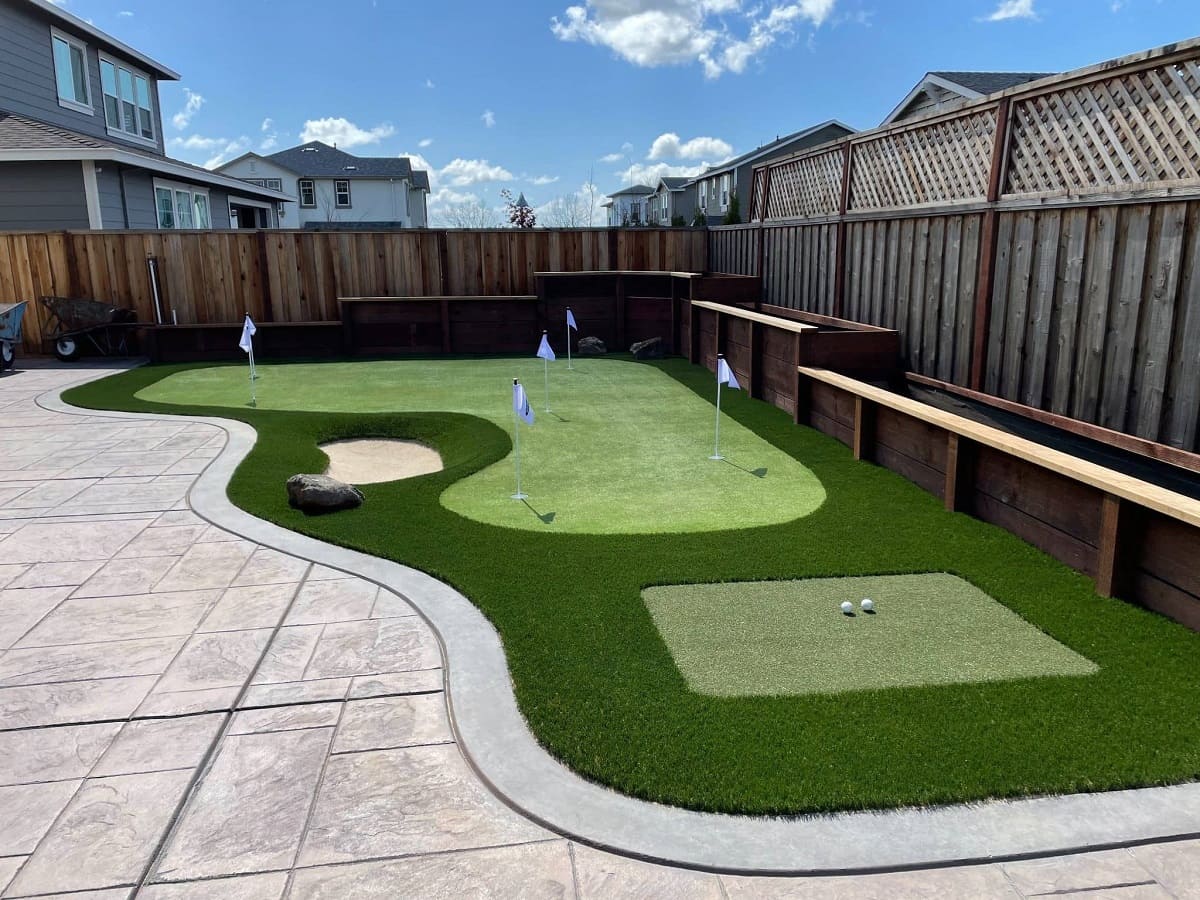
Step 1: Choose the Right Location
Before embarking on the installation of a putting green, it’s crucial to carefully select the location in your backyard. The ideal spot should have sufficient space to accommodate the green while allowing for additional features such as chipping areas or seating. Here are some key factors to consider when choosing the location:
- Sunlight Exposure: Select an area that receives ample sunlight throughout the day. Adequate sunlight is essential for the healthy growth of the grass, ensuring that your putting green remains lush and vibrant.
- Drainage: Ensure that the chosen location has proper drainage to prevent waterlogging. Standing water can be detrimental to the grass and may lead to undesirable conditions for putting.
- Accessibility: Consider the accessibility of the location. It should be easily reachable from your home and other outdoor areas, allowing for seamless integration into your backyard space.
- Level Ground: Opt for a relatively flat area to simplify the installation process. While minor slopes can be addressed during preparation, choosing a level ground initially can streamline the construction of the putting green.
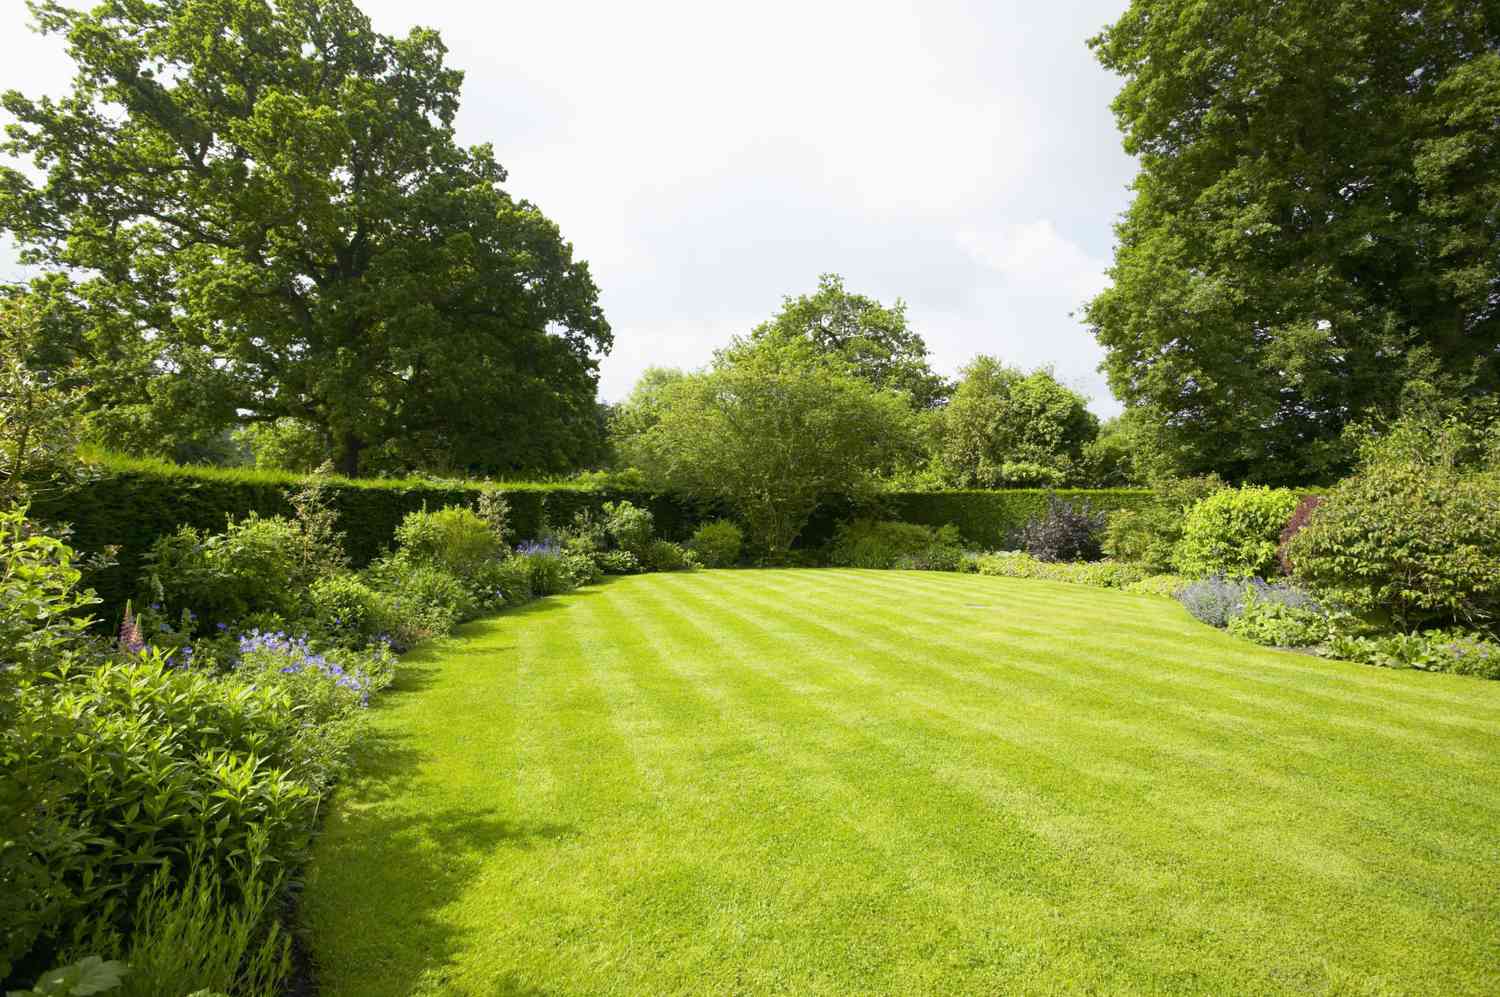
By carefully evaluating these factors, you can pinpoint the optimal location for your backyard putting green. Additionally, consider the surrounding landscape and how the putting green will complement the overall aesthetics of your outdoor space. With the right location secured, you are one step closer to realizing your dream of having a professional-grade putting green right in your own backyard.
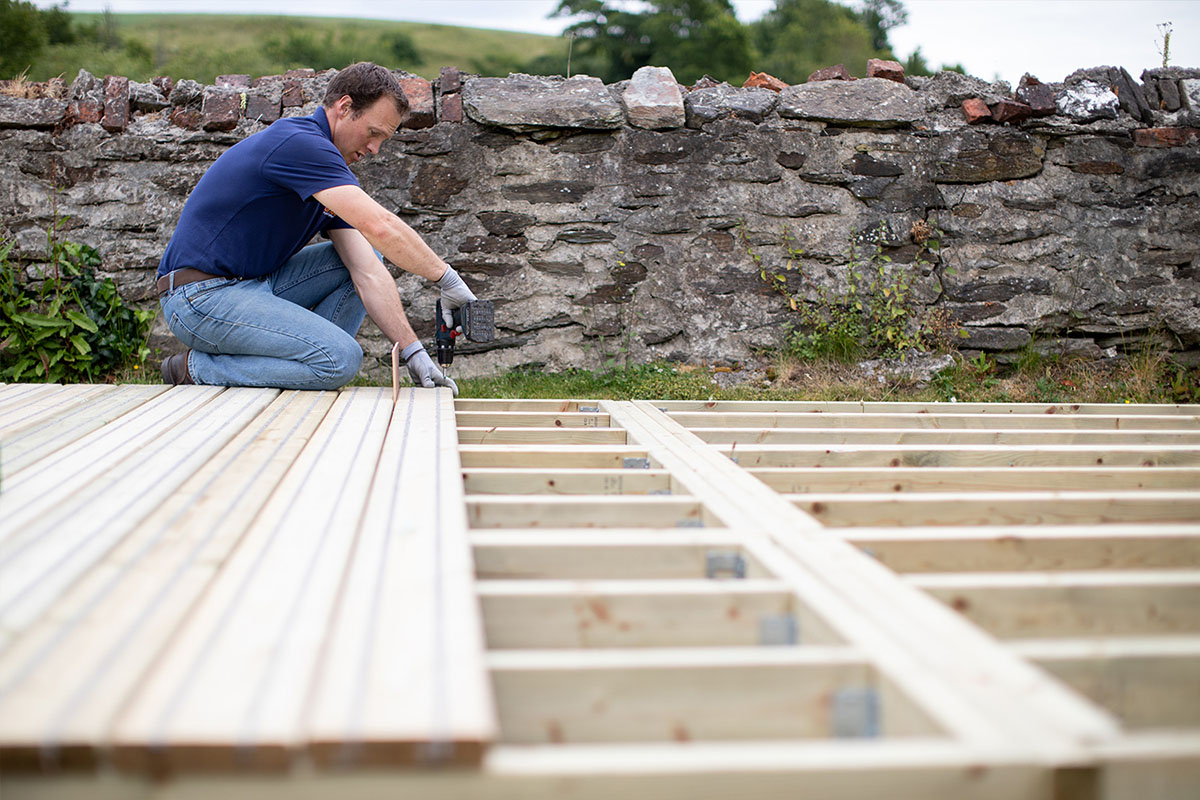
Step 2: Prepare the Ground
Preparing the ground is a crucial step in creating a durable and visually appealing putting green. Proper groundwork sets the foundation for a high-quality surface that not only enhances your backyard but also withstands the rigors of regular use. Here’s a detailed outline of the ground preparation process:
- Clear the Area: Begin by clearing the selected area of any debris, rocks, or existing vegetation. This step ensures a clean slate for the subsequent groundwork.
- Excavation: Use a shovel or a turf cutter to excavate the ground to the desired depth. Typically, a depth of 4 to 6 inches is suitable for accommodating the base materials and turf. Ensure that the excavated area corresponds to the dimensions of your intended putting green.
- Compact the Soil: After excavation, thoroughly compact the soil to create a stable base. Use a hand tamper or a plate compactor to achieve a firm and level surface. Adequate compaction minimizes the risk of uneven settling and ensures the longevity of your putting green.
- Install Edging: Install sturdy edging around the perimeter of the excavated area to define the boundaries of the putting green. This edging serves to contain the base materials and turf, providing a clean and polished appearance to the green.
- Add Base Materials: Introduce a layer of crushed rock or gravel as the base material for the putting green. This layer facilitates proper drainage and offers a solid foundation for the turf. Spread the base material evenly and compact it to achieve a uniform and stable base.
- Grade the Surface: Use a grading rake to meticulously level the base materials, ensuring a smooth and consistent surface. Pay attention to achieving the desired contours and slopes that align with your putting green design.
By meticulously preparing the ground, you establish the groundwork for a resilient and visually appealing putting green. This meticulous approach sets the stage for the successful installation of the turf, bringing you one step closer to enjoying your personalized backyard putting green.
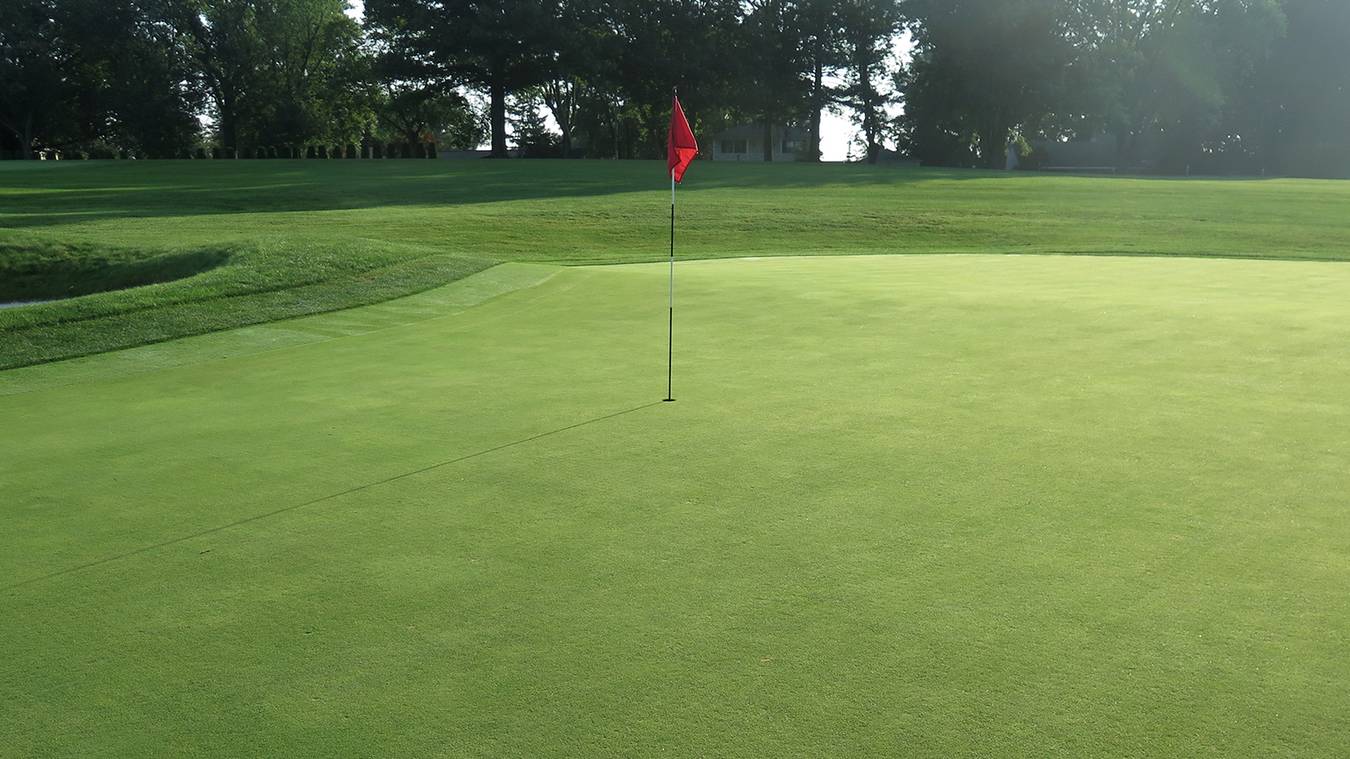
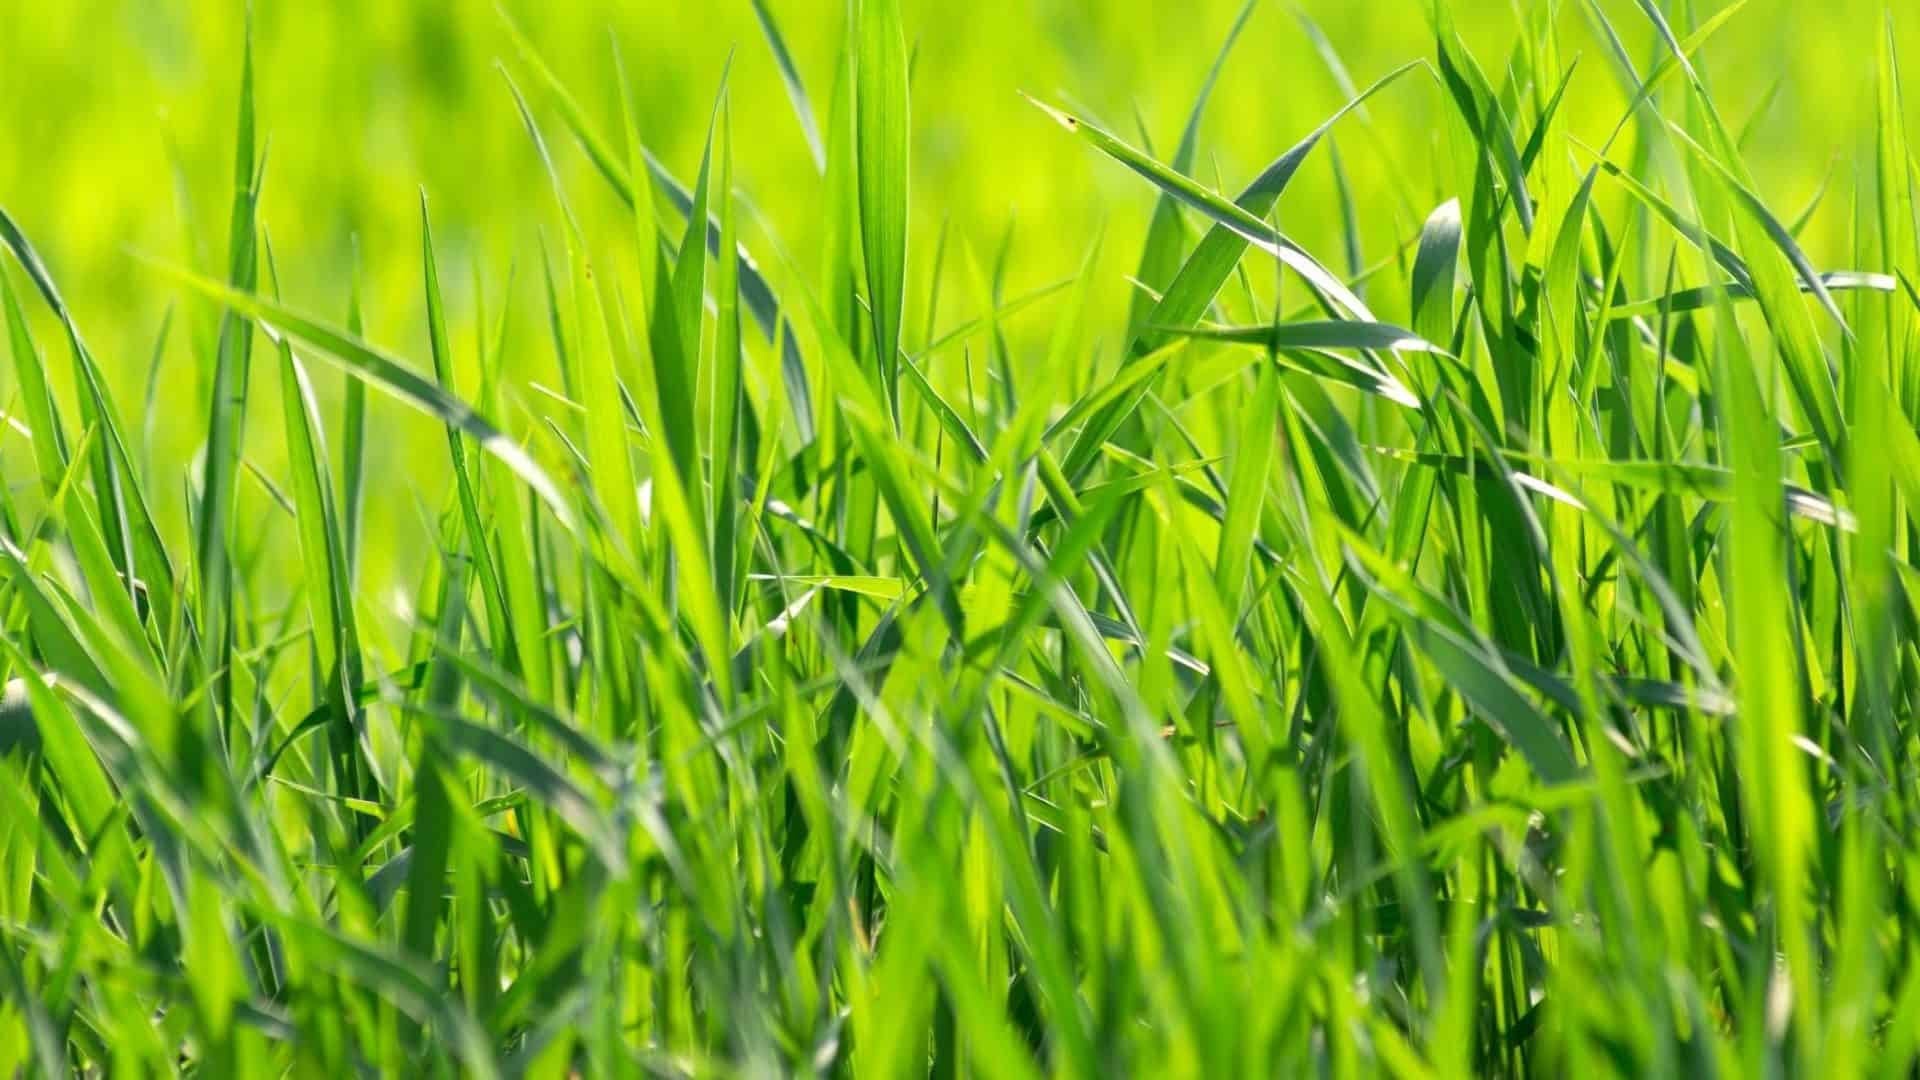
Consider using a high-quality, slow-growing grass like creeping bentgrass or Bermuda grass for your putting green. These types of grass require less maintenance and can provide a smooth, consistent surface for putting.
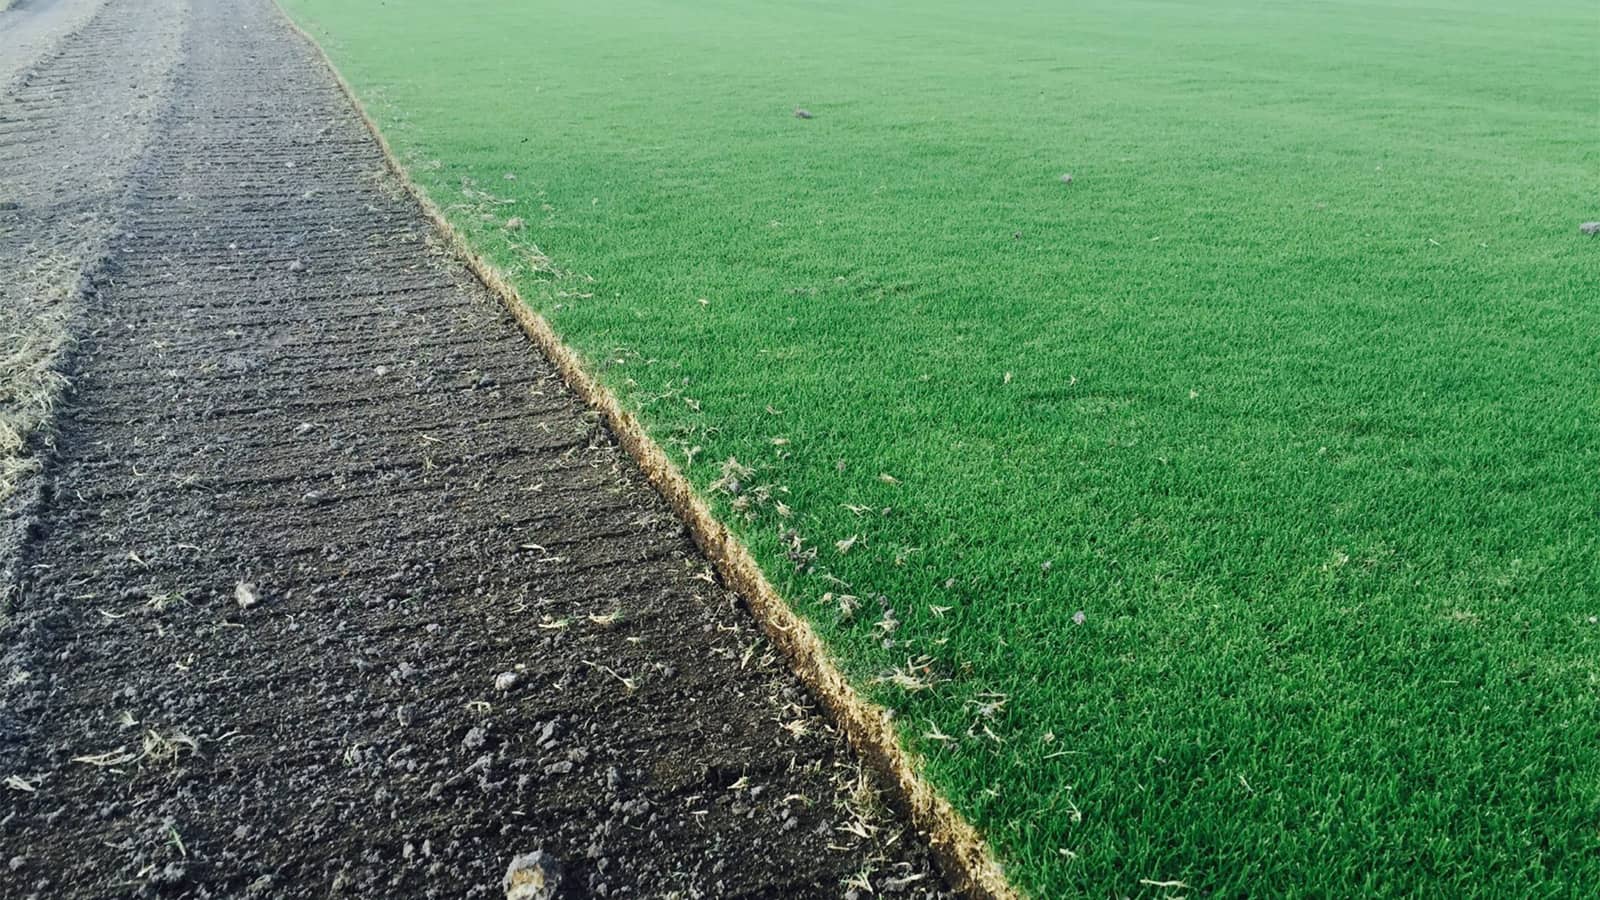
Step 3: Install the Turf
With the groundwork meticulously prepared, it’s time to bring your backyard putting green to life by installing the turf. The choice of turf plays a pivotal role in determining the aesthetics, playability, and maintenance requirements of your putting green. Here’s a comprehensive guide to installing the turf for your personalized green:
- Select High-Quality Turf: Opt for specialized putting green turf that is designed to emulate the look and feel of professional golf greens. High-quality turf offers a consistent ball roll and requires minimal maintenance, ensuring an authentic putting experience.
- Cut and Position the Turf: Carefully measure and cut the turf to fit the dimensions of your putting green. Position the turf over the prepared base, ensuring a precise fit and smooth alignment with the edging.
- Secure the Turf: Use landscape staples or turf adhesive to secure the turf in place, preventing shifting or wrinkling. Pay attention to the seams and ensure a seamless integration of multiple turf pieces, if applicable.
- Roll and Compact: After the turf is in place, use a heavy roller to compact the turf and settle it into the base materials. This process helps to eliminate air pockets and ensures a uniform surface for optimal ball roll and playability.
- Trim and Shape: Trim any excess turf along the edges and shape the contours of the green to achieve the desired appearance. Attention to detail during this step contributes to the professional look and functionality of the putting green.
By meticulously installing the turf, you bring your vision of a backyard putting green to fruition. The careful selection and precise installation of the turf are instrumental in creating an inviting and functional space for honing your putting skills and enjoying leisurely rounds of golf right at home.
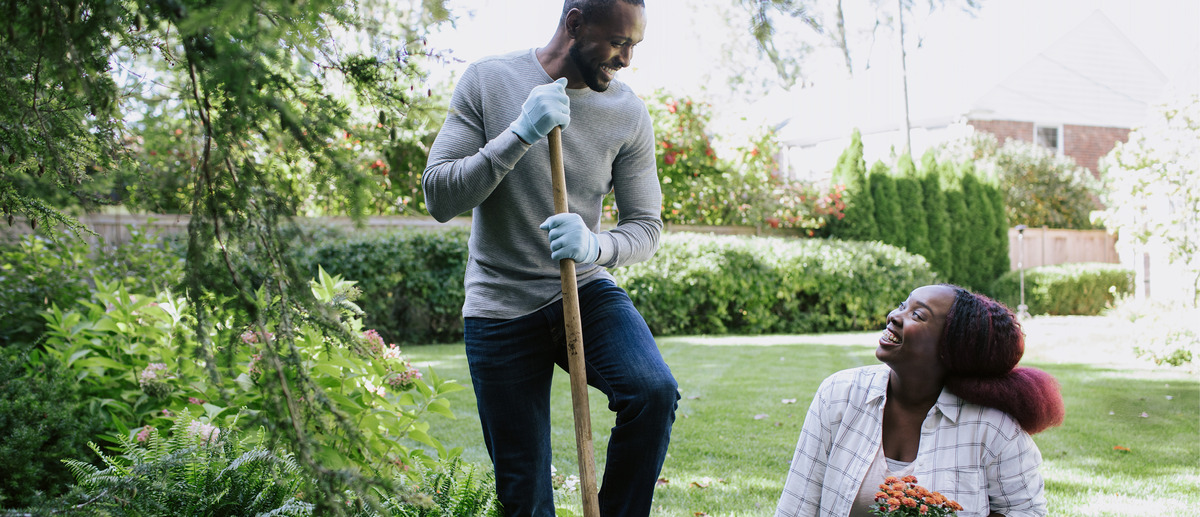
Step 4: Maintain the Putting Green
Once your backyard putting green is in place, it’s essential to establish a maintenance routine to preserve its pristine condition and ensure optimal playability. Regular maintenance not only sustains the visual appeal of the green but also contributes to a consistent and enjoyable putting experience. Here are key maintenance practices to uphold the longevity and quality of your putting green:
- Mowing: Regularly mow the turf to maintain an even and uniform height, akin to professional golf greens. Use a specialized putting green mower or a reel mower set to the appropriate height for consistent and precise cutting.
- Rolling: Periodically roll the putting green with a turf roller to promote smoothness and compactness. Rolling helps to maintain a consistent ball roll and minimizes undulations on the surface.
- Watering: Implement a consistent watering schedule to keep the turf adequately hydrated. Avoid overwatering, as excessive moisture can lead to disease and undesirable turf conditions. Proper watering contributes to the lushness and resilience of the putting green.
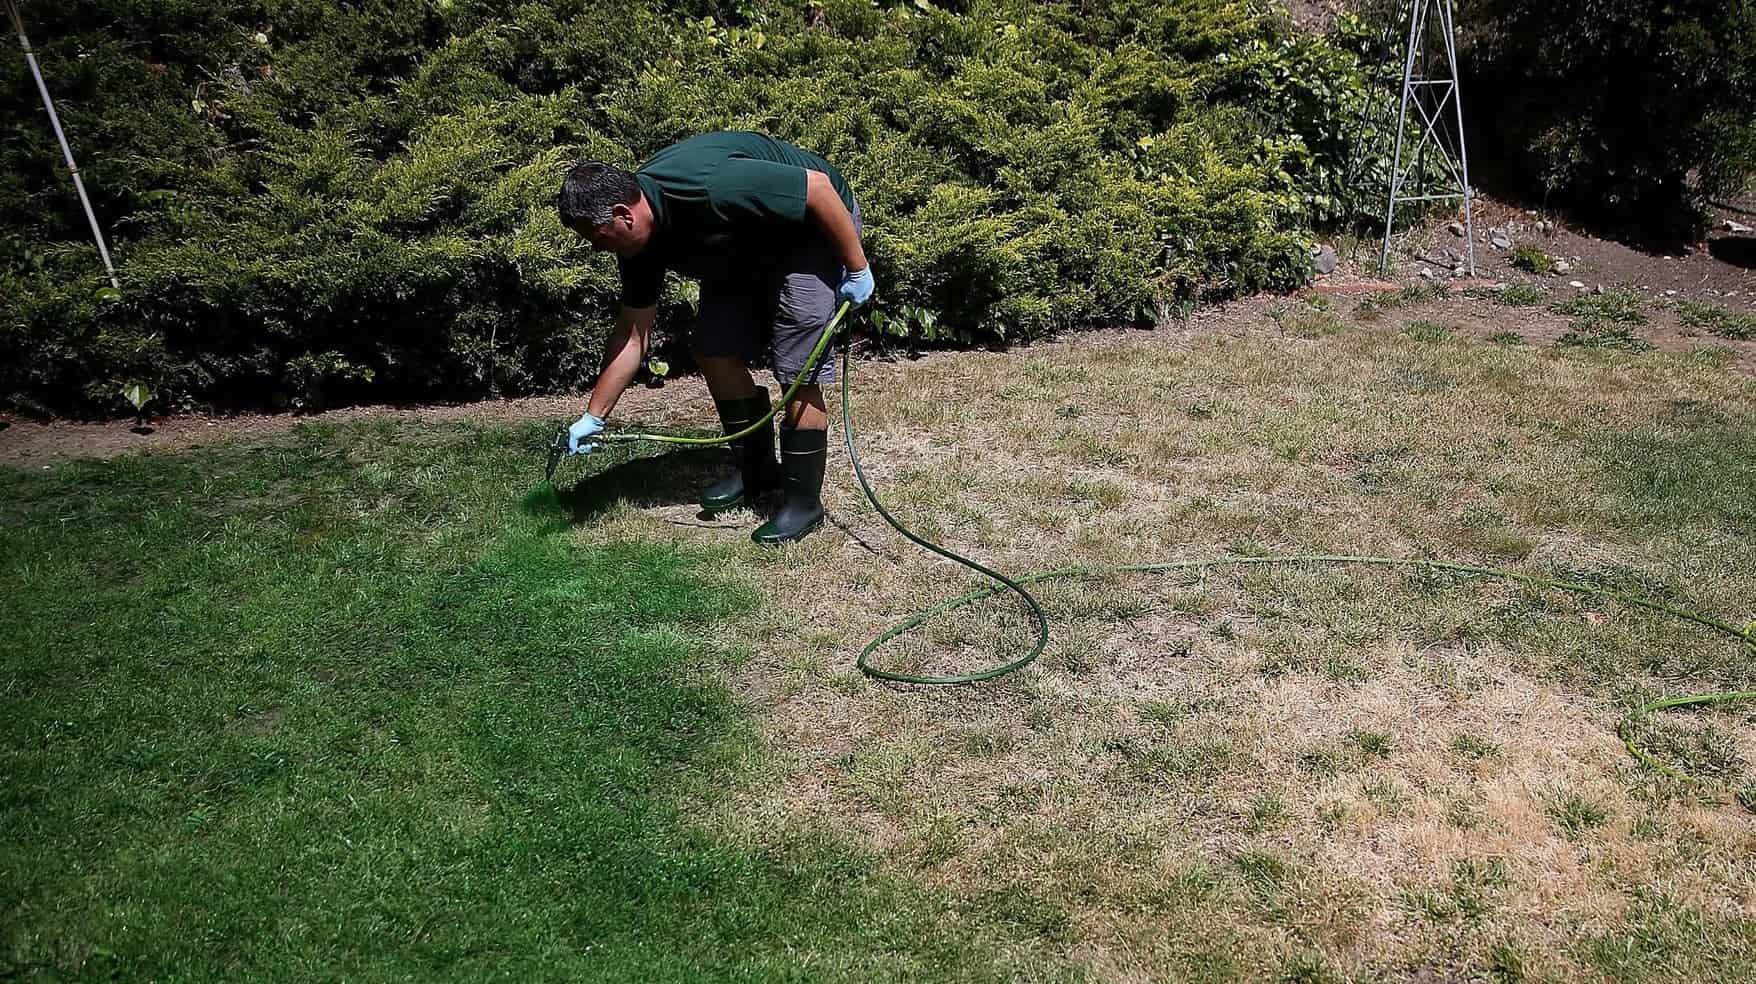
- Weed Control: Vigilantly monitor the putting green for any signs of weeds and promptly address them to prevent their proliferation. Utilize targeted weed control methods to preserve the pristine appearance of the turf.
- Aeration: Periodic aeration of the turf promotes healthy root growth and enhances drainage. Use a specialized aerator to alleviate compaction and maintain optimal soil conditions for the turf.
- Surface Grooming: Regularly groom the turf surface to uphold its smoothness and uniformity. Light brushing or sweeping helps to prevent grain buildup and ensures consistent ball roll characteristics.
By adhering to a consistent maintenance regimen, you can prolong the lifespan of your backyard putting green while enjoying a true-to-form golfing experience. The commitment to regular upkeep not only preserves the aesthetic appeal of the green but also contributes to the refinement of your putting skills in a familiar and convenient setting.
Conclusion
Creating a putting green in your backyard with real grass is a gratifying endeavor that brings the allure of golf to your personal outdoor oasis. By following the comprehensive steps outlined in this guide, you can embark on the journey of transforming your backyard into a captivating space for honing your putting skills and savoring leisurely rounds of golf.
From meticulously selecting the ideal location to installing high-quality turf and establishing a maintenance routine, each step contributes to the realization of a professional-grade putting green. The attention to detail and commitment to quality throughout the process culminate in a functional and aesthetically pleasing addition to your outdoor environment.
As you revel in the joys of your personalized putting green, you’ll find that it not only elevates your property but also fosters a sense of relaxation and recreation right at your doorstep. Whether you are perfecting your putting technique or enjoying casual games with family and friends, the putting green serves as a versatile and inviting space for leisure and entertainment.
Embrace the opportunity to craft a putting green that reflects your passion for golf and enhances the allure of your backyard. With careful planning and execution, you can create a haven for golf enthusiasts and outdoor enthusiasts alike, where the love for the game meets the comforts of home.
So, roll out the turf, practice your putting stroke, and bask in the satisfaction of bringing the essence of golf to your backyard with a meticulously crafted putting green.
Frequently Asked Questions about How To Make A Putting Green In Your Backyard With Real Grass
Was this page helpful?
At Storables.com, we guarantee accurate and reliable information. Our content, validated by Expert Board Contributors, is crafted following stringent Editorial Policies. We're committed to providing you with well-researched, expert-backed insights for all your informational needs.

0 thoughts on “How To Make A Putting Green In Your Backyard With Real Grass”