Home>Gardening & Outdoor>Landscaping Ideas>How To Make Grass For Cake
Landscaping Ideas
How To Make Grass For Cake
Modified: August 27, 2024
Learn how to create realistic grass for your cake with our landscaping ideas. Get step-by-step instructions and expert tips for perfecting your edible landscape.
(Many of the links in this article redirect to a specific reviewed product. Your purchase of these products through affiliate links helps to generate commission for Storables.com, at no extra cost. Learn more)
Introduction
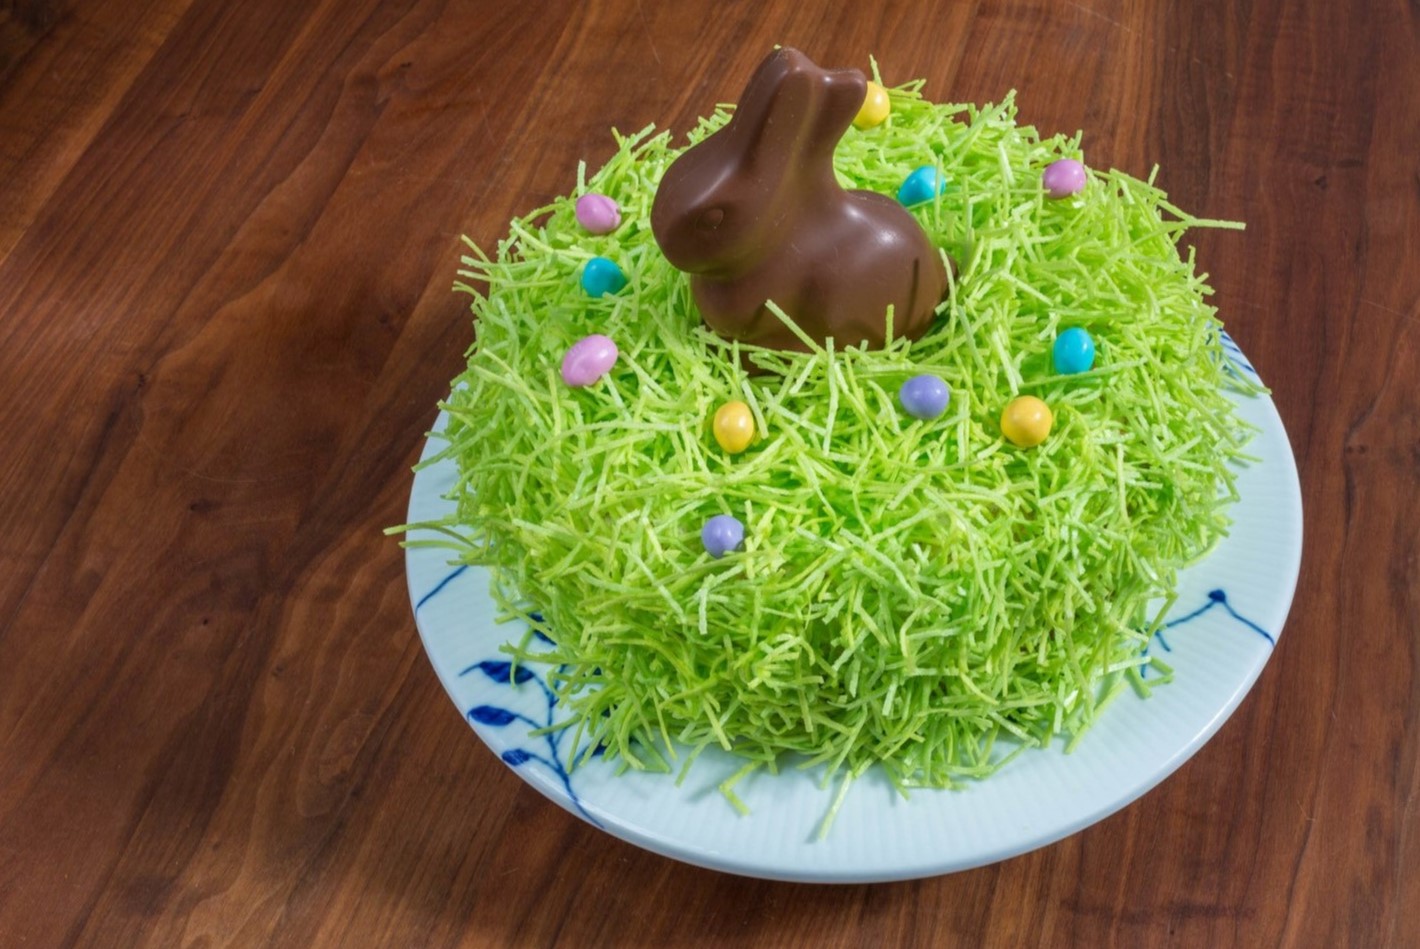
Creating a stunning cake that resembles a lush, green meadow can add a touch of natural beauty to any special occasion. Whether you're preparing a birthday surprise, a wedding centerpiece, or a celebratory dessert, crafting lifelike grass for your cake can elevate it to a whole new level. The realistic texture and vibrant color of the grass can transform a simple cake into a work of art, capturing the essence of the outdoors in a delectable confection.
In this guide, we will explore the step-by-step process of making lifelike grass for your cake. From the essential ingredients and equipment to the meticulous techniques involved in creating and applying the grass, you'll gain valuable insights that will help you achieve professional-looking results. Whether you're a seasoned baker or a novice enthusiast, this guide will equip you with the knowledge and skills to bring your cake decorating to new heights.
So, roll up your sleeves, gather your supplies, and get ready to embark on a delightful journey of cake decoration. Let's dive into the wonderful world of crafting lifelike grass for your cake, where creativity meets culinary artistry!
Key Takeaways:
- Crafting lifelike grass for cakes requires buttercream frosting, green food coloring, and piping bags with narrow tips. Applying the grass with creativity and patience transforms a simple cake into a work of art.
- To make lifelike grass, tint buttercream frosting with green food coloring, adjust its consistency, and pipe it onto the cake in organic patterns. Embrace artistic freedom and layer the grass for a natural, captivating look.
Read more: How To Make Cake On A Waffle Iron
Ingredients and Equipment
Before you begin creating the lifelike grass for your cake, it’s essential to gather the necessary ingredients and equipment. Here’s what you’ll need:
Ingredients:
- Buttercream frosting: This will serve as the base for your grass and provide the necessary texture for creating the realistic look.
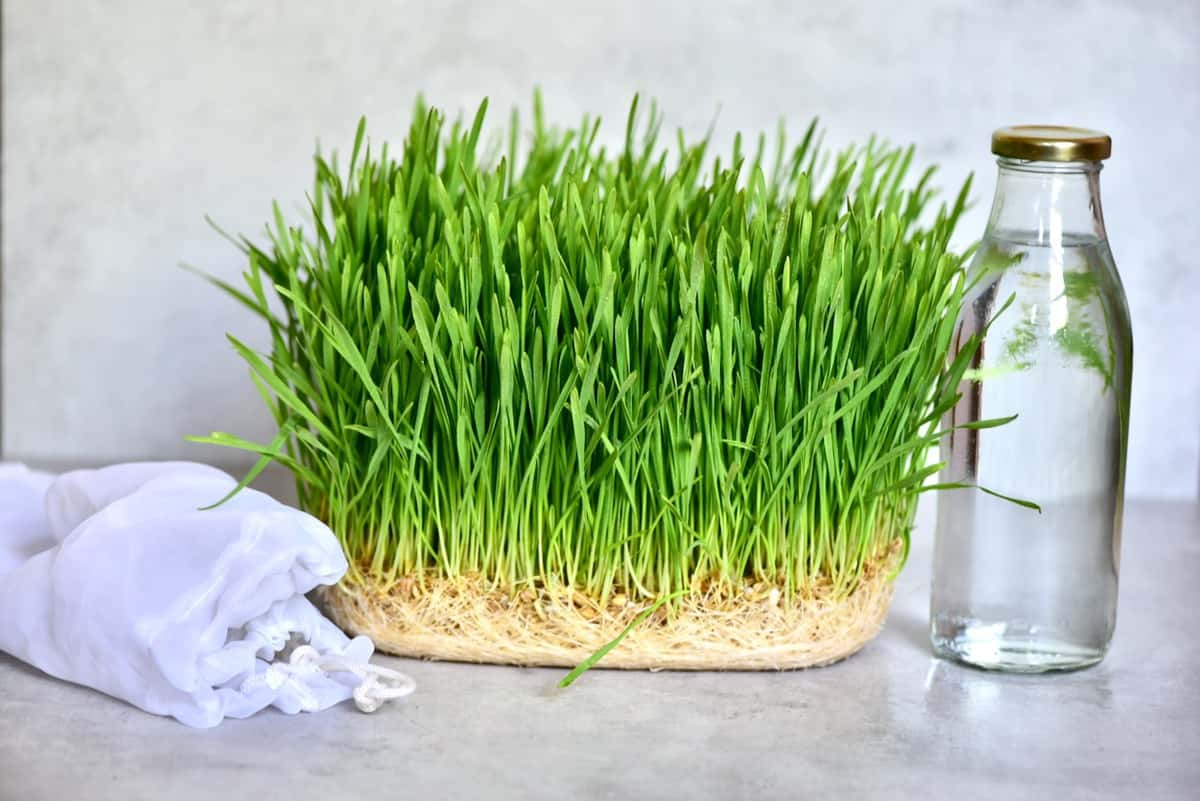
- Green food coloring: Choose a vibrant shade of green that resembles the lushness of natural grass.
- Vanilla extract: A small amount of vanilla extract can enhance the flavor of the buttercream frosting.
- Powdered sugar: This will be used to adjust the consistency of the buttercream frosting as needed.
Equipment:
- Piping bags: Prepare several piping bags to hold the tinted buttercream frosting. Having multiple bags with different tips can add variety to the grass texture.
- Piping tips: Select piping tips with narrow openings to create fine strands of grass. Wilton #233 tip, also known as the grass tip, is particularly suitable for this purpose.
- Cake decorating turntable: A turntable will allow you to smoothly rotate the cake as you apply the grass, ensuring even coverage and consistent texture.
- Cake spatula: Use a cake spatula to apply a thin layer of buttercream frosting to the cake before piping the grass.
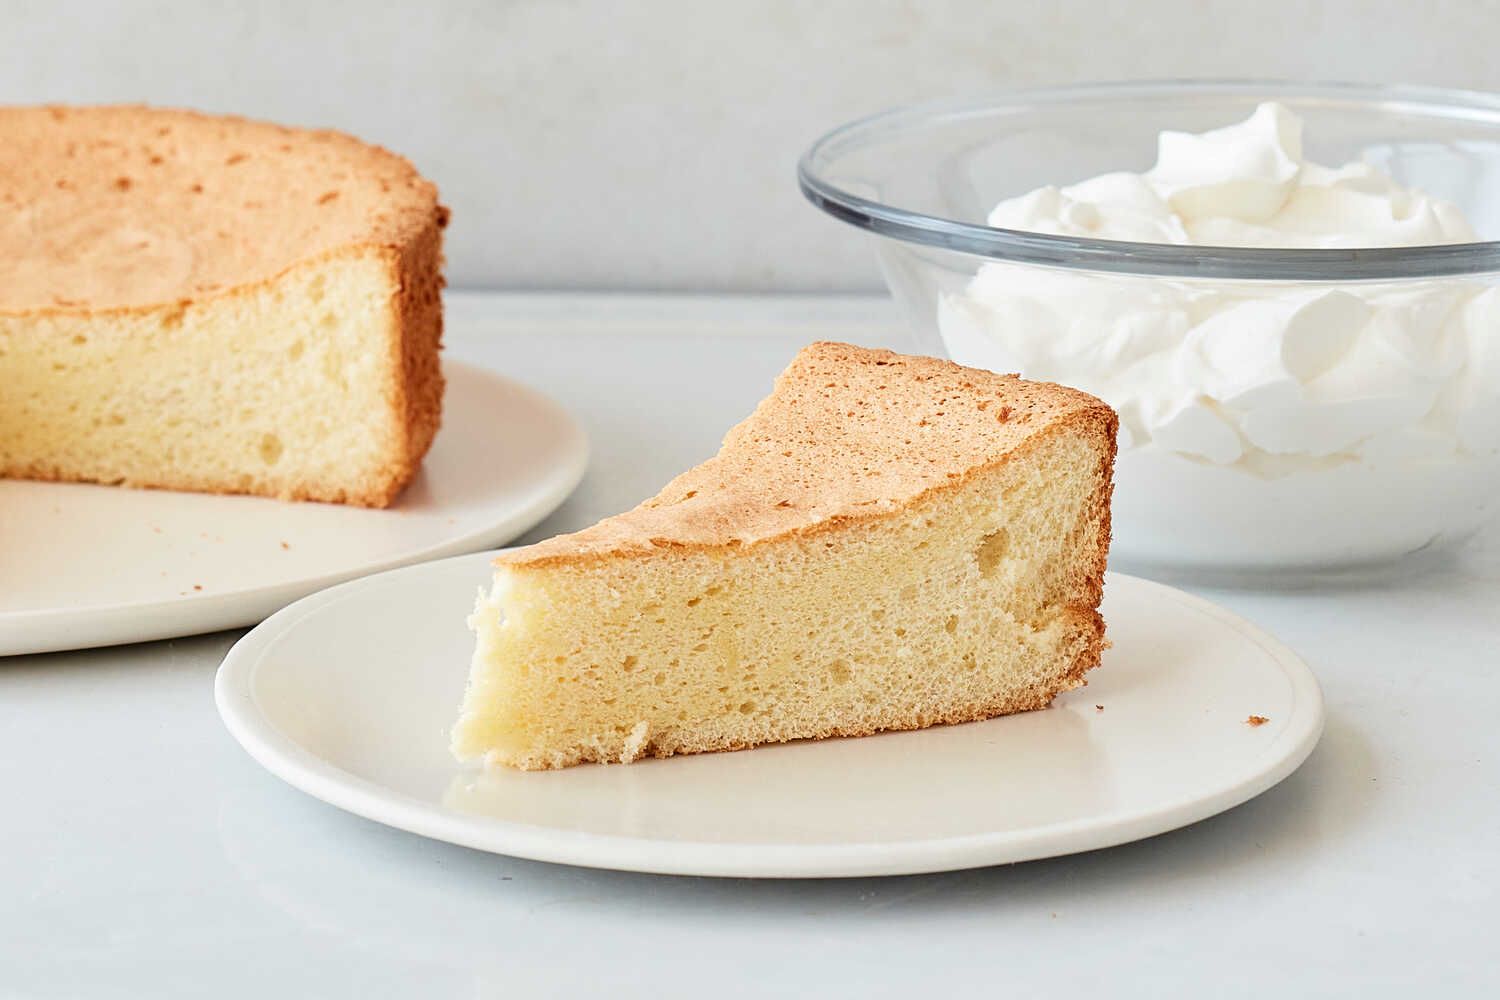
- Cake: Prepare a cake of your choice, frosted with a base layer of buttercream to serve as the canvas for the grass.
By having these ingredients and equipment at your disposal, you’ll be well-prepared to embark on the process of creating lifelike grass for your cake. Now that you’ve gathered everything you need, it’s time to dive into the creative and rewarding process of making the grass.
Making the Grass
Now that you have all the necessary ingredients and equipment assembled, it’s time to delve into the meticulous process of creating lifelike grass for your cake. The key lies in achieving the perfect texture and color to emulate the vibrancy of natural grass. Here’s a step-by-step guide to making the grass:
Read more: How To Make Cup Cake Candles
Tinting the Buttercream Frosting
Start by preparing a batch of buttercream frosting. Once you have the frosting ready, add the green food coloring and a small amount of vanilla extract. Gradually incorporate the food coloring until you achieve a rich, natural-looking green hue. Remember, a little food coloring goes a long way, so start with a small amount and gradually intensify the color as needed.
Adjusting the Consistency
Next, assess the consistency of the tinted buttercream frosting. If it’s too thin, gradually add powdered sugar to thicken it to a pipeable consistency. The frosting should be firm enough to hold its shape when piped, but not too stiff that it becomes difficult to extrude through the piping tip.
Filling the Piping Bags
Once you’re satisfied with the color and consistency of the buttercream frosting, fill the piping bags with the tinted frosting. If you’re using multiple shades of green to add depth and dimension to the grass, prepare separate piping bags for each shade.
Piping the Grass
Now comes the artistic and intricate part – piping the grass onto the cake. Hold the piping bag perpendicular to the cake’s surface and gently squeeze to extrude the frosting through the piping tip. Use a consistent, upward pulling motion to create strands of grass, varying the length and density to achieve a natural, textured look. You can experiment with different piping tips to create a variety of grass textures, from fine blades to thicker tufts.
As you pipe the grass, envision the organic flow and pattern of real grass, allowing your creativity to guide the arrangement. Cover the desired areas of the cake’s surface with the piped grass, ensuring even coverage and a visually appealing distribution.
With patience and attention to detail, you’ll gradually witness the transformation of your cake as the lifelike grass takes shape, infusing it with natural charm and visual allure.
Now that you’ve mastered the art of making lifelike grass, the next step is to apply it to the cake, bringing your creation one step closer to its full, natural splendor.
Read more: What Greenery Is Not For Cake Decorating
Applying the Grass to the Cake
After meticulously crafting the lifelike grass, it’s time to bring your vision to fruition by applying it to the cake. This step requires precision and a keen eye for detail to ensure that the grass is seamlessly integrated with the cake’s surface, creating a harmonious and captivating visual effect. Here’s how to expertly apply the grass to the cake:
Preparing the Cake Surface
Before applying the grass, ensure that the cake is frosted with a base layer of buttercream that provides a smooth and even surface. Use a cake spatula to gently spread a thin layer of frosting over the entire cake, creating a suitable canvas for the grass to adhere to.
Creating Texture and Depth
As you begin applying the grass, consider the natural flow and texture of real grass. Vary the length and density of the piped grass to evoke a sense of depth and organic movement. Incorporate different shades of green to add dimension and visual interest, mimicking the nuanced hues found in natural grassy landscapes.
Layering and Overlapping
Work in sections, layering the piped grass onto the cake in a deliberate and artful manner. Allow the strands of grass to overlap slightly, creating a seamless transition and a sense of continuity across the cake’s surface. By strategically layering the grass, you can achieve a multidimensional and lifelike appearance that captivates the eye.
Read more: How To Make A Cake In A Rice Cooker
Embracing Creativity
Embrace your creativity as you apply the grass, envisioning the dynamic and untamed beauty of a verdant meadow. Experiment with different patterns and arrangements, allowing the grass to meander and sway across the cake with an organic and captivating allure.
Ensuring Even Coverage
Throughout the application process, maintain a keen focus on achieving even coverage and distribution of the grass across the cake. Pay attention to any areas that may require additional grass to create a balanced and visually appealing composition.
As you carefully apply the grass to the cake, you’ll witness the transformation of the once plain surface into a breathtaking tableau of natural splendor. The meticulous application of the lifelike grass will infuse your cake with a sense of artistry and charm, setting the stage for a truly memorable and visually stunning dessert.
With the grass expertly applied, your cake is now ready to take center stage, captivating all who behold its natural elegance. As you admire your creation, take pride in the artistry and creativity that have culminated in a masterpiece of culinary craftsmanship.
Tips and Tricks
Embarking on the journey of creating lifelike grass for your cake is an exciting endeavor that allows for artistic expression and culinary ingenuity. To further enhance your cake decorating experience and ensure exceptional results, consider the following tips and tricks:
Gradual Color Intensification
When tinting the buttercream frosting, start with a small amount of green food coloring and gradually intensify the color as needed. This gradual approach allows you to achieve the perfect shade of green while avoiding over-saturation.
Read more: How To Put Fresh Greenery On A Wedding Cake
Texture Variation
Experiment with different piping tips to create a variety of grass textures. From fine, delicate strands to thicker tufts, varying the texture of the piped grass adds depth and visual interest to your cake’s design.
Layering for Realism
Layer the piped grass onto the cake in a natural and organic manner, allowing the strands to overlap and intertwine. This layering technique creates a realistic and multidimensional appearance, evoking the untamed beauty of a natural grassy landscape.
Color Diversity
Incorporate multiple shades of green to mimic the nuanced hues found in real grass. By introducing subtle color variations, you can infuse your cake with a sense of vibrancy and natural realism.
Artistic Freedom
Embrace your artistic freedom as you apply the grass to the cake, allowing your creativity to guide the arrangement and pattern. This approach fosters a sense of organic movement and visual allure, elevating your cake to a work of edible art.
Even Distribution
Ensure even coverage and distribution of the grass across the cake’s surface, paying attention to any areas that may require additional grass to achieve a balanced and visually appealing composition. A harmonious distribution enhances the overall aesthetic impact of the cake.
Practice and Patience
Creating lifelike grass for your cake is a skill that benefits from practice and patience. Don’t be discouraged by initial attempts, as refining your technique and artistic vision will lead to increasingly impressive results.
By incorporating these tips and tricks into your cake decorating process, you’ll elevate the art of creating lifelike grass to new heights, achieving visually stunning and captivating results that capture the essence of natural beauty.
Conclusion
As you conclude your journey through the enchanting process of crafting lifelike grass for your cake, take pride in the artistry and creativity that have brought your vision to life. What began as a simple cake has been transformed into a captivating masterpiece, adorned with the vibrant allure of a natural meadow.
Throughout this guide, you’ve discovered the essential ingredients and equipment needed to embark on this delightful endeavor. From buttercream frosting and green food coloring to piping bags and cake decorating tips, you’ve gathered the tools necessary to bring your cake decorating aspirations to fruition.
Delving into the meticulous process of making the grass, you’ve honed your skills in tinting buttercream frosting, adjusting its consistency, and expertly piping lifelike strands of grass onto the cake’s surface. With patience and attention to detail, you’ve witnessed the gradual transformation of the cake, as it blossomed into a work of edible art.
Applying the grass to the cake became a canvas for your artistic expression, as you carefully layered and arranged the strands of grass to evoke the untamed beauty of a natural landscape. Embracing your creativity, you infused the cake with a sense of organic movement and visual allure, culminating in a stunning portrayal of natural splendor.
Throughout this creative process, you’ve embraced the tips and tricks that have elevated your cake decorating experience, from gradual color intensification and texture variation to the artistic freedom that allowed your vision to flourish. With each carefully considered detail, you’ve brought your cake to life, infusing it with the charm and vibrancy of a sun-kissed meadow.
As you admire the finished creation, take a moment to revel in the artistry and dedication that have culminated in a visually stunning and delectable masterpiece. Your cake, adorned with lifelike grass, stands as a testament to your creativity and passion for culinary craftsmanship.
So, whether you’re preparing for a joyous celebration, a momentous occasion, or simply indulging in the art of cake decoration, the knowledge and skills you’ve acquired will continue to inspire and delight. Let this guide serve as a springboard for your future cake decorating endeavors, where creativity knows no bounds and the beauty of nature comes to life in delectable form.
With the transformative power of lifelike grass, your cakes will forever embody the essence of natural charm and artistic allure, captivating all who behold them with their enchanting beauty.
Frequently Asked Questions about How To Make Grass For Cake
Was this page helpful?
At Storables.com, we guarantee accurate and reliable information. Our content, validated by Expert Board Contributors, is crafted following stringent Editorial Policies. We're committed to providing you with well-researched, expert-backed insights for all your informational needs.

0 thoughts on “How To Make Grass For Cake”