Articles
How To Make Birthday Cake Candles
Modified: February 25, 2024
Learn how to make birthday cake candles with our informative articles. Get step-by-step instructions and creative ideas to make your own unique candles for any birthday celebration.
(Many of the links in this article redirect to a specific reviewed product. Your purchase of these products through affiliate links helps to generate commission for Storables.com, at no extra cost. Learn more)
Introduction
Birthdays are a special occasion that calls for celebration, laughter, and sweet treats. And what better way to add a touch of magic to any birthday party than with homemade birthday cake candles? These delightful decorations not only bring a warm glow to the festivities but also add a personal and creative touch to the cake.
In this guide, we will take you through the step-by-step process of making your very own birthday cake candles. From gathering the materials to the final touches, we’ll provide you with all the necessary instructions and tips to create candles that will dazzle your loved ones.
Whether you’re a seasoned crafter or new to the world of DIY projects, making birthday cake candles is an enjoyable and rewarding experience. It allows you to unleash your creativity and customize the candles to suit any theme or style.
So, roll up your sleeves, put on your crafting hat, and let’s dive into the exciting world of homemade birthday cake candles!
Key Takeaways:
- Crafting homemade birthday cake candles is a delightful and rewarding experience that allows you to unleash your creativity, personalize celebrations, and create lasting memories with unique and stunning candles.
- By following the step-by-step process of making birthday cake candles, you can add a touch of magic to any birthday party, showcase your creativity, and bring joy to loved ones with personalized and beautiful decorations.
Read more: How Many Candles On Birthday Cake
Materials Needed
Before you start making your own birthday cake candles, it’s essential to gather all the necessary materials. Here’s a list of items you’ll need:
- Candle wax – Choose a wax that is suitable for candle making, such as beeswax or soy wax.
- Candle wicks – Look for pre-tabbed wicks that are specifically designed for candle making.
- Candle dye – If you want to add color to your candles, you’ll need candle dye in your desired shades.
- Candle fragrance – To give your candles a delightful scent, consider using candle fragrance oils.
- Heat-resistant containers – Select containers that can withstand the heat of the melted wax, such as glass jars or metal tins.
- Double boiler or microwave – You’ll need a way to melt the wax safely. A double boiler or microwave can be used for this purpose.
- Candle molds – Depending on the shape and size of the candles you want to create, choose appropriate candle molds.
- Candle adhesive – To secure the wicks in the candles, you’ll need a candle adhesive, such as hot glue or wick stickers.
- Crafting tools – Gather scissors, a thermometer, a stirring utensil, and a heat-resistant mat or surface.
- Decorative materials – Optional items like glitter, ribbons, beads, or sequins to add a touch of sparkle to your candles.
Make sure to have all these materials on hand before you begin the candle-making process. This will ensure a smooth and enjoyable experience without any interruptions.
Step 1: Gathering Ingredients
Before you embark on the process of making birthday cake candles, it’s important to gather all the necessary ingredients. By having everything prepared ahead of time, you can ensure a smooth and efficient candle-making experience. Here’s a breakdown of the ingredients you’ll need:
- Candle wax: Choose a wax that is suitable for candle making, such as beeswax, soy wax, or paraffin wax. The type of wax you choose will depend on your personal preference and the desired characteristics of your candles.
- Candle wicks: Look for pre-tabbed wicks that are specifically designed for candle making. These wicks come with a metal or paper tab at the bottom, making them easier to anchor in the candle.
- Candle dye: If you want to add color to your candles, consider using candle dye. There is a wide range of colors available, allowing you to customize your candles to suit any occasion or theme.
- Candle fragrance: To give your candles a delightful scent, you can use candle fragrance oils. Choose scents that complement the flavor of the cake or opt for classic options like vanilla or lavender.
- Heat-resistant containers: Select containers that can withstand the heat of the melted wax. Glass jars, metal tins, or ceramic containers are excellent options. Make sure they are clean and dry before use.
- Double boiler or microwave: You’ll need a way to melt the wax safely. A double boiler is a preferred method as it provides gentle and controlled heat. Alternatively, a microwave can be used, but take caution to avoid overheating the wax.
- Candle molds: Depending on the shape and size of the candles you wish to make, choose appropriate candle molds. You can find a variety of molds in different shapes, such as cylindrical, square, or novelty molds.
- Crafting tools: Gather essential crafting tools such as a thermometer, a stirring utensil (like a wooden spoon or a silicone spatula), scissors, and a heat-resistant mat or surface to protect your work area.
- Optional ingredients: If you want to add a touch of sparkle or texture to your candles, consider using decorative materials like glitter, ribbons, beads, or sequins. These can be incorporated during the candle-making process.
Make sure you have all the necessary ingredients before you start making your birthday cake candles. Having everything ready and within reach will save you time and ensure a hassle-free candle-making experience.
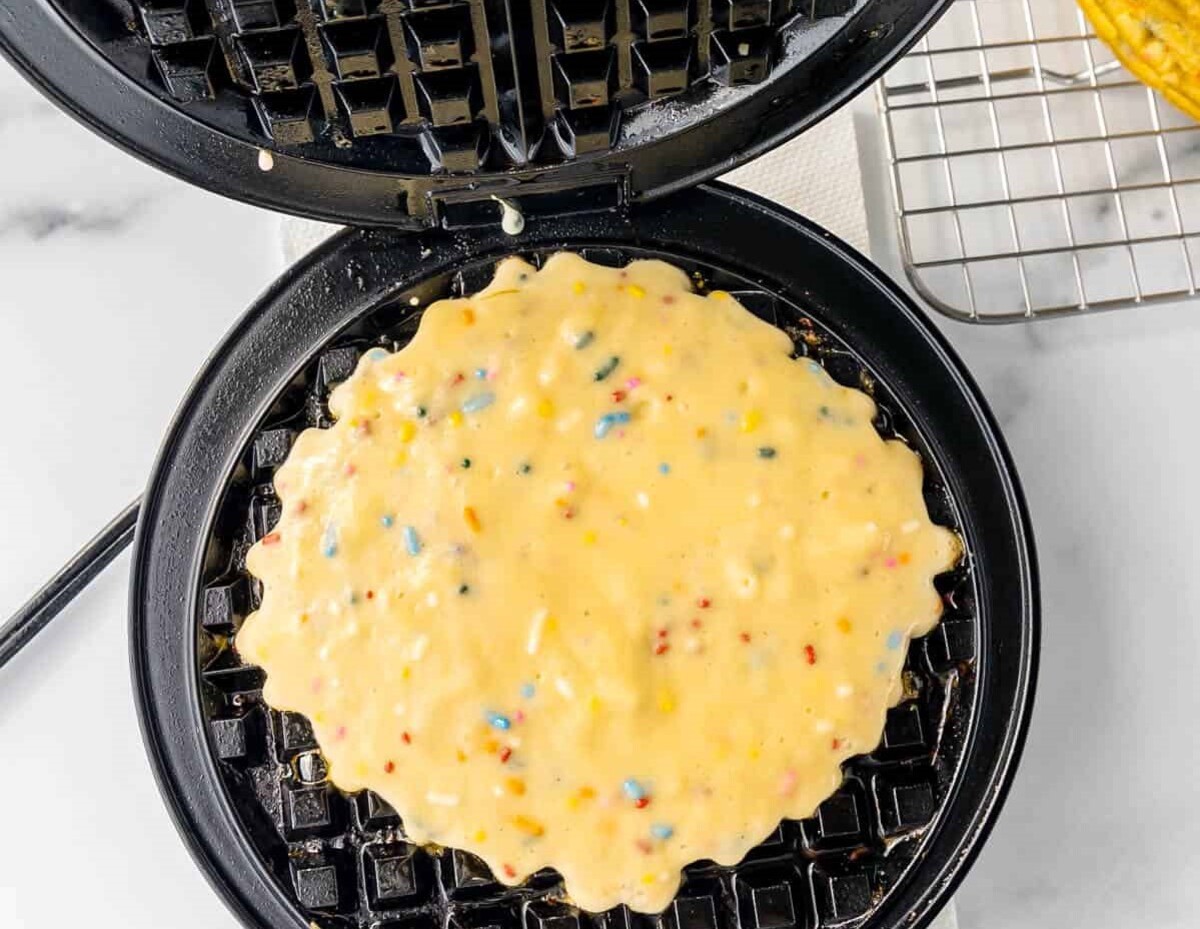
Step 2: Preparing the Cake Batter
Now that you’ve gathered all the necessary ingredients, it’s time to move on to the next step: preparing the cake batter. The cake batter will serve as the base of your birthday cake candles, providing a solid foundation for the candles to sit on.
Here’s a step-by-step guide on how to prepare the cake batter:
- Gather the cake ingredients: Check your recipe or box mix to ensure you have all the necessary ingredients. Typically, you’ll need flour, sugar, baking powder, salt, eggs, milk, butter, and any additional flavors or extracts.
- Preheat your oven: Set your oven to the recommended temperature stated in your recipe.
- Measure and combine dry ingredients: In a mixing bowl, combine the flour, sugar, baking powder, and salt. Use a whisk or spoon to ensure they are well mixed.
- Mix the wet ingredients: In a separate bowl, combine the eggs, milk, melted butter, and any additional flavors or extracts. Whisk them together until they are well combined.
- Gradually add the dry ingredients: Slowly pour the dry ingredients into the wet ingredient mixture. Use a whisk or spatula to gently fold them together until just combined. Be careful not to overmix, as this can result in a dense cake.
- Grease the cake pan: Prepare your cake pan by greasing it with cooking spray or butter. This will prevent the cake batter from sticking to the pan.
- Pour the batter into the pan: Transfer the cake batter into the greased cake pan, spreading it evenly with a spatula.
- Bake the cake: Place the cake pan in the preheated oven and bake for the recommended amount of time. Keep a close eye on the cake to ensure it doesn’t overbake or burn.
- Check for doneness: Insert a toothpick into the center of the cake. If it comes out clean or with a few crumbs, the cake is done. If there is batter clinging to the toothpick, bake for a few more minutes.
- Remove from the oven and let it cool: Once the cake is fully baked, remove it from the oven and let it cool in the pan for a few minutes. Then, transfer it to a wire rack to cool completely.
Once your cake has cooled, you can proceed to the next step of making the birthday cake candles. The prepared cake will serve as a solid base for the candles while adding a delicious touch to the overall presentation.
Step 3: Pouring and Baking the Cake
With the cake batter prepared, it’s time to move onto the next step: pouring and baking the cake. This step involves transferring the cake batter into appropriate molds and baking them to perfection.
Follow these steps to pour and bake the cake:
- Prepare the cake molds: Grease the inside of your cake molds with cooking spray or butter. This will prevent the cake from sticking to the molds and ensure easy removal.
- Fill the cake molds: Pour the prepared cake batter into the greased cake molds, filling them about two-thirds full. Leave some space at the top to allow the cake to rise as it bakes.
- Tap or shake the molds: Gently tap or shake the molds on a flat surface to remove any air bubbles trapped in the batter. This will ensure an even texture in your finished cakes.
- Preheat your oven: Preheat your oven to the temperature specified in your cake recipe.
- Place the molds in the oven: Carefully place the filled cake molds onto a baking sheet or directly onto the oven rack. Make sure the molds are evenly spaced to allow for proper air circulation.
- Bake the cakes: Place the baking sheet with the cake molds into the preheated oven. Follow the recommended baking time in your recipe, but start checking for doneness a few minutes before the suggested time. The cakes are ready when a toothpick inserted into the center comes out clean or with a few moist crumbs.
- Remove the cakes from the oven: Once the cakes are fully baked, carefully remove them from the oven using oven mitts or heat-resistant gloves. Place them on a wire rack to cool.
- Cool the cakes: Let the cakes cool completely in the molds. This will ensure that they retain their shape and are easy to handle when it’s time to remove them.
- Remove the cakes from the molds: Once the cakes have cooled, gently tap the molds on a flat surface to release the cakes. If needed, use a toothpick or a small knife to loosen the edges and carefully lift the cakes out of the molds.
Now that you have successfully poured and baked the cakes, you’re ready to move on to the next steps in creating your beautifully decorated birthday cake candles. The cakes will serve as the base for your candles and will add a delicious touch to your final creation.
Step 4: Making the Candle Base
Now that you have your baked cakes ready, it’s time to move on to the next step: making the candle base. The candle base will provide stability and support for the candles on top of the cake.
Follow these steps to create the candle base:
- Prepare the work area: Find a clean and flat surface where you can work comfortably. Lay down a heat-resistant mat or surface to protect your table or countertop.
- Decide on the candle base shape: Determine the shape and size you want for your candle base. It can be circular, square, or any other desired shape that fits well with the theme of the birthday cake.
- Cut out the candle base: Using a sharp knife or a cookie cutter in the chosen shape, carefully cut out the candle base from one of the baked cakes. The size of the candle base should be slightly smaller than the diameter or width of the cake.
- Trim the candle base if needed: If the candle base is larger than you want, you can trim it down to the desired size using the knife or cookie cutter. Ensure that the trimmed base fits well on top of the cake without overhanging.
- Place the candle base on the cake: Gently place the prepared candle base on top of the cake, centered or positioned as desired. The base should be secure and stable on the cake surface.
- Press down lightly: Press down gently on the candle base to secure it in place. This will help it adhere to the cake and ensure stability when the candles are inserted.
Once you have made the candle base and placed it securely on the cake, you’re one step closer to completing your birthday cake candles. The candle base provides a solid foundation for the candles and adds an elegant touch to the overall presentation.
When making birthday cake candles, use high-quality wax for a clean burn and vibrant colors. Be sure to securely attach the wick to the bottom of the mold to prevent it from moving during pouring.
Step 5: Inserting the Wicks
With the candle base in place, it’s time to move on to the next step: inserting the wicks. The wicks will be the source of the beautiful flame that will bring your birthday cake candles to life.
Follow these steps to insert the wicks:
- Gather your pre-tabbed wicks: Ensure that you have enough pre-tabbed wicks for each candle you plan to make.
- Prepare the candle molds: If you are using candle molds that have a hole or indentation for the wick, skip to the next step. Otherwise, proceed to the following instructions.
- Create a hole for the wick: Using a sharp object, such as a skewer or a toothpick, gently create a hole in the center of each candle mold.
- Thread the wick through the hole: Take one pre-tabbed wick and thread it through the hole in the candle mold, leaving a small length sticking out at the top. The metal or paper tab should be at the bottom of the mold.
- Secure the wick: To keep the wick in place, you can use a wick sticker or a small amount of candle adhesive at the bottom of the mold. This will prevent the wick from moving or falling out during the pouring process.
- Repeat for the remaining candles: Repeat steps 4 and 5 for each candle mold until all wicks are securely placed.
- Ensure wick alignment: Check that the wicks in all the molds are straight and centered. Adjust them if needed before moving on to the next step.
With the wicks securely inserted into the candle molds, your birthday cake candles are taking shape. The wicks are now ready to be paired with the melted wax to create beautiful flames that will add charm and warmth to your celebration.
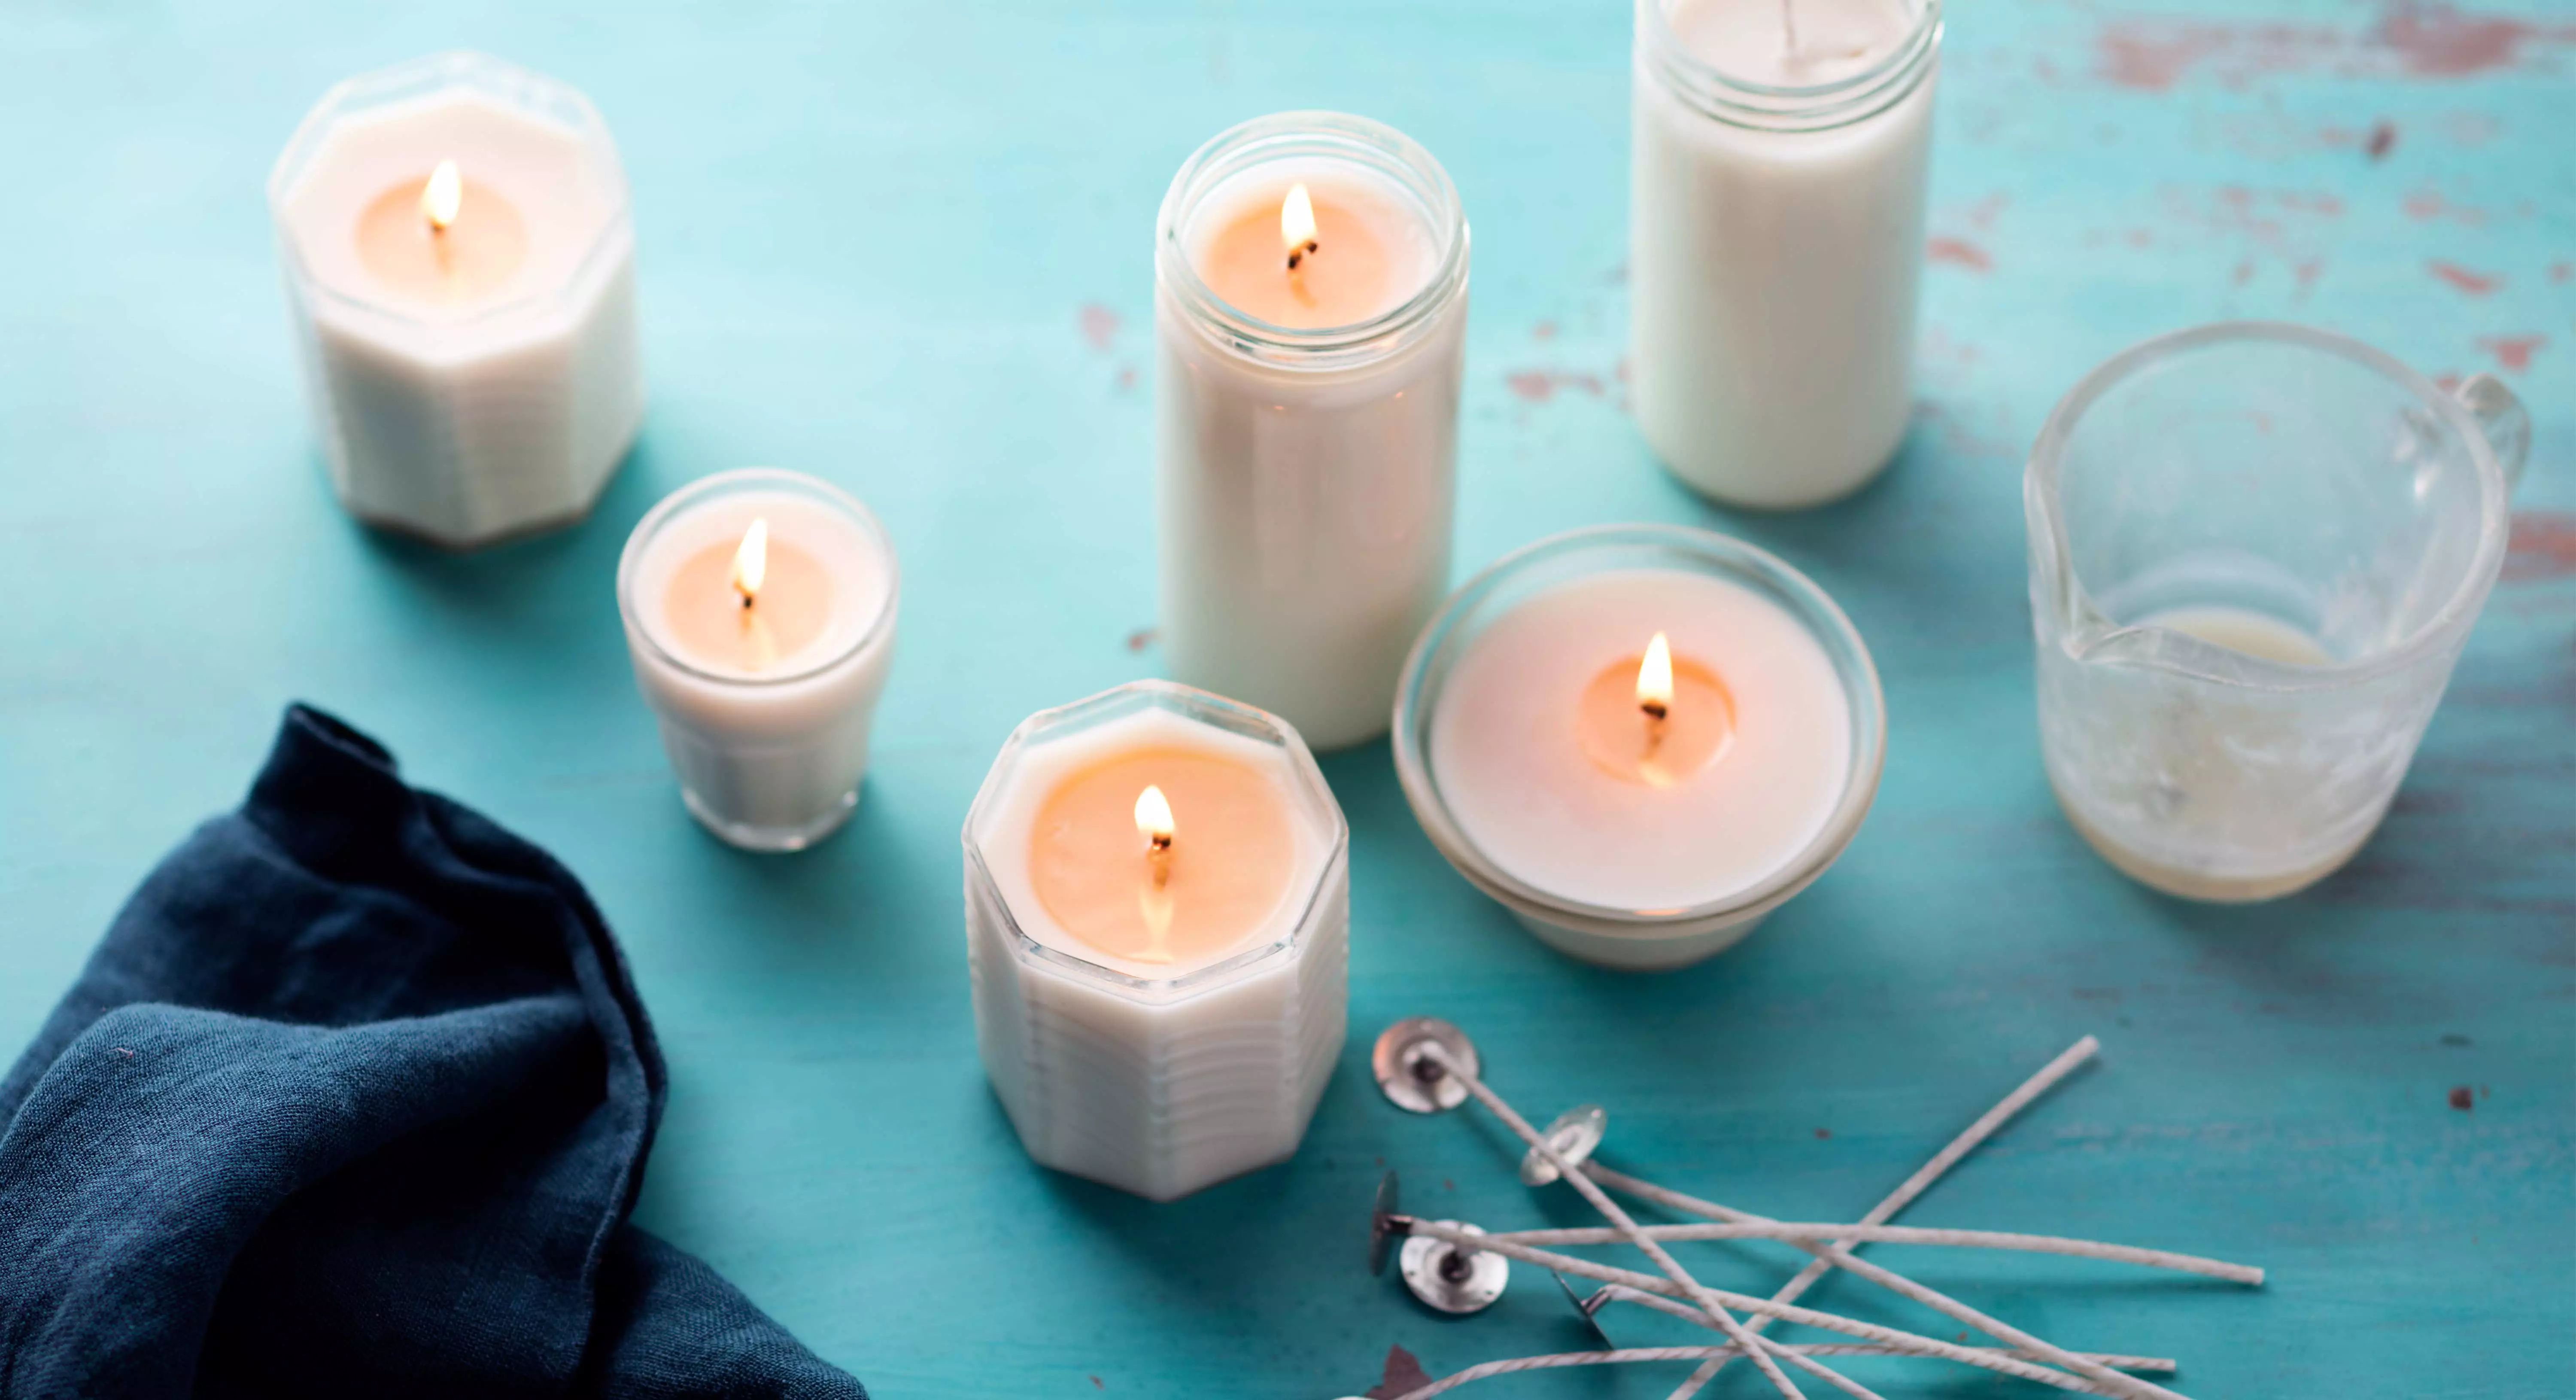
Step 6: Pouring the Wax
Now that the wicks are securely in place, it’s time to move on to the next step: pouring the wax into the candle molds. This step will transform your candle base and wicks into beautifully formed candles.
Follow these steps to pour the wax:
- Prepare the candle wax: If you’re using a block of candle wax, cut it into smaller chunks to help with melting. Follow the instructions on the wax packaging for melting temperatures and guidelines.
- Melt the wax: You can melt the wax using a double boiler or a microwave. If using a double boiler, fill the bottom pot with water and place it on the stove over medium heat. Place the chunks of wax in the top pot and heat until fully melted. If using a microwave, place the wax chunks in a microwave-safe container and heat in short bursts, stirring in between, until completely melted.
- Add color or fragrance (optional): If desired, you can add candle dye or fragrance oils to the melted wax. Follow the manufacturer’s instructions for the recommended amount to add and gently stir until well incorporated.
- Carefully pour the wax: Slowly and carefully pour the melted wax into each candle mold, ensuring that the wick remains centered. Stop pouring when the wax reaches about ¼ inch below the top edge of the mold.
- Tap or gently shake the molds: Lightly tap the molds or give them a gentle shake to release any air bubbles that may have formed. This will ensure a smooth and even surface for your candles.
- Allow the wax to cool and solidify: Let the wax cool and solidify completely. This process may take a few hours, depending on the size of the candles and the type of wax used. Avoid moving or disturbing the molds during this time.
While the wax solidifies, the magic is happening, and your birthday cake candles are taking shape. Once the wax has fully hardened, you can move on to the next step of decorating and adding the finishing touches to your candles.
Step 7: Decorating the Candles
With the candles solidified, it’s time to move on to the exciting step of decorating them. Decorating your birthday cake candles adds a personal touch and makes them truly unique for your special occasion. Get ready to let your creativity shine!
Follow these steps to decorate your candles:
- Gather your decorative materials: Choose the decorative materials you want to use, such as glitter, ribbons, beads, or sequins. Select colors and styles that complement the theme of your celebration.
- Prepare the adhesive: Depending on the decorative materials you choose, use an appropriate adhesive to attach them to the candles. For example, you can use craft glue, a hot glue gun, or double-sided adhesive tape.
- Apply adhesive to the candles: Apply a small amount of adhesive to the desired areas of the candles where you want to attach the decorative materials. Be careful not to use too much adhesive to prevent it from dripping or affecting the candle’s appearance.
- Attach the decorative materials: Carefully press or sprinkle the decorative materials onto the adhesive. Be creative with your placement, whether it’s covering the entire candle surface or strategically placing accents.
- Allow the decorations to set: Give the adhesive time to dry and set. Follow the instructions on the adhesive product for the recommended drying time to ensure the decorations stay in place.
Feel free to experiment with different textures, colors, and designs when decorating your candles. You can customize each candle or create a cohesive look by using similar decorative elements across all of them. Let your imagination run wild!
Once the decorations are set and dried, your birthday cake candles will look stunning and ready to light up the celebration. Remember to handle the candles with care to avoid disrupting the decorations.
Read more: How To Make Cup Cake Candles
Step 8: Final Touches and Presentation
Congratulations, you’re in the final step of creating your homemade birthday cake candles! This step involves adding the finishing touches to your candles and presenting them in a beautiful and memorable way.
Follow these steps to complete your candle-making journey:
- Trim the wicks: Using scissors, trim the wicks of your candles to a length of about ¼ inch. This will ensure a clean and even burn when the candles are lit.
- Clean the candles (if necessary): Remove any excess debris or stray decorative materials on the surface of the candles. You can use a soft brush or a damp cloth to gently clean them, taking care not to smudge or damage the decorations.
- Arrange the candles on the cake: Place your beautifully decorated birthday cake candles on top of the cake, positioning them in an aesthetically pleasing arrangement. Consider the overall design and balance as you place each candle.
- Light and enjoy: Once your candles are in place, it’s time to light them up! Use a long-handled lighter or match to ignite the wicks, and watch as the flames dance and flicker, creating a warm and magical ambiance.
- Celebrate and capture memories: Gather your loved ones around the cake, sing the traditional birthday song, and capture the special moments with photos or videos. The homemade candles will add a personal touch to the celebration and create lasting memories.
Remember to exercise caution when lighting the candles, keeping them away from flammable objects and never leaving them unattended. Enjoy the beauty and glow of your homemade birthday cake candles while celebrating the joyous occasion.
Now, it’s time to blow out the candles, make a wish, and indulge in a delicious slice of birthday cake with your loved ones. Congratulations on creating your very own unique and delightful birthday cake candles!
Conclusion
Congratulations on successfully making your own homemade birthday cake candles! By following the step-by-step instructions in this guide, you’ve embarked on a creative and fulfilling journey that has resulted in beautiful, personalized candles to adorn your birthday cake.
From gathering the materials and preparing the cake batter to pouring the wax and adding decorative touches, each step has contributed to the creation of unique and stunning candles that will add a touch of magic to any birthday celebration.
Through your creativity, you’ve been able to customize the candles to suit your desired theme or style. Whether you’ve added vibrant colors, exquisite designs, or delightful fragrances, your homemade birthday cake candles are a reflection of your personal taste and effort.
Remember to take proper safety precautions when lighting and enjoying your birthday cake candles. Keep them away from flammable items, never leave them unattended, and ensure they are placed on a stable surface to avoid accidents.
As you gather your loved ones around the cake, the warm glow from your homemade candles will create a magical atmosphere, making your birthday celebration even more memorable. Capture these special moments and cherish the joy that comes with sharing this special occasion with those you hold dear.
Whether you’re an experienced candle maker or a beginner, the process of creating birthday cake candles is a delightful and rewarding experience. It allows you to showcase your creativity, add a personal touch to every celebration, and create lasting memories.
So, next time you have a birthday to celebrate, unleash your imagination, gather your materials, and embark on the journey of making your very own homemade birthday cake candles. Let your creativity shine and bring joy to those around you with these personalized and beautiful decorations!
Frequently Asked Questions about How To Make Birthday Cake Candles
Was this page helpful?
At Storables.com, we guarantee accurate and reliable information. Our content, validated by Expert Board Contributors, is crafted following stringent Editorial Policies. We're committed to providing you with well-researched, expert-backed insights for all your informational needs.