Home>Gardening & Outdoor>Landscaping Ideas>How To Make A Grass Skirt
Landscaping Ideas
How To Make A Grass Skirt
Modified: August 17, 2024
Learn how to make a grass skirt for your landscaping with our easy step-by-step guide. Get creative with these landscaping ideas and enhance your outdoor space today!
(Many of the links in this article redirect to a specific reviewed product. Your purchase of these products through affiliate links helps to generate commission for Storables.com, at no extra cost. Learn more)
Introduction
Are you ready to bring a touch of tropical flair to your next luau or costume party? Look no further than a homemade grass skirt! Whether you're aiming for an authentic Polynesian look or simply want to add a fun and festive element to your outfit, crafting your own grass skirt is a fantastic way to unleash your creativity. In this guide, we'll walk you through the step-by-step process of creating a fabulous grass skirt that will have you swaying to the rhythm of the island breeze in no time.
Not only is making a grass skirt an enjoyable and rewarding DIY project, but it also offers an opportunity to connect with nature and explore your crafty side. By using natural materials and embracing the art of handcrafting, you can infuse your creation with a personal touch that sets it apart from store-bought alternatives. So, grab your supplies and get ready to embark on a journey of creativity and self-expression as we delve into the delightful world of grass skirt making. Let's dive in and discover how to fashion a fabulous grass skirt that will make you the life of the party!
Key Takeaways:
- Embrace your creativity and connect with nature by making a vibrant grass skirt using simple materials like grass or raffia, scissors, and elastic bands. Add personal flair with decorative elements for a fun and festive look.
- Craft a unique and eye-catching grass skirt for any occasion, from a luau to a costume party, and infuse it with your individuality through the process of measuring, cutting, and assembling the materials. Celebrate your creativity and the carefree spirit of the islands!
Read more: How To Make Grass Skirts Out Of Streamers
Materials Needed
Before we dive into the creative process of making a grass skirt, let’s gather the essential materials. The beauty of this project lies in its simplicity and accessibility, as you won’t need any specialized or expensive items. Here’s what you’ll need to get started:
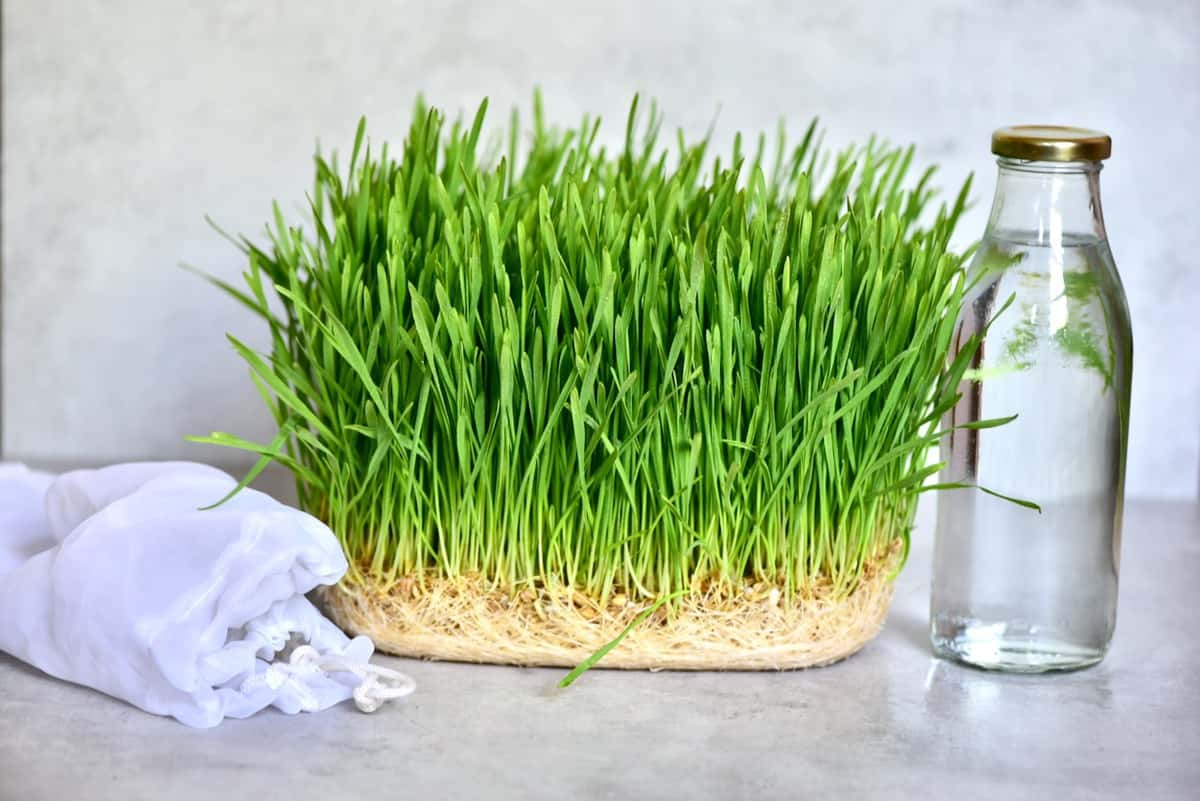
- Long pieces of grass or raffia
- Scissors
- Measuring tape
- Elastic band or twine
- Decorative elements (optional)
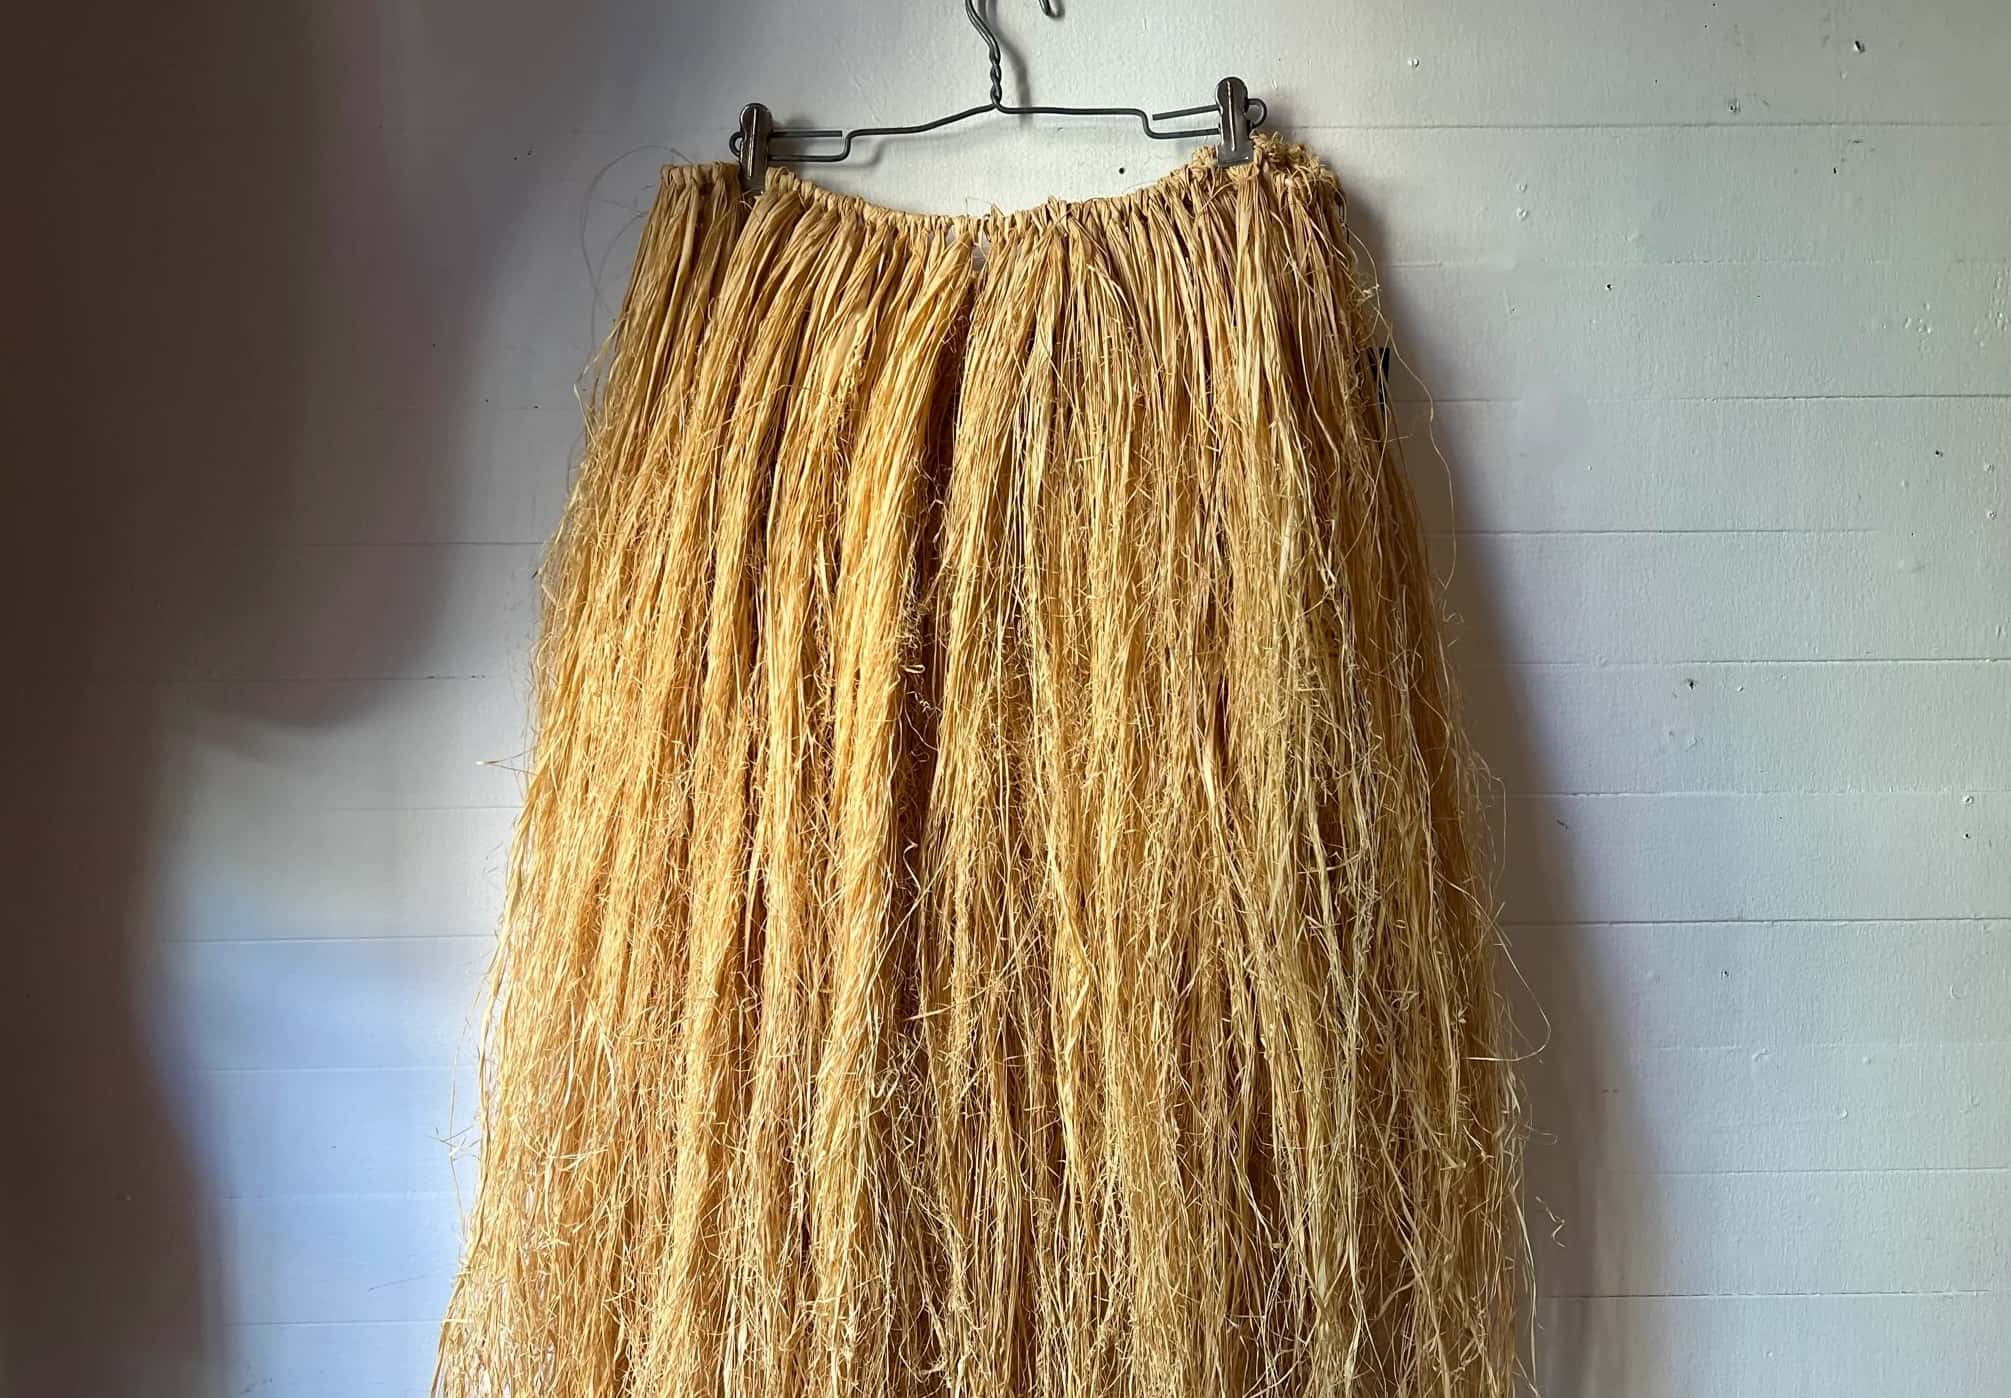
The primary material for your grass skirt will be, well, grass! You can use long, sturdy blades of grass, which can be found in your own backyard or local green spaces. Alternatively, raffia, a type of palm leaf often used in crafting, can be used as a substitute for natural grass. This versatile material is available at most craft stores and comes in an array of colors, allowing you to customize your skirt to suit your style or event theme.
In addition to your chosen grass or raffia, you’ll need a pair of scissors for cutting the material to the desired length. A measuring tape will come in handy for ensuring the skirt is the perfect fit, and an elastic band or twine will be used to form the waistband. Finally, if you’re feeling adventurous, consider incorporating decorative elements such as faux flowers or colorful beads to add an extra touch of charm to your grass skirt.
With these simple materials at your disposal, you’re all set to embark on the exciting journey of crafting your very own grass skirt. Now, let’s move on to the first step: measuring and cutting the grass!
Step 1: Measure and Cut the Grass
Now that you have gathered your materials, it’s time to dive into the creative process of making your grass skirt. The first step involves measuring and cutting the grass or raffia to the desired length. This will determine the overall look and feel of your skirt, so take your time and enjoy the process.
Begin by measuring the length you want your grass skirt to be. For a traditional ankle-length skirt, measure from your waist down to your ankles. If you prefer a shorter, knee-length skirt, measure accordingly. Once you have your desired length, add a few extra inches to account for any adjustments or trimming that may be needed later on.
Next, it’s time to cut the grass or raffia to the measured length. Lay the grass flat on a surface and use your scissors to carefully trim it to the specified size. If you’re using raffia, ensure that the strands are of equal length and neatly aligned to achieve a uniform appearance.
As you cut the grass, consider the density of the skirt. For a fuller, more voluminous look, you may choose to cut additional strands to create a lush and vibrant skirt. Conversely, if you prefer a lighter, more airy feel, fewer strands may suffice. This step allows you to tailor the skirt to your personal preferences, ensuring that it complements your style and the occasion for which it is intended.
Once you have measured and cut the grass to your satisfaction, you are ready to proceed to the next step: creating the waistband. This foundational element will provide structure and comfort, allowing your grass skirt to come together seamlessly. Let’s move on to the next step and continue our journey toward crafting a stunning grass skirt!
Step 2: Create the Waistband
With the grass or raffia cut to the desired length, it’s time to focus on creating the waistband that will hold your grass skirt together. The waistband serves as a crucial element, providing support and ensuring that your skirt stays comfortably in place as you dance and celebrate.
Start by selecting an elastic band or twine that will serve as the foundation of your waistband. If you opt for an elastic band, choose one that fits comfortably around your waist without being too tight. Alternatively, twine offers a rustic and natural aesthetic, allowing you to tie the skirt securely in place. Whichever option you choose, ensure that it is strong and durable enough to support the weight of the grass or raffia strands.
Once you have your chosen waistband material, it’s time to attach the grass to it. Lay the waistband flat on a surface and align the cut grass or raffia along its length. You may choose to overlap the strands slightly to create a fuller, more textured appearance. Secure the grass to the waistband using glue, thread, or small, discreet knots, ensuring that the attachment is secure and the grass is evenly distributed along the band.
As you work on attaching the grass to the waistband, consider the overall look you wish to achieve. You may opt for a uniform, neatly aligned appearance, or embrace a more organic, free-flowing arrangement. This is your opportunity to infuse your grass skirt with your personal style and creativity, so feel free to experiment and let your imagination guide you.
Once the grass is securely attached to the waistband, take a moment to admire your progress. You have now laid the foundation for a fabulous grass skirt that is as unique and vibrant as you are. With the waistband in place, we are ready to move on to the next step: attaching the grass to the waistband. Let’s continue our creative journey and bring our grass skirt to life!
To make a grass skirt, gather long grass or raffia and measure it around your waist. Cut the grass into strips and tie them onto a waistband. Trim the ends for a neat finish.
Step 3: Attach the Grass to the Waistband
With the waistband prepared, it’s time to attach the grass or raffia to create the body of your skirt. This step is where your grass skirt truly begins to take shape, and you can let your creativity flourish as you bring the strands together to form a beautiful and flowing garment.
Take the prepared waistband with the attached grass or raffia and hold it against your waist to determine the positioning and fit. This will give you a sense of how the skirt will look when worn and allow you to make any necessary adjustments before finalizing the attachment of the grass.
Once you are satisfied with the positioning, secure the waistband around your waist, ensuring a comfortable and secure fit. If you’re using an elastic band, it should stretch comfortably around your waist, while twine can be tied securely in place. Adjust the positioning of the grass strands as needed to ensure they flow evenly around the waistband, creating a balanced and harmonious appearance.
With the waistband in place, it’s time to affix the grass or raffia to it securely. You can use a needle and thread to sew the grass to the waistband, ensuring a strong and durable attachment. Alternatively, a hot glue gun can be used to bond the grass to the waistband, providing a secure and long-lasting connection.
As you attach the grass to the waistband, consider the movement and flow of the strands. Allow them to drape naturally, creating a graceful and fluid silhouette that captures the essence of a traditional grass skirt. Pay attention to the spacing and arrangement of the strands, ensuring that they are evenly distributed around the waistband for a polished and cohesive look.
As you complete this step, take a moment to envision the finished skirt and the joy it will bring as you twirl and dance in your creation. With the grass securely attached to the waistband, we are ready to move on to the final step: adding the finishing touches to complete your fabulous grass skirt. Let’s continue our journey and bring our creation to fruition!
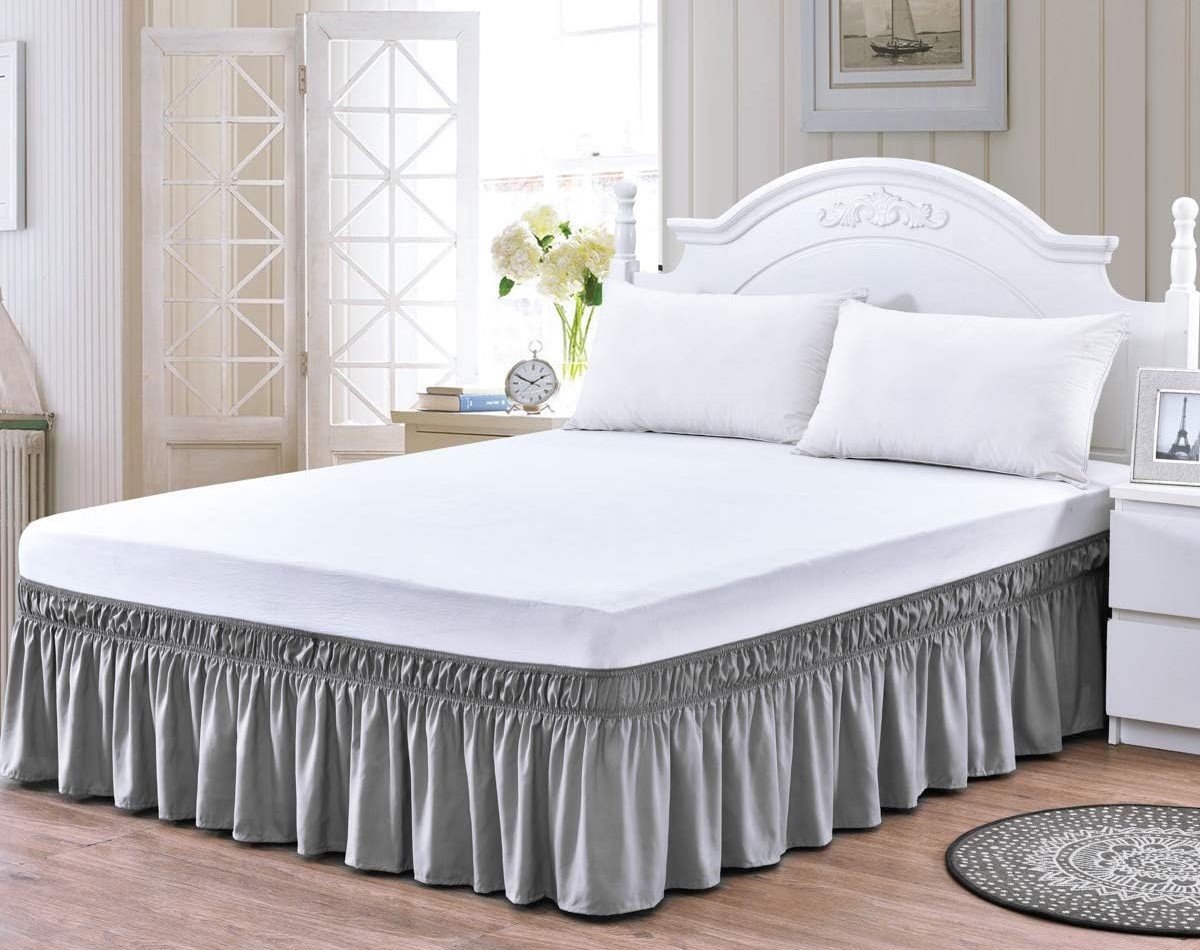
Read more: How To Make A Bed Skirt
Step 4: Finishing Touches
As you approach the final stage of creating your grass skirt, it’s time to add the finishing touches that will elevate your creation and make it truly unique. These subtle details can enhance the visual appeal of your skirt and provide an opportunity to infuse it with a touch of personal flair.
If you’re aiming for a traditional look, consider incorporating natural elements such as fresh flowers or vibrant foliage into your grass skirt. You can tuck these adornments between the grass strands, creating a delightful and fragrant embellishment that captures the spirit of the islands. Alternatively, colorful beads or shells can be woven into the grass, adding a playful and eye-catching element to your skirt.
For those seeking a more contemporary or themed approach, consider adding decorative elements that align with the event or occasion for which the skirt is intended. Whether it’s festive ribbons, faux jewels, or themed trinkets, these additions can inject a sense of fun and whimsy into your creation, making it a standout accessory for any celebration.
Once you have added the desired embellishments, take a moment to assess the overall look of your grass skirt. Ensure that the finishing touches are balanced and complement the natural beauty of the grass or raffia. This is your opportunity to express your individuality and creativity, so feel free to experiment and let your imagination run wild.
With the finishing touches in place, step back and admire your handiwork. You have transformed simple grass or raffia into a stunning and vibrant skirt that exudes charm and personality. Whether you’re preparing for a festive gathering, a costume party, or simply a day of lighthearted fun, your grass skirt is sure to captivate attention and spark joy wherever you go.
Now that you have completed the final step, it’s time to celebrate your accomplishment and embrace the joy of wearing your fabulous grass skirt. With its natural beauty and unique charm, your creation is a testament to your creativity and craftsmanship. So, slip into your grass skirt, feel the rhythm of the music, and dance with unbridled enthusiasm, knowing that you have brought a touch of tropical enchantment to life.
Congratulations on crafting your very own grass skirt, and may it bring endless delight and festive spirit to your every step!
Conclusion
Congratulations on embarking on a delightful journey of creativity and self-expression as you learned how to make a fabulous grass skirt! Through this DIY project, you have harnessed your imagination and crafting skills to fashion a stunning and vibrant garment that captures the essence of tropical allure.
As you crafted your grass skirt, you not only engaged in a fun and rewarding activity but also connected with the natural world, using simple materials to create a beautiful and functional piece of attire. The process of measuring, cutting, and assembling the grass or raffia allowed you to infuse your creation with personal style and flair, resulting in a unique and eye-catching garment that reflects your individuality.
By following the step-by-step instructions and infusing your own creativity into the process, you have brought a touch of the tropics into your world, creating a versatile and charming accessory that is perfect for a variety of occasions. Whether you’re attending a festive luau, adding flair to a costume party, or simply seeking a lighthearted and whimsical look, your grass skirt is a delightful expression of your creativity and style.
As you wear your grass skirt, adorned with the finishing touches that make it truly your own, take pride in the craftsmanship and artistry that went into its creation. Let it be a symbol of joy and celebration, inviting you to dance, twirl, and revel in the carefree spirit of the islands wherever you go.
Remember, the beauty of a grass skirt lies not only in its vibrant appearance but also in the joy and lightheartedness it brings to those who wear it and those who behold it. Embrace the festive spirit, feel the rhythm of the music, and let your grass skirt become a symbol of carefree merriment and unbridled enthusiasm.
With your newfound knowledge and creativity, you have unlocked the potential to create a myriad of captivating grass skirts, each infused with its own unique charm and personality. So, whether you’re crafting for yourself or sharing the joy of creation with others, the art of making a grass skirt is a delightful and fulfilling endeavor that invites you to unleash your imagination and celebrate the beauty of handmade craftsmanship.
So, as you revel in the joy of wearing your fabulous grass skirt, may it serve as a testament to your creativity, individuality, and the boundless possibilities that come to life through the art of crafting. Here’s to the enchanting allure of the tropics, captured in the vibrant strands of your very own grass skirt!
Frequently Asked Questions about How To Make A Grass Skirt
Was this page helpful?
At Storables.com, we guarantee accurate and reliable information. Our content, validated by Expert Board Contributors, is crafted following stringent Editorial Policies. We're committed to providing you with well-researched, expert-backed insights for all your informational needs.


0 thoughts on “How To Make A Grass Skirt”