Articles
How To Patch Cracks In A Driveway
Modified: February 28, 2024
Learn how to effectively patch cracks in your driveway with our informative articles. Protect your driveway from further damage and maintain its longevity.
(Many of the links in this article redirect to a specific reviewed product. Your purchase of these products through affiliate links helps to generate commission for Storables.com, at no extra cost. Learn more)
Introduction
Welcome to our comprehensive guide on how to patch cracks in the driveway. Over time, driveways can develop cracks due to various factors such as weather conditions, heavy traffic, or improper installation. These cracks not only affect the overall appearance of your driveway but can also worsen if left unattended, leading to more extensive damage.
Fortunately, patching cracks in the driveway is a relatively simple and cost-effective solution that can help restore the integrity and aesthetic appeal of your paved surface. In this article, we will walk you through the step-by-step process of assessing the damage, gathering the necessary tools and materials, cleaning the cracks, applying the patching material, and finishing the repair.
Whether you are a seasoned DIY enthusiast or a beginner looking to tackle your first home improvement project, this guide will provide you with the essential knowledge and techniques to successfully patch cracks in your driveway.
Before we dive into the details, it’s important to note that the severity and size of the cracks in your driveway may vary. It’s essential to assess the condition of your driveway and determine whether it needs simple cosmetic repairs or more extensive treatments. Small hairline cracks can often be easily fixed with a DIY approach, but larger cracks or structural issues may require professional intervention.
Now that we understand the importance of fixing driveway cracks and have established the scope of this guide, let’s move on to the first step: assessing the damage.
Key Takeaways:
- Restore the integrity and appearance of your driveway by following a step-by-step process to patch cracks, ensuring longevity and functionality with DIY confidence.
- Prioritize safety, gather essential tools, and follow manufacturer’s instructions to successfully repair driveway cracks, enhancing curb appeal and preserving functionality.
Read more: How To Patch Holes In Driveway
Assessing the Damage
Before beginning any repair work on your driveway, it’s crucial to assess the extent of the damage. This step will help you determine the appropriate repair method and the materials you’ll need.
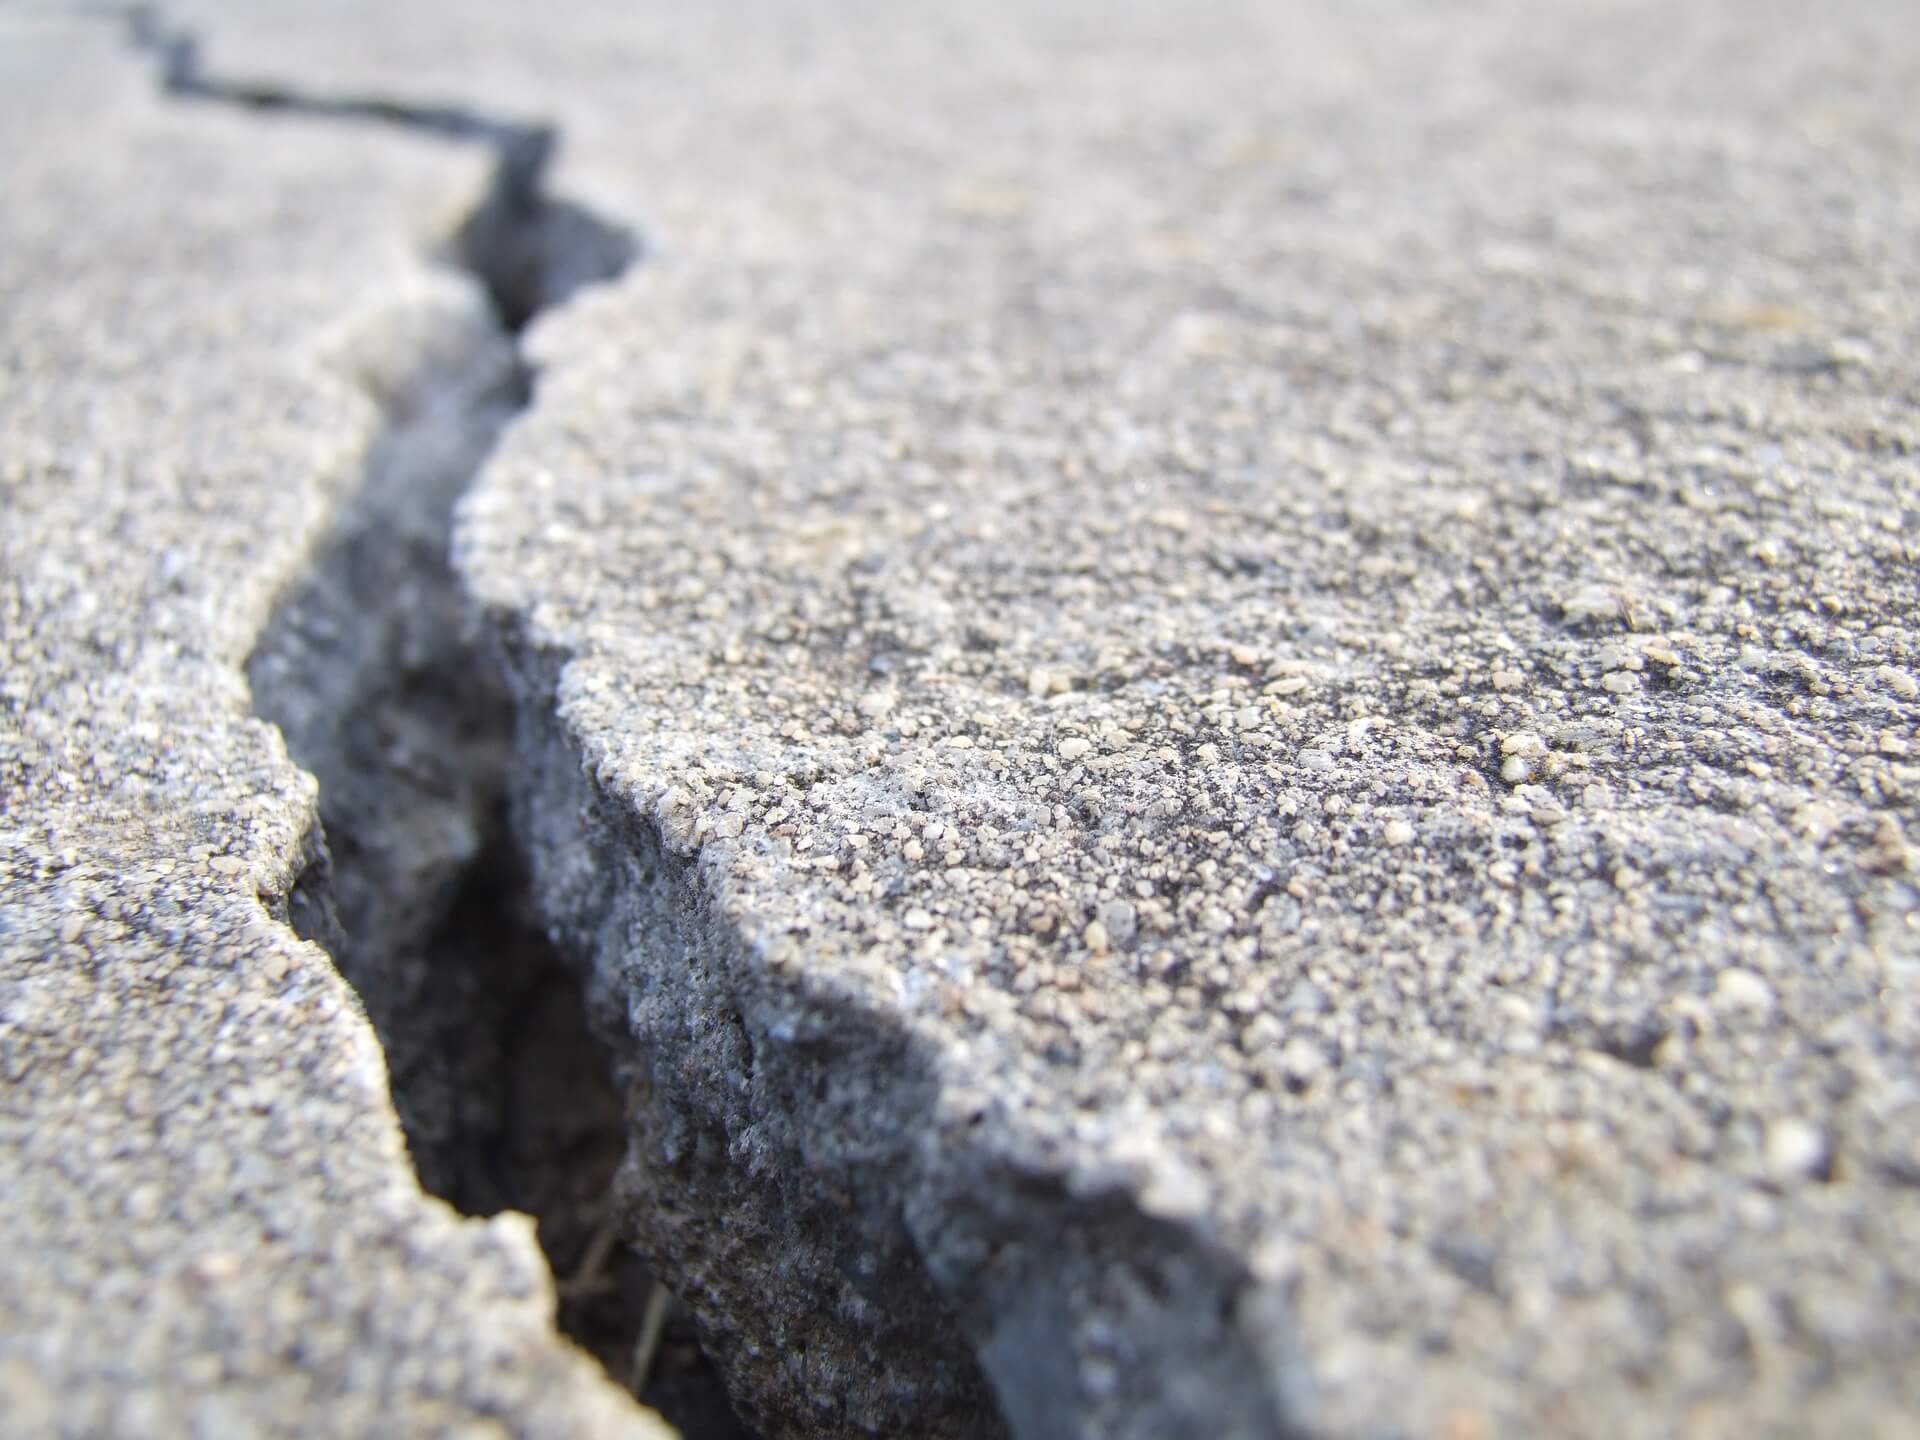
Start by examining your driveway closely and identifying all visible cracks. Take note of their size, depth, and location. Small hairline cracks are usually less than ¼ inch wide, while larger cracks can be more than an inch wide. Additionally, pay attention to any other signs of damage like potholes, crumbling edges, or uneven surfaces.
If you notice that the cracks are relatively shallow and only affect the top layer of the driveway, it’s likely that you’re dealing with surface cracks that can be fixed with a simple patching material. However, if the cracks are deeper and extend through multiple layers of the driveway, it may indicate a more serious structural issue that requires professional attention.
Another crucial factor to consider is the climate in your area. If you live in an area with extreme temperature fluctuations or freeze-thaw cycles, the cracks in your driveway will be subjected to more stress and may require additional measures to ensure a lasting repair.
Once you’ve assessed the damage and determined that it’s within your capabilities to repair, you can move on to the next step: gathering the necessary tools and materials.
Gathering the Tools and Materials
Before you can start patching the cracks in your driveway, it’s important to gather all the necessary tools and materials. Having everything prepared in advance will save you time and ensure a smooth repair process.
Here is a list of the essential tools and materials you’ll need:
- Protective gear: Safety should always be a priority when working on any home improvement project. Make sure to wear gloves, safety goggles, and a dust mask to protect yourself from any potential hazards.
- Cleaning tools: You’ll need a wire brush or a stiff broom to clean the cracks and remove any debris or loose materials.
- Crack filler or patching material: There are various options available for filling cracks in driveways, including liquid crack fillers, asphalt-based patching compounds, or concrete repair products. Choose a product that is suitable for the type of driveway surface you have.
- Applicator tool: Depending on the chosen crack filling material, you may need a caulking gun, trowel, or putty knife to apply the patching material smoothly and evenly into the cracks.
- Sealant: Once the cracks are patched, applying a sealant will help protect the repair and enhance its longevity. Choose a high-quality driveway sealant that is compatible with the crack filler or patching material.
- Disposable containers and mixing tools: If you’re using a crack filler or patching compound that needs to be mixed, ensure you have disposable containers and mixing tools such as a trowel or paint stick to prepare the material.
- A pressure washer or hose: To thoroughly clean the cracks and the surrounding area, you’ll need a pressure washer or a garden hose with a high-pressure nozzle attachment.
- Old cloths or rags: These will come in handy for wiping away excess patching material and cleaning up any spills.
Once you have gathered all the necessary tools and materials, you’re ready to move on to the next step: cleaning the cracks.
Cleaning the Cracks
After assessing the damage and gathering the tools and materials, it’s time to clean the cracks in your driveway. Proper cleaning is essential to ensure a strong bond between the patching material and the existing surface, resulting in a more effective and durable repair.
Here’s a step-by-step guide to cleaning the cracks:
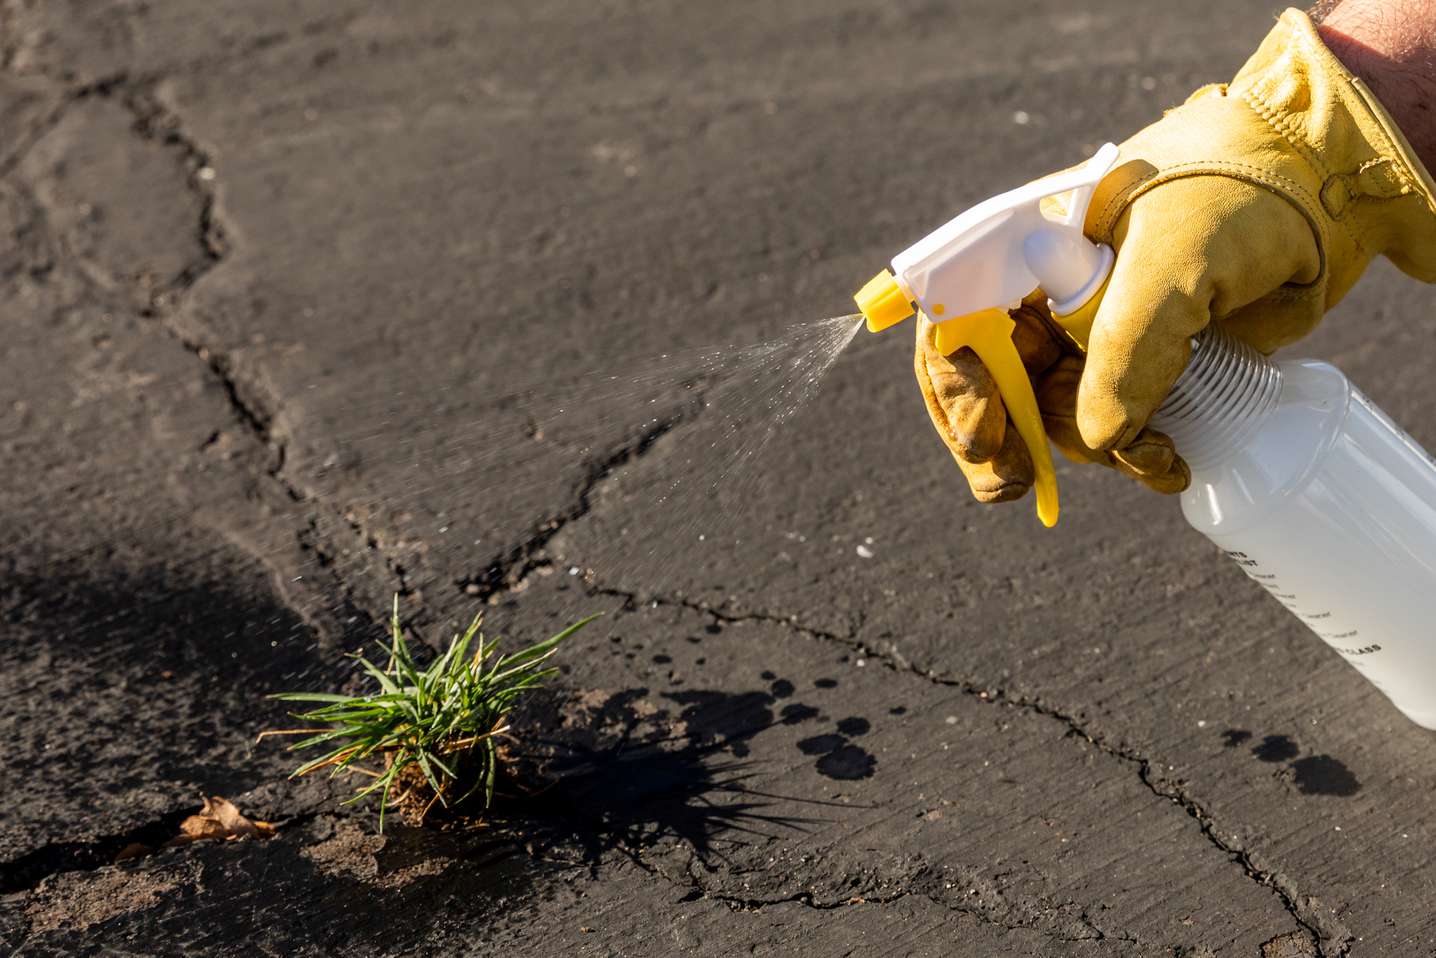
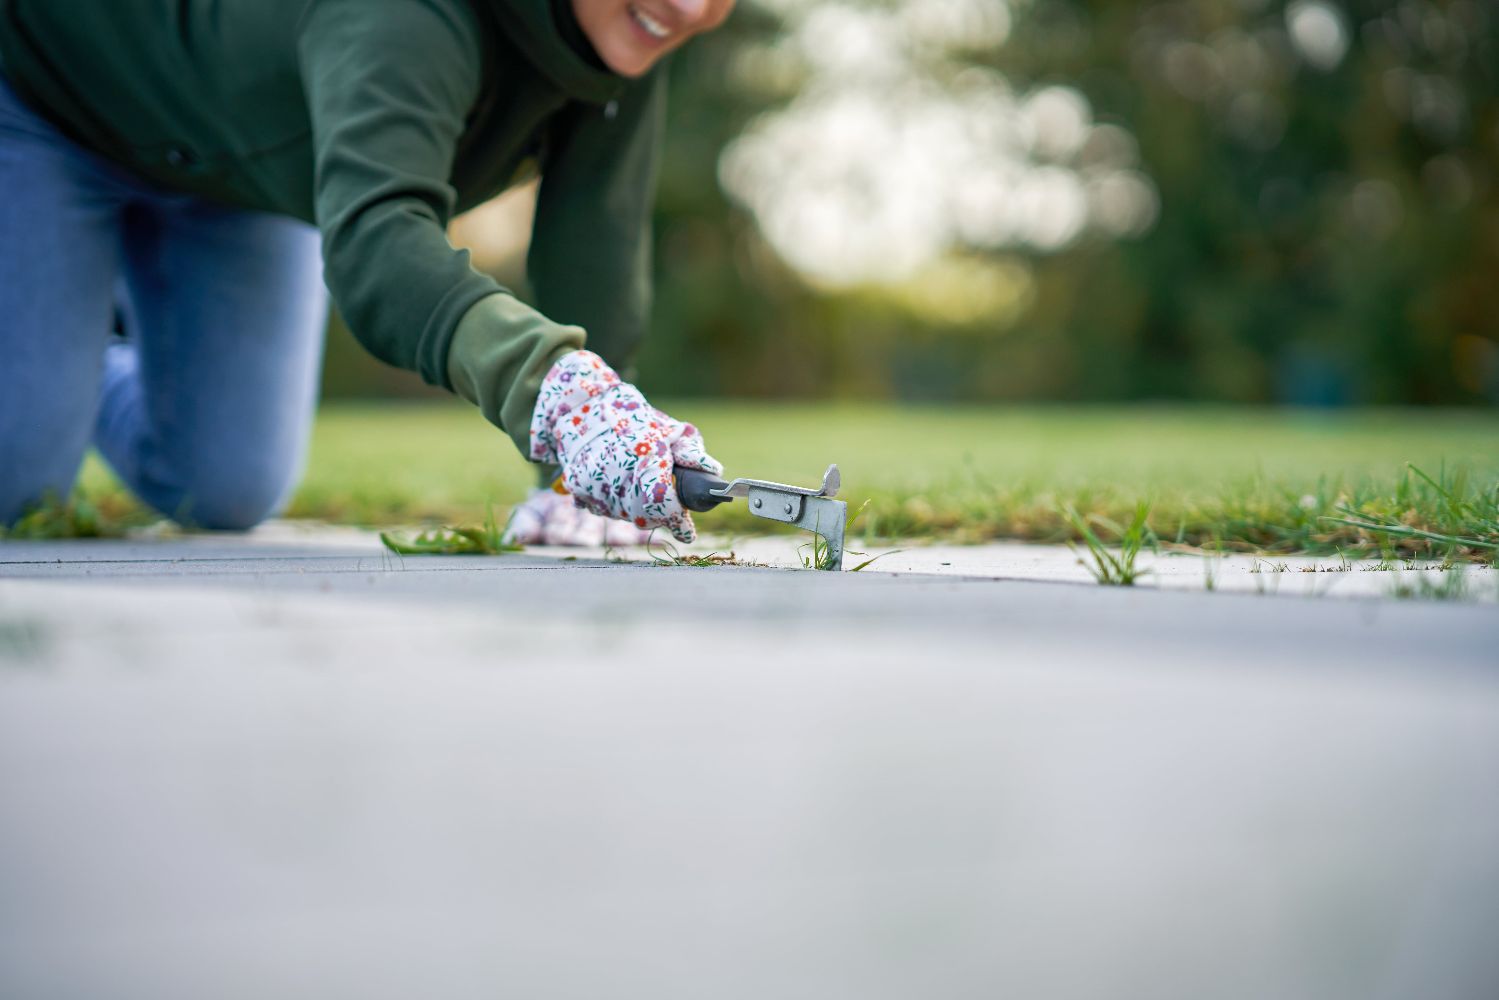
- Remove any loose debris: Start by using a wire brush or a stiff broom to sweep away any loose materials, dirt, or vegetation from the cracks. You can also use a high-pressure nozzle attachment on a hose or a pressure washer to loosen and remove more stubborn debris.
- Scrub the cracks: Once the large debris is removed, use the wire brush or a similar tool to scrub the cracks thoroughly. This will help remove any remaining dirt, dust, or loose particles that may hinder the bonding process.
- Rinse with water: After scrubbing, rinse the cracks with water to remove any loosened debris or cleaning residue. This will ensure a clean surface for the patching material to adhere to.
- Allow the cracks to dry: Before proceeding with the patching, make sure the cracks are completely dry. Depending on the weather conditions and the material of your driveway, this may take a few hours or even a day. Avoid applying the patching material to damp or wet cracks as it will compromise the effectiveness of the repair.
Once the cracks are thoroughly cleaned and dried, you’re ready to move on to the next step: applying the patching material.
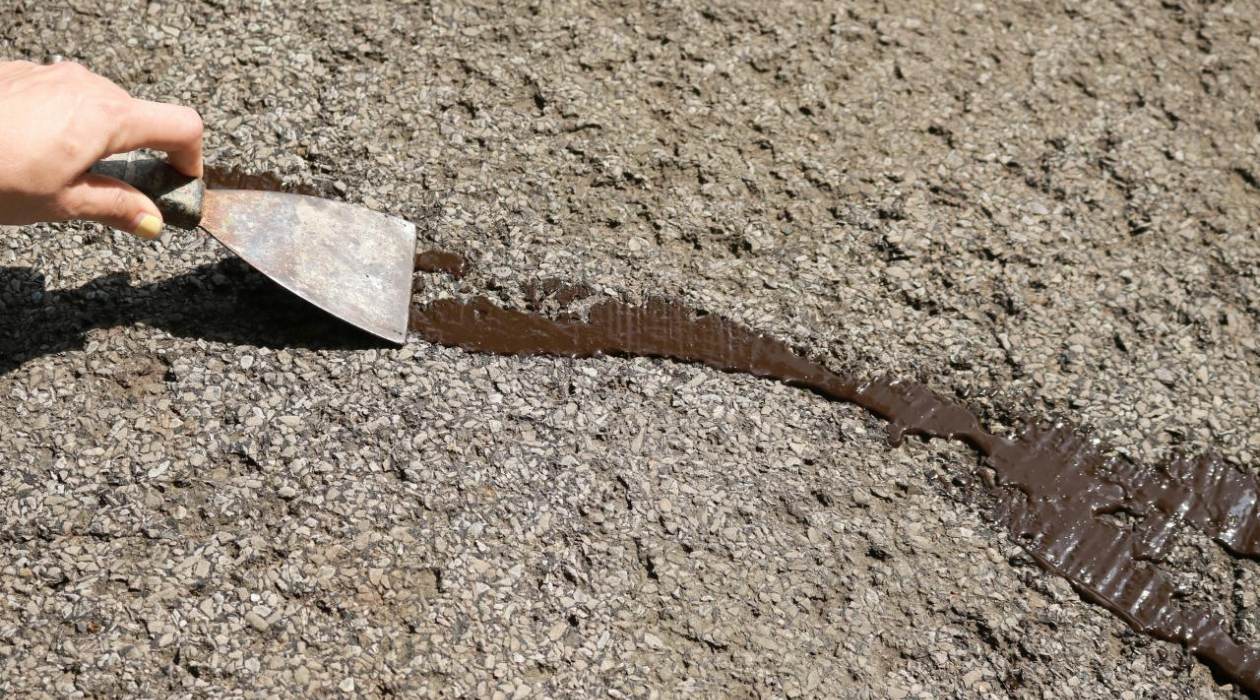
Clean out the crack with a wire brush and then fill it with a high-quality crack filler. Smooth the surface with a trowel and allow it to dry before driving over it.
Applying the Patching Material
Now that you have cleaned the cracks in your driveway, it’s time to apply the patching material. This step will fill the cracks and create a smooth surface, restoring the integrity and appearance of your driveway.
Here’s how to apply the patching material:
- Read and follow the manufacturer’s instructions: Different patching materials may have specific instructions and guidelines for application. Make sure to carefully read and follow the instructions provided by the manufacturer.
- Prepare the patching material: If you are using a patching compound that requires mixing, prepare the material according to the manufacturer’s instructions. Use disposable containers and mixing tools like a trowel or paint stick to ensure proper mixing.
- Apply the patching material: Using an applicator tool such as a caulking gun, putty knife, or trowel, fill the cracks with the patching material. Start from one end of the crack and work your way to the other end, ensuring that the material completely fills the cracks. Apply the patching material slightly above the surface of the driveway to account for any shrinkage.
- Smooth the surface: After filling the cracks, use the applicator tool to smooth the surface of the patching material. This will help blend it seamlessly with the surrounding area and create a uniform appearance. Make sure to work quickly before the patching material sets and hardens.
It’s important to note that different patching materials may have varying drying times. Follow the manufacturer’s instructions regarding the drying time and avoid walking or driving on the patched area until it is fully cured.
Once you have applied and smoothed the patching material, you can move on to the next step: smoothing and finishing the repair.
Read more: What Causes Cracks In Driveway
Smoothing and Finishing the Repair
After applying the patching material to the cracks in your driveway, it’s time to smooth and finish the repair. This step will ensure a seamless blend between the patched area and the surrounding driveway, creating a polished and professional-looking result.
Here are the steps to smooth and finish the repair:
- Level the surface: Use a trowel or putty knife to level the surface of the patched area. Smooth out any unevenness or excess patching material to create a flat and uniform surface.
- Blend with the surrounding area: While the patching material is still fresh and pliable, take a few moments to carefully blend it with the surrounding driveway. Use the trowel or a small brush to feather the edges of the patch, ensuring a seamless transition between the patched area and the rest of the surface.
- Remove excess material: Wipe away any excess patching material from the driveway using an old cloth or rag. Pay attention to the edges and corners of the patched area to create a neat and tidy finish.
- Allow the repair to dry and cure: Follow the manufacturer’s instructions regarding the drying and curing time for the patching material. This may take a few hours or even a day, depending on the product used. Avoid walking or driving on the repaired area until it is fully cured to prevent any damage or disturbances to the repair.
- Inspect the repair: Once the patch has fully dried and cured, take a close look at the repaired area. Check for any imperfections or spots that may require further touch-ups or adjustments. If necessary, repeat the smoothing and finishing process to achieve a satisfactory result.
By carefully smoothing and finishing the repair, you will achieve a professional-looking outcome that seamlessly blends with the rest of your driveway.
Now that the repair is complete, it’s time to move on to the final step: curing and sealing the patched cracks.
Curing and Sealing the Patched Cracks
After completing the patching and finishing process, it’s important to properly cure and seal the patched cracks in your driveway. This final step will enhance the longevity and durability of the repair, protecting it from further damage and deterioration.
Here’s how to cure and seal the patched cracks:
- Curing: Follow the manufacturer’s instructions regarding the curing time for the patching material. Curing times can vary depending on the product used, weather conditions, and other factors. Allow sufficient time for the patch to fully dry and cure before proceeding with the sealing process.
- Inspect the repair: Once the patch has cured, closely examine the repaired area for any signs of cracking, flaking, or other issues. If you notice any problems, take the necessary steps to address them before proceeding with sealing.
- Choose a suitable driveway sealer: Select a high-quality driveway sealer that is compatible with the patching material used. There are various types of sealers available, such as acrylic-based, epoxy-based, or asphalt-based. Consider factors such as the climate in your area and the level of protection you desire when choosing the right sealer.
- Apply the sealer: Before applying the sealer, thoroughly clean the entire driveway surface. Remove any dirt, debris, or loose materials using a broom, pressure washer, or hose with a high-pressure nozzle attachment. Allow the surface to dry completely before sealing.
- Follow the manufacturer’s instructions: Read and follow the manufacturer’s instructions regarding the application of the sealer. Use a roller, brush, or sprayer to apply the sealer evenly and ensure complete coverage of the patched cracks. Work in small sections to avoid missing any areas.
- Allow the sealer to dry: Once the sealer has been applied, allow it to dry according to the manufacturer’s instructions. This may require a few hours or even a day, depending on the sealer and the weather conditions. Avoid walking or driving on the newly sealed driveway until it is fully dry and cured.
Regularly maintaining and resealing your driveway will help protect it from future cracks and damage. It’s recommended to reapply the sealer every few years or as needed, following the manufacturer’s guidelines.
Congratulations! You have successfully completed the process of patching, smoothing, curing, and sealing the cracks in your driveway. By following these steps and taking the necessary precautions, you’ve restored the integrity and appearance of your driveway, ensuring its longevity for years to come.
Remember to always prioritize safety and follow the manufacturer’s instructions for the tools and materials used. With proper care and maintenance, your patched cracks will remain in excellent condition, allowing you to enjoy a beautiful and functional driveway.
And with that, we’ve reached the end of our guide on how to patch cracks in the driveway. We hope you found this information helpful and that it empowers you to take on this DIY project with confidence.
Happy repairing!
Conclusion
Repairing cracks in your driveway is a crucial maintenance task that not only enhances the curb appeal of your home but also ensures the longevity and functionality of your driveway. By following the step-by-step process outlined in this comprehensive guide, you can successfully patch cracks in your driveway and achieve professional-looking results.
From assessing the damage to gathering the necessary tools and materials, cleaning the cracks, applying the patching material, smoothing and finishing the repair, to curing and sealing the patched cracks, each step plays a vital role in restoring the integrity and appearance of your driveway.
Remember to approach the repair process with safety in mind, wearing protective gear and following the manufacturer’s instructions for the tools and materials used. Assess the severity of the cracks and determine whether they can be easily patched with a DIY approach or if professional intervention is required.
Regular maintenance and periodic resealing of your driveway will help protect it from future damage and extend its lifespan. Keep an eye out for any signs of new cracks or deterioration, and address them promptly.
We hope this guide has provided you with the knowledge and confidence to tackle the task of patching cracks in your driveway. By dedicating some time and effort to this project, you can preserve the beauty and functionality of your driveway for years to come.
Thank you for reading and happy repairing!
Frequently Asked Questions about How To Patch Cracks In A Driveway
Was this page helpful?
At Storables.com, we guarantee accurate and reliable information. Our content, validated by Expert Board Contributors, is crafted following stringent Editorial Policies. We're committed to providing you with well-researched, expert-backed insights for all your informational needs.


0 thoughts on “How To Patch Cracks In A Driveway”