Home>Gardening & Outdoor>Outdoor Entertaining>How To Fold Little Tikes Picnic Table
Outdoor Entertaining
How To Fold Little Tikes Picnic Table
Modified: August 27, 2024
Learn how to fold the Little Tikes picnic table for easy storage and outdoor entertaining. Follow our step-by-step guide for hassle-free folding. Ideal for outdoor gatherings and playtime.
(Many of the links in this article redirect to a specific reviewed product. Your purchase of these products through affiliate links helps to generate commission for Storables.com, at no extra cost. Learn more)
Introduction
Welcome to the wonderful world of outdoor entertaining, where the laughter of friends and the joy of family gatherings fill the air. As you prepare to host your next alfresco event, you may find yourself faced with the task of folding a Little Tikes picnic table. Whether you're tidying up after a delightful day of outdoor feasting or stowing the table away for the season, knowing how to fold it properly is essential for both convenience and space-saving.
In this guide, we'll walk you through the step-by-step process of folding a Little Tikes picnic table with ease. By following these simple instructions, you'll be able to tuck away your picnic table efficiently, allowing for more space in your outdoor area. So, grab your tools and let's get started on mastering the art of folding a Little Tikes picnic table!
Key Takeaways:
- Master the art of folding a Little Tikes picnic table with ease, creating more space for outdoor fun and gatherings. Preparation, methodical folding, and proper securing are key to a successful folding process.
- Embrace the convenience of neatly folded and secured picnic table, ready for the next adventure. With newfound expertise, confidently navigate the folding process, ensuring a reliable centerpiece for countless outdoor gatherings.
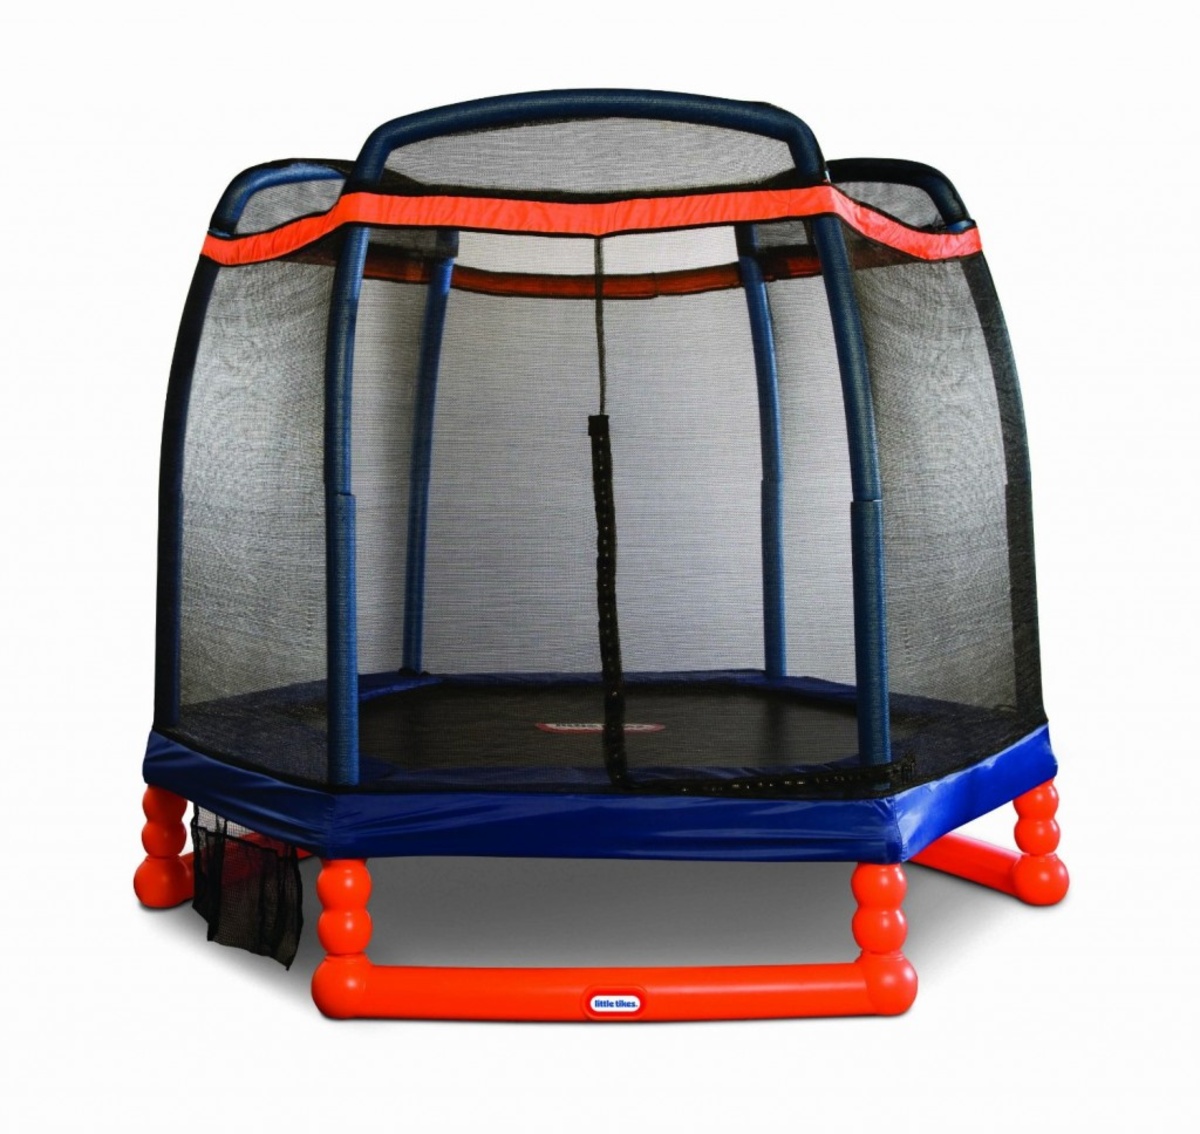
Read more: How To Disassemble Little Tikes Trampoline
Step 1: Gather the Necessary Tools and Materials
Before embarking on the journey of folding your Little Tikes picnic table, it’s essential to gather the required tools and materials. Ensuring that you have everything at hand will streamline the folding process and prevent any interruptions due to missing items. Here’s what you’ll need:
- Clean Cloth: Begin by wiping down the picnic table with a clean cloth to remove any dirt, debris, or food residue. This will not only make the folding process more pleasant but also help maintain the table in top condition for future use.
- Stable Surface: Place the picnic table on a stable and level surface to facilitate the folding process. This will ensure that the table remains steady and secure as you work on folding it.
- Assistance: While not a tangible tool, having a helping hand can make the folding process smoother, especially for larger or heavier picnic tables. Enlist the support of a friend or family member to assist with certain steps, such as lifting or securing the table.
By gathering these essential tools and materials, you’ll be well-prepared to embark on the journey of folding your Little Tikes picnic table with confidence and ease.
Step 2: Prepare the Picnic Table for Folding
Before diving into the folding process, it’s crucial to prepare the picnic table to ensure a seamless and efficient folding experience. Taking the time to ready the table will not only simplify the folding procedure but also contribute to the table’s longevity. Here’s how to prepare the picnic table for folding:
- Clear the Surface: Begin by removing any items, such as dishes, utensils, or decorations, from the picnic table’s surface. Clearing the table will create a clutter-free environment for folding and prevent any items from obstructing the process.
- Inspect for Debris: Thoroughly inspect the table for any debris, such as leaves, twigs, or crumbs, that may have accumulated on or around it. Clearing away debris will prevent it from interfering with the folding mechanism and ensure a smooth folding process.
- Check for Stability: Verify that the table is on a stable surface and all its components, such as the legs and hinges, are in good condition. Ensuring stability and structural integrity is essential for a safe and effective folding process.
- Apply Lubrication (If Needed): If the picnic table’s hinges or moving parts seem stiff or resistant, consider applying a suitable lubricant to facilitate smooth movement during folding. This simple step can make the folding process significantly easier.
By meticulously preparing the picnic table for folding, you’ll set the stage for a hassle-free and efficient folding experience. Taking these preparatory measures demonstrates care for your outdoor furniture and contributes to its continued functionality for many gatherings to come.
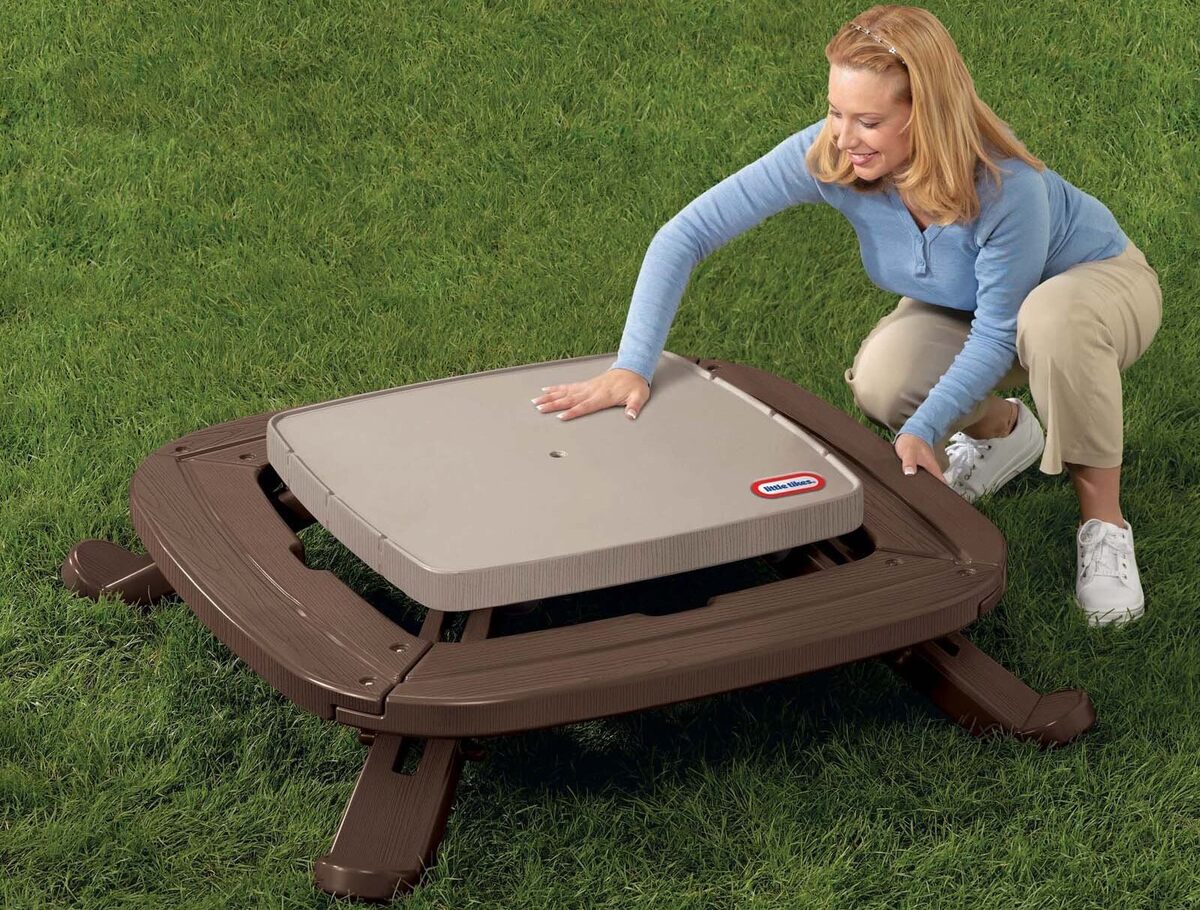
To fold a Little Tikes picnic table, first remove any items on the table. Then, press the red buttons on each side of the table to unlock the legs. Finally, fold the legs in towards the center of the table until they click into place.
Step 3: Fold the Little Tikes Picnic Table
Now that the picnic table is prepped and ready, it’s time to delve into the actual folding process. Folding a Little Tikes picnic table is a straightforward endeavor, provided you approach it with a methodical and patient mindset. Follow these steps to fold the table with ease:
- Unlock the Hinges: If your picnic table features locking hinges, ensure that they are in the unlocked position. This will allow the table’s components to move freely during the folding process.
- Collapse the Seats: Begin by collapsing the seats of the picnic table. Lift each seat and guide it toward the center of the table, where it will meet the tabletop once folded. Ensure that the seats are securely in place to avoid any unexpected movement during folding.
- Fold the Tabletop: With the seats collapsed, proceed to fold the tabletop. Depending on the table’s design, this may involve a simple folding motion or a specific mechanism to secure the tabletop in its folded position. Follow the manufacturer’s instructions for your particular model.
- Secure the Components: Once the table is folded, ensure that all components are securely locked or fastened in place. This may involve latches, clasps, or other securing mechanisms designed to keep the table in its folded configuration.
By following these steps, you’ll successfully fold your Little Tikes picnic table, transforming it into a compact and easily storable form. Remember to approach the folding process patiently and attentively, ensuring that each component is properly positioned and secured for safe storage.
Step 4: Secure the Folded Table
With the Little Tikes picnic table neatly folded, the final step involves securing it for storage or transportation. Properly securing the folded table is essential to prevent any unexpected unfolding and to maintain its compact form. Follow these guidelines to secure the folded table effectively:
- Check Locking Mechanisms: Verify that any locking mechanisms, such as latches or clasps, are engaged to secure the folded components in place. Ensuring that these mechanisms are properly fastened will prevent the table from inadvertently unfolding.
- Stabilize the Table: If the folded table is to be stored upright, ensure that it is stabilized to prevent tipping or toppling. Placing it against a stable surface or using support to keep it upright will maintain its compact form and prevent damage.
- Use Protective Covering (If Applicable): If the folded table will be stored outdoors or in an exposed area, consider using a protective covering to shield it from the elements. This will help preserve the table’s condition and extend its lifespan.
- Secure for Transportation (If Needed): If the folded table will be transported, secure it in a vehicle or container to prevent shifting or damage during transit. Use appropriate restraints or packing materials to keep the table stable and protected.
By following these steps, you’ll effectively secure the folded Little Tikes picnic table, ensuring that it remains in its compact and storable form until its next outdoor gathering. Properly securing the table contributes to its longevity and functionality, allowing you to enjoy many more memorable moments around it.
Read more: How To Hang Little Tikes Swing From Porch
Conclusion
Congratulations on mastering the art of folding a Little Tikes picnic table! By following the step-by-step process outlined in this guide, you’ve gained the knowledge and skills to fold and secure the table with ease, contributing to a more organized and spacious outdoor environment. As you prepare to stow away your picnic table or transport it to a new location, remember the following key points:
- Preparation is Key: Taking the time to prepare the picnic table, clear the surface, and ensure stability sets the stage for a smooth folding process.
- Methodical Folding: Approach the folding process with patience and attention to detail, ensuring that each component is properly positioned and secured.
- Secure for Storage or Transportation: Properly securing the folded table, whether for storage or transportation, safeguards its form and functionality for future use.
As you bid farewell to your outdoor gathering space, knowing how to fold the Little Tikes picnic table adds a touch of convenience and practicality to your outdoor entertaining endeavors. Whether it’s a cozy family picnic in the backyard or a lively barbecue with friends, the ability to effortlessly fold and store the picnic table enhances the overall experience.
Embrace the satisfaction of a neatly folded and secured picnic table, ready to await its next adventure. With your newfound expertise, you can confidently navigate the folding process, ensuring that your Little Tikes picnic table remains a reliable and versatile centerpiece for countless outdoor gatherings to come.
So, as you embark on your next outdoor escapade, may the convenience of a neatly folded picnic table accompany you, setting the stage for cherished moments and delightful gatherings under the open sky.
Frequently Asked Questions about How To Fold Little Tikes Picnic Table
Was this page helpful?
At Storables.com, we guarantee accurate and reliable information. Our content, validated by Expert Board Contributors, is crafted following stringent Editorial Policies. We're committed to providing you with well-researched, expert-backed insights for all your informational needs.


0 thoughts on “How To Fold Little Tikes Picnic Table”