Home>Gardening & Outdoor>Outdoor Recreation & Activities>How To Assemble A Ping Pong Table
Outdoor Recreation & Activities
How To Assemble A Ping Pong Table
Published: January 20, 2024
Learn how to assemble a ping pong table with our step-by-step guide. Enjoy outdoor recreation and activities with your new table!
(Many of the links in this article redirect to a specific reviewed product. Your purchase of these products through affiliate links helps to generate commission for Storables.com, at no extra cost. Learn more)
Introduction
Welcome to the exciting world of ping pong! Assembling a ping pong table can be a fun and rewarding experience, whether you’re setting up a new table for your home or preparing for a thrilling tournament. This comprehensive guide will walk you through the step-by-step process of assembling a standard ping pong table, ensuring that you can enjoy countless hours of competitive play with friends and family.
Before you dive into the assembly process, it’s important to gather all the necessary tools and materials. Having everything at your fingertips will streamline the assembly and minimize interruptions. Once you’re fully prepared, you can proceed to set up the designated space, assemble the tabletop, attach the legs, install the net, and finally, test the table to ensure it’s ready for action.
Whether you’re a seasoned ping pong enthusiast or a complete beginner, this guide is designed to provide clear and concise instructions, making the assembly process straightforward and enjoyable. So, let’s roll up our sleeves and get ready to assemble your very own ping pong table!
Key Takeaways:
- Gathering the right tools and preparing the space are crucial for assembling a ping pong table. It ensures a smooth process and creates a fun environment for exciting matches with friends and family.
- Testing the table’s performance is essential before playing. It ensures a quality playing surface, stable legs, and a properly tensioned net, setting the stage for countless hours of thrilling gameplay.
Read more: How To Assemble A Sportcraft Ping Pong Table
Step 1: Gather the Necessary Tools and Materials
Before you embark on the exciting journey of assembling a ping pong table, it’s crucial to gather all the essential tools and materials. Having everything readily available will streamline the assembly process and prevent any unnecessary delays. Here’s a comprehensive list of the items you’ll need:
- Ping Pong Table Components: Ensure that all the components of the ping pong table are present, including the tabletop, legs, net, and any accompanying accessories.
- Assembly Instructions: Review the assembly instructions provided by the manufacturer. Familiarizing yourself with the instructions will help you understand the step-by-step process and avoid any potential pitfalls.
- Tools: Gather the necessary tools, such as a screwdriver, adjustable wrench, and any other tools specified in the assembly instructions. Having the right tools at your disposal will facilitate the assembly process and ensure a secure and stable table.
- Protective Gear: Consider using gloves and safety goggles to protect your hands and eyes during the assembly process, especially when handling sharp or heavy components.
- Clear Workspace: Prepare a spacious and well-lit area for assembly. Clear any clutter and ensure that the space allows for easy maneuvering and assembly of the table components.
By gathering these essential tools and materials, you’ll be well-prepared to embark on the assembly process with confidence and efficiency. With everything in place, you can proceed to the next step of preparing the designated space for your ping pong table.
Step 2: Prepare the Space
Creating the perfect environment for your ping pong table is essential for an optimal playing experience. Before assembling the table, it’s important to prepare the designated space to ensure that it meets the necessary requirements for safe and enjoyable gameplay. Here’s how to prepare the space for your ping pong table:
- Level Surface: Select a location with a level surface to place the ping pong table. Whether it’s a dedicated game room or a multi-purpose space, a level surface is crucial for the stability and balance of the table.
- Adequate Clearance: Ensure that there is sufficient clearance around the table to allow for free movement during gameplay. Ideally, there should be at least 5 feet of space on all sides of the table to accommodate players’ movements and prevent any obstructions.
- Lighting: Good lighting is essential for clear visibility during intense ping pong matches. Position the table in an area with ample natural light or install overhead lighting to illuminate the playing surface effectively.
- Safety Considerations: Take safety precautions by removing any potential hazards or obstacles from the surrounding area. Clear the space of any sharp objects, fragile items, or tripping hazards to create a safe and enjoyable playing environment.
- Decor and Ambiance: Enhance the ambiance of the space by adding decorative elements that reflect your personal style. Consider incorporating vibrant wall art, motivational posters, or sports-themed decor to create an inviting and energetic atmosphere for ping pong enthusiasts.
By carefully preparing the space for your ping pong table, you’ll create an inviting and functional area for countless hours of spirited gameplay. With the space fully prepared, you’re now ready to embark on the exciting process of assembling the tabletop, the focal point of your ping pong setup.
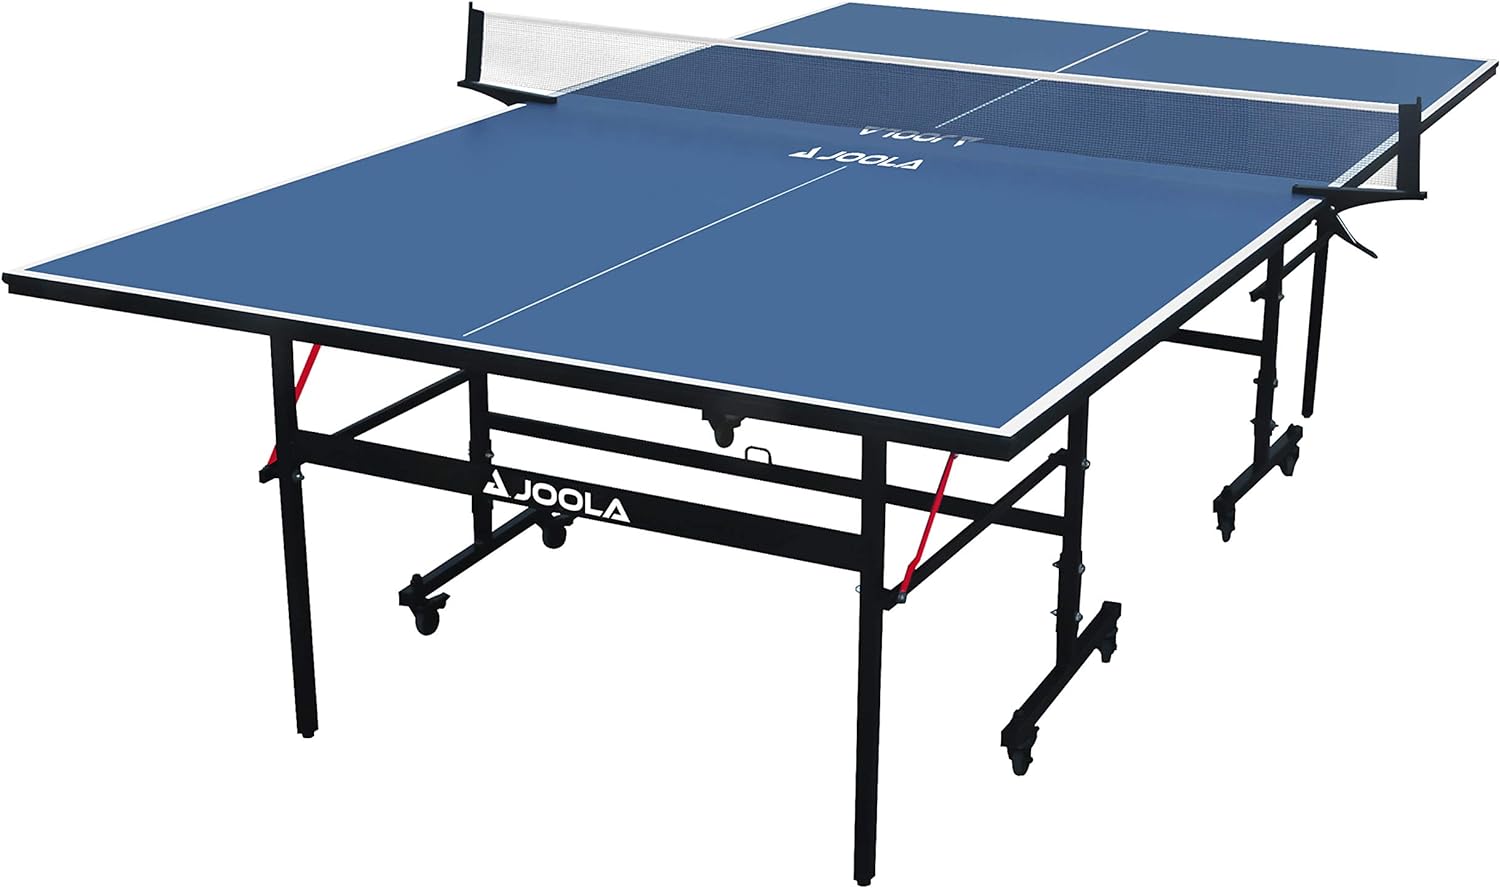
Step 3: Assemble the Tabletop
Assembling the tabletop is a pivotal step in the construction of your ping pong table. This foundational component serves as the playing surface, providing the essential structure for competitive matches and casual rallies. Follow these detailed steps to effectively assemble the tabletop:
- Unpack the Components: Carefully unpack the tabletop components, ensuring that all necessary parts are present and undamaged. Lay out the tabletop pieces in a clear and organized manner to facilitate the assembly process.
- Align the Tabletop Segments: Align the individual segments of the tabletop according to the manufacturer’s instructions. Ensure that the segments fit together seamlessly, forming a level and uniform playing surface.
- Secure the Segments: Use the provided hardware, such as screws or bolts, to securely fasten the tabletop segments together. Follow the specific assembly instructions to ensure that the tabletop is structurally sound and stable.
- Verify Alignment and Stability: Once the tabletop segments are assembled, carefully inspect the alignment and stability of the playing surface. Check for any gaps or unevenness, and make any necessary adjustments to achieve a level and consistent tabletop.
- Attach the Net Brackets (If Applicable): If your ping pong table includes net brackets that attach to the tabletop, carefully install these components according to the provided instructions. Ensure that the brackets are securely fastened to the tabletop to support the net during gameplay.
By meticulously following these steps, you’ll successfully assemble the tabletop, laying the foundation for thrilling ping pong matches and friendly competitions. With the tabletop securely in place, you can proceed to the next step of attaching the legs, which will provide the essential support and stability for your ping pong table.
When assembling a ping pong table, make sure to carefully follow the instructions provided by the manufacturer. Lay out all the parts and hardware before starting, and use a level to ensure the table is properly balanced.
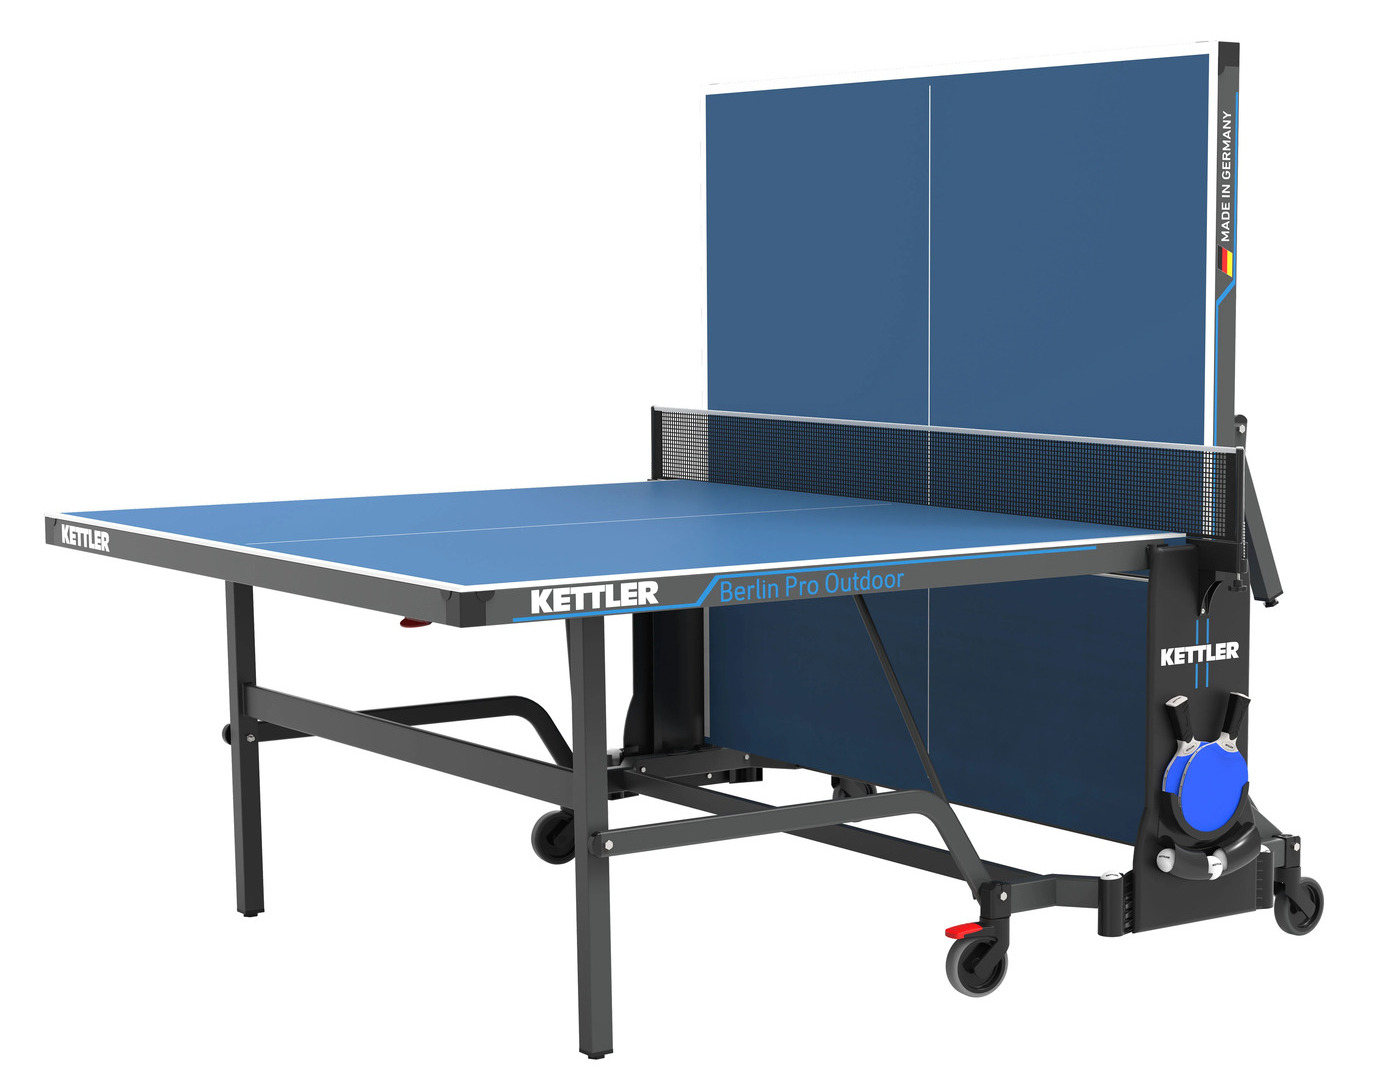
Step 4: Attach the Legs
Attaching the legs to your ping pong table is a crucial step that provides stability, support, and structural integrity to the entire setup. Properly installed legs ensure that the table remains secure during intense gameplay and everyday use. Follow these steps to effectively attach the legs to your ping pong table:
- Positioning the Table: Carefully place the assembled tabletop upside down on a soft, flat surface to prepare for leg attachment. This positioning will allow for easy access to the underside of the tabletop for leg installation.
- Leg Attachment Points: Identify the designated attachment points on the tabletop for securing the legs. These attachment points are typically pre-drilled holes or brackets that align with the leg assembly.
- Aligning the Legs: Position the legs at the designated attachment points, ensuring that they are correctly oriented and aligned with the tabletop. Double-check the alignment to guarantee that the legs will provide even support and stability.
- Securing the Legs: Use the provided hardware, such as screws or bolts, to securely attach the legs to the tabletop. Follow the manufacturer’s instructions for the recommended tightening torque to ensure a secure and stable connection.
- Stability Check: Once the legs are attached, carefully flip the table to its upright position and verify the stability and balance. Gently apply pressure to different areas of the tabletop to confirm that the legs provide consistent support and prevent wobbling or tilting.
By diligently following these steps, you’ll successfully attach the legs to your ping pong table, transforming it into a sturdy and reliable gaming platform. With the legs securely in place, you can proceed to the next step of installing the net, a pivotal component that defines the boundaries of the playing area and adds an element of competitive excitement to every match.
Read more: How Large Is A Ping Pong Table
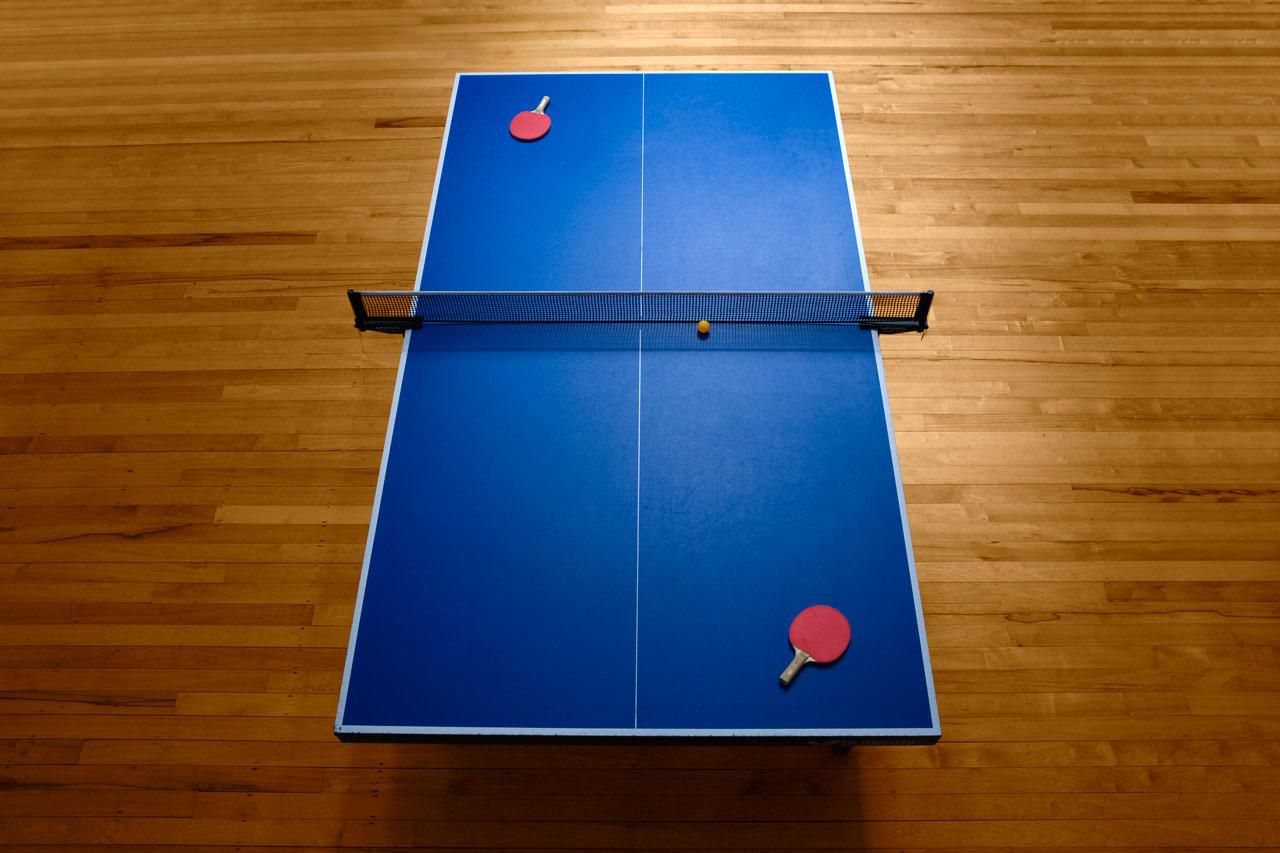
Step 5: Install the Net
Installing the net is a crucial final step in assembling your ping pong table, as it defines the playing area and adds an element of authenticity to every match. A properly installed net ensures that players can engage in competitive rallies and serves with precision and fairness. Follow these steps to effectively install the net on your ping pong table:
- Net Assembly: Unpack the net assembly components, including the net itself and any accompanying hardware such as clamps or brackets. Ensure that all components are undamaged and ready for installation.
- Net Attachment Points: Identify the designated attachment points on the tabletop for securing the net. These attachment points are typically located at the ends of the table, allowing the net to be stretched taut across the playing surface.
- Attach the Net Posts: Secure the net posts to the designated attachment points on each side of the table. Depending on the design of the net assembly, this may involve screwing the posts into place or using clamps to secure them firmly.
- Stretching the Net: Carefully stretch the net across the playing surface, ensuring that it is centered and taut. Adjust the tension of the net to achieve the standard height and tension required for competitive play, typically 6 inches high at the center of the net.
- Secure the Net: Once the net is properly positioned and tensioned, secure it in place by tightening any adjustable components or fastening the clamps to prevent movement during gameplay.
By following these steps with precision, you’ll successfully install the net on your ping pong table, transforming it into a professional-grade playing surface ready for intense matches and friendly competitions. With the net securely in place, you’re now ready to move on to the final step of testing the table to ensure that it meets the highest standards of performance and functionality.
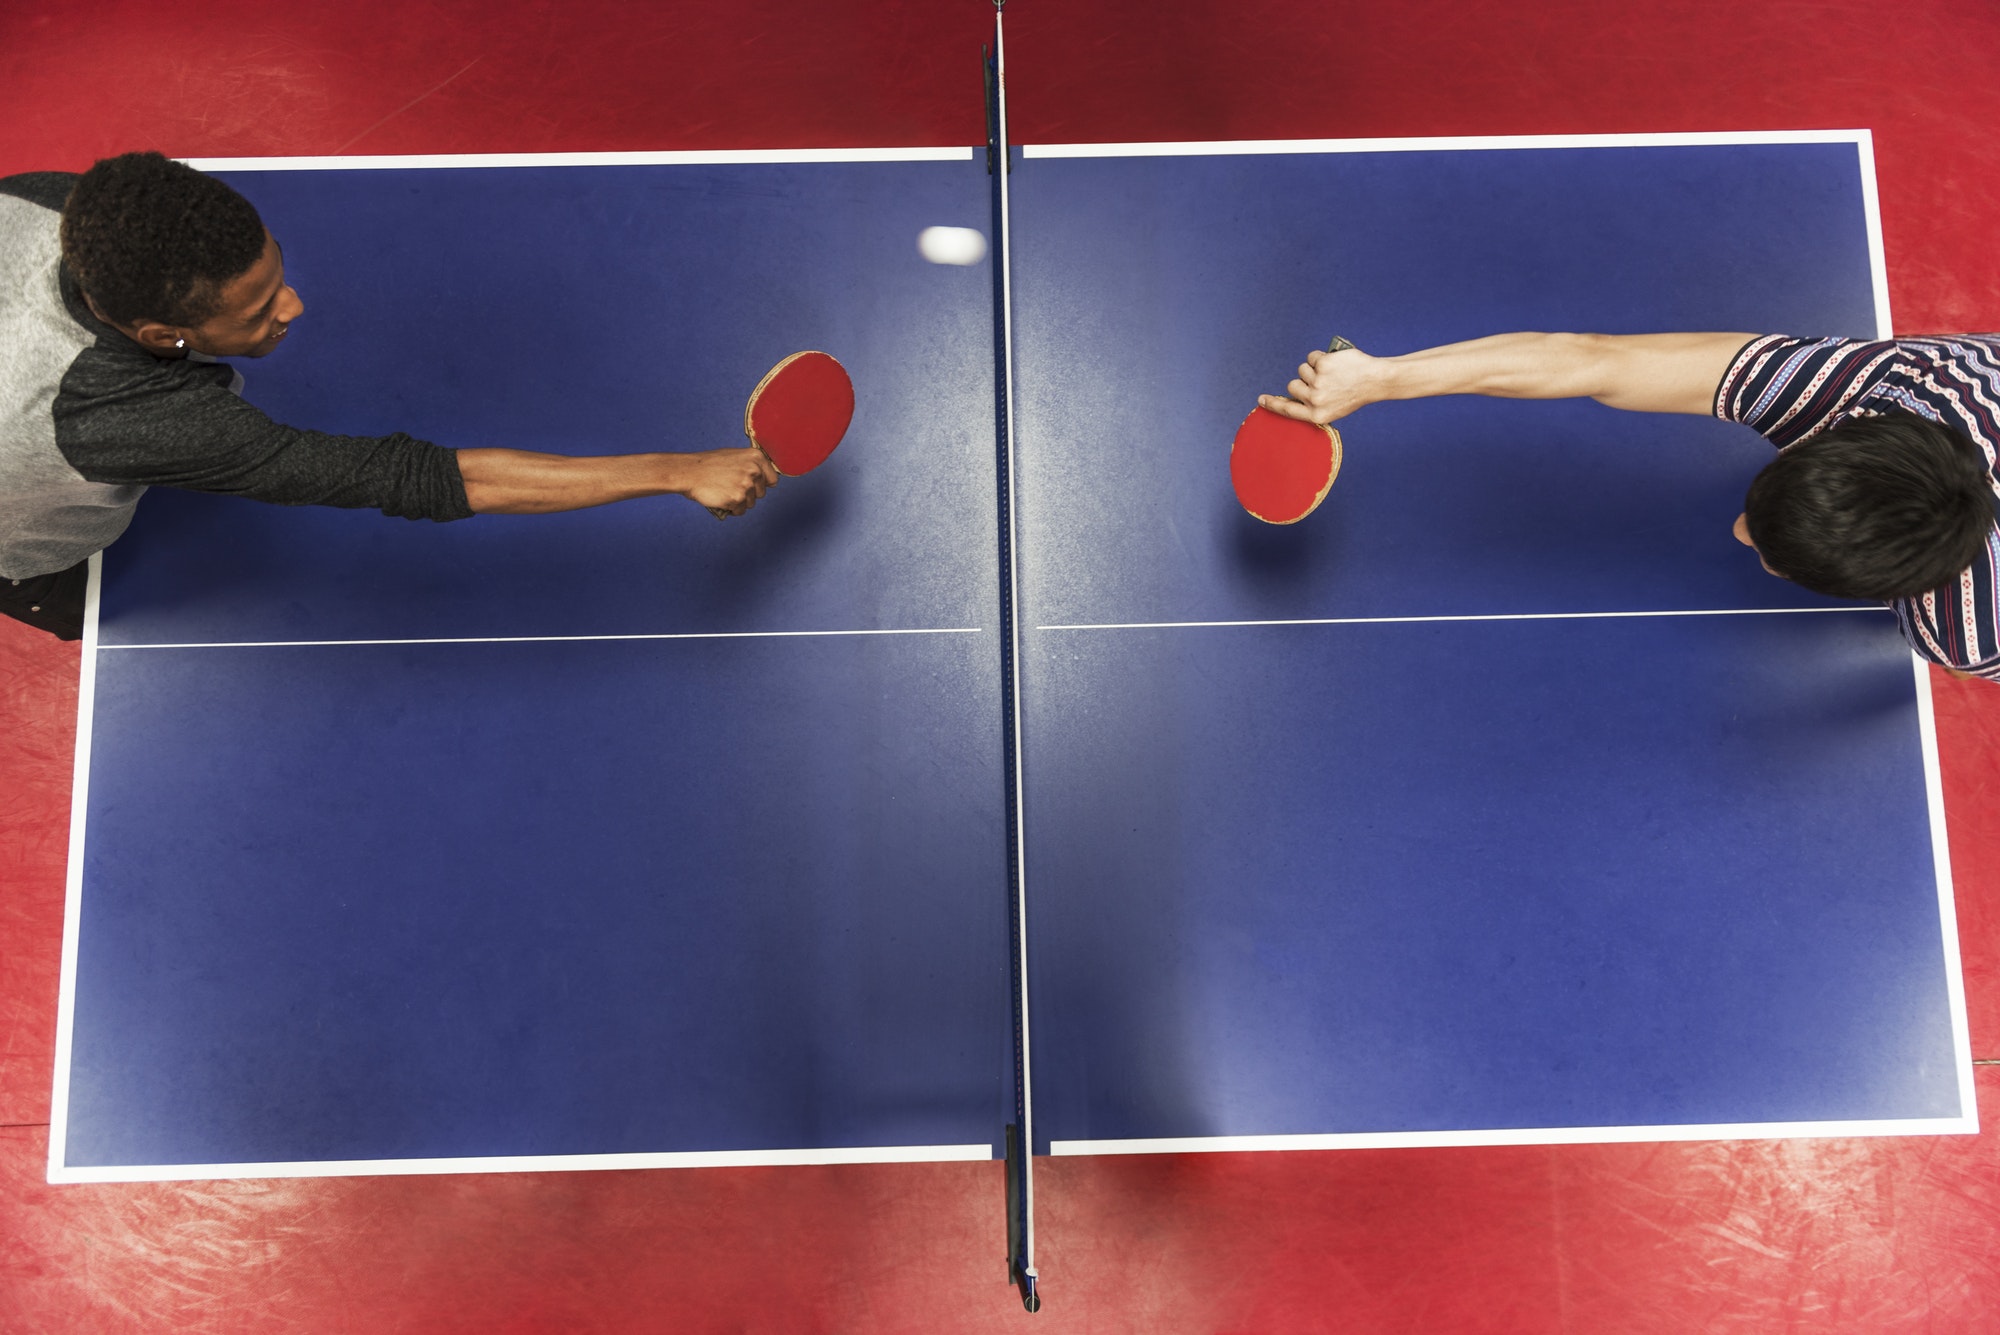
Step 6: Test the Table
Before unleashing your ping pong table for exciting matches and friendly competitions, it’s essential to thoroughly test its performance and functionality. Testing the table ensures that it meets the highest standards of playability, stability, and safety, providing an optimal gaming experience for players of all skill levels. Follow these steps to effectively test your ping pong table:
- Surface Inspection: Carefully inspect the playing surface for any imperfections, such as bumps, dents, or irregularities. Run your hand across the tabletop to detect any inconsistencies that may affect ball bounce and gameplay.
- Bounce Test: Conduct a bounce test by dropping a ping pong ball from a consistent height onto various areas of the table. Observe the ball’s bounce and trajectory to ensure that the playing surface provides a consistent and predictable bounce across the entire table.
- Leg Stability: Test the stability of the table legs by gently applying pressure to different areas of the tabletop. Verify that the legs provide secure and even support, preventing any wobbling or tilting during gameplay.
- Net Tension: Check the tension of the net by gently tapping it with a ping pong ball. The net should offer minimal resistance and return the ball with a consistent and predictable trajectory, ensuring fair and accurate gameplay.
- Player Maneuverability: Invite a willing participant to engage in a brief practice rally to assess the table’s suitability for gameplay. Observe the player’s movements and feedback to ensure that the table allows for smooth and unrestricted play.
By meticulously conducting these tests, you’ll gain confidence in the performance and quality of your ping pong table, ensuring that it’s ready to deliver countless hours of exhilarating gameplay. Once the table successfully passes the testing phase, you can eagerly prepare to enjoy spirited matches, hone your skills, and create unforgettable moments with friends and family around your newly assembled ping pong table.
Conclusion
Congratulations on successfully assembling your very own ping pong table! By following the comprehensive steps outlined in this guide, you’ve transformed a collection of components into a professional-grade gaming platform that promises endless hours of competitive fun and recreational enjoyment. As you stand back and admire your handiwork, it’s important to reflect on the journey you’ve embarked upon and the rewarding outcome you’ve achieved.
Assembling a ping pong table is more than just a mechanical process—it’s a testament to your passion for the game, your dedication to creating a welcoming space for friendly competition, and your commitment to fostering memorable experiences with family and friends. The effort you’ve invested in this endeavor will undoubtedly be rewarded with countless moments of joy, laughter, and friendly rivalry around the ping pong table.
With the table now standing proudly in its designated space, you’re poised to create lasting memories, refine your skills, and revel in the camaraderie that comes with engaging in spirited matches. Whether you’re a seasoned player seeking to sharpen your techniques or a newcomer eager to learn the fundamentals of the game, your ping pong table will serve as the centerpiece for exciting gameplay and shared experiences.
As you prepare to embark on your ping pong journey, remember that the assembly process is just the beginning. The true magic lies in the games you’ll play, the skills you’ll develop, and the connections you’ll forge around the table. Embrace the competitive spirit, celebrate every exhilarating rally, and cherish the moments of triumph and camaraderie that unfold in the presence of your newly assembled ping pong table.
So, gather your paddles, summon your opponents, and let the games begin. Your ping pong table awaits, ready to be the stage for unforgettable matches, lighthearted banter, and the creation of cherished memories that will endure for years to come.
Frequently Asked Questions about How To Assemble A Ping Pong Table
Was this page helpful?
At Storables.com, we guarantee accurate and reliable information. Our content, validated by Expert Board Contributors, is crafted following stringent Editorial Policies. We're committed to providing you with well-researched, expert-backed insights for all your informational needs.

0 thoughts on “How To Assemble A Ping Pong Table”