Home>Gardening & Outdoor>Outdoor Recreation & Activities>How To Assemble A Sportcraft Ping Pong Table
Outdoor Recreation & Activities
How To Assemble A Sportcraft Ping Pong Table
Published: January 20, 2024
Learn how to assemble a Sportcraft ping pong table and enjoy outdoor recreation and activities with ease. Follow our step-by-step guide for a hassle-free setup.
(Many of the links in this article redirect to a specific reviewed product. Your purchase of these products through affiliate links helps to generate commission for Storables.com, at no extra cost. Learn more)
Introduction
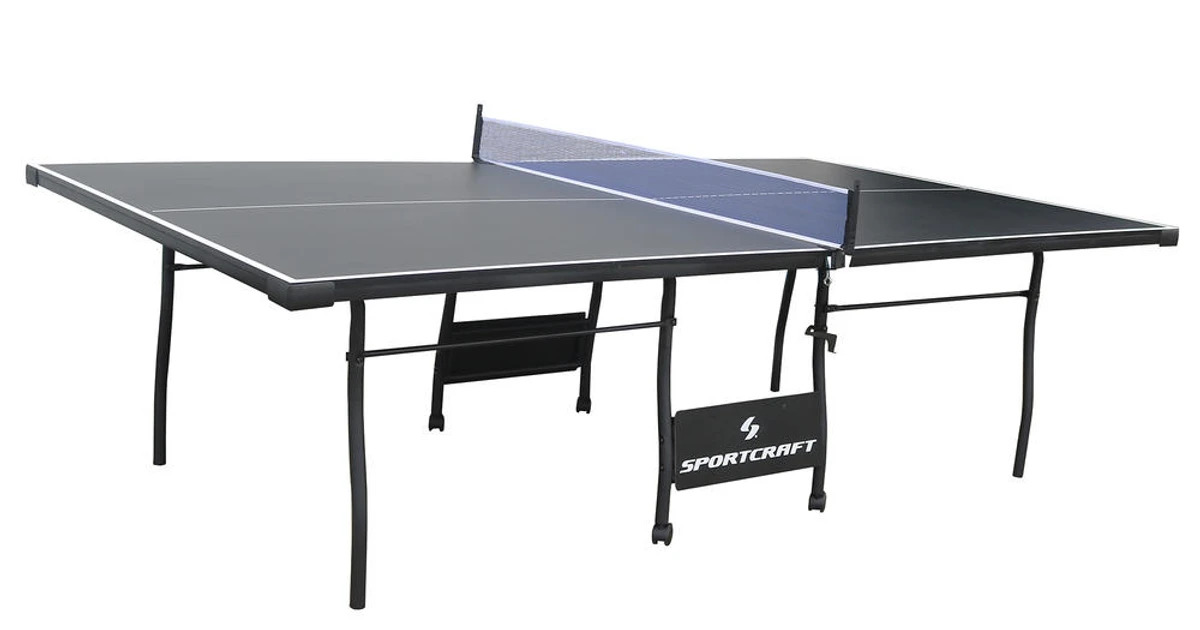
Welcome to the thrilling world of table tennis! Assembling your Sportcraft ping pong table is the first step towards countless hours of fun and competitive gameplay. Whether you're a seasoned player or just starting out, having your own table at home is a fantastic way to hone your skills and enjoy quality time with family and friends. This comprehensive guide will walk you through the step-by-step process of assembling your Sportcraft ping pong table, ensuring that you can get the game started in no time.
As with any DIY project, it's essential to approach the assembly process with patience and attention to detail. By following the instructions carefully and using the right tools, you'll be well on your way to setting up your table for hours of enjoyment. From unpacking the components to adjusting and leveling the table, each step plays a crucial role in ensuring that your ping pong table is ready for action.
Before diving into the assembly process, it's important to gather all the necessary tools and materials. This will help streamline the assembly and prevent any unnecessary delays. Once you have everything you need, you can proceed with confidence, knowing that you're fully prepared to tackle each stage of the assembly process.
So, let's roll up our sleeves, grab our tools, and embark on this exciting journey to assemble your Sportcraft ping pong table. Get ready to bring the fast-paced, high-energy game of table tennis right into the heart of your home!
Key Takeaways:
- Assembling a Sportcraft ping pong table requires patience, attention to detail, and the right tools. Organizing components, leveling the table, and installing the net are essential steps for a successful setup.
- A well-assembled ping pong table provides a foundation for countless hours of fun and competitive gameplay. From unpacking to leveling, each step contributes to creating a space for thrilling matches and cherished moments with family and friends.
Read more: How Large Is A Ping Pong Table
Tools and Materials
Before you begin assembling your Sportcraft ping pong table, it’s essential to gather all the necessary tools and materials. Having everything at hand will streamline the assembly process and ensure that you can proceed without interruptions. Here’s a comprehensive list of the items you’ll need:
Tools:
- Phillips head screwdriver
- Adjustable wrench
- Tape measure
- Level
- Socket wrench set
- Rubber mallet
Materials:
- Ping pong table components (included in the packaging)
- Assembly instructions manual
- Clean, flat workspace
- Assistance from a friend or family member (optional but recommended)
Ensuring that you have the right tools and materials on hand will set the stage for a smooth and efficient assembly process. It’s also a good idea to review the assembly instructions thoroughly before you begin, familiarizing yourself with the steps involved and the components included. With everything in place, you’re ready to dive into the exciting process of assembling your Sportcraft ping pong table!
Step 1: Unpack the Table
Before you can start assembling your Sportcraft ping pong table, you’ll need to carefully unpack the components. Here’s a step-by-step guide to help you navigate this initial stage:
- Find a Suitable Workspace: Select a clean, spacious area where you can lay out the components of the table. This will provide ample room for unpacking and assembling the table without any obstructions.
- Inspect the Packaging: Carefully examine the packaging for any signs of damage. If you notice any dents, tears, or punctures, take a moment to inspect the contents to ensure that all components are in good condition.
- Organize the Components: Lay out all the components of the ping pong table in an organized manner. Group similar parts together, such as the legs, tabletop sections, and hardware, to make the assembly process more manageable.
- Refer to the Manual: Take a moment to review the assembly instructions provided in the manual. Familiarizing yourself with the layout of the components and the sequence of assembly will help you proceed with confidence.
- Enlist Assistance: If the table is heavy or the components are bulky, consider enlisting the help of a friend or family member to assist you with unpacking and handling the components safely.
By following these steps, you’ll ensure that the unpacking process sets the stage for a smooth and organized assembly. Taking the time to inspect the components and lay them out systematically will pave the way for a seamless transition into the subsequent assembly steps.
Read more: How To Refinish A Ping Pong Table
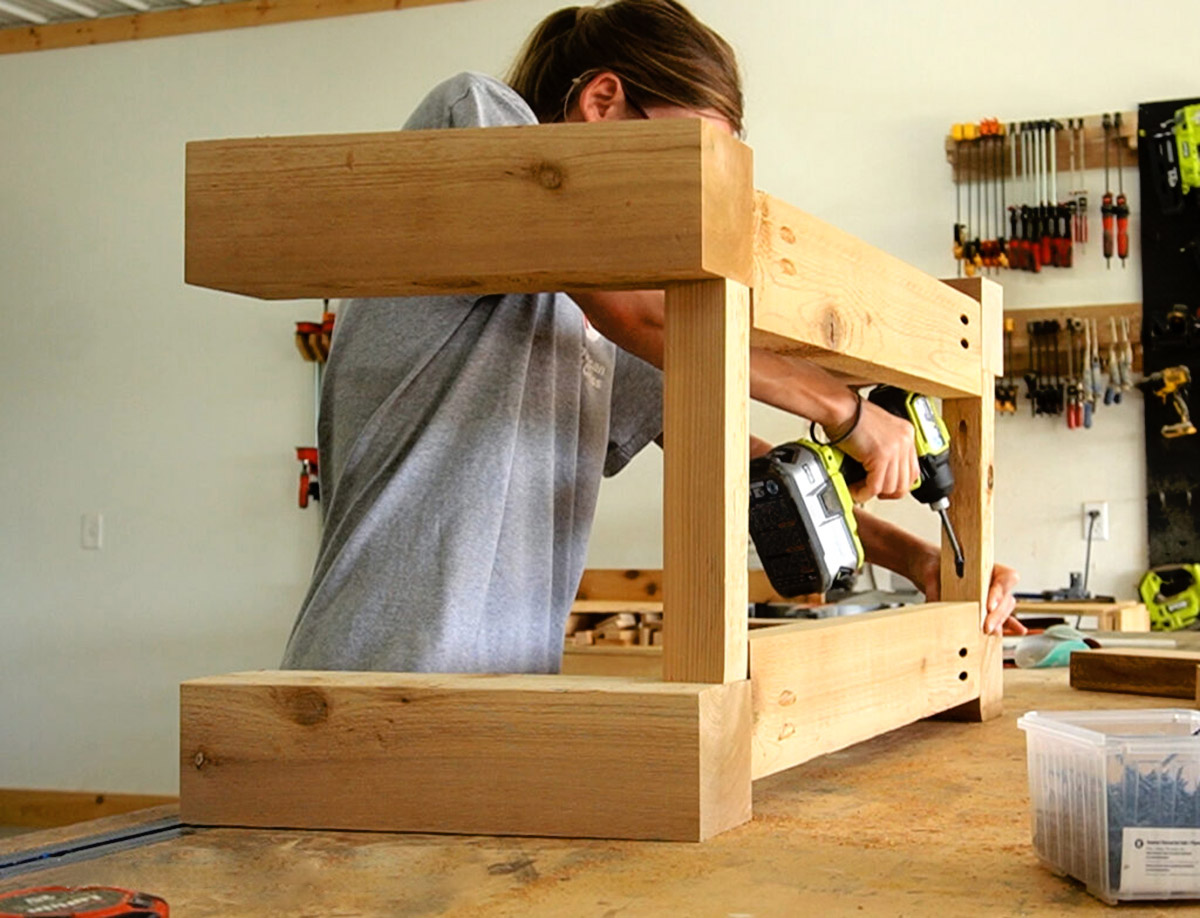
Step 2: Assemble the Legs
Assembling the legs of your Sportcraft ping pong table is a crucial step in the overall assembly process. Properly constructed legs provide stability and support for the tabletop, ensuring a sturdy playing surface. Here’s a detailed guide to help you navigate this essential stage:
- Identify the Leg Components: Lay out the components for the legs, including the individual leg pieces and any associated hardware. Ensure that all necessary parts are accounted for before proceeding.
- Follow the Assembly Instructions: Refer to the manual to understand the specific steps involved in assembling the legs. Pay close attention to the orientation of each leg piece and the corresponding hardware requirements.
- Secure the Leg Pieces: Using the provided hardware and tools, carefully attach the leg pieces according to the instructions. Ensure that all connections are secure and tightened to the specified torque, providing a stable foundation for the table.
- Check for Stability: Once the legs are assembled, carefully stand the structure upright and check for any wobbling or instability. Adjust the leg connections if necessary to achieve a level and secure base.
- Enlist Assistance if Needed: If the legs are heavy or cumbersome to handle alone, consider seeking assistance to ensure safe and efficient assembly.
By following these steps, you’ll successfully assemble the legs of your ping pong table, laying the groundwork for the subsequent stages of assembly. A sturdy and well-constructed base will contribute to the overall playing experience, providing a reliable foundation for competitive matches and recreational gameplay.
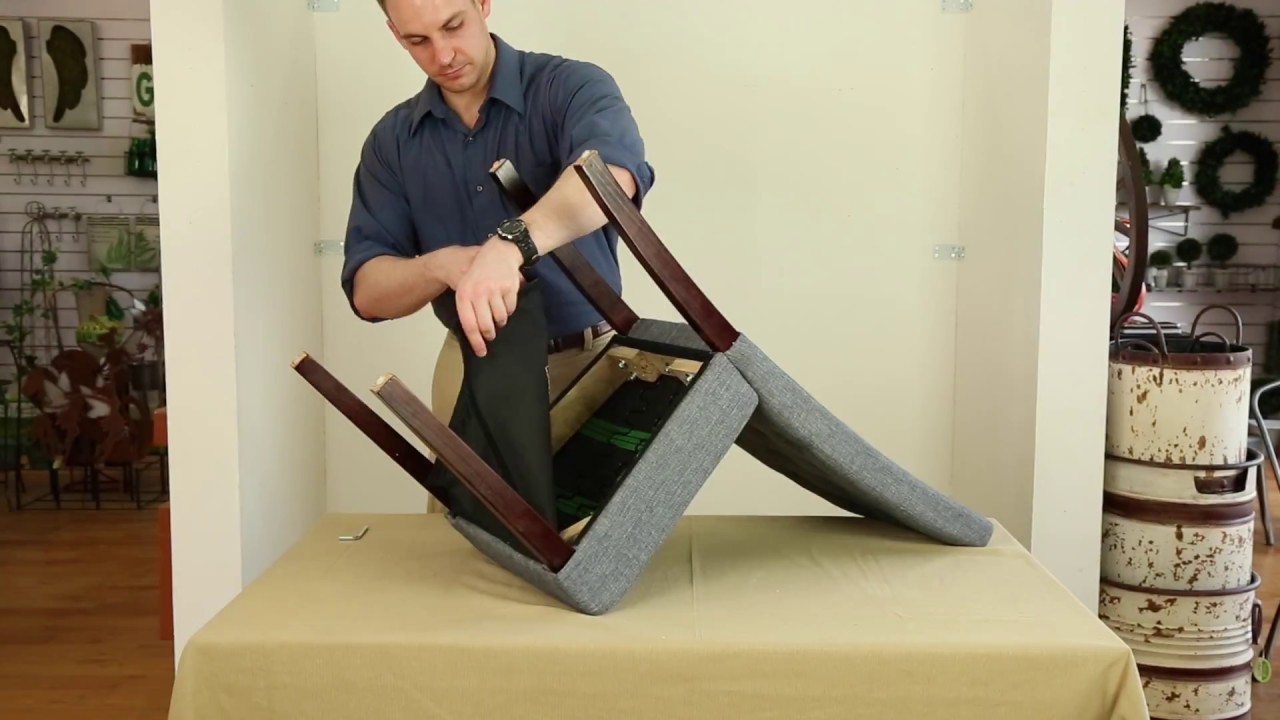
Step 3: Attach the Tabletop
Attaching the tabletop to the assembled legs is a pivotal stage in the assembly of your Sportcraft ping pong table. This step requires precision and attention to detail to ensure a secure and level playing surface. Here’s a comprehensive guide to help you navigate this crucial phase:
- Prepare the Tabletop: Position the tabletop sections in close proximity to the assembled legs, ensuring that you have ample space to maneuver and align the components.
- Align the Tabletop Sections: Carefully align the tabletop sections with the pre-installed brackets or attachment points on the legs. Ensure that the sections fit together seamlessly, forming a continuous playing surface.
- Secure the Tabletop: Utilize the provided hardware and tools to fasten the tabletop sections to the legs securely. Follow the assembly instructions meticulously to ensure that each connection is tightened to the specified torque.
- Verify Stability and Alignment: Once the tabletop is attached, assess the stability and alignment of the playing surface. Check for any unevenness or misalignment, and make necessary adjustments to achieve a level and uniform tabletop.
- Double-Check Connections: Verify that all fastenings and connections between the tabletop and legs are secure. This additional check ensures that the playing surface is firmly supported and ready for gameplay.
By following these steps with precision, you’ll successfully attach the tabletop to the legs of your ping pong table, setting the stage for an optimal playing experience. A level and securely attached tabletop provide the foundation for thrilling matches and enjoyable recreational play, ensuring that your Sportcraft ping pong table is ready for action.
When assembling a Sportcraft ping pong table, make sure to carefully follow the instructions provided in the manual. Lay out all the parts before starting and double-check your work as you go to ensure everything is put together correctly.
Step 4: Install the Net
Installing the net on your Sportcraft ping pong table is the final touch that transforms the assembled components into a complete and functional playing surface. The net not only defines the boundaries of the game but also adds an essential element to the table’s appearance. Here’s a step-by-step guide to help you install the net with ease:
- Retrieve the Net and Posts: Locate the net and accompanying posts, ensuring that all necessary components are readily available for installation.
- Position the Posts: Place the net posts on each end of the table, aligning them with the designated attachment points or slots. Ensure that the posts are positioned symmetrically and securely in place.
- Attach the Net: Unfold the net and drape it over the posts, ensuring that the net is centered and taut. Some nets feature adjustable tension, allowing you to customize the tautness to meet specific playing preferences.
- Secure the Net: Fasten the net to the posts using the provided fastening mechanisms or clamps. Ensure that the net is securely affixed to prevent any sagging or movement during gameplay.
- Verify Net Height and Tension: Adjust the net to the regulation height, typically 6 inches (15.25 cm) at the center. Additionally, confirm that the tension of the net is uniform across its length, creating a consistent playing experience.
By following these steps, you’ll successfully install the net on your ping pong table, adding the final element that defines the playing area. A well-installed net not only contributes to the table’s functionality but also enhances the visual appeal, signaling that your Sportcraft ping pong table is ready for competitive matches and engaging gameplay.
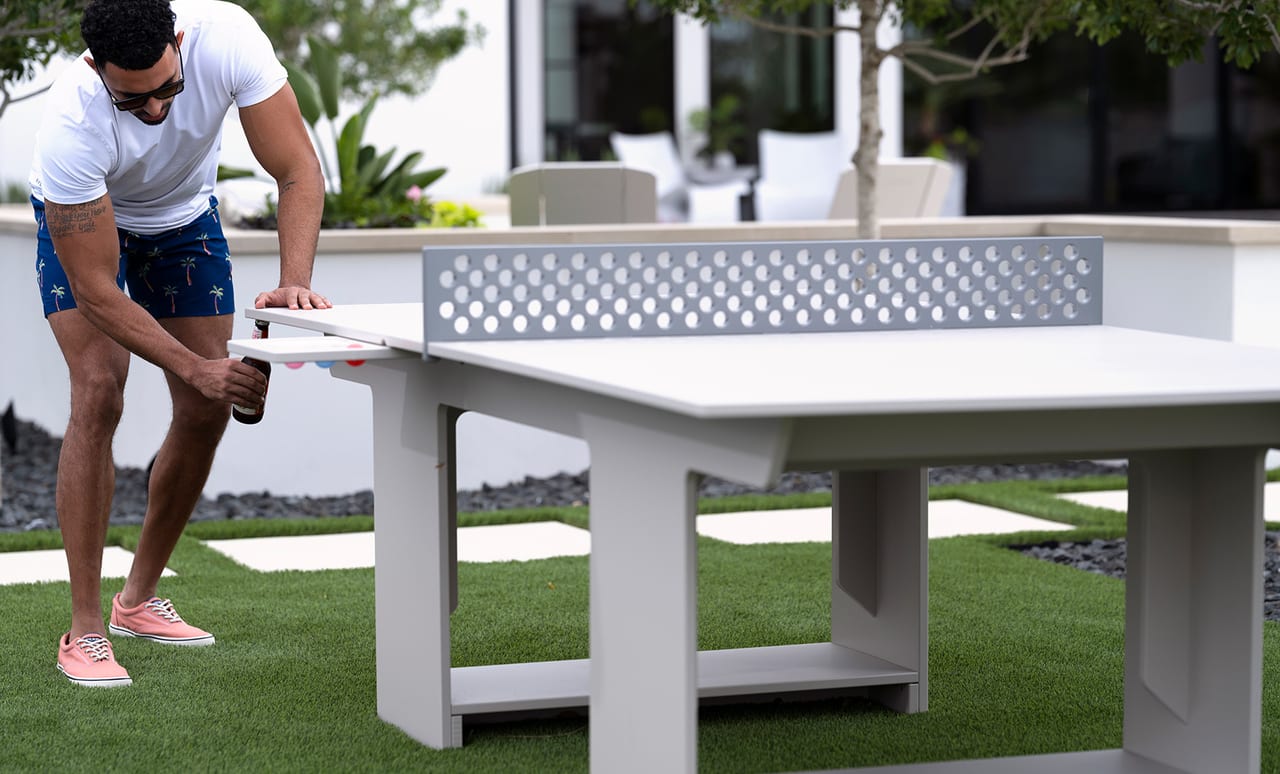
Step 5: Adjust and Level the Table
Once the major components of your Sportcraft ping pong table are assembled, it’s crucial to ensure that the playing surface is perfectly level and aligned. This step is essential for maintaining fair and consistent gameplay, allowing the ball to bounce evenly across the table. Here’s a detailed guide to help you adjust and level the table with precision:
- Check for Evenness: Utilize a level to assess the horizontal alignment of the tabletop. Pay close attention to any areas that may exhibit unevenness or tilting, as these can impact the quality of gameplay.
- Adjust Leg Height: If necessary, adjust the height of individual legs to eliminate any unevenness in the tabletop. Most ping pong tables feature adjustable leg levelers that allow you to fine-tune the height for optimal alignment.
- Confirm Stability: Once adjustments are made, verify that the table remains stable and secure. Test the tabletop by gently applying pressure to different areas to ensure that it can withstand gameplay without excessive movement.
- Test Ball Bounce: Drop a ping pong ball onto various areas of the tabletop to assess the consistency of bounce. A well-leveled table will yield uniform ball behavior across the playing surface.
- Finalize Adjustments: Fine-tune the leveling and adjustments as needed until the table delivers a consistent and fair playing experience. This meticulous approach ensures that your Sportcraft ping pong table is primed for exciting matches and enjoyable gameplay.
By following these steps with attention to detail, you’ll successfully adjust and level your ping pong table, setting the stage for an optimal playing experience. A level and well-aligned table not only enhances gameplay but also reflects the care and precision invested in assembling your Sportcraft ping pong table.
Read more: Where To Donate A Ping Pong Table
Conclusion
Congratulations on successfully assembling your Sportcraft ping pong table! The journey from unpacking the components to adjusting and leveling the table has culminated in the creation of a dynamic and engaging playing surface right in the heart of your home. As you stand back and admire your completed table, you’re not just looking at a piece of furniture – you’re gazing at a hub of excitement, competition, and cherished moments with family and friends.
Every step of the assembly process was a testament to your dedication and attention to detail. From carefully unpacking the components to meticulously aligning the tabletop and installing the net, each action contributed to the creation of a space where thrilling matches and lighthearted fun will unfold. The effort you invested in ensuring the table’s stability and levelness reflects your commitment to providing a fair and enjoyable playing experience for all who gather around it.
Now, as you envision the countless matches and memories that will unfold on your newly assembled ping pong table, take a moment to appreciate the craftsmanship and engineering that went into its design. The seamless integration of components, the precision of the net installation, and the levelness of the playing surface are all testaments to the thoughtful engineering that defines your Sportcraft ping pong table.
As you prepare to engage in spirited matches and friendly competitions, remember that your ping pong table is more than just a piece of furniture – it’s a catalyst for laughter, camaraderie, and the joy of play. Whether you’re perfecting your spin shots, hosting lively tournaments, or simply enjoying leisurely games with loved ones, your Sportcraft ping pong table is poised to be the centerpiece of countless unforgettable moments.
So, gather your paddles, call upon your opponents, and let the games begin. Your Sportcraft ping pong table stands ready, a testament to your dedication and a canvas for the stories and triumphs that await. Let the games commence, and may the thrill of victory and the joy of play fill the air around your newly assembled ping pong table!
Frequently Asked Questions about How To Assemble A Sportcraft Ping Pong Table
Was this page helpful?
At Storables.com, we guarantee accurate and reliable information. Our content, validated by Expert Board Contributors, is crafted following stringent Editorial Policies. We're committed to providing you with well-researched, expert-backed insights for all your informational needs.

0 thoughts on “How To Assemble A Sportcraft Ping Pong Table”