Home>Gardening & Outdoor>Outdoor Recreation & Activities>How To Refinish A Ping Pong Table
Outdoor Recreation & Activities
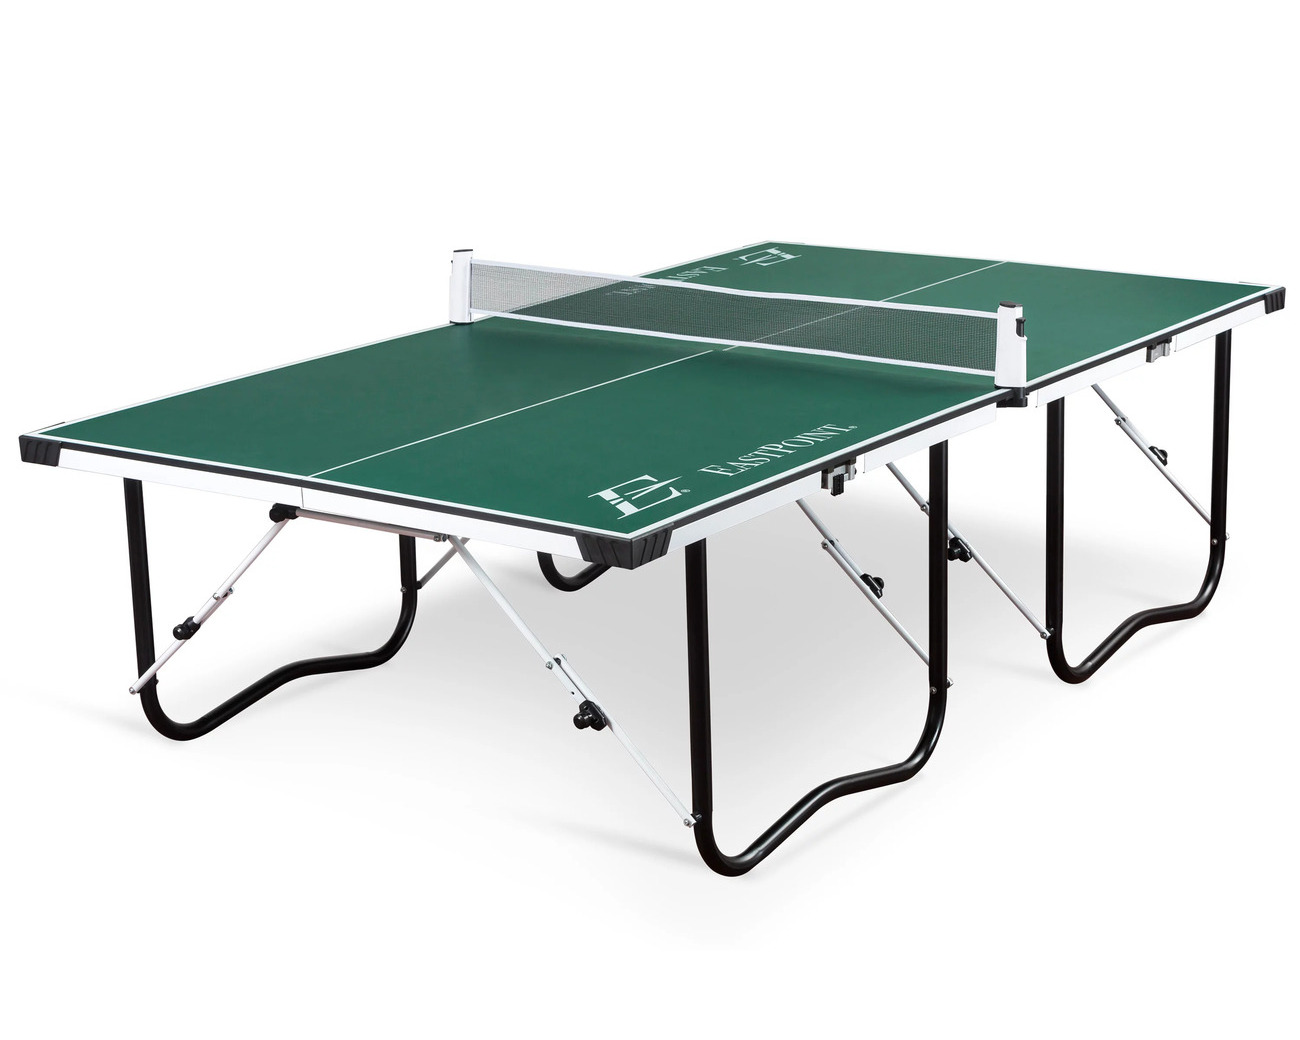
How To Refinish A Ping Pong Table
Modified: February 17, 2024
Learn how to refinish your outdoor ping pong table with our step-by-step guide. Keep your outdoor recreation and activities equipment in top shape!
(Many of the links in this article redirect to a specific reviewed product. Your purchase of these products through affiliate links helps to generate commission for Storables.com, at no extra cost. Learn more)
Introduction
So, you've got a ping pong table that's seen better days. Whether it's been gathering dust in the garage or serving as a catch-all for miscellaneous items, it's time to breathe new life into this classic game centerpiece. Refinishing a ping pong table is a rewarding project that can revitalize your space and bring back the joy of playing on a smooth, sleek surface.
In this comprehensive guide, we'll walk you through the step-by-step process of refinishing your ping pong table. From gathering the necessary materials to applying the finishing touches, you'll learn everything you need to know to transform your worn-out table into a stunning focal point for countless future matches and gatherings.
So, roll up your sleeves, gather your supplies, and let's embark on this exciting journey to restore and enhance your ping pong table!
Key Takeaways:
- Refinishing a ping pong table involves thorough cleaning, meticulous sanding, and precise application of paint or stain to revitalize its appearance and ensure durability for countless future matches and gatherings.
- By embracing the refinishing process, you can transform a worn-out ping pong table into a stunning focal point, ready to host laughter, camaraderie, and friendly competition for years to come.
Read more: How Large Is A Ping Pong Table
Materials Needed
Before diving into the refinishing process, it’s essential to gather the necessary materials to ensure a successful and satisfying outcome. Here’s a list of items you’ll need:
- Electric sander or sandpaper
- Sandpaper in various grits (coarse, medium, fine)
- Tack cloth or microfiber cloths
- Wood filler (if applicable)
- Primer
- Ping pong table paint or stain
- Clear polyurethane finish
- Paintbrushes and foam rollers
- Painter’s tape
- Drop cloths or plastic sheeting
- Protective gear (gloves, mask, goggles)
- Cleaner or degreaser
- Lint-free cloths
- Scraper or putty knife
- Screwdriver (if disassembling the table)
Having these materials on hand will streamline the refinishing process and ensure that you’re fully equipped to tackle each step with confidence and precision.
Preparation
Proper preparation is key to achieving a professional-quality finish when refinishing your ping pong table. Before you begin, it’s important to set the stage for success by following these essential steps:
- Clean the Table: Start by thoroughly cleaning the surface of the ping pong table to remove any dust, dirt, or grime. Use a gentle cleaner or degreaser and a lint-free cloth to ensure that the table is free of any contaminants that could affect the refinishing process.
- Disassemble (if necessary): If your ping pong table is collapsible or features detachable components, consider disassembling it to facilitate the refinishing process. This will allow you to access all areas of the table with ease and ensure a more thorough and even application of paint or stain.
- Protect the Surrounding Area: Refinishing can be a messy endeavor, so it’s crucial to safeguard the surrounding space. Lay down drop cloths or plastic sheeting to protect the floor and any nearby furniture or belongings from paint, dust, and debris.
- Inspect and Repair: Carefully inspect the table for any dents, dings, or imperfections. If necessary, use wood filler to repair any surface blemishes, and allow it to dry completely before proceeding.
- Ensure Proper Ventilation: Refinishing products can emit strong fumes, so it’s essential to work in a well-ventilated area. If refinishing indoors, open windows and use fans to promote air circulation and minimize exposure to fumes.
By taking the time to prepare your ping pong table and the surrounding area, you’ll create an optimal environment for the refinishing process and pave the way for a stunning end result.
Sanding
Once the preparation is complete, it’s time to embark on the sanding process, a crucial step in achieving a smooth and uniform surface for the application of paint or stain. Follow these steps to effectively sand your ping pong table:
- Select the Right Grit: Begin with a coarse-grit sandpaper to remove any existing finish, imperfections, or rough spots on the table’s surface. Gradually progress to medium-grit and then fine-grit sandpaper to achieve a smooth and even texture.
- Use an Electric Sander (if available): An electric sander can expedite the sanding process and ensure consistent results. If using an electric sander, work in small sections, moving in the direction of the wood grain for optimal outcomes.
- Hand Sanding (if necessary): In areas where the electric sander cannot reach, or for detailed work around edges and corners, hand sanding with sandpaper wrapped around a sanding block can provide precise control and a seamless finish.
- Remove Dust: After sanding, use a tack cloth or a microfiber cloth to thoroughly remove all dust and debris from the table’s surface. This step is crucial to ensure a clean foundation for the subsequent stages of the refinishing process.
By meticulously sanding the ping pong table, you’ll create an ideal canvas for the application of paint or stain, setting the stage for a flawless and enduring finish.
Cleaning
Following the sanding process, thorough cleaning is essential to prepare the ping pong table for the application of paint or stain. Here’s how to effectively clean the table:
- Remove Sanding Residue: Use a tack cloth or a microfiber cloth to meticulously remove any remaining dust and debris from the surface of the table. Ensure that the table is entirely free of sanding residue to facilitate the next stages of the refinishing process.
- Use a Gentle Cleaner: If there are any lingering traces of dirt or grime, use a gentle cleaner or degreaser to thoroughly clean the table’s surface. Wipe down the entire table with a clean, damp cloth, and allow it to dry completely before proceeding.
- Inspect for Lingering Imperfections: After cleaning, carefully inspect the table for any remaining imperfections or areas that may require additional attention. Address any issues as needed to ensure a pristine foundation for the subsequent refinishing steps.
By diligently cleaning the ping pong table following the sanding process, you’ll create an immaculate surface that’s ready to receive the transformative effects of paint or stain, setting the stage for a stunning revitalization.
Before refinishing a ping pong table, make sure to thoroughly clean and sand the surface to remove any old finish or imperfections. This will ensure a smooth and even application of the new finish.
Read more: Where To Donate A Ping Pong Table
Applying Paint or Stain
With the table meticulously prepared and cleaned, it’s time to apply the desired paint or stain to achieve the look you envision for your ping pong table. Follow these steps for a successful application:
- Choose Your Finish: Select a high-quality paint or stain specifically formulated for use on wood surfaces. Consider factors such as color, opacity, and the level of protection provided by the finish.
- Apply Primer (if using paint): If you’ve opted to paint the table, applying a primer can enhance adhesion and create a uniform base for the paint. Follow the manufacturer’s instructions for the optimal application of the primer.
- Even Application: Use a high-quality paintbrush or foam roller to apply the paint or stain evenly across the surface of the table. Work methodically, applying thin, overlapping coats to ensure comprehensive coverage and a smooth finish.
- Follow Wood Grain (if applicable): If your ping pong table features a wood grain pattern, strive to apply the paint or stain in the direction of the grain for a natural and visually appealing result.
- Allow for Drying Time: Once the initial coat is applied, allow the paint or stain to dry completely according to the manufacturer’s recommendations. Depending on the product and environmental conditions, this may take several hours or longer.
- Apply Additional Coats (if necessary): Depending on the desired depth of color or level of coverage, you may need to apply multiple coats of paint or stain. Ensure that each coat is fully dry before applying the next to avoid uneven results.
By applying the chosen paint or stain with precision and care, you’ll breathe new life into your ping pong table, infusing it with a fresh and vibrant aesthetic that reflects your personal style and preferences.
Applying Finish
After the paint or stain has been applied and allowed to dry, the next critical step in the refinishing process is to apply a durable and protective finish to safeguard the table’s surface and enhance its longevity. Follow these steps to effectively apply the finish:
- Choose Clear Polyurethane Finish: Opt for a clear polyurethane finish designed for use on wooden surfaces. This protective coating will shield the table from wear and tear while accentuating the beauty of the paint or stain beneath it.
- Use High-Quality Brushes or Rollers: Select high-quality brushes or foam rollers specifically designed for use with polyurethane to ensure a smooth and even application.
- Apply Thin, Even Coats: Work methodically to apply thin, even coats of polyurethane to the entire surface of the table. Avoid over-applying the finish, as this can lead to drips, streaks, or an uneven appearance.
- Allow for Drying and Curing: After each coat of polyurethane is applied, allow it to dry and cure according to the manufacturer’s instructions. This may involve a waiting period of several hours or longer to ensure that the finish sets properly.
- Lightly Sand Between Coats (if necessary): If recommended by the product instructions, lightly sand the surface between coats of polyurethane to promote adhesion and a seamless finish.
- Apply Multiple Coats (if desired): Depending on the level of protection and sheen you seek, you may opt to apply multiple coats of polyurethane. Ensure that each coat is fully dry before applying the next to achieve a flawless and resilient finish.
By applying a clear polyurethane finish with precision and care, you’ll fortify the surface of your ping pong table, ensuring that it withstands countless matches and gatherings while retaining its lustrous and inviting appearance.
Final Touches
As the refinishing process nears completion, attending to the final touches will elevate the overall aesthetics and functionality of your newly revitalized ping pong table. Consider the following steps to add the finishing touches:
- Inspect for Imperfections: Carefully examine the table’s surface for any imperfections, drips, or blemishes that may have occurred during the application of paint, stain, or finish. Address any issues by lightly sanding and applying touch-up paint or finish as needed.
- Reassemble (if applicable): If you disassembled the ping pong table for refinishing, carefully reassemble it according to the manufacturer’s instructions. Take care to ensure that all components fit securely and that the table is level and stable.
- Protective Pads or Mats: Consider adding protective pads or mats to the table’s legs and corners to prevent damage to the newly finished surface and safeguard your floors from scratches or marks during gameplay.
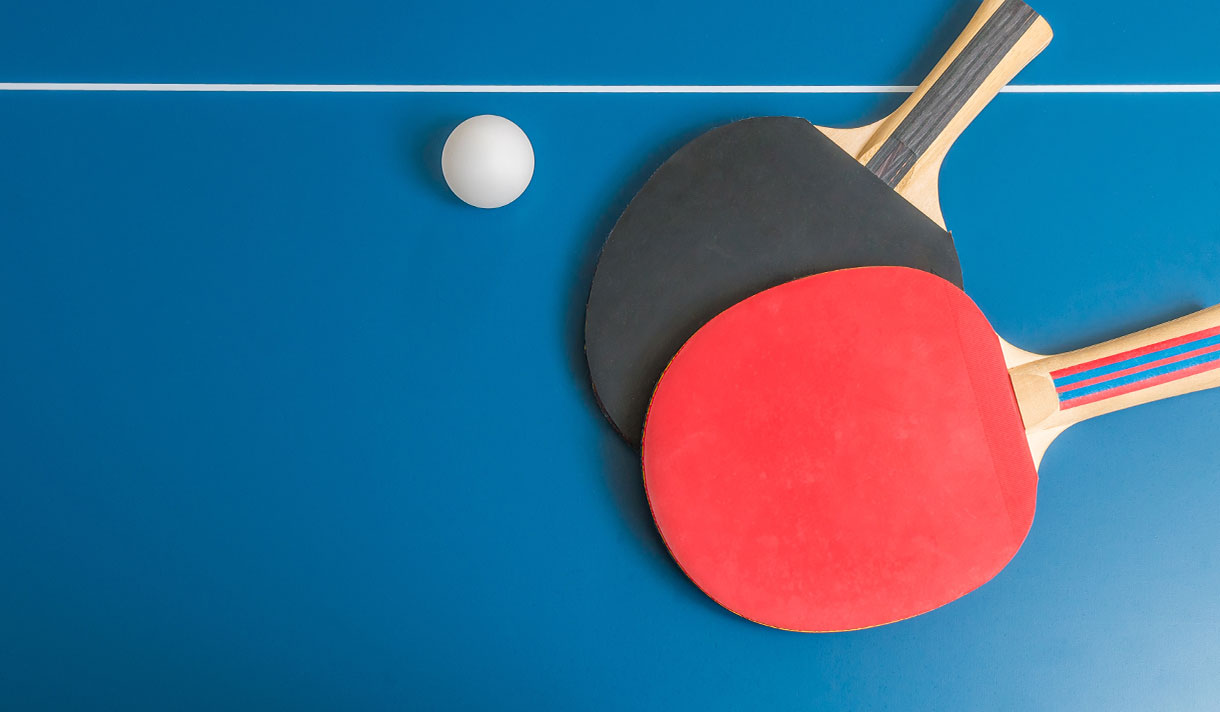
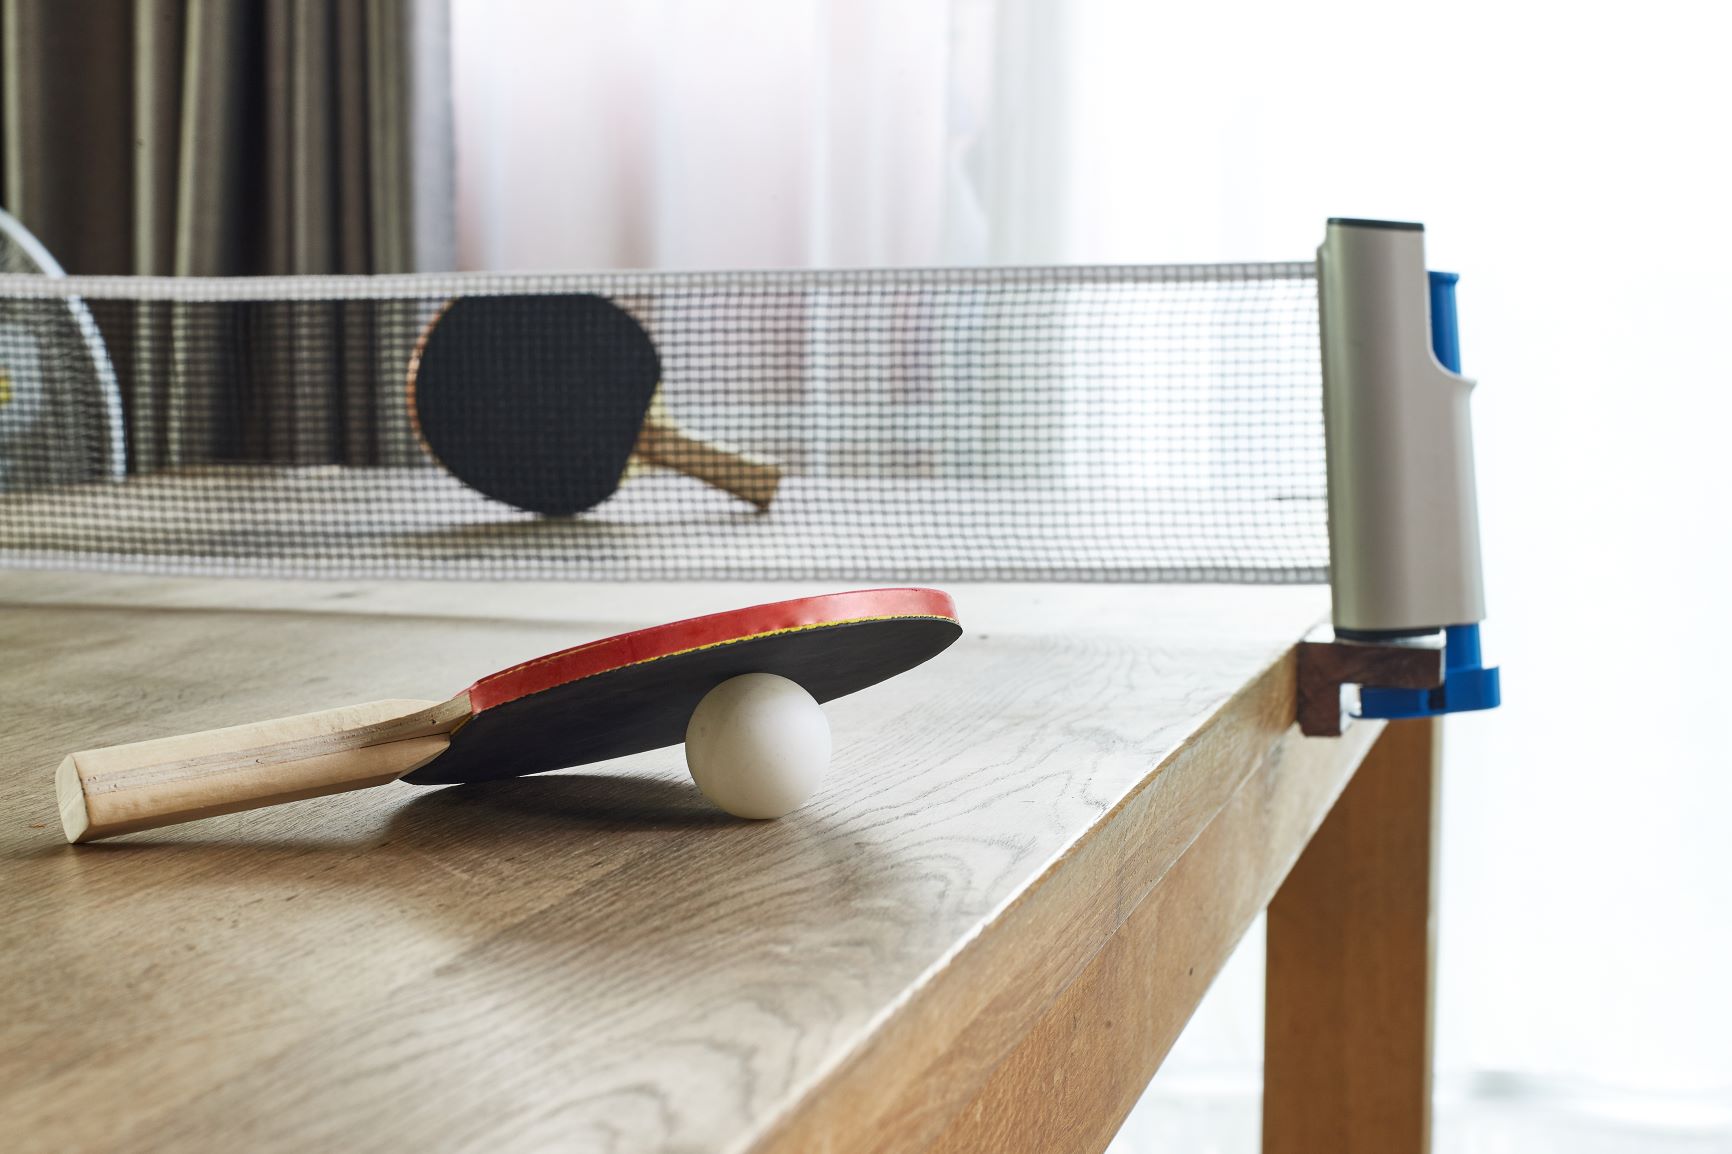
- Accessorize and Organize: Enhance the functionality and visual appeal of the table by adding accessories such as a net, paddles, and balls. Consider incorporating storage solutions to keep these items organized and readily accessible for future matches.
- Celebrate and Enjoy: Once the final touches are complete, take a moment to celebrate your hard work and admire the transformation of your ping pong table. Gather friends and family for a celebratory game and revel in the renewed beauty and functionality of this beloved recreational centerpiece.
By attending to these final touches, you’ll ensure that your newly refinished ping pong table is not only visually striking but also primed for countless hours of enjoyment and friendly competition.
Conclusion
Refinishing a ping pong table is a gratifying endeavor that yields both aesthetic and functional rewards. By following the comprehensive steps outlined in this guide, you’ve embarked on a journey to breathe new life into a cherished piece of recreational furniture and create a captivating focal point for countless games and gatherings.
From the meticulous preparation and sanding to the transformative application of paint or stain and the protective finish, each stage of the refinishing process has contributed to the revitalization of your ping pong table. Through dedication and attention to detail, you’ve not only restored its visual appeal but also enhanced its durability and longevity.
As you admire the gleaming surface of your newly refinished ping pong table, take pride in the craftsmanship and care invested in this project. Whether it’s now proudly displayed in a game room, garage, or outdoor entertainment area, your ping pong table stands as a testament to your commitment to preserving and enhancing the spaces where cherished memories are made.
So, gather friends and family, set up the net, and let the games begin! With its renewed beauty and functionality, your ping pong table is ready to host countless matches, fostering laughter, camaraderie, and friendly competition for years to come.
Embrace the joy of play, revel in the satisfaction of a job well done, and savor the moments of togetherness that your refinished ping pong table will continue to inspire.
Frequently Asked Questions about How To Refinish A Ping Pong Table
Was this page helpful?
At Storables.com, we guarantee accurate and reliable information. Our content, validated by Expert Board Contributors, is crafted following stringent Editorial Policies. We're committed to providing you with well-researched, expert-backed insights for all your informational needs.

0 thoughts on “How To Refinish A Ping Pong Table”