Home>Gardening & Outdoor>Outdoor Recreation & Activities>How To Build A Ping Pong Table
Outdoor Recreation & Activities
How To Build A Ping Pong Table
Published: January 20, 2024
Learn how to build a durable and functional outdoor ping pong table for endless fun and entertainment. Discover step-by-step instructions and expert tips. Ideal for outdoor recreation and activities enthusiasts.
(Many of the links in this article redirect to a specific reviewed product. Your purchase of these products through affiliate links helps to generate commission for Storables.com, at no extra cost. Learn more)
Introduction
Are you a fan of ping pong? Do you enjoy the thrill of a fast-paced, competitive game that tests your reflexes and agility? If so, have you ever considered building your own ping pong table? Not only can it be a rewarding and fulfilling project, but it can also provide you with a customized table that suits your specific preferences and playing style.
Building a ping pong table from scratch may seem like a daunting task, but with the right guidance and a bit of determination, it can be a highly achievable endeavor. Whether you're a seasoned DIY enthusiast or a newcomer to the world of woodworking, this comprehensive guide will walk you through the step-by-step process of constructing your very own ping pong table. From gathering the necessary materials and tools to adding the finishing touches, you'll gain valuable insights and practical tips to bring your vision to life.
Throughout this guide, we'll delve into the essential components of a ping pong table, explore the various materials and tools needed for the construction, and provide detailed instructions for each stage of the building process. By the end of this journey, you'll not only have a newfound appreciation for the craftsmanship behind a quality ping pong table, but you'll also have the satisfaction of creating a centerpiece for countless hours of entertainment and friendly competition.
So, roll up your sleeves, unleash your creativity, and get ready to embark on an enriching and enjoyable endeavor as we delve into the art of building a ping pong table from the ground up. Let's dive in and discover the rewarding world of DIY ping pong table construction!
Key Takeaways:
- Building a ping pong table is an achievable and rewarding DIY project that requires precision and creativity. From constructing the frame to adding the playing surface and attaching the net, each step contributes to a resilient and regulation-compliant table.
- By meticulously following the steps and adding finishing touches, you can create a visually striking and durable ping pong table. Your craftsmanship will not only result in a functional masterpiece but also a catalyst for countless hours of enjoyment and shared memories.
Read more: How To Assemble A Ping Pong Table
Materials and Tools Needed
Before embarking on the construction of your custom ping pong table, it’s crucial to gather all the necessary materials and tools to ensure a smooth and efficient building process. Here’s a comprehensive list of what you’ll need:
Materials:
- 4 pieces of plywood for the table surface
- 8 pieces of lumber for the frame
- Wood glue
- Screws
- Sandpaper
- Wood stain or paint (optional for finishing)
- Ping pong net and posts
- Wood filler
Tools:
- Measuring tape
- Saw (circular saw or table saw)
- Drill with screwdriver bits
- Sandpaper or electric sander
- Clamps
- Paintbrushes (if using wood stain or paint)
- Protective gear (safety glasses, gloves, dust mask)
It’s important to ensure that the materials you select are of high quality, as this will directly impact the durability and overall performance of your ping pong table. Additionally, having the right tools at your disposal will streamline the construction process and contribute to the precision and accuracy of your work.
Now that you have a clear understanding of the materials and tools needed, you’re well-equipped to move on to the next exciting phase: building the table frame. Get ready to roll up your sleeves and unleash your creativity as we dive into the heart of the construction process!
Building the Table Frame
Constructing the frame is a critical step in building a sturdy and reliable ping pong table. The frame provides the structural support and stability necessary to withstand the rigors of intense gameplay. Follow these steps to create a robust and well-crafted table frame:
Read more: How Large Is A Ping Pong Table
Step 1: Cutting the Lumber
Begin by measuring and cutting the lumber to the required dimensions for the table frame. Use a saw, such as a circular saw or table saw, to achieve precise and uniform cuts. It’s essential to double-check the measurements to ensure accuracy before making any cuts.
Step 2: Assembling the Frame
Once the lumber pieces are cut to size, assemble the frame according to the table’s dimensions. Use wood glue and screws to securely join the pieces together, ensuring that the frame is square and level. Clamps can be used to hold the pieces in place during the assembly process, facilitating a seamless and sturdy bond.
Step 3: Reinforcing the Corners
To enhance the strength and stability of the frame, consider reinforcing the corners with additional support. This can be achieved by adding diagonal braces or metal brackets to the corners, effectively fortifying the structural integrity of the frame.
Step 4: Sanding and Smoothing
Once the frame is assembled, use sandpaper or an electric sander to smooth out any rough edges and surfaces. This step is crucial for achieving a professional finish and ensuring that the playing surface will rest evenly on the frame.
By meticulously following these steps, you’ll be well on your way to creating a robust and well-constructed table frame that forms the foundation of your custom ping pong table. With the frame in place, the next phase involves adding the playing surface to complete the table’s structure. Get ready to take the next exciting step in bringing your vision to life!
Read more: Where To Donate A Ping Pong Table
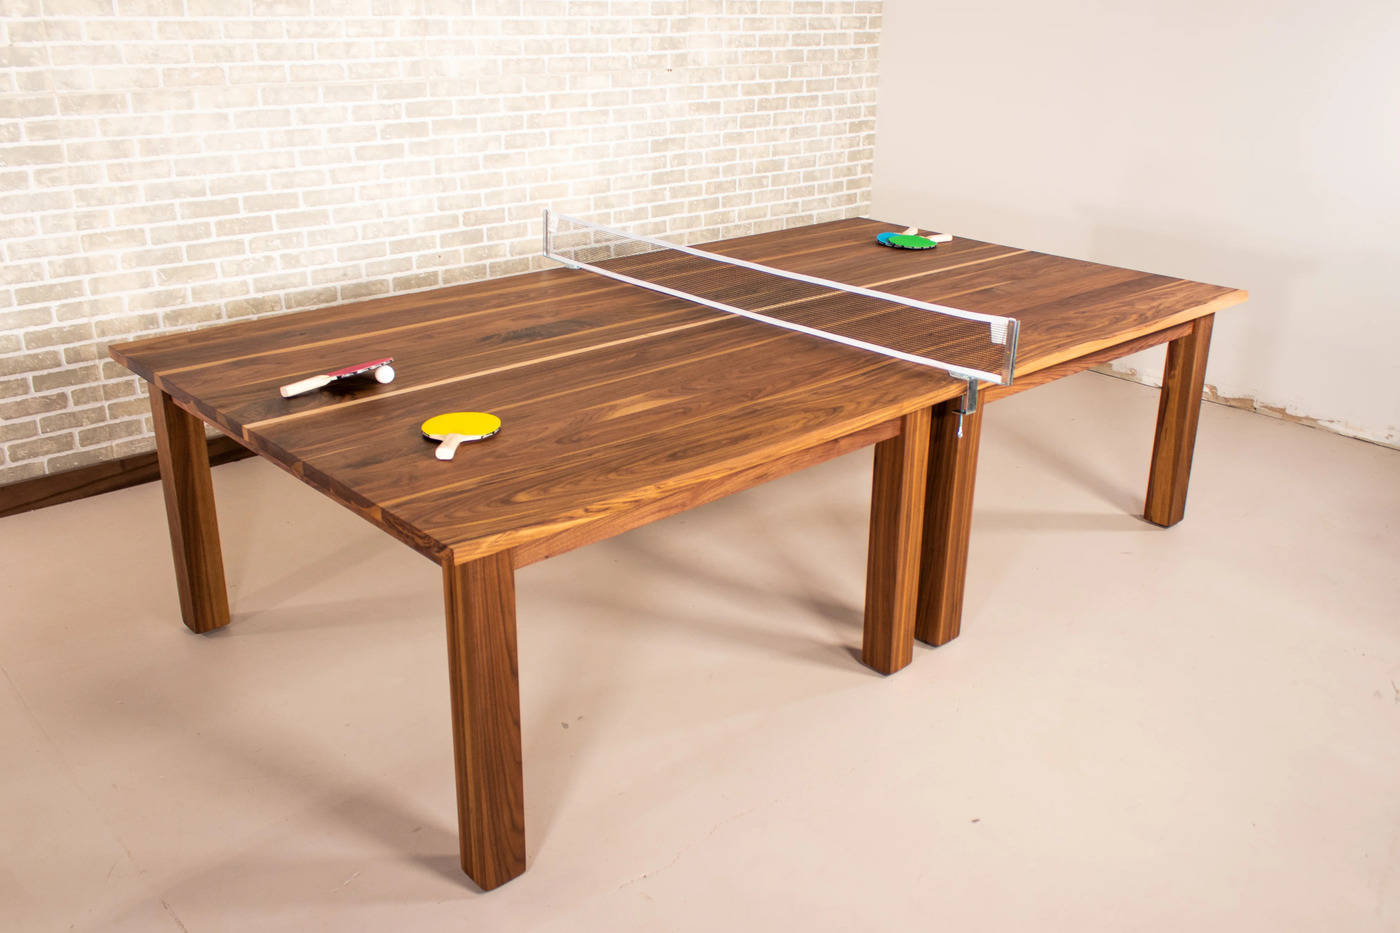
Adding the Playing Surface
With the table frame securely in place, it’s time to focus on adding the playing surface, a pivotal element that directly impacts the quality of gameplay. Follow these steps to seamlessly integrate the playing surface with the frame, creating a smooth and resilient platform for intense ping pong matches:
Step 1: Preparing the Plywood
Begin by placing the plywood pieces onto the frame, ensuring a precise fit and alignment. The plywood will serve as the playing surface, so it’s essential to carefully measure and cut the pieces to match the dimensions of the frame. Use a saw to achieve clean and accurate cuts, and verify the dimensions before proceeding.
Step 2: Attaching the Plywood
Once the plywood pieces are cut to size, use wood glue and screws to securely attach them to the frame. Ensure that the plywood is evenly positioned and firmly affixed to the frame, creating a seamless and level playing surface. Pay close attention to the edges and corners, as these areas require meticulous alignment and attachment.
Step 3: Smoothing and Finishing
After the plywood is securely attached, use sandpaper or an electric sander to smooth out the surface, eliminating any rough patches or imperfections. This step is crucial for optimizing the playing experience, as a smooth and uniform surface contributes to consistent ball bounce and overall gameplay quality.
Read more: How To Transport A Ping Pong Table
Step 4: Applying a Finish (Optional)
For added durability and aesthetic appeal, consider applying a wood stain or paint to the playing surface. This optional step not only enhances the table’s visual allure but also provides an extra layer of protection, safeguarding the plywood from wear and tear over time.
By diligently following these steps, you’ll successfully integrate the playing surface with the frame, culminating in a well-crafted and resilient platform for countless hours of thrilling ping pong action. With the playing surface in place, the next phase involves attaching the net, a defining feature that completes the transformation of the table into a bona fide ping pong arena. Get ready to take the next exhilarating step in bringing your custom ping pong table to fruition!
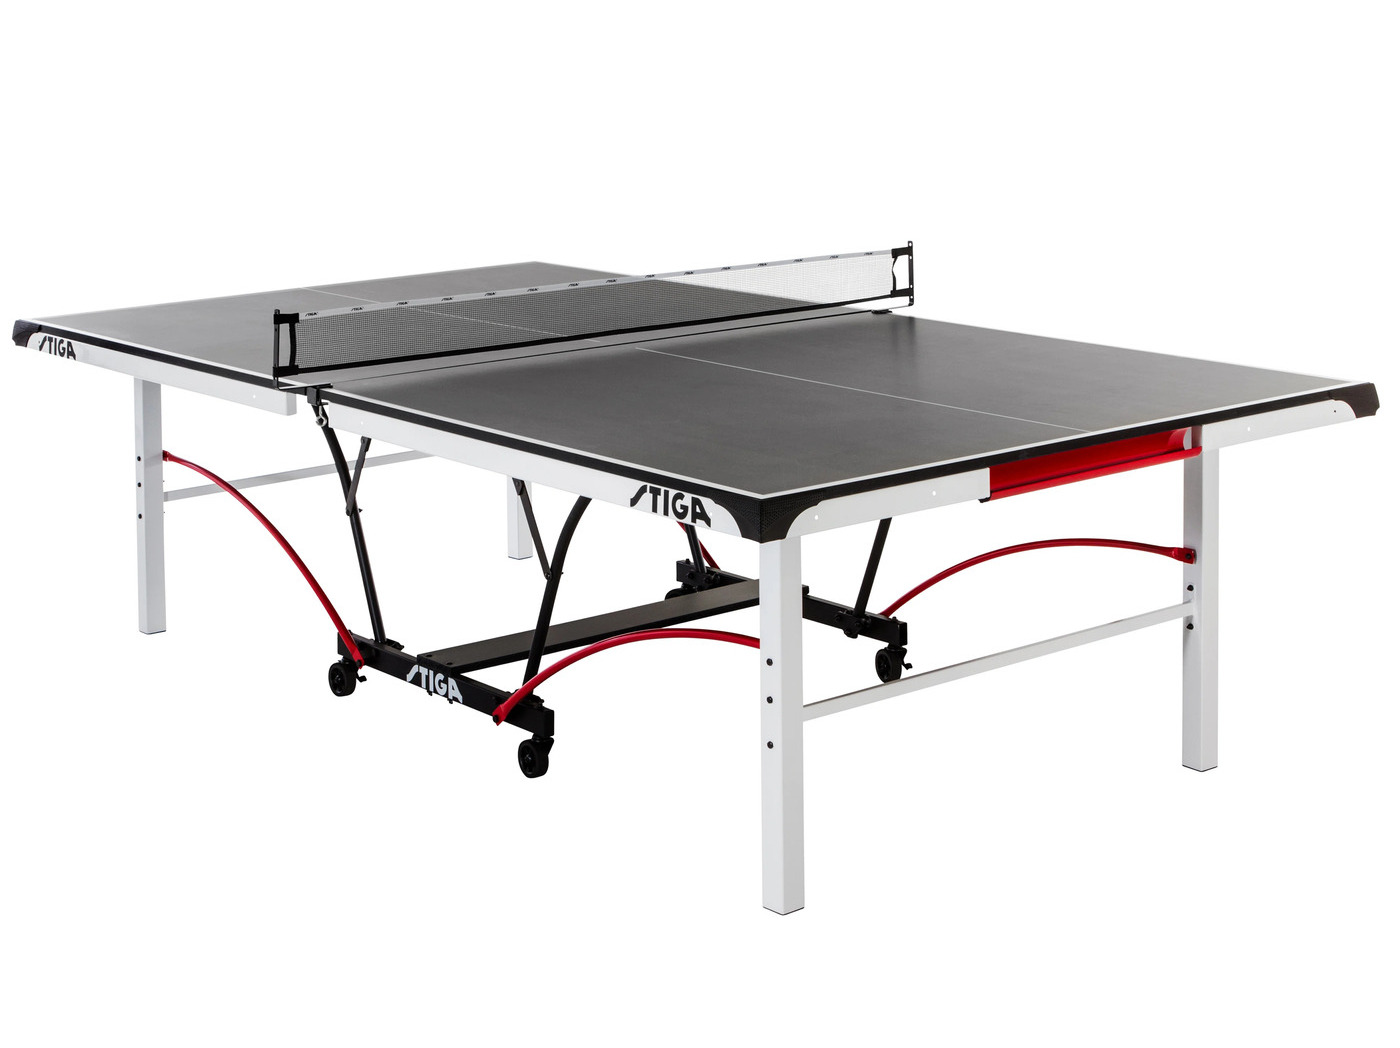
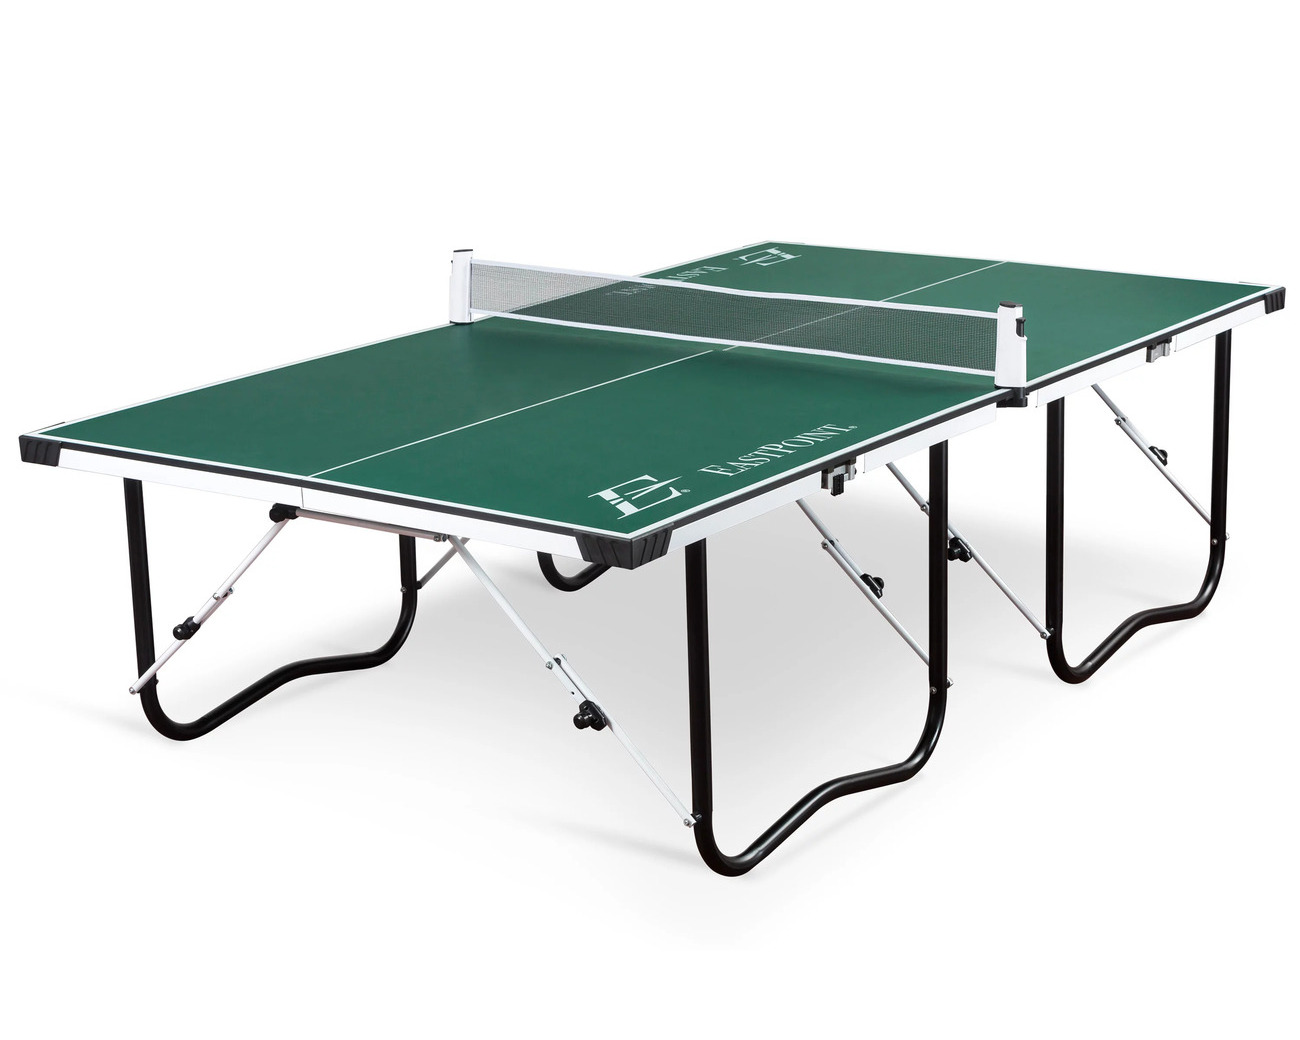
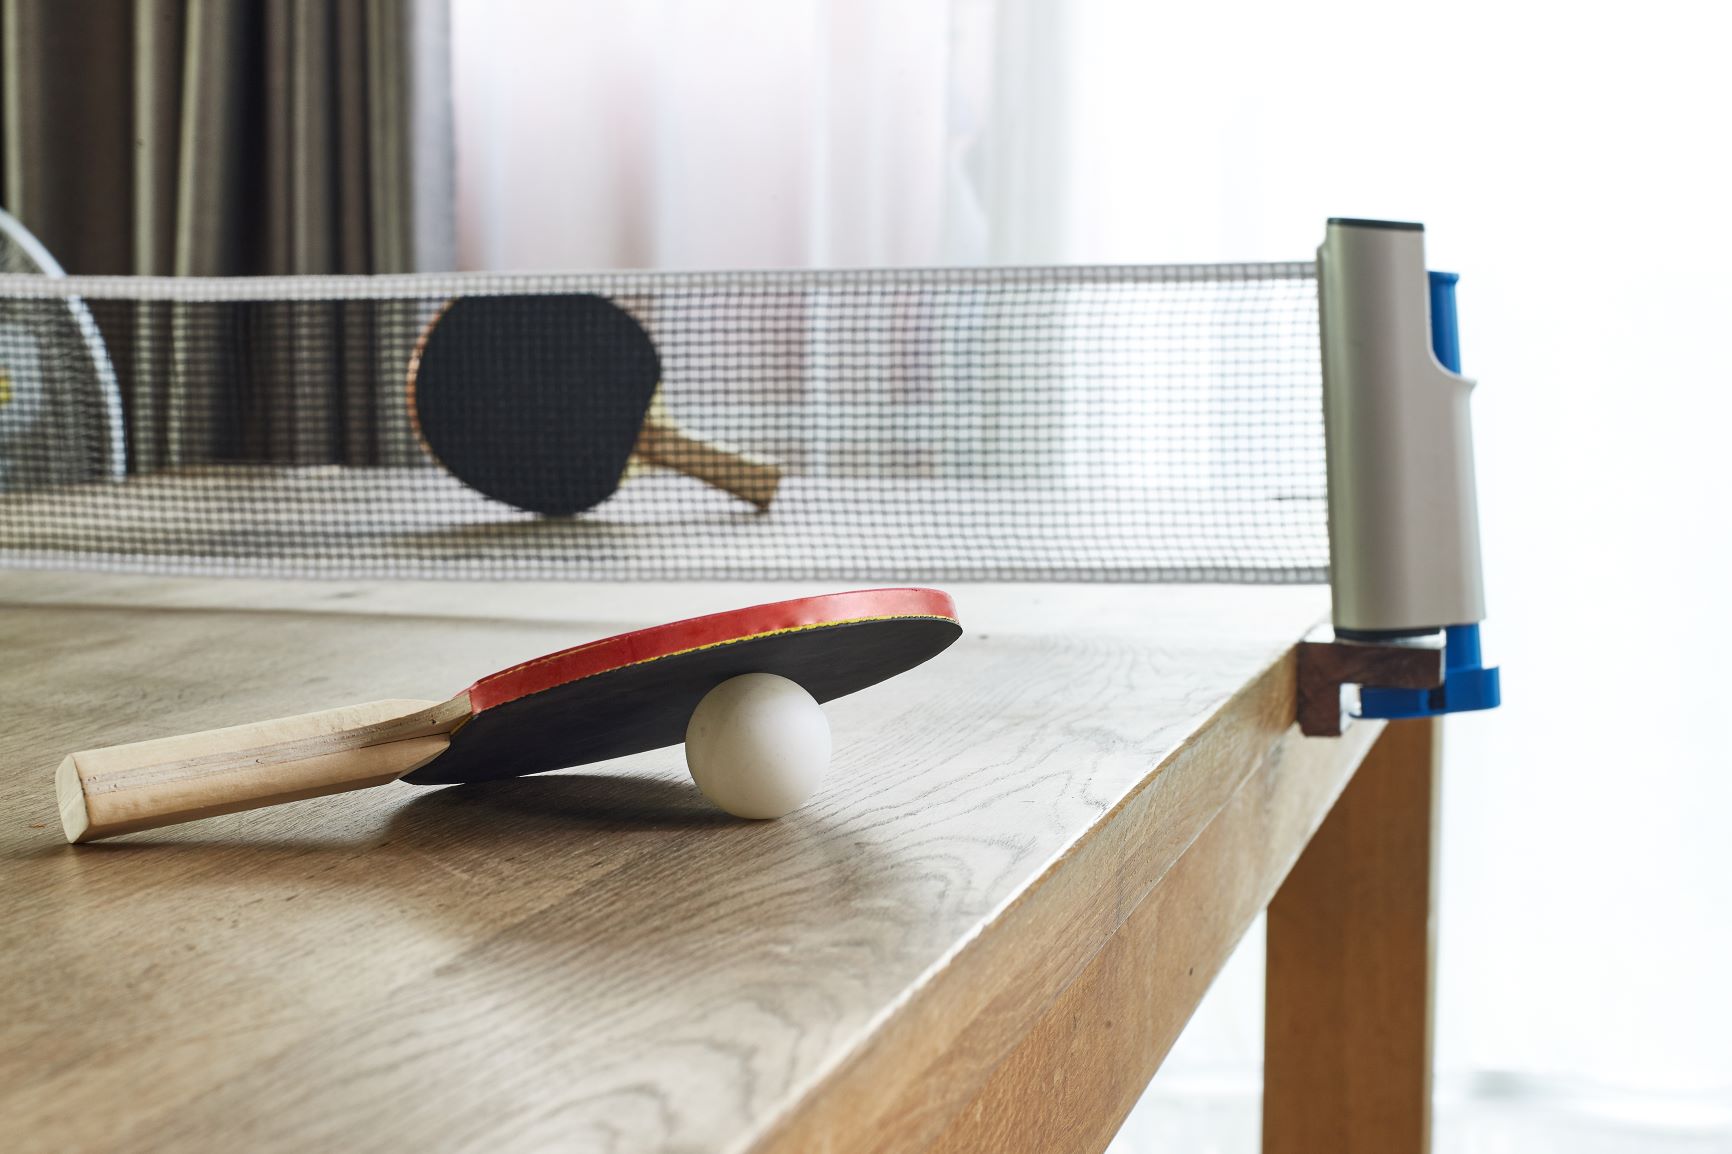
Attaching the Net
As you near the completion of your custom ping pong table, it’s time to focus on a crucial element that defines the essence of the game: the net. Attaching the net to your table requires precision and attention to detail to ensure optimal tension and positioning. Follow these steps to seamlessly integrate the net, transforming your table into a bona fide ping pong arena:
Step 1: Positioning the Net Posts
Begin by positioning the net posts at the center of each end of the table. These posts serve as the anchor points for the net and play a pivotal role in maintaining proper tension and height. Ensure that the posts are aligned symmetrically and securely anchored to the table frame.
Step 2: Attaching the Net
Once the net posts are in place, carefully attach the net, ensuring that it is taut and level across the table. The net should be centered and extend evenly on both sides, maintaining a consistent height of 6 inches (15.25 cm) from the playing surface. Pay close attention to the tension of the net to achieve a uniform and professional appearance.
Read more: How To Paint A Ping Pong Table
Step 3: Verifying Regulation Measurements
To ensure that your table adheres to standard regulations, verify that the height and tension of the net align with official ping pong specifications. A regulation net height of 6 inches (15.25 cm) and proper tension are essential for fair and competitive gameplay, so meticulous attention to detail is paramount.
Step 4: Securing the Net in Place
Once the net is properly positioned and tensioned, secure it in place by tightening the net clamps on each post. This step is crucial for maintaining the integrity of the net during vigorous gameplay, preventing any slippage or disruption that could affect the flow of the game.
By following these steps with precision and care, you’ll seamlessly integrate the net with your custom ping pong table, culminating in a professional and regulation-compliant setup that sets the stage for thrilling matches and friendly competitions. With the net securely in place, the final phase involves adding the finishing touches to elevate the aesthetic appeal and functionality of your one-of-a-kind ping pong table. Get ready to put the finishing flourishes on your creation and unveil the masterpiece you’ve diligently crafted!
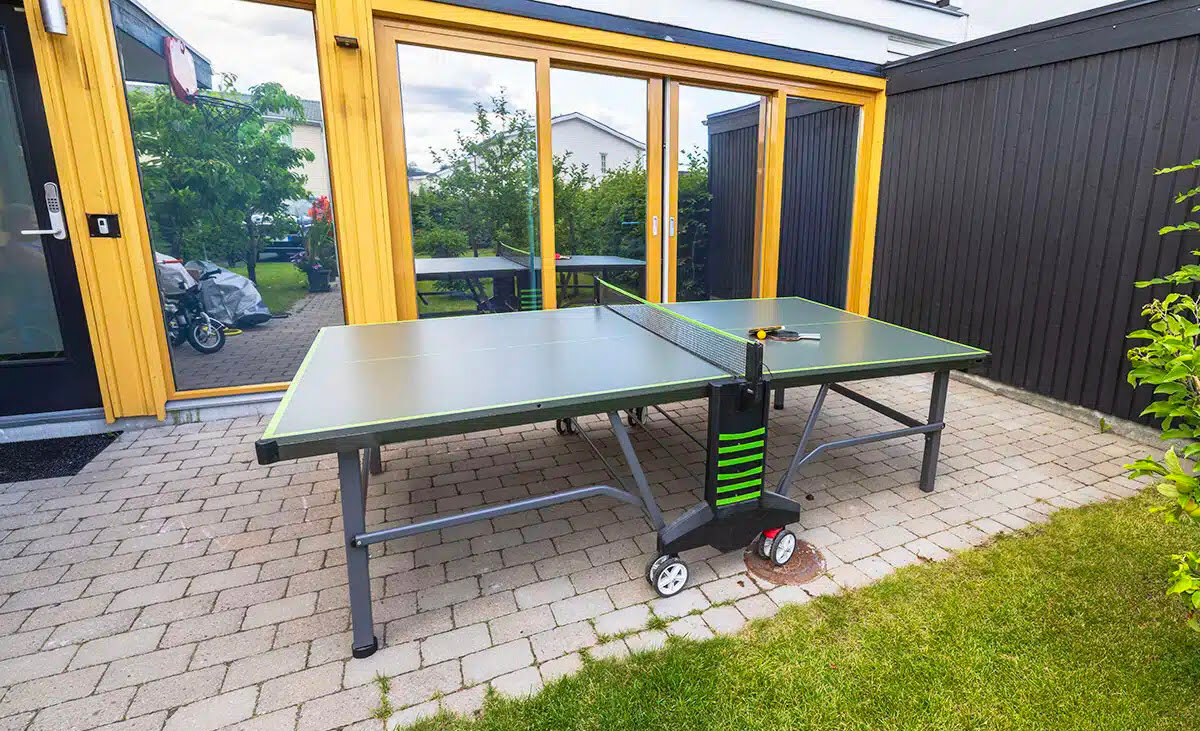
Finishing Touches
As you approach the completion of your custom-built ping pong table, it’s time to add the finishing touches that will elevate its aesthetic appeal and ensure long-lasting durability. These final steps will not only enhance the visual allure of your creation but also contribute to the overall functionality and resilience of the table. Let’s dive into the essential finishing touches that will bring your ping pong table to its full potential:
Step 1: Applying a Protective Finish
To safeguard the table against wear and tear while enhancing its visual appeal, consider applying a protective finish such as wood stain or paint. This step serves to seal the wood, providing resistance to moisture, scratches, and other forms of damage. Additionally, a carefully chosen finish can impart a personalized touch to your table, complementing its surroundings and reflecting your unique style.
Read more: How To Unfold A Kettler Ping Pong Table
Step 2: Smoothing and Polishing
After applying the protective finish, use fine-grit sandpaper to smooth any rough areas and achieve a uniform surface. This meticulous step contributes to the professional look and feel of the table, ensuring that players can enjoy a seamless and consistent playing experience without any rough edges or imperfections.
Step 3: Adding Boundary Lines and Markings
For a polished and authentic touch, consider adding boundary lines and markings to the playing surface. Using painter’s tape and a steady hand, carefully delineate the regulation boundary lines, center line, and other markings to emulate the look of a professional ping pong table. This attention to detail not only enhances the visual appeal of the table but also provides clear guidance for players during intense matches.
Step 4: Installing Levelers (Optional)
If your table will be placed in an area with uneven flooring, consider installing adjustable levelers on the table legs to ensure stability and a level playing surface. This optional addition can accommodate varying floor conditions, allowing for optimal gameplay without the inconvenience of an uneven table.
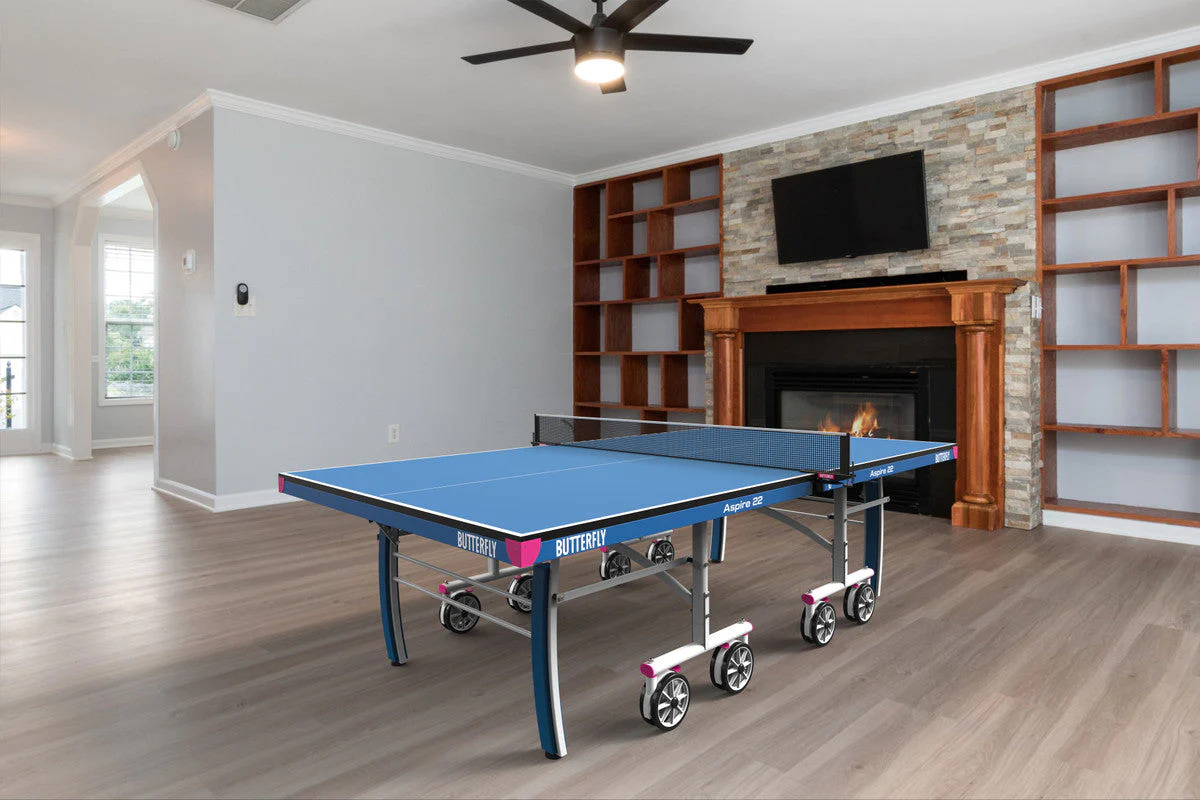
By meticulously attending to these finishing touches, you’ll elevate your custom ping pong table from a functional creation to a visually striking and resilient centerpiece for countless hours of enjoyment. With the finishing touches in place, your table is primed to take center stage in friendly matches, family gatherings, and social events, serving as a testament to your craftsmanship and dedication. As you admire the completed masterpiece, take pride in the fact that you’ve not only built a ping pong table but also crafted unforgettable memories and moments of shared joy around it.
Conclusion
Congratulations are in order for successfully completing the journey of building your very own ping pong table! What began as a vision and a stack of materials has now transformed into a tangible and functional masterpiece that embodies your creativity and craftsmanship. As you stand back and admire the table that you’ve meticulously constructed, it’s not just a piece of furniture; it’s a symbol of your dedication, ingenuity, and passion for the game of ping pong.
Throughout the process, you’ve embraced the art of woodworking, precision, and attention to detail, honing your skills and channeling your creativity into every aspect of the construction. From meticulously assembling the frame to seamlessly integrating the playing surface and attaching the net, each step has been a testament to your commitment to excellence.
As you prepare to put your custom ping pong table to use, whether for friendly matches, family gatherings, or leisurely solo practice, remember the countless hours of enjoyment and camaraderie it will facilitate. Your table is not just a piece of furniture; it’s a catalyst for unforgettable moments, friendly rivalries, and shared laughter.
As you revel in the satisfaction of your completed creation, take pride in the fact that you’ve not only built a ping pong table but also crafted a centerpiece for cherished memories and joyful experiences. Whether it’s the satisfaction of a well-executed shot, the thrill of a close match, or the laughter shared with friends and loved ones, your ping pong table will be at the heart of these moments.
So, as you embark on this new chapter with your custom-built ping pong table, may it serve as a constant reminder of your creativity, resilience, and the joy of bringing dreams to life through dedicated craftsmanship. Let the games begin, and may your table be the backdrop for countless hours of fun, laughter, and unforgettable memories!
Frequently Asked Questions about How To Build A Ping Pong Table
Was this page helpful?
At Storables.com, we guarantee accurate and reliable information. Our content, validated by Expert Board Contributors, is crafted following stringent Editorial Policies. We're committed to providing you with well-researched, expert-backed insights for all your informational needs.

0 thoughts on “How To Build A Ping Pong Table”