Home>Furniture>Living Room Furniture>How To Assemble A Coffee Table
Living Room Furniture
How To Assemble A Coffee Table
Modified: March 16, 2024
Learn how to assemble a coffee table for your living room with our step-by-step guide. Find the best living room furniture assembly tips and tricks here.
(Many of the links in this article redirect to a specific reviewed product. Your purchase of these products through affiliate links helps to generate commission for Storables.com, at no extra cost. Learn more)
Introduction
When it comes to creating a cozy and inviting living room, one essential piece of furniture that cannot be overlooked is the coffee table. Not only does it provide a convenient surface for placing drinks, snacks, and other items, but it also serves as a focal point for your seating area. Whether you have just purchased a new coffee table or are considering assembly for a secondhand find, learning how to assemble it properly can ensure that it is sturdy and ready to be enjoyed.
Assembling a coffee table may seem like a daunting task, but with the right tools and a clear set of instructions, it can be a straightforward and rewarding experience. This step-by-step guide will walk you through the process of assembling a coffee table, ensuring a successful outcome that will leave you with a beautiful and functional addition to your living room.
Before you begin assembling your coffee table, take a moment to gather the necessary tools and materials. This will ensure that you have everything you need within arm’s reach, saving you time and frustration during the assembly process. Here’s a list of common tools and materials you may need:
Key Takeaways:
- Assembling a coffee table is a straightforward and rewarding experience when you gather the right tools, follow the instructions, and ensure stability by tightening connections and making final adjustments.
- After assembling your coffee table, add finishing touches, such as decorative items and protective pads, to personalize and protect your new piece of furniture. Regular maintenance will help preserve its longevity and functionality.
Read more: How To Assemble Dining Chairs
Tools and Materials Needed
- Screwdriver (Phillips or flat-head, depending on the screws used)
- Allen wrench (usually included in the packaging)
- Rubber mallet or hammer (for tapping in dowels, if required)
- Measuring tape (to ensure proper alignment and spacing)
- Level (to ensure the coffee table is even)
- Assembly instructions (included with the coffee table)
Now that you have gathered all the necessary tools and materials, it’s time to start assembling your coffee table. Following the instructions provided by the manufacturer is crucial, as each coffee table may have specific assembly requirements. However, the general steps outlined below will give you a good foundation for the assembly process:
Key Takeaways:
- Assembling a coffee table is a straightforward and rewarding experience when you gather the right tools, follow the instructions, and ensure stability by tightening connections and making final adjustments.
- After assembling your coffee table, add finishing touches, such as decorative items and protective pads, to personalize and protect your new piece of furniture. Regular maintenance will help preserve its longevity and functionality.
Read more: How To Assemble Dining Chairs
Tools and Materials Needed
Before you start assembling your coffee table, it’s important to gather all the necessary tools and materials. Having everything you need on hand will make the assembly process smoother and more efficient. Here’s a list of the common tools and materials you may need:
- Screwdriver: You will likely need a screwdriver to tighten screws during the assembly process. Make sure you have both a Phillips and flat-head screwdriver on hand, as different types of screws may require different tools.
- Allen wrench: Many coffee tables come with screws that require an Allen wrench for tightening. Check the packaging or instruction manual to see if an Allen wrench is needed and make sure you have one available.
- Rubber mallet or hammer: Some coffee tables may require tapping in dowels or other connectors. Having a rubber mallet or hammer can assist with this assembly step.
- Measuring tape: A measuring tape can come in handy for ensuring proper alignment and spacing during the assembly process. Use it to measure distances and ensure that components are positioned correctly.
- Level: Once the coffee table is assembled, you’ll want to make sure it’s level to prevent wobbling or unevenness. A small level tool can help you achieve a perfectly balanced coffee table.
- Assembly instructions: Most coffee tables come with assembly instructions provided by the manufacturer. Make sure to have these instructions accessible, as they will guide you through the step-by-step assembly process.
Gathering these tools and materials before you start assembling your coffee table will save you time and frustration. Having everything within reach will allow you to work efficiently and ensure a successful assembly.
Remember to check the packaging and instruction manual of your specific coffee table for any additional tools or materials that may be required. Some coffee tables may include specific components or hardware that require specialized tools for assembly.
Now that you have all the necessary tools and materials ready, you’re one step closer to assembling your coffee table. The next step is to unpack and organize the parts, which we’ll cover in the following section.
Step 1: Unpacking and Organizing Parts
The first step in assembling your coffee table is to carefully unpack and organize all the parts. This step is crucial to ensure that you have everything you need and that all components are in good condition. Follow these guidelines to unpack and organize your coffee table parts:
- Clear a workspace: Find a suitable area in your living room or another spacious room where you can lay out all the parts. Make sure the surface is clean and free from any debris or clutter.
- Check the packaging: Carefully open the packaging of your coffee table and check for any damage. Inspect all the parts to ensure that they are in good condition and that there are no missing pieces. If you notice any damage or missing parts, contact the manufacturer or retailer immediately.
- Organize the parts: Take a moment to sort and organize the various components of your coffee table. Group similar parts together, such as screws, dowels, and panels. This will make it easier to locate the necessary parts during the assembly process.
- Read the instructions: Before diving into the assembly process, take the time to read the provided instructions thoroughly. Familiarize yourself with the steps and make note of any specific requirements or warnings mentioned in the instructions.
- Gather the necessary tools: Double-check that you have all the tools and materials listed in the instructions. Ensure that your screwdriver, Allen wrench, rubber mallet or hammer, measuring tape, and level are within reach.
By taking the time to unpack and organize your coffee table parts, you are setting yourself up for a smooth and efficient assembly process. Carefully inspecting the parts and following the instructions will help ensure that you have everything you need and that the coffee table will be stable and sturdy once assembled.
Once you have organized the parts and familiarized yourself with the instructions, you’re ready to move on to the next step: reading the instructions in detail. This step is essential to ensure that you understand the assembly process and can execute it correctly. We’ll cover this step in the next section.
Step 2: Reading the Instructions
Now that you have unpacked and organized all the parts, it’s time to dive into the instructional manual provided with your coffee table. Reading the instructions thoroughly and understanding the assembly process is crucial for a successful and hassle-free experience. Here’s how to approach this step:
- Find a quiet and well-lit area: Settle down in a comfortable and well-lit area where you can focus on reading the instructions. Eliminate any distractions, such as background noise or interruptions, to ensure you absorb all the information.
- Read the instructions from start to finish: Begin by reading the instructions from the beginning to the end. Take your time to understand the overall process and the order in which the various components and steps are presented.
- Note any specific requirements or warnings: Pay close attention to any specific requirements or warnings mentioned in the instructions. This could include weight limits, recommended tightening torque, or any precautions you should take during the assembly process.
- Visualize the steps: As you read the instructions, try to visualize each step in your mind. This will help you anticipate the next action and understand how the different parts fit together.
- Refer to diagrams or illustrations: Instructions often include diagrams or illustrations to clarify the assembly process. Take advantage of these visual aids to gain a better understanding of the steps and how the components should align.
- Take notes if necessary: If you come across any particularly important or complex steps, consider taking notes to ensure you remember them during the actual assembly. Writing down key measurements or sequences can be helpful as well.
By carefully reading and understanding the instructions, you’ll have a clear roadmap for the assembly process. This will help you navigate through each step with confidence and minimize the chances of errors or complications.
Once you have familiarized yourself with the instructions, you’re ready to move on to the actual assembly process. In the next section, we’ll cover the steps for assembling the legs of your coffee table.
Read more: How To Assemble A Dining Table
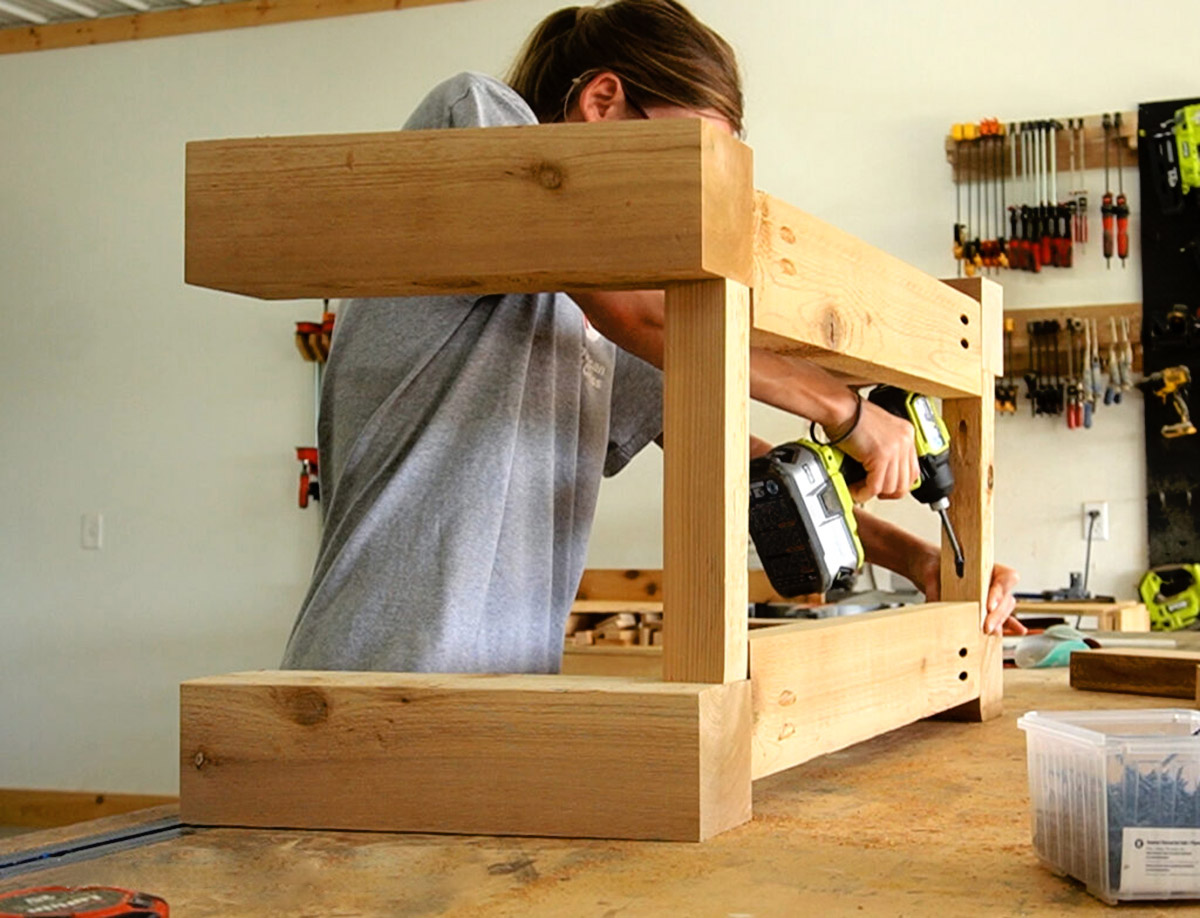
Step 3: Assembling the Legs
With the instructions in hand and a clear understanding of the assembly process, it’s time to start assembling the legs of your coffee table. The legs are an essential component that provides stability and support. Follow these steps to correctly assemble the legs:
- Identify the leg components: Refer to the instructions to identify the specific leg components. Some coffee tables may have individual legs, while others might have a single connected base. Make sure all the necessary leg components are accounted for.
- Position the legs: Place the legs in their designated positions on the underside of the tabletop or base. Align them according to the markings or holes provided in the construction.
- Attach the legs: Depending on the coffee table design, you may need to use screws, bolts, or pre-installed connectors to secure the legs to the tabletop or base. Follow the instructions carefully and use the appropriate tools to fasten them securely.
- Tighten the connections: Once the legs are attached, use a screwdriver, Allen wrench, or any other specified tool to tighten the connections. Ensure that the legs are firmly secured without being overly tightened, which could damage the structure.
- Check for stability: After assembling the legs, check the coffee table for stability. Gently shake or apply slight pressure to the table to ensure that the legs are secure and the table doesn’t wobble or tip over.
- Make adjustments if necessary: If you notice any instability or unevenness, adjust the connections or leg positions to achieve a stable coffee table. Double-check the assembly instructions and make any necessary corrections before proceeding.
By following these steps, you’ll successfully assemble the legs of your coffee table. It’s important to ensure that the legs are securely attached and the table is stable before moving on to the next steps.
Now that the legs are assembled, it’s time to move on to the next step: attaching the tabletop. We’ll cover this step in detail in the following section.
When assembling a coffee table, make sure to lay out all the parts and hardware before starting. Follow the instructions carefully and use the right tools for the job to ensure a sturdy and well-built table.
Step 4: Attaching the Tabletop
With the legs securely assembled, the next step in the coffee table assembly process is attaching the tabletop. The tabletop is not only a functional surface but also a key visual element of the coffee table. Follow these steps to correctly attach the tabletop:
- Position the tabletop: Place the tabletop on a flat and stable surface with the underside facing up. Make sure the surface is clean and free from any debris that could scratch or damage the tabletop.
- Align the tabletop: Position the tabletop over the legs, aligning the pre-drilled holes or connectors with the corresponding holes or connectors on the legs or base. Take your time to ensure proper alignment before proceeding.
- Attach the tabletop: Depending on the design of your coffee table, you may need to use screws, bolts, or other fasteners to attach the tabletop to the legs or base. Refer to the instructions for the specific method of attachment and follow them carefully to secure the tabletop in place.
- Tighten the connections: Once the tabletop is attached, use a screwdriver, Allen wrench, or any other specified tool to tighten the connections. Ensure that the screws or bolts are securely fastened without over-tightening, which could damage the tabletop or the structural integrity of the coffee table.
- Check for stability: After attaching the tabletop, check the coffee table for stability. Gently apply pressure or shake the table to confirm that the connections are secure and the tabletop doesn’t wobble or move excessively.
- Make final adjustments: If you notice any instability or misalignment, make any necessary adjustments to ensure a level and stable tabletop. Double-check the alignment of the pre-drilled holes or connectors and make any corrections as needed.
By following these steps, you’ll successfully attach the tabletop to your coffee table. It’s important to ensure that the tabletop is securely connected and the table is stable before proceeding to the next steps.
Now that the tabletop is attached, if your coffee table includes a shelf, you can move on to the next step: installing the shelf. We’ll cover this step in detail in the following section.
Step 5: Installing the Shelf (if applicable)
If your coffee table includes a shelf, this step will guide you through the process of installing it. The shelf provides additional storage space and adds visual interest to the coffee table. Follow these steps to correctly install the shelf:
- Identify the shelf components: Refer to the assembly instructions to identify the specific components of the shelf. This may include the shelf panels, support brackets, and screws.
- Position the shelf brackets: Place the support brackets at the predetermined positions on the inside of the coffee table legs or base. Ensure they are aligned properly and evenly spaced.
- Attach the shelf panels: Place the shelf panels on top of the support brackets, aligning the pre-drilled holes. Insert the screws provided into the holes and tighten them using a screwdriver or the specified tool.
- Tighten the connections: Once the shelf panels are in place, make sure to tighten the screws securely to ensure the shelf is stable and can bear the weight of items placed on it.
- Check for stability: After installing the shelf, check the coffee table for stability. Gently press down on the shelf and give it a little shake to make sure it is securely installed and does not wobble or move excessively.
- Make final adjustments: If you notice any instability or misalignment, make any necessary adjustments to the shelf or support brackets. Ensure that the shelf is level and sitting securely in place.
By following these steps, you’ll successfully install the shelf on your coffee table, if applicable. It’s important to ensure that the shelf is securely attached and the table remains stable with the added weight of the shelf and any items placed on it.
Now that the shelf is installed (or if your coffee table did not come with a shelf), you can move on to the next step: tightening and adjusting the table. We’ll cover this step in detail in the following section.
Step 6: Tightening and Adjusting the Table
As you near the completion of your coffee table assembly, it’s crucial to focus on tightening and adjusting the various components to ensure stability and functionality. Follow these steps to correctly tighten and adjust the table:
- Inspect the connections: Carefully examine all the connections, including the legs, tabletop, and shelf (if applicable). Check for any loose screws, bolts, or connectors that may need tightening.
- Tighten loose connections: Using a screwdriver, Allen wrench, or the specified tool, tighten any loose screws, bolts, or connectors found during the inspection. Ensure that all connections are securely fastened, but be cautious not to overtighten and risk damaging the components.
- Check for wobbling: Gently shake the coffee table to check for any wobbling or instability. If you notice any movement, try to identify the source and tighten the corresponding connections further.
- Adjust levelness: Place a level tool on the tabletop to check for levelness. If the coffee table appears uneven, adjust the leg connections or reposition the components as necessary to achieve a balanced and level surface.
- Recheck stability: After tightening and adjusting, carefully check the coffee table once again for stability and balance. Make sure it stands firmly without any wobbling or rocking.
By following these steps, you’ll ensure that your coffee table is securely tightened and adjusted for optimal stability and functionality. Taking the time to address any loose connections and achieve a level surface will contribute to the overall durability and enjoyment of your coffee table.
Now that you’ve tightened and adjusted the table, you’re ready for the final steps: conducting final checks and adding those finishing touches. We’ll cover these steps in detail in the following section.
Read more: How To Assemble A Sportcraft Ping Pong Table
Step 7: Final Checks and Finishing Touches
Congratulations! You’re in the final stretch of assembling your coffee table. This step focuses on conducting final checks to ensure everything is in order and adding those finishing touches to make your coffee table shine. Follow these steps for the final checks and finishing touches:
- Inspect for any loose ends: Take a close look at the assembled coffee table and check for any loose screws, bolts, or connectors that may have been missed during the tightening process. Tighten any remaining loose ends to ensure the stability and longevity of your coffee table.
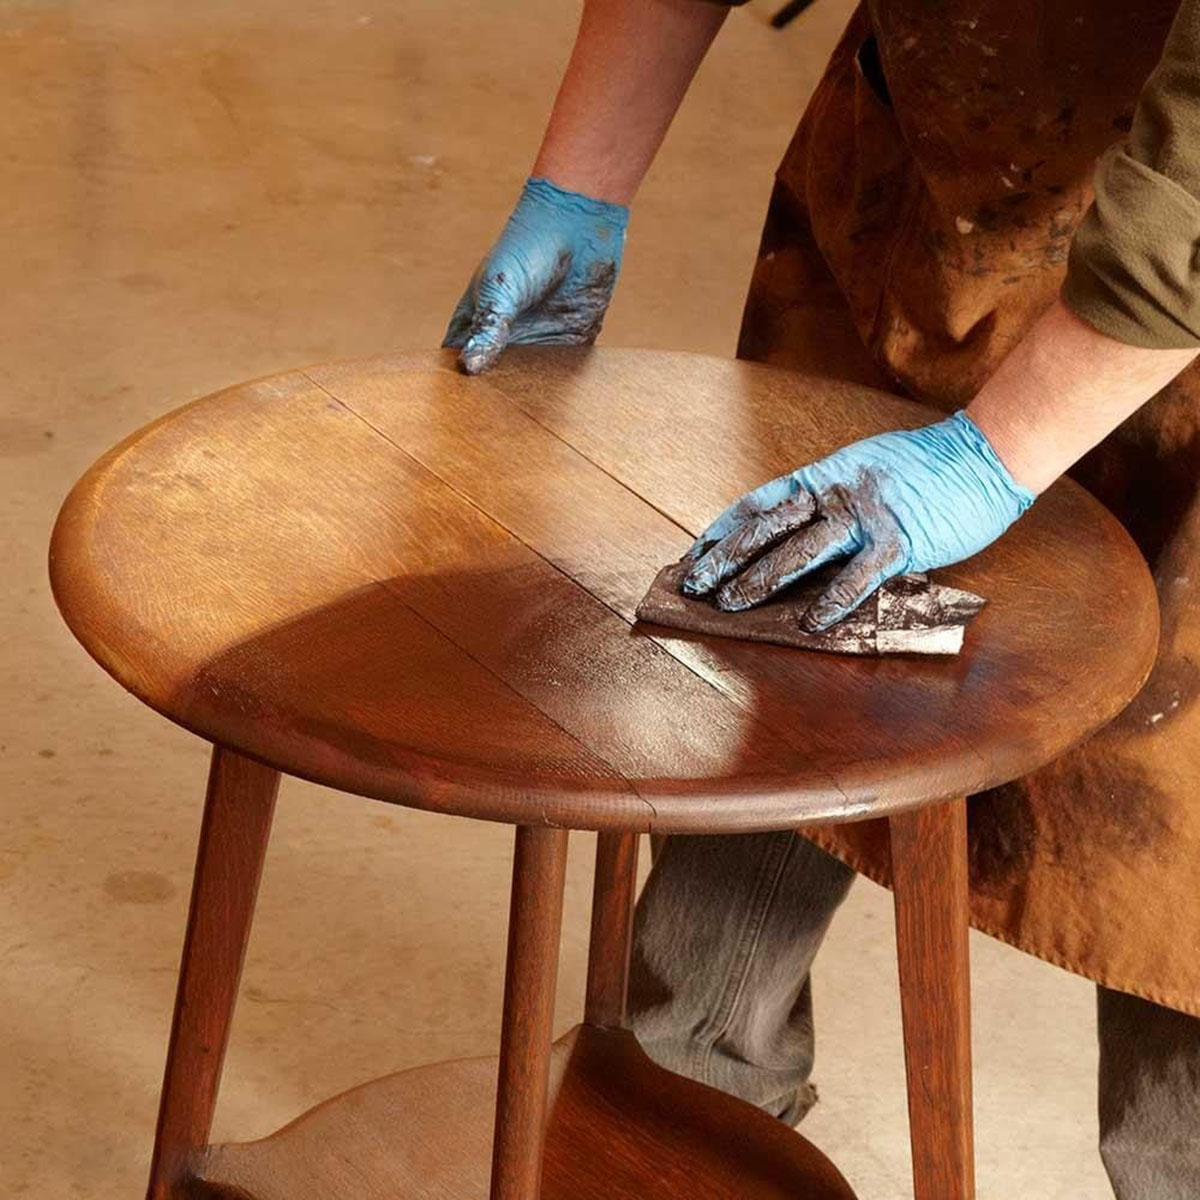
- Clean the surfaces: Using a soft cloth or a mild cleaner, gently wipe down the tabletop, legs, and shelf (if applicable) to remove any dust or debris accumulated during the assembly process. This will give your coffee table a polished and clean appearance.
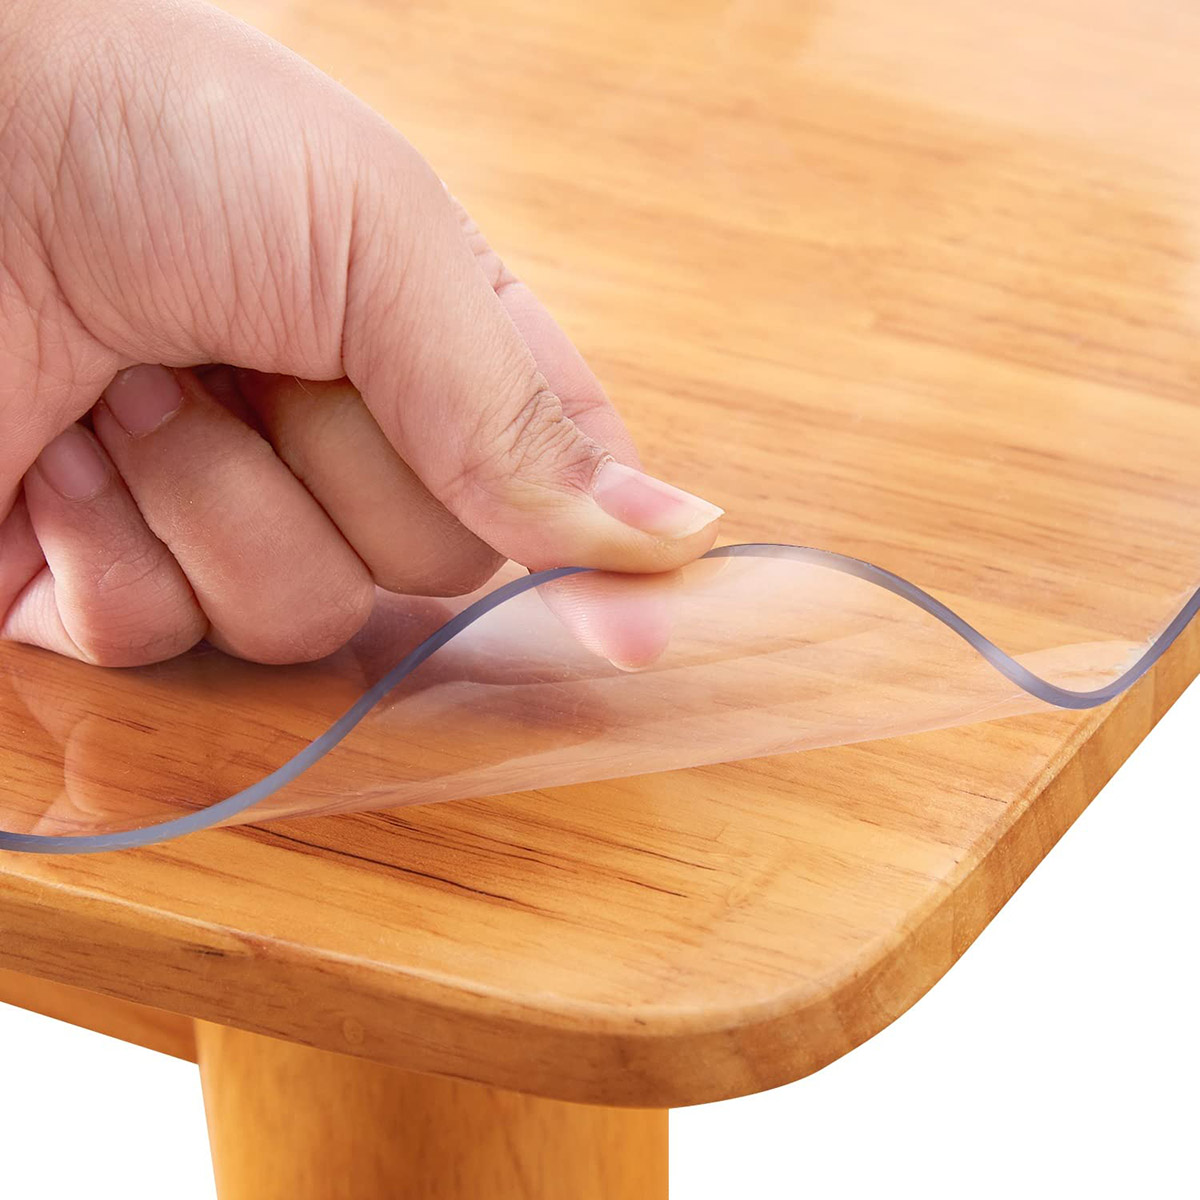
- Add protective pads or felt: Consider adding felt pads or protective bumpers to the bottom of the legs to prevent scratches on your flooring. This small addition will help preserve both your coffee table and your floors.
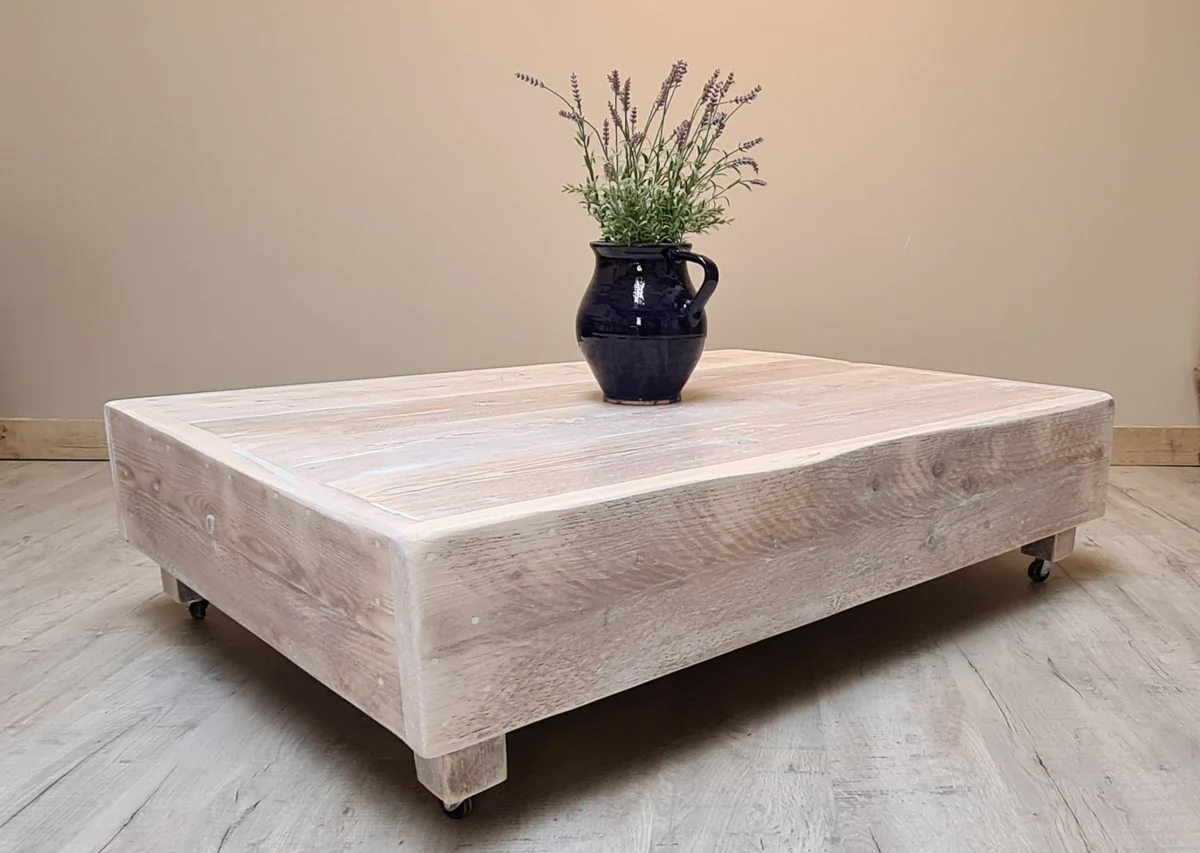
- Arrange decorative touches: Personalize your coffee table by arranging decorative items such as books, candles, a small vase of flowers, or other accessories that complement your living room decor. Be mindful not to overcrowd the table, allowing for both functionality and visual appeal.
- Double-check stability: Give your fully assembled coffee table a final stability check. Gently apply pressure and ensure there is no wobbling or instability. Adjust any components if necessary.
By completing these final checks and adding the finishing touches, your coffee table is now ready to be enjoyed. Take a step back and admire your handiwork. You have successfully assembled a beautiful and functional piece of furniture that will enhance the aesthetic and functionality of your living room.
Remember, regular maintenance and periodic checks can help to ensure the longevity and durability of your coffee table. Take moments to tighten any loosened connections and clean the surfaces regularly to keep it looking its best.
Now that you have completed the assembly process, sit back, relax, and enjoy your newly assembled coffee table. It’s time to gather around, share good conversation, and make lasting memories in the comfort of your beautifully furnished living room.
Conclusion
Congratulations on successfully assembling your coffee table! By following the step-by-step guide and paying attention to detail, you have created a functional and visually appealing centerpiece for your living room. Assembling furniture can be a rewarding experience, and now you can sit back and enjoy the fruits of your labor.
Throughout the assembly process, you learned the importance of unpacking and organizing the parts, reading the instructions thoroughly, and using the right tools and materials. You successfully assembled the legs, attached the tabletop, and installed the shelf if applicable. By tightening and adjusting the table, conducting final checks, and adding those finishing touches, you ensured stability and made your coffee table shine.
Remember to periodically check for any loose connections and maintain the cleanliness of your coffee table. This will help preserve its longevity and functionality. Personalize your coffee table with decorative touches, reflecting your unique style and creating a warm and welcoming atmosphere in your living room.
Now, it’s time to gather your loved ones, place your favorite beverages and snacks on the coffee table, and enjoy moments of relaxation and conversation in the heart of your home. Your newly assembled coffee table not only serves as a functional piece of furniture but also adds personality and charm to your living space.
Thank you for following this comprehensive guide on how to assemble a coffee table. We hope you found it helpful and enjoyed the process of creating a central hub in your living room. Cheers to many years of enjoyment and making memories around your beautiful coffee table!
Frequently Asked Questions about How To Assemble A Coffee Table
Was this page helpful?
At Storables.com, we guarantee accurate and reliable information. Our content, validated by Expert Board Contributors, is crafted following stringent Editorial Policies. We're committed to providing you with well-researched, expert-backed insights for all your informational needs.


0 thoughts on “How To Assemble A Coffee Table”