Home>Gardening & Outdoor>Outdoor Structures>How To Level The Ground For A Shed
Outdoor Structures
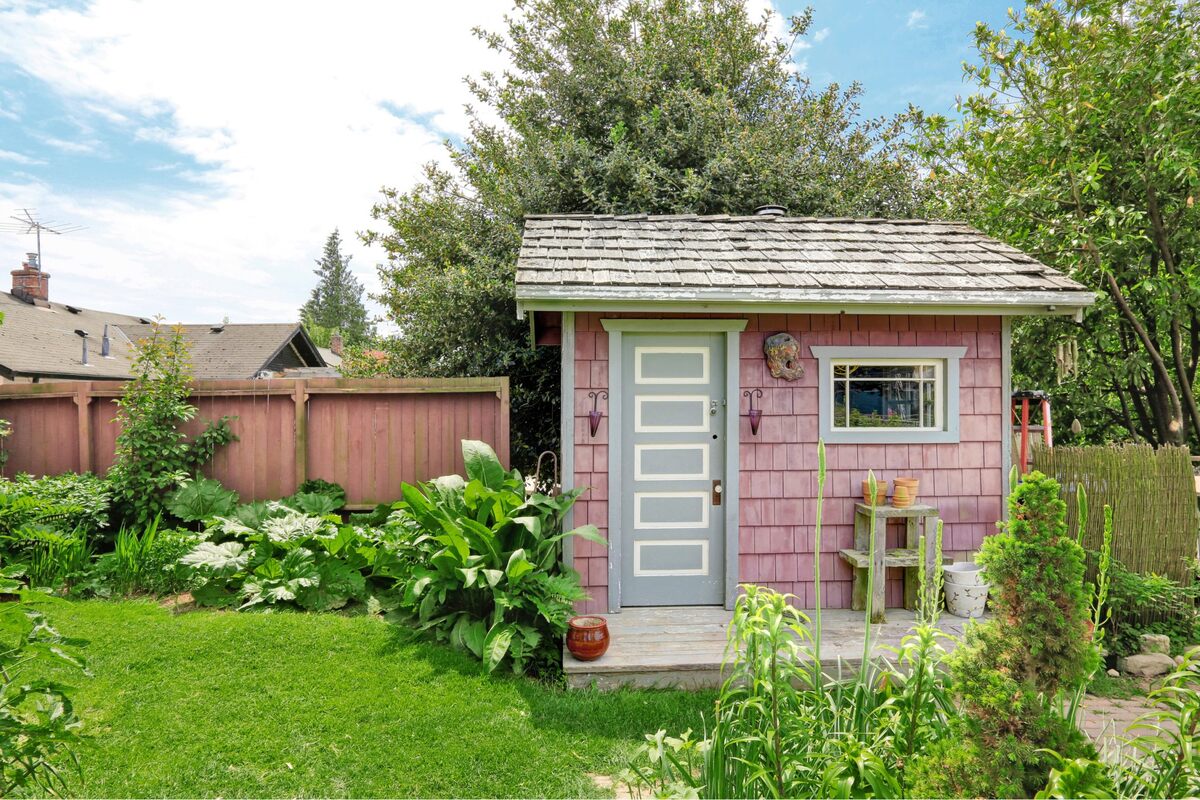
How To Level The Ground For A Shed
Modified: August 27, 2024
Learn how to properly level the ground for your outdoor structures with our step-by-step guide. Ensure a stable foundation for your shed and other outdoor projects.
(Many of the links in this article redirect to a specific reviewed product. Your purchase of these products through affiliate links helps to generate commission for Storables.com, at no extra cost. Learn more)
Introduction: Importance of Leveling the Ground for a Shed
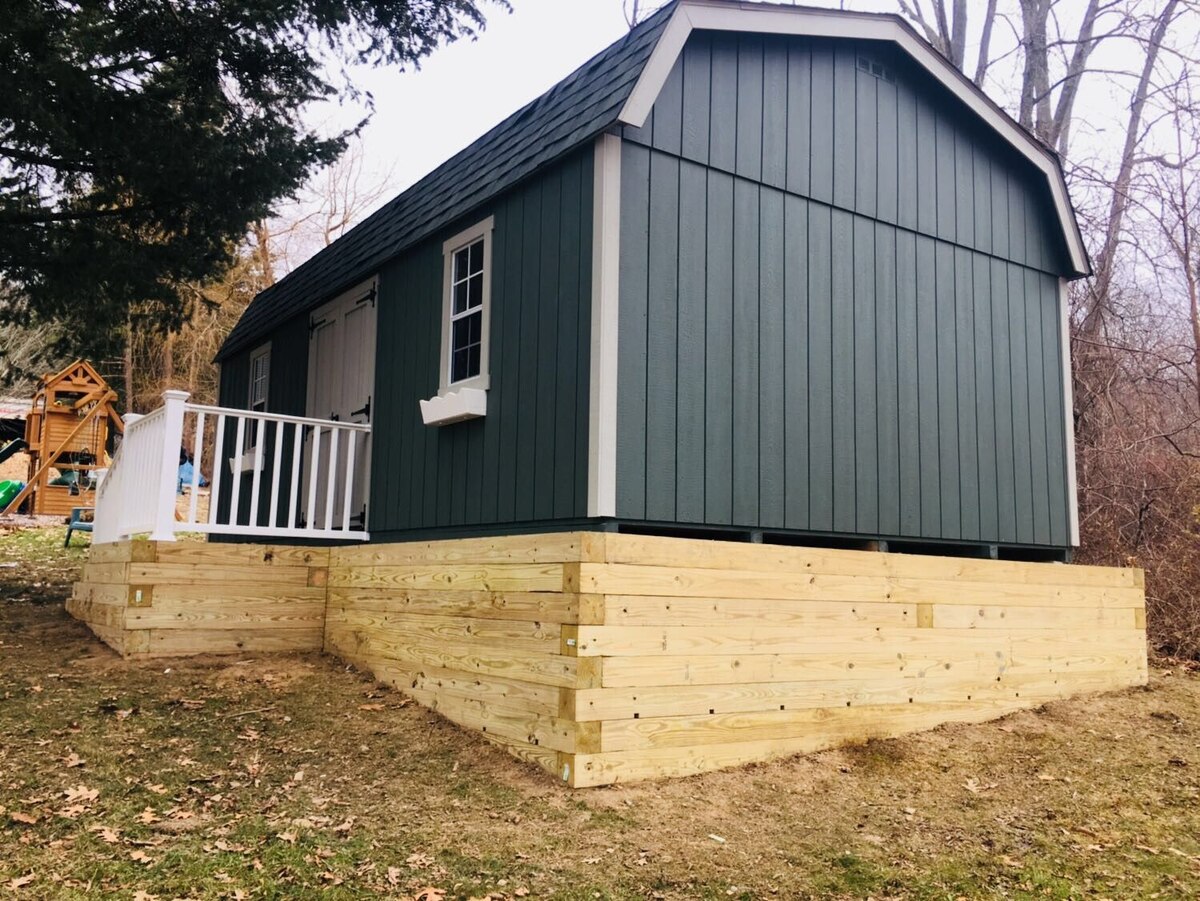
When it comes to setting up a new shed in your yard, ensuring that the ground is properly leveled is a crucial step that should not be overlooked. A level foundation provides stability for the shed, prevents water damage, and ensures the longevity of the structure. In this article, we will explore the essential steps for leveling the ground for a shed, from assessing the site to clearing the area and executing the leveling process. By understanding the significance of this preparatory task and following the necessary guidelines, you can lay the groundwork for a durable and reliable shed that will serve its purpose for years to come.
Key Takeaways:
- Properly leveling the ground for a shed is crucial for stability, preventing water damage, and ensuring the shed’s longevity. It involves assessing the site, gathering tools, clearing the area, and meticulously leveling the ground.
- By investing time and effort into leveling the ground for a shed, you are laying the groundwork for a visually aligned, resilient, and durable structure that minimizes the risk of structural issues, water damage, and premature wear and tear.
Read more: How To Anchor A Shed To The Ground
Assessing the Site: Checking for Slopes and Unevenness, Identifying Drainage Issues
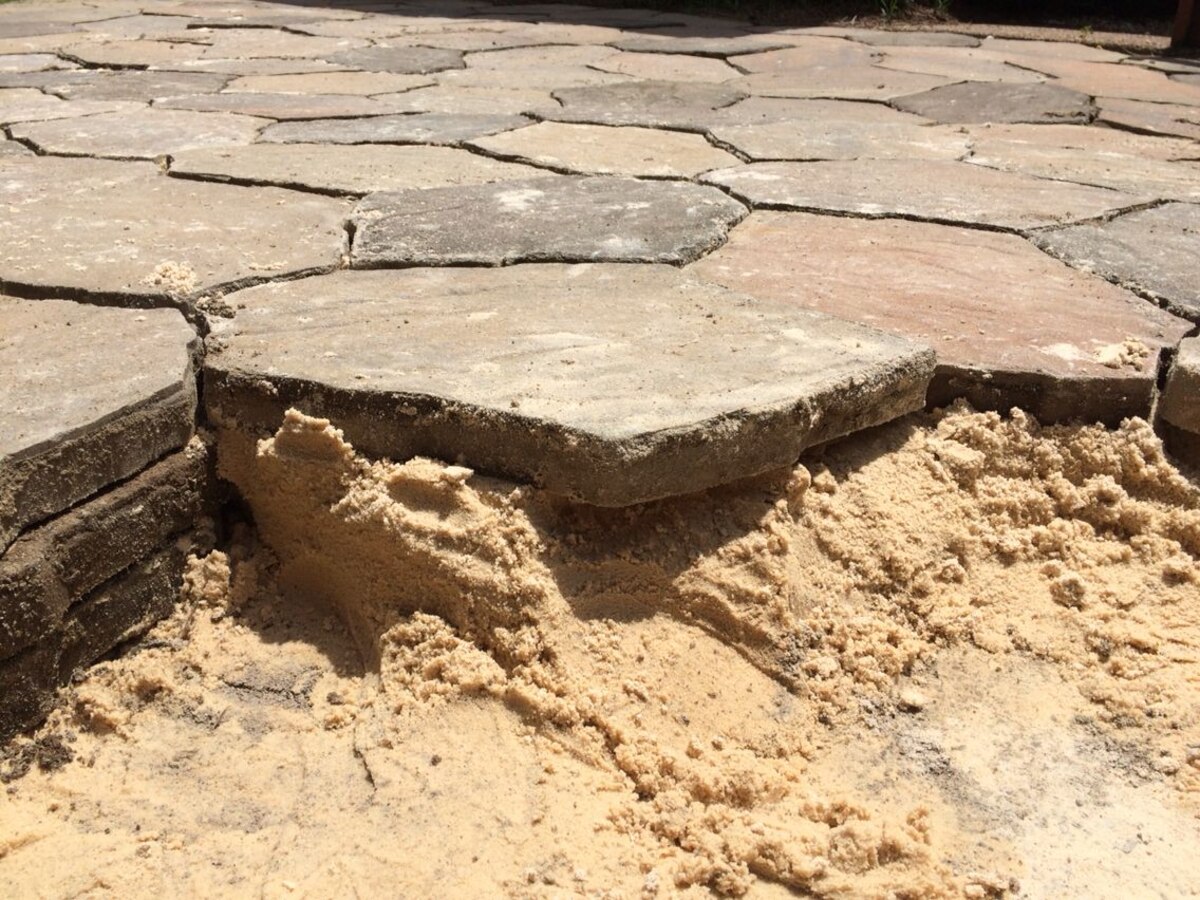
Before embarking on the ground leveling process, it is essential to thoroughly assess the site where the shed will be placed. Start by inspecting the terrain for any slopes or uneven areas. These irregularities can compromise the stability of the shed and may lead to structural issues in the future. Use a long, straight board or a level to identify any noticeable inclines or declines in the ground. Additionally, take note of any low-lying areas that are prone to collecting water, as inadequate drainage can result in moisture seepage and potential damage to the shed’s foundation.
Furthermore, pay attention to the natural drainage patterns of the site. Ensure that water is not likely to accumulate around the shed location, as excess moisture can undermine the integrity of the structure and its contents. By addressing these factors during the assessment phase, you can proactively mitigate potential challenges and create a more favorable environment for your shed.
Gathering the Necessary Tools and Materials: Shovels and Rakes, Leveling Tools, Gravel or Sand
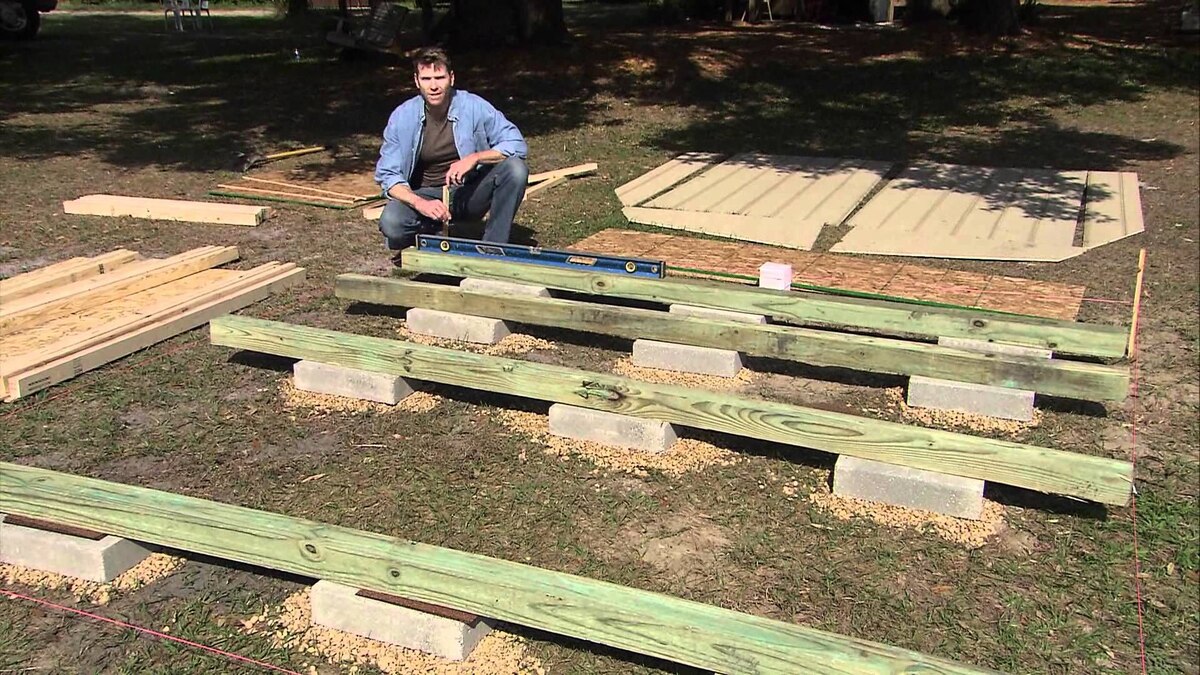
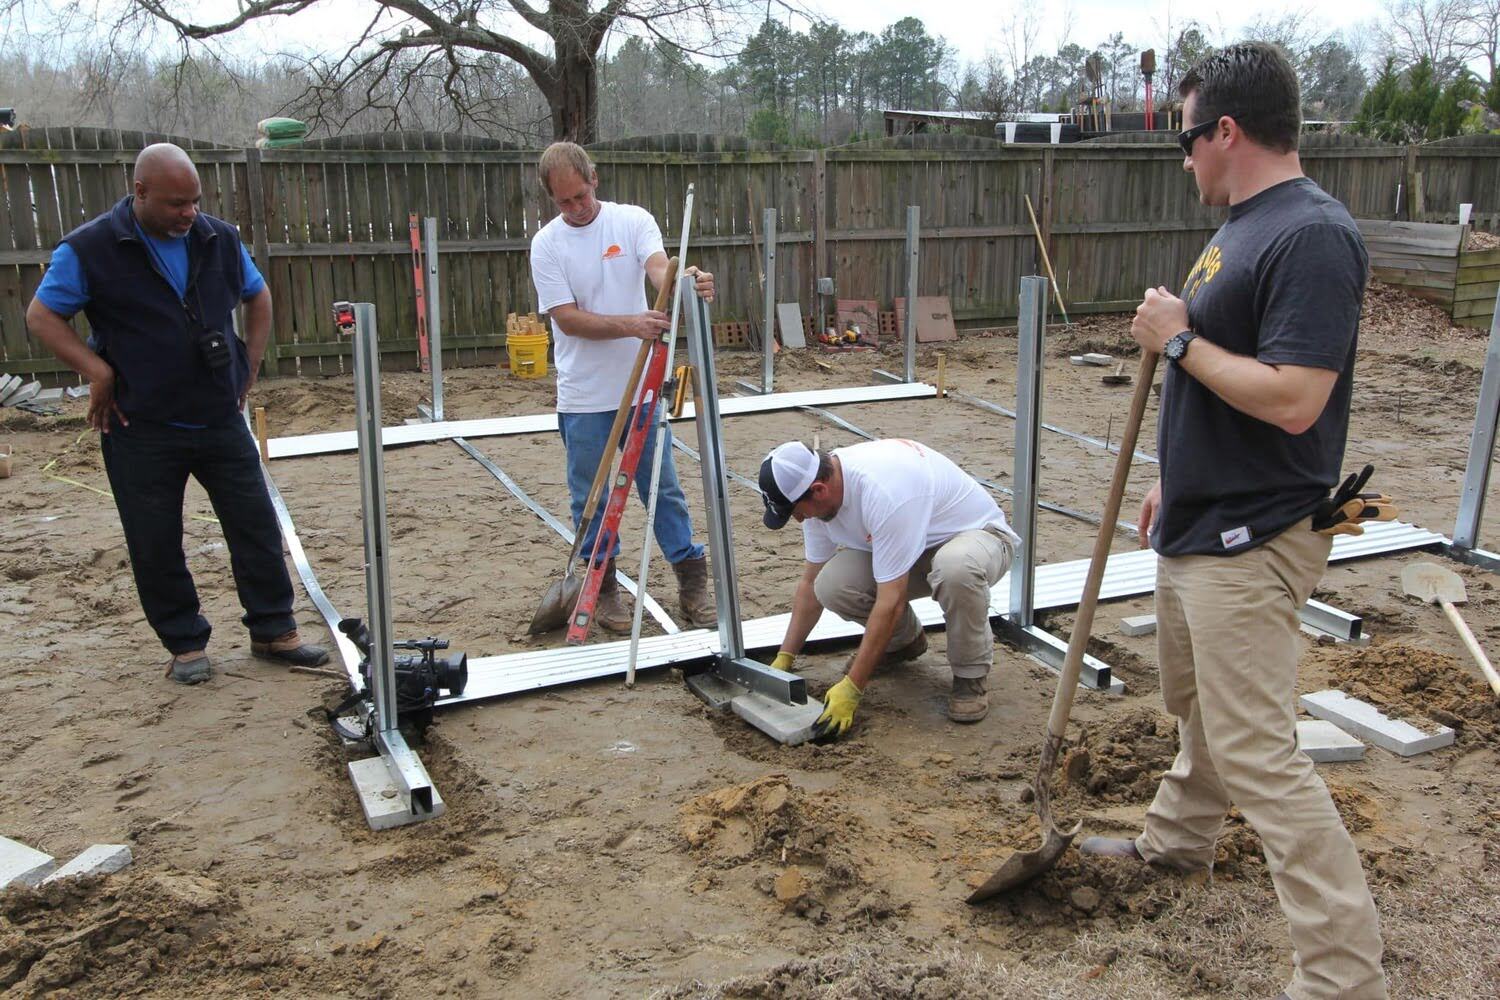
Equipping yourself with the right tools and materials is fundamental to the ground leveling process. Shovels and rakes are indispensable for clearing the area and manipulating the soil to achieve the desired level. Opt for sturdy, ergonomic tools that allow for efficient digging and smoothing of the ground. Additionally, consider the use of leveling tools such as a string level or a builder’s level, which are instrumental in determining the evenness of the ground surface. These tools provide accurate measurements and guide the leveling process, ensuring that the shed’s foundation is solid and stable.
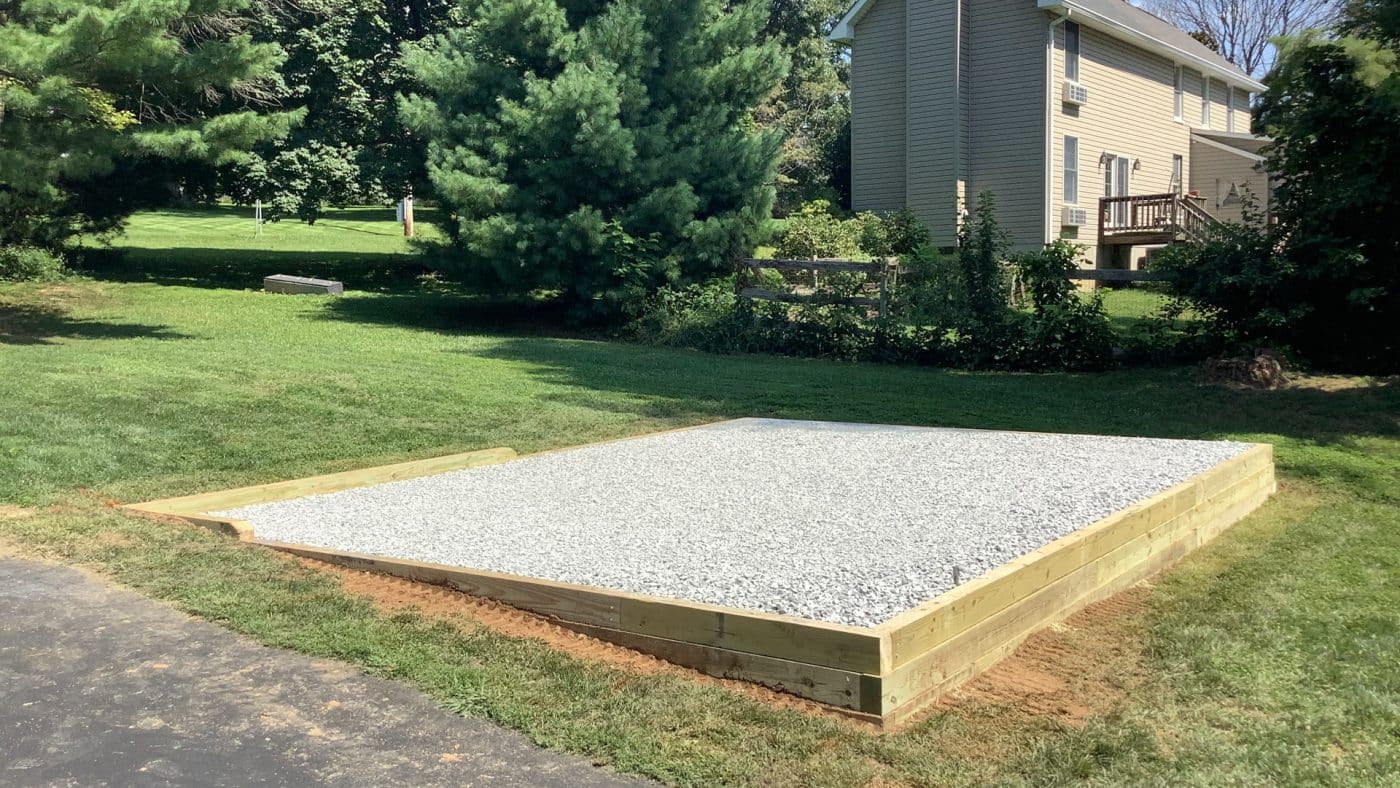
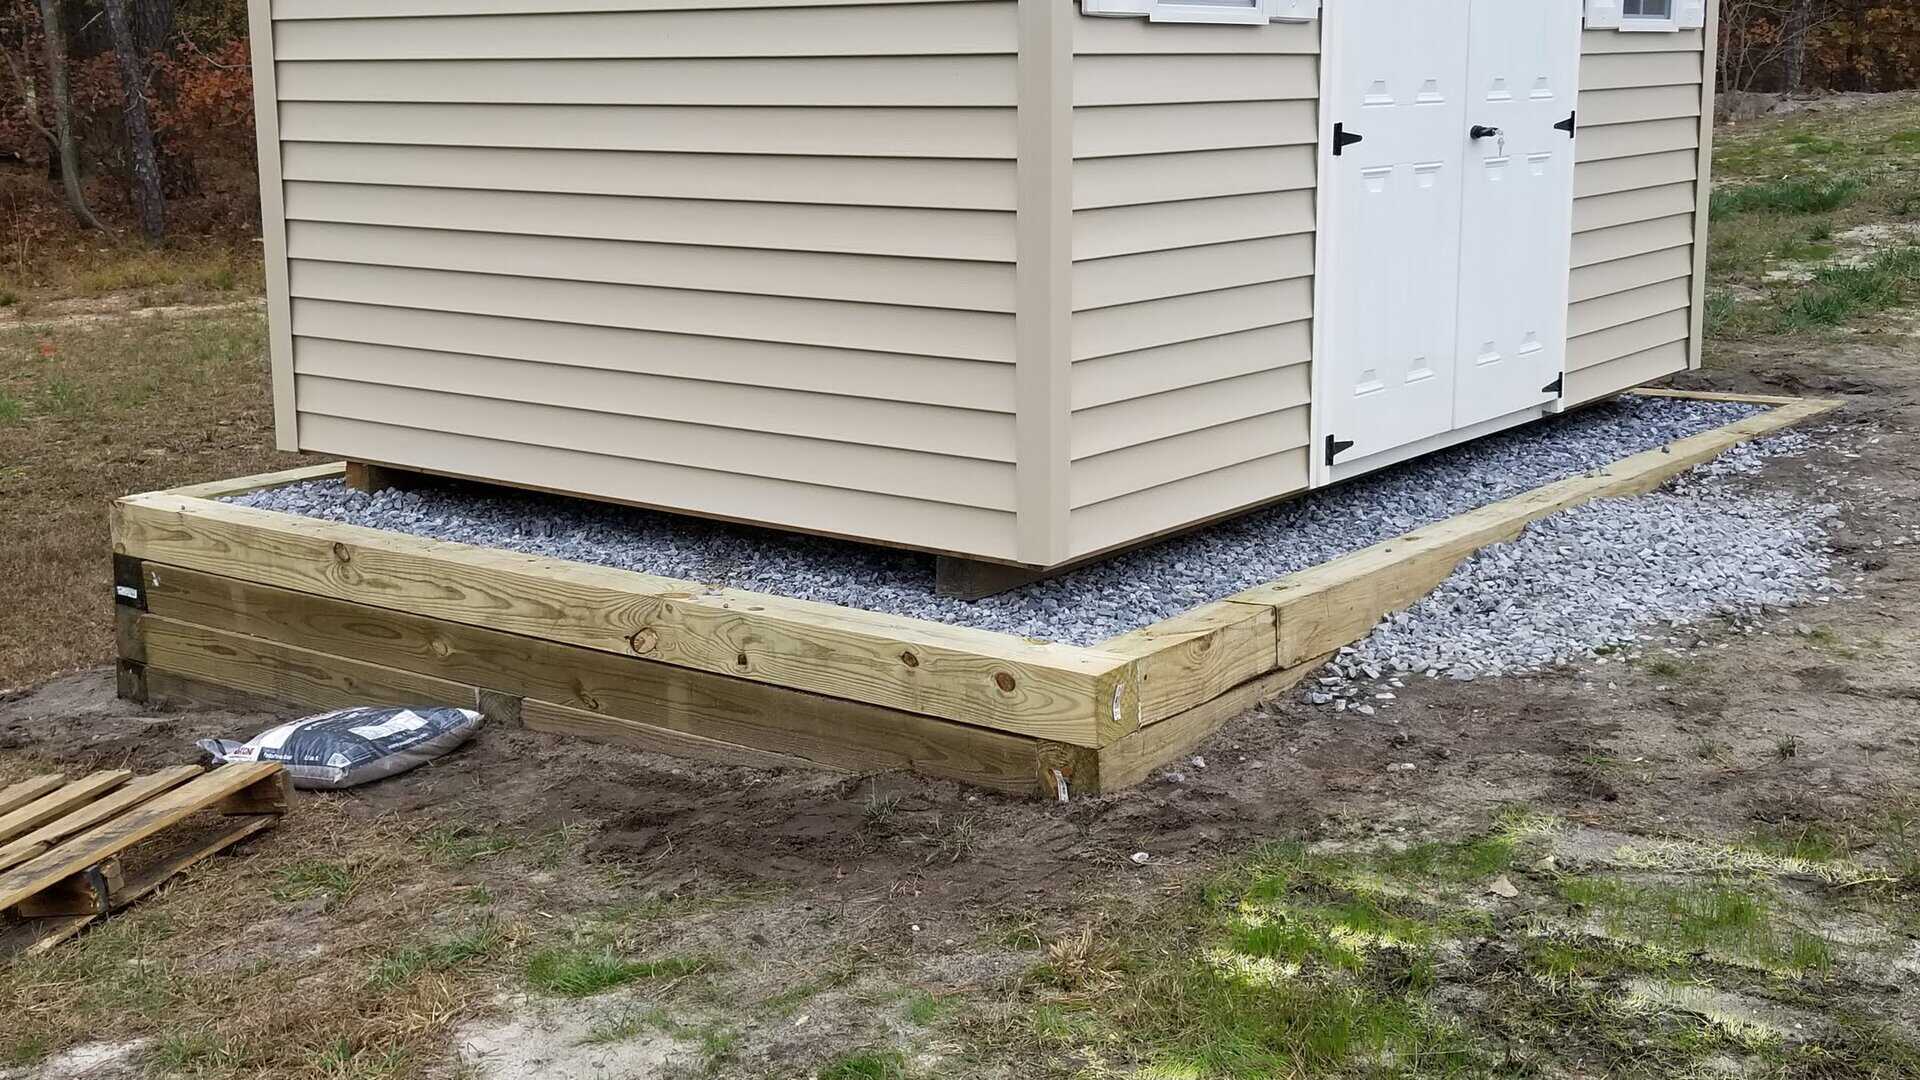
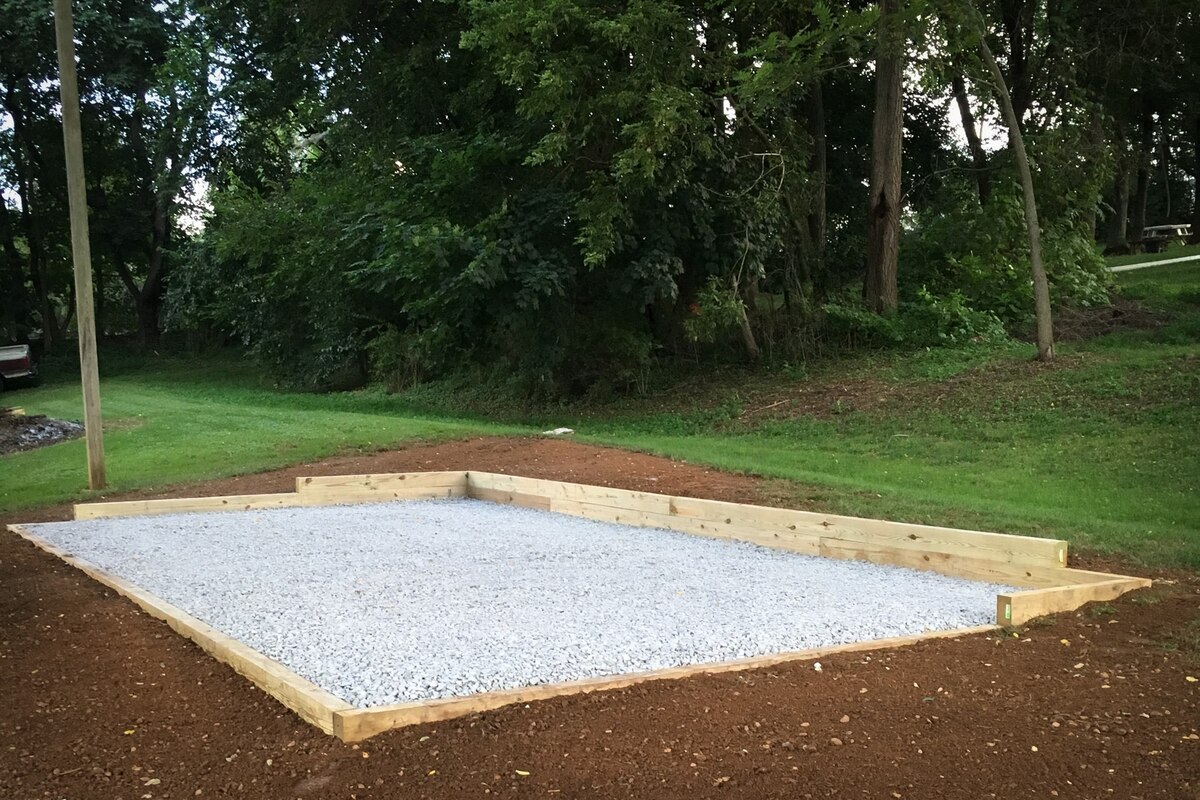
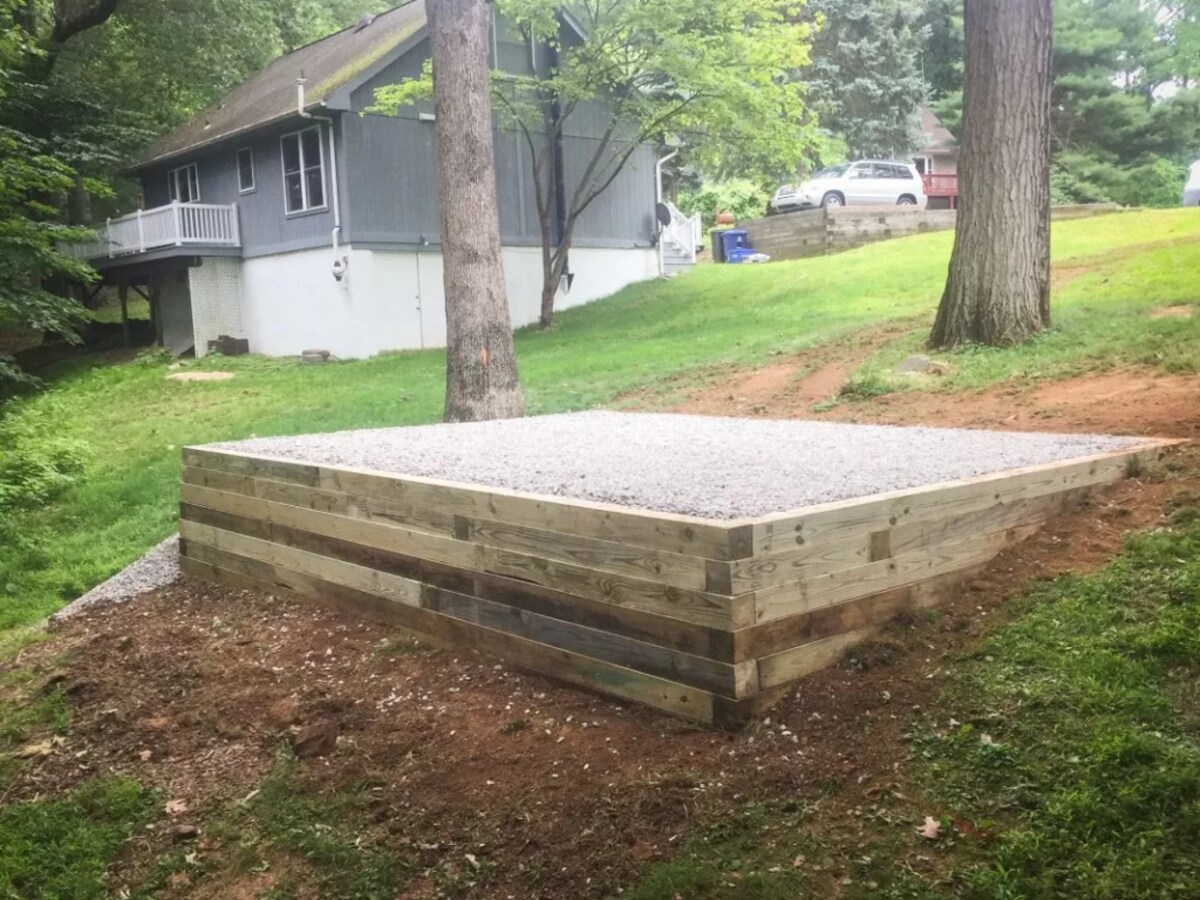
Moreover, having an adequate supply of gravel or sand is essential for achieving proper drainage and enhancing the stability of the shed’s base. These materials can be used to address low spots and improve the overall evenness of the ground. By strategically incorporating gravel or sand as needed, you can optimize the foundation’s capacity to withstand environmental factors and maintain its integrity over time. With the right tools and materials at your disposal, you can approach the ground leveling task with confidence and precision, setting the stage for a resilient and enduring shed foundation.
Before leveling the ground for a shed, remove any debris and vegetation. Use a long, straight board and a level to check for any high or low spots. Add or remove soil as needed to create a flat surface.
Clearing the Area: Removing Vegetation and Debris, Marking the Shed’s Layout
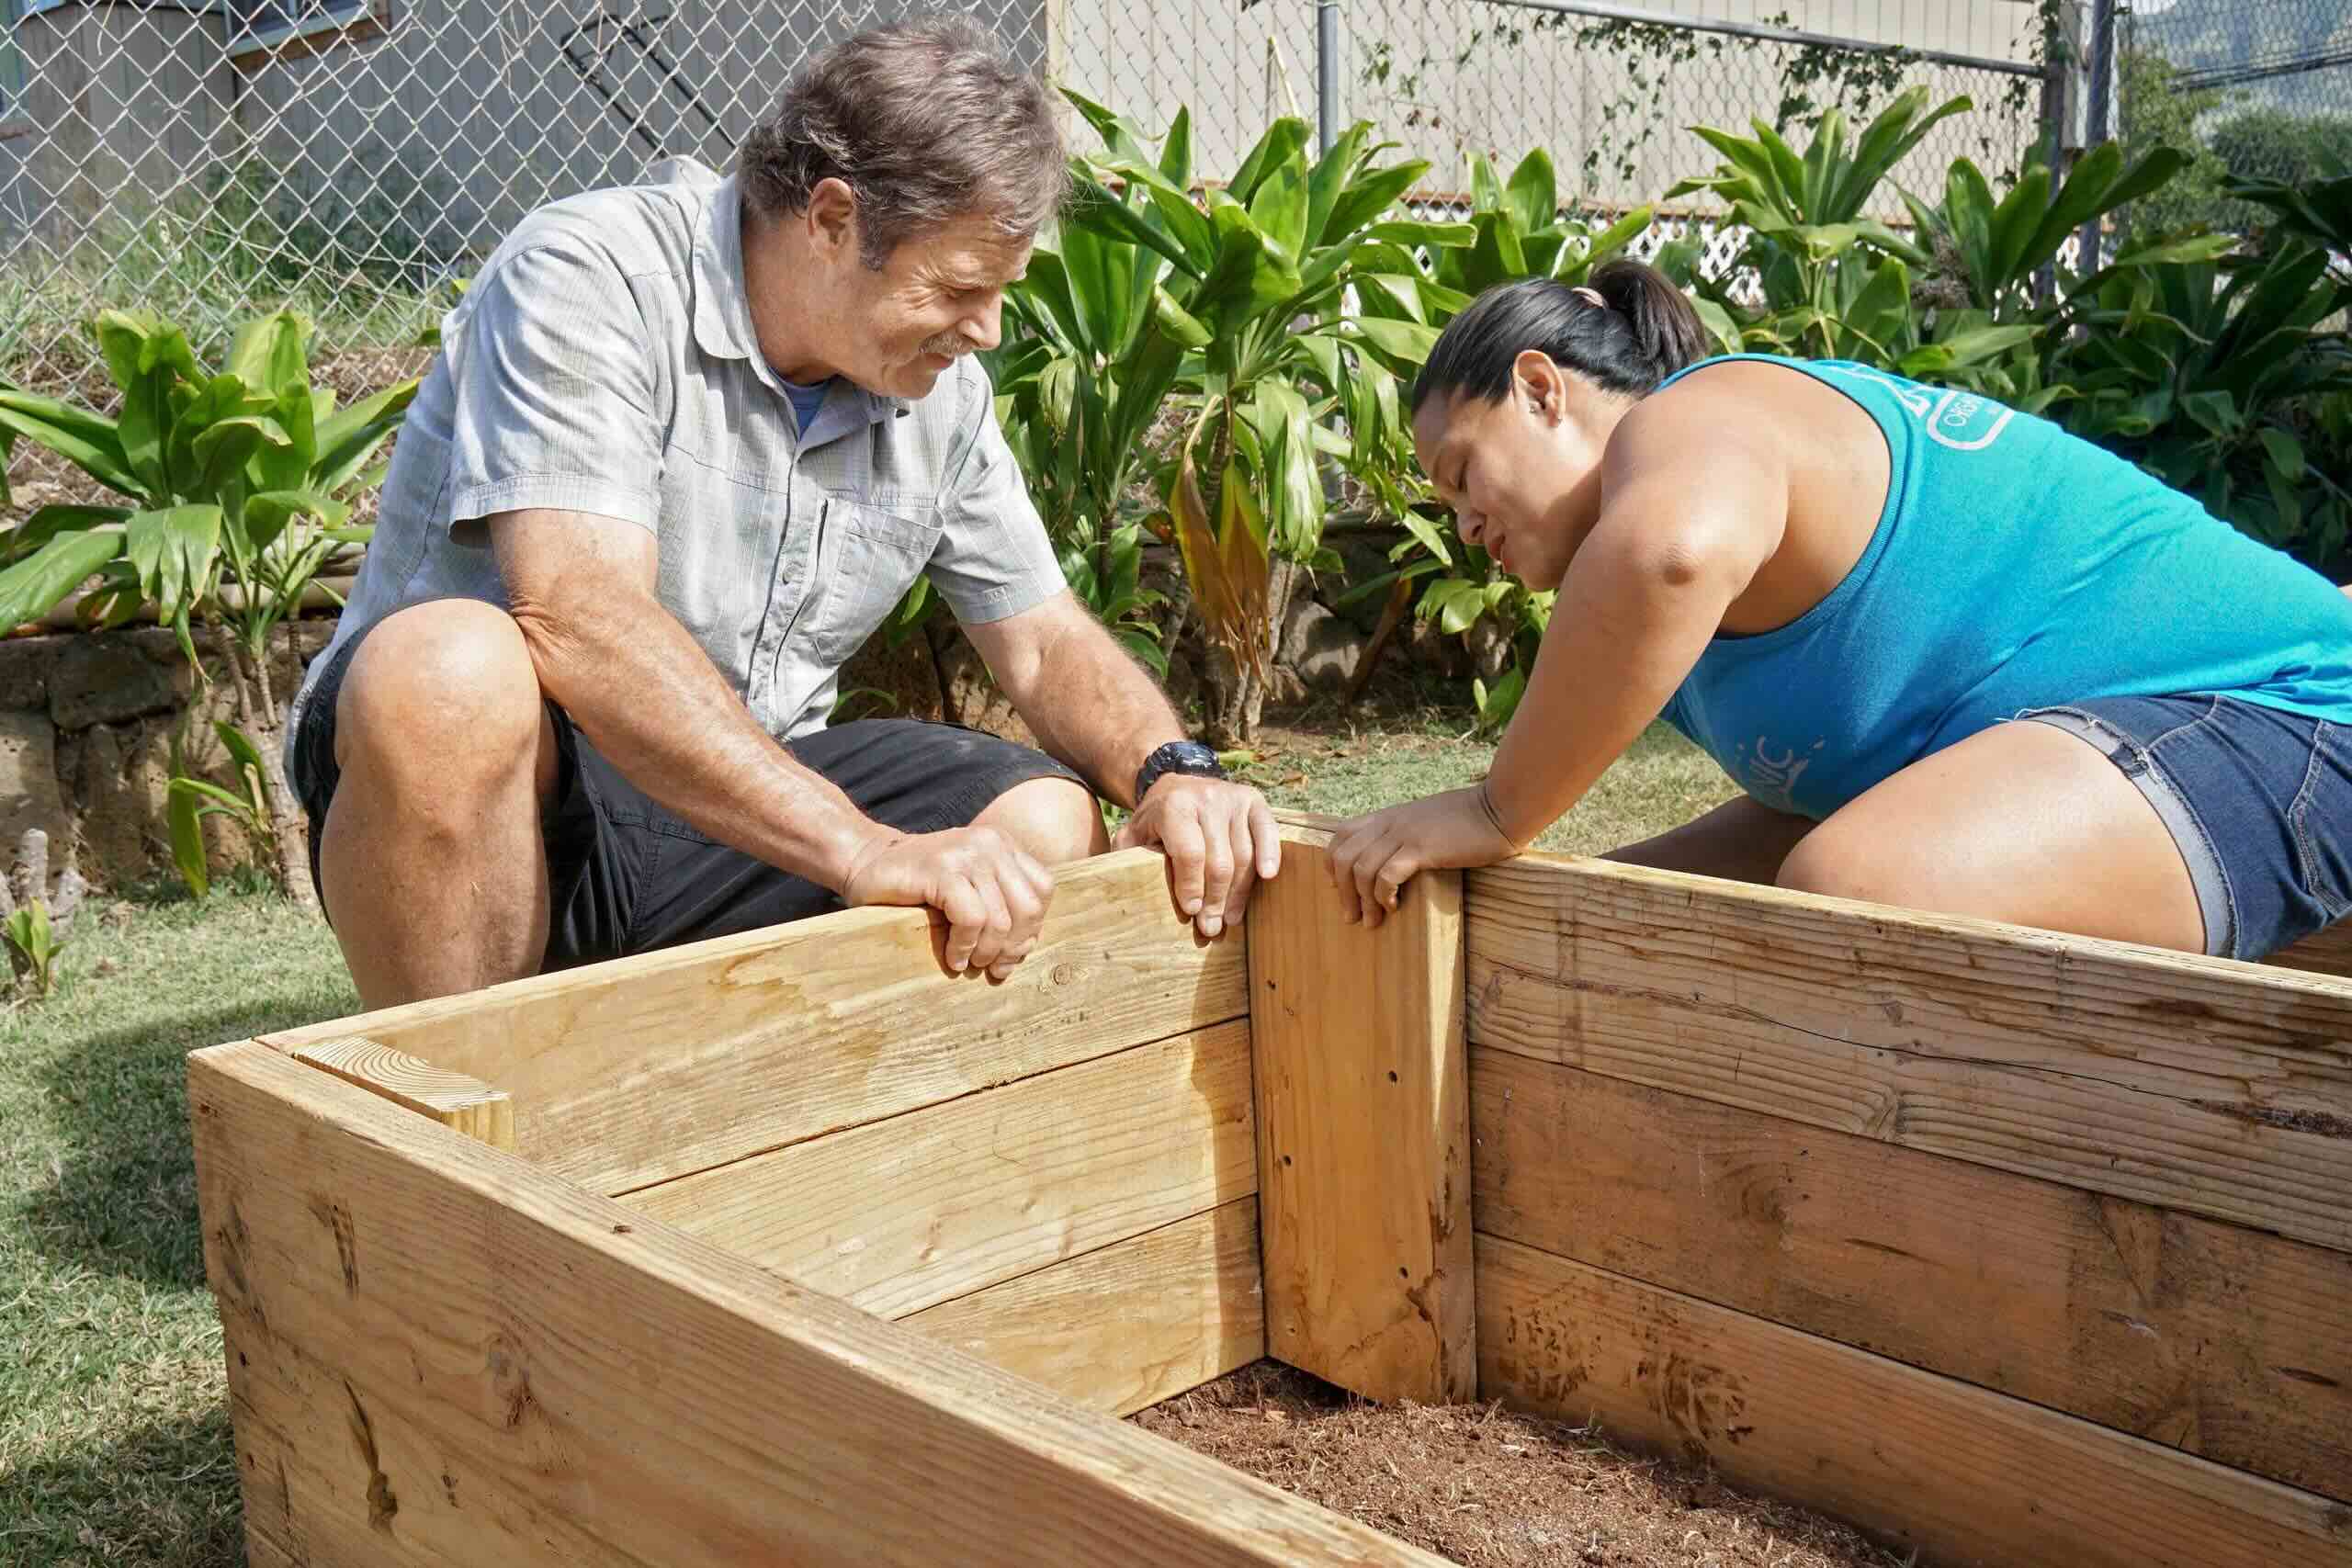
Prior to commencing the ground leveling process, it is imperative to thoroughly clear the designated area of any vegetation and debris. Begin by removing any grass, weeds, or plants that may be present, using a shovel or a specialized turf cutter to effectively eliminate the vegetation. This step is crucial for creating a clean and even surface for the shed’s foundation. Additionally, be sure to clear away any rocks, branches, or other debris that could impede the leveling process or compromise the stability of the shed.
Once the area is cleared, proceed to mark the layout of the shed on the ground. Use stakes, string, or spray paint to outline the precise dimensions of the shed’s base. This visual guide will serve as a reference point for the leveling process, enabling you to accurately assess the ground’s evenness within the boundaries of the shed’s footprint. By meticulously clearing the area and marking the layout, you can establish a solid foundation for the subsequent steps of the ground leveling process, setting the stage for a structurally sound and visually aligned shed.
Leveling the Ground: Using a String Level, Compacting the Soil, Adding Gravel or Sand if Necessary
With the area cleared and the shed’s layout marked, it’s time to focus on leveling the ground to create a stable foundation for the shed. Begin by using a string level, which consists of a length of string and small leveling bubbles, to assess the evenness of the ground within the shed’s perimeter. Position the string level across the area, adjusting it until it indicates a perfectly level line. This tool will help you identify any high or low spots, allowing you to address them effectively during the leveling process.
Once the uneven areas have been identified, proceed to compact the soil using a hand tamper or a plate compactor. This step is crucial for ensuring the solidity of the ground, minimizing the risk of settling or shifting after the shed is installed. Focus on compacting the soil in layers, gradually building up the density to create a firm and uniform base. Pay particular attention to any areas that require additional compaction to achieve the desired levelness.
If the ground exhibits persistent low spots or drainage issues, consider adding gravel or sand to these areas to improve the overall evenness and drainage capabilities of the foundation. Spread the gravel or sand evenly, using a rake to level and distribute the material as needed. This supplementary layer will enhance the ground’s ability to support the shed and mitigate the impact of water accumulation, contributing to the long-term stability and resilience of the structure.
By meticulously employing a string level, compacting the soil, and incorporating gravel or sand where necessary, you can ensure that the ground is leveled to the required specifications, laying the groundwork for a sturdy and enduring foundation for your shed.
Read more: How To Level Ground For A Trampoline
Conclusion: Ensuring a Stable Foundation for Your Shed
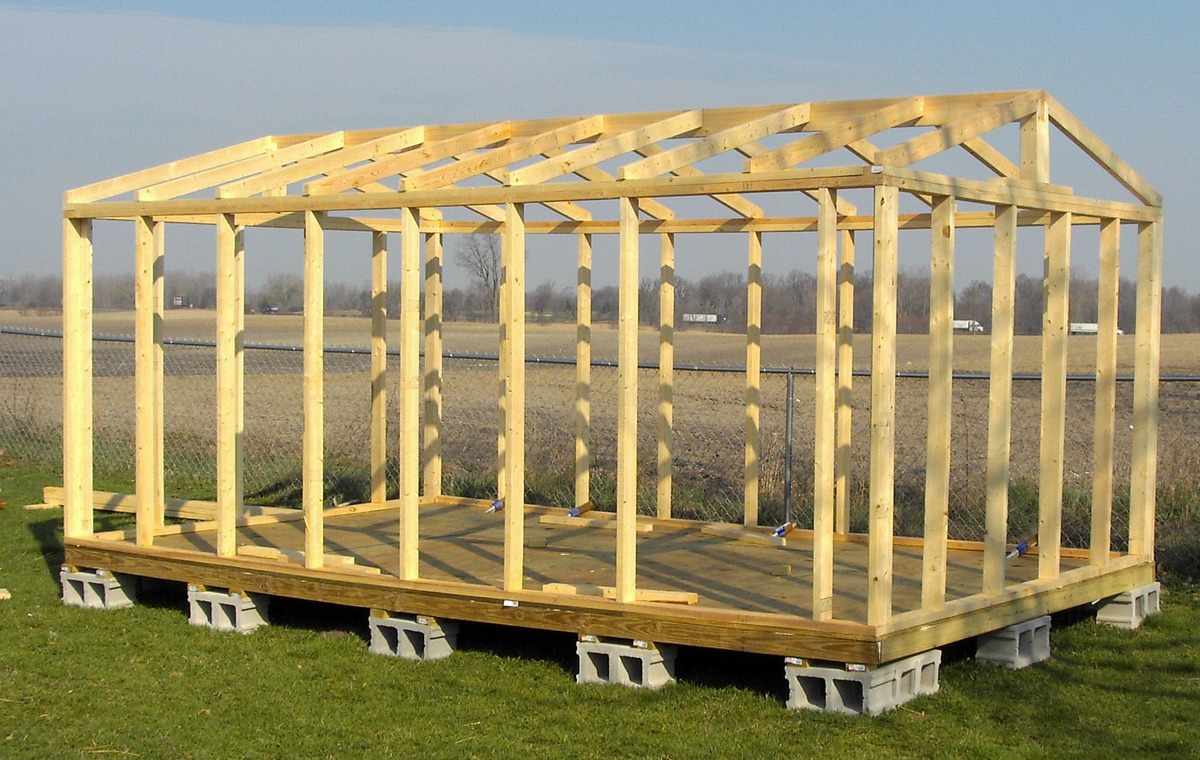
Leveling the ground for your shed is a fundamental step in the construction process, as it directly impacts the structural integrity and longevity of the shed. By meticulously assessing the site, gathering the necessary tools and materials, clearing the area, and executing the ground leveling process, you can ensure that your shed is built on a stable and reliable foundation.
Thoroughly assessing the site for slopes, unevenness, and drainage issues allows you to identify potential challenges and take proactive measures to address them. Equipping yourself with essential tools such as shovels, rakes, and leveling instruments empowers you to approach the ground leveling task with precision and efficiency. Clearing the area of vegetation and debris, as well as marking the shed’s layout, sets the stage for a focused and systematic leveling process.
During the ground leveling process, using a string level to identify uneven areas, compacting the soil to achieve uniform density, and incorporating gravel or sand as needed, ensures that the ground is leveled to the required specifications. This meticulous approach results in a solid and stable foundation that can withstand environmental factors and provide a secure base for your shed.
By investing time and effort into leveling the ground for your shed, you are laying the groundwork for a structure that is not only visually aligned and aesthetically pleasing but also resilient and durable. A well-leveled foundation minimizes the risk of structural issues, water damage, and premature wear and tear, ultimately contributing to the long-term functionality and value of your shed.
In conclusion, the process of leveling the ground for a shed is a critical precursor to the shed’s installation, and it plays a pivotal role in ensuring the overall stability and performance of the structure. By adhering to the guidelines outlined in this article and approaching the ground leveling task with diligence and attention to detail, you can establish a foundation that provides a solid footing for your shed, offering peace of mind and durability for years to come.
Frequently Asked Questions about How To Level The Ground For A Shed
Was this page helpful?
At Storables.com, we guarantee accurate and reliable information. Our content, validated by Expert Board Contributors, is crafted following stringent Editorial Policies. We're committed to providing you with well-researched, expert-backed insights for all your informational needs.


0 thoughts on “How To Level The Ground For A Shed”