Home>Gardening & Outdoor>Outdoor Recreation & Activities>How To Make A Cornhole Game
Outdoor Recreation & Activities
How To Make A Cornhole Game
Modified: August 17, 2024
Learn how to make a cornhole game for outdoor recreation and activities. Follow our step-by-step guide to build your own cornhole set and enjoy hours of fun with family and friends.
(Many of the links in this article redirect to a specific reviewed product. Your purchase of these products through affiliate links helps to generate commission for Storables.com, at no extra cost. Learn more)
Introduction
So, you've been to a few backyard gatherings and noticed an exciting game that piqued your interest. It involved tossing small bags at a raised platform with a hole in it. That's right, it's the ever-popular game of cornhole! Whether you've encountered it at a tailgate party, a family reunion, or a neighborhood barbecue, cornhole is a fantastic way to add some fun and friendly competition to any social event.
The great news is that you don't have to buy a pre-made cornhole set; you can actually make one yourself! Crafting your own cornhole game can be a rewarding and enjoyable project, and it allows you to personalize the set to your preferences. Plus, it's a fantastic way to spend time outdoors and exercise your woodworking and crafting skills.
In this comprehensive guide, we'll walk you through the step-by-step process of creating your very own cornhole game set. From gathering the necessary materials and tools to assembling the boards, making the bags, and adding your personal touch with painting and decorations, we've got you covered. By the time you're finished, you'll be ready to invite friends and family over to enjoy hours of laughter and entertainment with your custom-made cornhole set.
So, let's roll up our sleeves, grab our tools, and embark on this exciting journey to learn how to make a cornhole game from scratch!
Key Takeaways:
- Crafting your own cornhole game is a fun and rewarding project that allows you to personalize the set to your preferences, exercise your woodworking and crafting skills, and enjoy hours of outdoor entertainment with friends and family.
- Making cornhole bags and painting and decorating the boards add a personalized touch to your cornhole set, unleashing your creativity and making your outdoor recreation activities truly one-of-a-kind.
Read more: How To Make Cornhole Bags
Materials and Tools
Before diving into the construction of your cornhole game, it’s essential to gather all the necessary materials and tools. Here’s a detailed list of what you’ll need:
Materials:
- Two 2×4 plywood sheets for the boards
- Four 2×4 boards for the frame
- Wood glue
- Deck screws
- Six-inch square pieces of sandpaper
- Cornhole bags
- Outdoor paint
- Clear coat for sealing the boards
Tools:
- Measuring tape
- Pencil
- Circular saw
- Drill with screwdriver bits
- Sandpaper block
- Paintbrushes
- Drop cloth or old sheets for painting
- Sewing machine or needle and thread for making bags
These materials and tools will serve as the foundation for creating your cornhole set. It’s important to ensure that you have everything on hand before beginning the construction process to avoid interruptions and delays.
Now that you’ve gathered all the necessary supplies, it’s time to move on to the next steps in constructing your custom cornhole game.
Cutting and Drilling
With all the materials and tools assembled, it’s time to roll up your sleeves and get started on the construction process. The first step involves cutting the plywood sheets to create the playing surface for the cornhole boards. Here’s a detailed guide to the cutting and drilling process:
Read more: Where Did The Game Cornhole Come From?
Cutting the Plywood:
- Begin by measuring and marking the plywood sheets to the standard cornhole board size of 2 feet by 4 feet.
- Using a circular saw, carefully cut along the marked lines to create two identical plywood pieces for the playing surface of each board.
Building the Frame:
- Next, take the 2×4 boards and cut them to the appropriate lengths to create the frame for each cornhole board.
- Measure and cut the boards to form a 2-foot by 4-foot rectangle for each frame.
Drilling the Holes:
- Position the plywood playing surface on a flat, stable surface and place the frame around the edges, ensuring it aligns perfectly.
- Using a drill with a hole saw attachment, carefully create a 6-inch diameter hole at the center of each board, approximately 9 inches from the top and 12 inches from each side.
- After drilling the holes, use the sandpaper to smooth any rough edges around the holes and the playing surface.
Once the cutting and drilling process is complete, you’ll have the basic components of your cornhole boards ready for assembly. The precision and accuracy of these steps are crucial to ensure that your boards meet regulation standards and provide an optimal playing experience.
With the cutting and drilling stage accomplished, it’s time to move on to the next phase: assembling the cornhole boards.
Assembling the Cornhole Boards
Now that you’ve completed the cutting and drilling phase, it’s time to bring the components together and assemble your cornhole boards. This process involves combining the plywood playing surface with the frame to create sturdy and regulation-compliant boards. Here’s a step-by-step guide to assembling the cornhole boards:
Read more: How To Make A Cornhole Board
Attaching the Frame:
- Apply wood glue along the edges of the plywood playing surface.
- Position the cut 2×4 boards around the perimeter of the playing surface, ensuring that they are aligned and flush with the edges.
- Secure the frame in place by driving deck screws through the plywood and into the frame at regular intervals.
Reinforcing the Frame:
- To ensure the stability and durability of the boards, add additional support by attaching diagonal braces from the corners of the frame to the center of the playing surface.
- Use wood glue and screws to secure the braces in place, providing extra reinforcement for the boards.
By following these steps, you’ll successfully assemble the cornhole boards, creating a robust and professional-looking playing surface that is ready for the next stages of customization and preparation. The careful construction and reinforcement of the boards are essential to ensure their longevity and performance during gameplay.
With the cornhole boards assembled, it’s time to shift your focus to the creation of the cornhole bags, an integral component of the game. Let’s explore how to make the bags from scratch and personalize them to your liking.
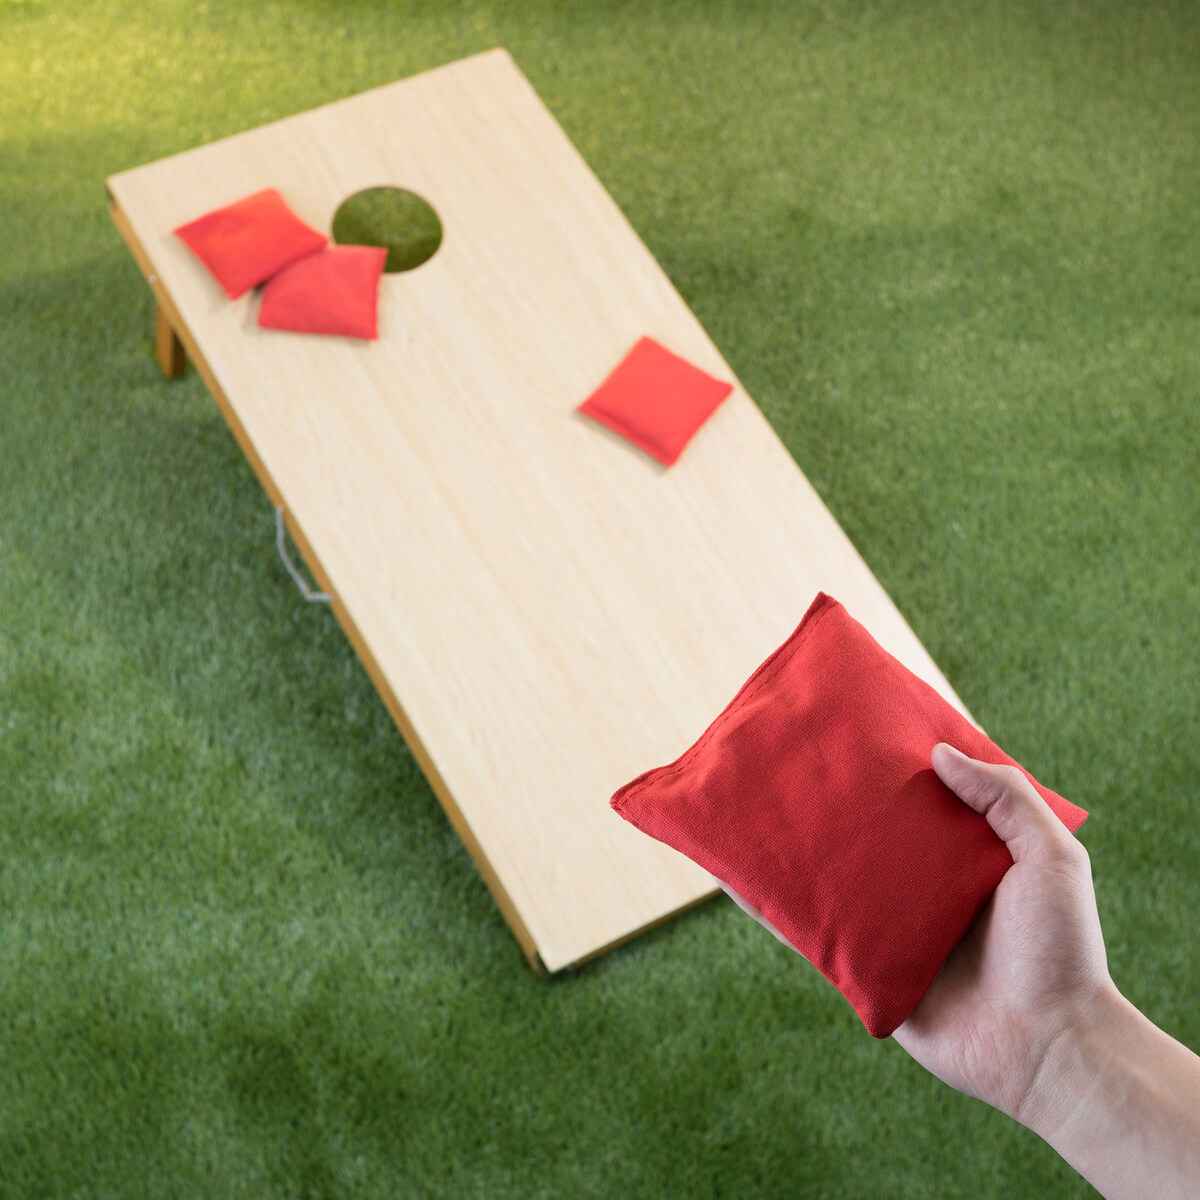
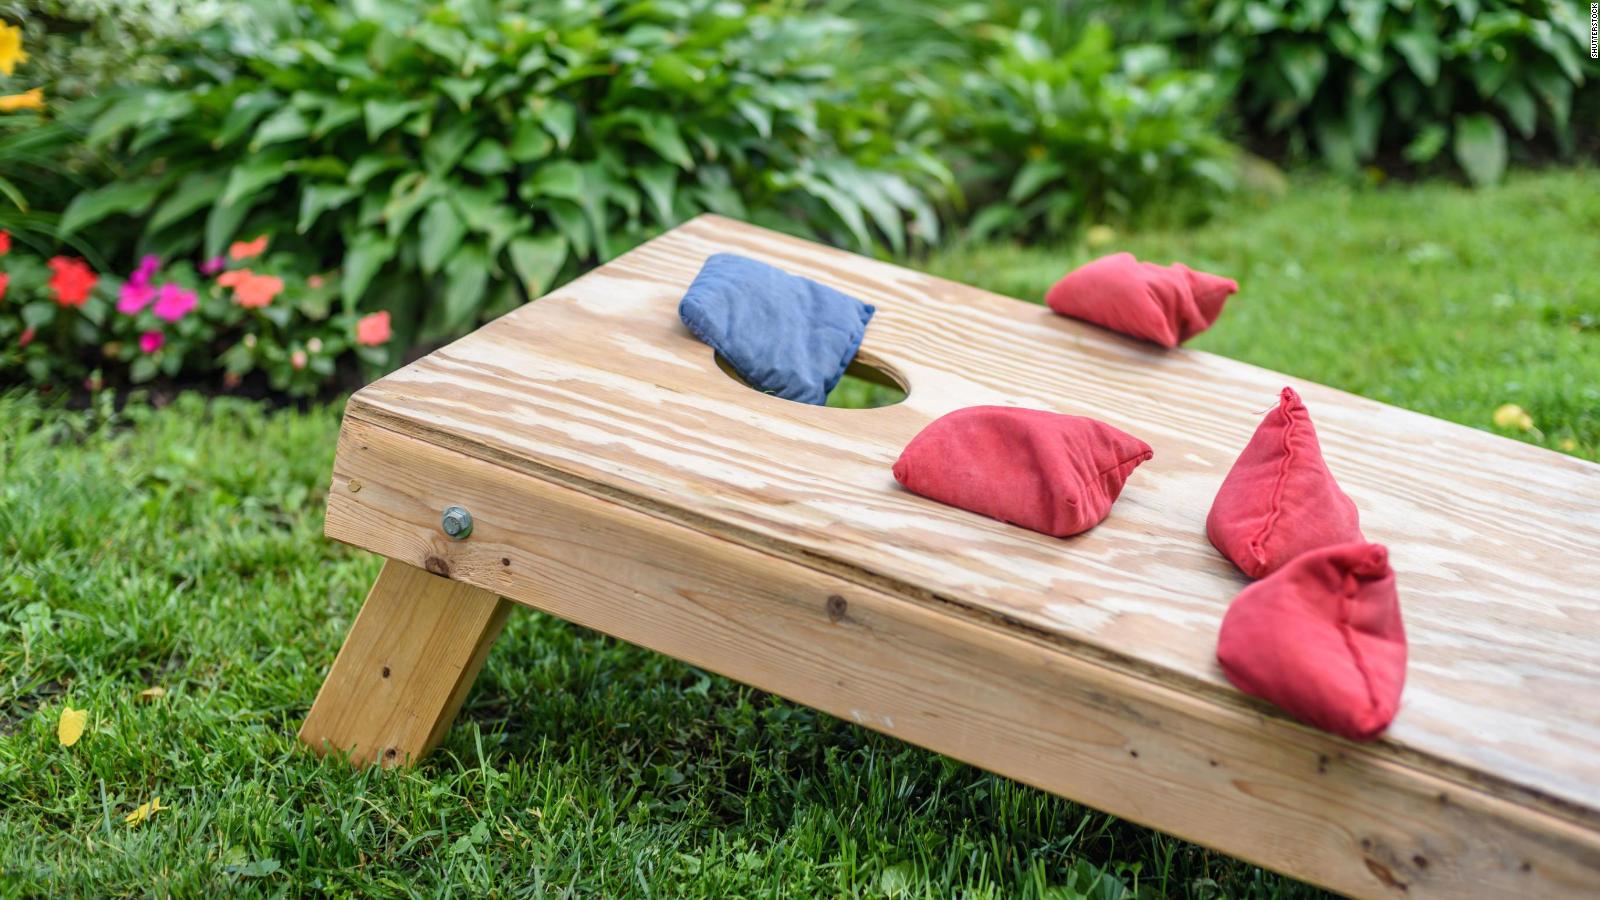
Making the Cornhole Bags
Creating the cornhole bags is an enjoyable and customizable aspect of crafting your own cornhole game. These bags are not only essential for gameplay but also provide an opportunity to showcase your creativity through fabric selection and customization. Here’s a detailed guide to making the cornhole bags:
Choosing Fabric:
- Select a durable and resilient fabric for the bag material, such as duck cloth or heavy-duty canvas, in colors and patterns of your choice.
- For each set of cornhole bags, you’ll need two fabric squares of the same size, typically measuring 6 inches by 6 inches.
Read more: How To Make Cornhole Lights
Filling the Bags:
- Fill each bag with approximately 2 cups of whole kernel feed corn, which provides the ideal weight and texture for gameplay.
- Ensure the bags are evenly filled and have a consistent weight to maintain fairness during play.
Sewing and Sealing:
- Place the two fabric squares together, with the chosen design facing inwards, and sew three of the four edges together using a sewing machine or needle and thread.
- Turn the bag inside out to conceal the seams and create a neat, finished appearance.
- Once the bag is filled with corn, sew the remaining edge securely to seal the bag and prevent the corn from spilling during use.
By following these steps, you’ll have a complete set of cornhole bags ready for play. The process allows for personalization and creativity, enabling you to tailor the bags to your preferences and showcase your unique style.
With the cornhole bags crafted and ready for action, the next phase involves adding a personalized touch to the cornhole boards through painting and decorating. Let’s delve into the exciting process of enhancing the visual appeal of your cornhole set.
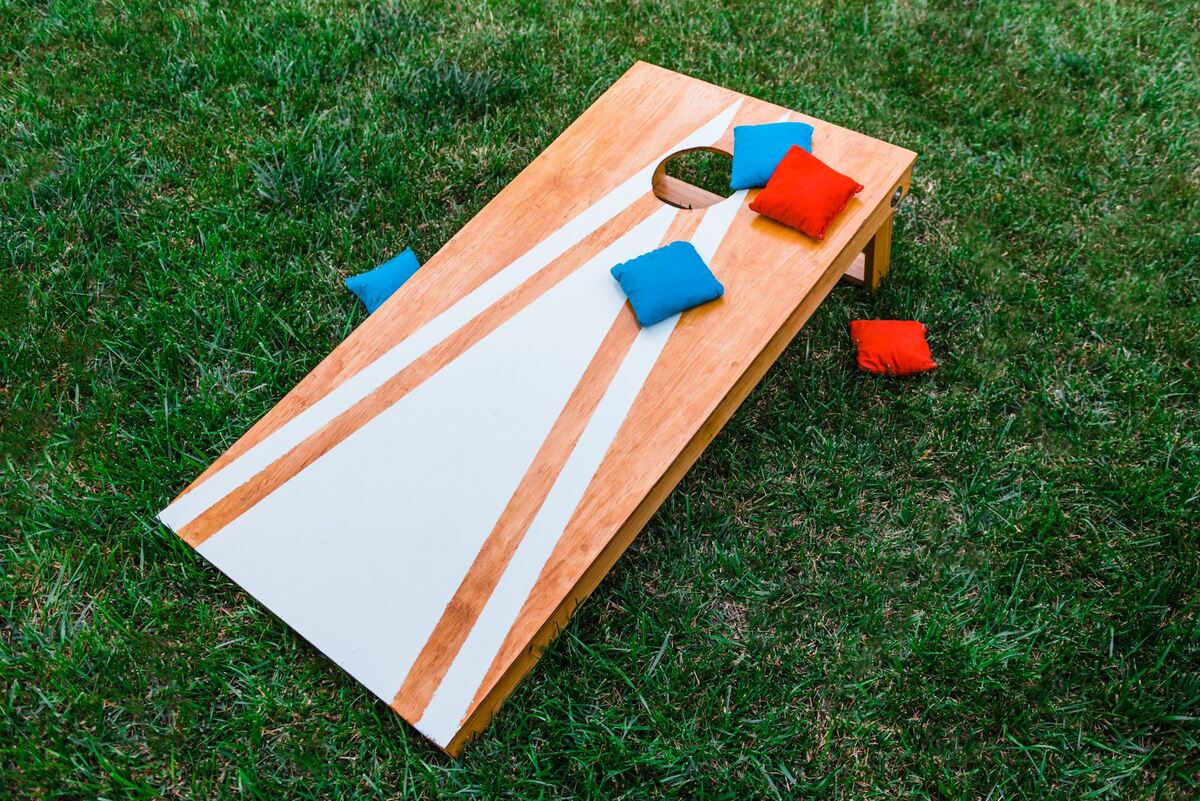
Painting and Decorating
Now that the structural components of your cornhole set are complete, it’s time to infuse your personal style and creativity into the boards. Painting and decorating the cornhole boards not only adds a visually appealing touch but also allows you to customize the set to reflect your unique preferences. Here’s a comprehensive guide to painting and decorating the cornhole boards:
Preparing the Surface:
- Begin by sanding the surface of the boards to create a smooth and even texture, ensuring optimal adherence of the paint.
- Use a damp cloth to remove any dust or debris from the boards before applying the paint.
Read more: How To Make Cornhole Boards Slick
Choosing Colors and Designs:
- Select outdoor paint in the colors of your choice, keeping in mind contrast and visibility for the cornhole board’s playing surface.
- Consider incorporating unique designs, such as team logos, geometric patterns, or thematic illustrations, to personalize the boards.
Applying the Paint:
- Use high-quality paintbrushes to apply an even coat of paint to the entire surface of the boards, including the frame and the area around the holes.
- Allow the first coat to dry completely before applying additional coats, if necessary, to achieve the desired color intensity and coverage.
Adding Personal Touches:
- Once the base paint is dry, consider adding decorative elements such as pinstripes, borders, or intricate details to enhance the visual appeal of the boards.
- Apply a clear coat or sealant to protect the painted surface and ensure its longevity, especially when exposed to outdoor elements.
By following these steps, you’ll transform the basic cornhole boards into personalized, eye-catching pieces that reflect your individual style and preferences. The painting and decorating process provides an opportunity to unleash your creativity and make your cornhole set truly one-of-a-kind.
With the boards painted and adorned with your personal touch, the final stage involves setting up the game and enjoying hours of outdoor fun with friends and family. Let’s explore how to set up the cornhole boards and dive into the excitement of gameplay.
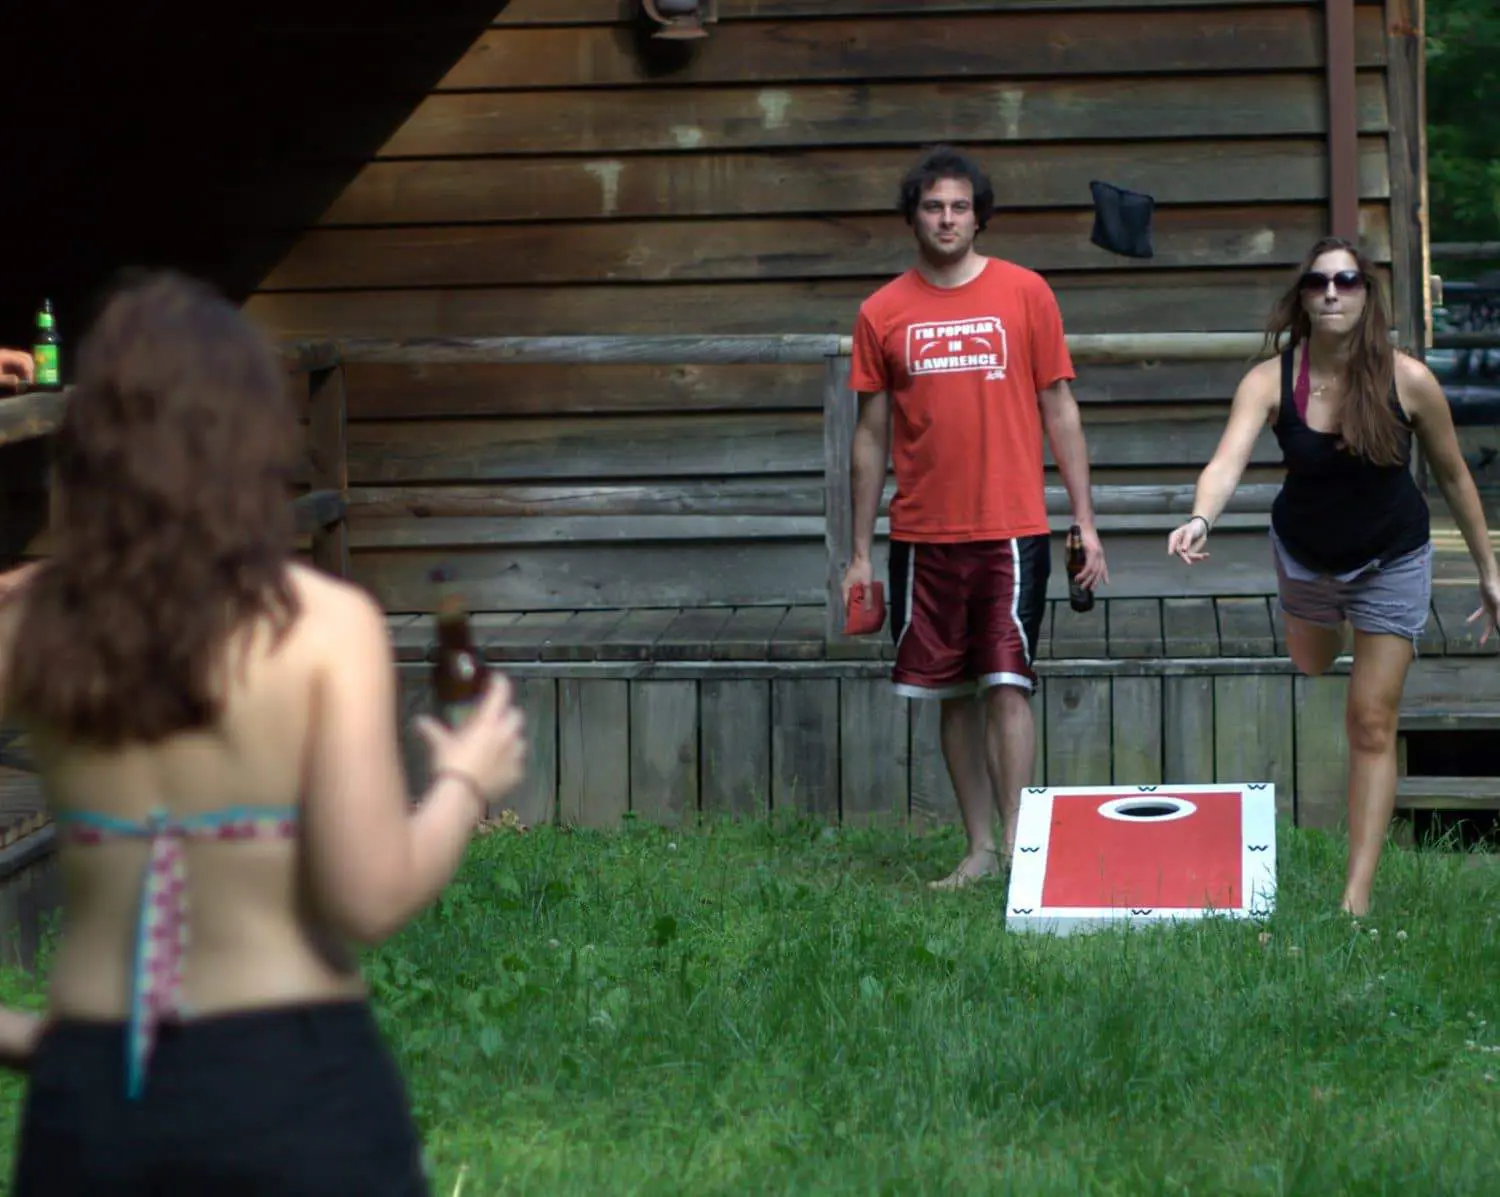
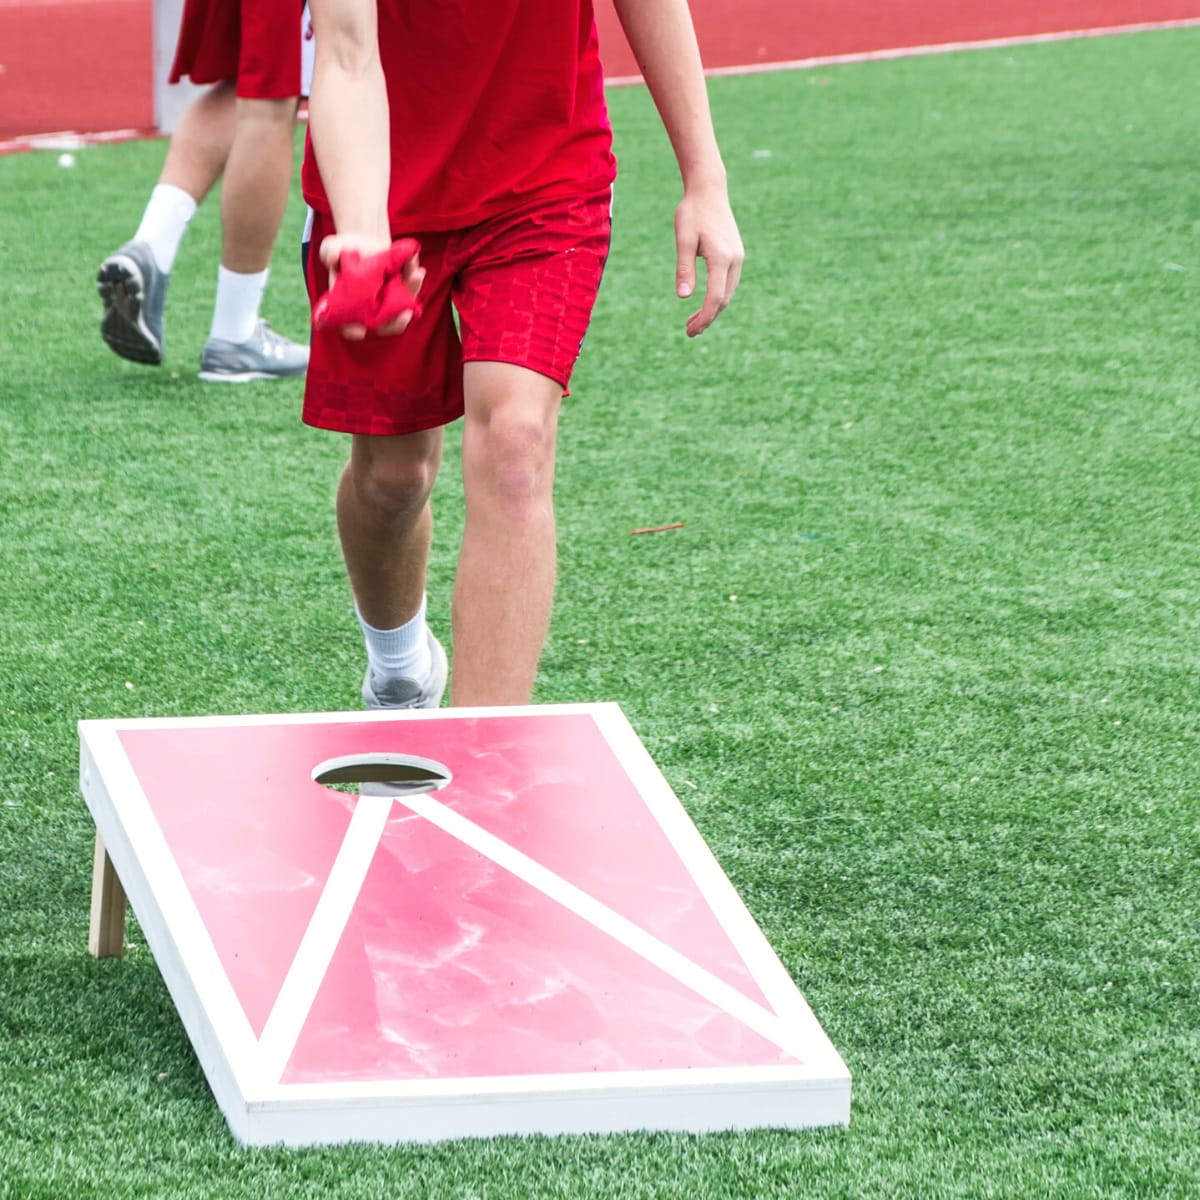
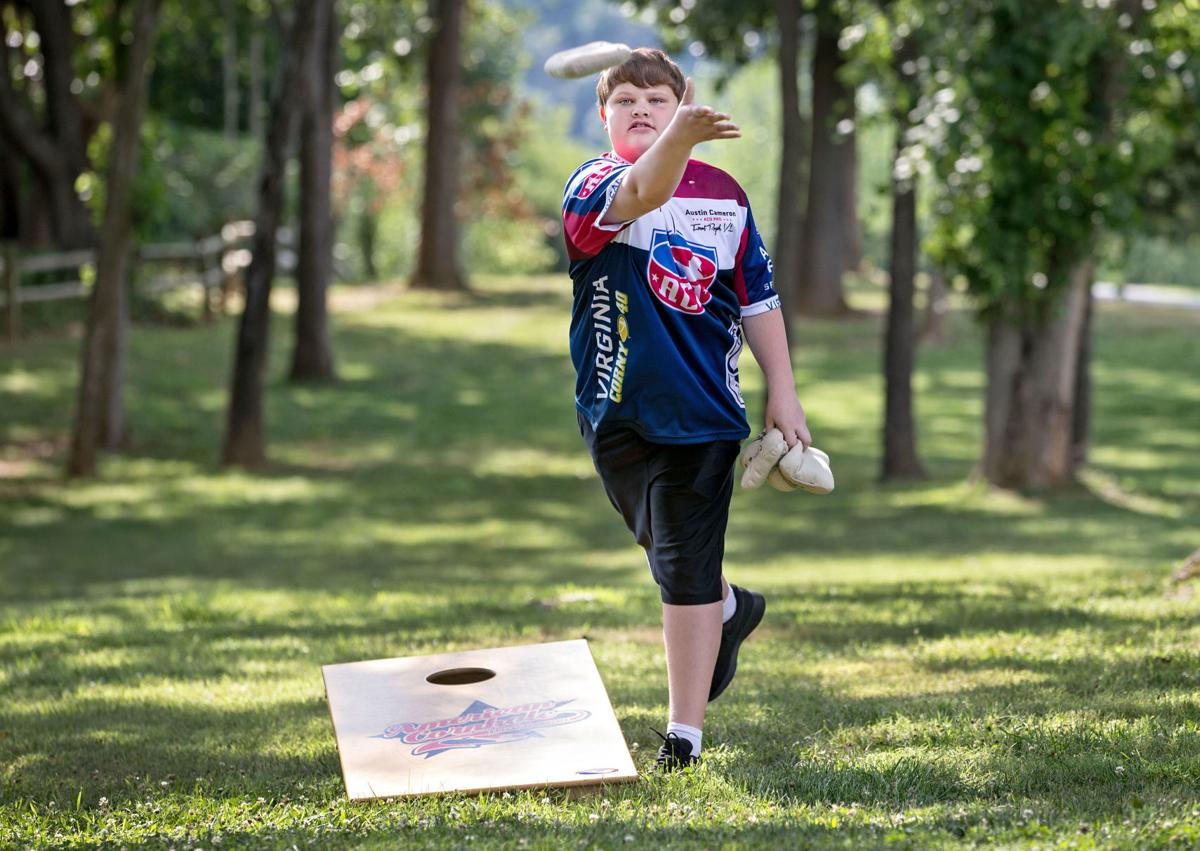
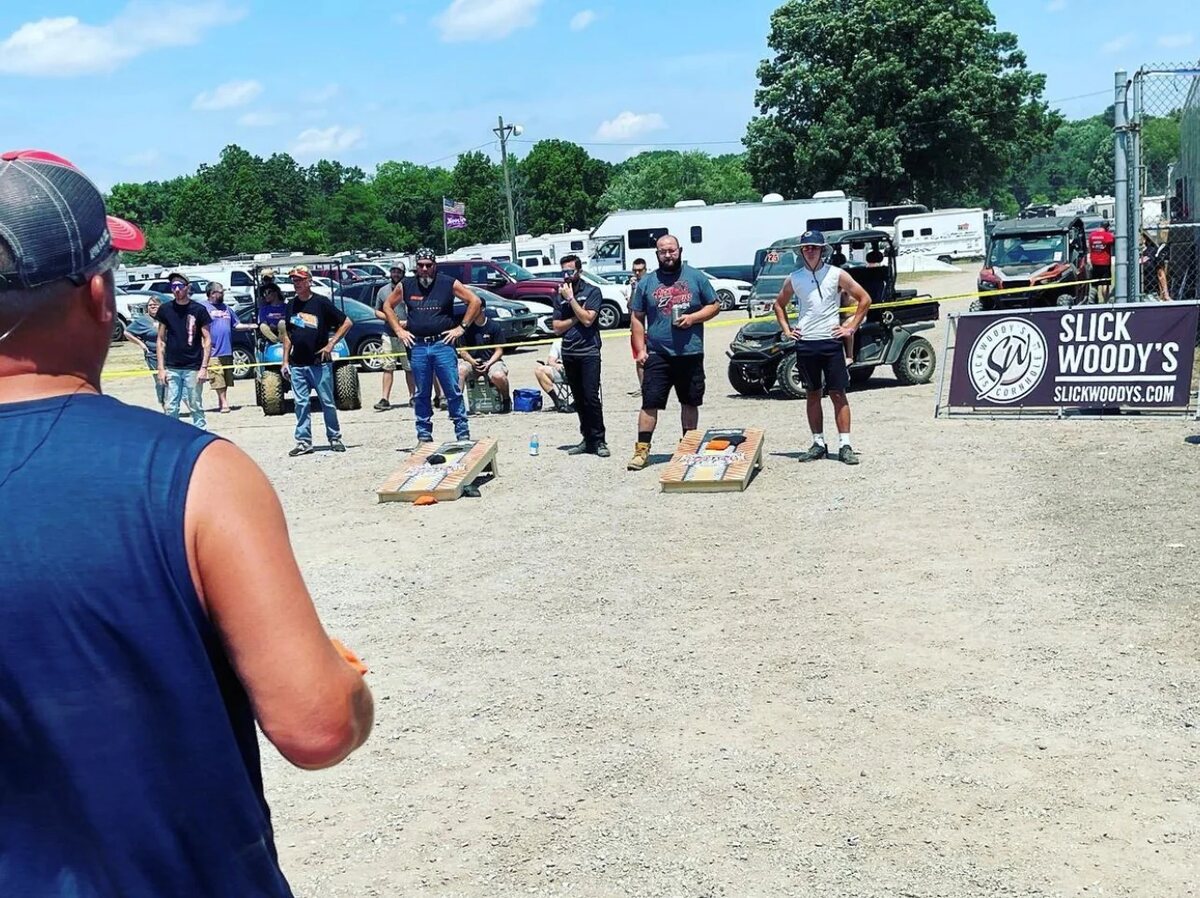
Setting Up and Playing
With your custom cornhole set complete, it’s time to set up the game and experience the thrill of playing this classic outdoor pastime. Setting up the cornhole boards is simple, and the game rules are easy to grasp, making it an ideal activity for social gatherings and outdoor events. Here’s a guide to setting up and playing cornhole:
Read more: How To Make Outdoor Games
Setting Up the Boards:
- Choose a level playing surface in an open area, ensuring that there is ample space between the boards for gameplay and player movement.
- Position the two cornhole boards approximately 27 feet apart from the front edge of one board to the front edge of the other, creating the standard playing distance.
Game Rules and Gameplay:
- Divide players into two teams, with each team standing behind one of the boards.
- Players take turns tossing the cornhole bags towards the opposite board, aiming to land the bags on the board or, ideally, through the hole.
- Scoring is based on the bags that land on the board and through the hole, with specific point values assigned to each achievement.
- The game continues with alternating throws until a predetermined score is reached, typically 21 points, or until a team reaches a specified number of rounds.
Enjoying Friendly Competition:
- Embrace the lighthearted and competitive spirit of the game, encouraging friendly banter and camaraderie among players.
- Engage in team-based matchups or individual challenges, fostering an inclusive and enjoyable experience for all participants.
Creating Lasting Memories:
- Capture the moments of laughter, celebration, and friendly rivalry as players showcase their tossing skills and strategic gameplay.
- Encourage spectators to join in the fun, creating a vibrant and engaging atmosphere that fosters lasting memories and cherished experiences.
By following these guidelines, you’ll be fully equipped to set up the cornhole boards, understand the rules of the game, and immerse yourself in an afternoon of outdoor entertainment and friendly competition. The simplicity and versatility of cornhole make it a beloved pastime for all ages, providing endless opportunities for joy and connection.
Now that you’re ready to enjoy the thrill of cornhole gameplay, it’s time to gather your friends and family, set up the boards, and embark on an exciting journey of outdoor fun and camaraderie.
Read more: Frisbee Beer Game: How To Make
Conclusion
Congratulations on completing the journey of crafting your very own cornhole game set! From the initial gathering of materials to the final stages of painting, decorating, and gameplay, you’ve embarked on an enriching and rewarding experience that has resulted in a personalized and engaging addition to your outdoor recreation activities.
By embracing the process of making a cornhole game from scratch, you’ve not only honed your woodworking and crafting skills but also unleashed your creativity in customizing the boards and bags to reflect your unique style. The sense of accomplishment that comes with constructing a functional and visually appealing game set is truly unparalleled.
As you prepare to introduce your custom cornhole set to friends and family, remember that the joy of this classic game lies not only in the friendly competition and skillful tosses but also in the laughter, camaraderie, and cherished memories created with each round played. Whether it’s a casual backyard gathering, a tailgate party, or a community event, your cornhole set is poised to be a centerpiece of outdoor entertainment and connection.
As you witness the excitement and laughter that ensue when players engage in spirited gameplay, take pride in the fact that your craftsmanship has contributed to fostering moments of joy and togetherness. The memories created around the cornhole boards will undoubtedly become a cherished part of your outdoor experiences and social gatherings for years to come.
So, as you prepare to set up the boards, gather your friends and family, and immerse yourself in the fun and camaraderie of cornhole gameplay, remember that the true essence of this timeless game lies in the bonds it strengthens and the joy it brings to all who partake in it.
Now, go ahead, set up your custom cornhole boards, toss those bags with skill and enthusiasm, and savor the moments of laughter, friendly competition, and connection that define the spirit of cornhole. Enjoy the outdoors, embrace the thrill of gameplay, and create lasting memories that will surely become an integral part of your cherished experiences.
Frequently Asked Questions about How To Make A Cornhole Game
Was this page helpful?
At Storables.com, we guarantee accurate and reliable information. Our content, validated by Expert Board Contributors, is crafted following stringent Editorial Policies. We're committed to providing you with well-researched, expert-backed insights for all your informational needs.
0 thoughts on “How To Make A Cornhole Game”