Home>Gardening & Outdoor>Outdoor Recreation & Activities>How To Make A Beer Pong Table
Outdoor Recreation & Activities
How To Make A Beer Pong Table
Modified: October 29, 2024
Learn how to make a custom beer pong table for your outdoor recreation and activities. Follow our step-by-step guide to create the perfect addition to your next outdoor gathering.
(Many of the links in this article redirect to a specific reviewed product. Your purchase of these products through affiliate links helps to generate commission for Storables.com, at no extra cost. Learn more)
Introduction
Welcome to the ultimate guide on how to make a beer pong table! Beer pong is a classic party game that brings people together for hours of fun and friendly competition. Crafting your own beer pong table adds a personal touch to gatherings and ensures that you have a durable and stylish surface for countless games to come.
In this comprehensive guide, we will walk you through each step of the process, from gathering the necessary materials to adding the finishing touches. Whether you're a DIY enthusiast or simply looking for a rewarding project, creating your own beer pong table is a fantastic way to showcase your creativity and woodworking skills.
By following these detailed instructions, you'll be able to customize your table to suit your preferences, whether you want to incorporate unique designs, team logos, or personalized decorations. Get ready to impress your friends and elevate your next party with a one-of-a-kind beer pong table that will be the envy of all your guests.
So, roll up your sleeves, gather your tools, and let's dive into the exciting world of crafting a custom beer pong table that will be the centerpiece of your next gathering!
Key Takeaways:
- Crafting a beer pong table is a fun DIY project that brings friends together. With the right materials and steps, you can create a personalized table for endless games and unforgettable gatherings.
- Adding custom designs and a regulation-size grid to your beer pong table elevates its appearance and ensures fair play. Embrace the DIY spirit and enjoy the camaraderie around your unique creation!
Read more: How To Make A Light-Up Beer Pong Table
Materials Needed
Before diving into the construction process, it’s essential to gather all the necessary materials and tools. Here’s a comprehensive list to ensure you’re well-prepared for this DIY project:
- 4×8 foot sheet of plywood
- 4×4 wooden legs or folding table legs
- Saw (circular saw or table saw)
- Sandpaper (medium and fine grit)
- Wood glue
- Measuring tape
- Paint or wood stain
- Paintbrushes or foam rollers
- Clear polyurethane sealant
- Painter’s tape
- Acrylic paint or spray paint for the beer pong grid
- Disposable cups for testing the beer pong grid spacing
- Optional: Decals, stickers, or stencils for custom designs
- Protective gear: goggles, gloves, and a mask for sanding and painting
Once you’ve gathered these materials, you’ll be well-equipped to embark on this exciting DIY journey. Now, let’s move on to the step-by-step construction process of creating your very own beer pong table!
Step 1: Cutting the Wood
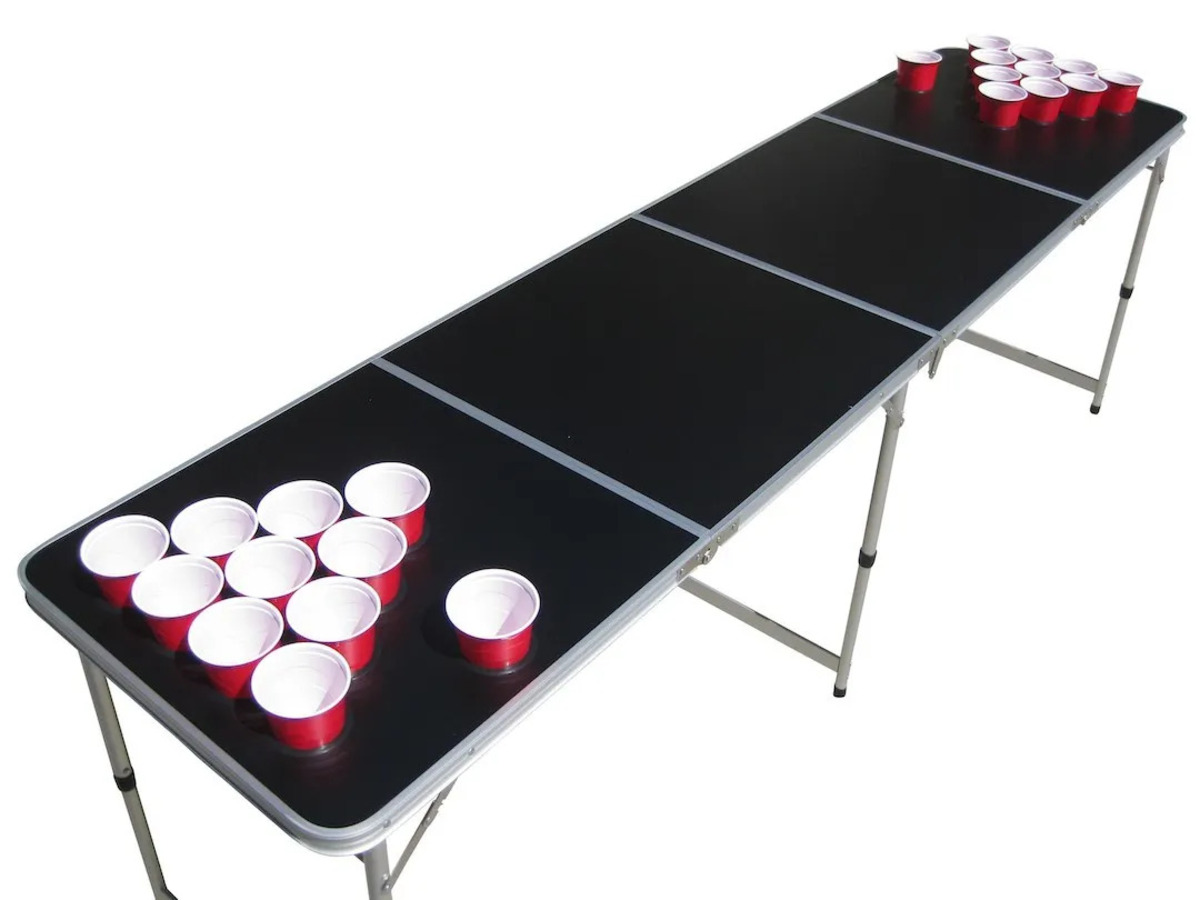
The first step in creating your beer pong table is to cut the plywood to the desired dimensions. A standard beer pong table is 8 feet long, 2 feet wide, and about 2 feet off the ground. Follow these steps to achieve the perfect dimensions:
- Measure and mark the plywood at 8 feet in length and 2 feet in width using a measuring tape and pencil. Ensure the lines are straight and precise.
- Use a saw, such as a circular saw or table saw, to cut along the marked lines. Take your time to maintain accuracy and safety during the cutting process.
- Next, cut the 4×4 wooden legs to the desired height, typically around 2 feet. These legs will provide sturdy support for your table.
- After cutting the plywood and legs, use medium-grit sandpaper to smooth any rough edges and surfaces. Then, follow up with fine-grit sandpaper to achieve a sleek and uniform finish.
Once the wood is cut and sanded, you’re ready to move on to the next step: assembling the table frame. With precision and attention to detail, you’ll soon see your beer pong table taking shape and becoming a standout feature for your future gatherings.
Step 2: Assembling the Table
With the wood cut to the appropriate dimensions and the legs prepared, it’s time to assemble the foundation of your beer pong table. Follow these steps to ensure a sturdy and reliable construction:
- Lay the plywood flat on a clean and spacious work area, ensuring that the surface is smooth and free from debris.
- Position the 4×4 wooden legs at each corner of the plywood, ensuring they are flush with the edges. If you’re using folding table legs, follow the manufacturer’s instructions for attachment.
- Apply wood glue to the top of each leg before firmly pressing them onto the underside of the plywood. This will create a strong bond and provide additional support.
- Allow the wood glue to dry according to the manufacturer’s instructions, ensuring that the legs are securely attached to the plywood.
- Once the legs are firmly in place, flip the table over to ensure that it stands evenly and securely on all four legs.
By carefully following these steps, you’ll have successfully assembled the foundation of your beer pong table. The sturdy construction will provide a reliable surface for countless games and ensure that your table stands the test of time. Now, it’s time to move on to the next step and add the playing surface to your table.
To make a beer pong table, use a sturdy, smooth surface like plywood. Measure and mark the table to ensure accurate placement of the cups. Apply a waterproof sealant to protect the table from spills and damage.
Step 3: Adding the Playing Surface
Now that the foundation of your beer pong table is assembled, it’s time to add the playing surface. This step will transform your table into the perfect arena for intense beer pong battles. Follow these steps to create a smooth and resilient playing surface:
- Begin by thoroughly cleaning the top side of the plywood to remove any dust or debris. A clean surface will ensure a flawless application of paint or wood stain.
- If you prefer a natural wood look, consider applying a wood stain to the plywood. Use a paintbrush or foam roller to evenly spread the stain, following the manufacturer’s instructions for drying and curing times.
- For a vibrant and customizable playing surface, apply a coat of paint in the color of your choice. Whether you opt for a classic white surface or a bold and eye-catching design, ensure that the paint is evenly applied and allowed to dry completely.
- Once the paint or stain has dried, apply a clear polyurethane sealant to protect the playing surface from spills, scratches, and wear. This sealant will provide a durable and easy-to-clean finish, ensuring that your beer pong table remains in top condition.
By following these steps, you’ll have successfully added a professional-quality playing surface to your beer pong table. Whether you prefer a sleek and polished appearance or a custom design that reflects your personality, this step allows you to showcase your creativity and craftsmanship. With the playing surface in place, it’s time to move on to the next step and add the essential beer pong grid.
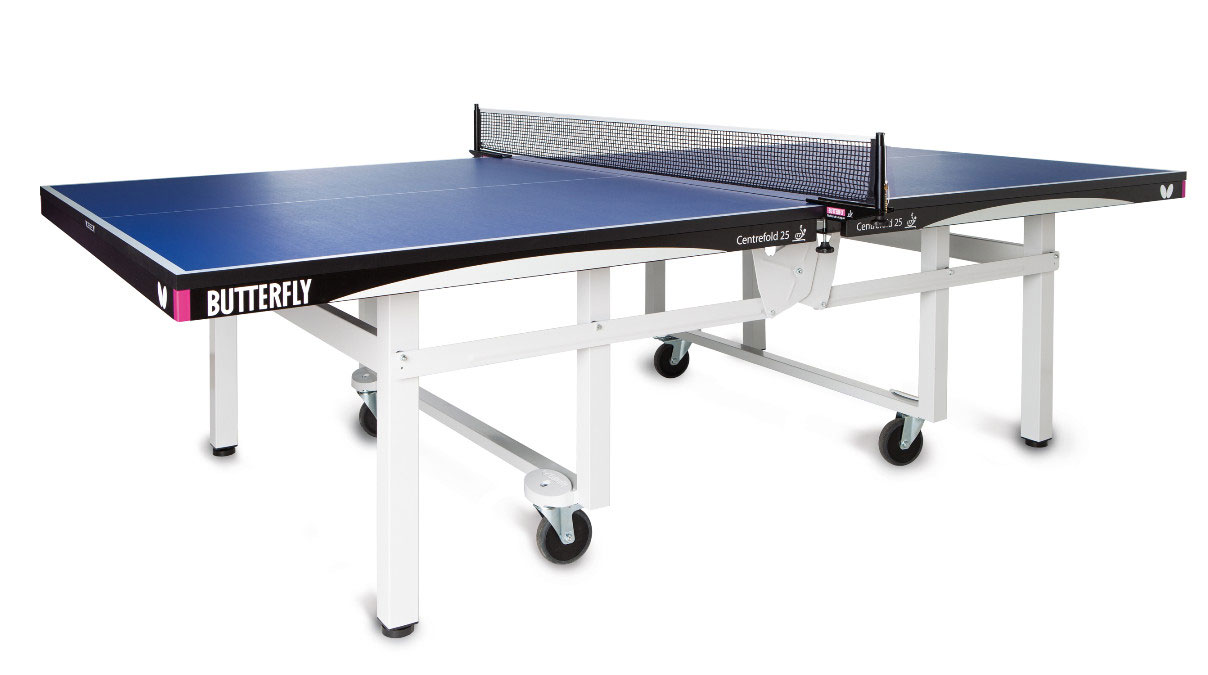
Read more: How Large Is A Ping Pong Table
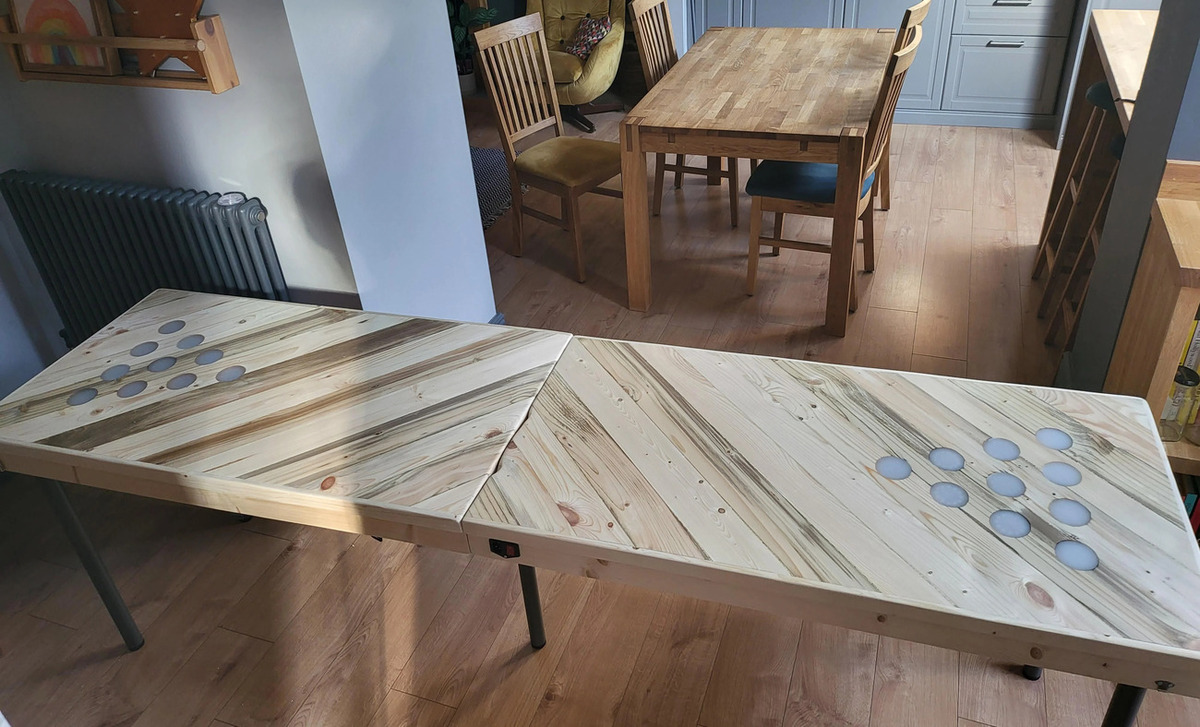
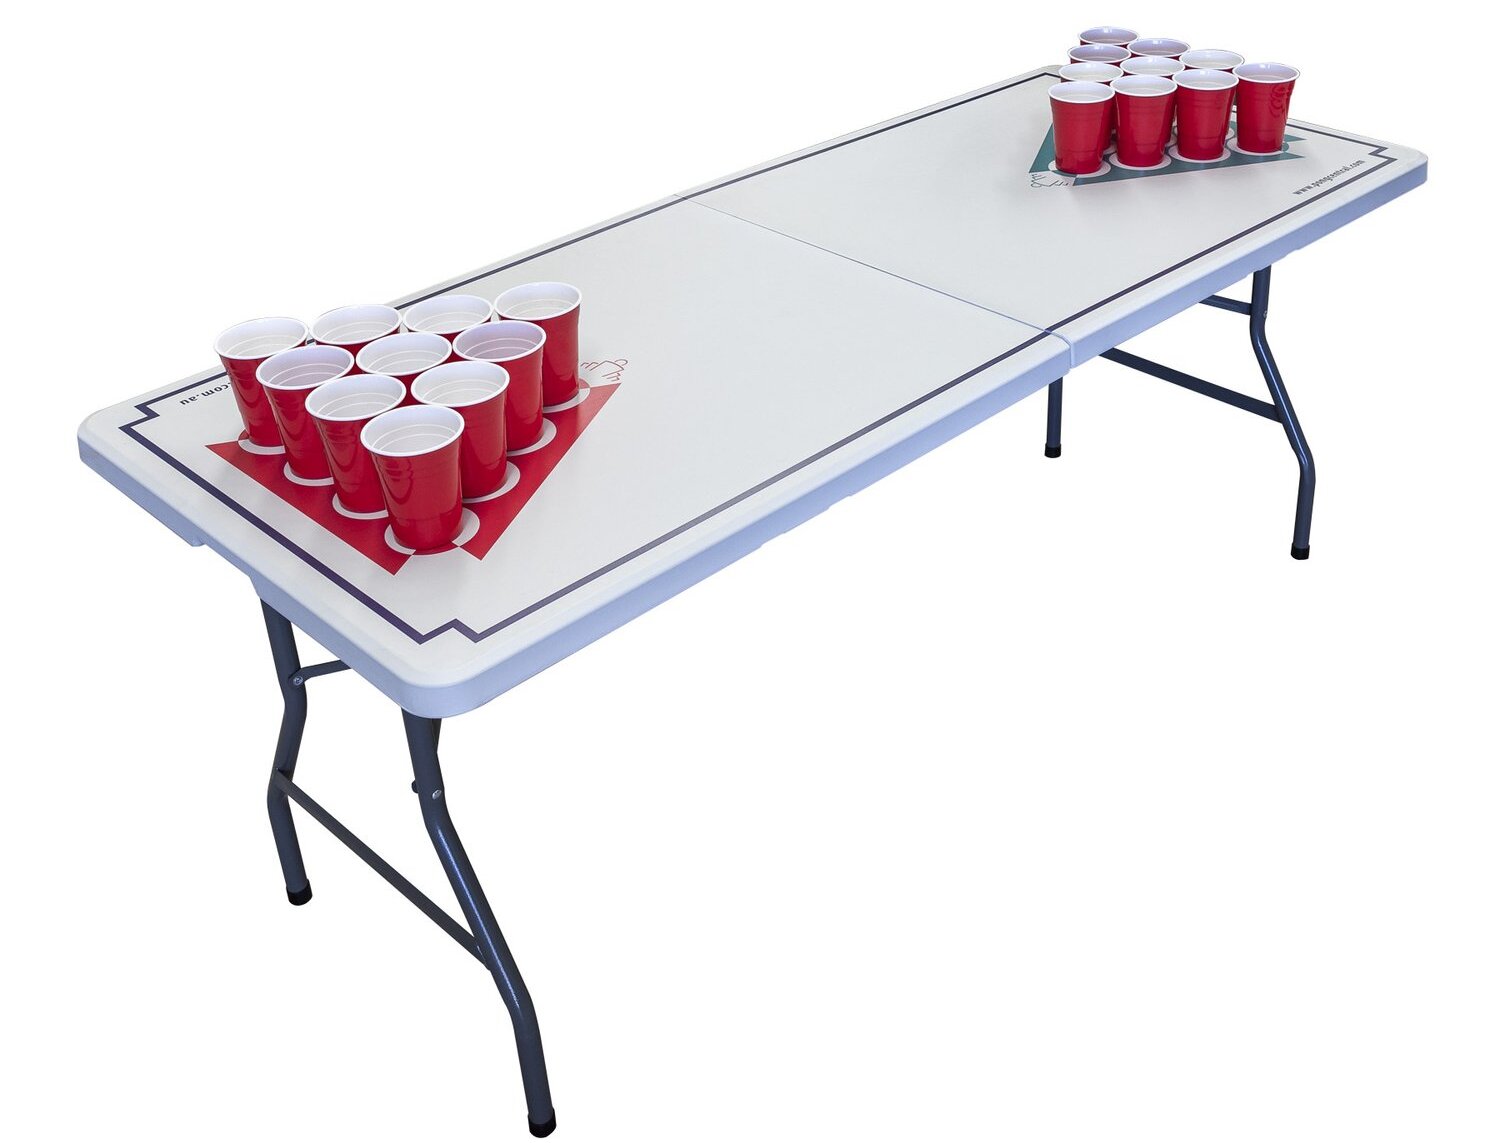
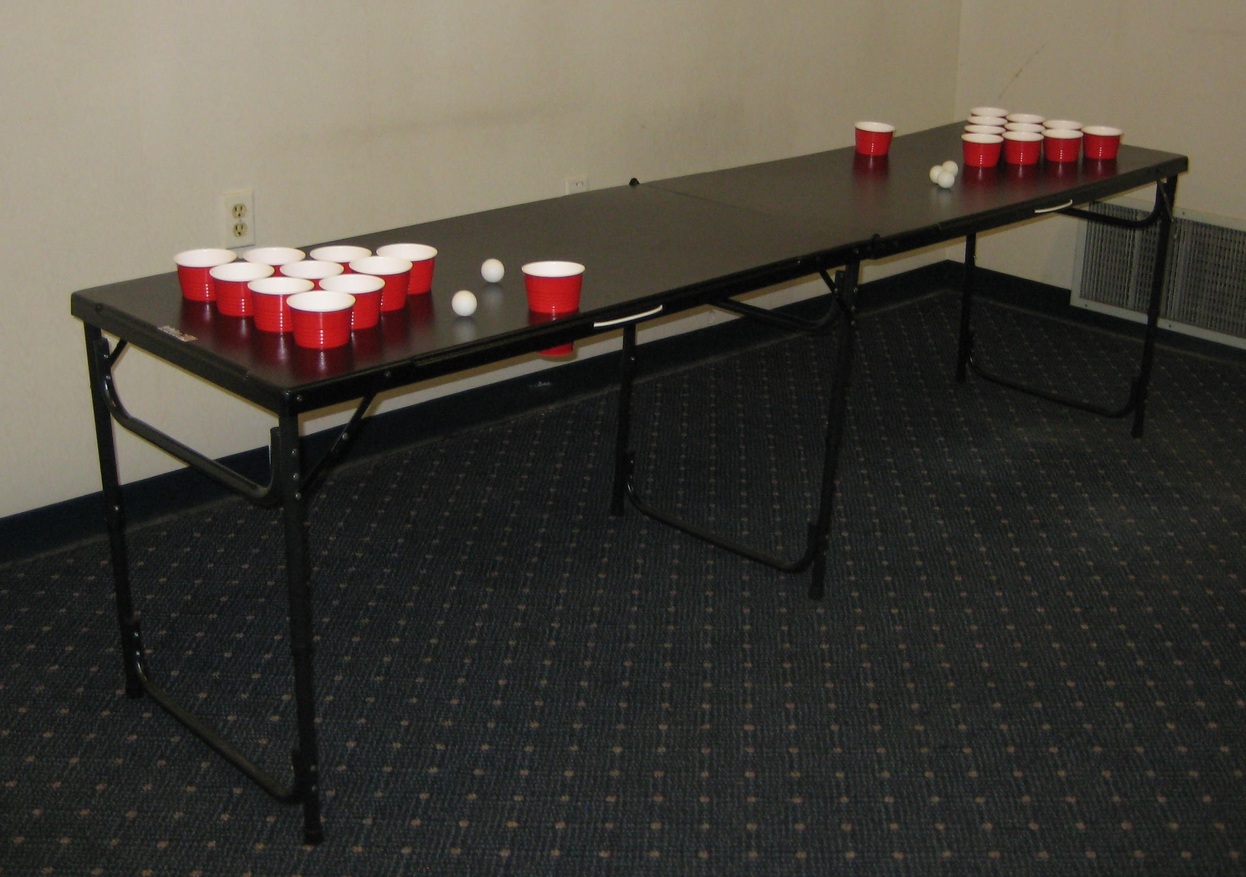
Step 4: Adding the Beer Pong Grid
Adding the beer pong grid is a crucial step that transforms your table into a bona fide beer pong arena. The grid ensures fair play and adds a professional touch to your table. Follow these steps to create a precise and visually appealing beer pong grid:
- Using painter’s tape, carefully mark and create the grid lines on the playing surface. The standard beer pong grid consists of ten even-length rows, with each row being approximately 1.5 inches apart.
- To ensure accuracy, use a measuring tape and pencil to mark the placement of each grid line before applying the painter’s tape. This step is essential for achieving a symmetrical and regulation-size beer pong grid.
- Once the grid lines are marked with painter’s tape, use acrylic paint or spray paint to fill in the designated areas, creating the distinct grid pattern. Choose a color that contrasts with the playing surface to ensure visibility during gameplay.
- After applying the paint, carefully remove the painter’s tape to reveal clean and precise grid lines. Take your time during this step to maintain the integrity of the grid and achieve professional-looking results.
By following these steps, you’ll have successfully added a regulation-size beer pong grid to your table, setting the stage for competitive and entertaining gameplay. The grid not only enhances the visual appeal of your table but also ensures fair and consistent play for all participants. With the beer pong grid in place, it’s time to move on to the final step and add the finishing touches that will elevate your table to new heights.
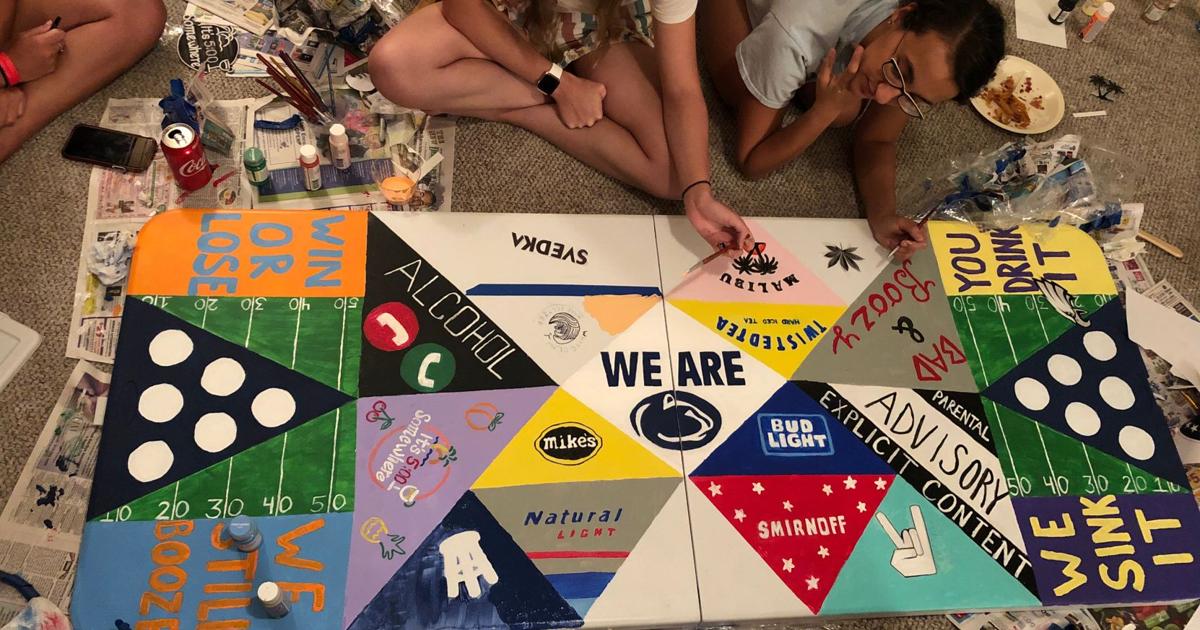
Step 5: Adding the Finishing Touches
Adding the finishing touches to your beer pong table will elevate its appearance and make it truly unique. Whether you want to incorporate custom designs, protective elements, or personal touches, this step allows you to put the final stamp on your creation. Follow these steps to add the finishing touches to your beer pong table:
- If you’ve chosen to incorporate custom designs, such as team logos, decals, or personalized artwork, now is the time to apply them to the table surface. Take your time to ensure precise placement and a smooth application.
- Consider adding a clear polyurethane sealant over any custom designs or artwork to protect them from wear and tear. This additional layer of protection will preserve the integrity of your table’s aesthetic elements.
- For added convenience and portability, consider attaching handles to the sides of the table. This will make it easier to transport and maneuver the table, ensuring that it’s ready for use at any gathering or event.
- Apply a final coat of clear polyurethane sealant to the entire table, including the edges and any added elements. This will provide comprehensive protection and ensure that your beer pong table remains in top condition for years to come.
By following these steps, you’ll have added the finishing touches that make your beer pong table truly stand out. Whether you opt for sleek and professional aesthetics or incorporate personalized designs, these final details will make your table a centerpiece of entertainment and camaraderie. With the finishing touches complete, it’s time to step back and admire your exceptional craftsmanship and creativity.
Conclusion
Congratulations on successfully completing the process of creating your own beer pong table! By following the detailed steps outlined in this guide, you’ve crafted a durable, stylish, and personalized table that will undoubtedly be the focal point of countless gatherings and celebrations.
As you prepare to showcase your beer pong table at your next event, take pride in the craftsmanship and attention to detail that went into its creation. Whether you’ve opted for a classic and professional look or infused your table with custom designs and artwork, your creation is a reflection of your creativity and dedication to providing a memorable experience for your guests.
With a regulation-size playing surface, a precise beer pong grid, and the finishing touches that make it uniquely yours, your table is ready to host spirited games and liven up any social gathering. It’s a testament to your DIY skills and a source of entertainment and camaraderie for years to come.
Now that your beer pong table is complete, it’s time to gather your friends, set up your playing area, and let the games begin. Embrace the competitive spirit, enjoy the laughter and camaraderie, and revel in the satisfaction of knowing that your custom beer pong table is at the heart of the fun.
So, raise a cup, aim for the perfect shot, and let the good times roll with your exceptional beer pong table as the centerpiece of the action. Cheers to your DIY success and the countless memorable moments that await around your custom-crafted beer pong table!
Frequently Asked Questions about How To Make A Beer Pong Table
Was this page helpful?
At Storables.com, we guarantee accurate and reliable information. Our content, validated by Expert Board Contributors, is crafted following stringent Editorial Policies. We're committed to providing you with well-researched, expert-backed insights for all your informational needs.

0 thoughts on “How To Make A Beer Pong Table”