Home>Gardening & Outdoor>Outdoor Recreation & Activities>How To Set Up A Spikeball Net
Outdoor Recreation & Activities
How To Set Up A Spikeball Net
Modified: October 20, 2024
Learn how to set up a Spikeball net for endless outdoor recreation and activities. Get step-by-step instructions and tips for a fun and active game!
(Many of the links in this article redirect to a specific reviewed product. Your purchase of these products through affiliate links helps to generate commission for Storables.com, at no extra cost. Learn more)
Introduction
Are you ready to elevate your outdoor fun to a whole new level? Setting up a Spikeball net is the perfect way to infuse your outdoor gatherings with energy and excitement. Whether you're planning a beach day, a backyard barbecue, or a park picnic, Spikeball is a dynamic and engaging game that can be enjoyed by people of all ages and skill levels.
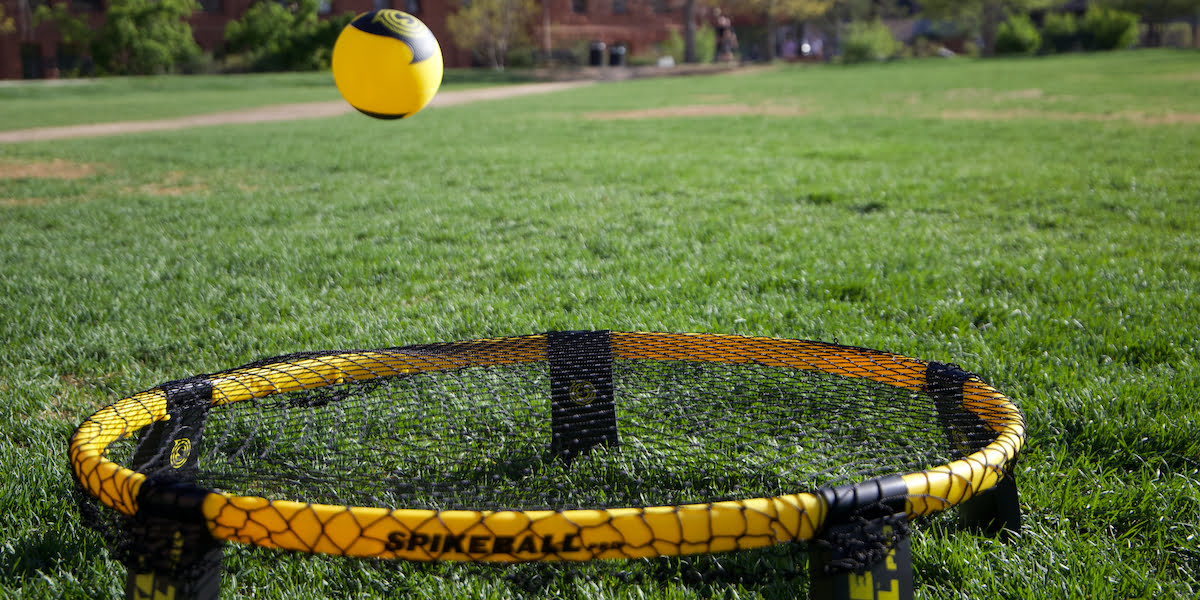
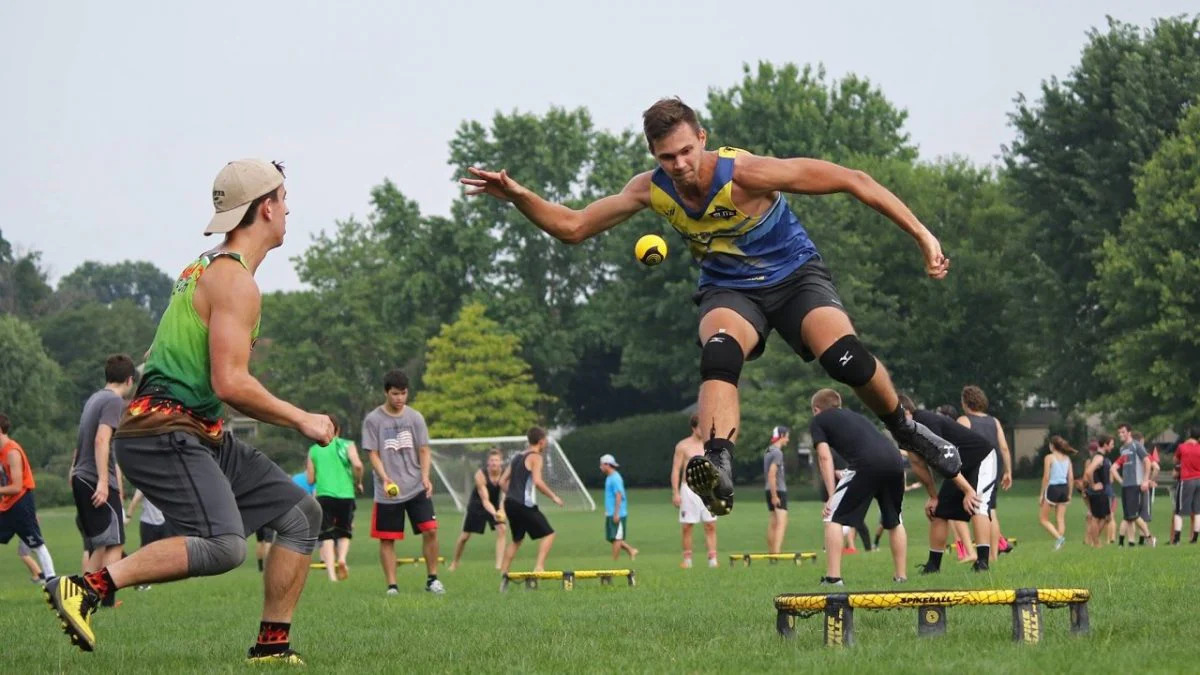
Spikeball, also known as roundnet, is a fast-paced game that combines elements of volleyball and four-square. It's played with a small, springy net placed at ankle level between two teams of two players each. The objective is to bounce the ball off the net in such a way that the opposing team can't return it, leading to thrilling rallies and intense competition.
In this comprehensive guide, we'll walk you through the process of setting up a Spikeball net, from assembling the equipment to understanding the rules of the game. By the end of this article, you'll be well-equipped to host your own Spikeball tournament and create lasting memories with friends and family. So, let's dive in and get ready to embrace the exhilarating world of Spikeball!
Key Takeaways:
- Setting up a Spikeball net is easy! Just follow the steps to assemble, position, adjust tension, mark the playing area, and understand the rules for an exhilarating outdoor game experience.
- Spikeball is not just a game, it’s about teamwork, camaraderie, and outdoor fun. Gather your friends, set up the net, and get ready for an exciting, fast-paced game that creates lasting memories.
Read more: How Tight Should Spikeball Net Be?
Step 1: Assemble the Spikeball Net
Before you can start enjoying a game of Spikeball, you need to assemble the net and the accompanying equipment. The Spikeball set typically includes a foldable net, a set of legs, a frame, and a ball. Here’s a step-by-step guide to help you assemble the Spikeball net:
- Unpack the Components: Carefully unpack the Spikeball set and lay out all the components. Ensure that you have all the necessary parts, including the net, frame, legs, and ball.
- Attach the Legs: Begin by attaching the legs to the frame of the net. The legs are designed to provide stability and support during gameplay. Securely fasten each leg to the designated corners of the frame, ensuring that they are firmly in place.
- Extend the Frame: Once the legs are attached, extend the frame to its full width, forming a taut and stable base for the net. This step is crucial for maintaining the integrity of the net during vigorous gameplay.
- Attach the Net: With the frame fully extended, carefully attach the net to the rim of the frame. Ensure that the net is evenly spread out and free of any tangles or twists, as this will impact the ball’s bounce during play.
- Secure the Net: Once the net is attached, secure it firmly to the frame to prevent any slippage or movement during gameplay. Check the tension of the net to ensure that it is taut and ready for action.
By following these simple steps, you’ll have your Spikeball net assembled and ready for the next phase of the setup process. With the net in place, you’re one step closer to enjoying the exhilarating gameplay that Spikeball has to offer.
Step 2: Positioning the Spikeball Net
Once you’ve assembled the Spikeball net, the next crucial step is to position it correctly for optimal gameplay. The positioning of the net plays a significant role in ensuring a fair and enjoyable game for all players. Here’s how to position the Spikeball net effectively:
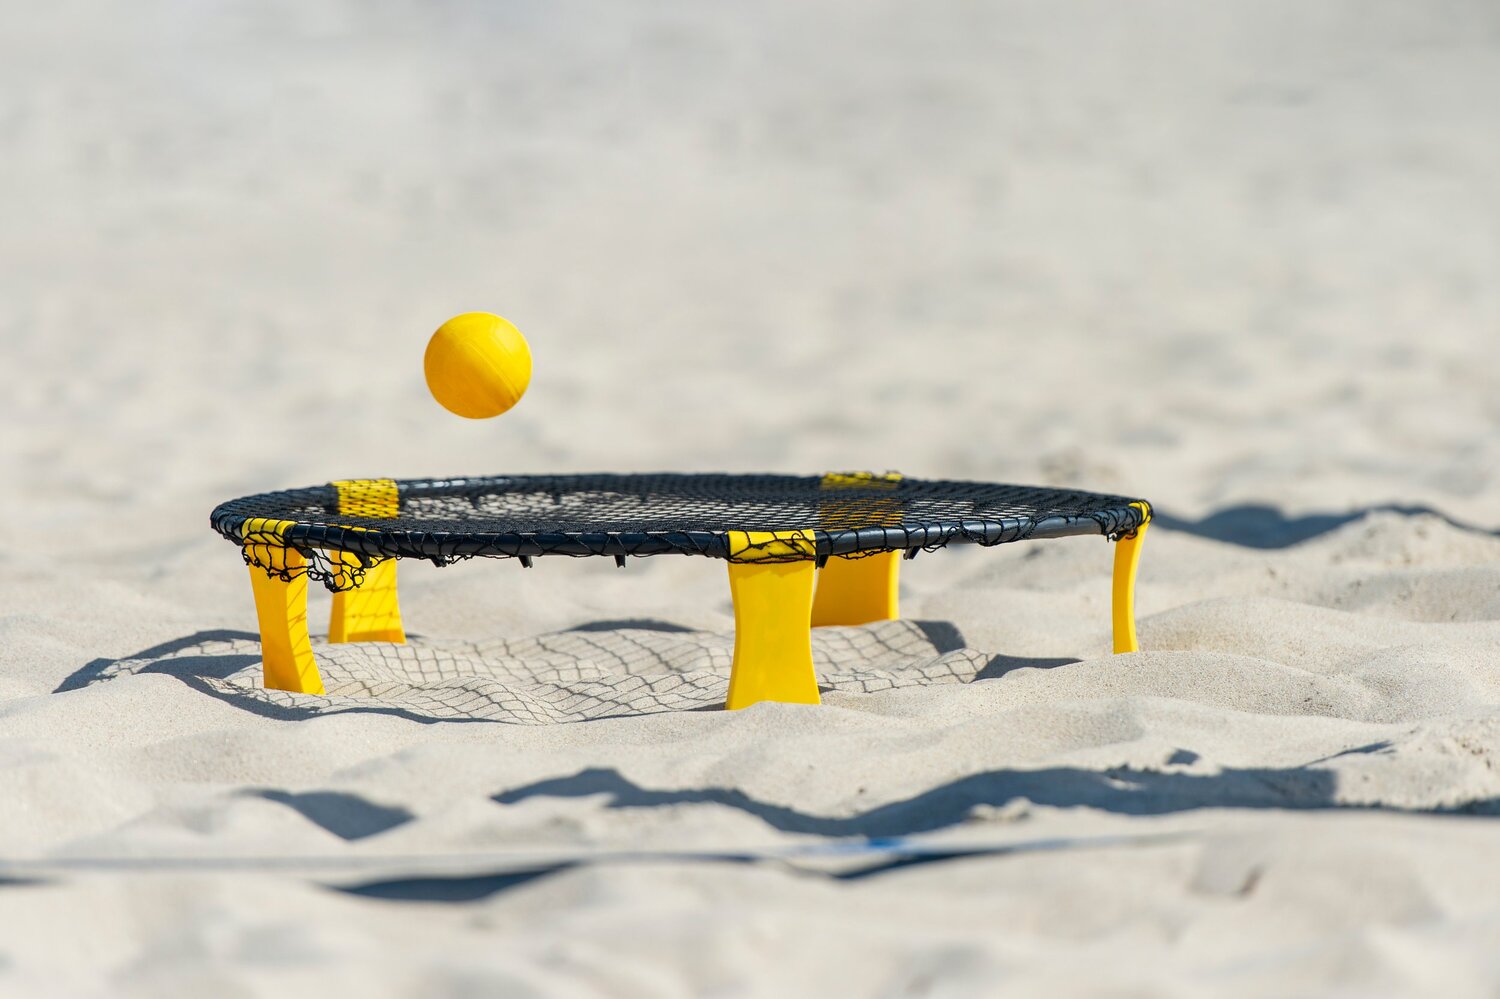
- Choose a Level Playing Surface: Select a flat and level playing surface for setting up the Spikeball net. This could be a sandy beach, a grassy lawn, or any other open outdoor area with ample space for movement.
- Place the Net in the Center: Position the Spikeball net in the center of the playing area to allow for an equal distance between all players. This central placement ensures that the game is balanced and that all teams have an equal opportunity to engage in the action.
- Ensure Ample Playing Space: Create sufficient space around the net to accommodate players’ movements during the game. A minimum of 10 feet of open space around the net is recommended to facilitate agile and dynamic gameplay.
- Consider Wind Conditions: If you’re playing in an open outdoor space, take into account the direction and intensity of the wind. Position the net in a way that minimizes the impact of wind on the ball’s trajectory, ensuring a more predictable and enjoyable game.
- Secure the Net in Place: Once the net is positioned correctly, secure it in place to prevent any movement during gameplay. If the Spikeball set includes anchoring stakes, use them to firmly anchor the net to the ground, enhancing stability and safety.
By following these guidelines, you’ll ensure that the Spikeball net is positioned optimally, setting the stage for an exciting and competitive game. With the net securely in place, you’re ready to move on to the next steps of the setup process and prepare for an unforgettable Spikeball experience.
Step 3: Adjusting the Tension
Proper tension in the Spikeball net is essential for maintaining the integrity of the gameplay and ensuring a fair and enjoyable experience for all participants. Adjusting the tension of the net involves fine-tuning its firmness to achieve the ideal bounce and responsiveness during gameplay. Here’s how to adjust the tension of the Spikeball net:
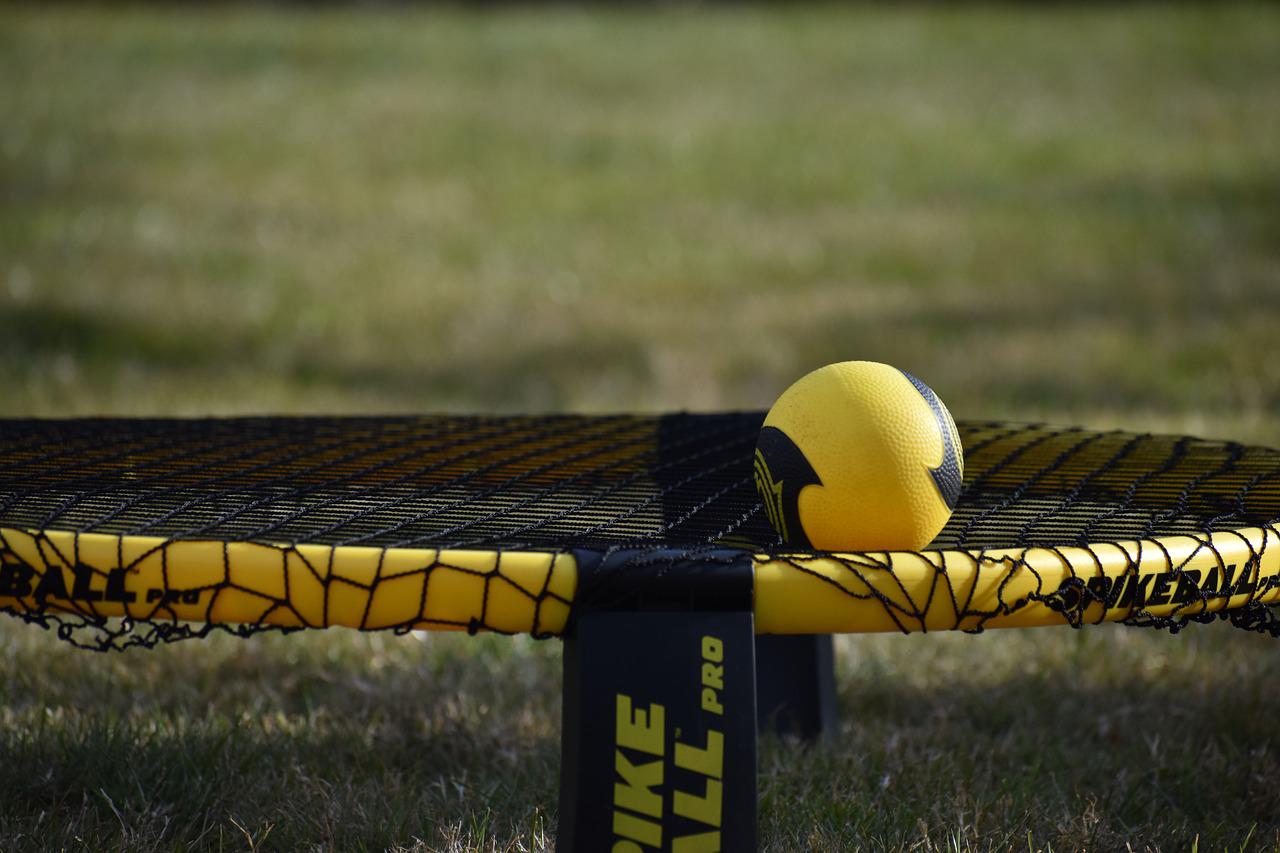
- Assess the Initial Tension: Begin by evaluating the initial tension of the net after it has been assembled and positioned. Check for any sagging or excessive tightness, as these factors can impact the ball’s bounce and the overall flow of the game.
- Use the Tensioning System: Most Spikeball sets are equipped with a tensioning system that allows for easy adjustment of the net’s tension. Follow the manufacturer’s guidelines to utilize the tensioning mechanism and make precise adjustments to achieve the desired firmness.
- Aim for Consistent Tension: Ensure that the tension across the entire net is consistent, with no areas exhibiting noticeable variations in firmness. A uniform tension level promotes fair gameplay and prevents the ball from behaving unpredictably during rallies.
- Test the Bounce: After making adjustments, test the bounce of the ball off the net to gauge its responsiveness. Ideally, the ball should rebound off the net with a predictable and lively bounce, allowing for engaging rallies and strategic gameplay.
- Make Fine Adjustments: Fine-tune the tension as needed, taking into account the playing conditions and the preferences of the participants. Striking the right balance in tension enhances the overall gameplay experience and fosters a competitive yet enjoyable atmosphere.
By carefully adjusting the tension of the Spikeball net, you’ll ensure that it contributes to a seamless and exhilarating gameplay experience. With the tension dialed in to perfection, you’re ready to move on to the next phase of the setup process and prepare for an action-packed game of Spikeball.
When setting up a Spikeball net, make sure the net is pulled tight and the legs are evenly spaced. Use the provided tool to tighten the net for optimal play.
Step 4: Marking the Playing Area
Marking the playing area is a crucial step in ensuring that the Spikeball game is conducted within defined boundaries, promoting fair play and strategic maneuvering. By clearly delineating the playing area, you create a structured environment that enhances the overall gameplay experience. Here’s how to mark the playing area effectively:
- Use Boundary Markers: Select suitable boundary markers, such as cones, flags, or chalk, to outline the boundaries of the playing area. These markers serve as visual indicators that define the limits within which the game will be played.
- Establish Clear Boundaries: Position the boundary markers at equal distances from the Spikeball net to create a symmetrical playing area. Ensure that the boundaries are clearly visible to all players, allowing for easy identification during intense gameplay.
- Communicate the Boundaries: Clearly communicate the boundaries of the playing area to all participants before the game begins. Emphasize the importance of respecting the boundaries to uphold the integrity of the game and avoid unnecessary disputes during play.
- Consider Surface Markings: If playing on a surface where markers can’t be placed directly, consider using environmentally friendly methods to mark the boundaries, such as temporary chalk markings on pavement or natural landmarks as reference points.
- Verify Boundary Compliance: Prior to the start of the game, verify that the boundary markers are accurately positioned and that the playing area is free of any obstructions or hazards that could impede gameplay.
By marking the playing area with precision and clarity, you establish a conducive environment for engaging in the spirited gameplay that Spikeball offers. With the boundaries clearly defined, players can focus on executing strategic plays and enjoying the fast-paced action without any ambiguity regarding the playing area.
Read more: How To Set Up A Trampoline Net
Step 5: Rules and Gameplay
Understanding the rules and gameplay mechanics of Spikeball is essential for fostering a competitive yet enjoyable gaming experience. By familiarizing yourself with the rules and strategies, you can fully immerse yourself in the dynamic and fast-paced nature of the game. Here’s a comprehensive overview of the rules and gameplay of Spikeball:
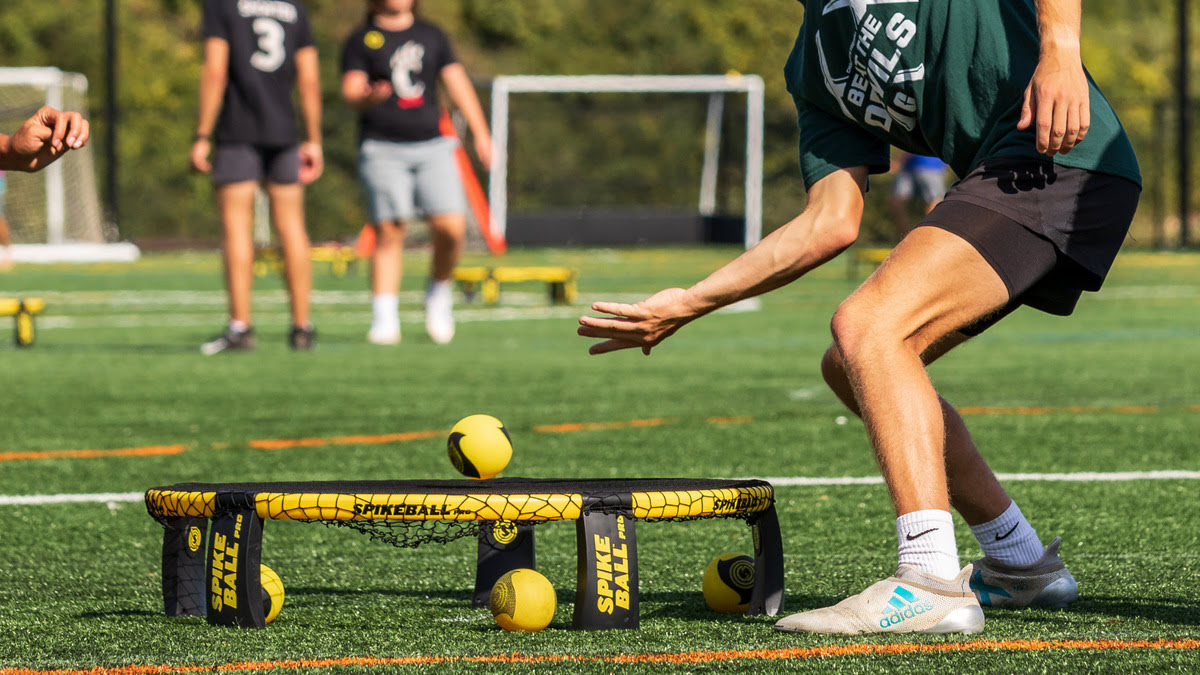
- Game Setup: Divide players into two teams of two members each. Position the teams on opposite sides of the Spikeball net, ready to engage in spirited competition.
- Service Initiation: The game begins with a serve, where one player hits the ball onto the net to start the rally. The opposing team must then return the ball by hitting it off the net within three touches.
- Rally Dynamics: The objective of each rally is to outmaneuver the opposing team and prevent them from returning the ball effectively. Players can use strategic positioning and agile movements to gain the upper hand in the rally.
- Scoring System: Spikeball typically follows a scoring system where points are earned when the opposing team fails to return the ball or commits a fault. The first team to reach 21 points with a two-point lead wins the game.
- Fault Identification: Various faults, such as carrying or holding the ball, double-hitting, or touching the net during play, result in the opposing team earning a point. Understanding and avoiding these faults is crucial for maintaining momentum in the game.
- Strategic Collaboration: Effective communication and teamwork between teammates are essential for anticipating the opposing team’s moves and executing coordinated plays. Players can strategize and adapt their tactics to gain a competitive edge.
By familiarizing yourself with the rules and dynamics of Spikeball, you’ll be well-prepared to engage in exhilarating gameplay and immerse yourself in the spirited competition. Embrace the fast-paced nature of the game and revel in the strategic maneuvers and thrilling rallies that Spikeball has to offer.
Conclusion
Congratulations! You’ve successfully navigated through the essential steps of setting up a Spikeball net and preparing for an exhilarating round of gameplay. By assembling the net, positioning it strategically, adjusting the tension, marking the playing area, and understanding the rules, you’ve laid the groundwork for an unforgettable Spikeball experience.
As you embark on your Spikeball journey, remember that the game is not just about competition; it’s about fostering camaraderie, teamwork, and an active outdoor lifestyle. Spikeball brings people together, encouraging friendly rivalries and cooperative play in a vibrant outdoor setting.
Now that you’re well-versed in the setup and gameplay of Spikeball, gather your friends, family, or fellow outdoor enthusiasts, and let the excitement unfold. Embrace the fast-paced rallies, strategic maneuvers, and the sheer thrill of the game as you create lasting memories in the great outdoors.
So, go ahead, set up your Spikeball net with confidence, and let the games begin. Whether you’re at the beach, in the park, or in your own backyard, Spikeball promises an engaging and dynamic experience that will leave everyone eagerly anticipating the next round.
Get ready to spike, dive, and rally your way to endless fun with Spikeball!
Frequently Asked Questions about How To Set Up A Spikeball Net
Was this page helpful?
At Storables.com, we guarantee accurate and reliable information. Our content, validated by Expert Board Contributors, is crafted following stringent Editorial Policies. We're committed to providing you with well-researched, expert-backed insights for all your informational needs.


0 thoughts on “How To Set Up A Spikeball Net”