Home>Gardening & Outdoor>Outdoor Recreation & Activities>How To Install A Net On A Trampoline

Outdoor Recreation & Activities
How To Install A Net On A Trampoline
Modified: January 9, 2024
Learn how to safely install a net on your trampoline for added outdoor recreation and activities. Follow our step-by-step guide for a secure and enjoyable setup.
(Many of the links in this article redirect to a specific reviewed product. Your purchase of these products through affiliate links helps to generate commission for Storables.com, at no extra cost. Learn more)
Introduction
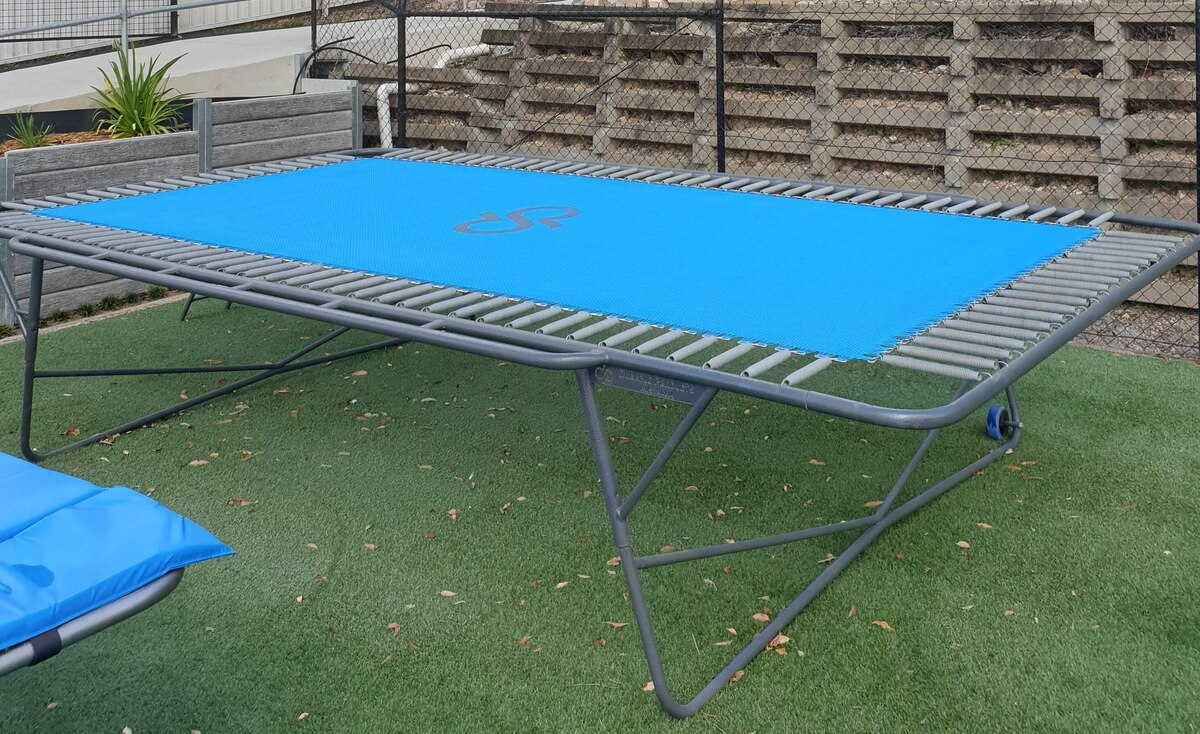
So, you've got a trampoline in your backyard, and it's a source of endless fun and excitement for the whole family. But, as with any activity involving jumping and bouncing, safety is a top priority. That's where a trampoline net comes into play. A net can provide an added layer of security, giving you peace of mind while your loved ones enjoy their time on the trampoline.
Installing a net on a trampoline might seem like a daunting task, but fear not! With the right guidance and a bit of patience, you can easily complete this project and ensure that your trampoline is a safe and secure play area for everyone.
In this guide, we'll walk you through the step-by-step process of installing a net on your trampoline. From gathering the necessary materials to securing the net in place, we've got you covered. So, let's dive in and make your trampoline a safer place for endless hours of outdoor fun!
Key Takeaways:
- Ensure a safe trampoline experience by following step-by-step instructions to install a protective net. It’s a fun and easy way to keep everyone bouncing with peace of mind.
- Take pride in creating a safer trampoline environment for family and friends. Combine the net installation with responsible usage and regular maintenance for endless outdoor fun.
Read more: How To Tie A Trampoline Net
Step 1: Gather Materials
Before you begin the installation process, it’s essential to gather all the necessary materials. Here’s what you’ll need:
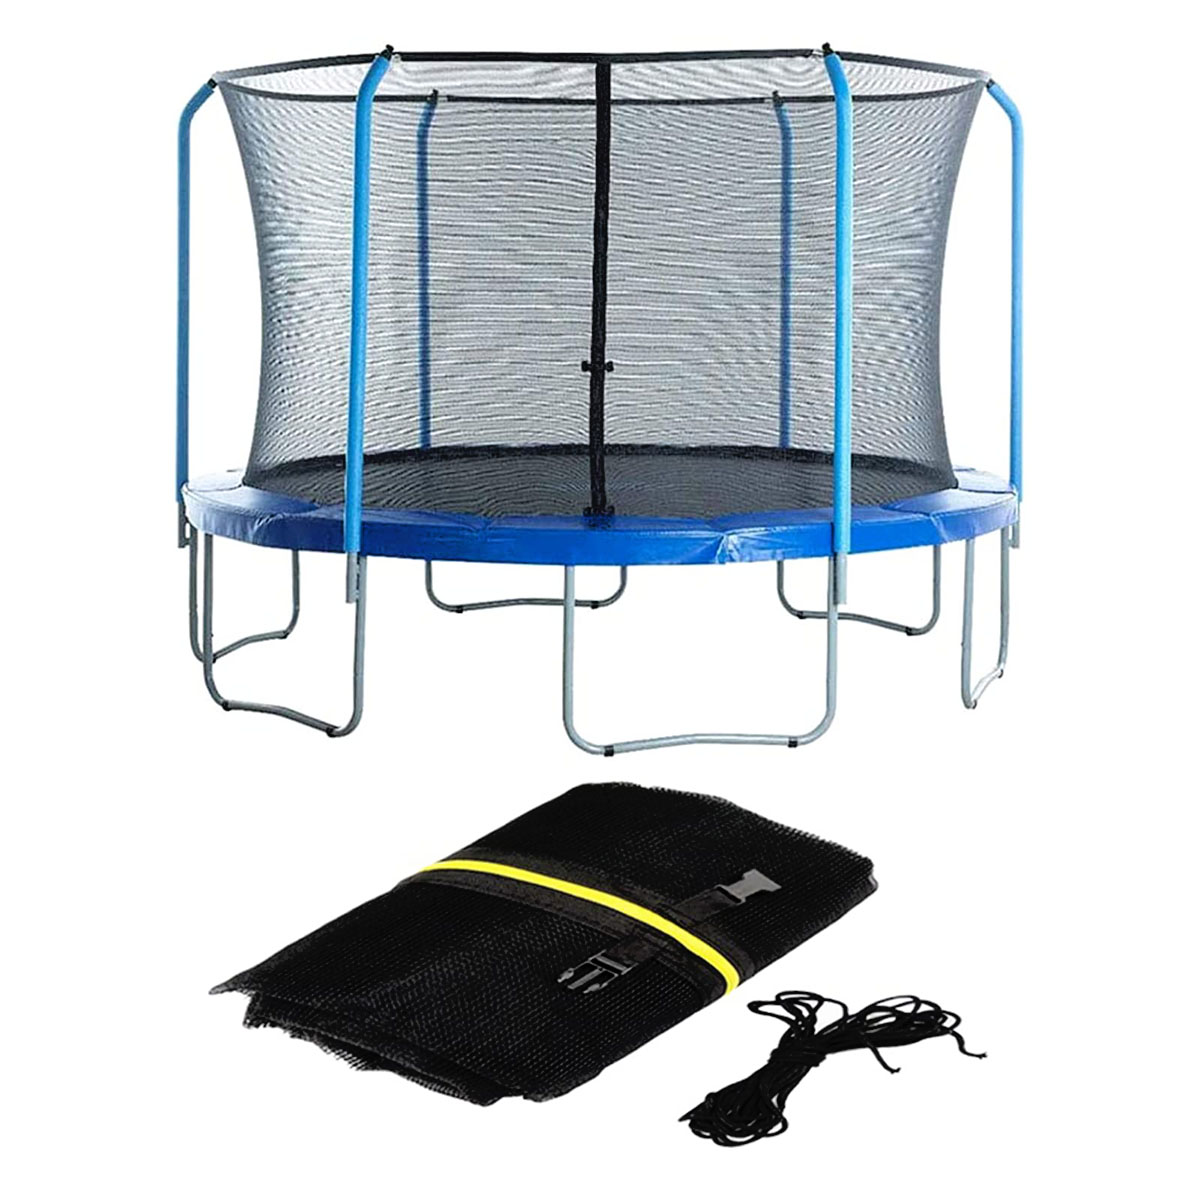
- Trampoline Net Kit: Ensure that you have the correct net size for your trampoline. Most trampoline nets come with the netting, poles, and any additional hardware required for installation.
- Assistant: While not a material, having an extra set of hands can be incredibly helpful during the installation process. Enlist a family member or friend to assist you.
- Tools: Depending on the specific requirements of your trampoline and net, you may need tools such as a rubber mallet, screwdriver, or wrench for assembly and installation.
- Instructions: Carefully review the manufacturer’s instructions included with the net kit. Familiarize yourself with the steps and guidelines before starting the installation.
- Safety Gear: It’s always a good idea to have some gloves and safety goggles on hand, especially when dealing with metal poles and hardware.
Once you have all the necessary materials and equipment assembled, you’ll be ready to move on to the next step in the process. Preparation is key to a smooth and successful installation, so take the time to gather everything you need before diving into the project.
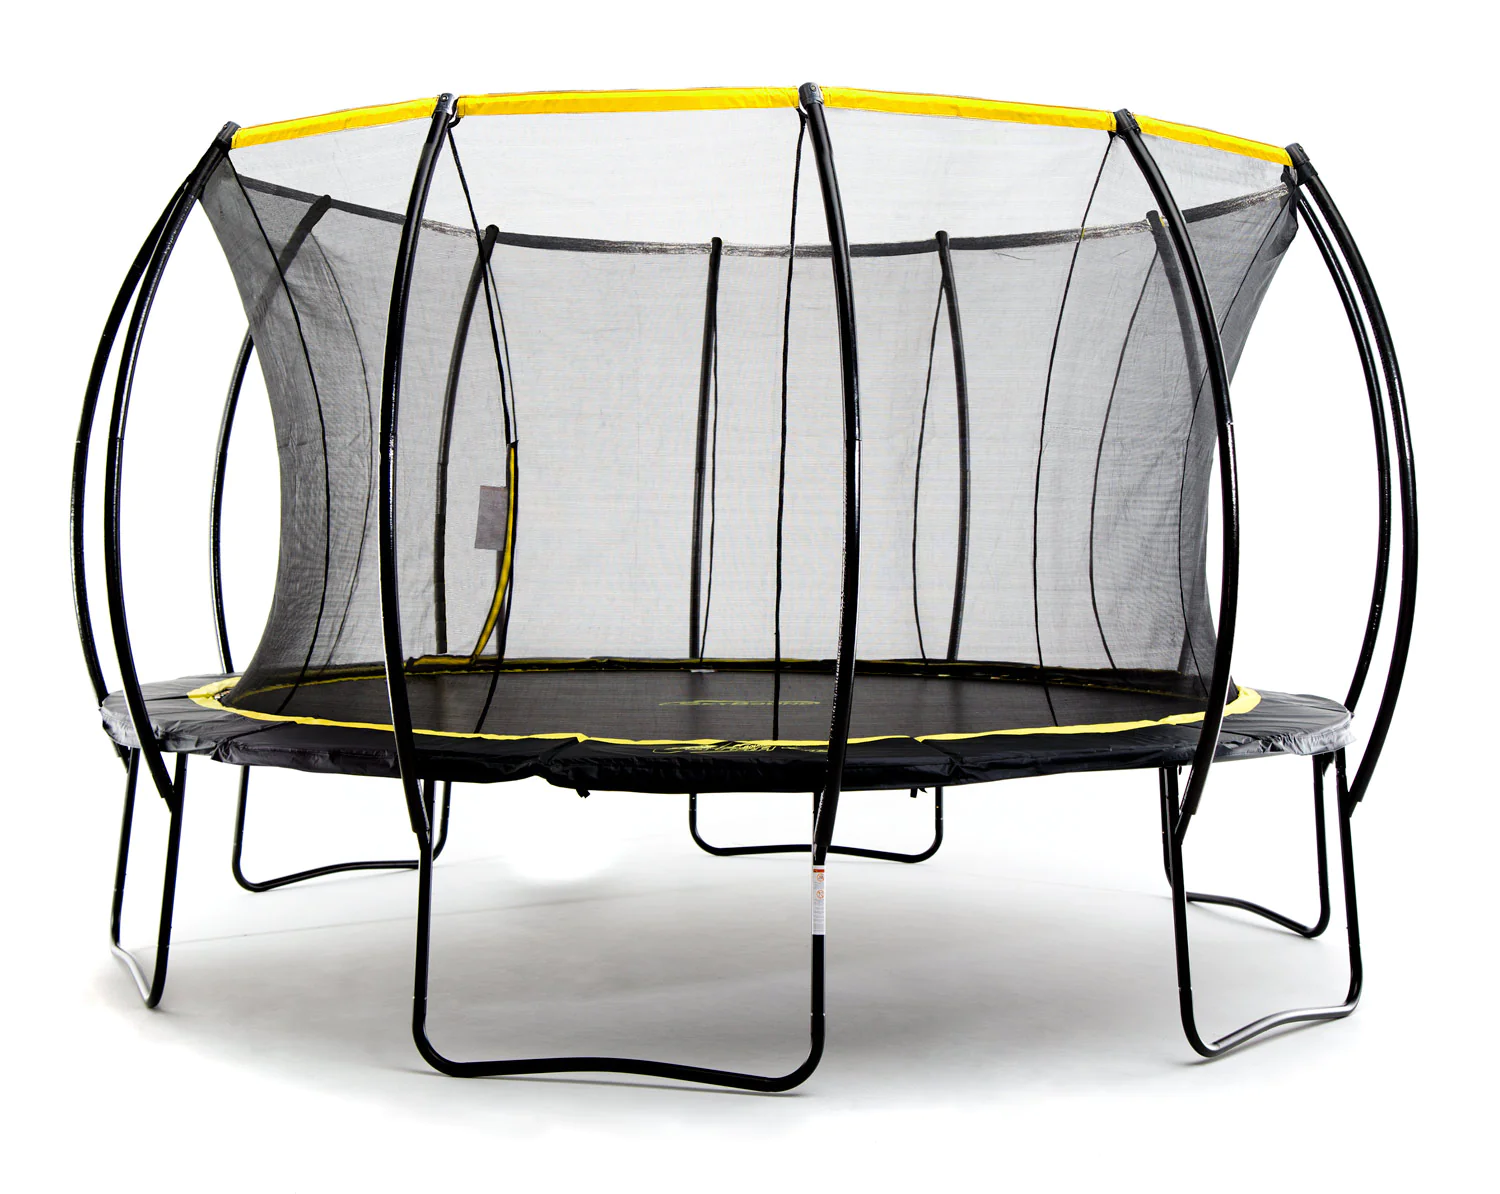
Step 2: Assemble the Net Poles
Now that you have all the required materials, it’s time to start assembling the net poles. This step is crucial to ensure that the net will be properly supported and securely attached to the trampoline.
Begin by carefully unpacking the net pole components from the kit. Lay out all the parts and familiarize yourself with the different sections of the poles. Most net pole kits consist of several interlocking pole segments that come together to form the complete poles.
Refer to the manufacturer’s instructions to guide you through the assembly process. Typically, you’ll start by connecting the individual pole segments, ensuring that they fit snugly and securely. Some pole segments may feature push-button mechanisms or locking pins to keep them in place once assembled.
As you assemble the net poles, pay close attention to any specific instructions regarding the orientation of the poles. Some designs may have distinct top and bottom sections, while others could be universal. Ensuring that the poles are correctly assembled will make the installation process much smoother.
Once all the net poles are assembled according to the manufacturer’s guidelines, it’s a good idea to do a quick visual inspection to confirm that everything is in order. Check for any loose connections or misaligned segments, and make any necessary adjustments to ensure that the poles are ready for the next phase of the installation.
With the net poles successfully assembled, you’re now prepared to move on to the next step: attaching the poles to the trampoline itself. This is where the installation process starts to take shape, bringing you one step closer to completing the installation of the trampoline net.
Step 3: Attach the Net Poles to the Trampoline
With the net poles assembled, it’s time to proceed to the next critical step: attaching the poles to the trampoline. This phase of the installation process will form the foundation for securing the trampoline net in place, so it’s essential to follow the manufacturer’s instructions closely.
Begin by positioning the assembled net poles around the perimeter of the trampoline. Depending on the design of your trampoline and net, you’ll typically have designated locations where the poles should be placed. Ensure that the poles are evenly spaced and aligned with the corresponding attachment points on the trampoline.
Once the poles are in position, carefully secure them to the trampoline frame according to the manufacturer’s guidelines. This may involve using brackets, clamps, or other attachment mechanisms provided in the net kit. Take your time to ensure that each pole is firmly and securely attached, as they will bear the weight and tension of the trampoline net.
As you fasten the net poles to the trampoline, periodically check that they remain upright and properly aligned. Making any necessary adjustments at this stage will contribute to the overall stability and integrity of the net installation.
After attaching all the net poles to the trampoline, give the entire assembly a thorough inspection. Confirm that each pole is securely fastened and that the overall structure is stable. This is also a good opportunity to double-check the alignment and spacing of the poles to ensure uniform support for the net.
With the net poles successfully attached to the trampoline, you’re now ready to move on to the next step: installing the net itself. This marks a significant milestone in the installation process, bringing you closer to completing the setup of the trampoline net and enhancing the safety of your trampoline for all its users.
When installing a net on a trampoline, make sure to follow the manufacturer’s instructions carefully. Ensure that the net is securely attached and that there are no gaps or tears that could pose a safety hazard.
Step 4: Install the Net
With the net poles securely attached to the trampoline, the next crucial step is to install the net itself. This phase of the installation process will involve carefully positioning and securing the net to create a safe enclosure for the trampoline.
Begin by unfurling the trampoline net and laying it out around the perimeter of the trampoline. Take care to align the net so that it evenly encircles the jumping area, ensuring that it provides complete coverage and protection for anyone using the trampoline.
As you position the net, pay attention to any specific orientation or alignment instructions provided by the manufacturer. Some nets may have designated top and bottom sections, and ensuring that they are correctly positioned will contribute to the overall effectiveness and safety of the enclosure.
Once the net is in place around the trampoline, you can start attaching it to the net poles. Most trampoline nets feature integrated sleeves or straps that allow them to be secured to the poles. Follow the manufacturer’s instructions to ensure that the net is properly fastened to each pole, maintaining a taut and secure fit.
As you work your way around the trampoline, attaching the net to each pole, periodically step back and assess the overall alignment and tension of the net. Making adjustments as needed will help ensure that the net is uniformly installed and capable of effectively containing any activity on the trampoline.
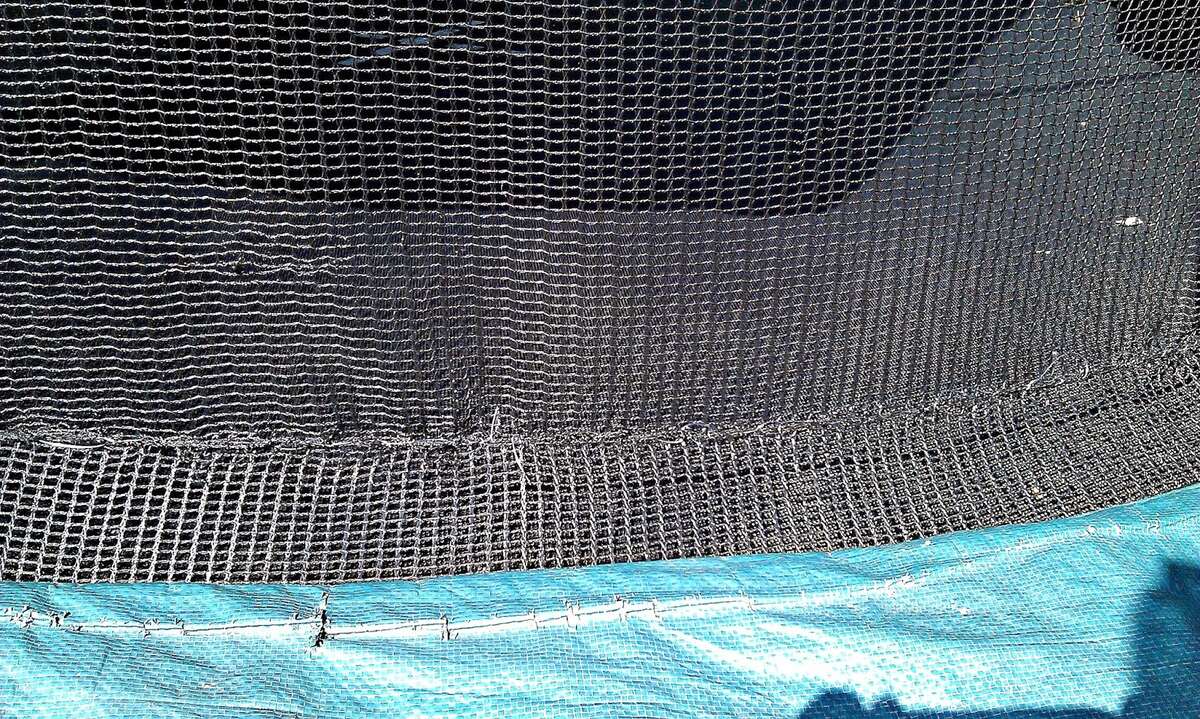
Once the net is securely attached to all the poles and the tension is evenly distributed, take a moment to inspect the entire enclosure. Confirm that the net is free from any twists, sags, or other irregularities that could compromise its safety and functionality.
With the net successfully installed, you’ve reached a significant milestone in the process of outfitting your trampoline with a safety enclosure. The next and final step will involve securing the net to ensure that it remains in place and provides reliable protection for all trampoline users.
Read more: How To Measure A Trampoline For A Net
Step 5: Secure the Net
After installing the trampoline net, the final crucial step is to ensure that it is securely fastened in place. This will help maintain the integrity of the enclosure and provide reliable protection for anyone using the trampoline. Follow these steps to properly secure the net:
Begin by checking the tension of the net to ensure that it is uniformly distributed around the trampoline. The net should be taut and free from any significant slack or sagging. This is essential for creating a secure enclosure that can effectively contain any activity on the trampoline.
If your trampoline net includes any additional securing mechanisms, such as straps, buckles, or clips, use them according to the manufacturer’s instructions to reinforce the attachment between the net and the poles. These features can help maintain the stability of the net and prevent it from becoming dislodged during use.
Inspect the bottom of the net to confirm that it is securely fastened to the trampoline frame. Some nets have integrated attachments or straps that can be secured around the lower portion of the trampoline, further enhancing the stability and containment capabilities of the enclosure.
Once you’ve addressed the tension and attachment of the net, take a moment to walk around the trampoline and visually inspect the entire enclosure. Look for any areas where the net may be loose or require additional adjustments. Making these refinements now will contribute to the overall safety and effectiveness of the trampoline net.
After confirming that the net is uniformly tensioned and securely fastened around the trampoline, give the entire assembly a final inspection. Double-check the attachment points, tension, and overall stability of the net to ensure that it meets the necessary safety standards.
With the net now securely in place, you’ve successfully completed the installation process and enhanced the safety of your trampoline. The secure enclosure provides a protective barrier for anyone enjoying the trampoline, offering peace of mind and allowing for worry-free outdoor fun.
Conclusion
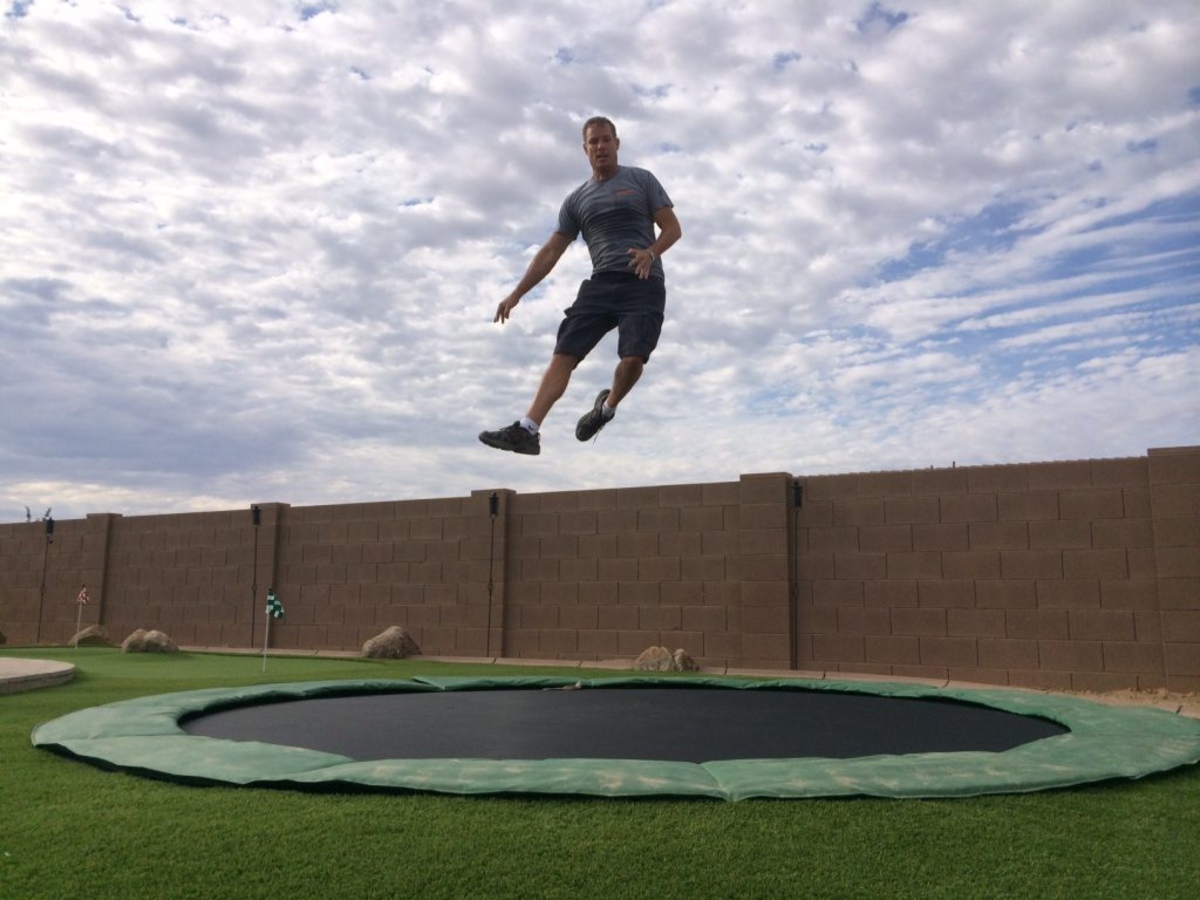
Congratulations on successfully installing a safety net on your trampoline! By following the step-by-step process outlined in this guide, you’ve taken a proactive step towards ensuring the safety and security of your trampoline for all its users. With the net in place, you can now enjoy peace of mind while watching your loved ones have a blast on the trampoline.
Remember, the installation of a trampoline net is a tangible demonstration of your commitment to safety. It provides a protective barrier that can prevent accidents and injuries, making the trampoline a safer and more enjoyable play area for everyone.
As you witness the joy and excitement that the trampoline brings to your family and friends, take pride in knowing that you’ve created a safer environment for their outdoor recreation. The investment of time and effort in installing the net is a valuable contribution to the well-being of those who use the trampoline.
Additionally, always encourage responsible trampoline usage. Remind users to adhere to safety guidelines, such as limiting the number of jumpers at a time and avoiding risky maneuvers. By combining the installation of the net with responsible trampoline practices, you can further enhance the overall safety of this beloved outdoor activity.
Lastly, periodically inspect the net and its attachments to ensure that everything remains in good condition. Regular maintenance and upkeep will help prolong the life and effectiveness of the net, allowing it to continue serving its vital safety function for years to come.
With the trampoline net installed and secured, you’ve not only created a safer recreational space but also fostered countless moments of laughter, fun, and cherished memories for everyone who enjoys the trampoline. So, go ahead, bounce, jump, and play with the confidence that comes from knowing you’ve taken the necessary steps to make your trampoline a safer place for all.
Frequently Asked Questions about How To Install A Net On A Trampoline
Was this page helpful?
At Storables.com, we guarantee accurate and reliable information. Our content, validated by Expert Board Contributors, is crafted following stringent Editorial Policies. We're committed to providing you with well-researched, expert-backed insights for all your informational needs.


0 thoughts on “How To Install A Net On A Trampoline”